Swatches, contextual alternates, glyphs, ligatures… if you’re not familiar with how to use these font features, they can be a little intimidating to start with. However, once you master them, you really open up so many more possibilities when working with great fonts.
After getting so many questions about how to use the extra characters, glyphs and swashes available with the fonts in our current Monster Creative Font Bundle, Simon has been kind enough to put together this comprehensive guide.
This tutorial is a bonus tutorial, that leads on from Simon’s in depth poster design tutorial. You’ll learn exactly how to unlock the hundreds of extra characters and symbols available to you with these, or any extensive opentype fonts. To Simon!
Hey Design Cutters! One of the things I realized from my poster tutorial is that it’s using only two typefaces out of the ten families offered in the deal. While it makes sense from a design standpoint (ever heard of the “no more than three fonts” rule?), it doesn’t really do justice to the other amazing options that you have at your fingertips.
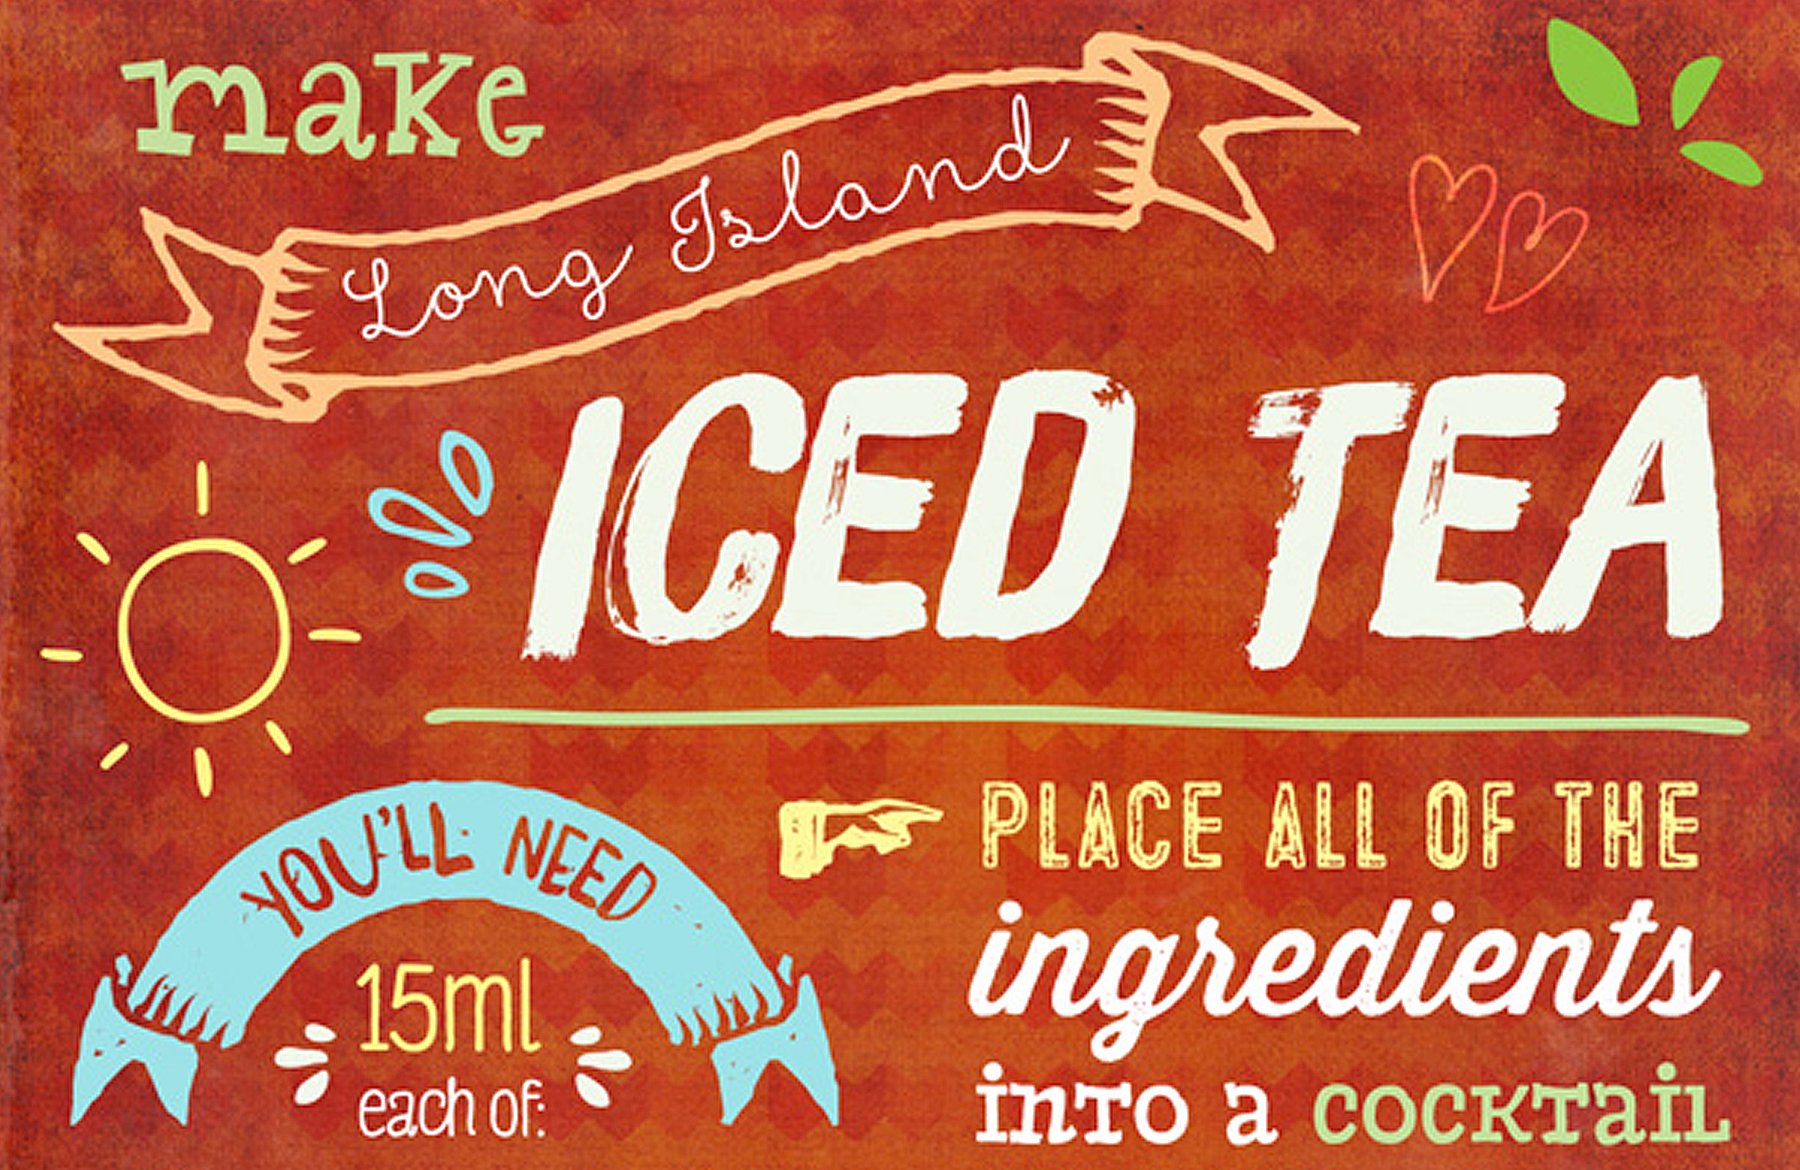
Let’s have a look again at the beautiful typefaces that are included in the Monster Creative Font Bundle (Includes Web Fonts).
Daft Brush by Pintassilgo Prints
Brush Up by Pintassilgo Prints


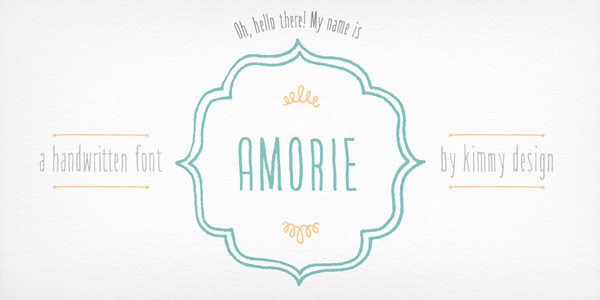
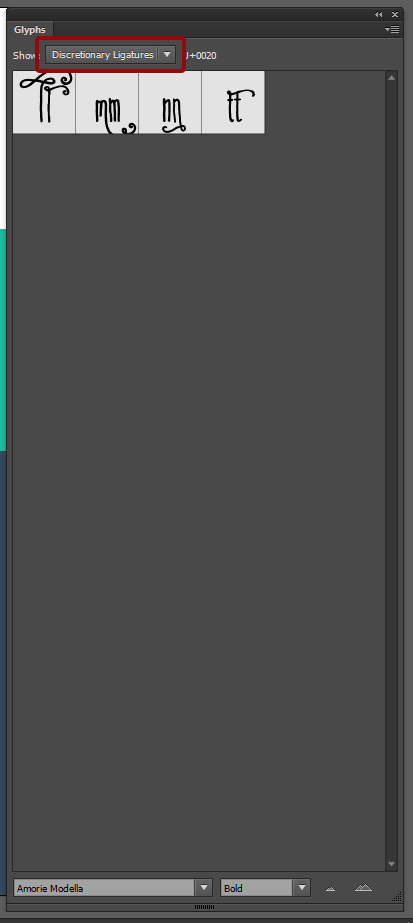
The Amorie type family

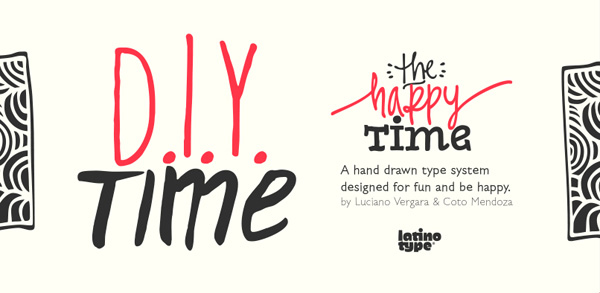
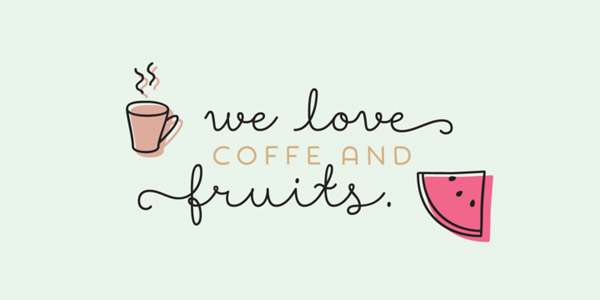
D-I-Y Time (Complete Hand-Drawn Type System) by Latino Type

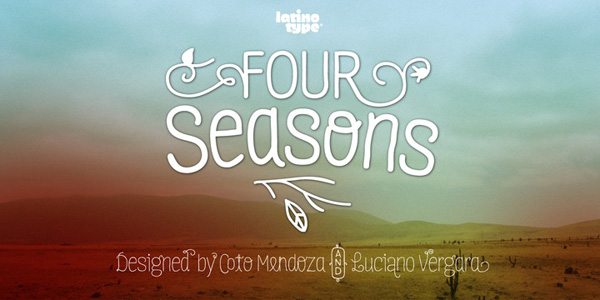
Four Seasons by Latino Type

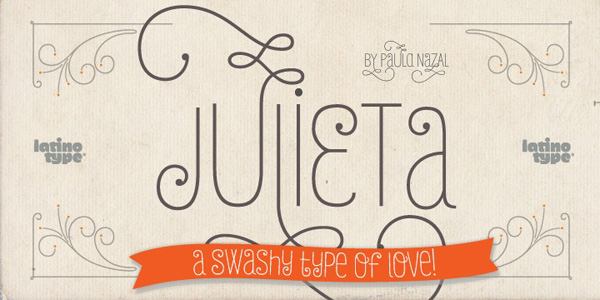
Julietta by Latino Type
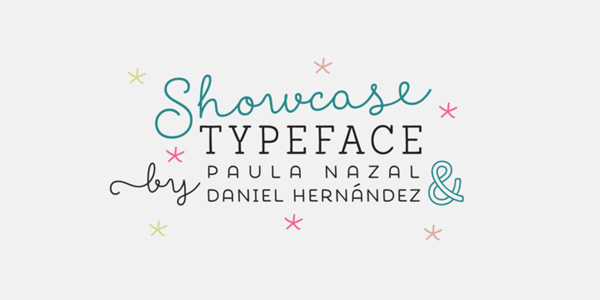
Showcase by Latino Type
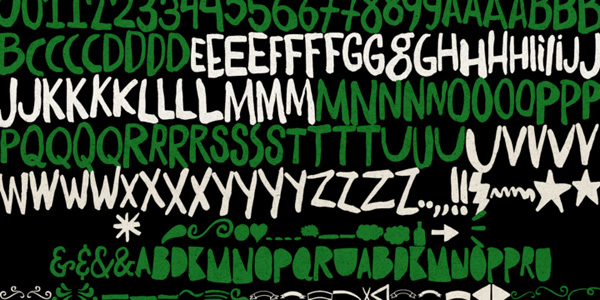
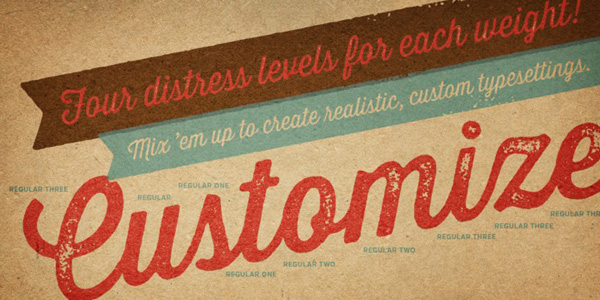
Thirsty Rough by Yellow Design Studio

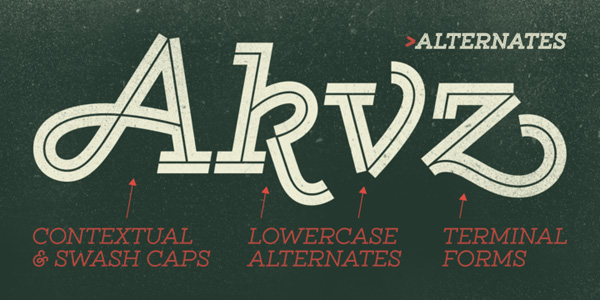
Gist by Yellow Design Studio

Microbrew by Albatross Studio


So, what about these typefaces?
All these typefaces have something in common. They feature characteristics (hand-drawn style and/or aging artifacts) that, in regular typefaces, would very obnoxiously show everyone that this type piece or block has been written using a typeface. Why? A lot of typefaces include only one set of characters. This means that you’ll only have access to one rendition of the letter “A” for instance (the most frequently used letter in the English language). The imperfections that should be part of a hand-lettered piece won’t be there, and the resulting piece will clearly be identifiable as a typeface, rather than a manually crafted type element.
But these aren’t “regular” typefaces. The creators of all these type families have painstakingly created alternative versions for their characters (along with some other cool goodies, like swashes, shadows, etc.), so the type blocks you’ll be writing don’t feature the same letter “A” all the time. This system of alternate characters allows compatible applications to be able to make your pieces look a bit more organic, and yet to keep the ease of use and flexibility of a typeface. That’s a bit of a summary, and if we had time I’d talk a little bit about the history of typeface file formats (OTF vs. TTF vs. AAT vs. Graphite), but that’s going to be for another time.
Luckily for us, both Illustrator and Photoshop allow us to use these alternates, swashes, and other awesome tips and tricks.
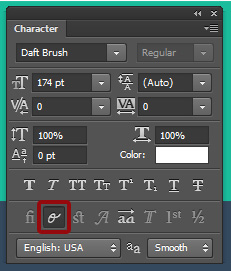
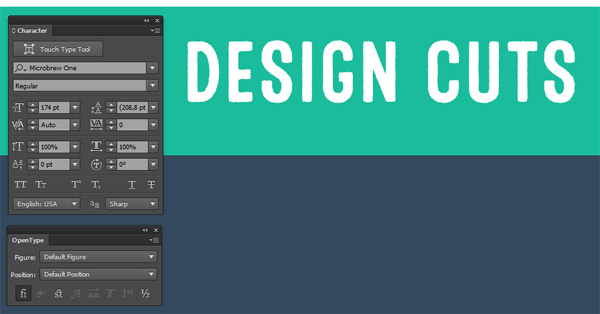
Using Photoshop’s Character panel
Setting up a document
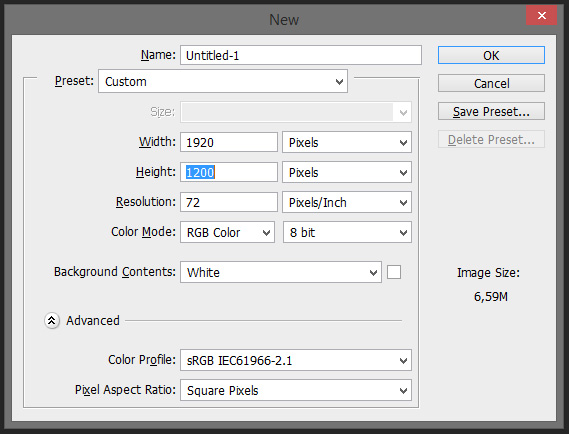
I started by creating a 1920×1200 pixels @ 72 dpi document in Photoshop. Since this document is for on-screen demo purposes only, no need to create a print-ready document.
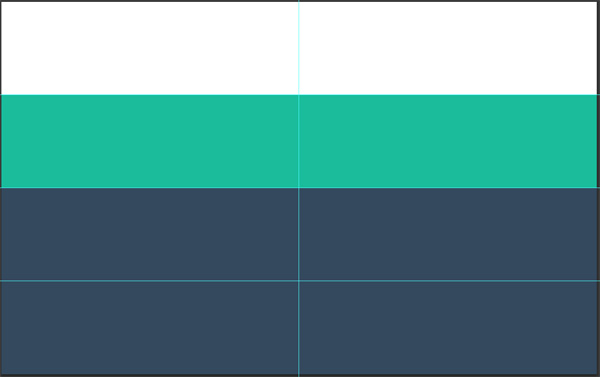
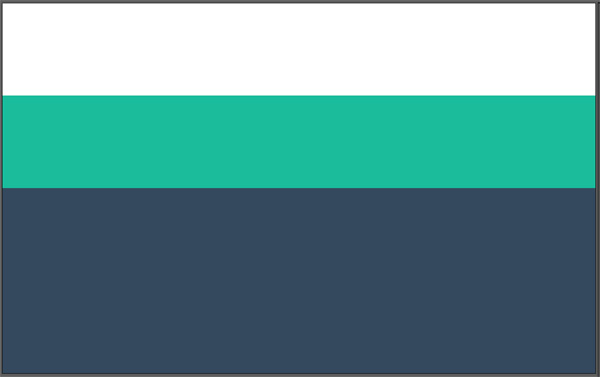
Anticipating on a potential Design Cuts-themed wallpaper design, I’ve added a few horizontal and vertical guides to get me a grid. My guides are at 300, 600, and 900 pixels horizontally, and at 960 pixels vertically.

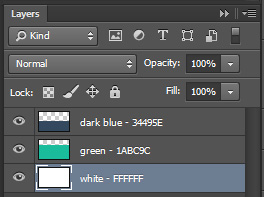
Following that wallpaper idea, let’s add the Design Cuts color palette in my document. I’ve sampled the colors directly from the DC website (top: white – #ffffff, middle section: green – #1abc9c, and bottom section: blue – #34495e). The bottom section covers half of the canvas, while the middle and top parts cover a fourth each.
Contextual alternates and stylistic alternates
I used Brush Up in the tutorial, and took advantage of its alternates characters, but I didn’t get to use Daft Brush. Let’s fix this.
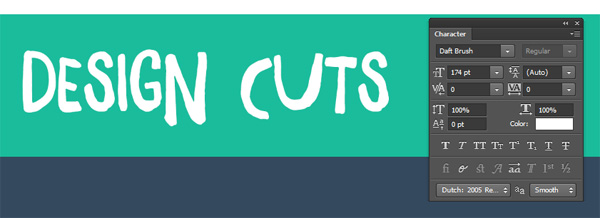
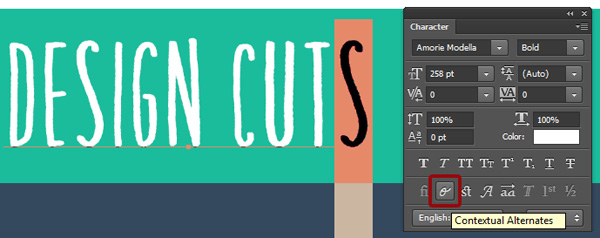
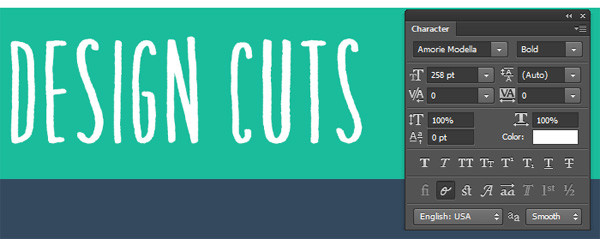
As you can see on the type panel, I simply typed the text. I didn’t check any of the magic boxes at the bottom. Let’s engage the Contextual alternate functionality on.
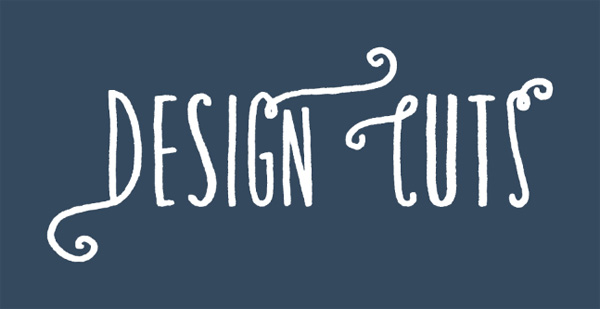
Surprise! Our characters have changed.

Now, notice how we have two identical “S” letters in our type piece. Well, you could apply the Contextual alternate functionality only on “CUTS,” so it would look like someone quickly brush-penned that piece down. Start by turning the button off for the whole type layer, and then highlight “CUTS.”
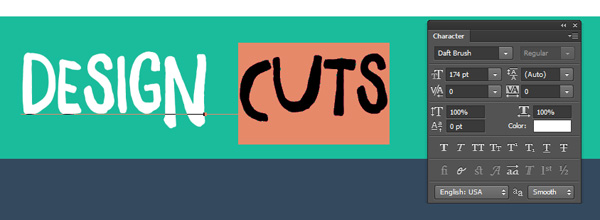
Then turn the button back on. Only “CUTS” will be affected this time. Nifty, huh?

Another nifty feature that’s supported by most of these typefaces is called Stylistic alternates.
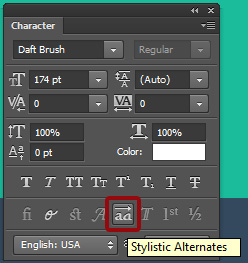
These are yet another set of alternate characters you could bring in your type treatment to preserve its organic vibe. The styles depend of what the designer created for each typeface. In Daft Brush’s case, they look something like this:
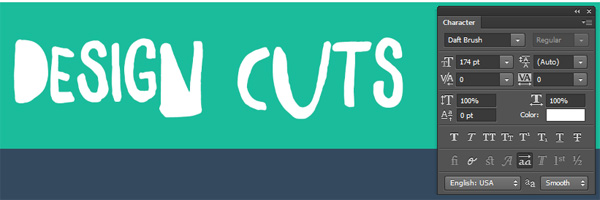
Say you like the effect, but just want to apply it on the “N?” Ask, and you shall receive.

I simply turned the Stylistic alternates back off, selected just the “N,” and turned the alternates back on.
Simple enough, right? Based on these substitutions and alternate character sets, the Open Type format is capable of much, much more. But I’ll need to use a different typeface to demonstrate them.
Swashes
Swashes are a quick way to make a type element stand out as the focal point of your piece. Let’s use Amorie Nova Bold to get a sense of what these are about.
Start with everything turned off.

My first order of business is to make sure that the two “S” look different, thanks to the Contextual alternates.
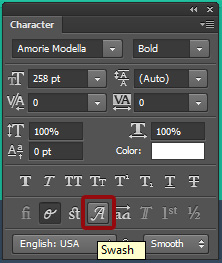
Let’s turn on the swashes!
The results are, let’s say, overwhelming.

Just like that “S” that I didn’t want to be displayed identical to the one prior, I’m going to turn the feature on only a few selected letters.
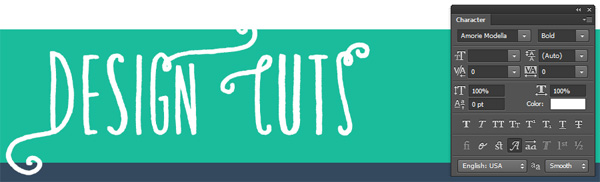
Much better, right? I left the swash active on the “D,” “G,” “C,” and “S.” It’s also worth noting that I had to size the “N” down quite a bit (from 258 points to 222 points) so it wouldn’t get “tangled up” in the G’s swash.
Here’s a view of the text on blue, so you can appreciate it in its entirety.
Given the level of care of the designers of all these typefaces, you’ll have quite a few combinations to try out and experiment with. Sometimes, the exact letter form you’ll be looking for will be available when turning the contextual alternates on on a swashed-out drop cap… Have fun.
One more thing we need to talk about: Illustrator’s Glyphs panel
I know that most of the readership here at Design Cuts favors Photoshop, and that’s okay. But I’d like to give Illustrator some love, especially that we’re talking about manipulating text, and since that functionality is available in Illustrator only (and InDesign, too). It’s called the Glyphs panel.
I’ve recreated my document in Illustrator, nothing fancy.

If Glyphs panel isn’t showing up by default, you can make it visible through the Window > Type > Glyphs menu.
What can you do with the Glyphs panel?
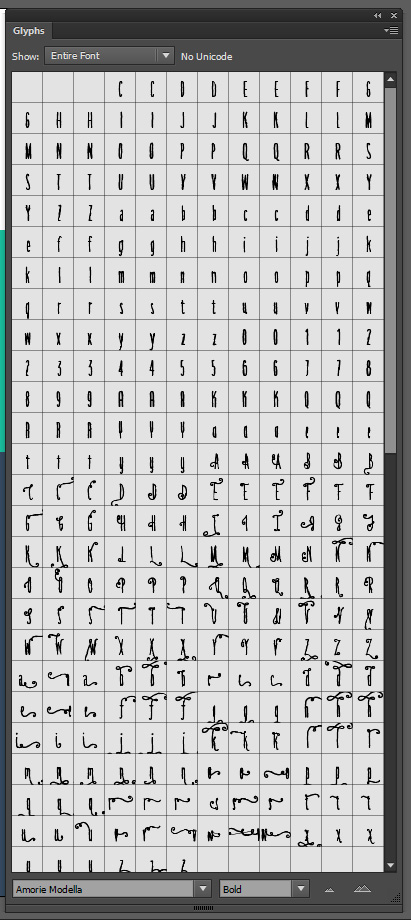
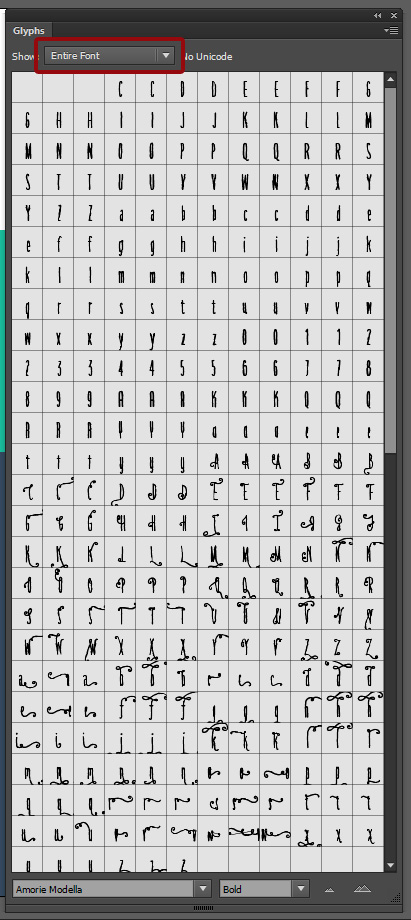
The panel can show you the whole font.
It can show you the font’s available ligatures.
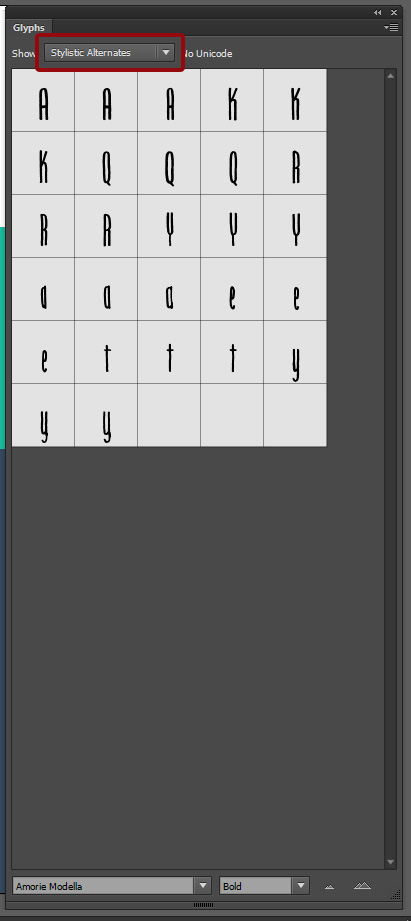
It can also show you the font’s stylistic alternates. The more stuff you have in this view of the panel, the more alternate characters you’ll have at hand to make it look organic and analog.
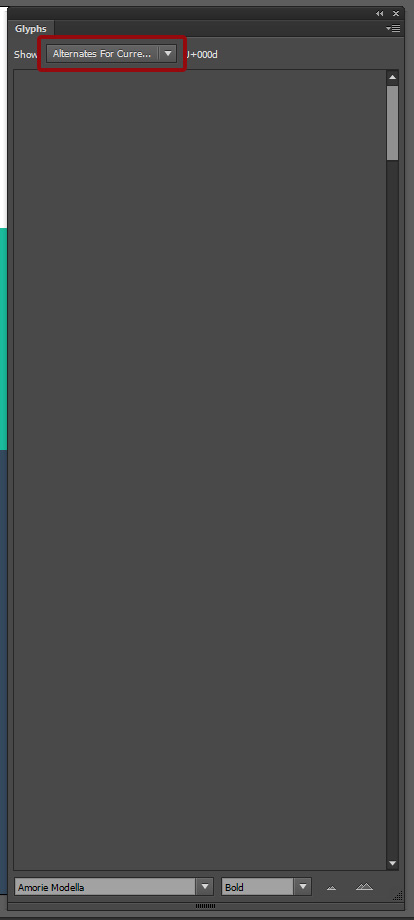
Finally, and that’s in my opinion the best feature, it can show you the available alternates for the current selection. Sadly, it works only when selecting individual characters.
Switching characters around
But the panel isn’t just a tool to show you what the font has available. You can also, and that’s the main interest behind it, double-click on a character and it gets added to your active text element/block. Example.
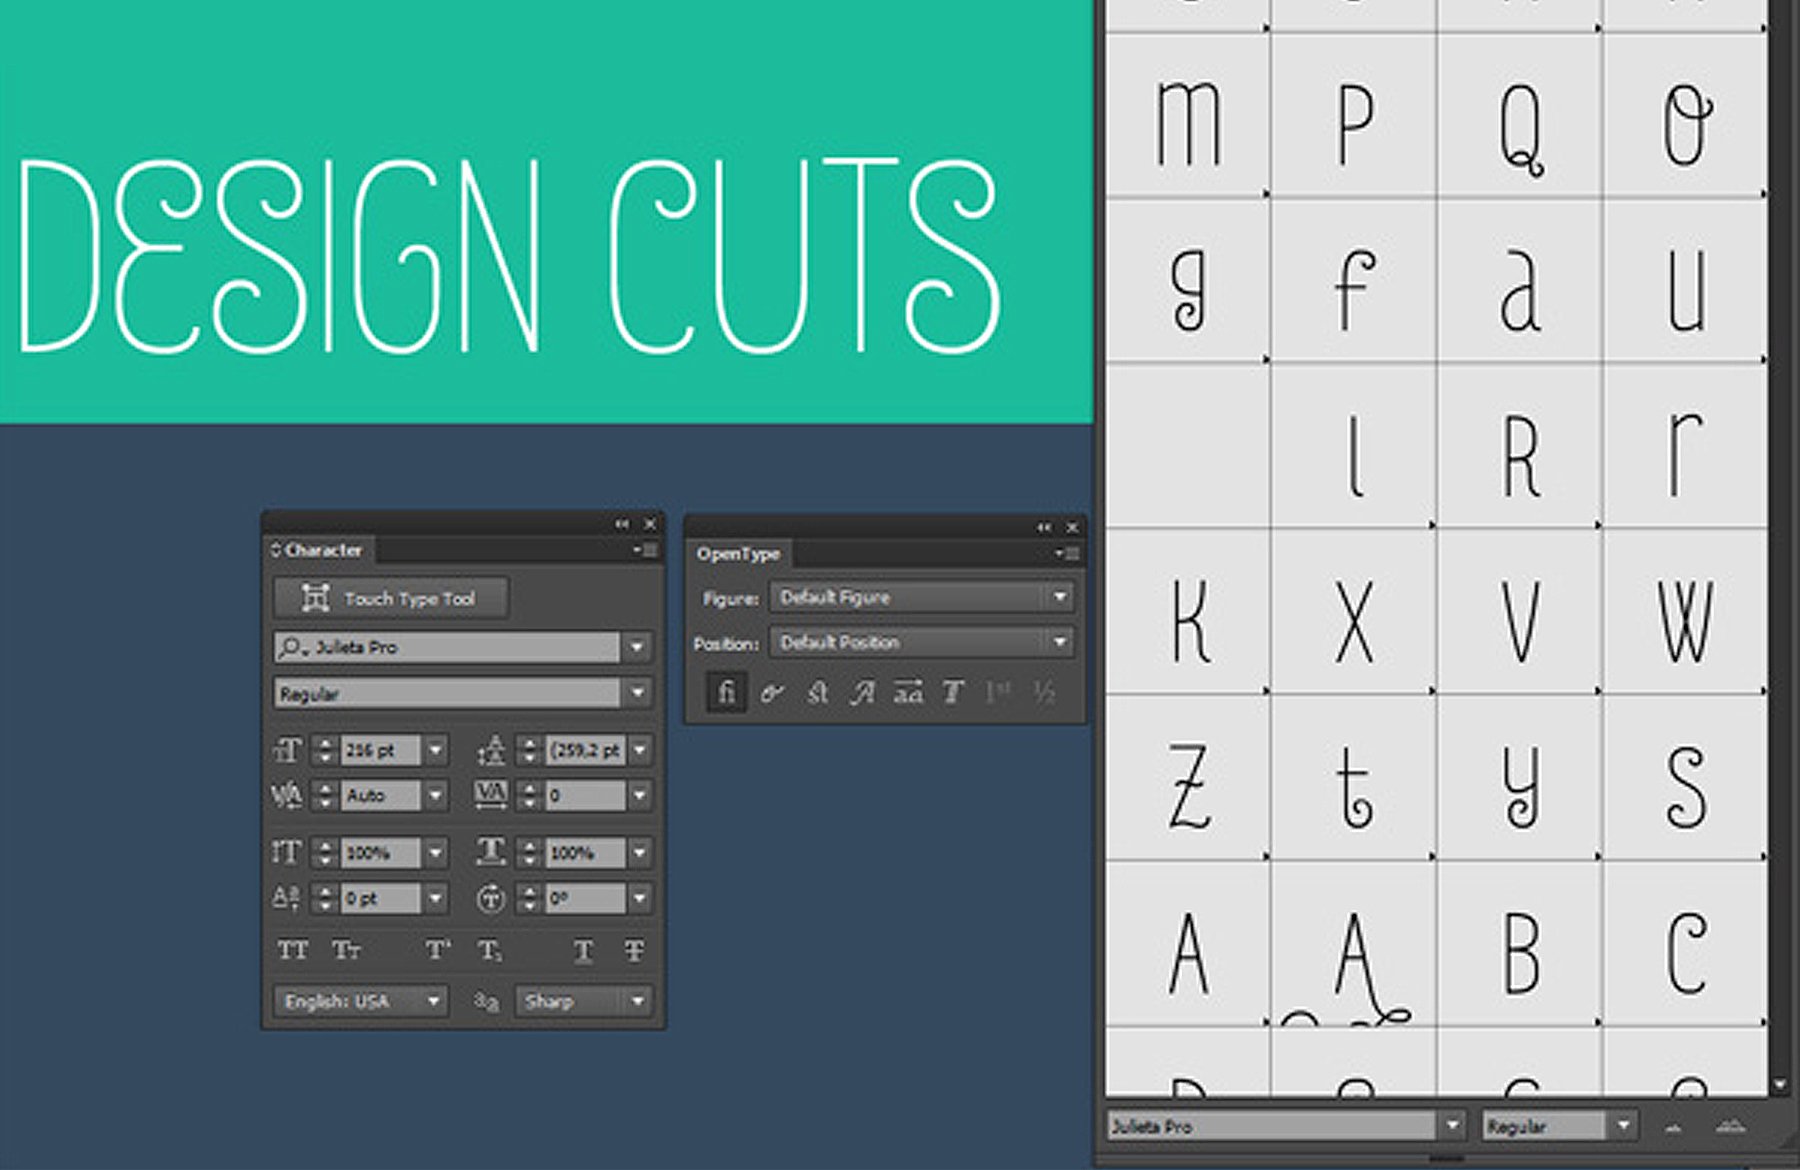
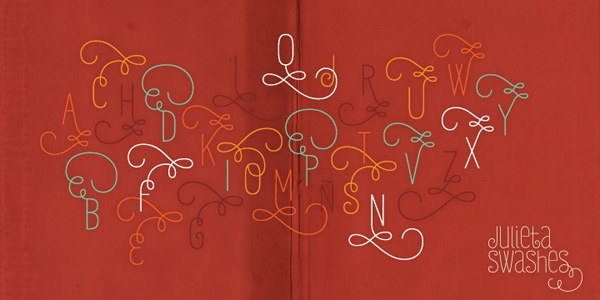
Let’s start from the beginning. I’ve switched to Julieta Pro.
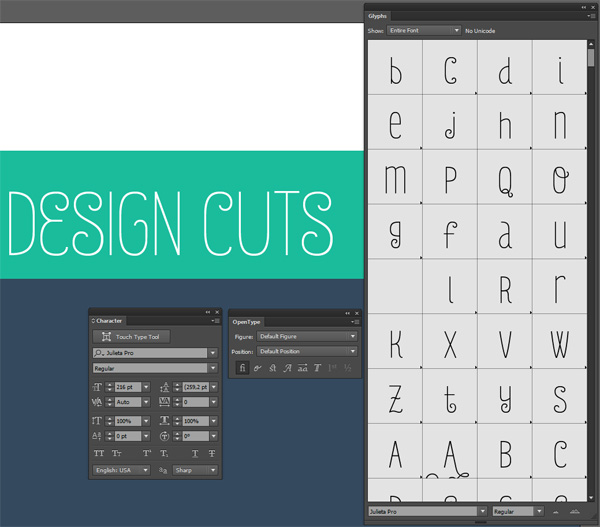
After spelling Design Cuts out, I’d like to spruce things up a little. Let’s have a look at what’s available.
The “E” has a straighter version available, as well as a super cool swash version.

With the letter you wish to replace highlighted, simply double-click the new glyph you’d like to bring in, and taadaa, it’s there. MAGIC.

I’ve repeated the process for the closing “S” as well.


And here’s the view on blue.

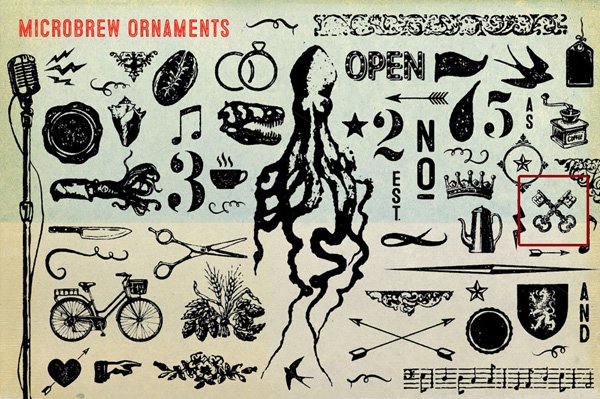
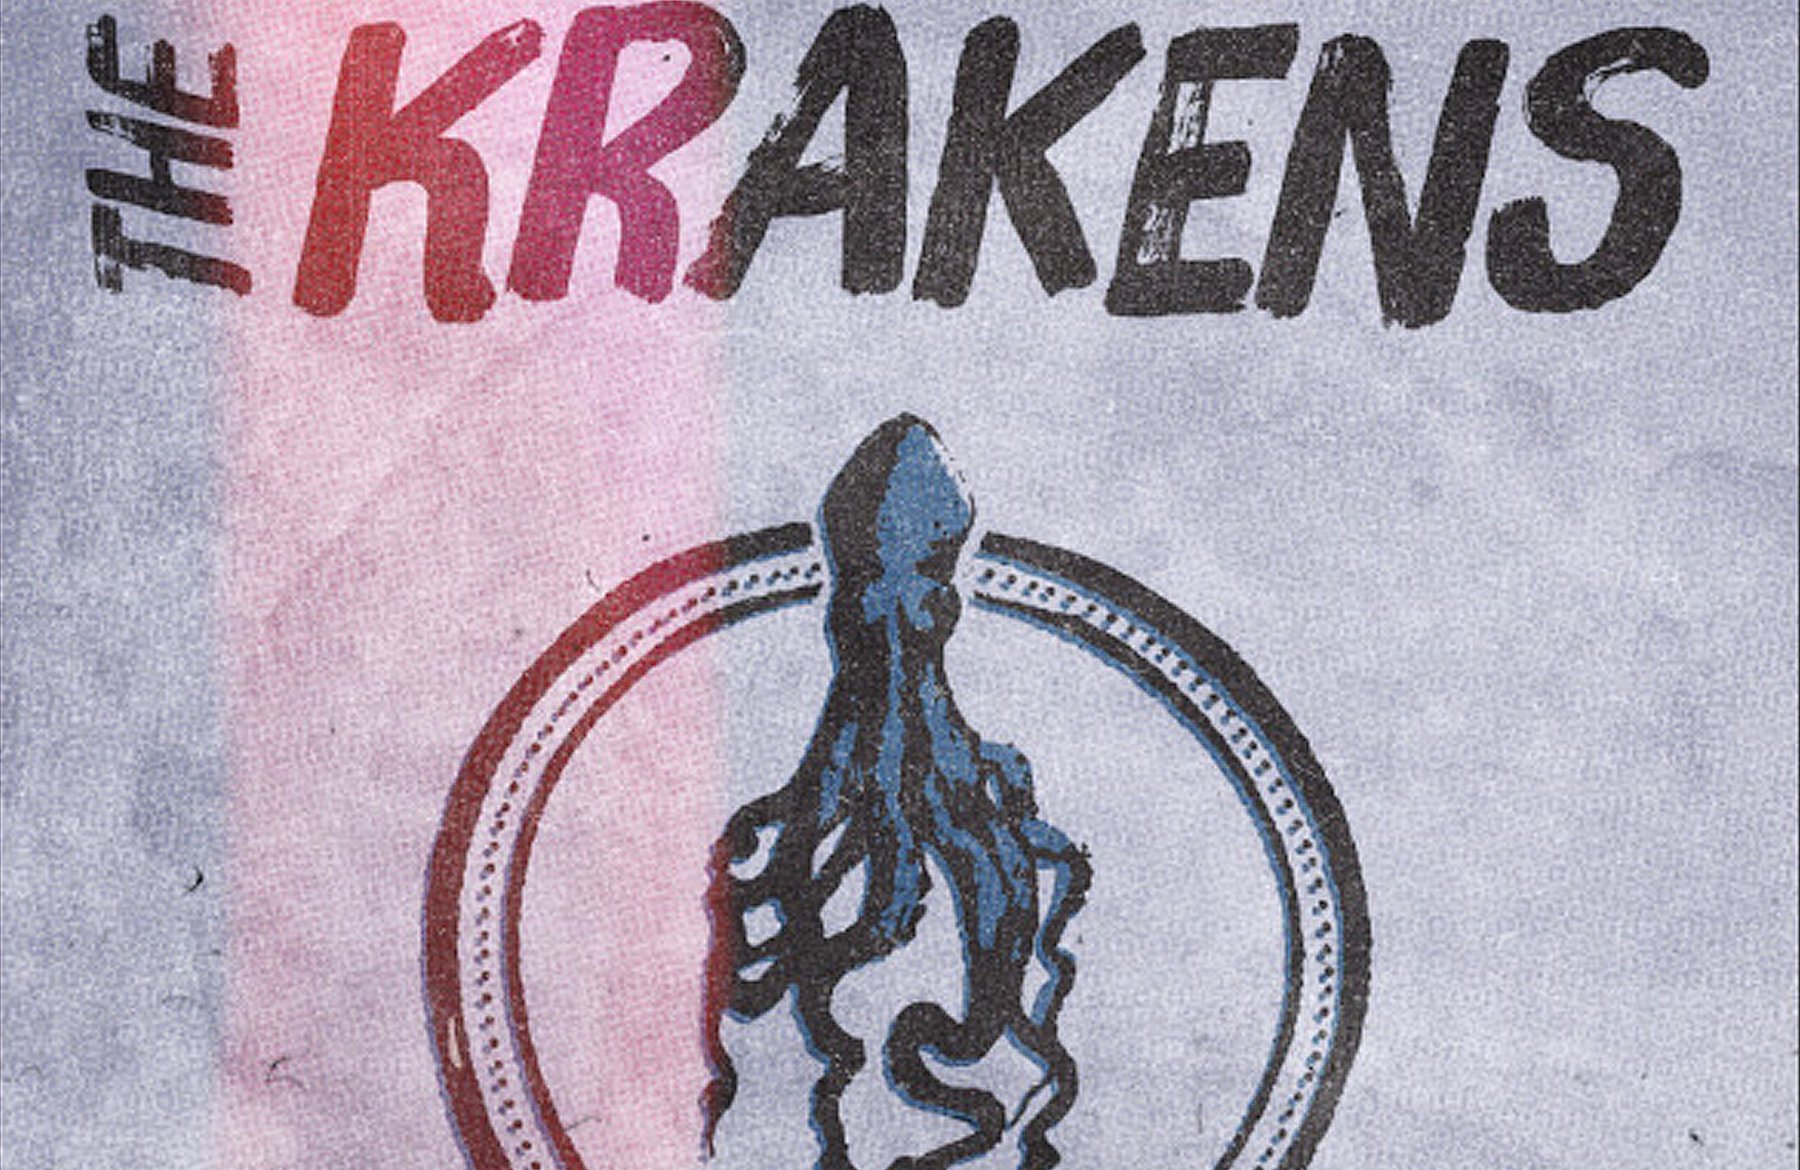
One of the most interesting uses yet: the ornaments or extras typefaces
Indeed. The Glyphs panel can be your best friend when trying to navigate through a well furnished ornament/extras typeface.
Here’s an example with Microbrew.
I’ve created my base text element, and I’d like to just add one of the many extras available underneath. Let’s say the two crossed keys, on the right.
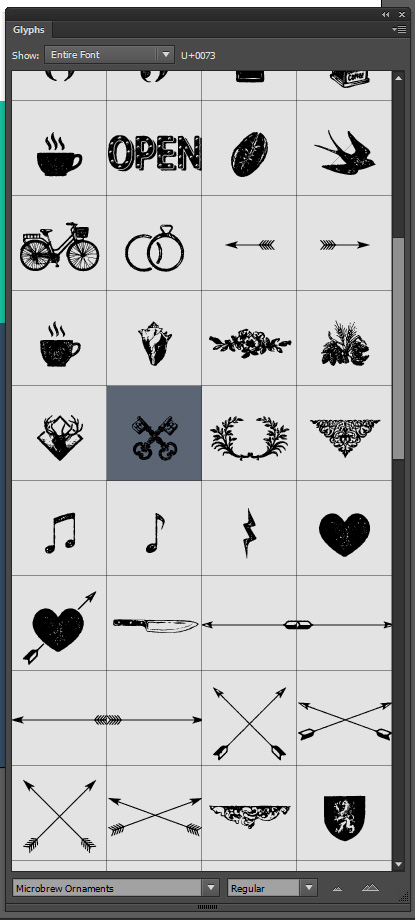
Rather than sift through my keyboard to find the right letter to press, or to have to dive in a PDF, or worse yet, to have to open the character table, I’m simply going to use the Glyphs panel to track down the symbol.
Create a new text element underneath the first one, and switch its typeface to Microbrew Ornaments. Make sure the Glyphs panel shows you the full font, and locate the keys.

Note that the panel will also give you the code to type to obtain the symbol should you be tired to use the Glyphs panel.
Double-click, and you have the keys at your disposal.
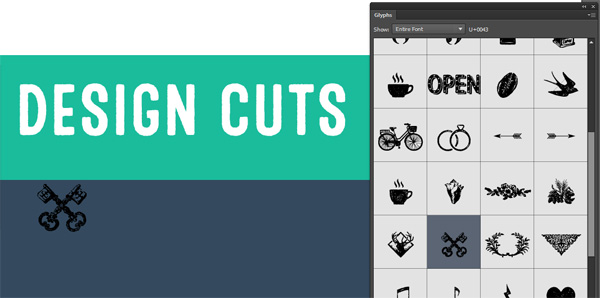
You can then re-arrange them, re-color them, re-size them, etc.

Last notes
This finally concludes today’s demonstration. I hope that you enjoyed both the poster design tutorial, and the initiation to Photoshop and Illustrator’s more advanced type options. As usual, if you have any questions, comment below or tweet at me @simonhartmann.
Remember, there’s only a few days left to get the Monster Creative Font Bundle for just $29, so if you don’t want to miss out, we recommend jumping on it now. Armed with your new font knowledge, what will you create?
Monster Creative Font Bundle (Including Web Fonts + Extended License) – 97% Off
Thanks, Julie and PSH …
Good to know I’m not going totally nuts ;-)
jerry
You’re welcome. BTW… PSH’s comment was not there when I responded so apologies if it looks like I was simply repeating what had already been said.
Thanks for the follow through on these tutorials. It’s much appreciated by us aspiring designers.
Hey Tom,
Thank you so much for your kind words! We really appreciate it and we’re happy we could lend a hand :)
Where do I find the Glyph panel in Photoshop CC 14.2.1? “Text” is not in the Window menu. Am I missing a preference setting? Totally baffled.
On a Mac running Mavericks, 10.9.2.
Thanks!
jerry
Jerry, the Glyphs Panel is in Illustrator or InDesign, not PhotoShop. “…give Illustrator some love, especially that we’re talking about manipulating text, and since that functionality is available in Illustrator only (and InDesign, too). It’s called the Glyphs panel.”
Hey Jerry, the Glyph panel is available in Illustrator and InDesign but not Photoshop so it’s not you… it’s just not there :)
So that means there is no way to use the glyphs if you don’t have Illustrator or InDesign, right? Just wondering if there’s another option.
Oh there is! Photoshop doesn’t offer an easy access to them, that’s all. You’ll have to use the various functionality buttons of the text panel in Photoshop (swashes, alternates, etc.).
If you wanted to see and access specific glyphs in a fashion similar to Illustrator or InDesign, you could do the following:
– Use the character map (Windows)
– Use the character viewer (OSX)
A little bit of Googling made me stumble on this link: http://fsymbols.com/character-maps/
Hope that helps!
Unfortunately, theWindows Character Map and similar maps inside Nexus Font, PopChar, MSWord, etc can only see those characters which are mapped to Unicode so it does not usually include all the characters you see in the glyphs panel in Illustrator, InDesign or Core Draw.
On a Mac, you can see all of the glyphs in a font using Font Book’s Repertoire view. You can copy and paste or drag and drop the Unicode mapped characters into most other apps, but the non-Unicode mapped characters can only be pasted/dropped into TextEdit.
Ah, I didn’t know that. I always thought that characters always needed to be mapped on the unicode set. I stand corrected.
There has to be a way to access these special features and hidden characters though, even if you don’t have access to the OpenType panel in Photoshop, or the glyph panel in Illustrator/InDesign/etc.
Also, I googled some more, and it really looks like the best bet is to use the Character Map in Windows (the Font Book on Mac OS seems to be rather complete on that end).
– http://graphicdesign.stackexchange.com/questions/27959/does-photoshop-cs6-have-glyphs
– http://www.myfonts.com/Article8099.html
There seem to be a solid set of additional software to accomplish the task, too, but use at your own risk (and since I haven’t tried them, I wouldn’t know about their limitations):
– http://www.babelstone.co.uk/Software/BabelMap.html
– http://www.dafont.com/soft.php (a list of paid and free options)
Thanks for this tutorial. I have PS CS5 but don’t seem to be able to find/access the contextual and stylistic alternatives in the Brush / Character menu. I can see the other options, strike through, underline etc. Is it the version of PS that’s the problem or am I missing how to view these extra options?
Thanks
Natalie
Hey Natalie,
I don’t have CS5 installed anymore (only CS6 and CC) so I can’t make a screenshot for you but I found one online that should help explain it better than I could with just words. Click on Menu Option > Open Type > Choose appropriate alternate or ligature
http://typophile.com/files/up-kyra-open-type-font_5375.png
Hopefully, that’s the issue and it’s not something else :)
Hi Julie
Thanks! Yes that works, it’s a little more fiddly so they’ve obviously improved it with the various PS upgrades. But I also played around with all the fonts in AI, which I am a real novice with, but do use from time to time so the bit of the tutorial for that was also very helpful.
I’ve been working on a poster ‘Keep Calm And Put The Kettle On’ (it’s a very British thing, whenever us Brits face problems we always start by putting the kettle on for a cuppa lol).
Every element in this design is from the various bundles I’ve purchased from Design Cuts, except for the birds which I drew myself in AI. I was also inspired by the blog post about Brandi Fitzgerald. I certainly had a particularly fun time with the swashes and swirls, so my heartfelt thanks to the Design Cuts team :)
Here’s the design, I’m sort of still working on it, although this might be the final version … unless I decide to change something … again … lol
http://www.nataliekinnearphotography.co.uk/p725292071/h3dc656a5#h3dc656a5
Many thanks
Natalie
Glad I could help :) BTW… I like your poster design.
Es muy bueno conocer y ver otros procesos de diseño y tener alternativas para trabajar.
TRANSLATION: It’s great to meet and see other design processes and alternatives have to work.
Thanks Albert, we really wanted to answer everyone’s questions with a thorough font guide. I’m glad you found this tutorial useful.