
Now you’ve got the groundwork laid down in terms of knowing your talent, establishing your audience, and defining your brand - it’s time to start thinking about creating your first product! Over the years we’ve found that successful products follow the same repeatable pattern; which you can follow to help your products be a success.
The Three Pillars Of Digital Product Success
The Three Pillars Of Digital Product Success
You don’t necessarily need to cover all three pillars for your product to be a success, however, we’ve found that if you can cover all three, it gives your products the best chance of success and making as much money as possible!

Key Takeaway
If possible your product should be unique, and combine your main talent, with high demand from your audience for features and functionality.
Talent
As we've already covered in our previous lessons, playing to your strengths is vitally important. You stand the best chance of making a high-quality product if the product is in your main field of expertise. For instance, if you’re an expert in photo manipulation, a great path to go down would be creating photographic actions, effects packs, and lightroom presets; as you’ll have a really good idea from your own experience what works well for that type of product.
Check out our great article on talent if you haven't already to find out more, it suggests types of product you could create based upon your talents!
Market Demand
Market demand is hugely important when releasing a new product, ideally, you’d like to create a product with high market demand, and avoid creating a product with low market demand:
-
Target: High Market Demand
Lots of people potentially want that kind of product.
-
Avoid: Low Market Demand
Only a few people would potentially want to buy the product.
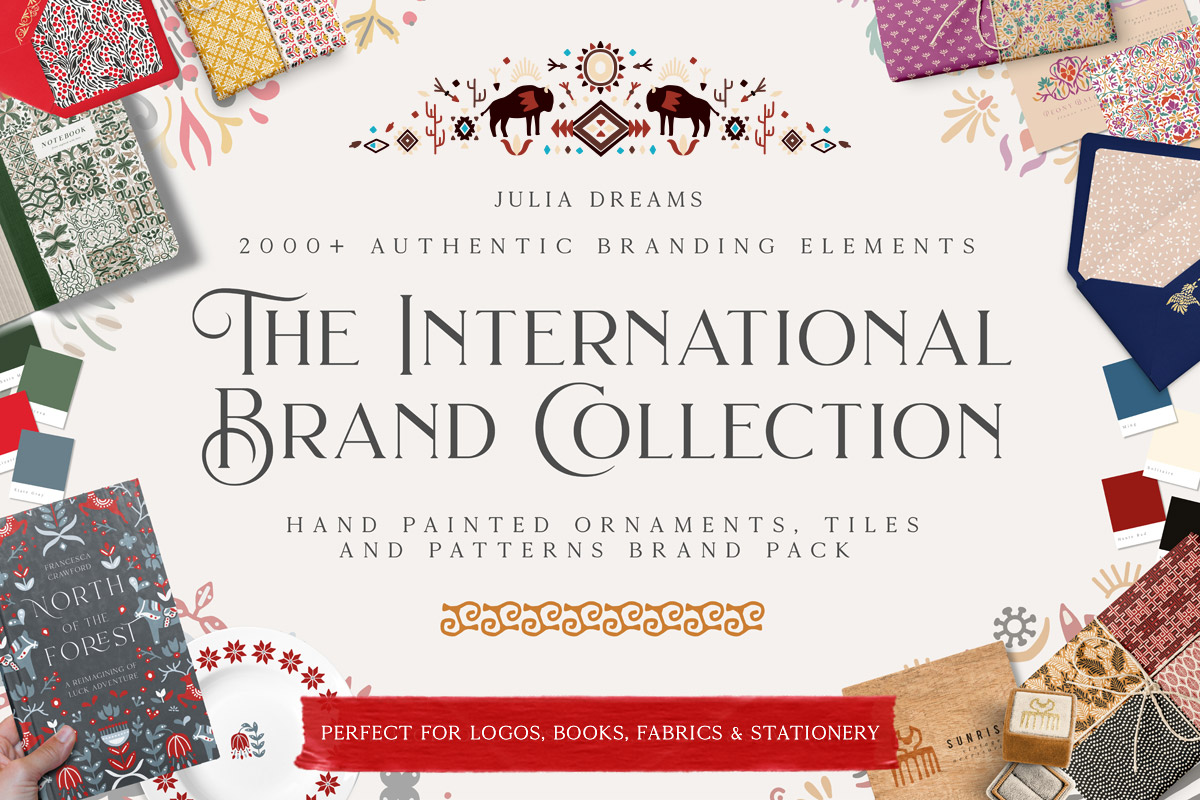
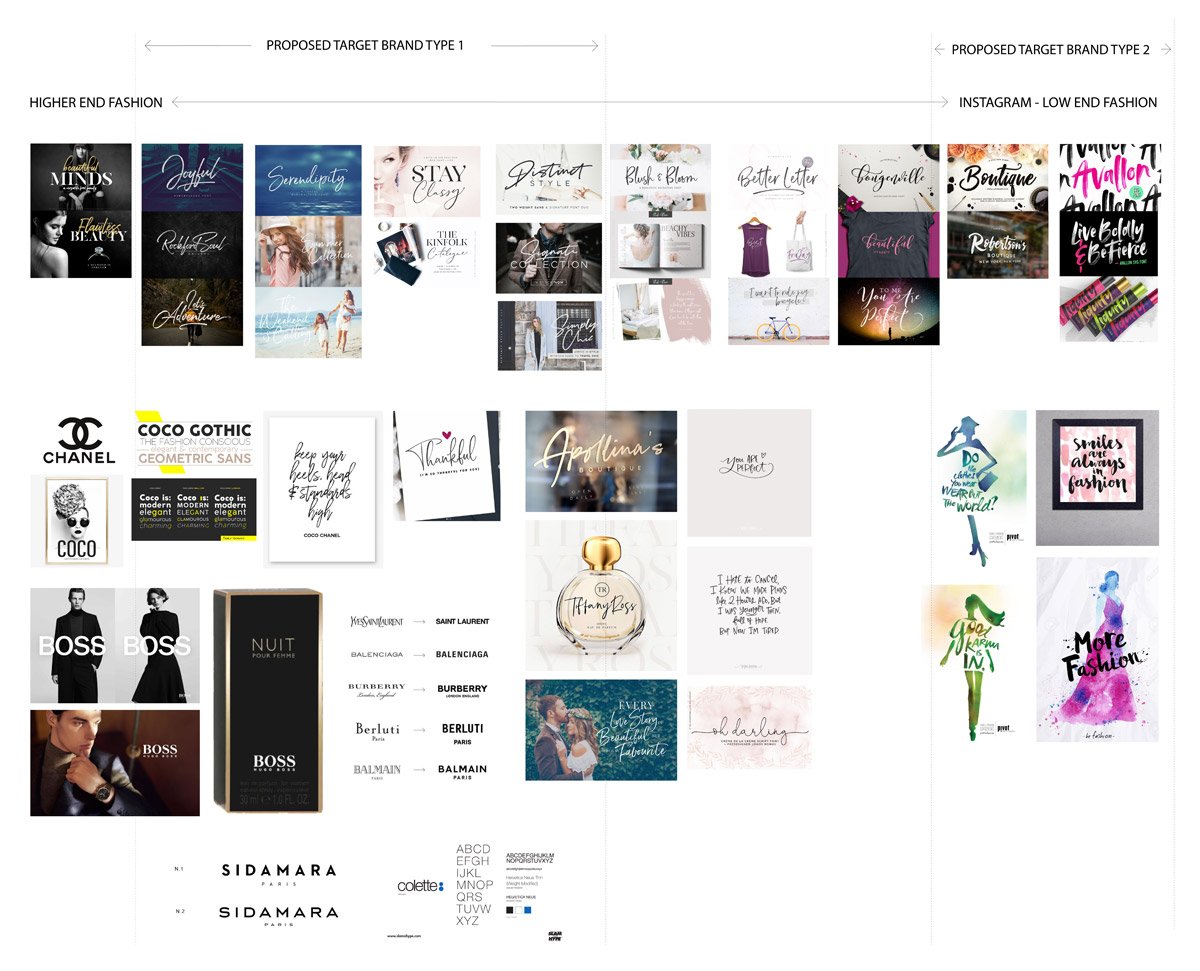
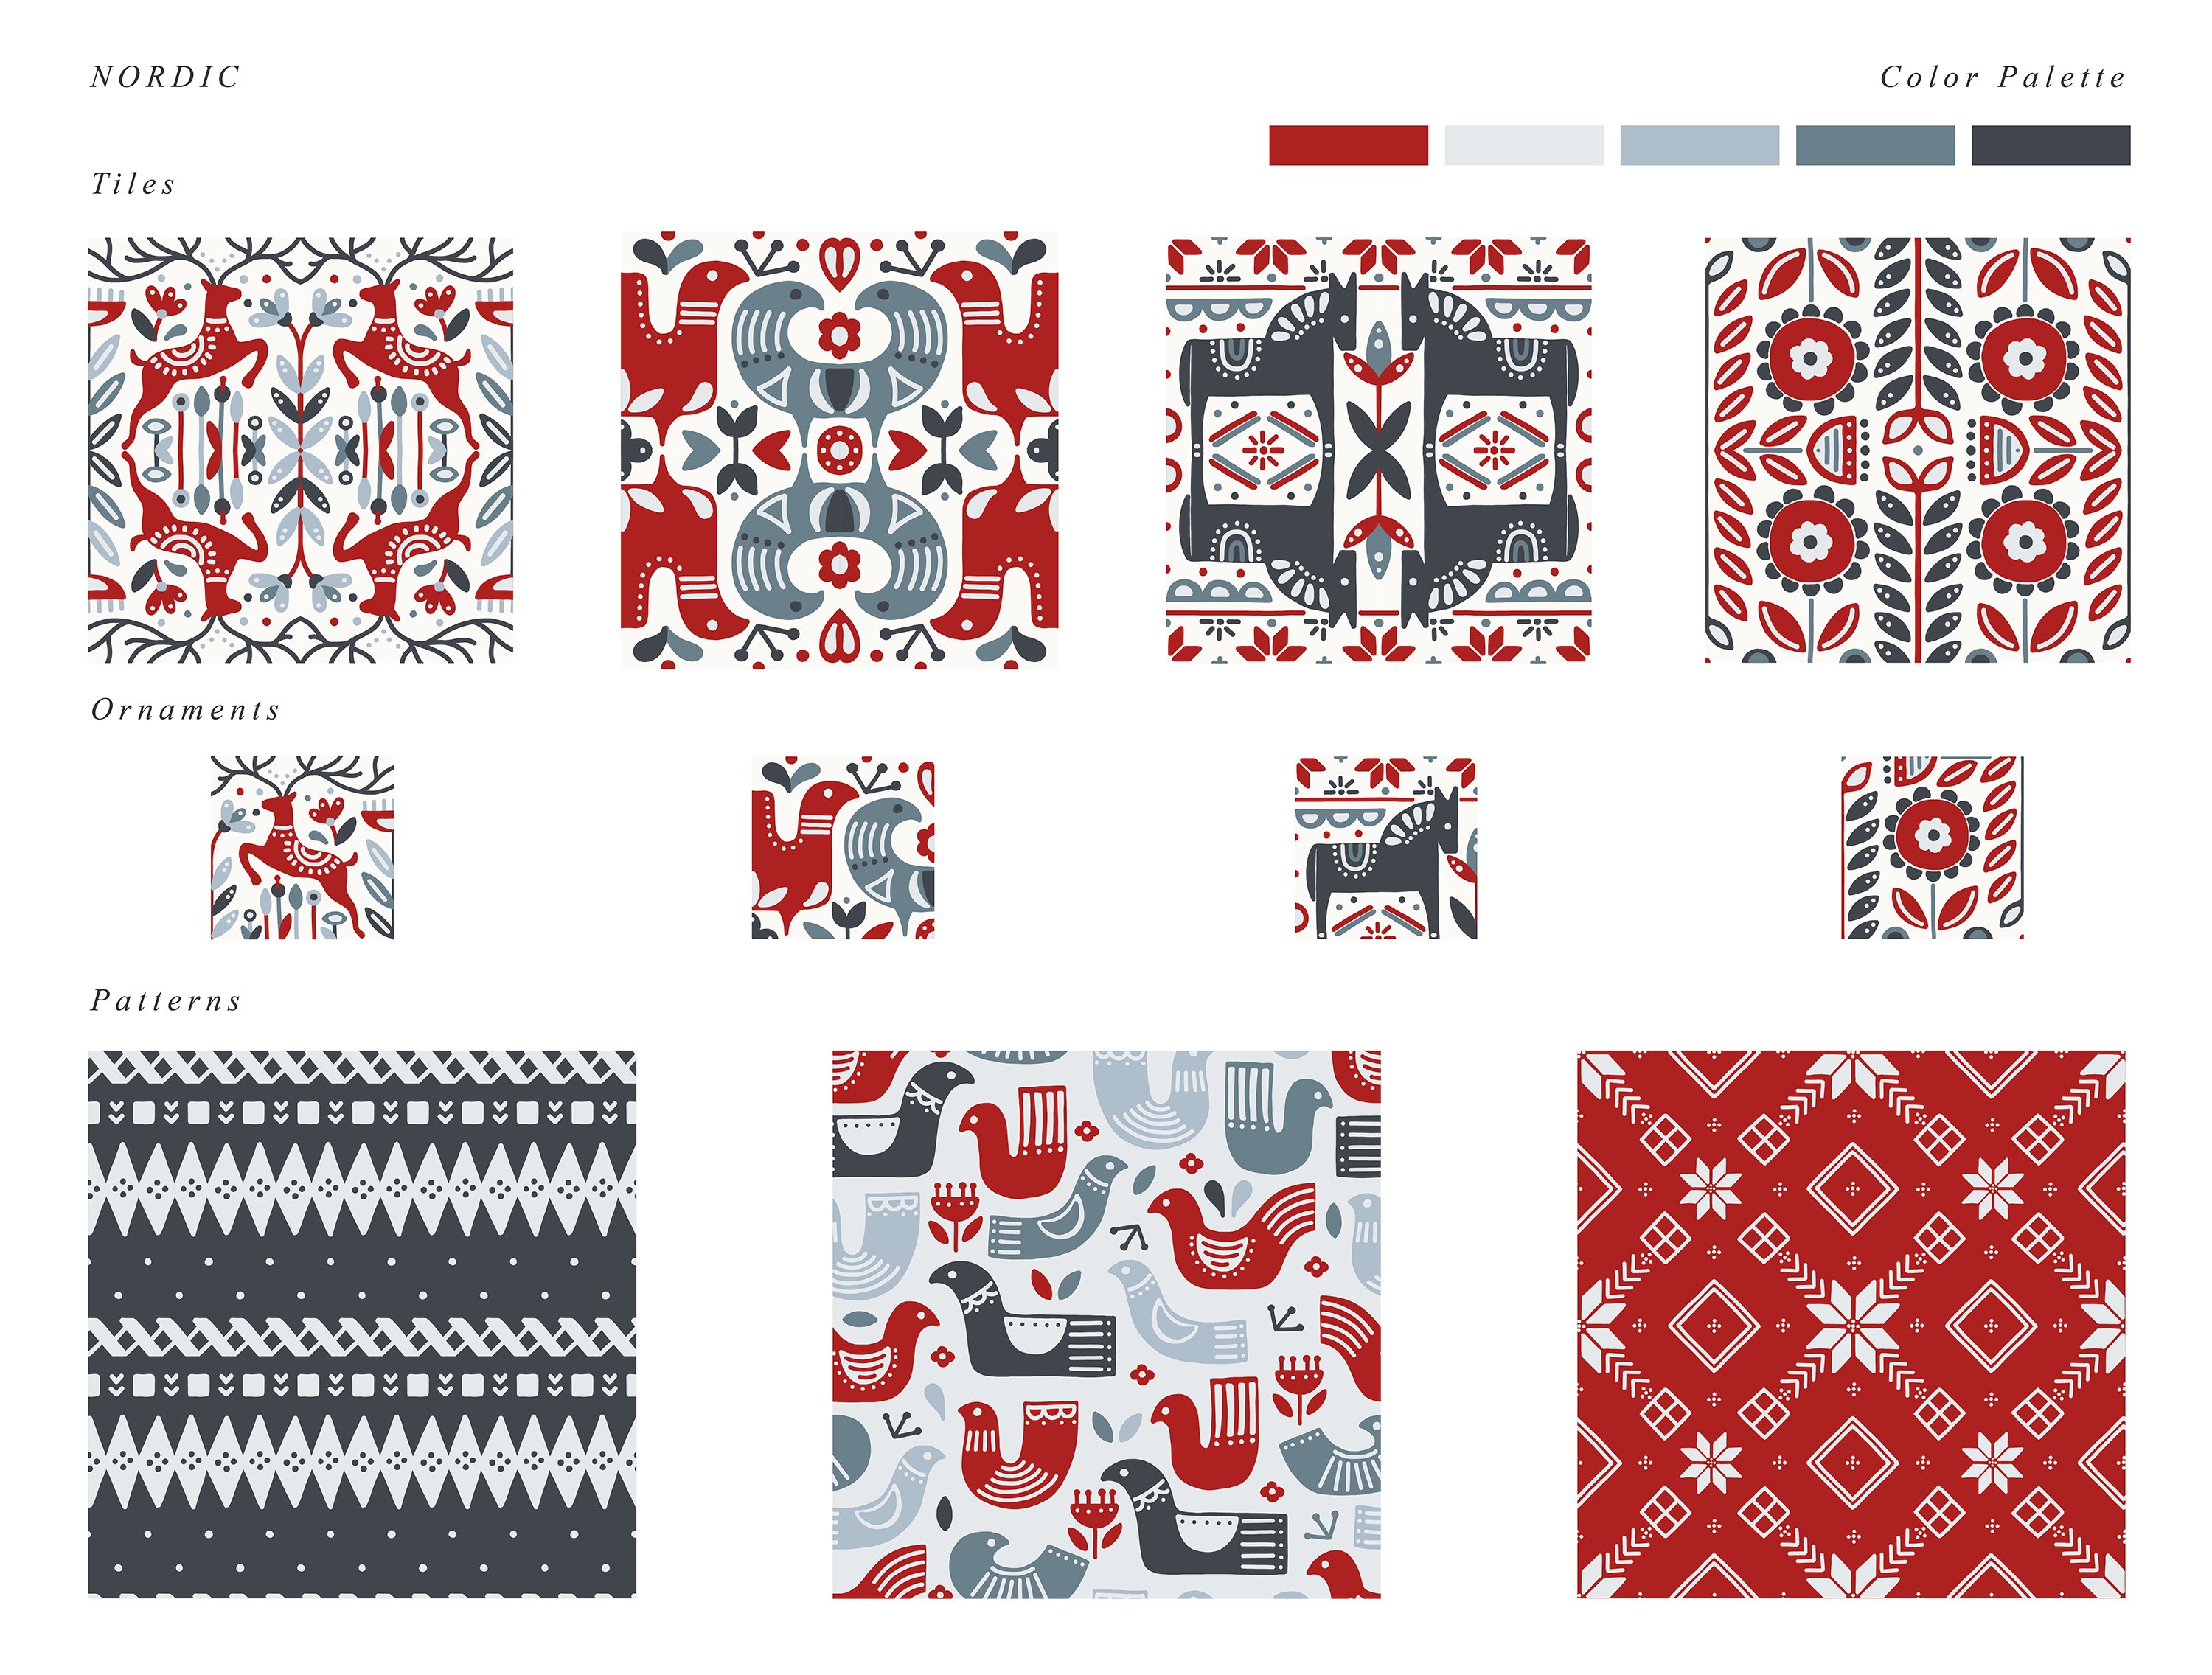
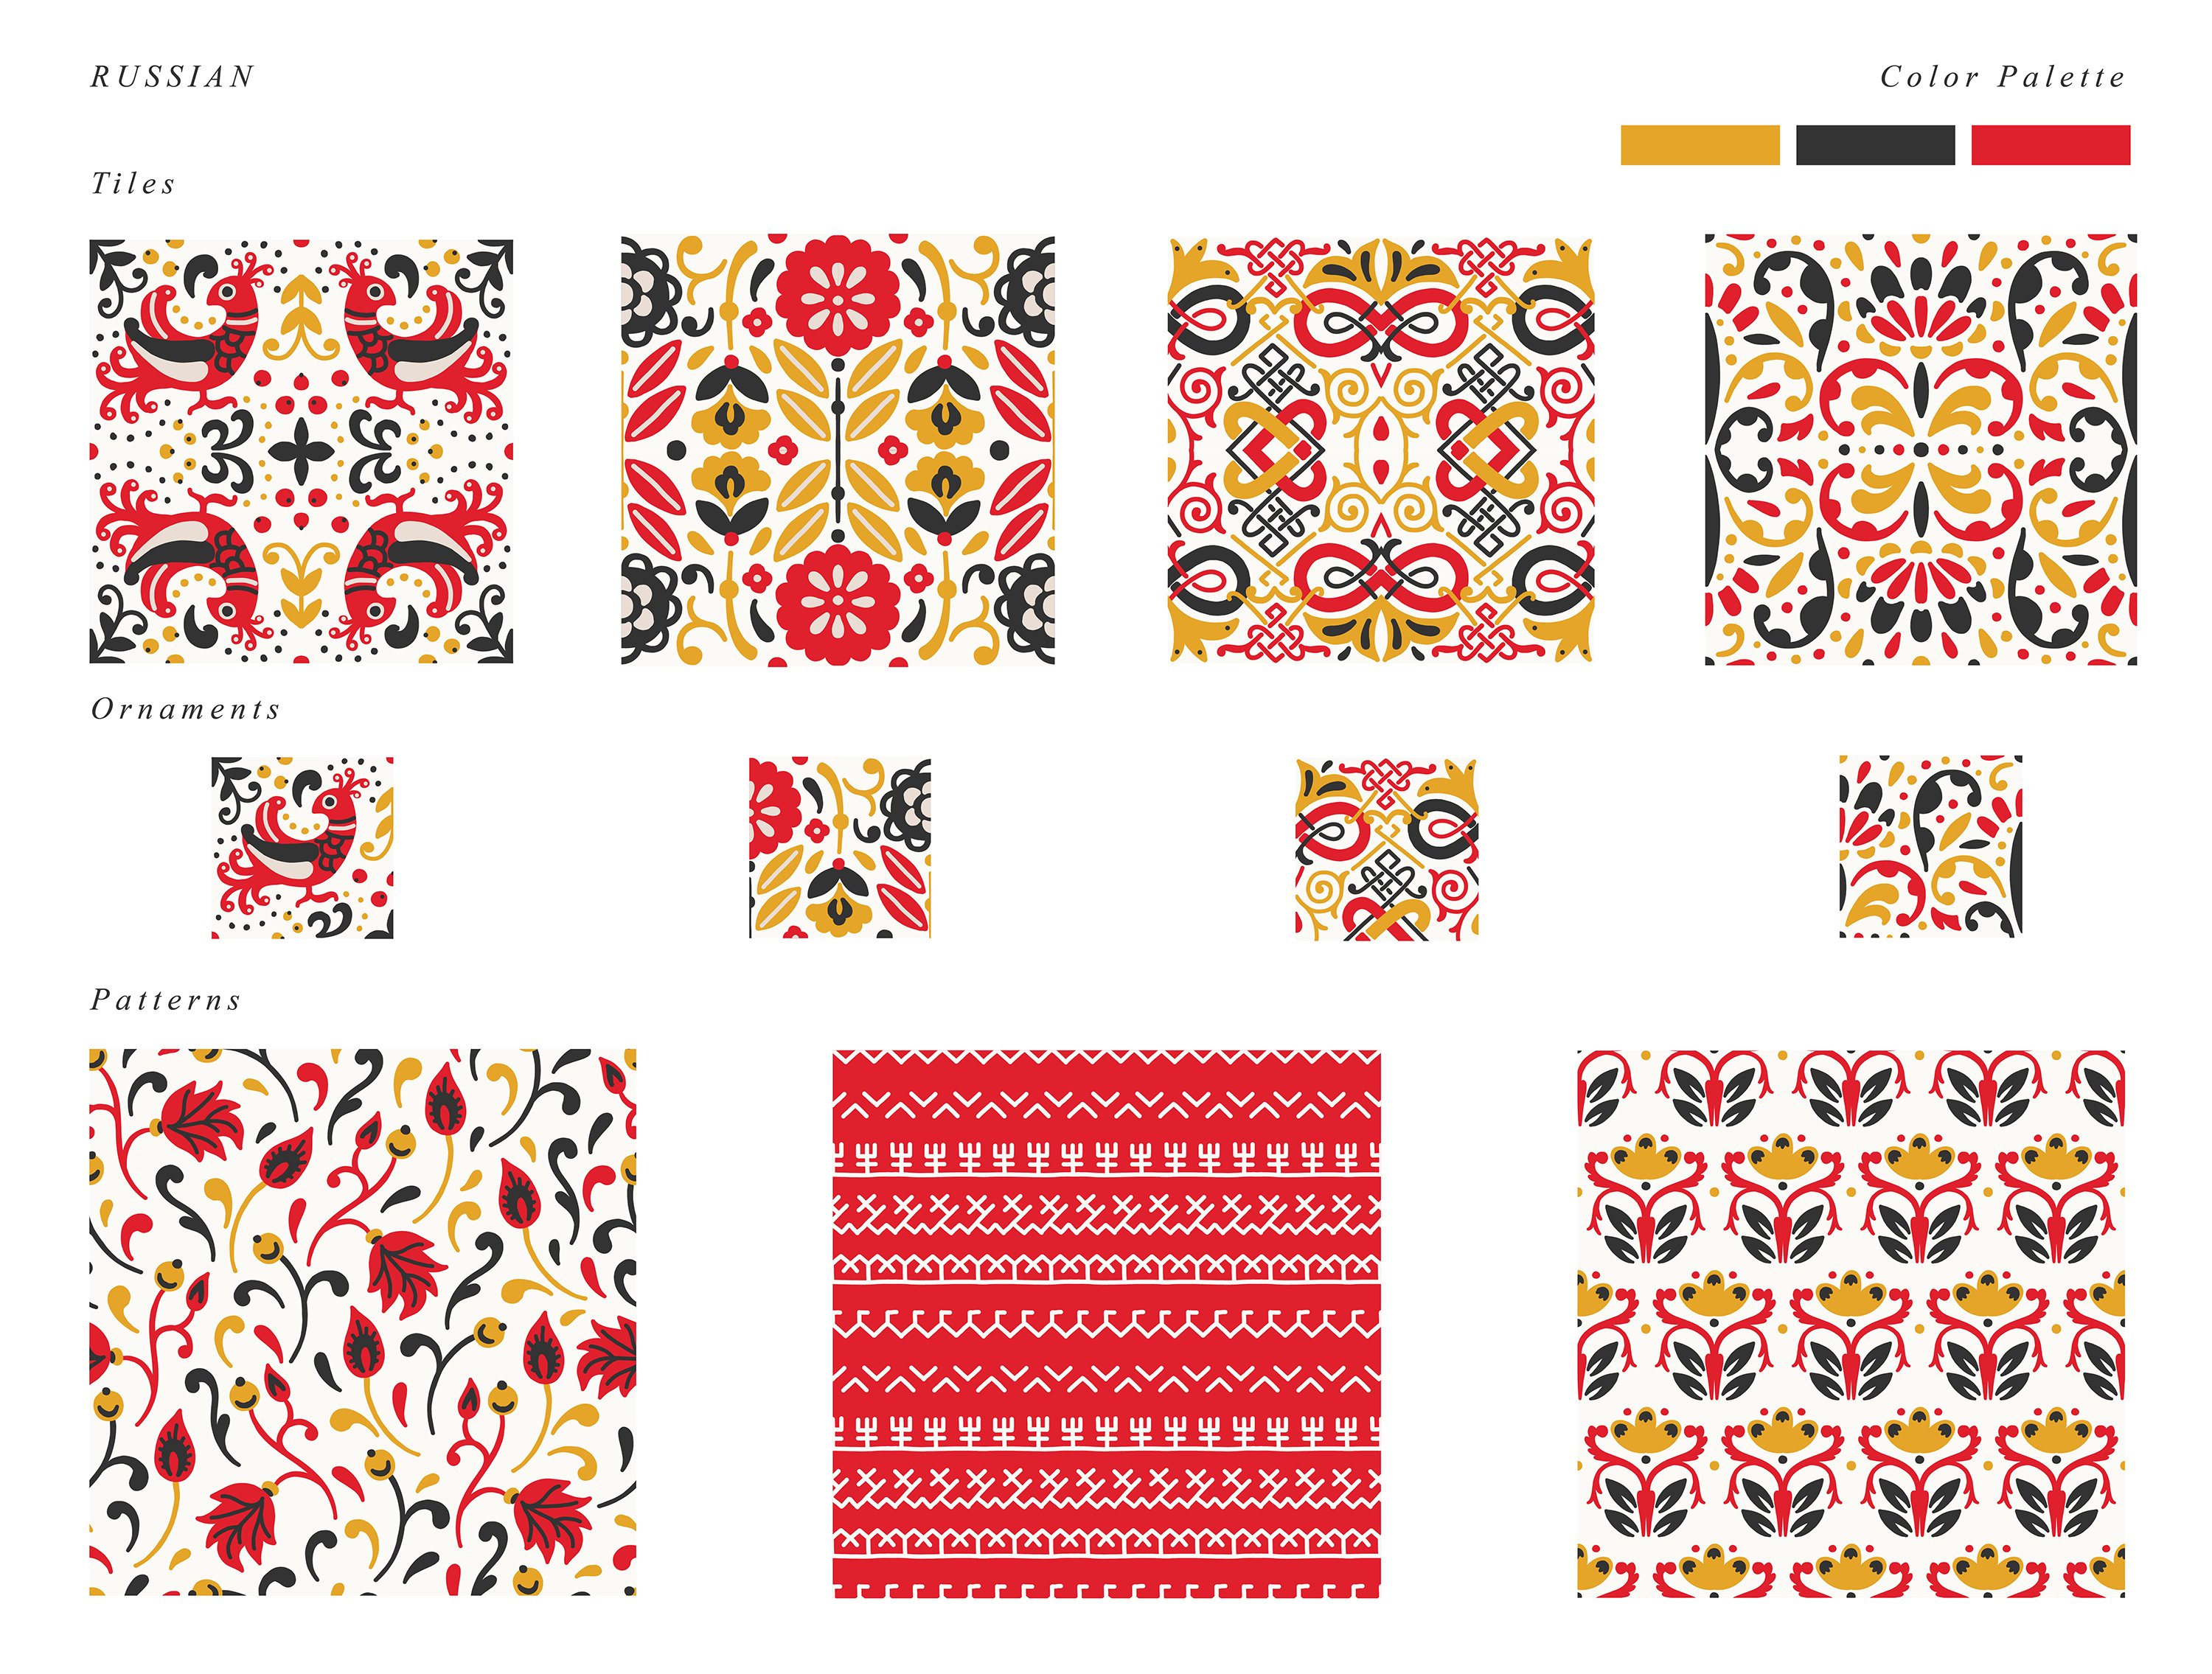
The International Brand Collection
Leading designer of illustrated products and patterns Julia Dreams, teamed up with Design Cuts to create the highly popular International Brand Collection. An absolutely huge and highly authentic pack of illustrated elements inspired by design from across the globe.
The product was specifically designed to have high market demand - nothing like this product had ever been released, especially at this scale. There is a huge potential audience, as it can be used for everything from branding, to product design, to book covers, to stationery, to packaging, to fabrics, the list goes on and on!


How To Work Out The Market Demand For Your Product
Answer these simple questions:
-
Can you identify demand on other websites?
If you’re creating a product which is within your own or area of expertise, and you did the research suggested in our audience and brand lessons, you might already know there is a gap in the market for a product which might lead to high demand; something you’d find really useful which isn’t available to buy yet.
To reiterate from earlier lessons; a great way to confirm market demand for a unique product is to explore forums, blogs or curation sites for common questions or wish-lists. If there are lots of people online discussing a need for such a product, or saying there are similar products already, but that they are difficult to use, or fall short in terms of features, it’s evidence of high market demand.
-
How big is the potential market or audience?
The main factors which influence this are: how ‘niche’ the potential audience is (a niche audience would be a small audience); how many software packages can be used with the product, and how big the audiences are for those packages.
For example, if you designed a product which created patterns based on skulls, to be used exclusively in fabric design, that would be considered a niche audience; as there probably aren’t that many people who want to put together cushion covers or clothing covered with skulls. If that product could only be used in Affinity, that would reduce the audience still further. As then you’re only appealing to people who want to make fabric coverings with skulls who can use Affinity!
On the other hand, if you’ve created a product which contains patterns and branding elements from all over the world, which could be used in fabrics, branding, book design, website headers etc. And its design elements can be used in Illustrator, Photoshop, Affinity and even Word, the potential audience is much, much bigger!
To maximise the amount of money you can make from a product, we recommend making your target audience as large as possible. It’s still possible to make good money targeting ‘niche’ audiences, but you'll have to release more products to do so than products which target a larger audience.
It’s worth noting that some products which target a niche, such as Ian Barnard’s fantastic Grid Builder can do amazingly well - if there is still a large enough audience to buy them in the niche, and if they can completely dominate the niche by being the number one product.
-
Is the intended market over or underserved?
Once you’ve confirmed there are lots of people who may want to buy the product, make sure there aren’t already lots of products which already fill the gap you're targeting. The best way to do this is to visit marketplaces and search for similar products to see if any exist and if they do how many you will be competing with.
If there are already products which do the same thing as your potential product, but all the products look terrible and have awful reviews, it could still be a great opportunity!
-
Will demand maintain over time?
Is the audience of your product likely to increase, or decrease over time? Are people still likely to want to buy your product in six months or a years time?
For example, if your product is focusing on a fleeting design trend, you never release any updates for it, and you’ve only released it on a software package which is losing market share to its competitors; then it’s likely the audience of your product will decrease, and the money it makes will drop quickly over time.
However, if your product focuses on something which will always be needed, for example, you’ve put together a product which helps people brand and create stationery for their weddings. Then you update the product regularly with new and interesting content, make it compatible with lots of software packages and provide updates often to work with the latest software. Then it’s likely demand will stay steady for years to come!
Quick Exercise To Help Work Out Demand
One great exercise is to create a bullet point list of all the potential real-world applications for your product - anywhere it would come in really useful! Then list all the potential audiences on all the different design platforms too. If it’s a very small list at the end, that’s an indicator that there might be low demand for your product.
Uniqueness
Once you’ve come up with a great product idea and made sure there is high market demand for it, make sure what you’re offering is in some way unique. The customer will need a compelling reason to buy your product over those offered by your competition. The best products either offer something completely new to the customer, or they have very compelling USPs (unique selling points); these are really great features your product has which the competition doesn't have.
To ensure your product is unique or has compelling USPs over the competition, return again to your marketplace searches. Have a really good look around to ensure what you’ll be offering is something above and beyond what the competition is offering. If it is you stand a great chance of releasing a successful product!
Remember it’s not in your interest to copy or create something too close to someone else’s product, that won’t help differentiate your product from theirs, potential customers will notice and it will hurt your brand in the long run.
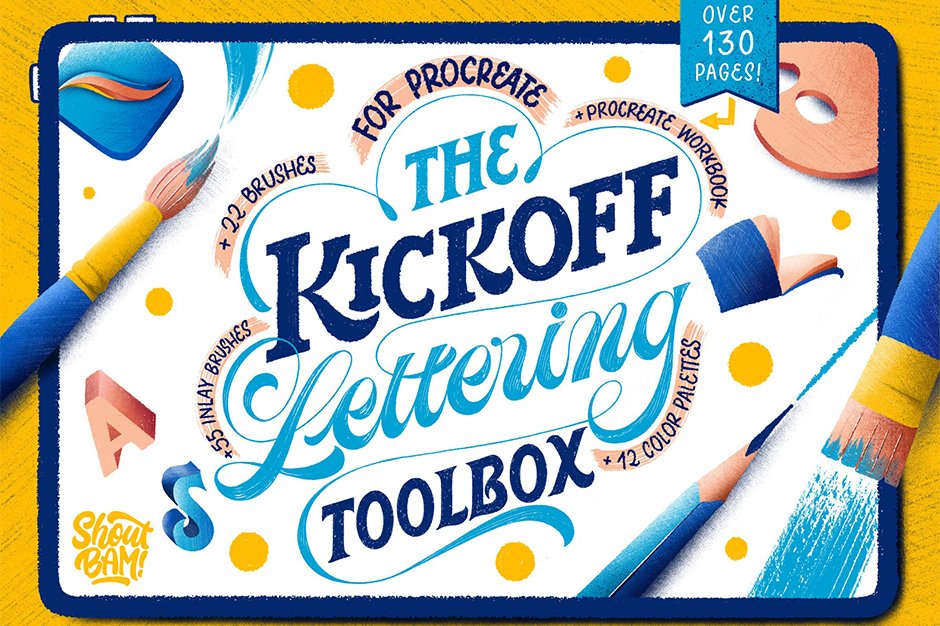
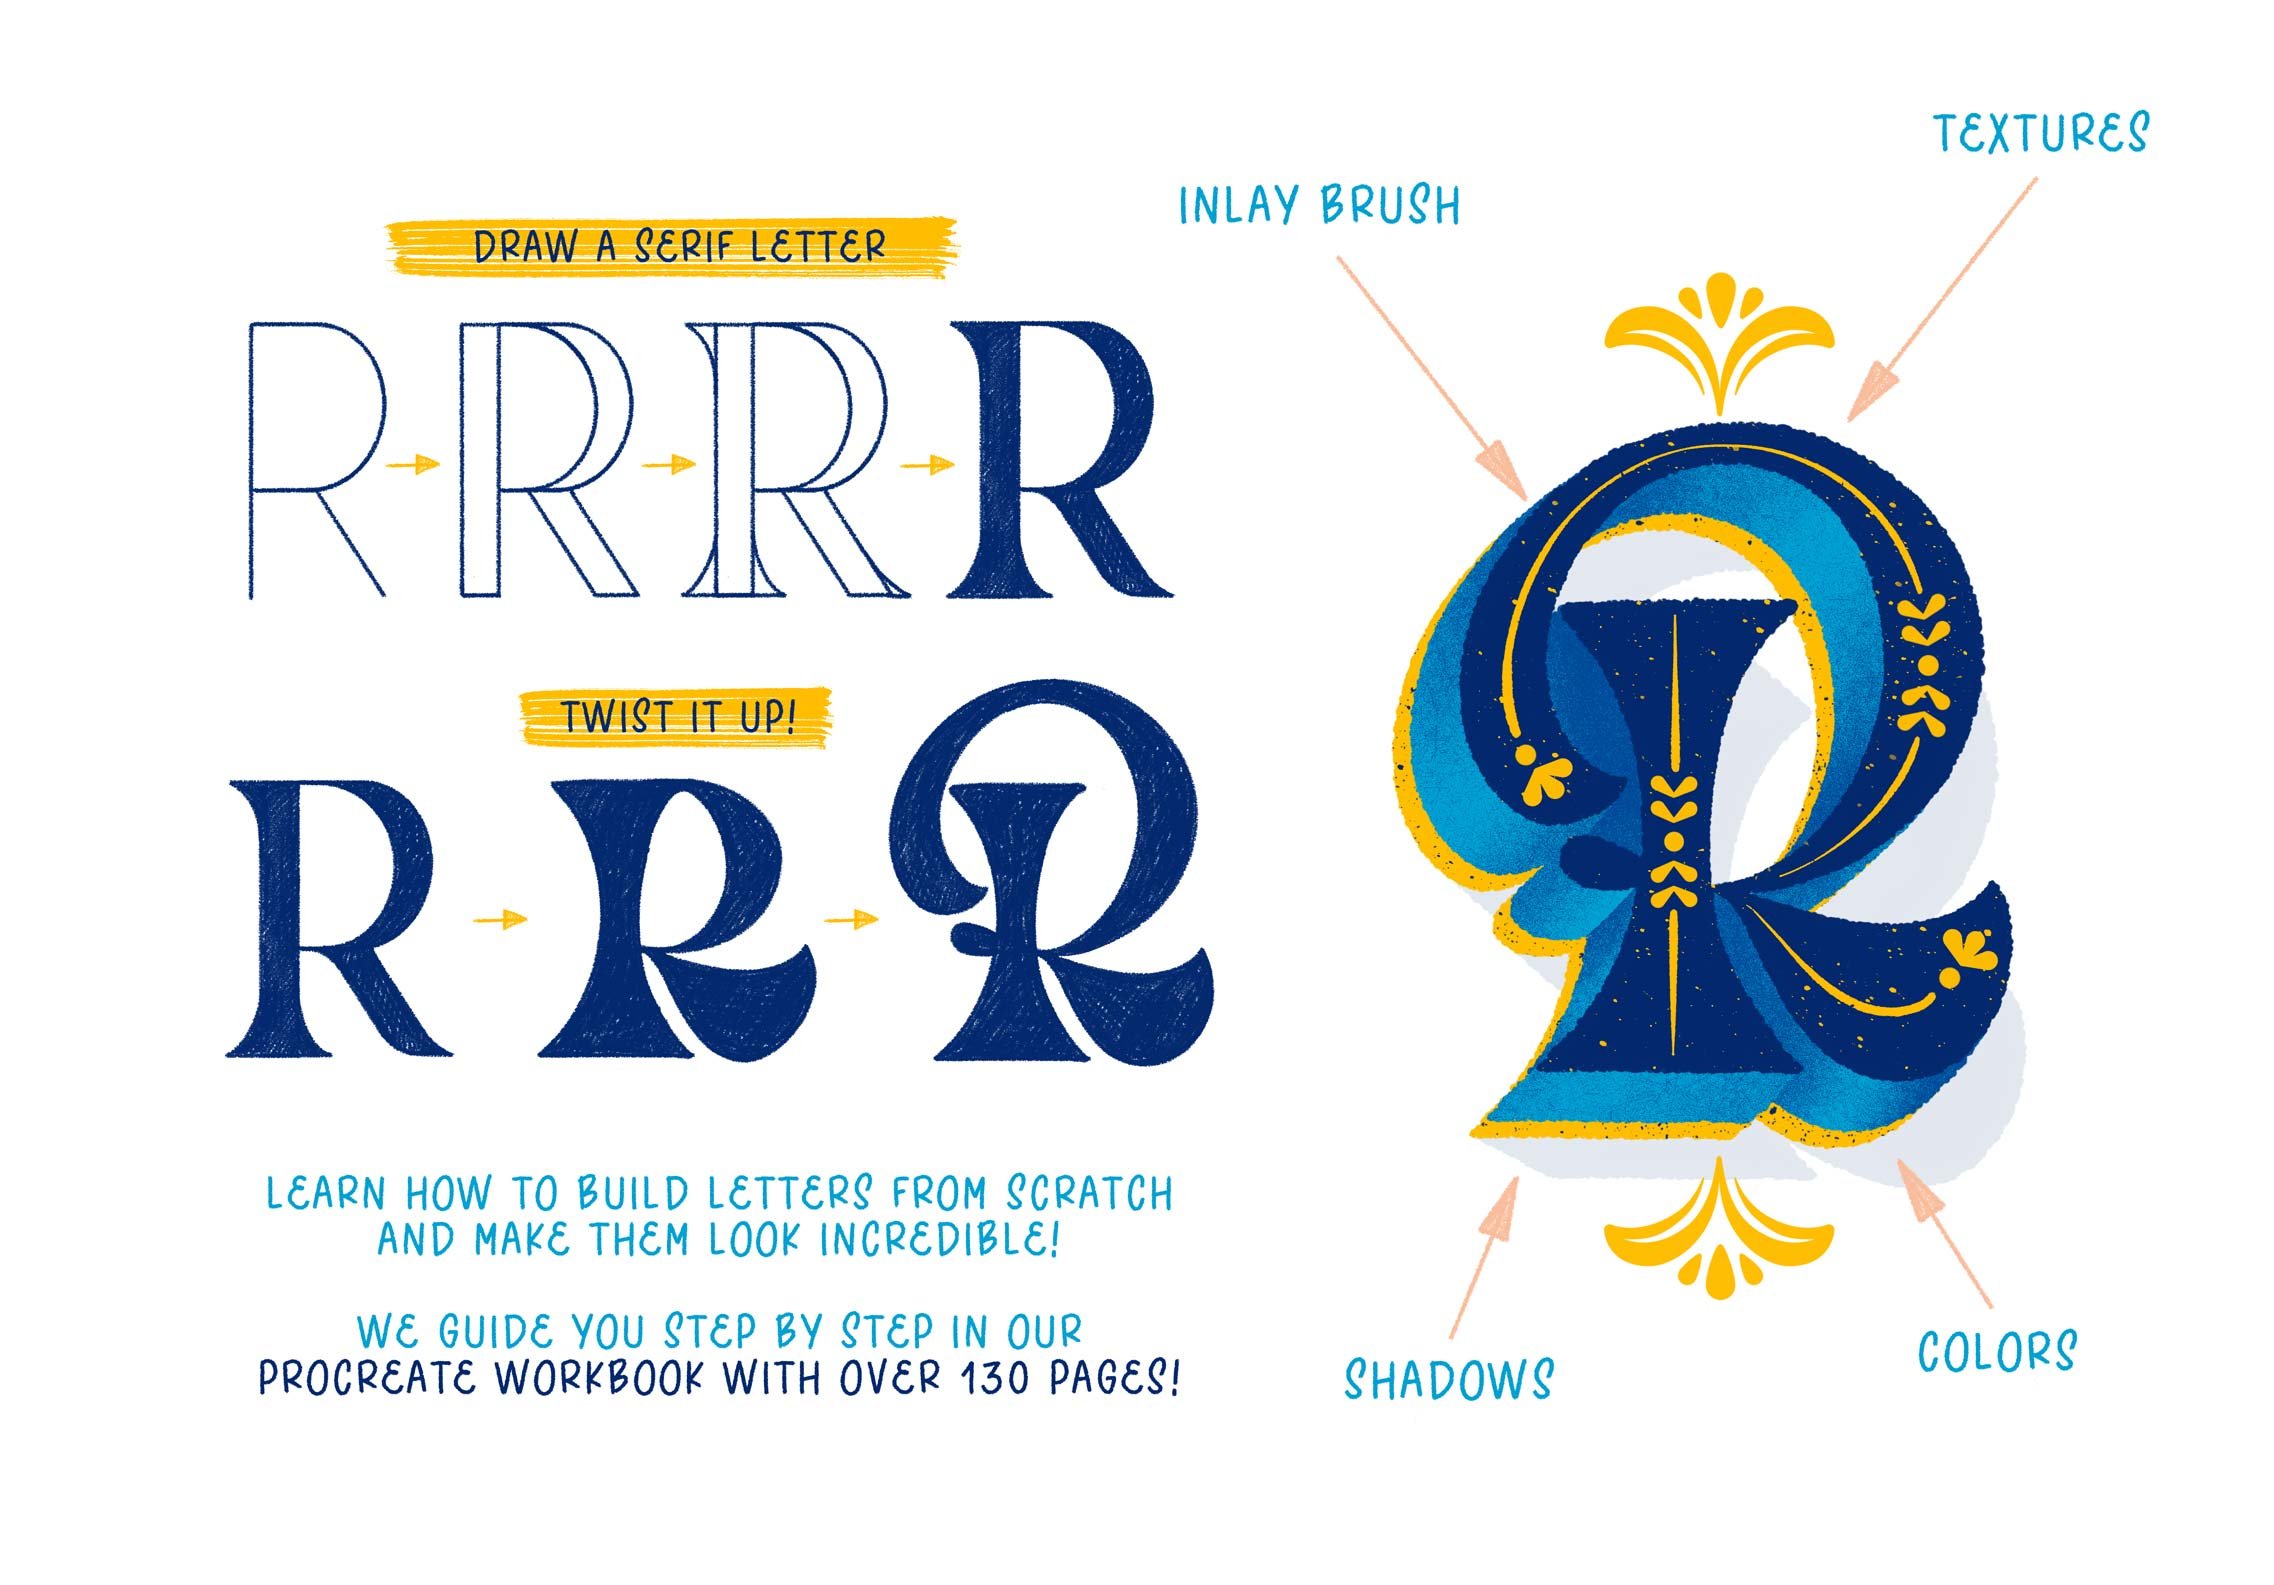
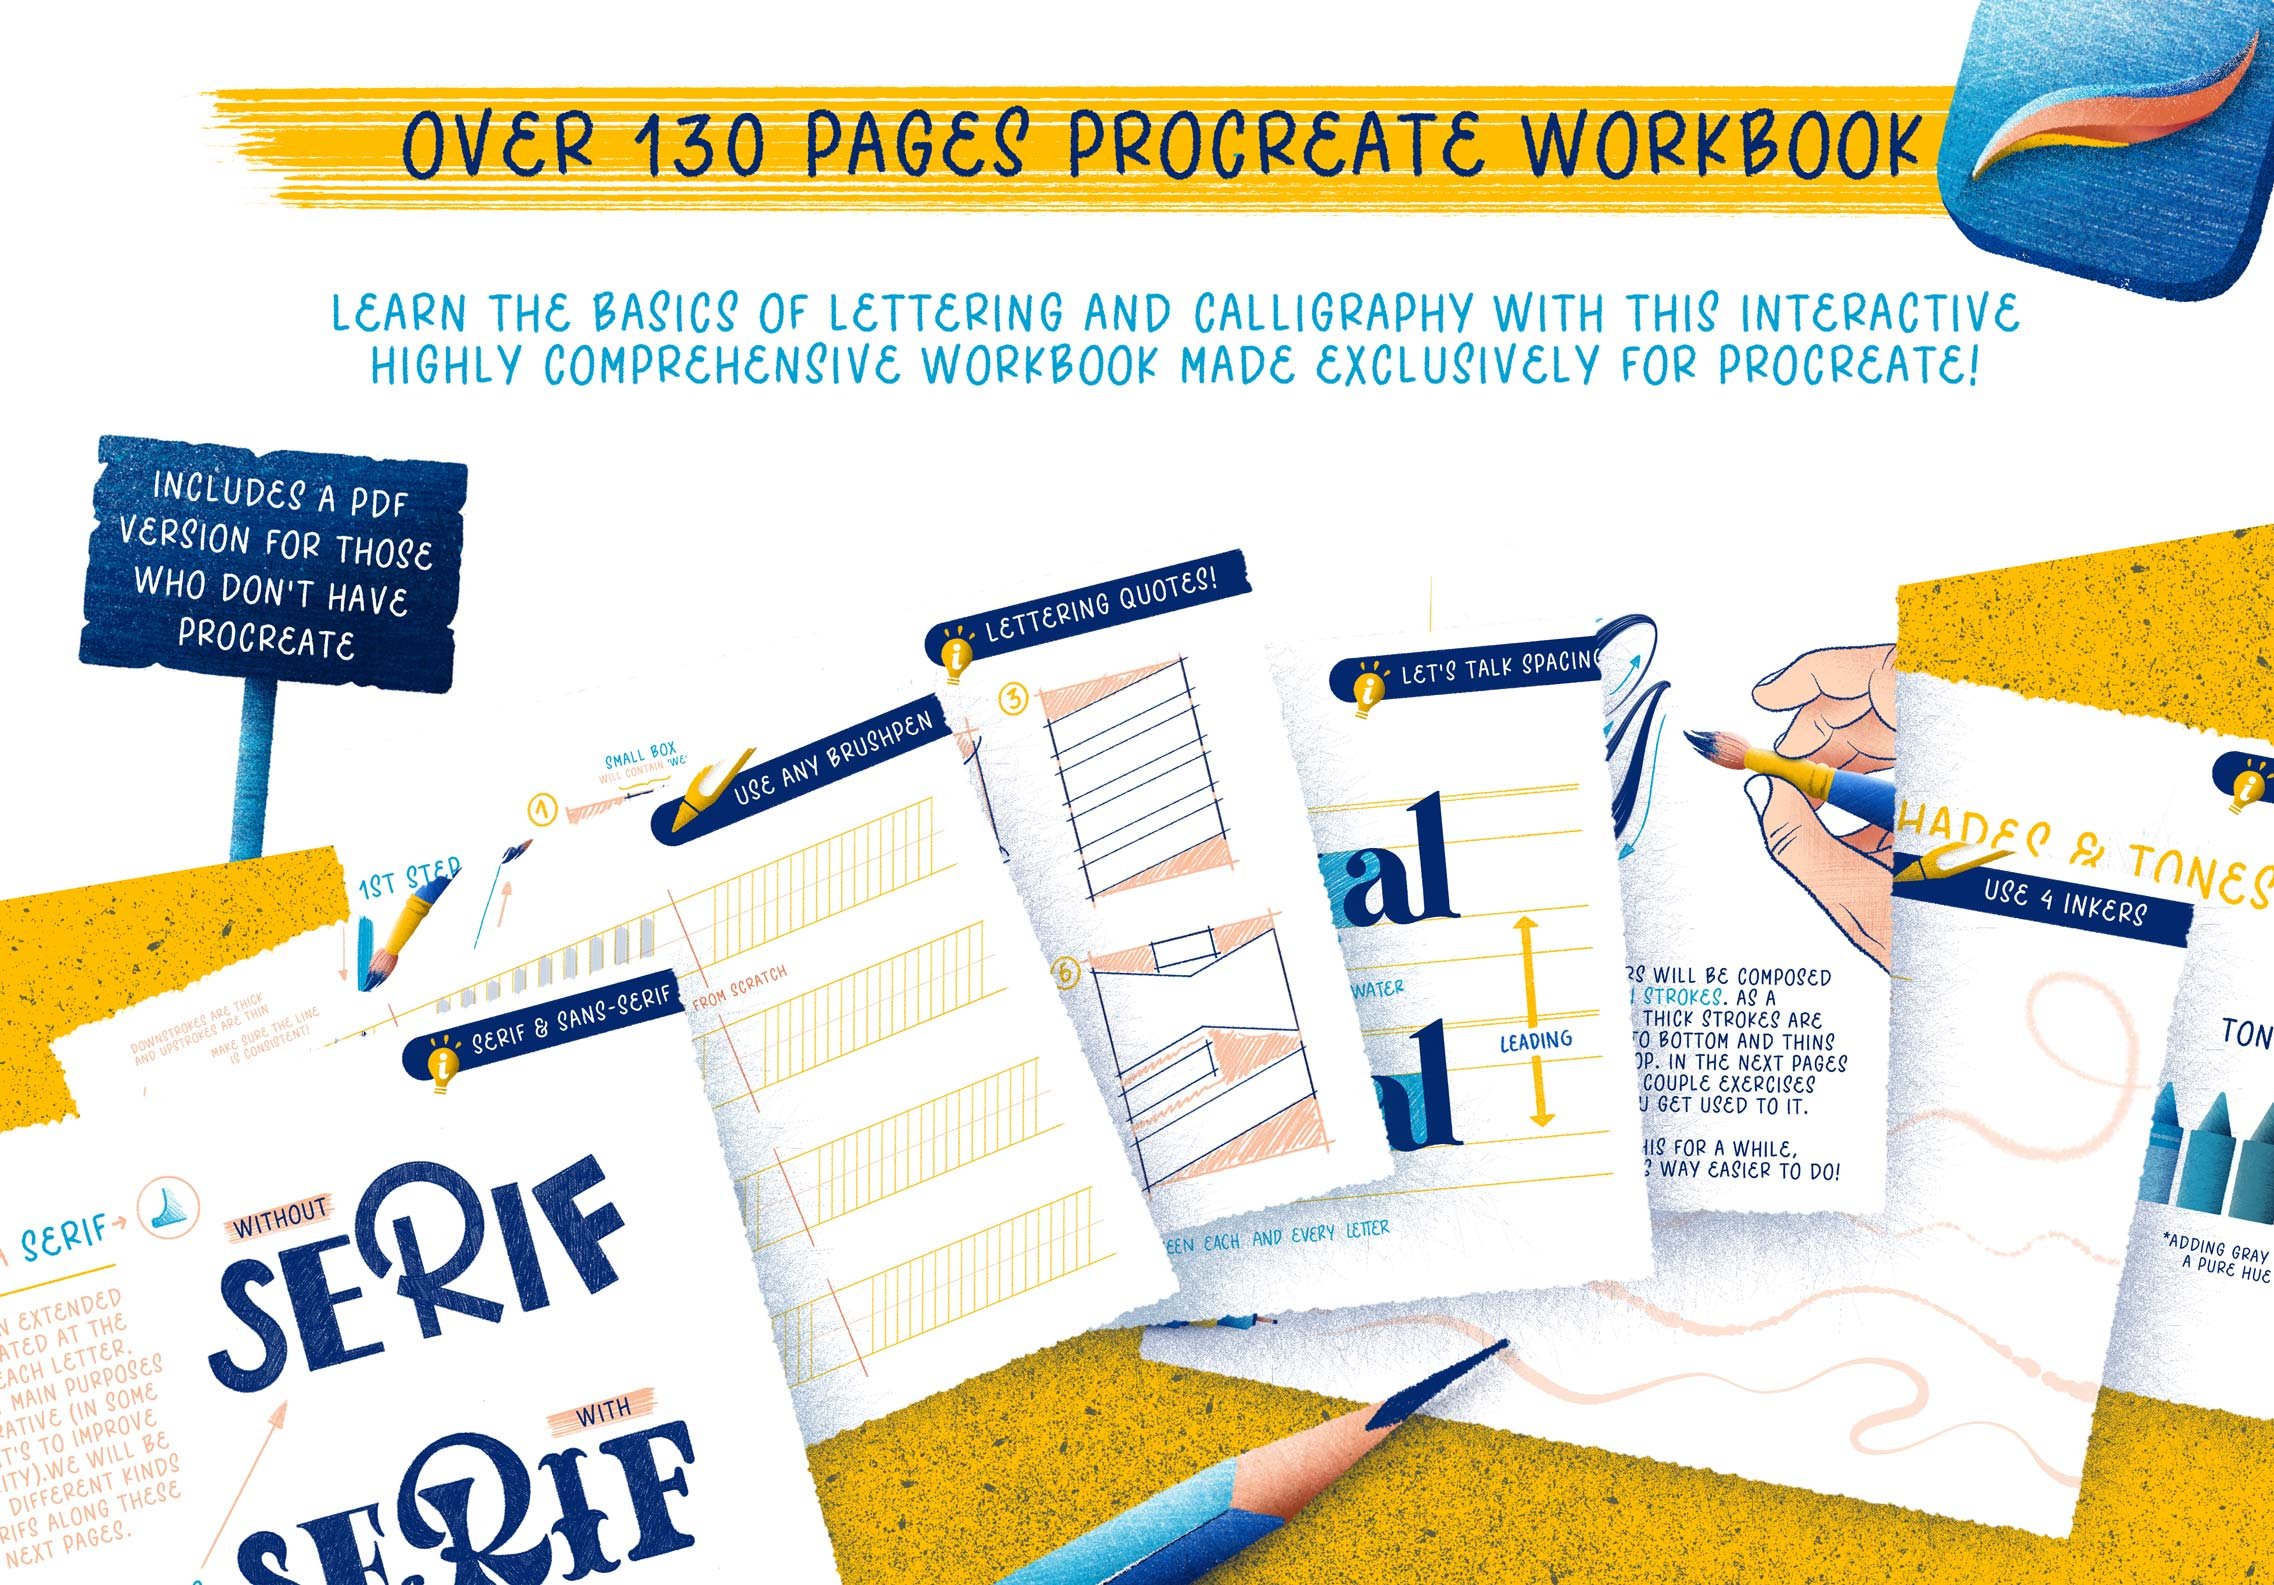
The Kickoff Lettering Toolbox
A great example of a unique product is the Kickoff Lettering Toolbox by the hugely talented Shoutbam. Created for the lettering and font design community the product gently holds your hand through the entire font design process. Showing you how to design fonts from scratch, explaining the technicalities in detail, and even showing you how to add character to your fonts.
First Steps
Without doubt one of the easiest mistakes to make when creating a product, or when undertaking any design project, is to rush in without doing enough research and planning (we’ve all been there, it’s easy to get excited!). Spending a good amount of time at the start of the project making sure you have a solid foundation to work from is essential.
Here are the key steps to getting your project underway!
-
Initial Research (Study Successful Products)
Study the market and successful products, how have they followed the three pillars to achieve success? See what they are doing right, how they have gone the extra mile, contrast this by looking at unsuccessful products. There is a huge amount you can take away from this process to help ensure your own product is a big success!
Following are a couple of big-hitting, highly successful products from our favourite designers, that used the three pillars to achieve product success.
Montreux
Montreux is a fantastic example of a product which is perfect for your research (assuming you're looking to create a sans serif font in a similar style). Created by ROHH and Design Cuts, it's one of the largest, highest quality, most versatile sans serif fonts ever created.
It's an absolutely huge superfont family consisting of 132 fonts! Focused primarily towards branding applications and versatile enough to be used across a huge number of brand applications, ensuring there maximising the size of the potential audience!
-
Make A Mood Board
A mood board is your chance to gather as much visual inspiration for your potential product as possible, it’s a fantastic and fun way of getting initial direction; of making a visual road map to follow all the way through the project. It will help your project move in one consistent direction. Creating a mood board is as simple as opening a document in your favourite design software, then visiting Google, your favourite marketplace sites, books, your scanner, taking photos and then pasting lots of imagery into your document, anything that will help give consistent direction. As well as putting in visual imagery, we’d recommend making small notes on the document as well. Highlight functionality, features and visual elements which have inspired you so that you won’t forget about them later.
Marygold Font Duo by My Creative Land & Design Cuts
Following a few of the initial mood boards for the beautiful Marygold font, created by the amazingly talented My Creative Land in collaboration with Design Cuts. Exploring initially the focus of the font in terms of the types of brands and applications it might be used for, then the initial look and feel of the font itself.
-
Create a Functionality & Specification Document
This sounds very complicated, but, don’t worry! In reality can be very basic and quick to put together! Open up a document in your favourite text editing software and make a bullet point list. The list should contain all the elements and functionality you’d like to include in your new product. Include a little description after each point to make sure a great idea isn’t forgotten about during the creation process.
Then, before you start creating your product, compare the list against any products your product might be competing against. How does it compare? Is it looking like it’ll blow away the competition, both in terms of the number of things included and great new functionality? If the answer is no, don’t start creating that product just yet! Spend a little more time in the concept stage before you move on to creating your product!
-
Timeline Your Project
Wait I hear you say! This is all starting to sound a little too much like project management, and not enough like fun design! But, any project needs goals to be set, anyone who has run a business (which is basically what you’re doing, even if it’s on a small scale initially) can tell you, without holding yourself accountable there is a real risk of projects either taking forever, or, worse still never being completed at all!
Any project that we run at Design Cuts, and all of the exclusive products we’ve produced with designers have a timeline in place. Even if it’s just a very basic one. It gives realistic timeframes for completing each step of the project, and allows you to plan and schedule a launch date.
Every product is different in terms of how much time is required, and it may not be possible to know exactly how much until you’ve created your first product; especially if you also have a day job to consider, however, a basic timeline could go something like this:
- Concepts (initial research and mood board)
2 weeks - Functionality, Specifications Document & Timeline
1 week - Initial ‘Rough’ Designs (based on research, mood board and your documentation)
2 weeks
- Product Creation
2 months
- Product Presentation (Graphics: cover, previews, promotional. Product overview text)
3 weeks
- Total Time:
4 months (work out a launch date based on this)
We recommend telling other people in your life about the launch date. You could do that on Instagram if you use that to showcase your work, or you might just tell friends and family. Either way, having someone else know about it can be a powerful and positive motivational tool to help your product get over the line!
- Concepts (initial research and mood board)

Free Product Planner
To help you timeline your products, we put together a free product planner and accompanying how to video to show you how to use it.
It'll help you structure your product design process - and keep everything on track to meet your launch date!
-
Initial ‘Rough’ Designs
Before you commit to the process of putting your product together; which can be very time consuming, it’s a good idea to create some initial ‘rough’ designs first. These are a great way of seeing if all your ideas ‘hold together’. They don’t have to be as polished as any final design work you do for the product - just give them enough detail to get a good idea of how it might come together.
Here are some of the benefits:
-
Save Time
They can give a very early indication of if the product is likely to work. Saving time over getting half way through product creation before thinking, wait, something isn’t quite right, and returning to the drawing board!.
-
Get Useful Feedback
You can show them to other trusted friends and designers, along with your functionality and specifications for early initial feedback. They might think of great new functionality which could help you develop a more successful end product, or think of a pitfall which may have cost you a lot of time!
-
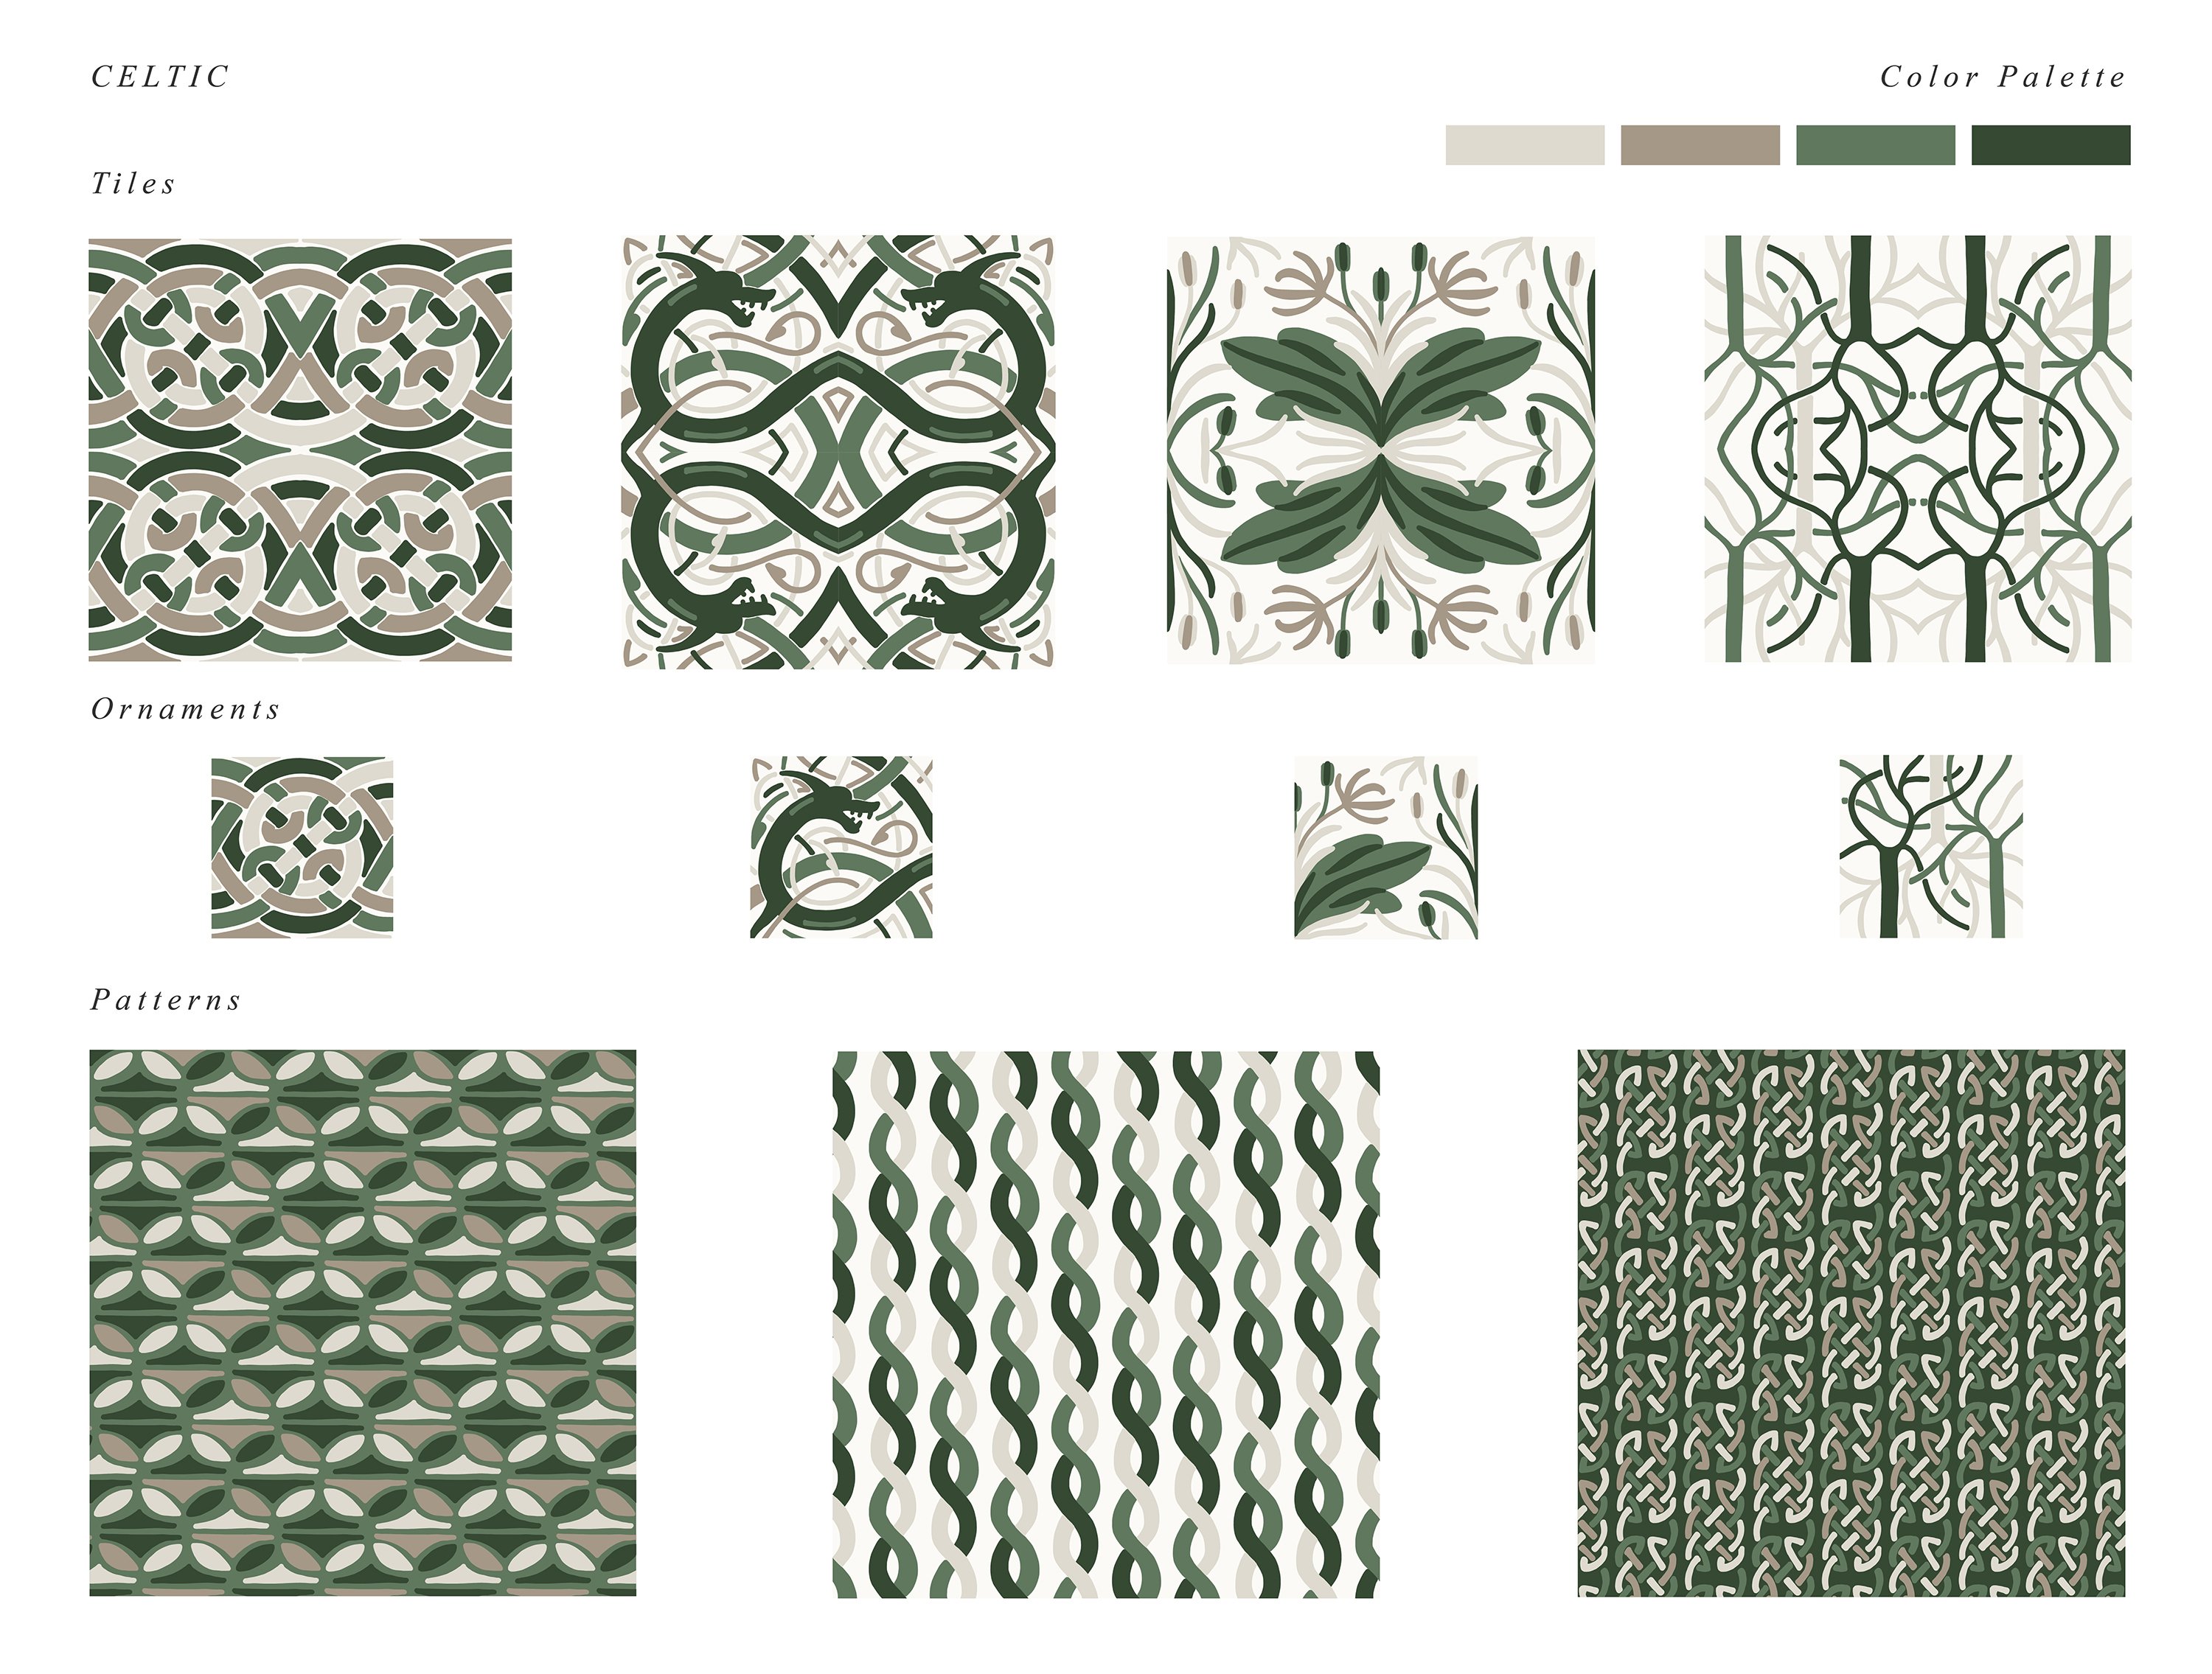
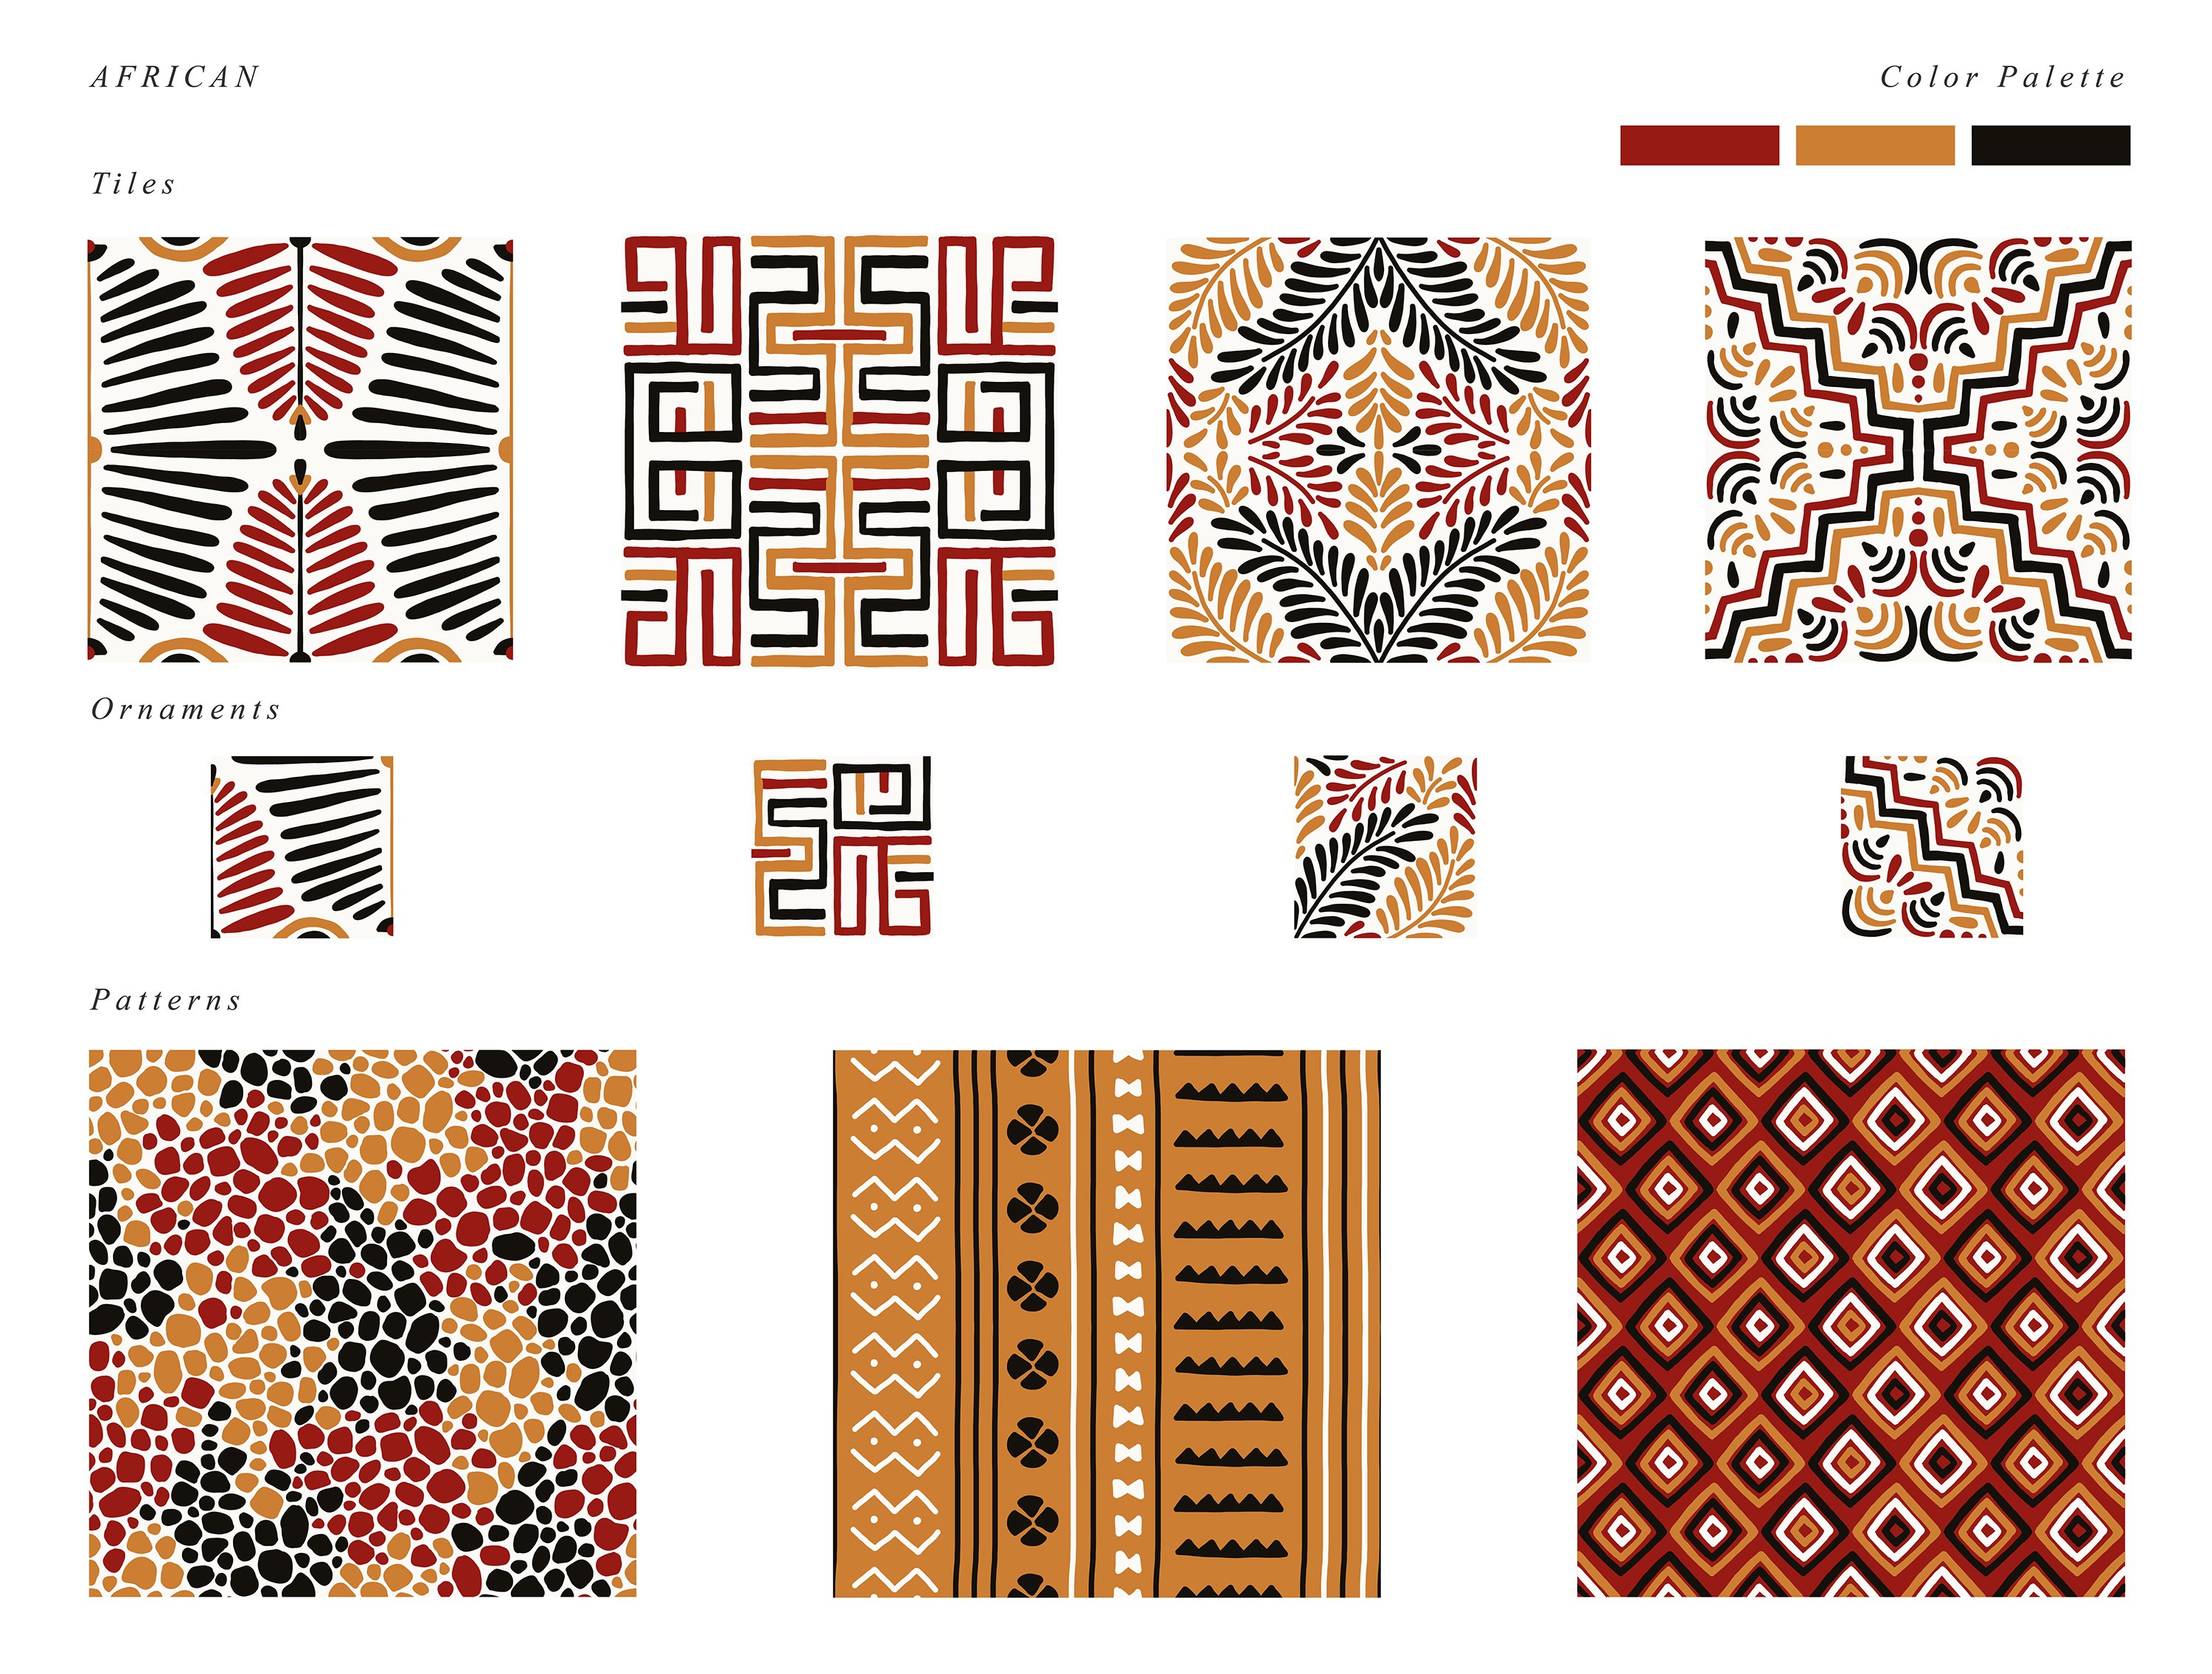
The International Brand Collection
The International Brand Collection (already touched upon in this article) went through an in-depth initial design process; exploring initial themes for the illustrations, patterns and possible colourways. Only proceeding with the final design work once we were entirely happy with the initial direction of the product, saving time over having to make any big changes later on in the project.

Product Design Q&A Session
To help the product design community we ran a live Q&A session to answer the most popular questions about product design. It answers to questions such as how large you should make your products, how often you should release new products, how to start building your brand, and many more - it's well worth watching as part our your research process!
Research & Design Action List
Work through the following points and make notes in a Google doc or similar to use later.
- Find a product idea which is unique and combines your talent and market demand (or target a great product idea which has been done already, but that you think you can bring a unique angle to, or do a much better job of).
- Follow our first steps once you have a great idea:
- Research
- Mood Board
- Functionality & Specification Document
- Timeline
- Rough Designs

About The Author
Matt Slightam is Co-founder and creative director at Design Cuts. He's creatively directed some of the biggest digital design products on the market - working with many leading designers such as Shoutbam, Trailhead, Latino Type, Pretty Little Lines, ROHH, Julia Dreams and many more.
Matt puts out regular useful content to help designers via Instagram, and can be found at @mattslightam
For me, I feel swamped now by digital brushes and real media textures. I’ve got so many Procreate brushes of all kinds, and all the textures I need. I’m likely to no longer purchase a pack of watercolour textures, which is becoming really overdone, or procreate brushes UNLESS there is a unique angle not done before. I think a lot of people now have all the brushes and stuff they want and are now wanting to learn HOW to use them and create unique products. They want to learn the skills to become the masters. I also think with element packs, they’re so heavily influenced by the designers style, i don’t buy them because I don’t like their visual style. I’d rather buy a course on how to make elements myself. We want the power these days lol.
Hey Jo,
Thanks so much for leaving us a comment!
I’m glad to hear you have built up a strong collection of resources and that you are excited to learn more on using your resources. We organise weekly live sessions and massive events where some of the world’s greatest designers come to show their techniques. Even if you don’t have the product they are using, most of their tips/tricks can be useful for other resources! I am linking you to our sessions page below so you can check out more:
https://www.designcuts.com/learning-hub/sessions/