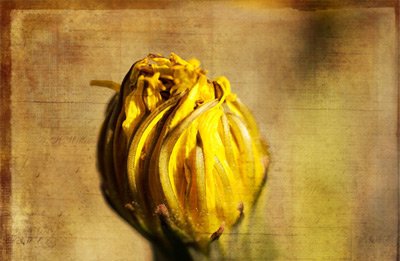
WHAT WE’RE CREATING:
We’re all agreed that textures can add depth and beauty to our photography and design work. However, what if you want to apply them to multiple photos, or even an entire photo album?
Luckily, using Photoshop we can apply textures to as many photos as we want in seconds, by using Photoshop Actions and Batch Production.
This isn’t as intimidating as it sounds, and I’ll walk you through the basic steps needed to achieve multiple texture application.
We’ll be using one of the incredible textures from this week’s deal:
2 Lil Owls Extensive Texture Bundle (270 Textures) – 93% Off
Let’s get started!
Step 1:
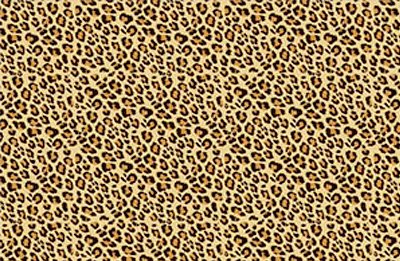
If you’ve grabbed the 2 Lil Owls texture bundle, then you can open it up, and select a suitable texture.
I’m using the Carnevale 2 texture, from the Carnevale Fine Art textures pack.

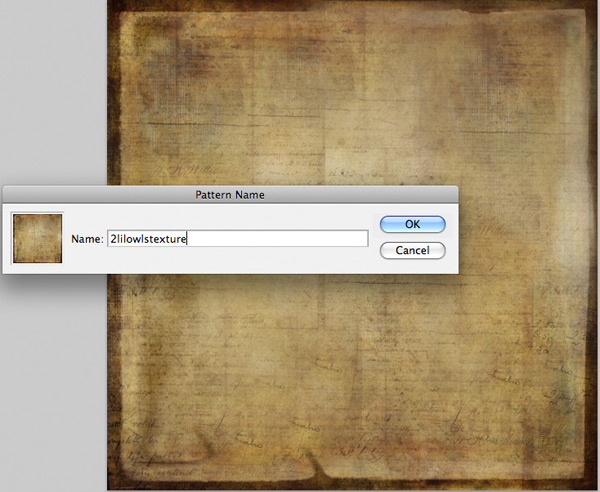
Here’s a look at the texture we’ve just opened:

Step 2:
With your texture document open, go to edit>define pattern.

Name your pattern and click ‘OK’.
Step 3:
Locate a folder containing the photos that you want to apply your texture to.
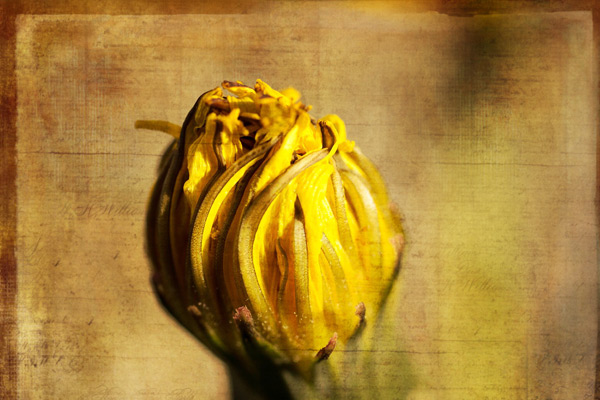
In this case, I downloaded the following images of flowers and placed them in a folder, containing only these images:

Open up the first photo within Photoshop.

Step 4:
Time to start creating our action.
Go to windows > actions.
When the actions panel pops up, click on the icon to ‘create new action’.

Name your action something relevant. I went with ‘flowers-texture’ and then hit ‘record’.

Step 5:
With your action now recording, go to your layers palette and click on the icon for ‘create new fill or adjustment layer’.

Select ‘pattern’ from the list of adjustment layer options:

When the patterns box pops up, your newly created pattern should be active automatically.

Adjust the scale if necessary. I shifted my scale to 36 to fit the canvas better. Click ‘ok’ to apply the pattern layer.
To make the effect work best, you should ensure that the photos in your photo album are all similar size.

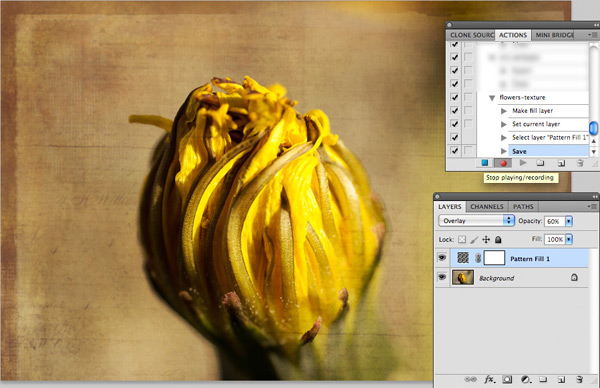
Step 6:
On your pattern layer, select the layer blend mode to ‘overlay’.

Then reduce the opacity of this texture layer until you’re happy with the result. I reduced it to 60%.
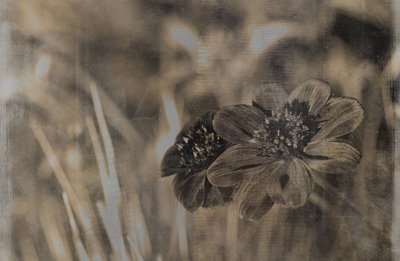
Here’s the result of the texture application:

Step 7:
With your action still running, go to image > save as and save the image within your original photo album folder. It will most likely save as a ‘copy’ of the original, rather than trying to over-write it. This is fine, as you will retain the original photo.
Once you have saved your textured version of the photo, return to your actions panel and click the ‘stop’ icon, to complete your action.
Step 8:
Now we want to apply our new action to our entire photo album. To do this, we will use Batch Production, a really handy feature of Photoshop for applying actions to multiple images.
Start by going to file>automate>batch.

Your action should automatically be selected next to ‘action:’ as it was the last one created. If not, you can easily select it using the drop down list.
Under ‘folder’ select ‘choose’ and select the photo album which you want to apply your texture to.

Step 9:
After clicking ‘OK’ on your batch, you should see the photos in your album open automatically, one by one within Photoshop. You can sit back and watch the textures be automatically applied over each texture and then resaved within your photo album folder. Genius!
Here’s a look at our final textured photos:


Bonus Tip:
Well done on making it this far! You now know how to apply textures to multiple photos and entire photo albums.
If you want you can take this method a step further. Experiment with adding further textures whilst your action is recording. Tweak saturation, levels and other variables. You can make your actions as complex as you want, and achieve some really amazing results!
AND WE’RE DONE
You can view your final outcome below. We hope that you enjoyed this tutorial and would love to hear your feedback on the techniques and outcome.
If you haven’t checked it out yet, be sure to take a look at this week’s deal. The texture you have just worked with is a tiny part of the huge texture bundle we’re currently running. Denise from 2 Lil Owls has offered 270 of her best textures, along with a fantastic texture workbook, giving you even more ideas for using your textures in your work. All this for just $20, and a massive 93% off the regular price!
I recommend reading some of the awesome comments below, as they give an idea of how much the Design Cuts community are loving their new textures.
You can preview everything included in the bundle via the link below, although the deal is ending soon, so you’ll need to act quickly to grab them at a 93% discount.
2 Lil Owls Extensive Texture Bundle (270 Beautiful Textures + Bonuses) Just $20
Be the first to comment