WHAT WE’RE CREATING:
Hello all! Simon on this end of the screen. For this week’s second tutorial, we are exploring the extensive mammoth creative design collection.
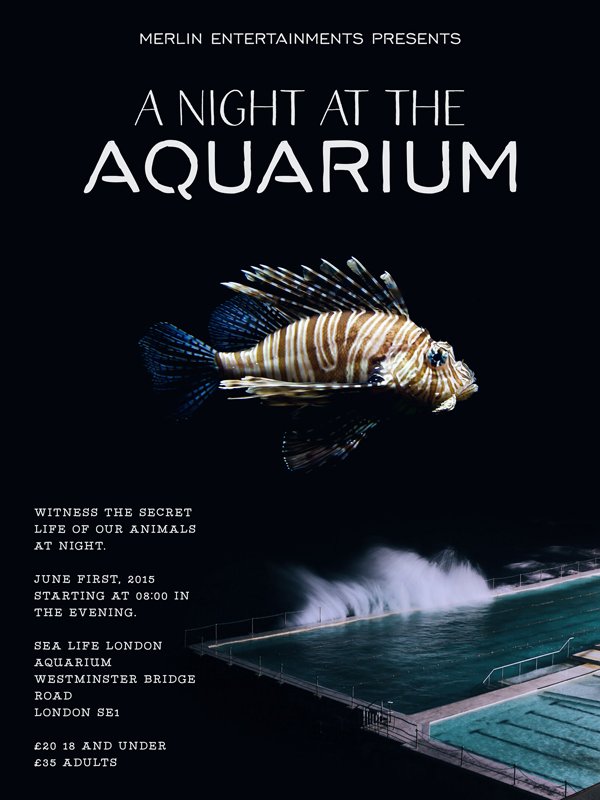
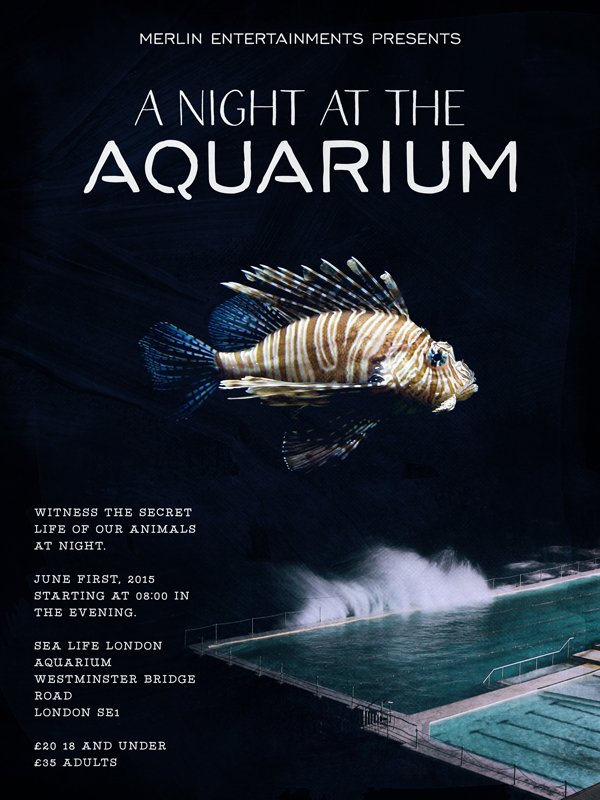
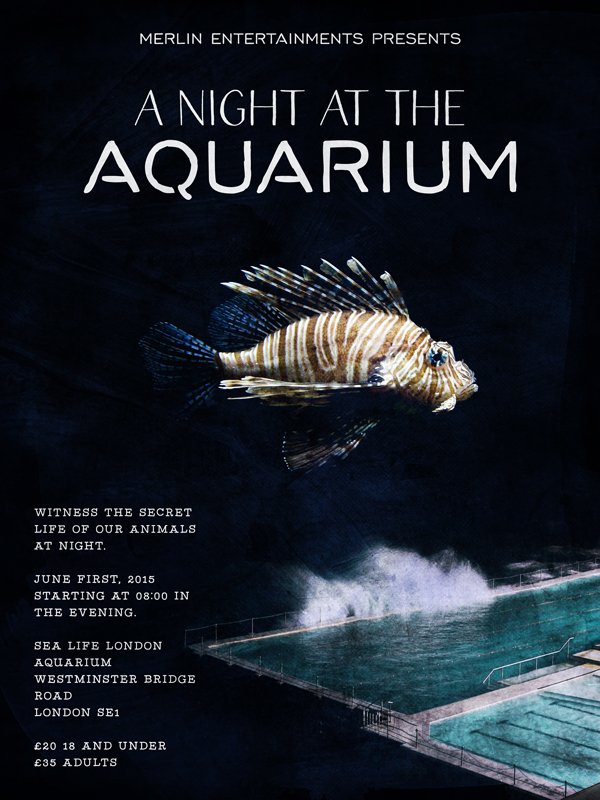
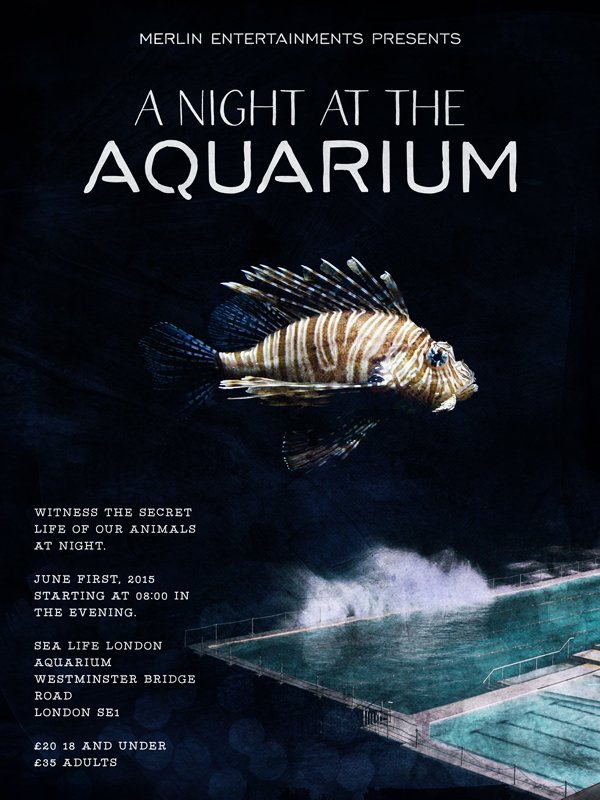
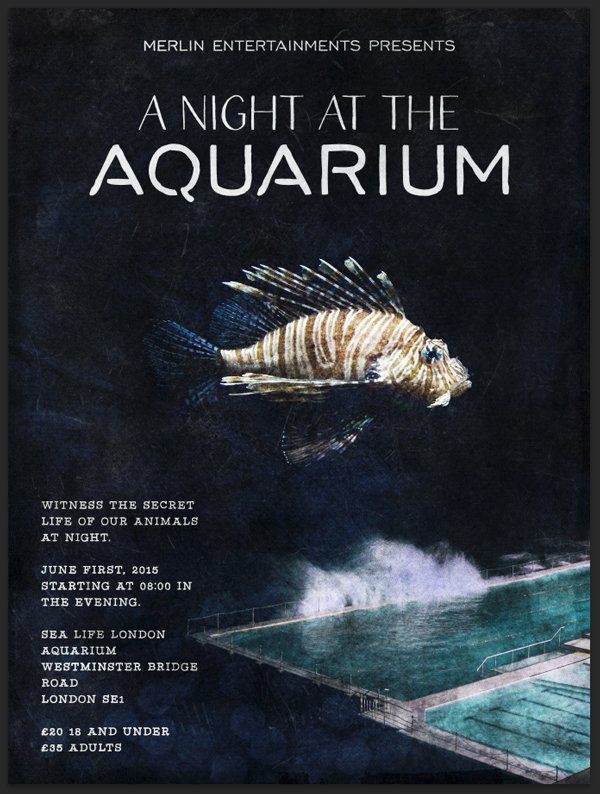
We are going to create a poster for an overnight event at the Sea Life London Aquarium. Imagine being able to stay overnight, and witness all kinds of behind-the-scenes things at the aquarium: feedings, animal care, and more. Also, these giant tanks must look gorgeous in the dark.
We will look at ways to combine images to create a surreal scene, texturing tricks, and other tips to create our piece.
Ready to go? Let’s dive right in!
STEP ZERO: THE CONCEPT
Seeking inspiration
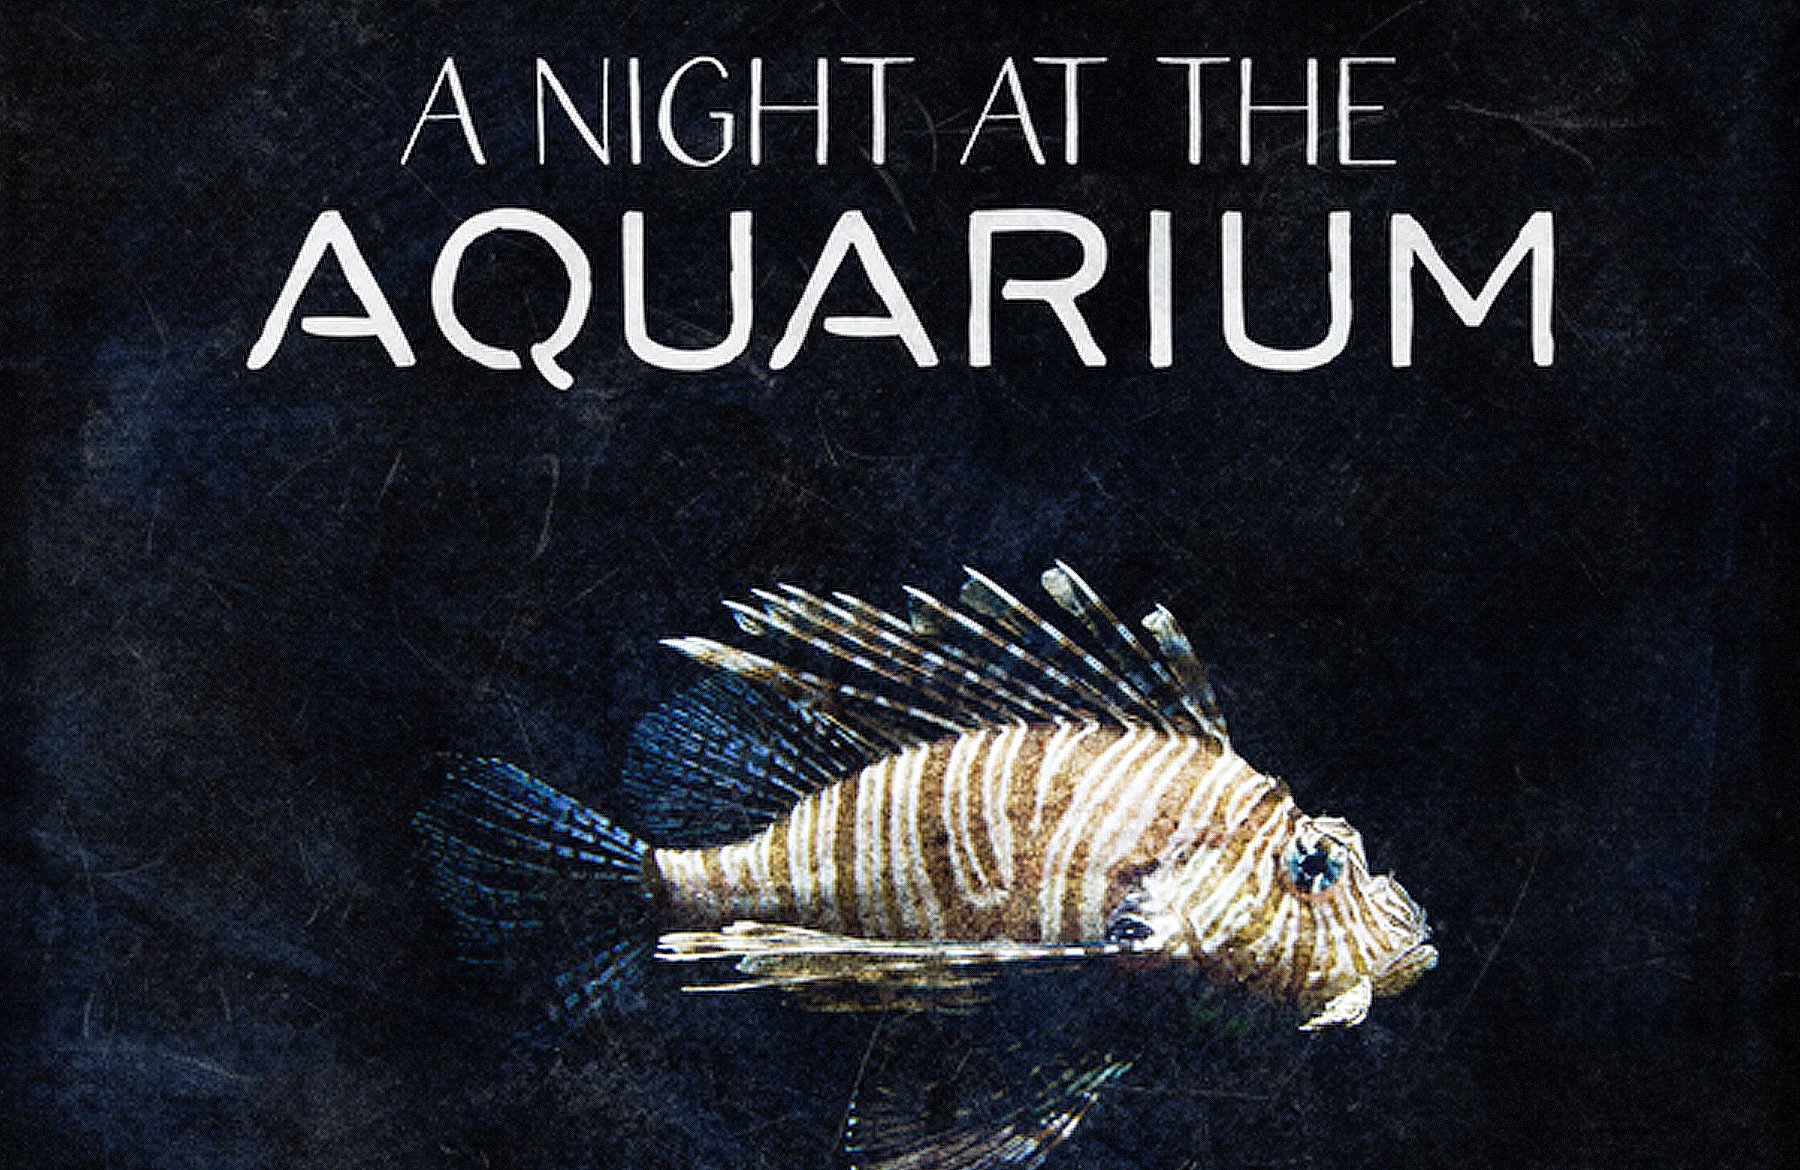
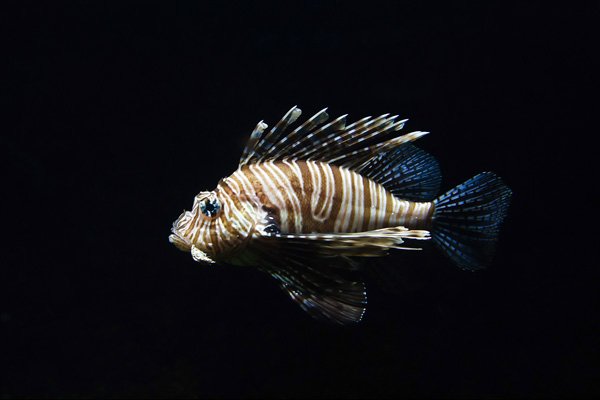
The concepts for this poster came together after exploring the bundle’s contents, and after encountering this gorgeous photo of a lionfish, taken by Mathjis Vos, and released on Unsplash.
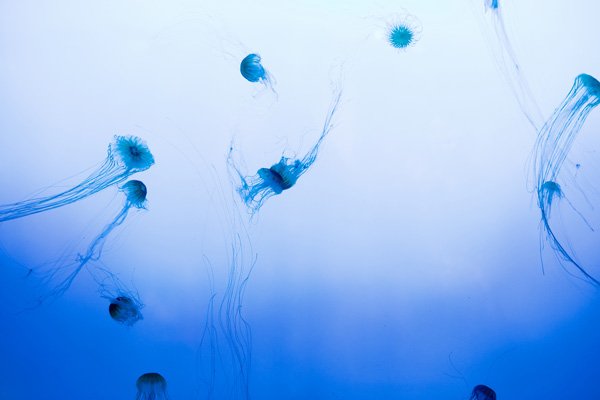
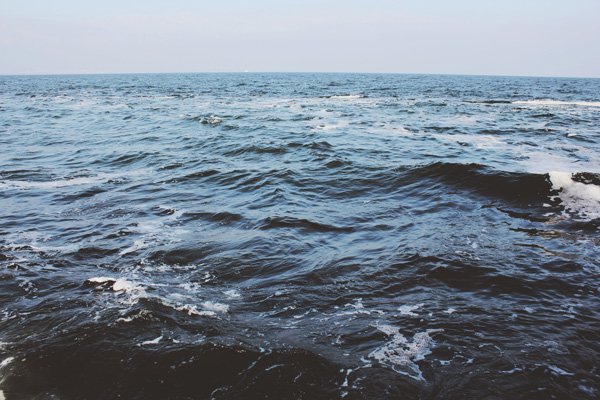
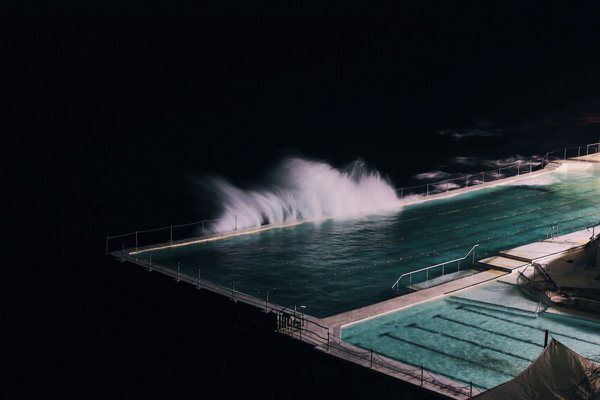
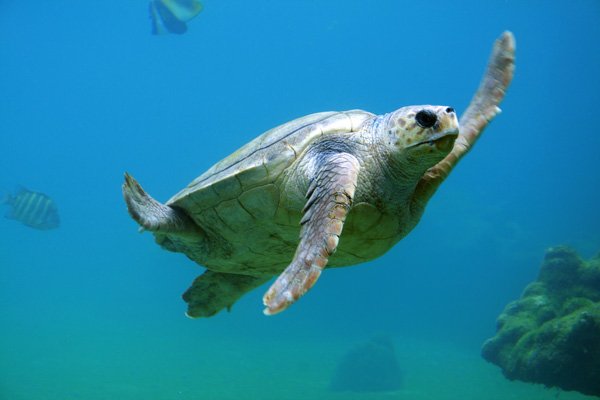
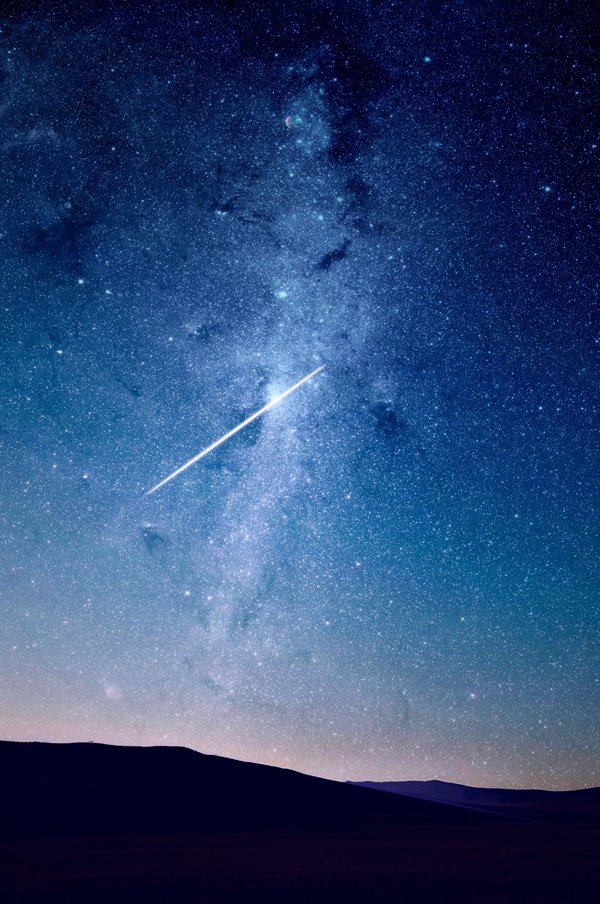
From there, I kept browsing Unsplash for images that seemed to complement both the brief itself, and that lionfish image. A few came up. Think of this as the moodboard step.
Jellyfish by Lance Anderson
Sea scape by Max Okhrimenko
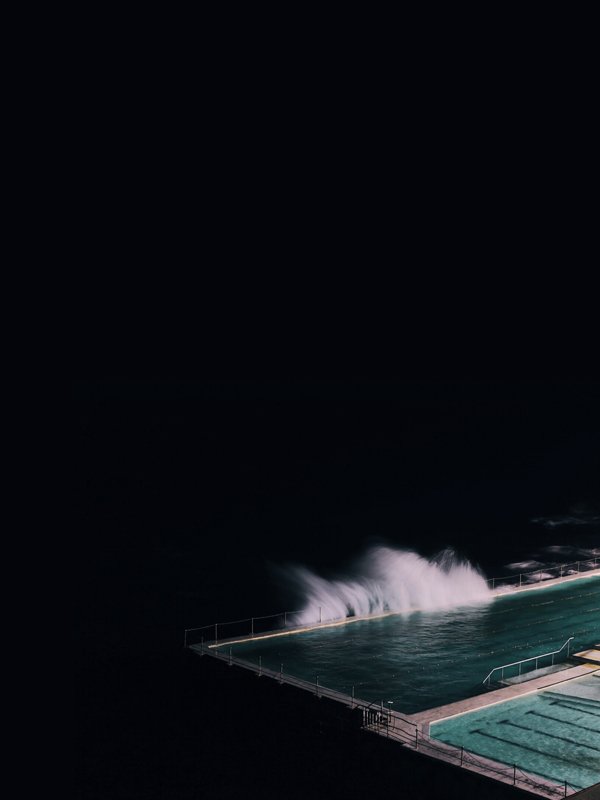
Swimming pool at night by David Di Veroli
Turtle by Tanguy Sauvin
Starry night sky by Juskteez Vu
Putting elements together
The next obvious step is to figure out a layout that will be visually appealing, and serves both the content, and the informational elements it needs to convey. This is the step where pencil and paper become your best friends.
It is much quicker to sketch thumbnails of potential layouts on paper, even with a few splashes of colour, than it is to assemble them in Photoshop. I came up with six layout proposals in around 30 minutes.
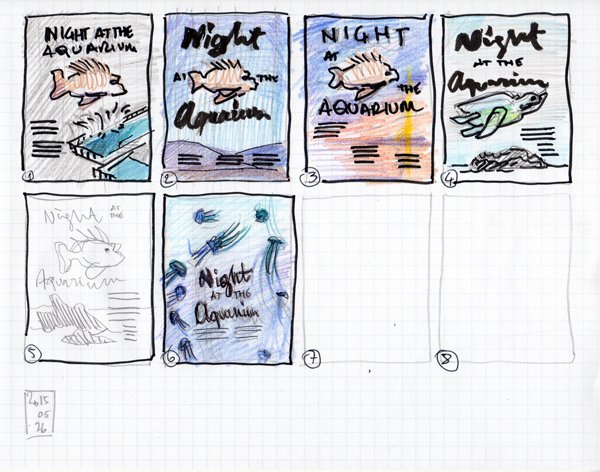
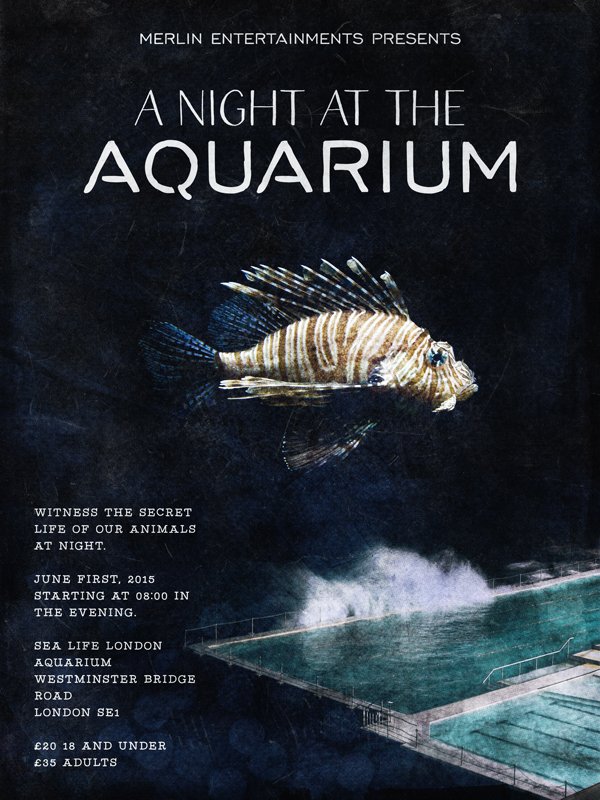
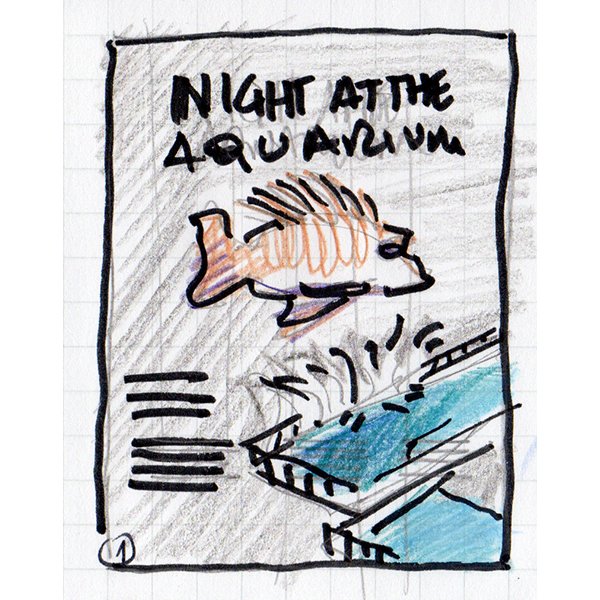
After some back and forth with the Design Cuts team, we decided to move forward with #1. The idea is to extend the swimming pool image to use it as the background. The fish would float gently above it. The main title would be written in some of the various clean typefaces from the bundle. The additional information would be laid on the left of the pools, creating a visual pendent for them.
Now that our work is cut out, it’s time to get to it.
TECHNICAL NOTES, TIPS, AND TRICKS
First: our piece will be executed using Adobe Photoshop.
Second, let’s get the usual PSAs out of the way.
- Don’t know what a clipped layer is? Glad you asked! This means that the layer is only visible/applies to the layer directly below it. You can very quickly do this by holding ‘Alt’ down on your keyboard and clicking between the two layers. Here’s a quick demonstration.
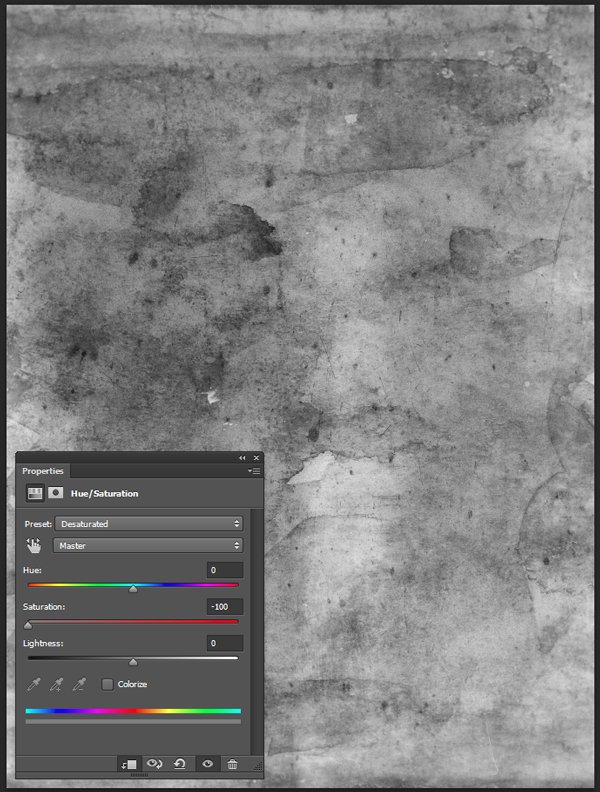
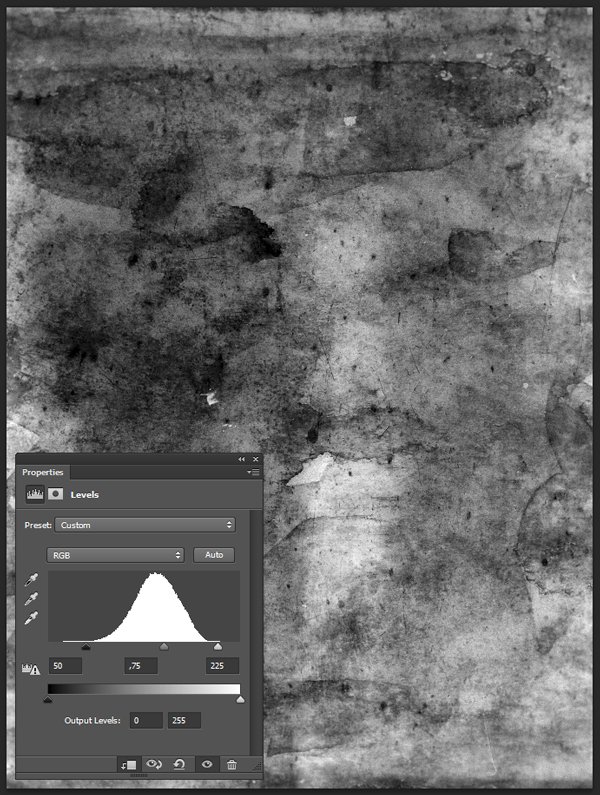
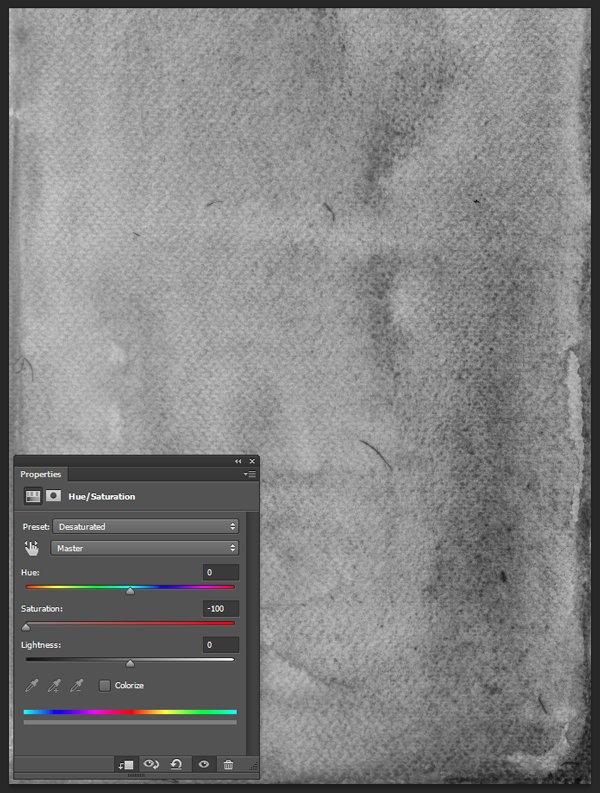
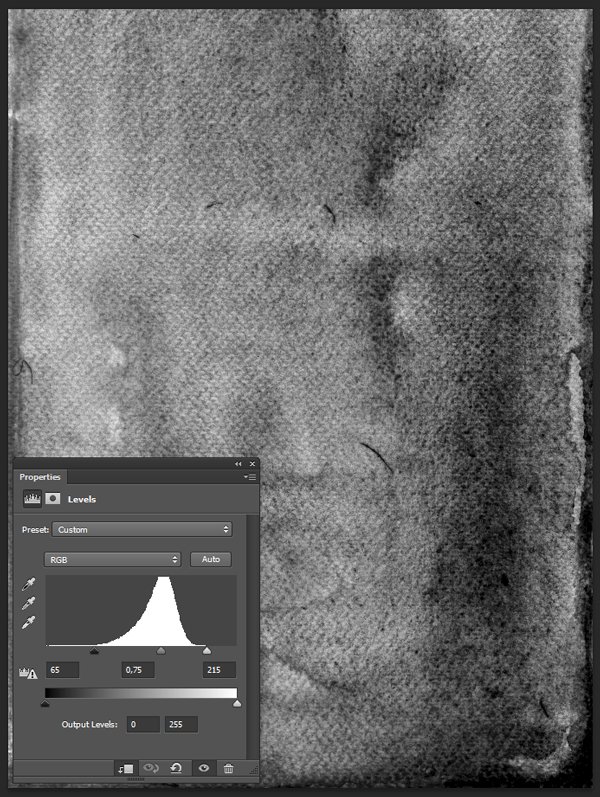
- Every time we’ll work with textures, we’ll follow this simple process: place as smart object, sharpen, desaturate, enhance contrast with levels, and modify the blending mode.
- Placing the textures as smart objects, and using adjustment layers to tweak them, allows us to stick to a non-destructive workflow. We’ve explored in depth the numerous pros and few cons of such a workflow in this past tutorial: “How to Use Textures The Right Way.”
STEP ONE: DOCUMENT SETUP
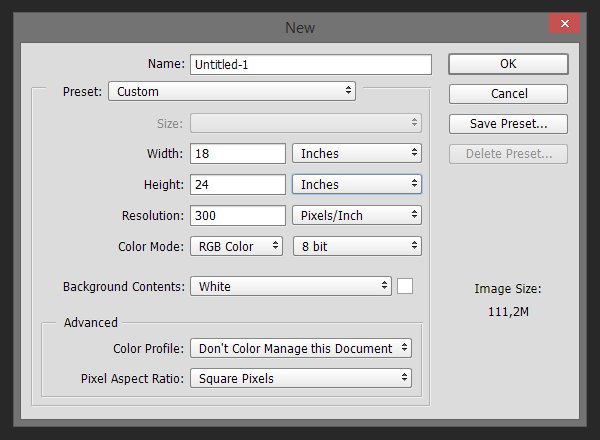
Our document will be the usual 18″x24″ @ 300 ppi, RGB canvas.
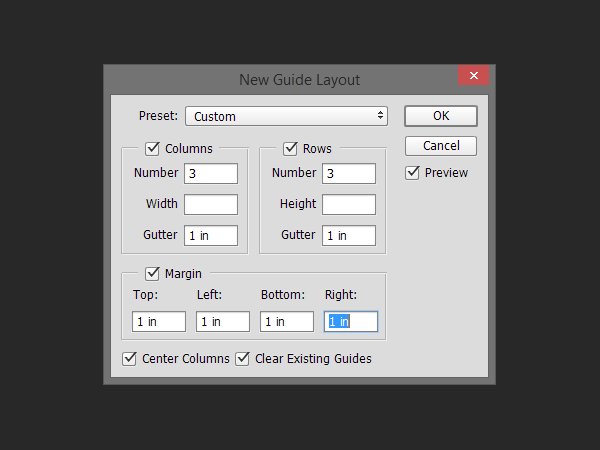
We will use a three columns, three rows grid to help with the placement of our elements. We won’t follow it exactly, but it will be helpful to have it at hand. The gutter (the space separating each column/row) will be identical to the margin: 1″.
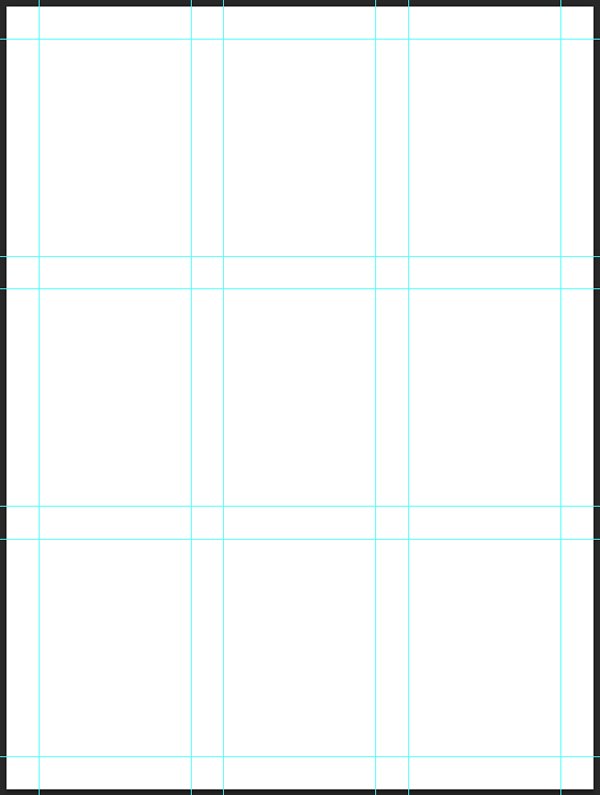
Photoshop CC 2014’s New guide layout functionality helps to quickly establish the grid (View > New guide layout).
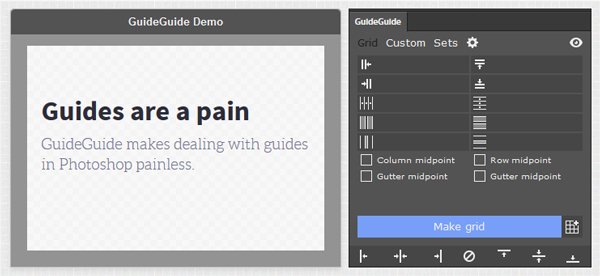
If you have an older version of Photoshop, a good alternative is a Photoshop extension called GuideGuide.
STEP TWO: THE BACKGROUND
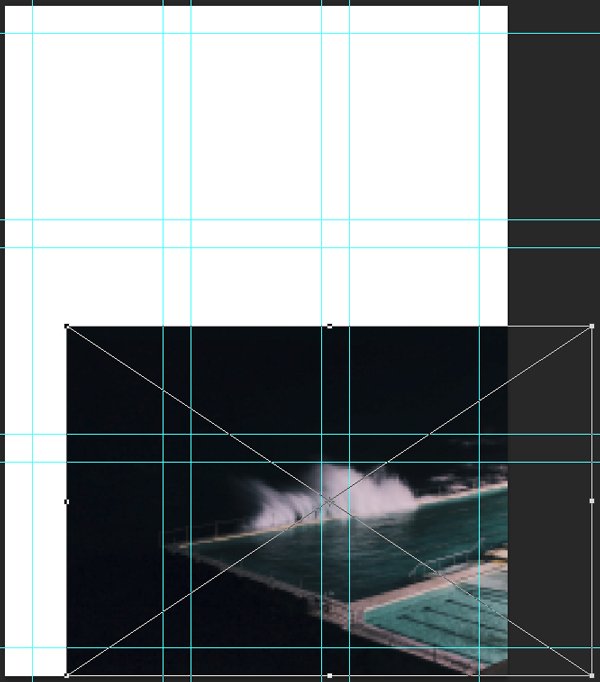
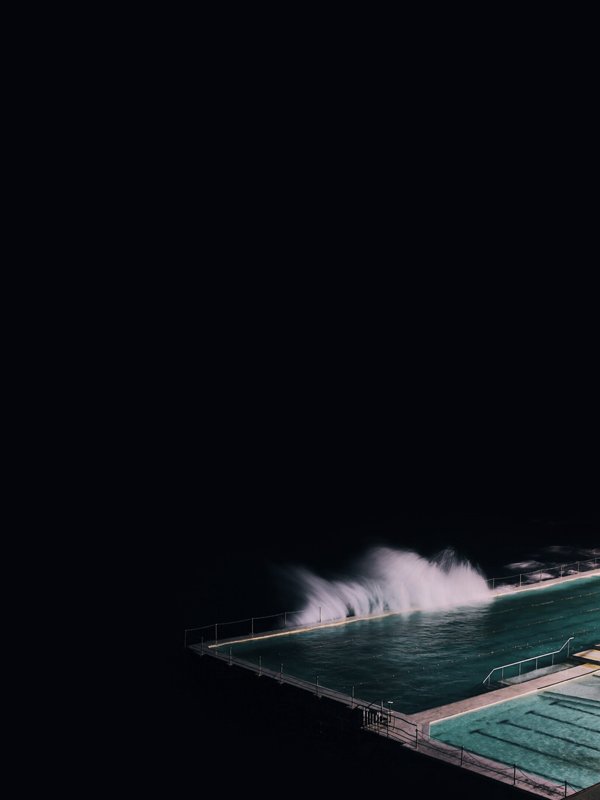
As stated before, we are going to use the swimming pool as the background image for the piece. Because it isn’t big enough, we’ll use a few tricks to extend it to cover the whole piece.
Start by placing it in your document, so the edge of the wave hitting it is flush with the top of the bottom row, and the left edge of the pool is flush with the edge of the left column. It should be 80% of its full size.
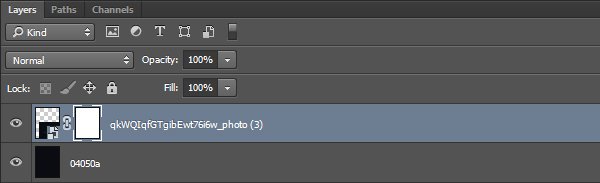
Next, sample the very dark gray in the pool image top left corner, and fill the background layer with that colour (#04050a).
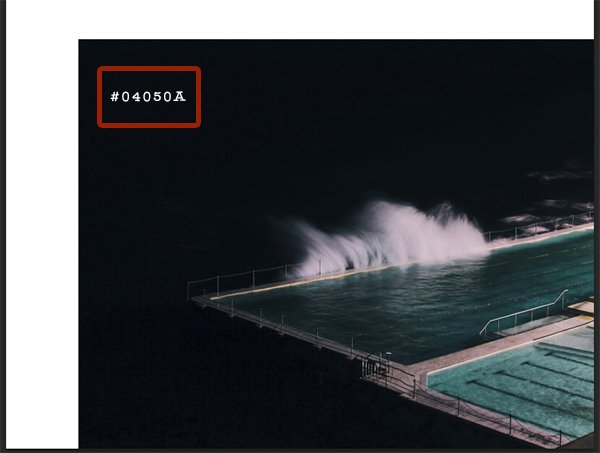
The seams aren’t perfect, but it’s already convincing.
In order to make the junction between the background and the image even smoother, we are going to add a layer mask to the photo layer, and use a big, soft brush, to paint a transition. Adding the layer mask is as easy as pie (Layer > Layer mask > Reveal all with the proper layer highlighted).
After that, we simply have to use a big brush (500 pixels and above), with 0% hardness, to create the transition between the solid background color, and the noisy background of the photo.
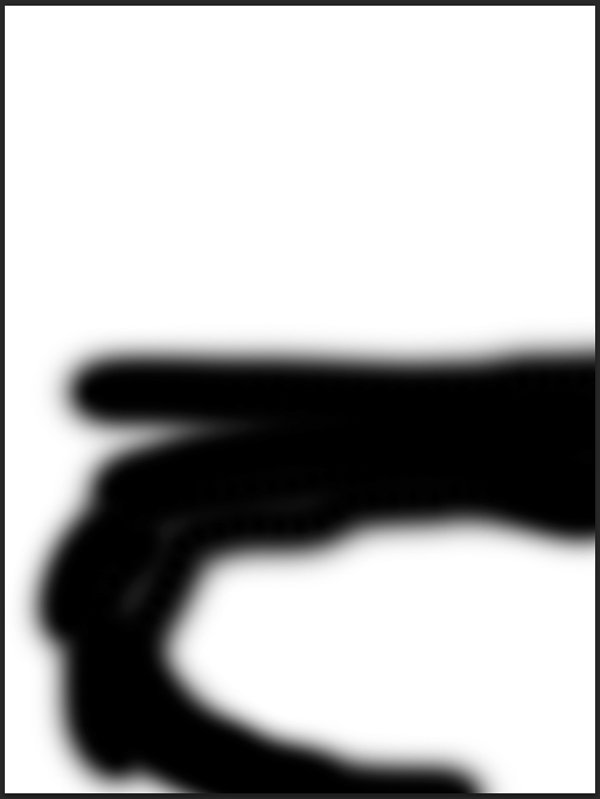
We can even fill the rest of the layer mask.
And apply a slight blur (Filter > Blur > Gaussian blur) to smoothen things further.
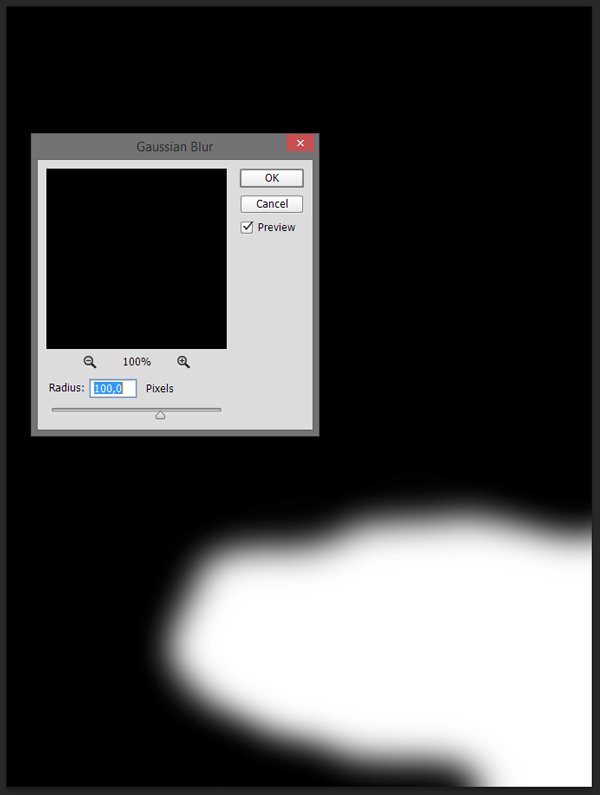
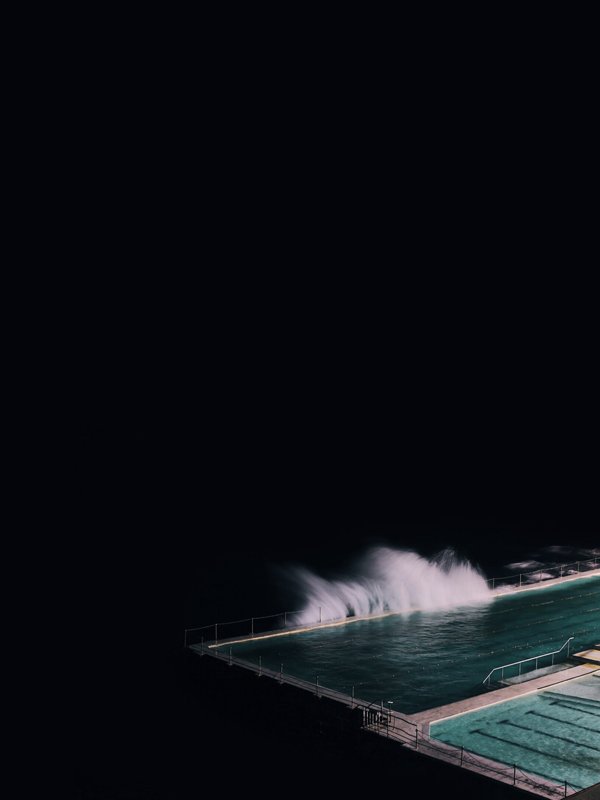
And the background is perfect.
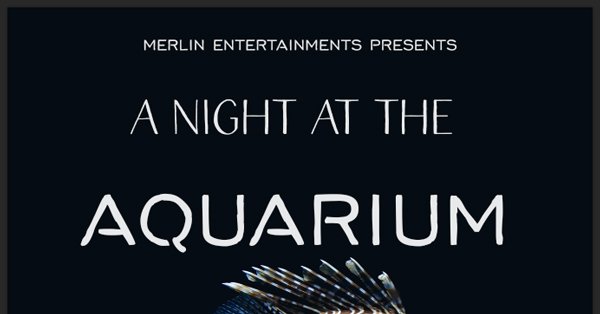
STEP THREE: THE LIONFISH
Before we organise the layers better, we’ll have to place the image of the lionfish. This will make sense in a minute.
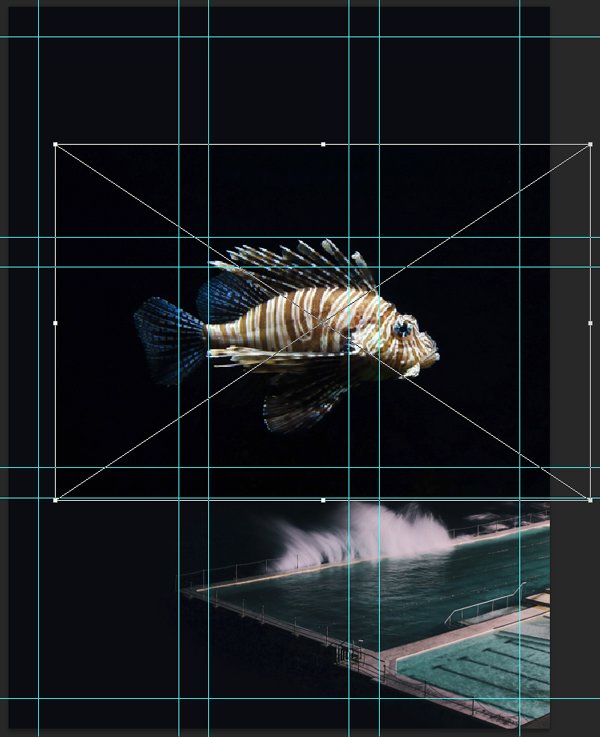
Place the image at its full size, and so it’s visually centered in the piece. This translates to the top fin touching the bottom of the top row. It should also be horizontally flipped, so the eyes of the fish are oriented to the right.
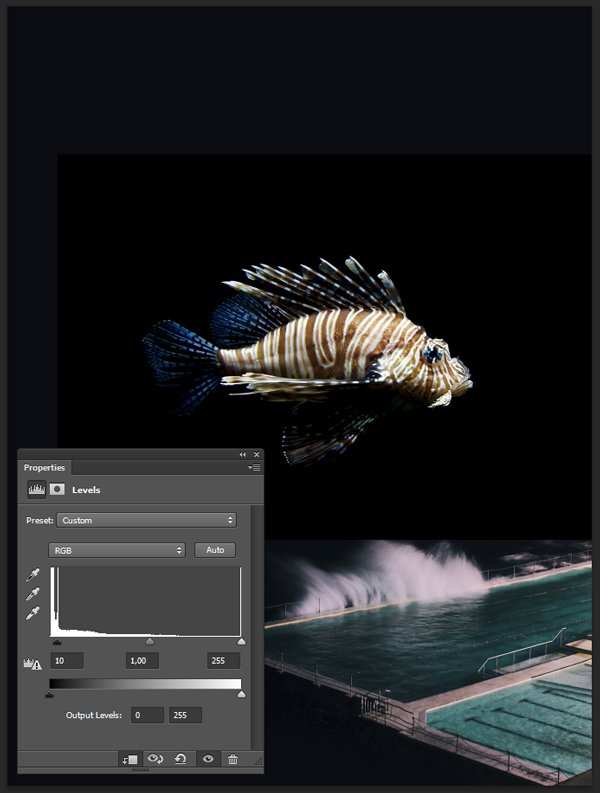
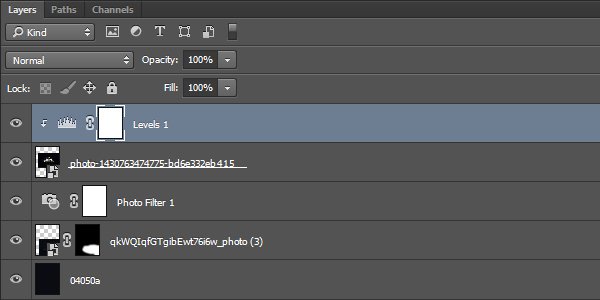
In order to optimize the next step, we have to use a clipped levels adjustment layer on the fish. It’ll slightly increase its contrast.
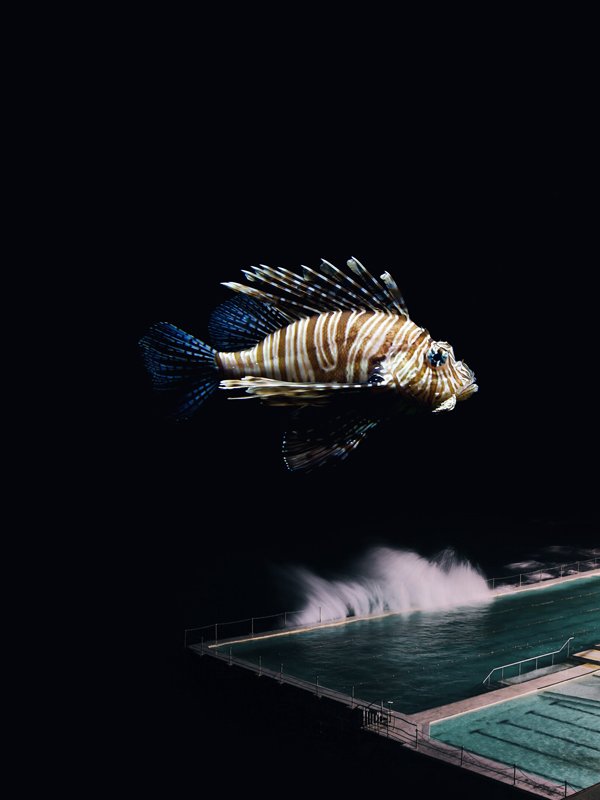
Next, we’ll change its blending mode to Screen @ 100% opacity to hide the black background.
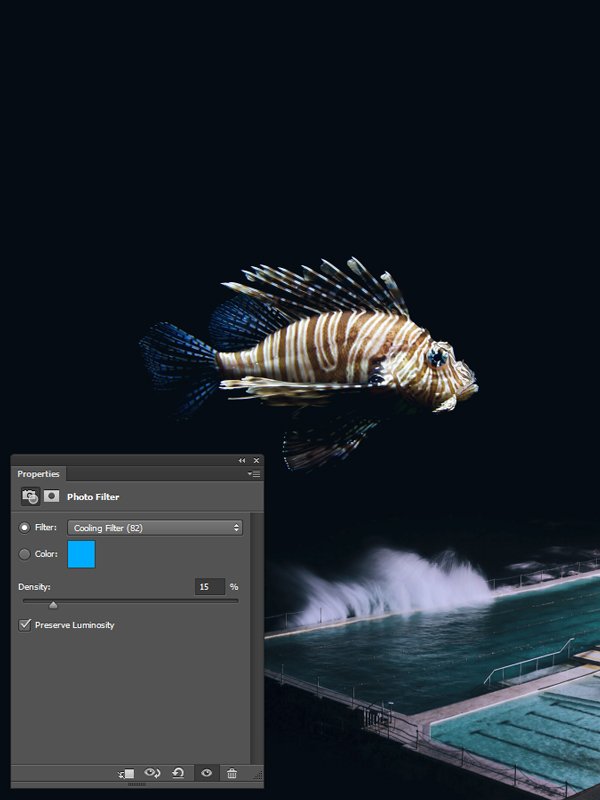
Things are shaping up nicely, but there’s a slight color temperature disparity between the lionfish and the pool image. The pool has slightly warmer colors than the fish. To fix this, we are going to add a photo filter adjustment layer above the pool layer. It should be set to Cooling filter (82) @15% opacity.
Finally, our integration of our two main visual elements is complete.
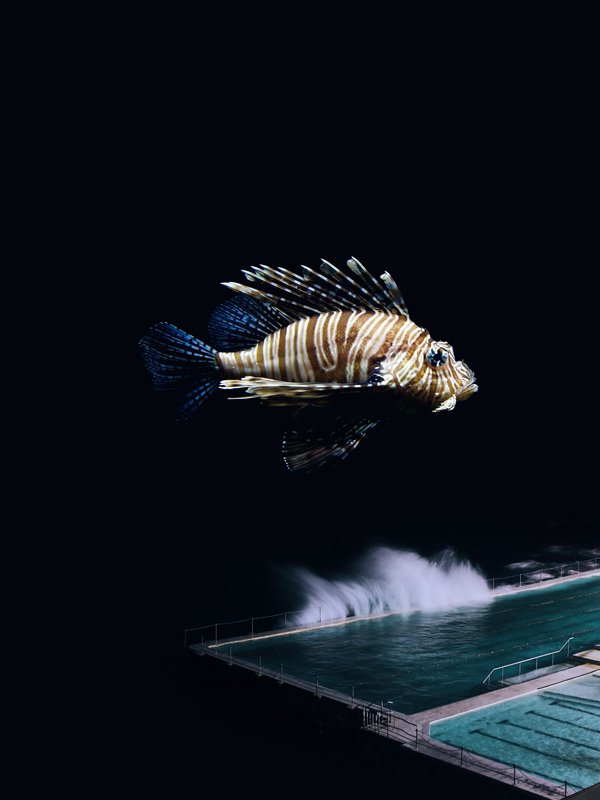
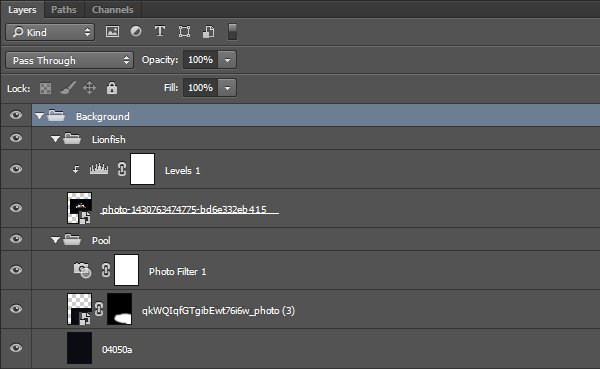
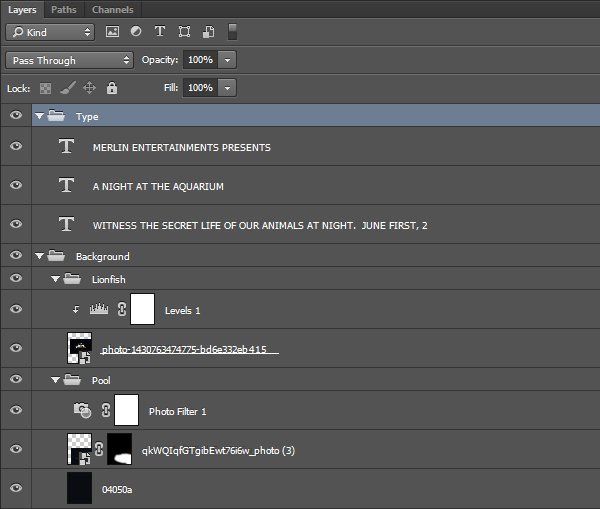
This means that we can proceed to some layer organization.
STEP FOUR: TYPE
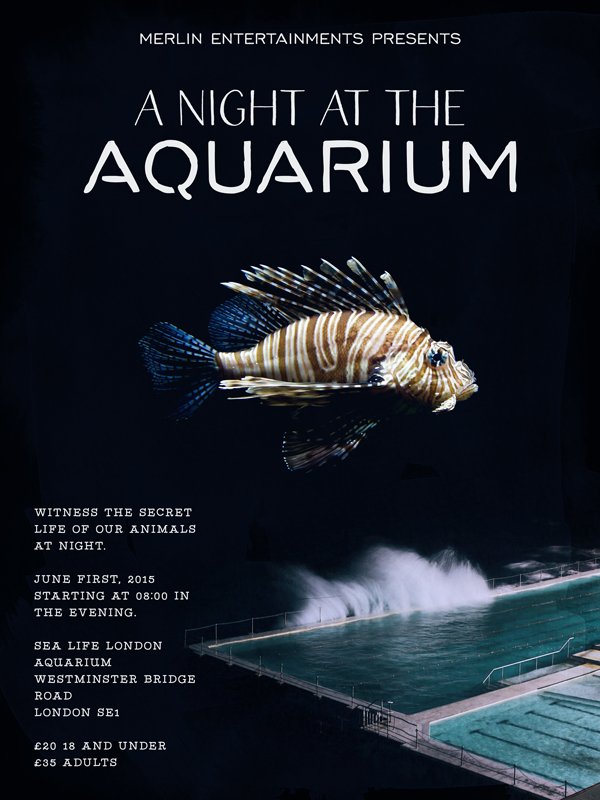
Now that the main visual elements for our poster are in place, we can add our type pieces. The various type blocks read:
MERLIN ENTERTAINMENTS PRESENTS
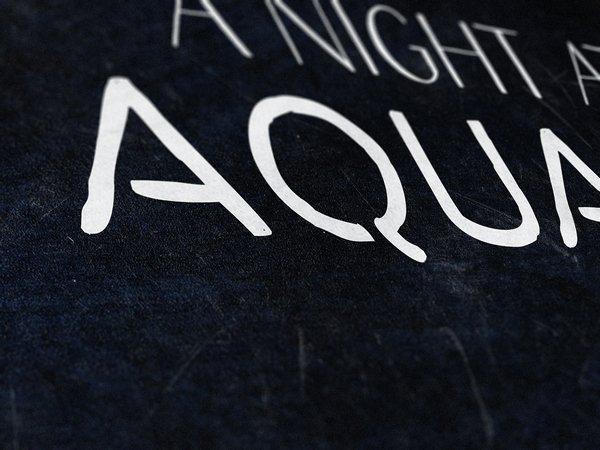
A NIGHT AT THE / AQUARIUM
WITNESS THE SECRET LIFE OF OUR ANIMALS AT NIGHT. / JUNE FIRST, 2015 / STARTING AT 08:00 IN THE EVENING. / SEA LIFE LONDON AQUARIUM / WESTMINSTER BRIDGE ROAD / LONDON SE1 / £20 18 AND UNDER / £35 ADULTS
Merlin Entertainments is the company that owns Sea Life. The line is there to credit them, the same way we’d see producers credits on a movie poster.
A night at the aquarium is the name of the event. It’ll be prominently displayed.
The last, long block, helps to convey the necessary additional information such as date, time, cost, etc.
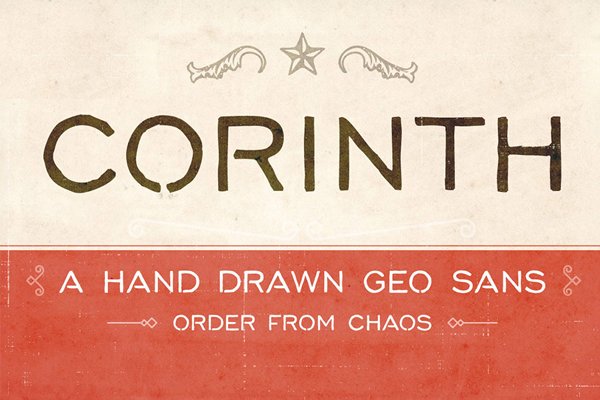
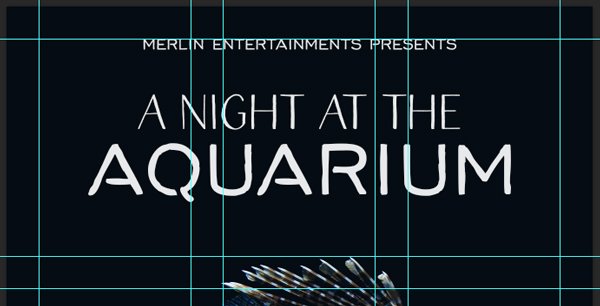
Let’s start with the introductory sub-header: MERLIN ENTERTAINMENTS PRESENTS. It’s set in Corinth Regular, that’s 42 points tall, centered, in all-caps, and colored in off-white (#e8eaec).
The line is flush with the top margin guide.

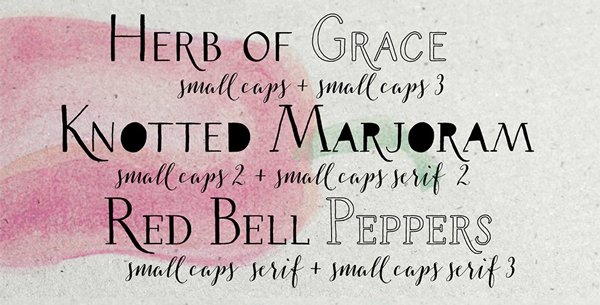
The title block is set in two different typefaces, Salt and Spices, as well as Corinth (again).
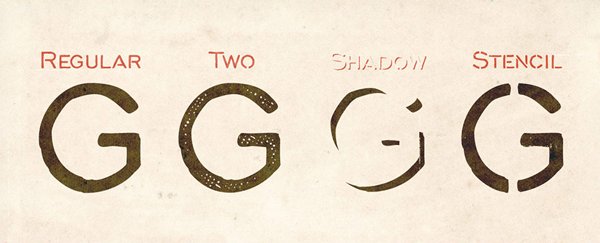
We’ll start by writing the title block, split on two lines, and in all-caps.
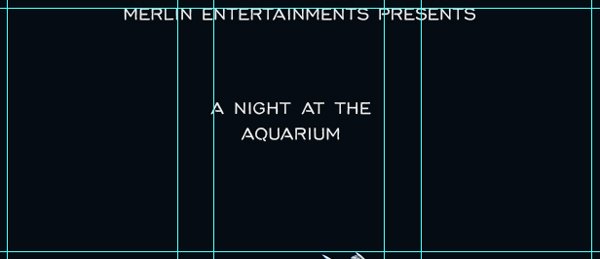
First, the top line should be set in Salt and Spices Pro SC, sized 108 points tall.
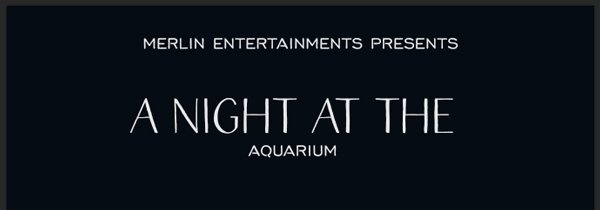
Second, aquarium is set in Corinth Regular, sized 204 points tall.
The gap between both lines is too big, so we’ll lower the line height down to 144 points.
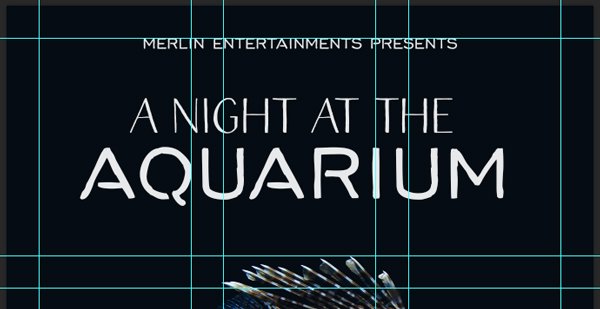
The final placement for the title block is horizontally centered, and vertically within the first row.
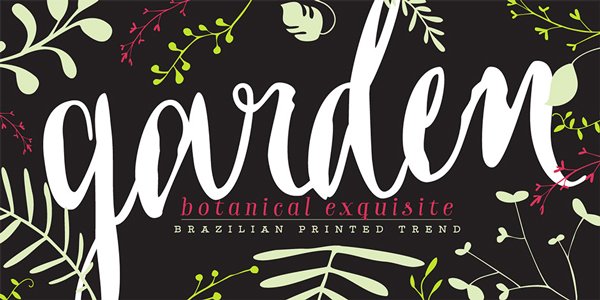
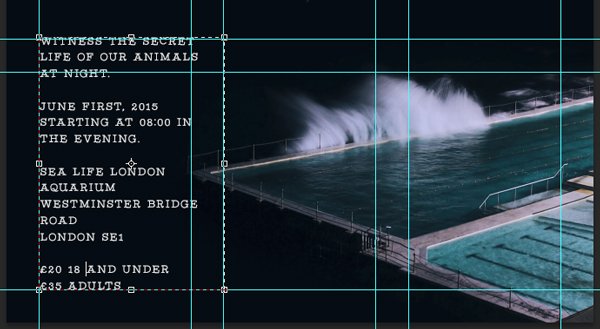
The last block of content is set in all-caps Garden Slab, sized 30 points tall.
The text block will be located in the lower left of the canvas. The text block is slightly wider than the containing column, to accommodate some of the longer lines of the address. Here’s the proper line breakdown:
WITNESS THE SECRET
LIFE OF OUR ANIMALS
AT NIGHT.
JUNE FIRST, 2015
STARTING AT 08:00 IN
THE EVENING.
SEA LIFE London Aquarium
Westminster Bridge Road
London SE1
£20 18 AND UNDER
£35 ADULTS
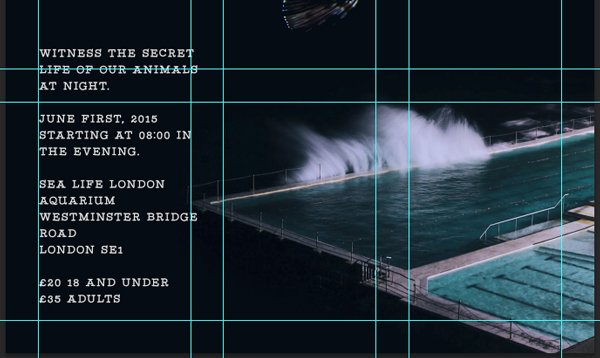
The final placement is with the bottom left corner of the text block flush with the bottom left edge of the left column.
This means that all of our text elements are in place.
A bit of layer organization, and we’ll be able to move on to the next step: textures.
STEP FIVE: TEXTURES
The poster is in place. What we are going to add to it we textures is a bit of substance, artifacts, and other irregularities that will give it character.
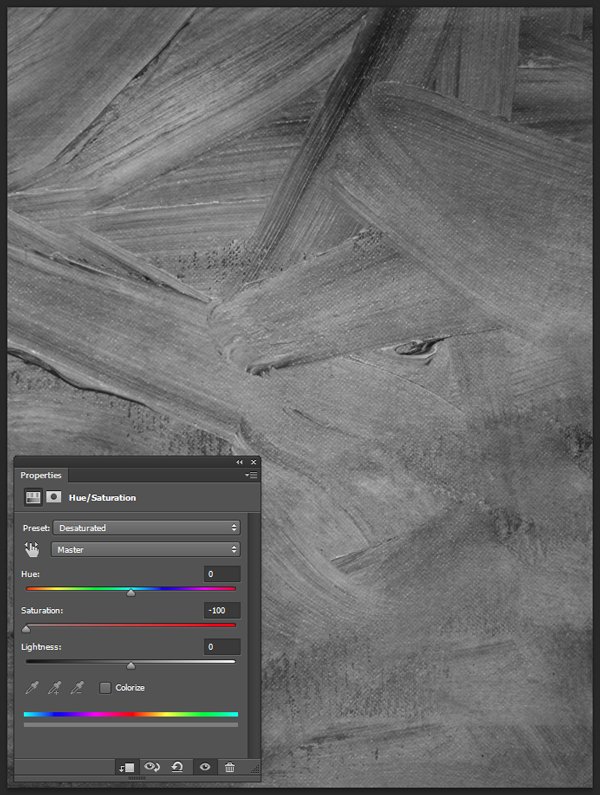
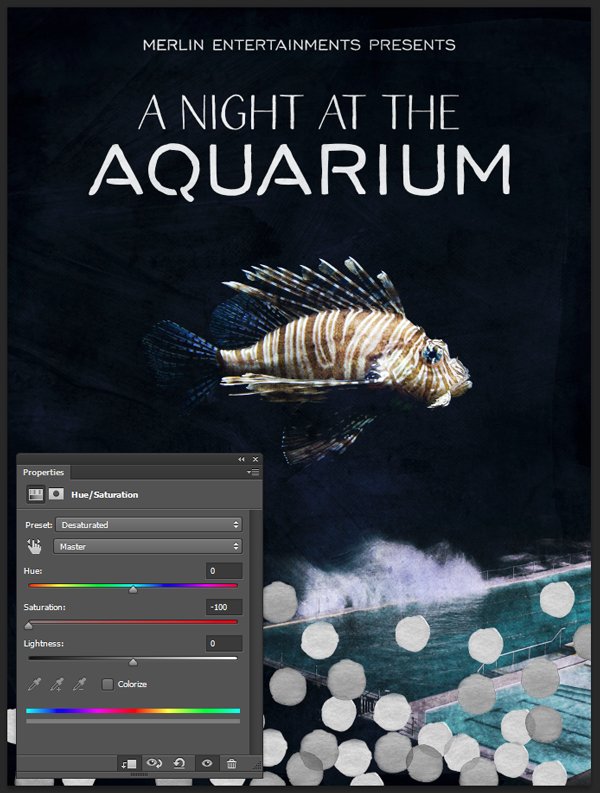
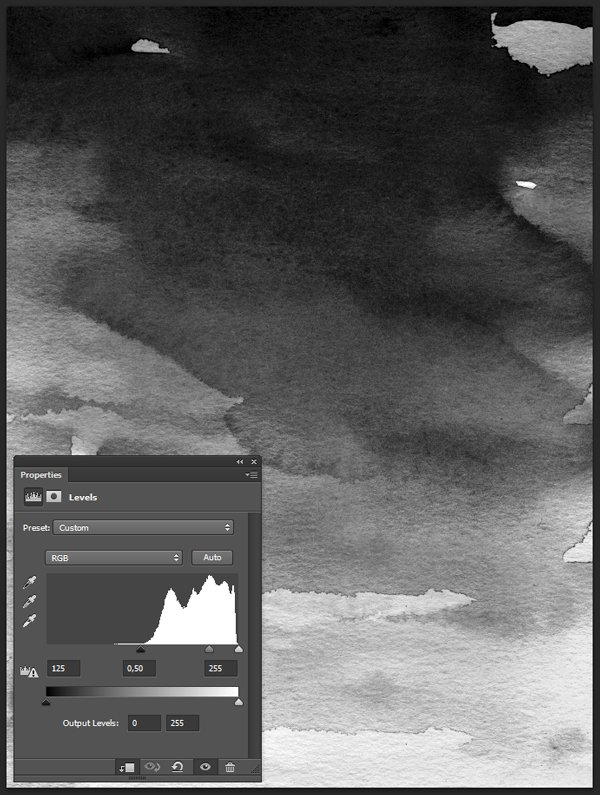
Process-wise, remember PSA #2: every time we’ll work with textures, we’ll follow this simple process: place as smart object, sharpen, desaturate, enhance contrast with levels, and modify the blending mode.
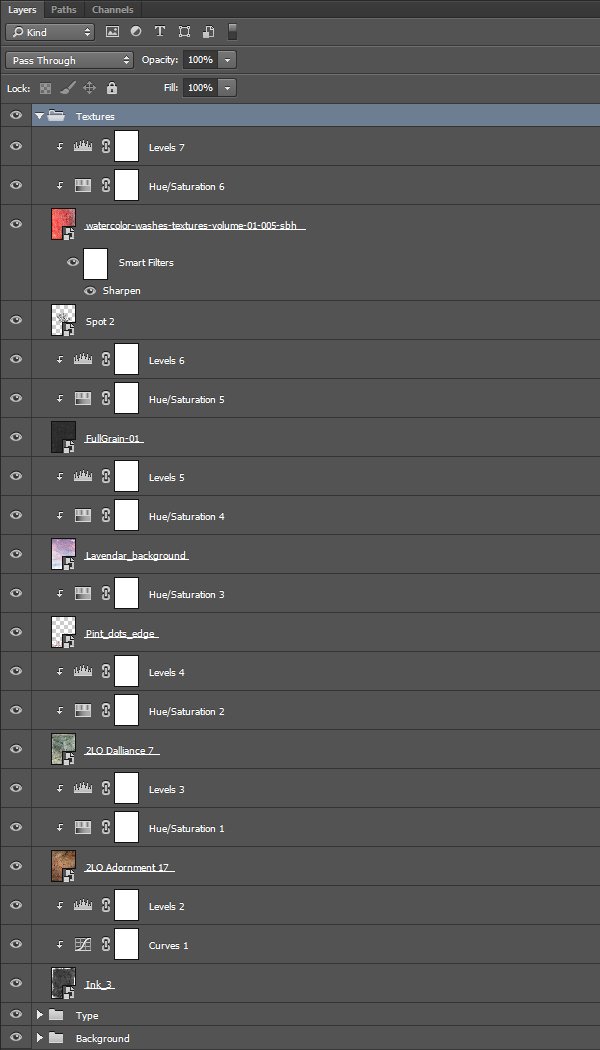
The first texture we’ll use is from the bonuses packed along Make Media Co.’s Smitten typeface (\mammoth-design-collection-make-media-co\Smitten\Bonuses\Ink-Textures\Ink_3.jpeg). It’s called Ink_3.jpeg.
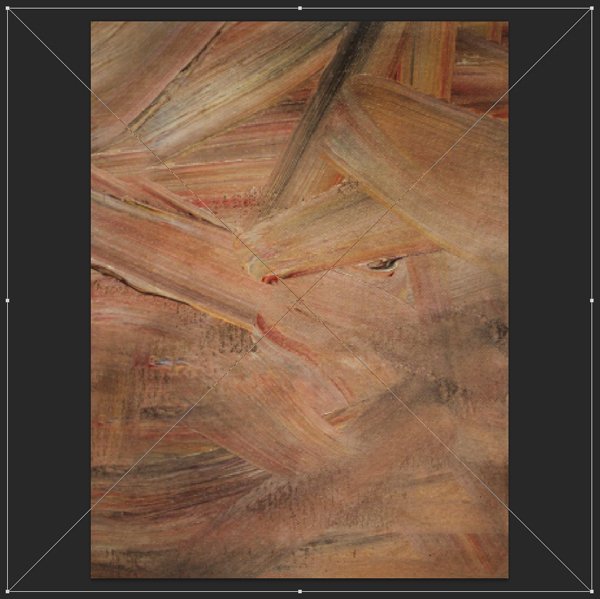
It needs to be placed centered in the frame, and scaled up 265%.
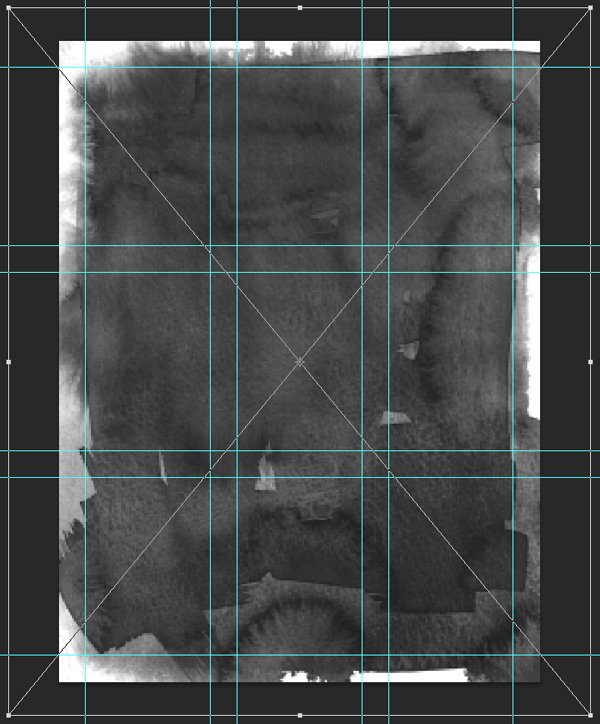
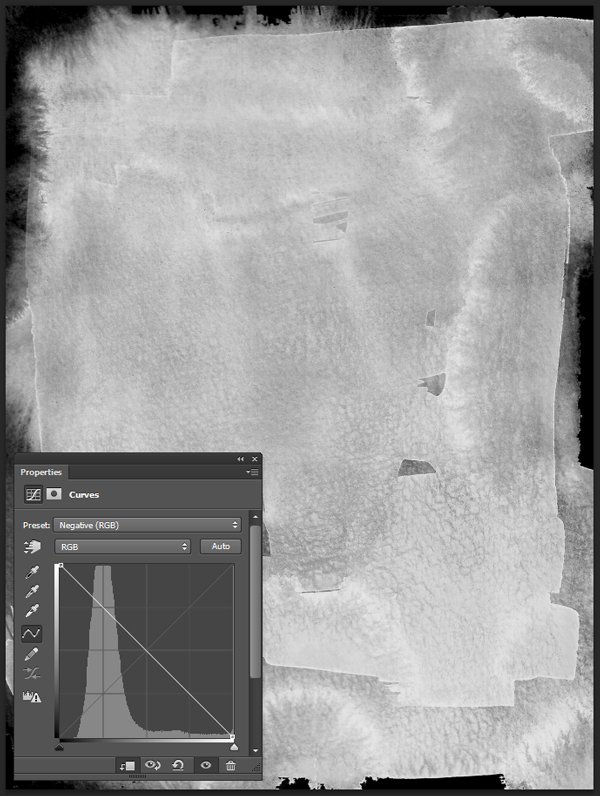
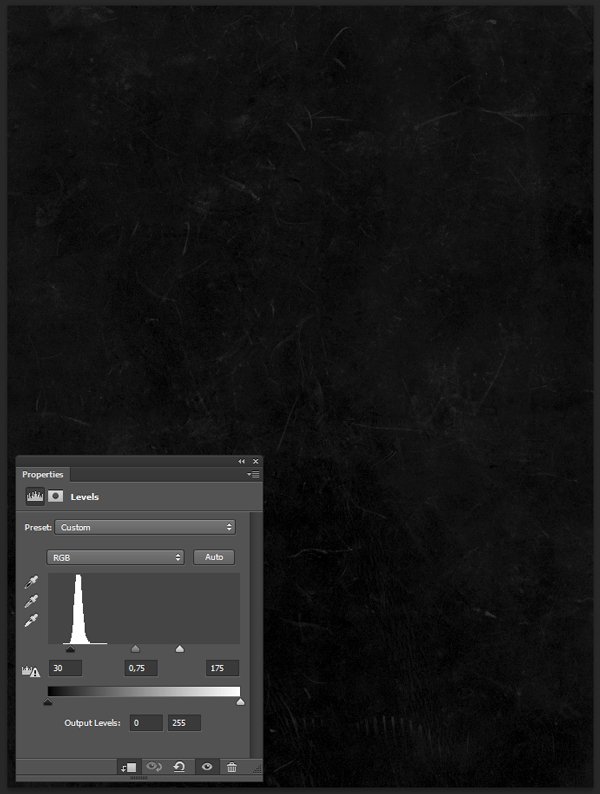
We’ll use a clipped curve adjustment layer to invert the texture.
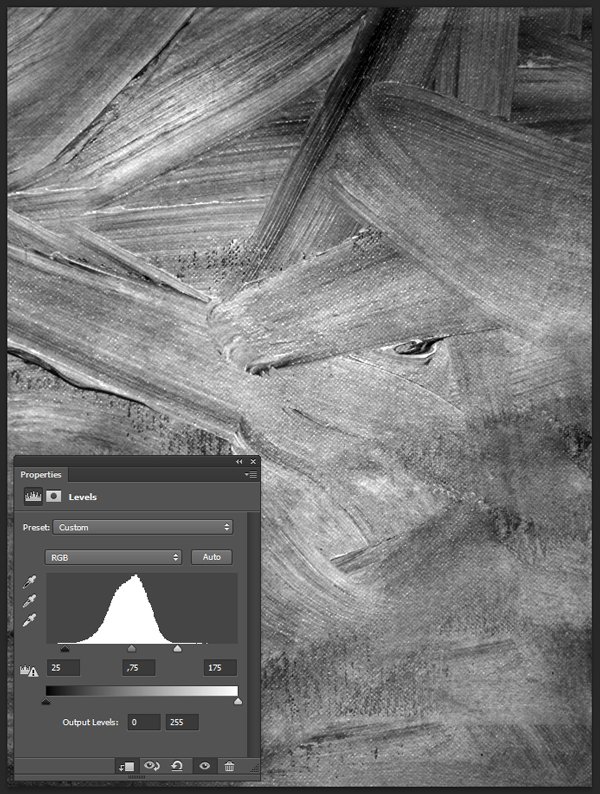
A clipped levels adjustment layer will help us to darken the blacks.
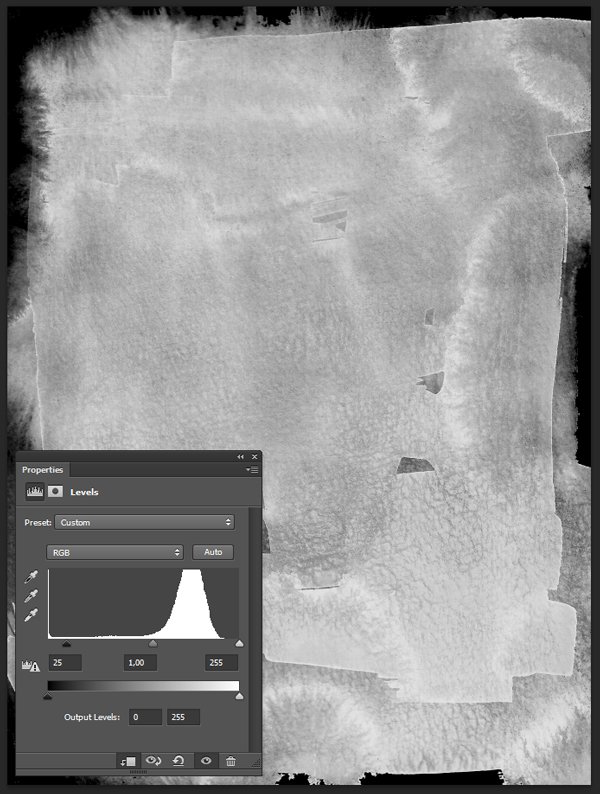
Blending mode: Soft light @ 50% opacity. The texture creates a subtle frame effect.
The next texture is from 2 Lil’ Owls’ Adornment pack (\mammoth-design-collection-2-lil-owls\Adornment\). It’s 2LO Adornment 17.jpg.
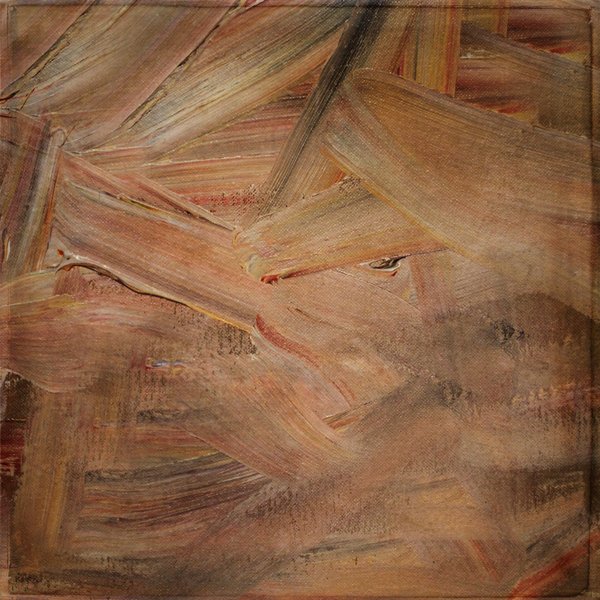
The texture is placed centered in the canvas, and scaled up to cover the full piece (210%).
Blending mode: Soft light @ 50% opacity. The texture gives a painterly feel to the poster.
The following texture is from 2 Lil’ Owls’ Dalliance pack (\mammoth-design-collection-2-lil-owls\Dalliance). The texture is 2LO Dalliance 7.jpg. It’s placed to cover the full piece as well.
Blending mode: Overlay @ 75% opacity. The texture gives a bit of grime to the piece, and pushes the painterly feel further.
The next element comes from Lisa Glanz’ watercolor floral pack (\mammoth-design-collection-lisa-glanz\Watercolor-floral-edges+backgrounds\Edges\). The asset is Pint_dots_edge.png.
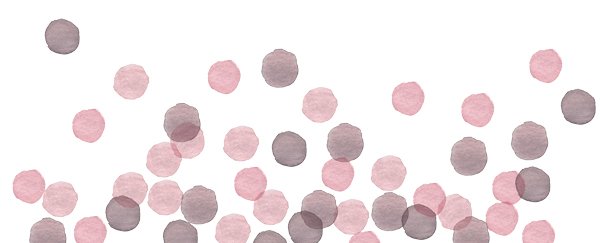
The edge is scaled up to 125%, and flush with the bottom edge of the frame.
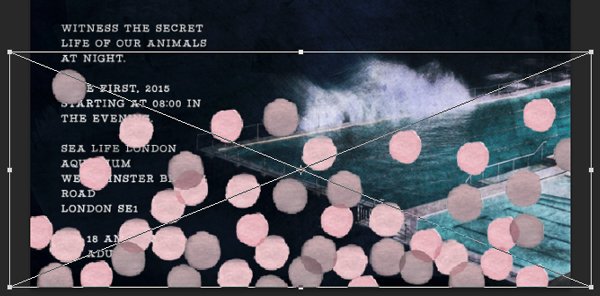
Blending mode: Soft light @ 50% opacity. This will create something of a bubbly effect at the bottom of the piece.

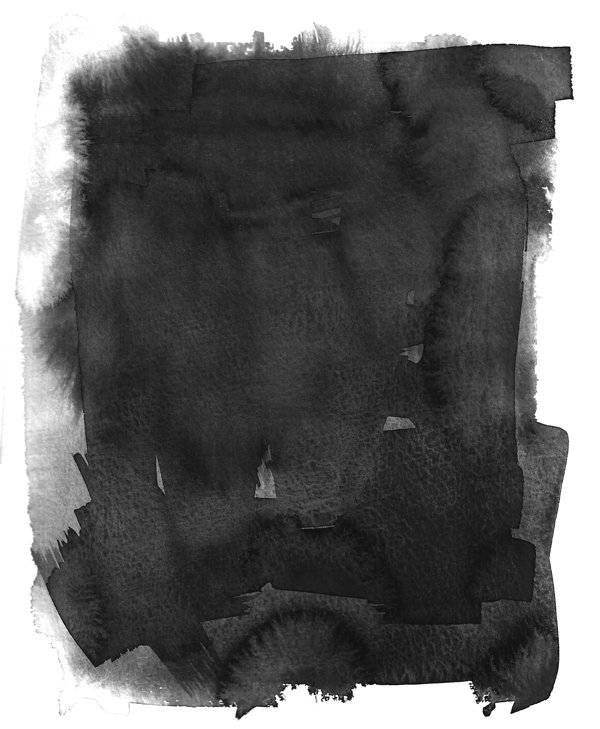
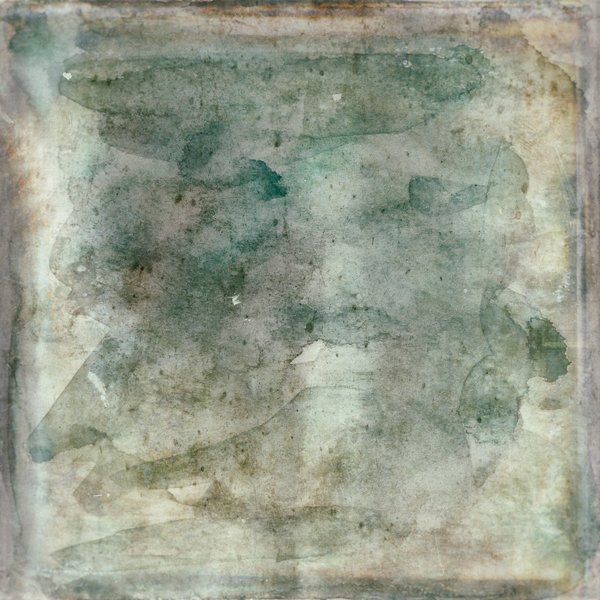
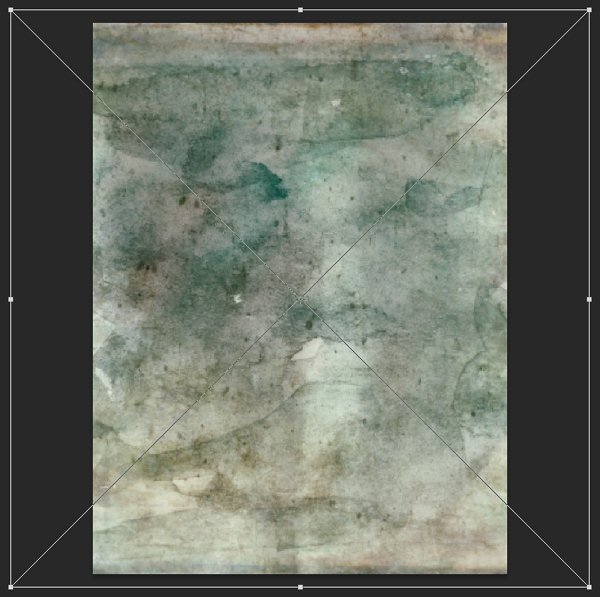
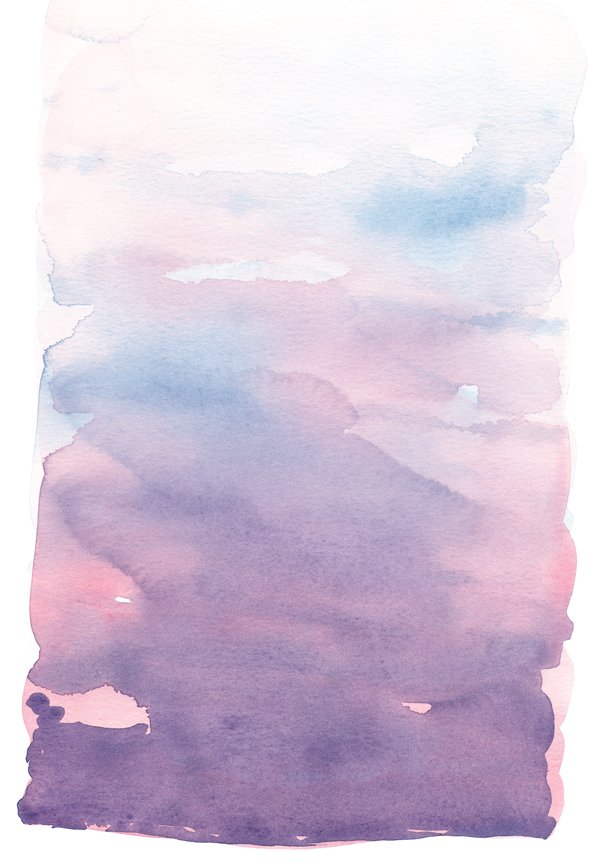
The next texture is also from Lisa, but from her Watercolor background pack (\mammoth-design-collection-lisa-glanz\Watercolor-floral-edges+backgrounds\Watercolour-backgrounds). The texture is Lavendar_background.psd.
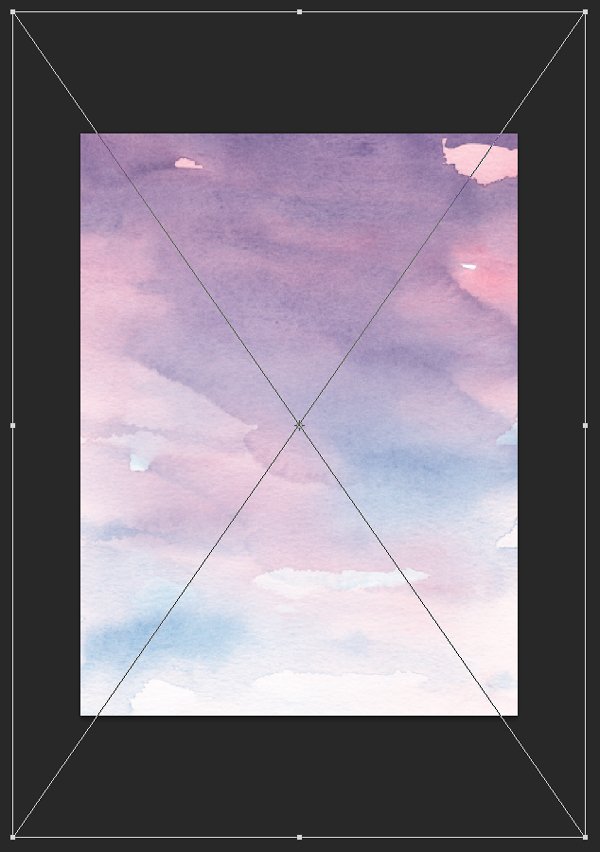
The texture is placed upside-down, and scaled up to 175%.
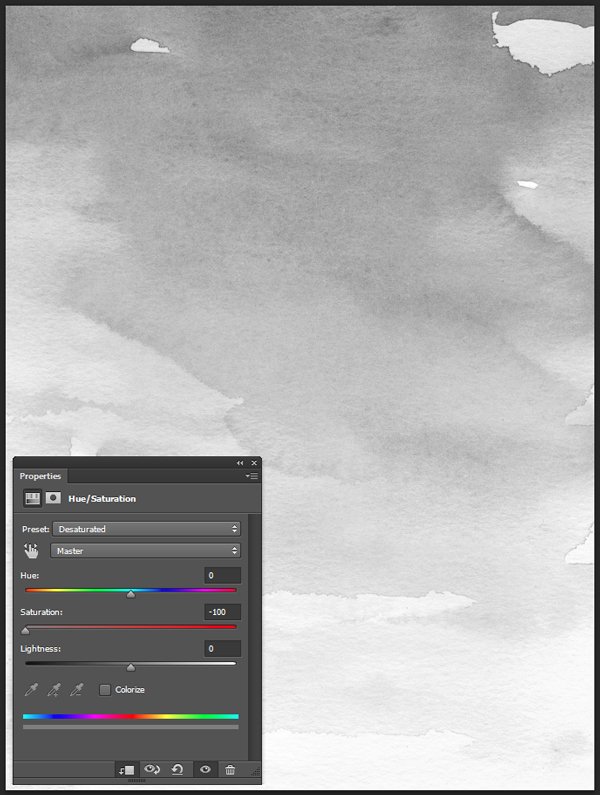
Blending mode: Soft light @ 35% opacity. The texture keeps supporting the painterly feel of the piece, and helps to bring a splash of brightness at the bottom of the poster.
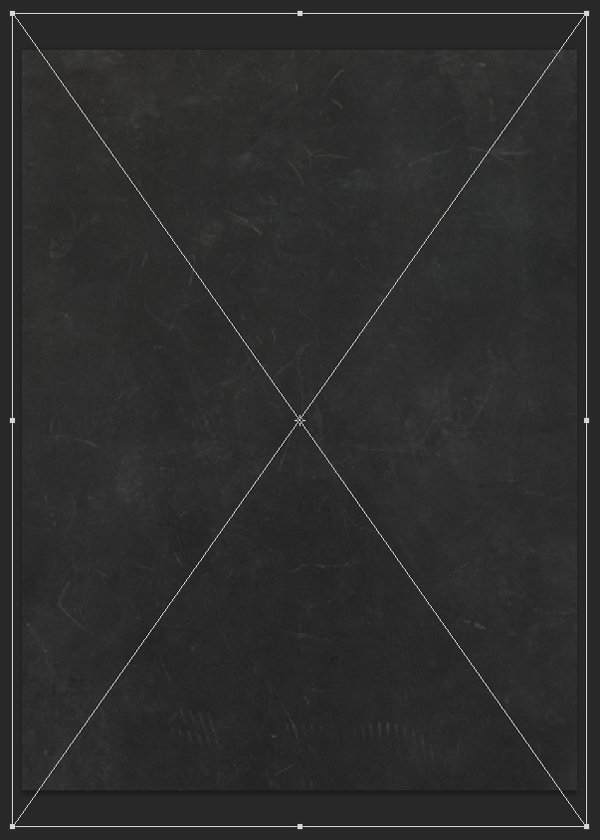
The following texture is from Ornaments of Grace’s Leathercrafter Studio (\mammoth-design-collection-ornaments-of-grace-leathercrafter-2\Textures+PSDs\Black). It’s a black leather texture, full of wear patterns, and scratches: FullGrain-01.png.
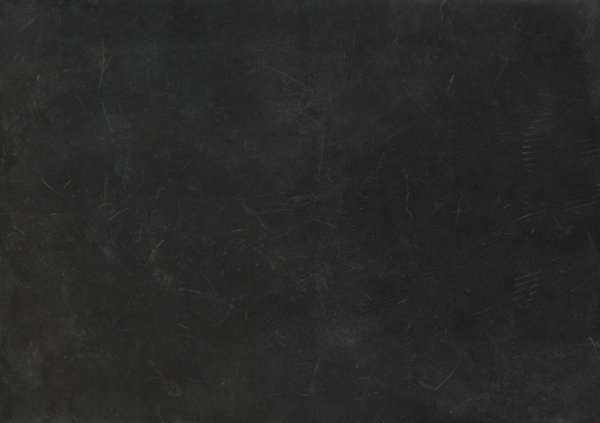
The texture needs to be rotated, and scaled so it covers the full piece (90°, and 185%).
Blending mode: Screen @ 100% opacity.

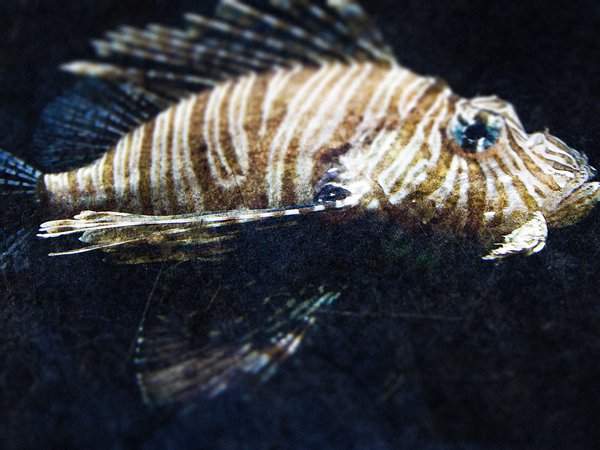
The next textural element is from Studio Denmark’s glitter elements. It’s Spot 2.png (\mammoth-design-collection-studio-denmark\Glitter-Confetti-Borders+Elements\Silver-Elements).
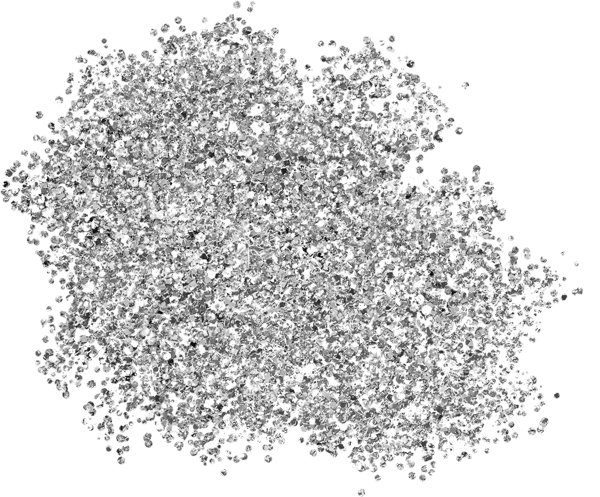
This little asset will allow us to add some noisy, ripple-like texture on the lionfish. Center it on the fish, and scale it up to 300% so it covers the whole fish.
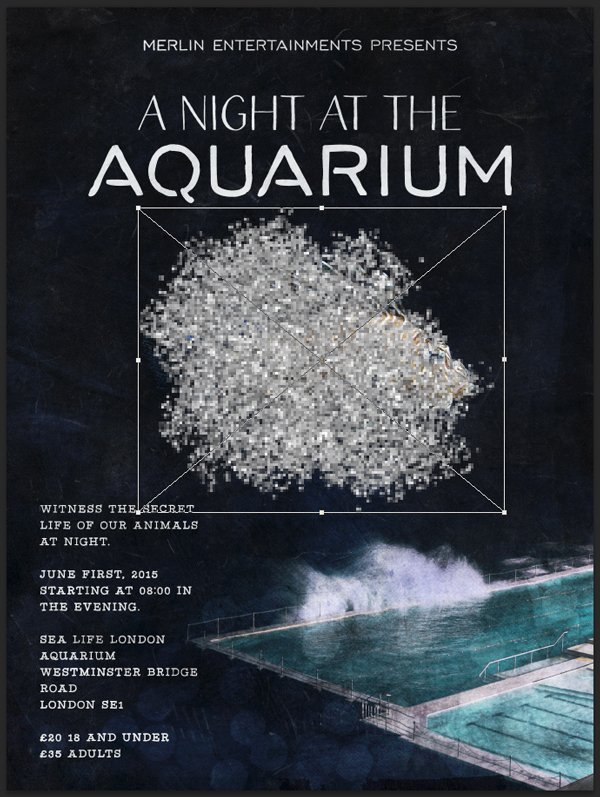
Blending mode: Overlay @ 50% opacity.

The last texture we’ll use is watercolor-washes-textures-volume-01-005-sbh.jpg. It’s from The Shop’s watercolor washes textures volume 01.
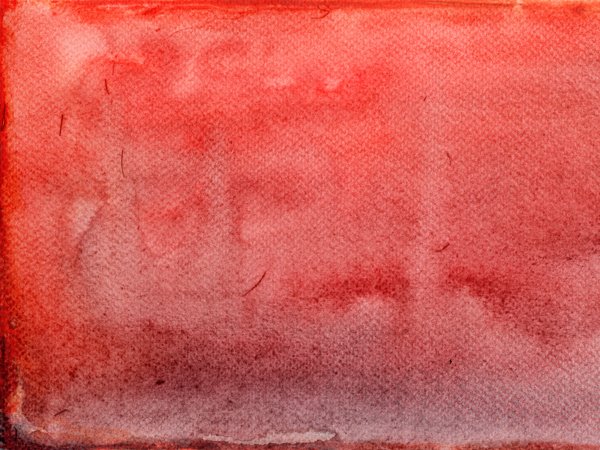
The texture is placed rotated by 90°, and its full size.
Blending mode: Soft light @ 50% opacity.

We’re almost done! Let’s organise our layers.
STEP SIX: FINISHING TOUCH
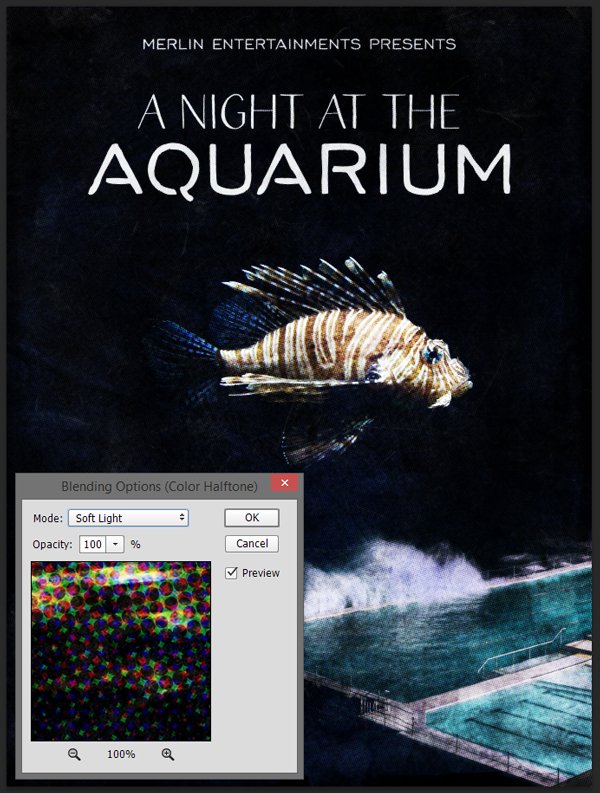
The finishing touch for the poster is a halftone effect. After comparing some options, the Color halftone provided the most interesting results.
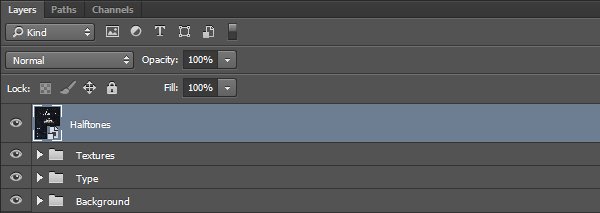
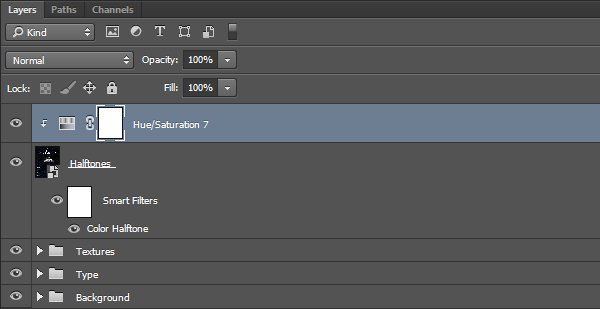
We start by creating a merged copy of all of our layers (CTRL/CMD+SHIFT+ALT/OPTION+E). This creates a new layer at the top of our layer stack, that we’ll rename into Halftones.
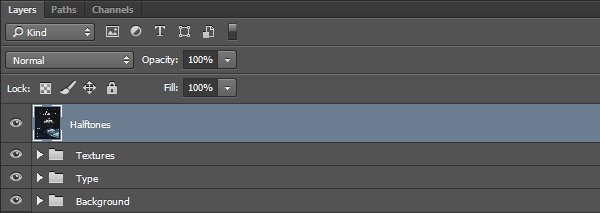
Next step: turning the layer into a smart object (Filter > Convert for smart filters on Photoshop CC, or Layer > Smart Object > Convert to Smart Object).
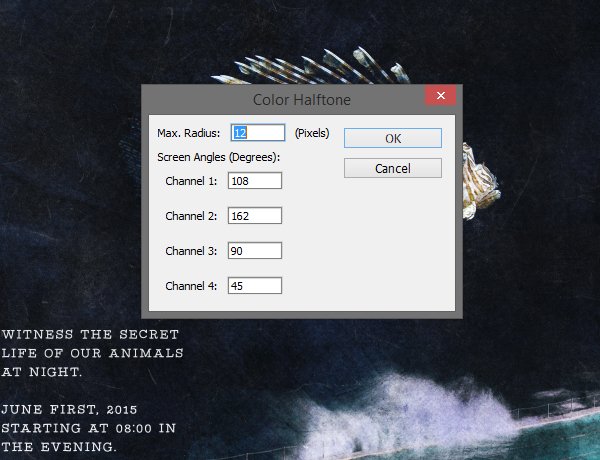
Time to run the filter (Filter > Pixelate > Color halftone).
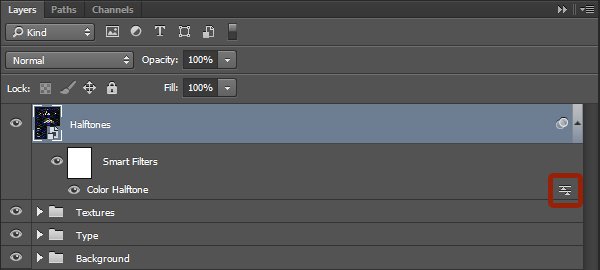
Next step: changing the blending mode of the effect to Soft light @ 100% opacity, by double-clicking on this symbol in our layer palette.
The blending mode of the layer itself needs to be changed to Lighter color @ 35% opacity.
Finally, we’ll add a clipped hue/saturation adjustment layer to the halftone layer, set to the Old style preset. This will reduce the color shift and darkness the halftone brings.
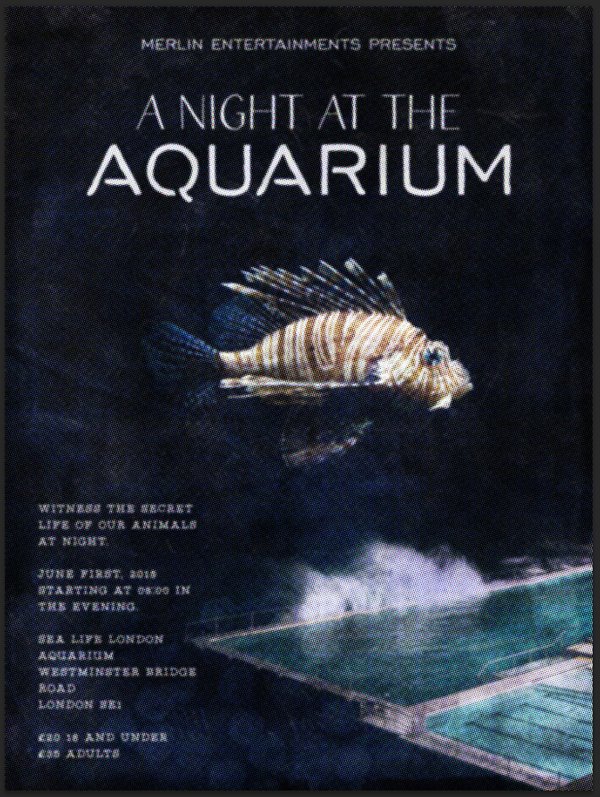
And our poster is done!
WRAPPING THINGS UP
I hope you liked the poster and following the process along, as much as I liked designing and writing everything. If you have any technical questions, please use the comments below, and either myself or the rest of the Design Cuts team will reply to them.
Finally, we’d love to see your tutorial outcomes! Please share them with us on the Design Cuts Facebook page. We’ll share the best ones with the whole community.

There is less than a week left to grab the mammoth creative design collection for 96% the regular price (saving you over $795 on this huge bundle of design assets)! If you have them already, I hope that you enjoy your new resources, and that this tutorial gave you a sense of what you can accomplish with them.
That’s it for me today! Until next time, cheers, and have a wonderful weekend.
YAY! I see you guys like GuideGuide! :D I know Adobe has included this in CC but I still like using it! Great tutorial!
Elijah, I remembered you mentioning it last time ;-) I figured that not everyone has moved up to the CC versions, so it’s a solid alternative.
Good stuff!
Thank you for your kind words, Edd!
Thanks so much for the great tutorial! I learned a lot about textures and how to apply them in different ways. What do you mean at the end when you apply the “Old Style preset” to the halftone? I looked around but couldn’t find where you talked about this. I may have missed it. Thanks again! It was nice to explore a lot of the options available in this bundle!
Hey Melody,
Thanks so much for the comment- my sincere apologies for the delay in coming back to you on this but rest assured we can get this sorted for you!
I have contacted Simon who created the tutorial and have sent you over an email with his solution to this! I hope this helps, and please don’t hesitate to contact me should you have any other questions.
What a delightful tutorial :) Thanks a bunch and keep the fun coming!
Ah, thank you for your kind words!
Hey Alexandra,
We are so pleased you enjoyed the tutorial :) Thank you for your lovely comment! You are more than welcome and rest assured, there’s always more creative fun to come!
I absolutely love these tutorials (to the point that I obsessively click refresh the minute a new bundle is listed to see what gorgeousness you’ll be teaching me me this time!)!
Keep up the superb work, guys :D
Hey Ryan,
Thanks so much for your kind words, we’re really happy that you’re enjoying the tutorials! We always look forward to releasing new ones to see what amazing things our community will come up with from them!
Please do feel free to share any designs you create, we would love to take a look :).
Thank you for your kind words, Ryan!