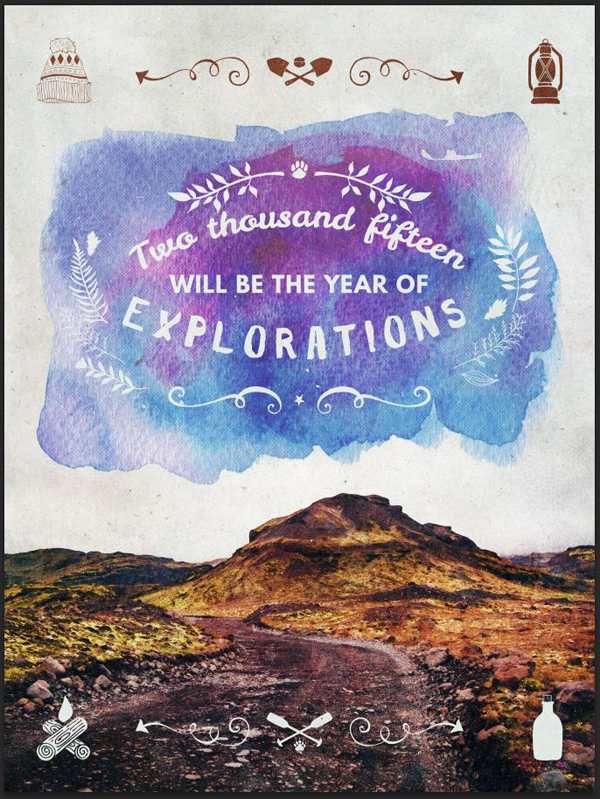
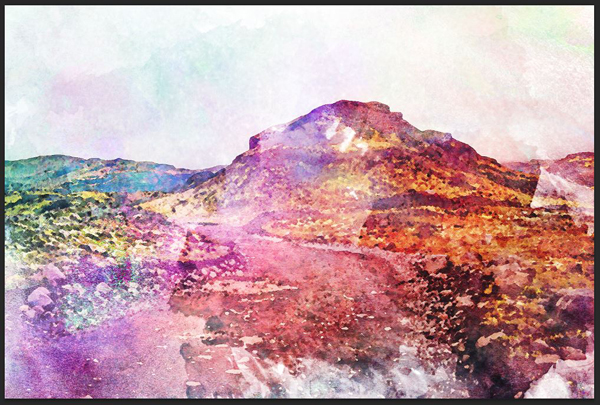
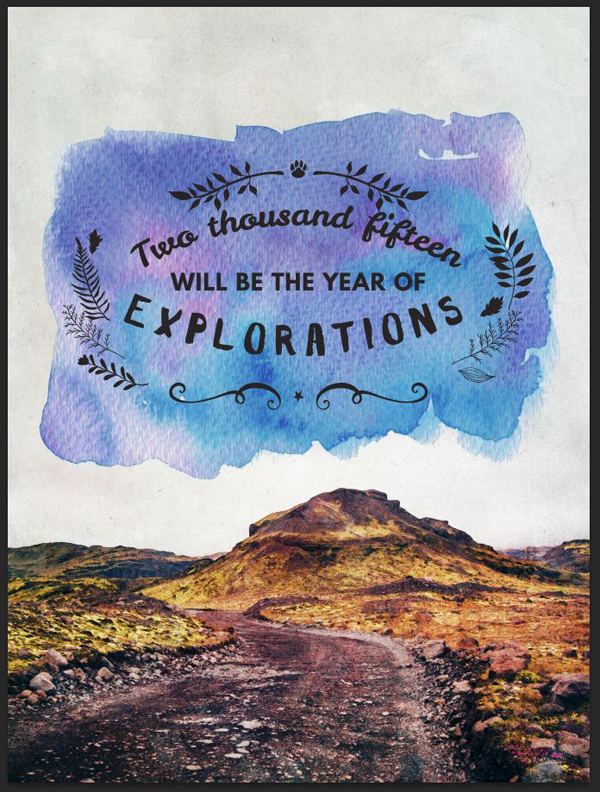
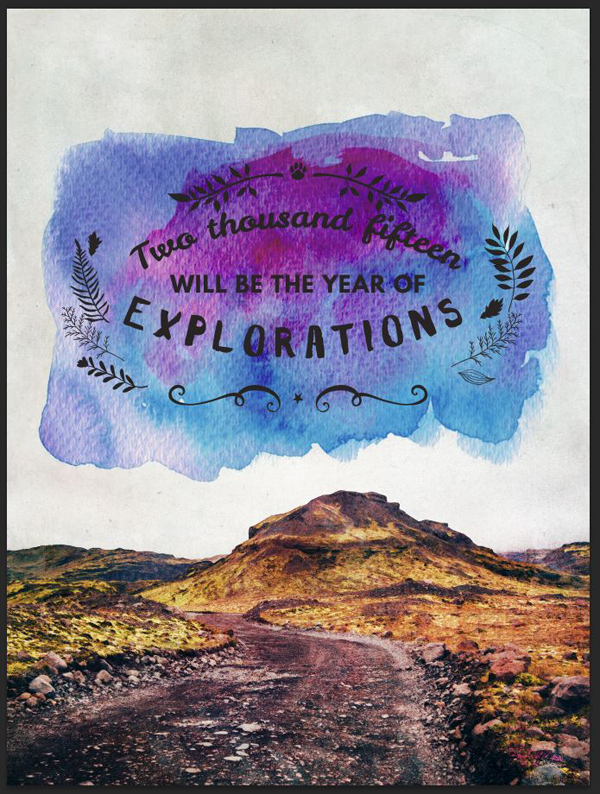
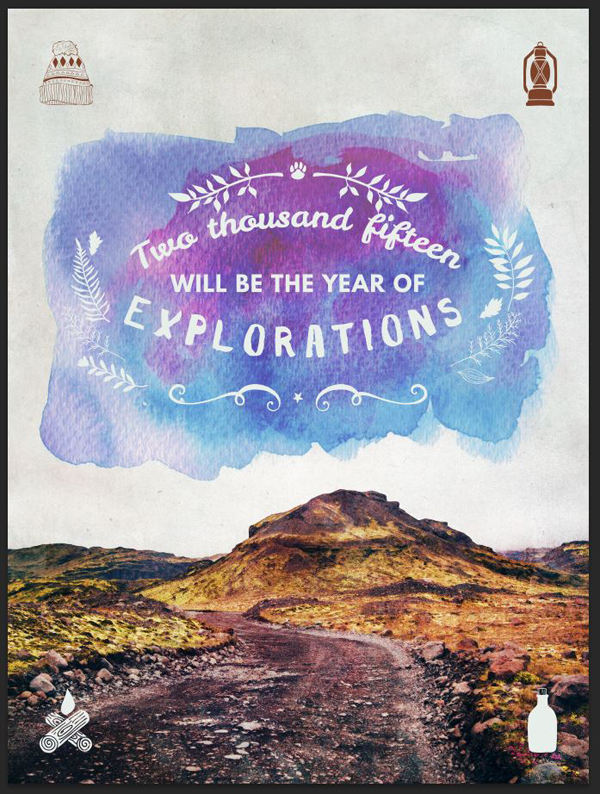
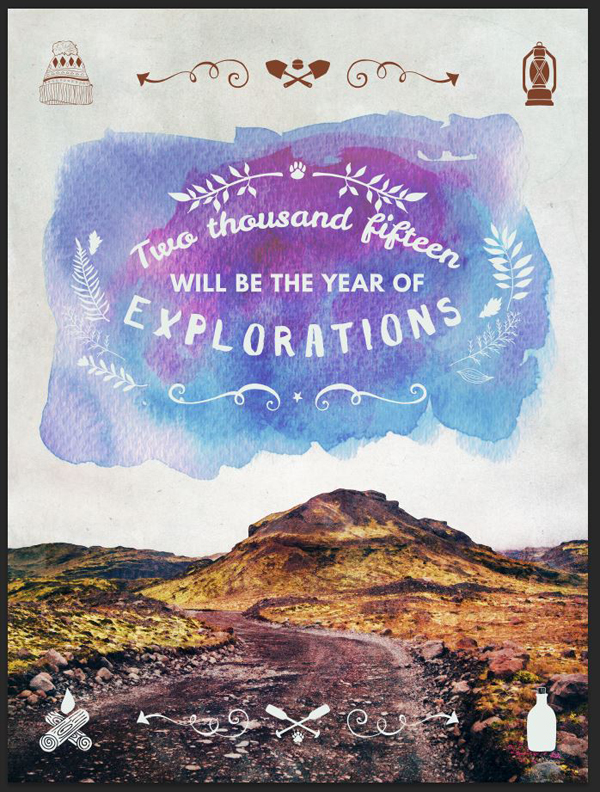
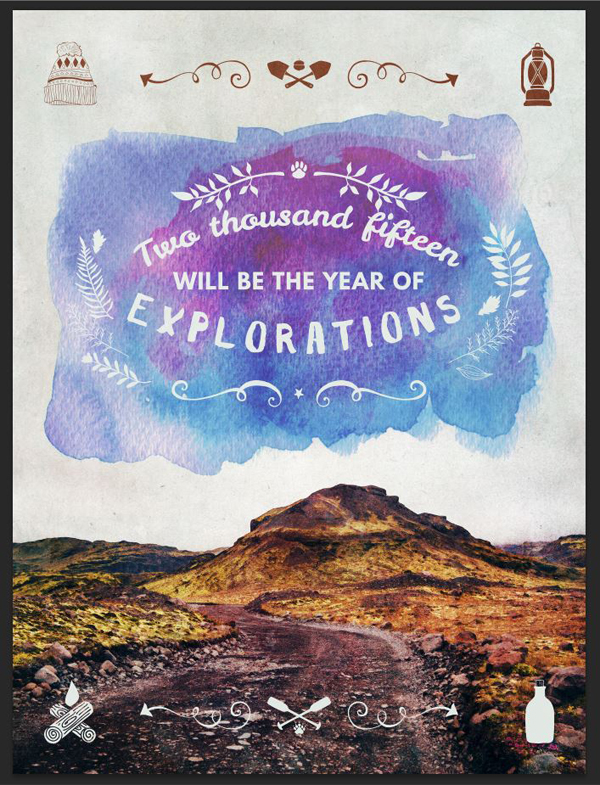
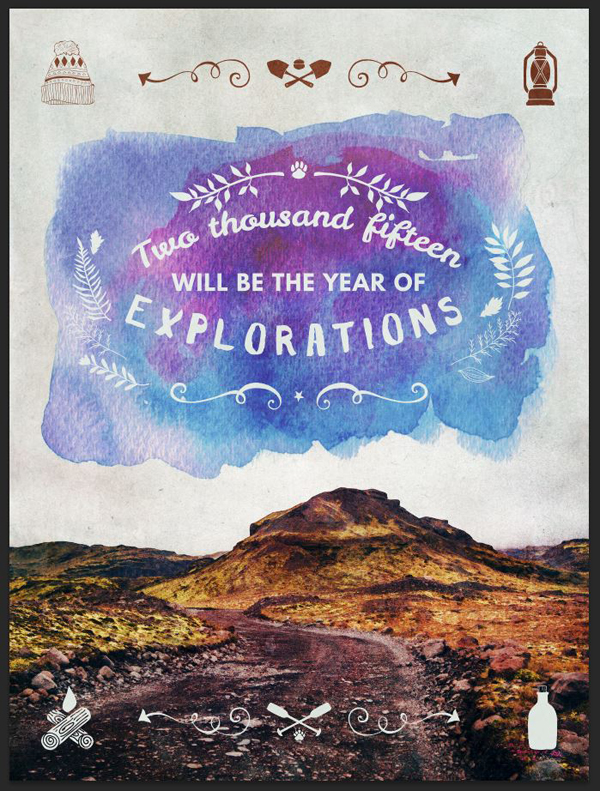
WHAT WE’RE CREATING:
Hello Design Cuts community. It’s Simon here on this end of the keyboard for this new tutorial. Since the new year is still young, it seemed quite fitting to use the resources in the current Gorgeous Artistic Design Bundle to build a new year’s resolution poster. We’ll accomplish this by combining the bundle’s beautiful stock photography, plus the delicate watercolor effects, along with some of the intricate textures together. Sprinkle in a few vector elements, and we’ll be done!
Now, this sounds quick, but fair warning: this is a long one. I really break down the techniques involved as well as the design principles at play, so hopefully you’ll learn a few new tricks! Pour yourself a coffee/tea (or two, or more), put some nice music on, strap on your seatbelt, and enjoy the ride!
STEP 0: CONCEPTUALIZING
The first step was to define the new year’s resolution to illustrate. Given my status as an independent designer working from home, the outdoors can sound pretty appealing. The resolution to explore more this year came naturally.
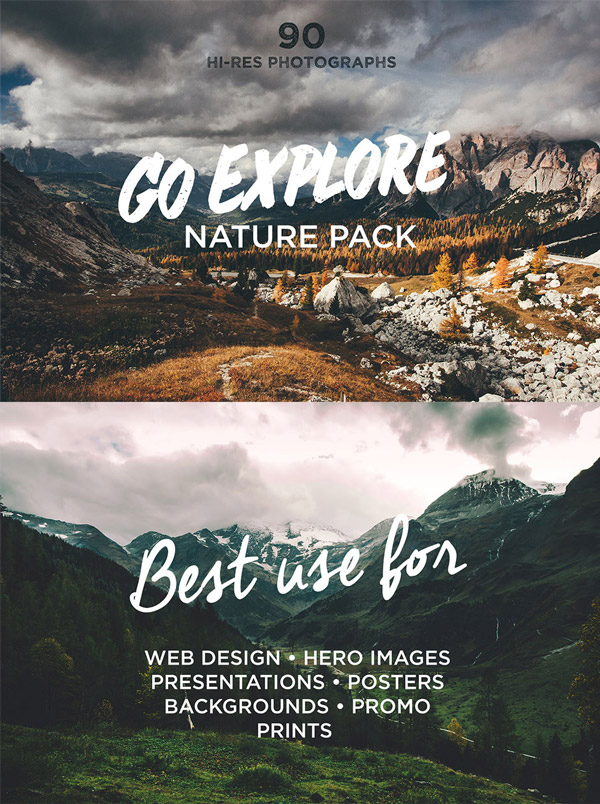
The second step was to go through Made by Vadim’s Go Explore Nature photo pack. The images are gorgeous, while not being too noticeably post-processed. This makes them ideal candidates to be used as part of a piece’s background.
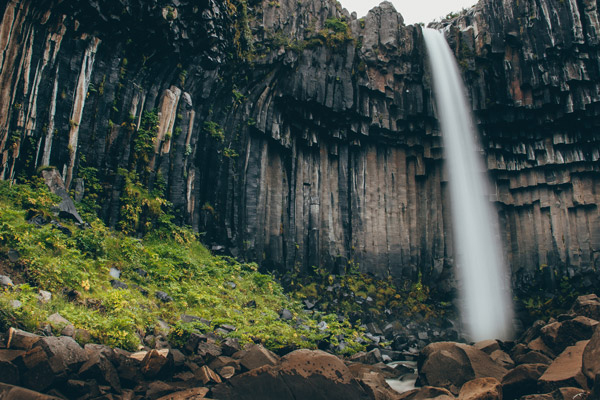
Here are the two images I retained from my comb-through. Let’s go over the reason why I retained them.
I already knew that my piece was going to be a portrait-oriented poster. The waterfall could be a striking vertical line in the composition. The image also features a nice contrast between the mineral and dark top, and the bright, organic bottom.
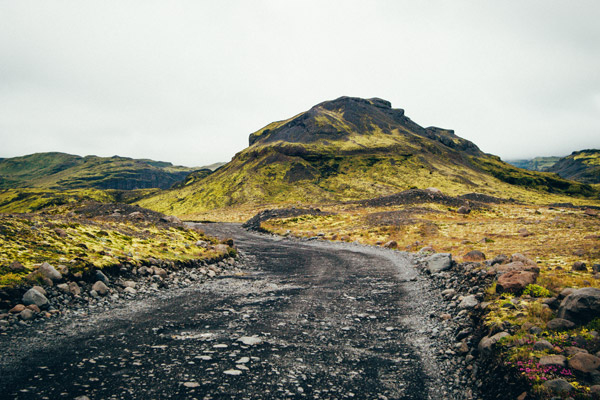
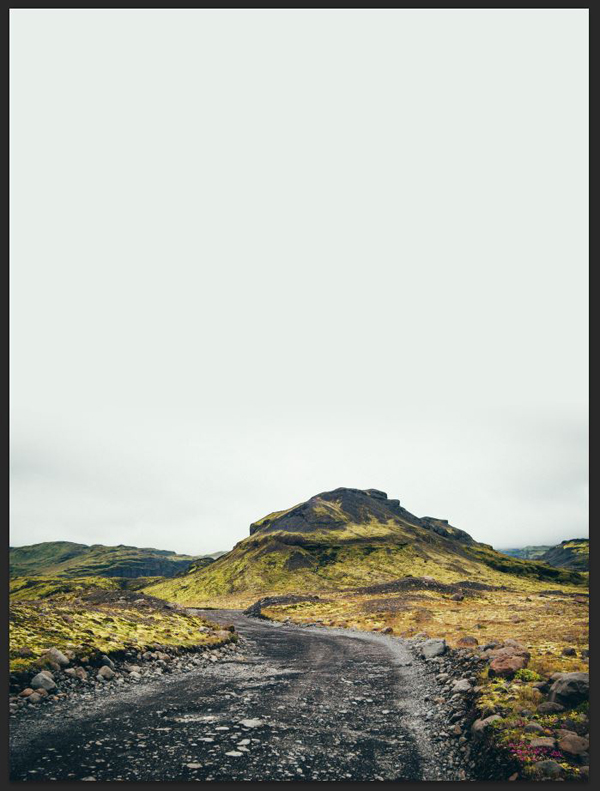
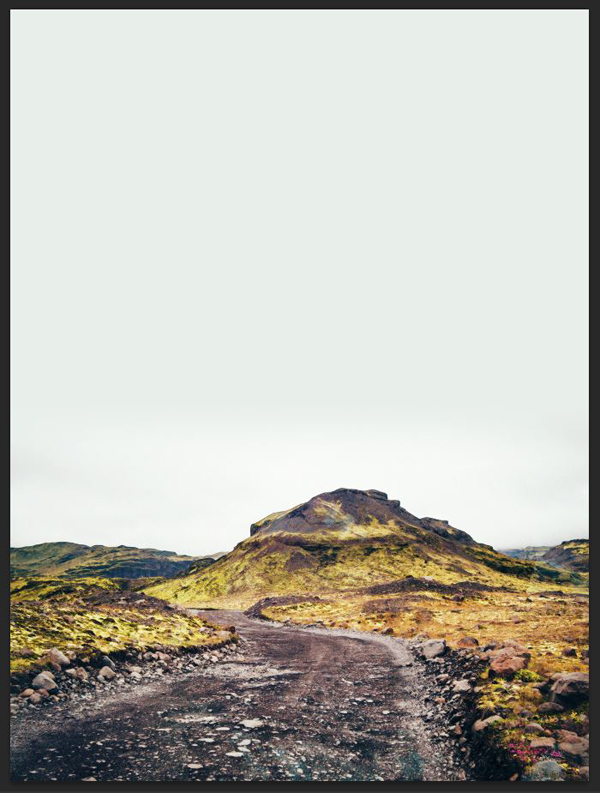
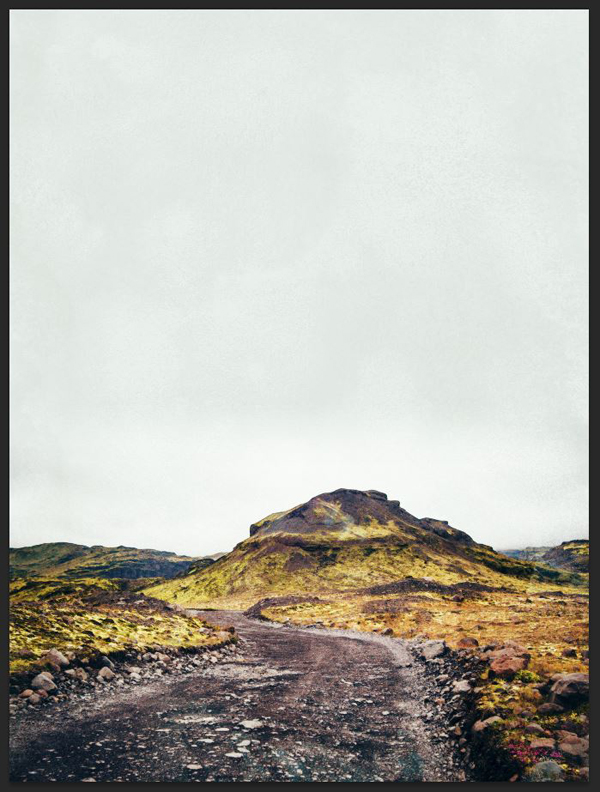
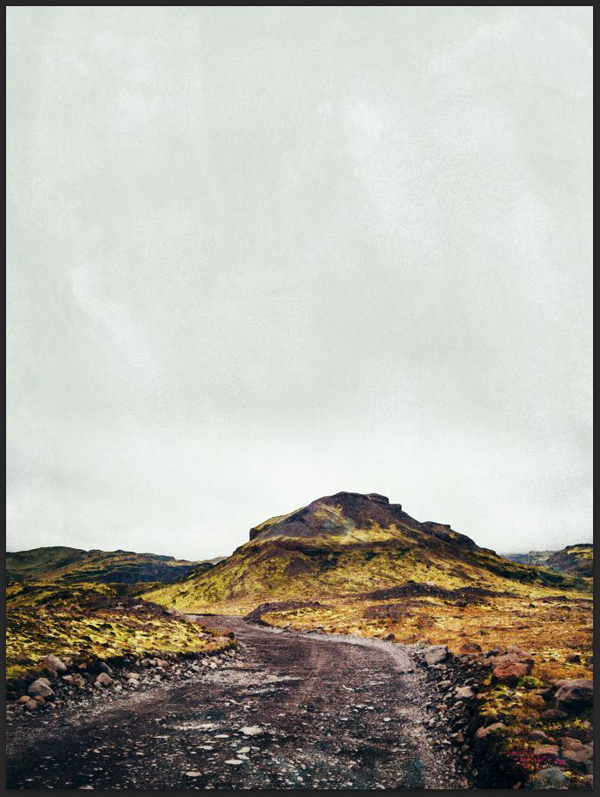
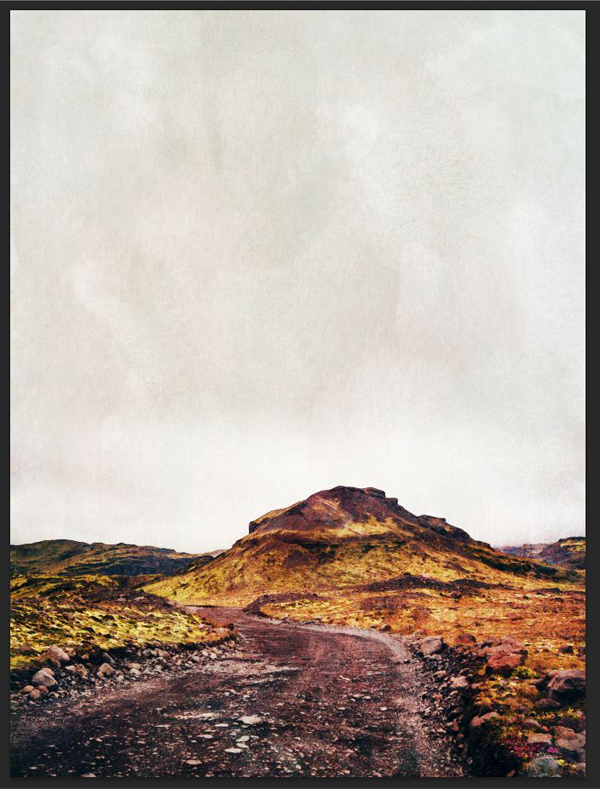
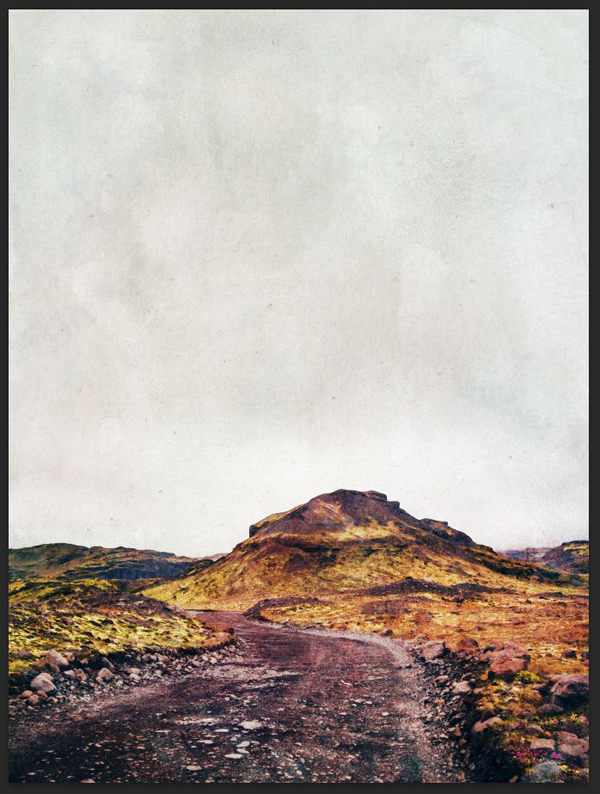
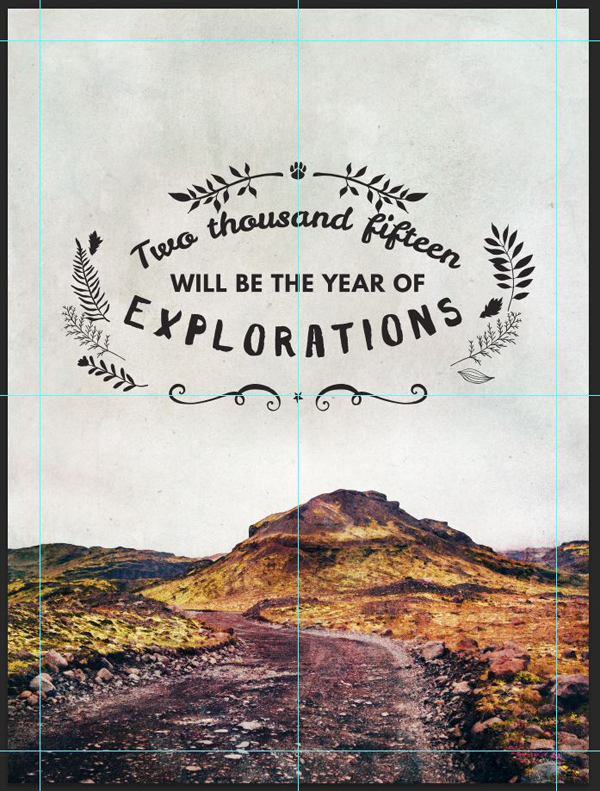
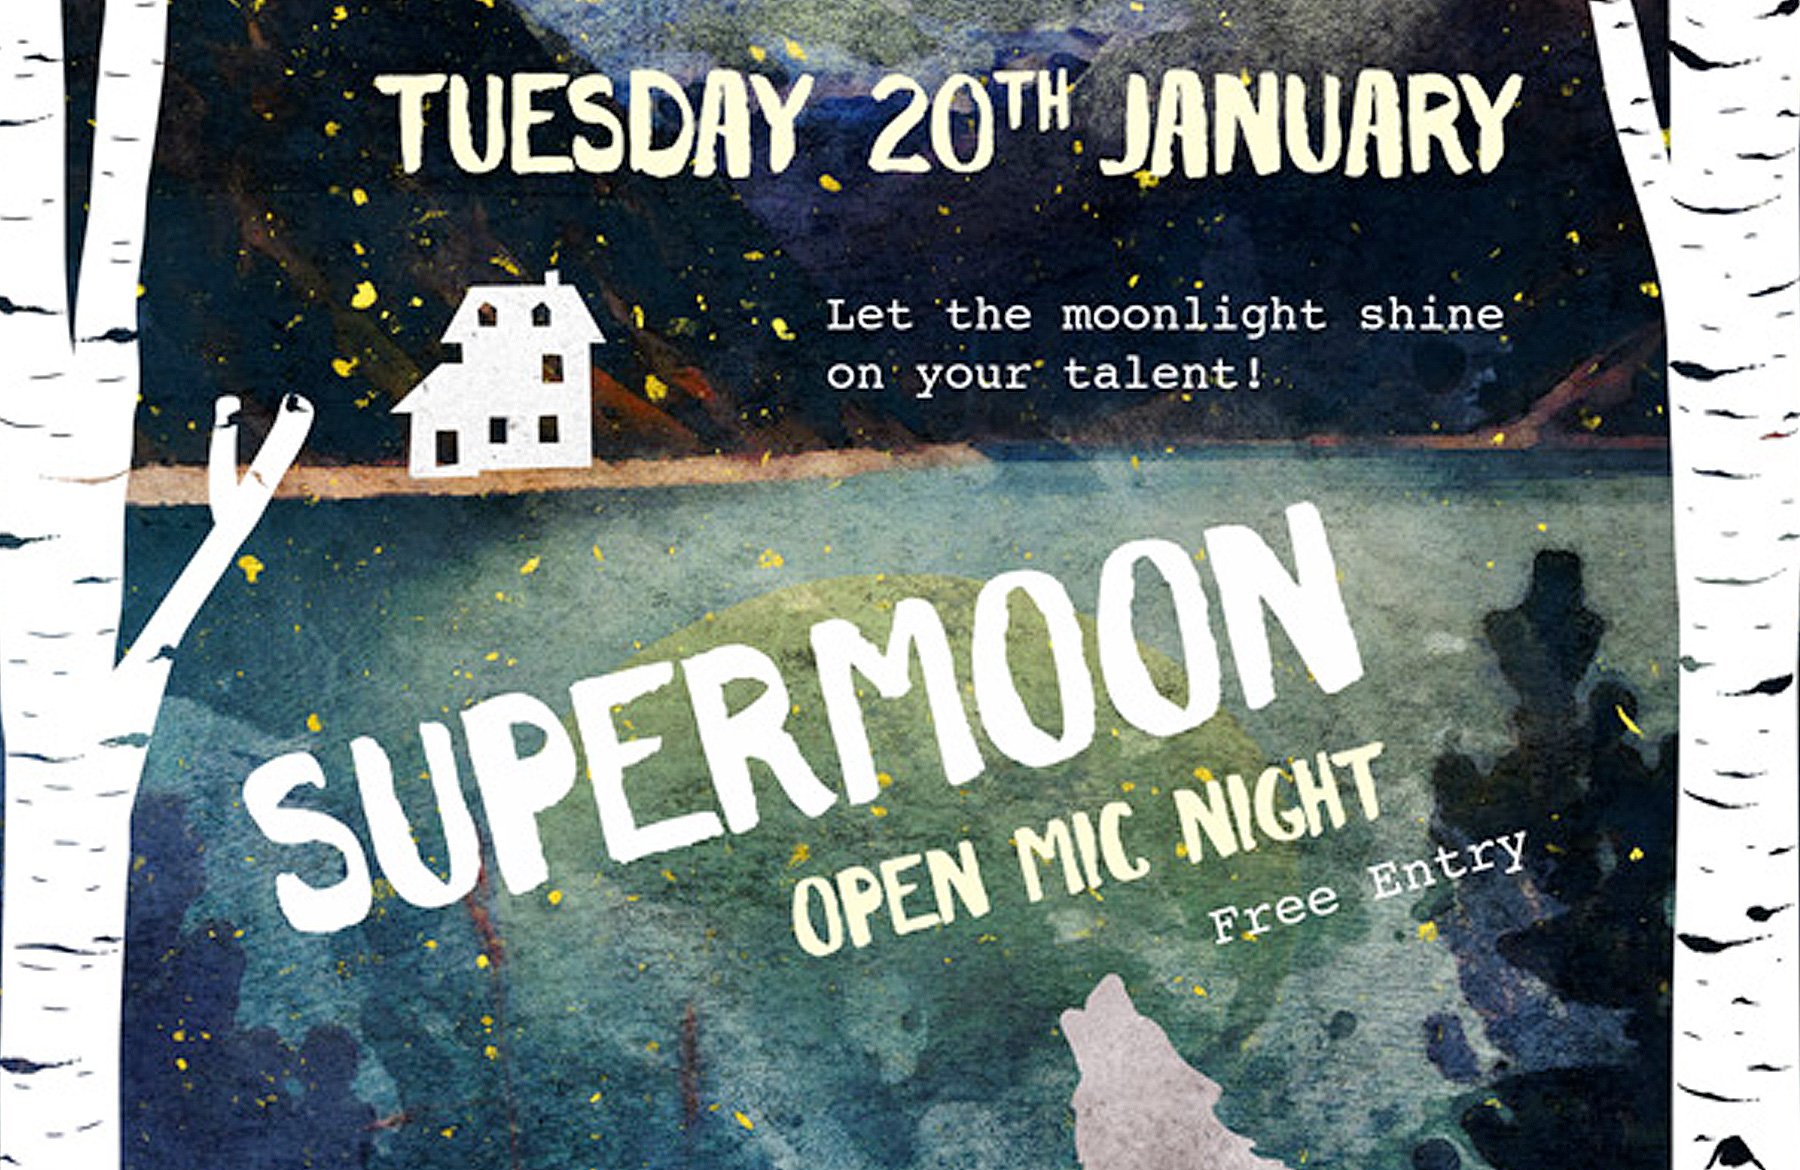
This second image came as the best option because it features a path leading to a mysterious direction. That’s an obvious but efficient visual allegory for my theme. It also features a sky that you could easily fade into a solid color, like we did in the gothic poster tutorial, or in the creative concert poster one.
The question of the background solved for now, I kept going through the bundle, “shopping” for elements to use in my motivational poster. The next supporting elements will be some of the leaves and branches drawn by Graphic Box for her Winter collection.

Charles Perrault’s Watercolor painting studio vol. 03 produces effects that are too striking to ignore. We’ll make use of it on our background, even if it’s just for a subtle overlay.

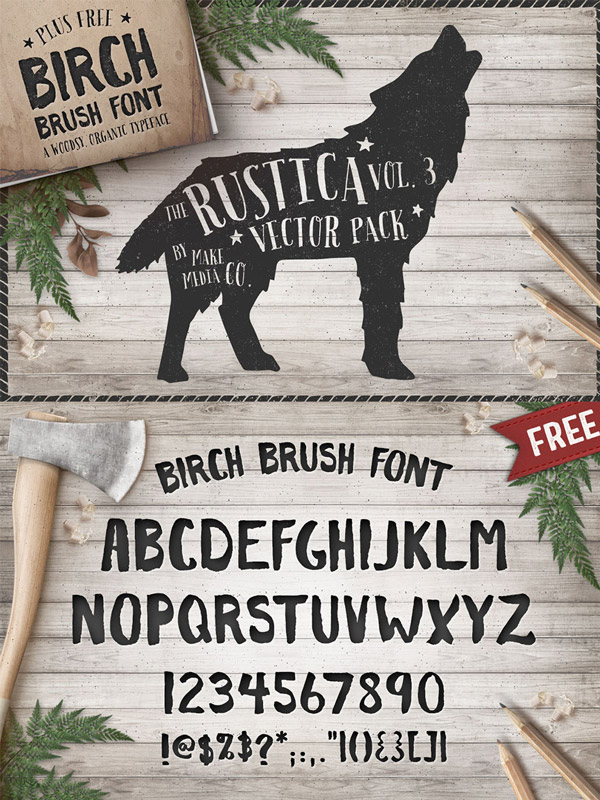
Finally, Make Media Co.’s Rustica vector pack vol. 03 will provide us with a few ornaments, along with Birch brush, a great looking typeface.
Now that the general plan of attack is established, let’s get started.
STEP 1: THE BACKGROUND
Document setup
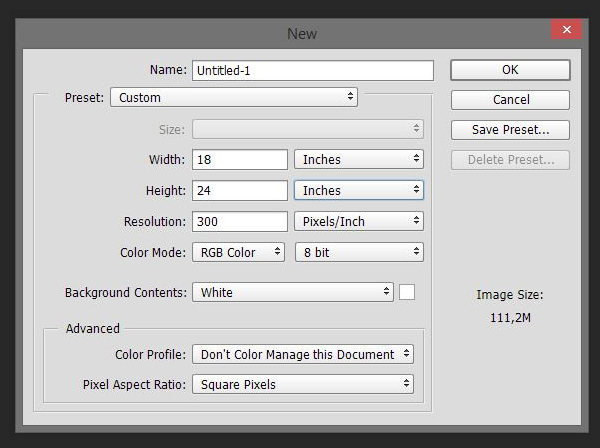
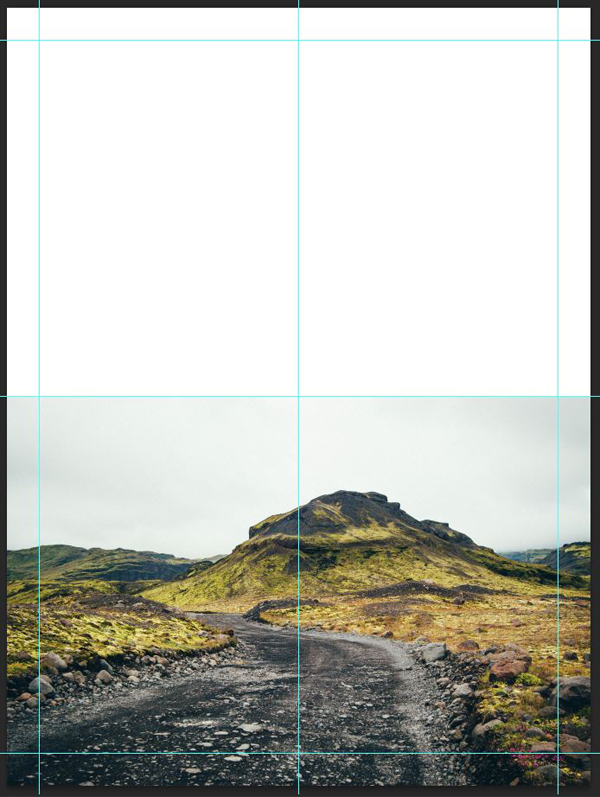
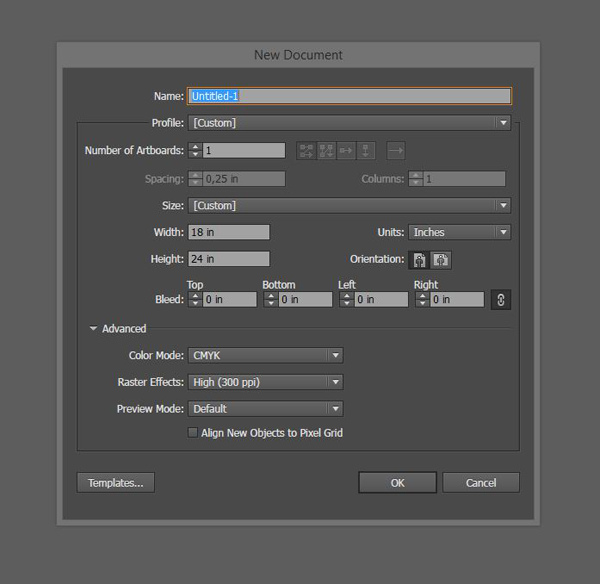
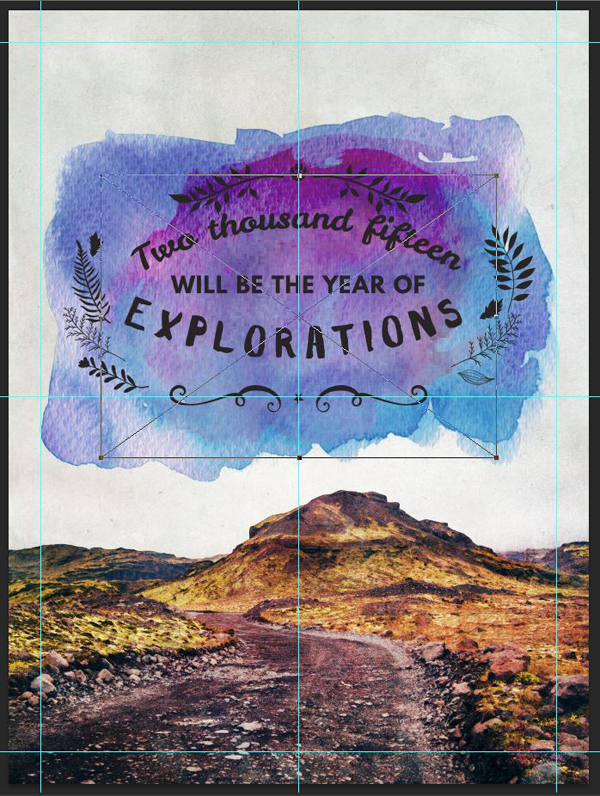
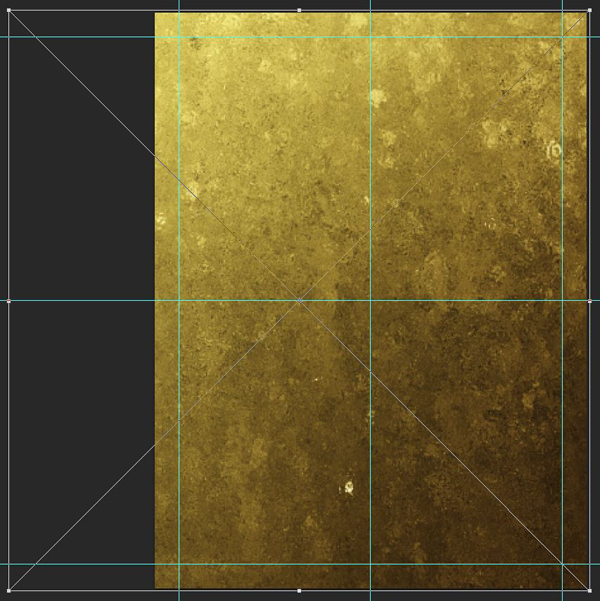
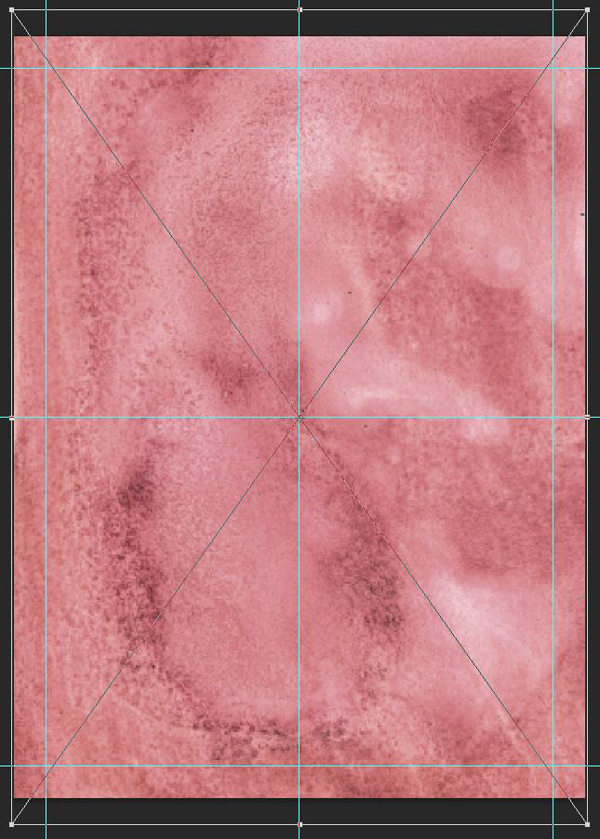
We’ll start this one in Photoshop. Start by creating a new 18″x24″ canvas.
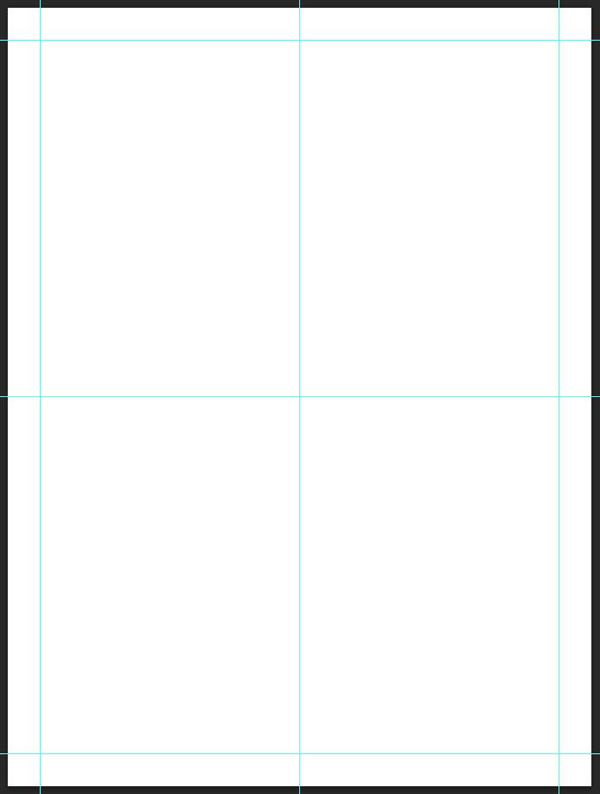
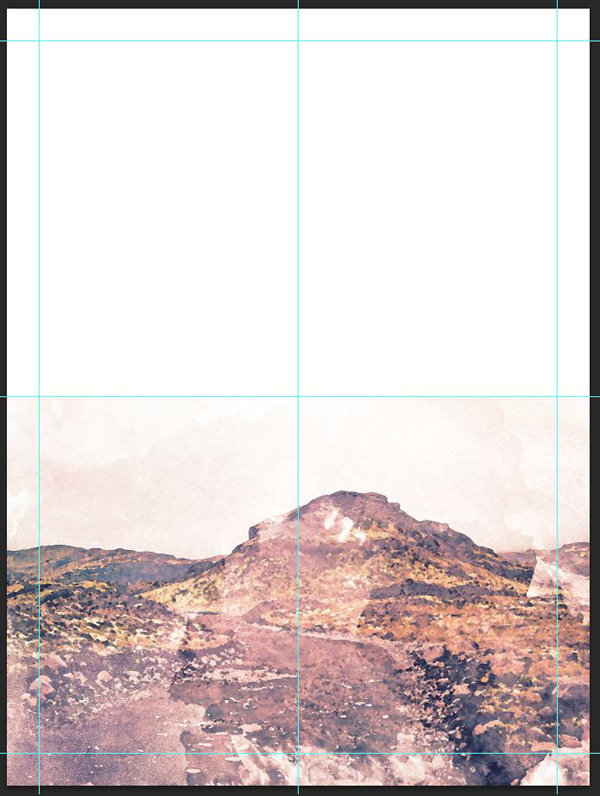
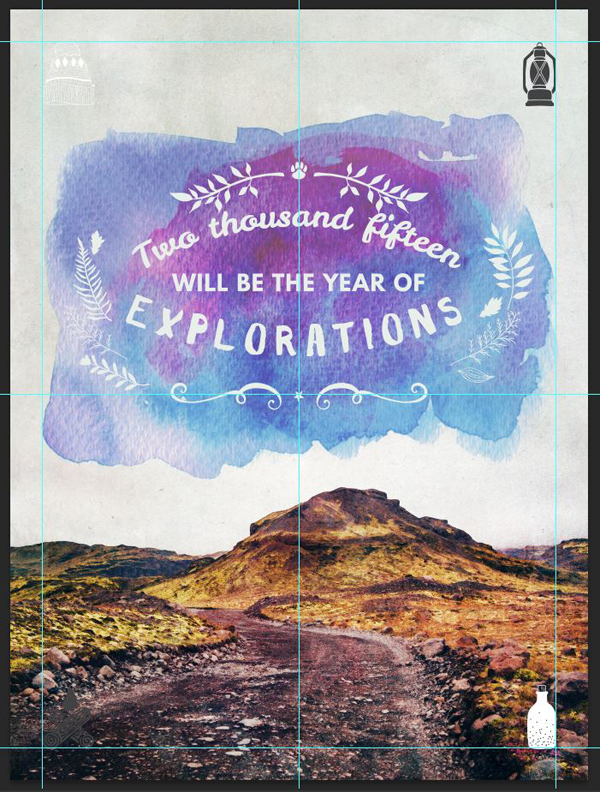
I’ve also placed guides marking the center of the composition, as well as a 1″ zone around the edges.
Save your file, and keep it handy for later. It’s now time to generate the watercolor version of our background image, IMG_1935.jpg.
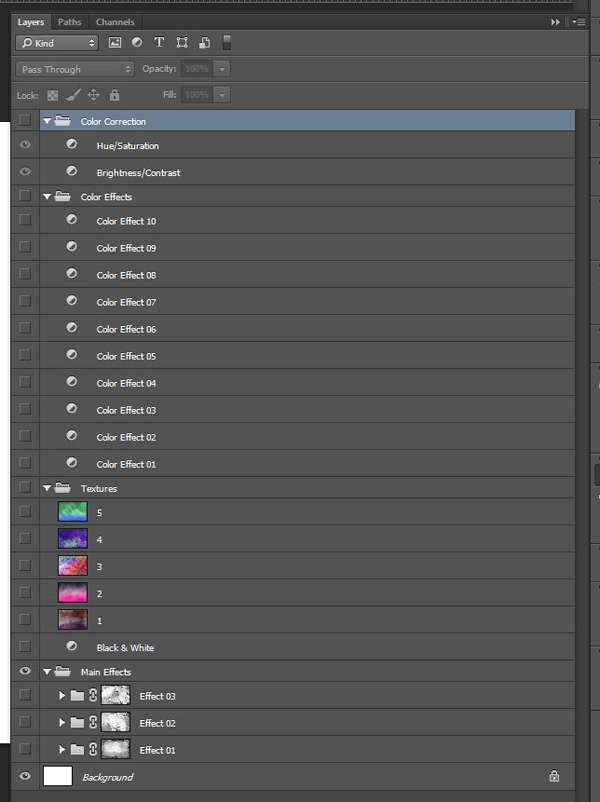
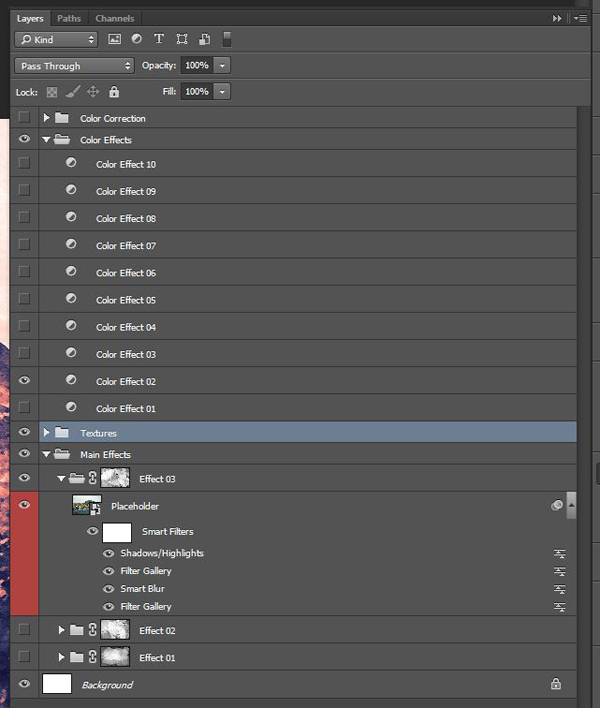
Proceed to open Charles Perrault’s watercolor effect PSD. You’ll find it at \gorgeous-artistic-charles-perrault\Watercolor-Painting-Studio-Vol.-03\Main Effects\Main PSD Effect.psd. At first, it will look like an empty document, although with a hefty layer stack.
Navigate into the Effect 03 layer group, to find the Placeholder smart object.
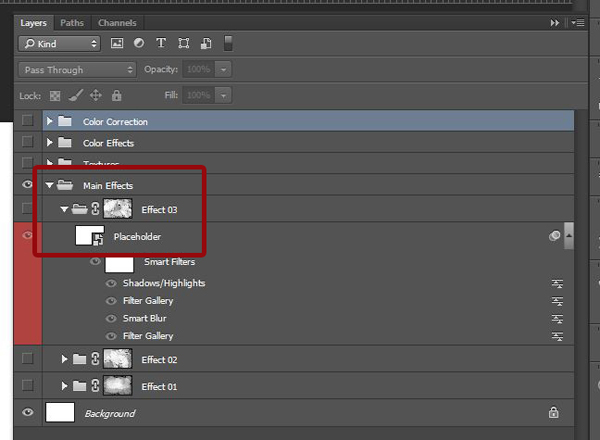
Double click on the layer icon to open the layer up in its own window. Place IMG_1935.jpg in the smart object, save, and return to the main file to admire the result. You’ll find IMG_1935.jpg in \gorgeous-artistic-made-by-vadim\Go-Explore-photo-pack-45.
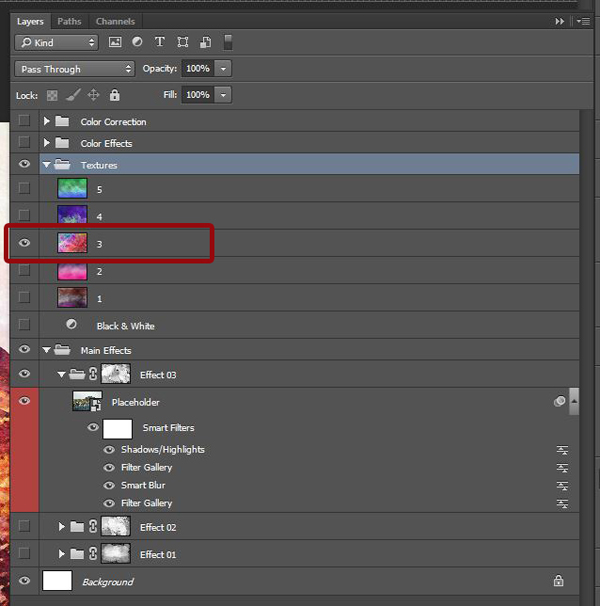
It’s nice, but we need to customize the result a bit further. Open the Textures layer group, and make sure that the third one is turned on.
Next, head to the Color effects layer group, and make sure to activate the second one.
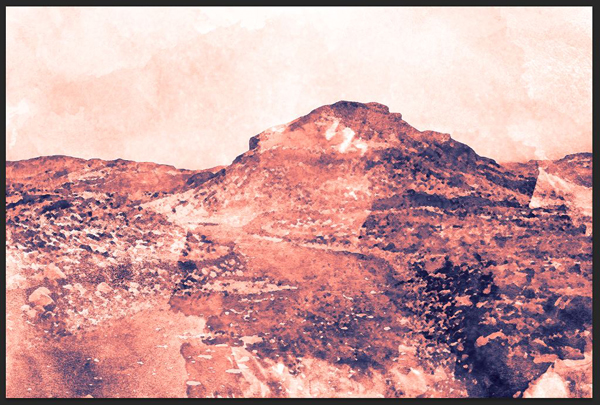
I like where this is heading, but the effect is too strong. Lower the opacity of the color effect layer to 50%.

Lower the opacity of the texture effect layer to 50% as well.
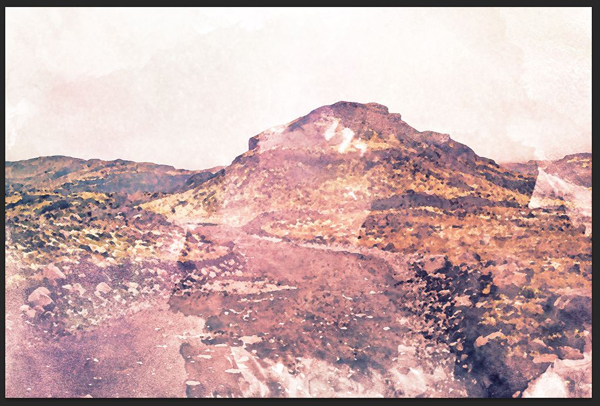
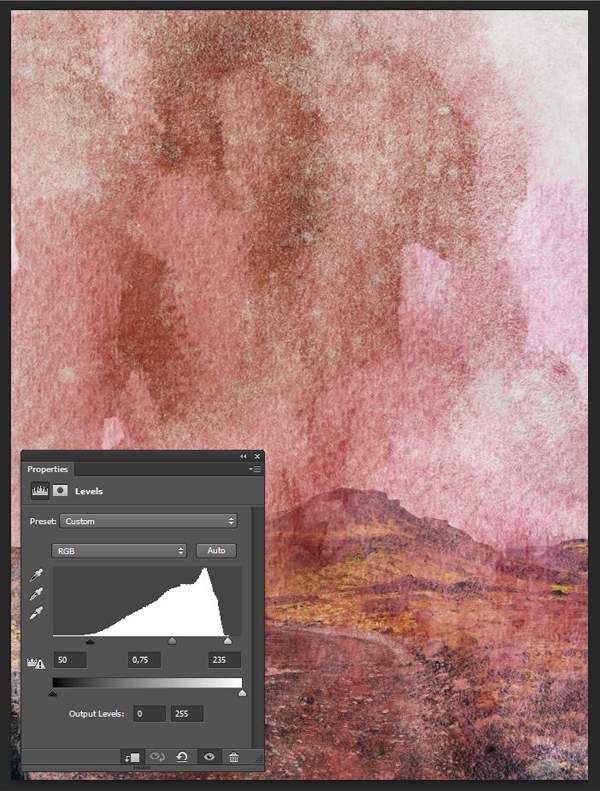
Once these adjustments are done, proceed to edit the settings of the brightness/contrast adjustment layer in the Color correction layer group.
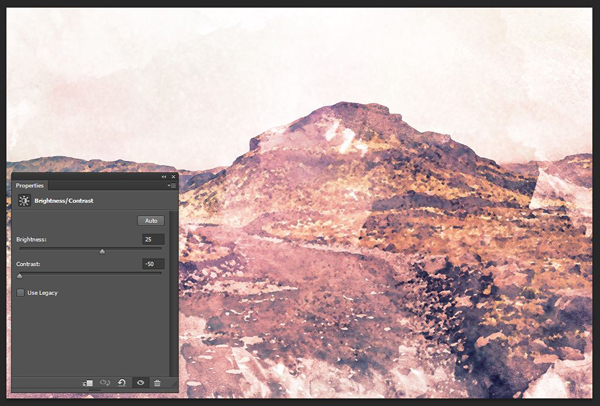
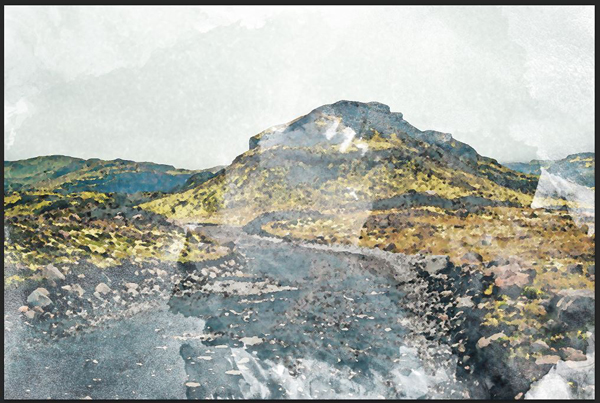
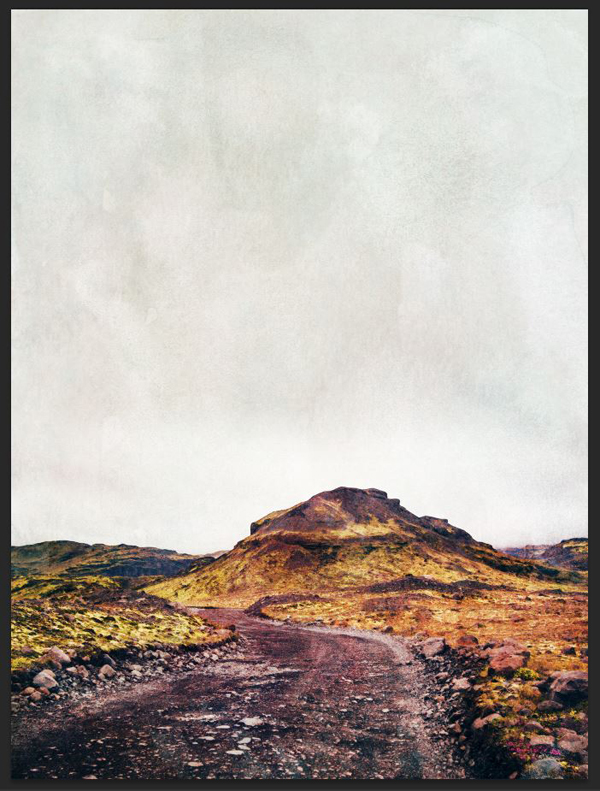
And we’ve got ourselves a neat watercolor version of our base image. Save it as a JPG or PNG. You could also save a copy of the PSD, to keep the altered settings at hand should you ever need them.
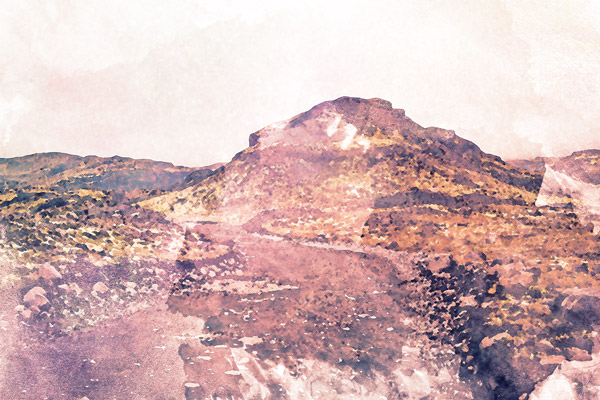
Note that the Charles Perrault PSD gives your final image a size of 3000×2000 pixels. We need to save a version of the unaltered image at the same size, or else aligning them later on will be a nightmare. The good news is that Vadim’s images are cropped in a ratio allowing for that. Save an independent copy of the resized image.
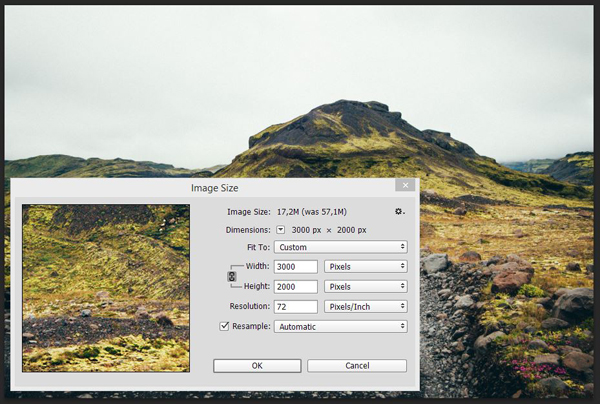
At the end of this process, you should now have a watercolor version of the base image, sized at 3000×2000 pixels, and an unaltered version of the base image, resized at 3000×2000 pixels. With these 2 in hand, let’s proceed to creating the poster.
Putting the background images in place
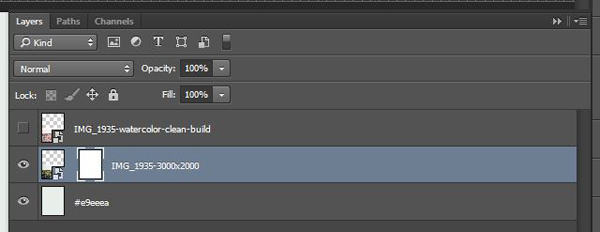
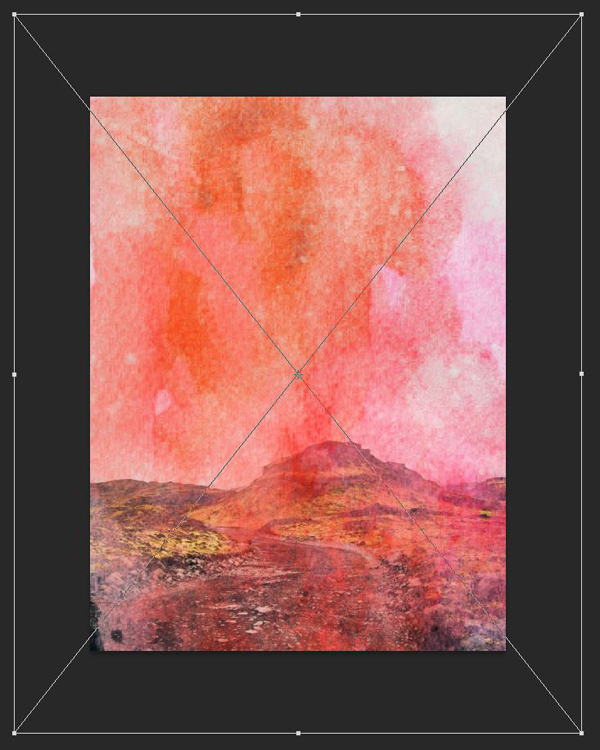
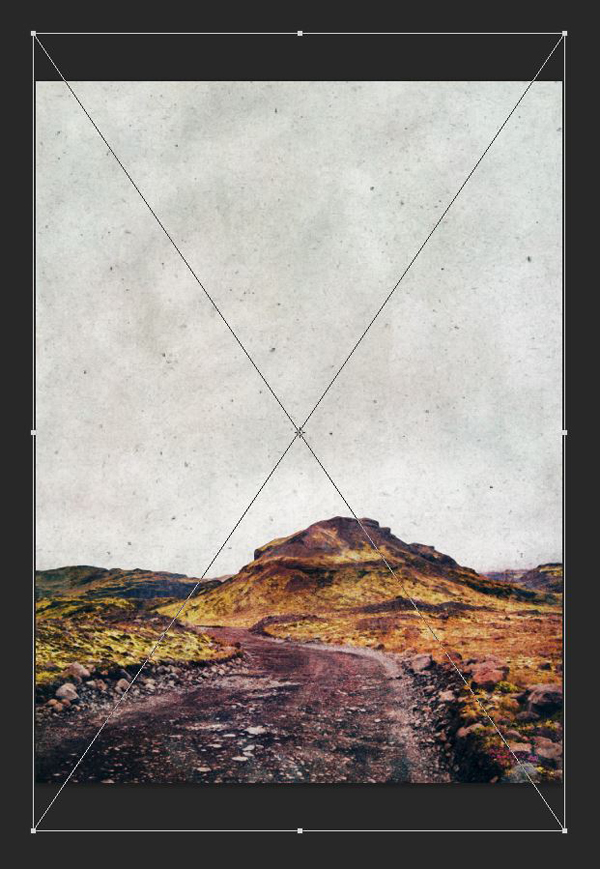
Start by bringing the unaltered (but resized) version of IMG_1935.jpg in your master Photoshop document. I’ve placed it so its width matches the canvas. Photoshop tells me it’s at 43.20% of its full size.

Proceed to now place the watercolor version of the image exactly above it. Use the precise placement and size text boxes if necessary.
Change the blending mode of the watercolor layer to Soft light @ 100% opacity.
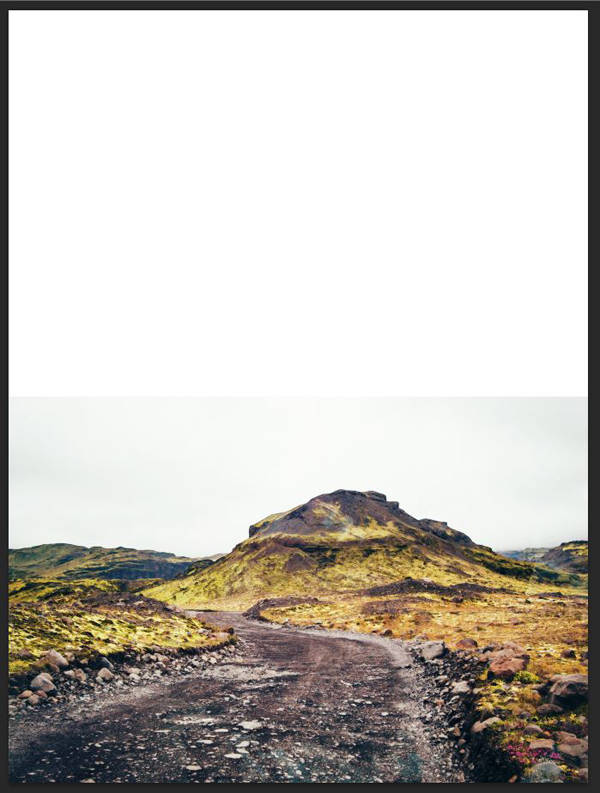
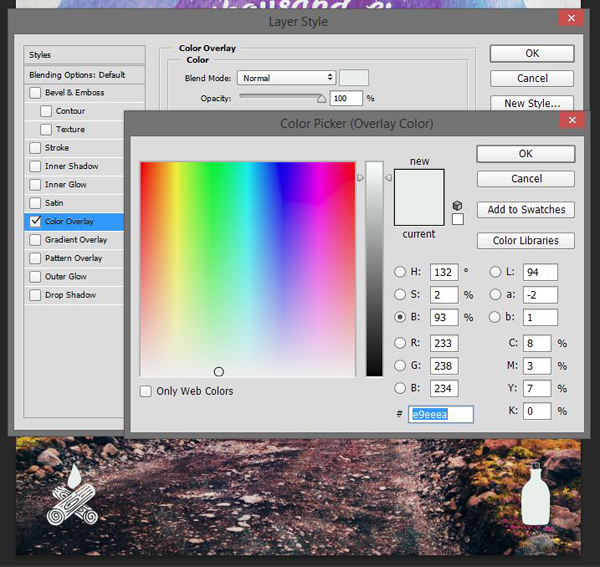
Next, turn off the watercolor layer for the moment. We need to erase the hard transition from the image to the background. Start by sampling the color of the sky near the top edge of the image. I got a really soft blue gray in return (#e9eeea).
Fill the background layer with that color.
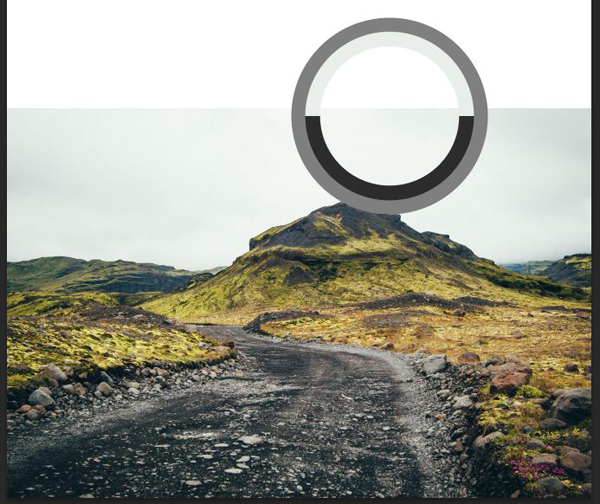
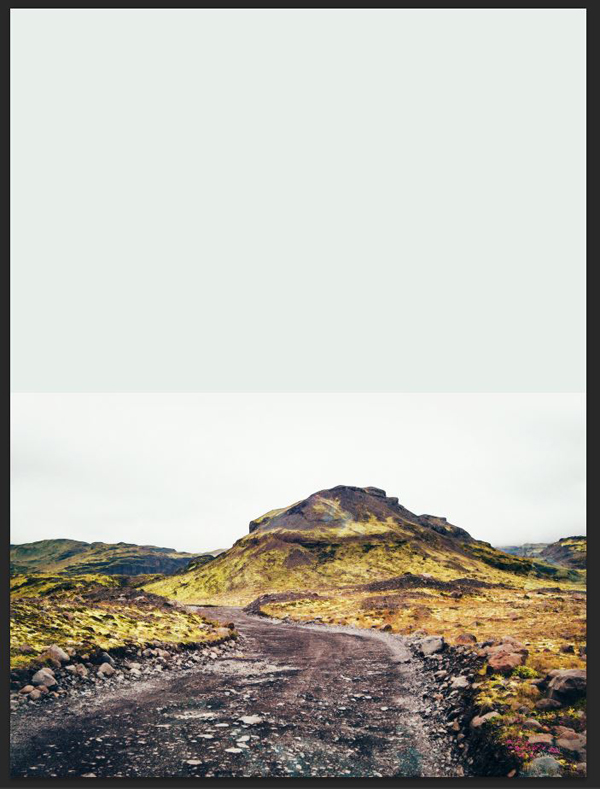
The result is almost there. Now, in order to get rid of that line, we’ll leverage the power of layer masks. Simply add a layer mask to the original photo layer (Layer > Layer mask > Reveal all with the proper layer selected).
With that done, you can simply paint in the layer mask with a big, soft brush to make the limit disappear. But that’s a bit tedious. I’m using the gradient tool to go a bit faster. Make sure to start your gradient below the line you’re looking to hide. Here’s the content of the layer mask (the top edge of the photo lines up with the middle of the piece):
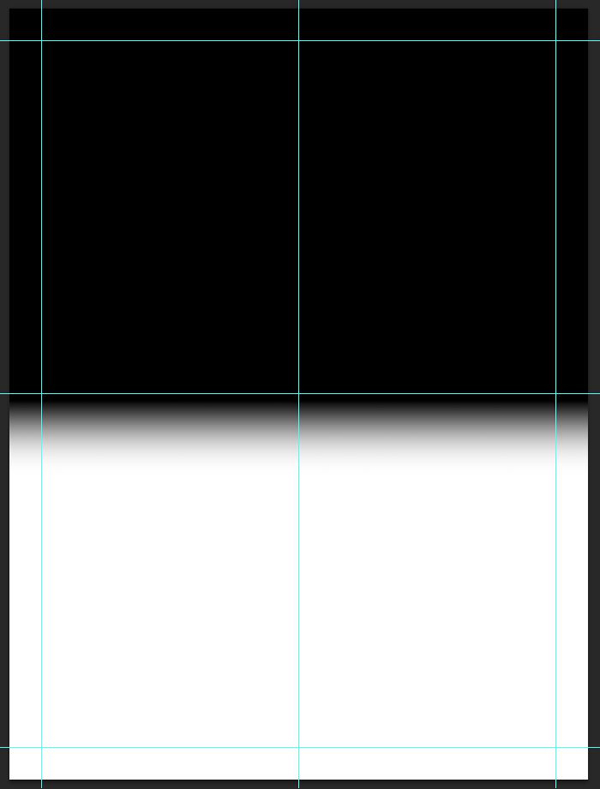
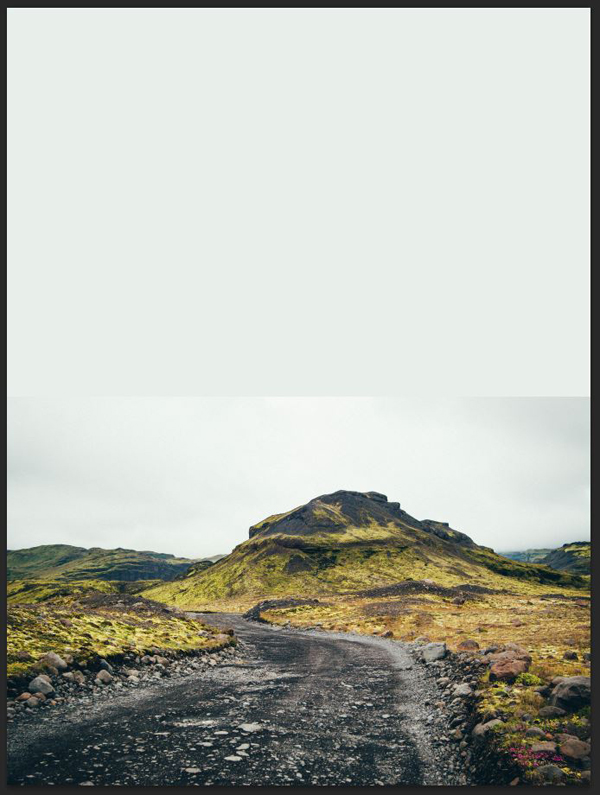
And here’s the result on the art side:
You can now turn the watercolor layer back on.
The line is back! To make it disappear, either duplicate the layer mask from the unaltered image, or clip the watercolor layer to the unaltered one.
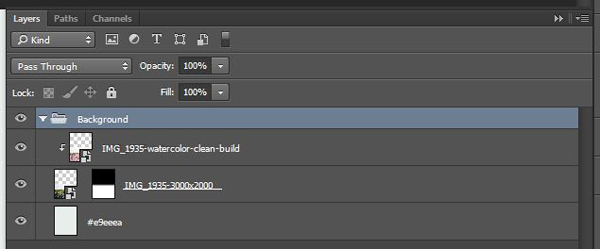
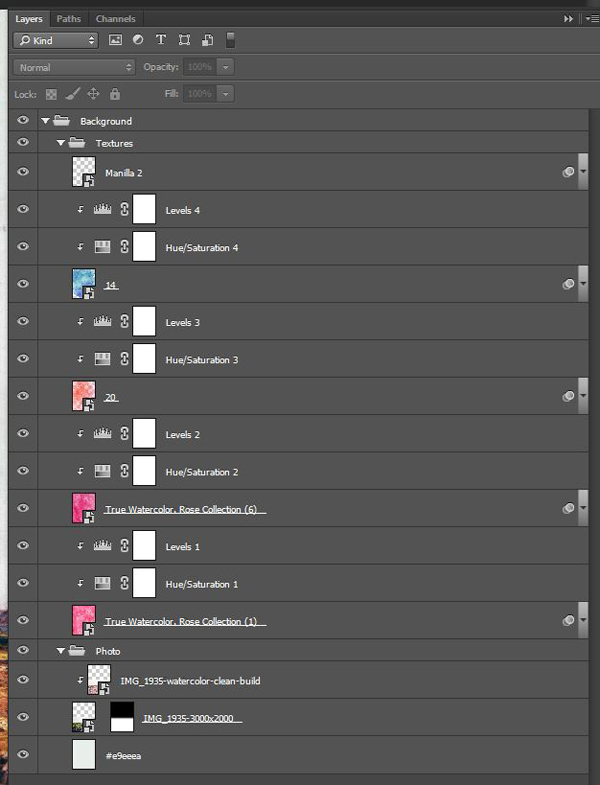
Now that the basis for the background is in place, organize your layers a bit.
Adding textures to the background
It’s fun time! Let’s bring in the textures. The bundle has quite a few neat ones, hidden through the effect PSDs extras. But before we go in too deep with textures, a quick series of PSAs:
PSA #1: in this tutorial, the term “clipping” or “clipped layer” is used a few times. This means that the layer is only visible/applies to the layer directly below it. You can very quickly do this by holding ALT/OPTION down on your keyboard and clicking between the two layers. Photoshop secrets created an handy animated gif demonstration.
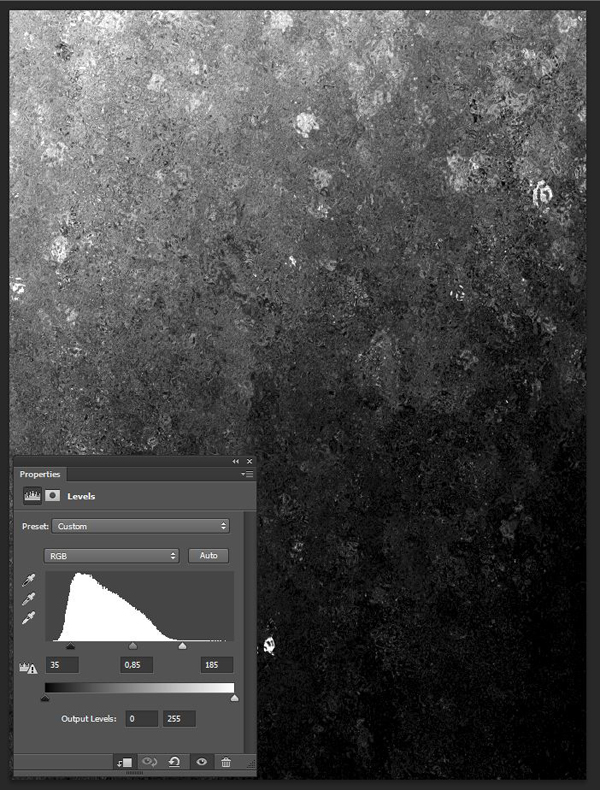
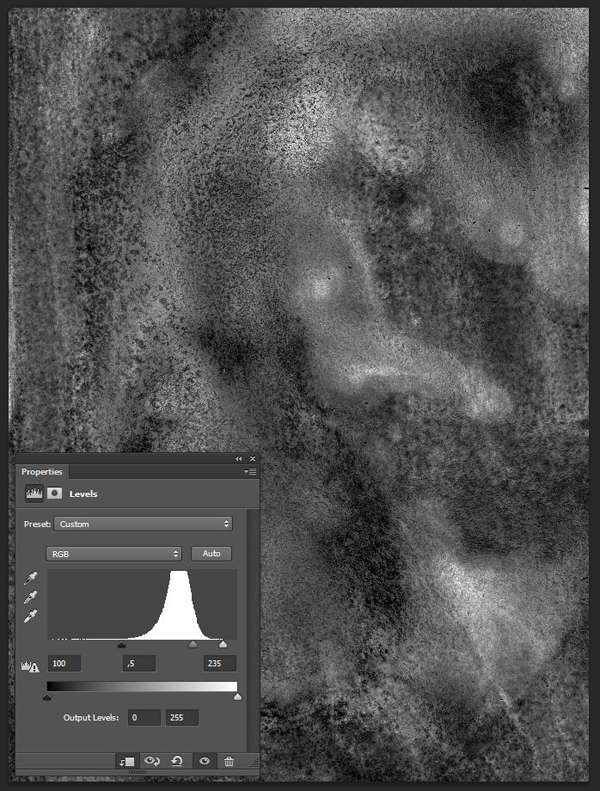
PSA #2: every time we’ll work with textures, we’ll follow this simple process: place as smart object, sharpen, desaturate, enhance contrast with levels, and modify the blending mode.
PSA #3: placing the textures as smart objects, and using adjustment layers to tweak them, allows us to stick to a non destructive workflow. We’ve explored in depth the numerous pros and few cons of such a workflow in this past tutorial: “How to Use Textures The Right Way.”
Now that these are out of the way, let’s press on.
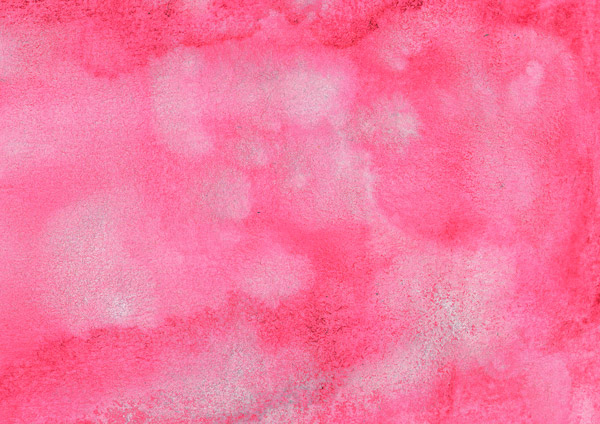
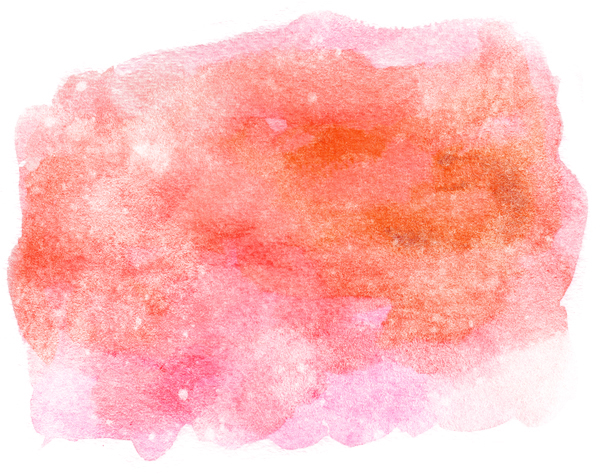
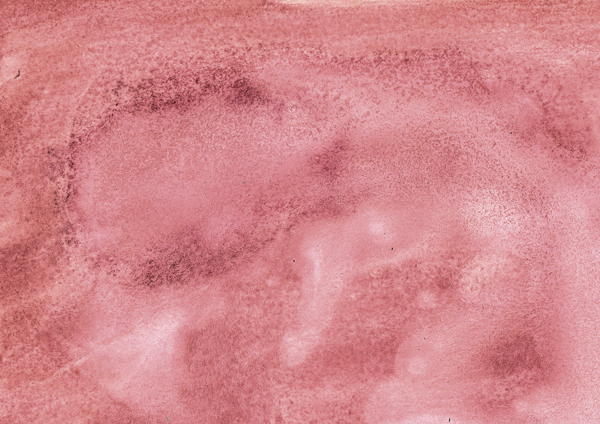
The first two textures we’ll add to our background come from Charles Perrault’s extras. You can find them in \gorgeous-artistic-charles-perrault\Watercolor-Painting-Studio-Vol.-03\Bonuses\Textures. Let’s start with True Watercolor. Rose Collection (1).jpg.
I’ve placed it so it covers my whole canvas, and its the bottom edge flush with the lower edge of our piece.
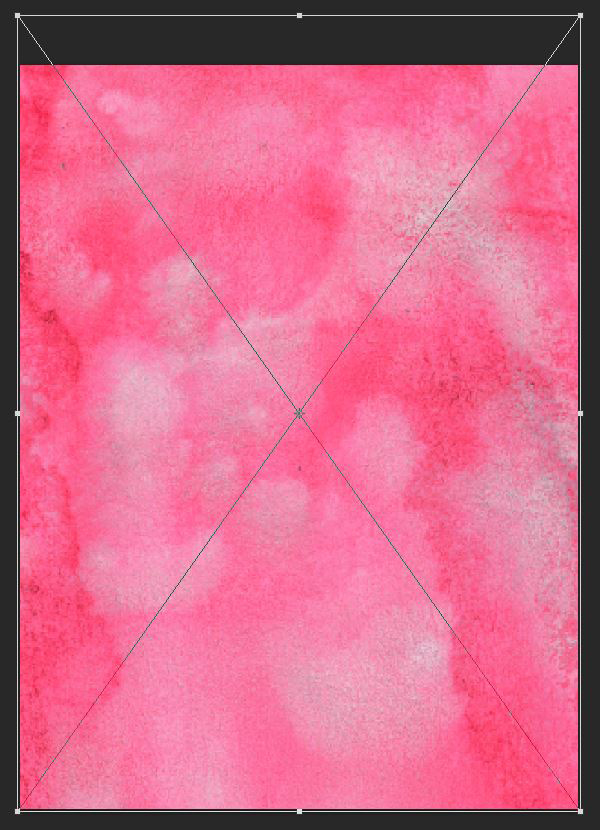
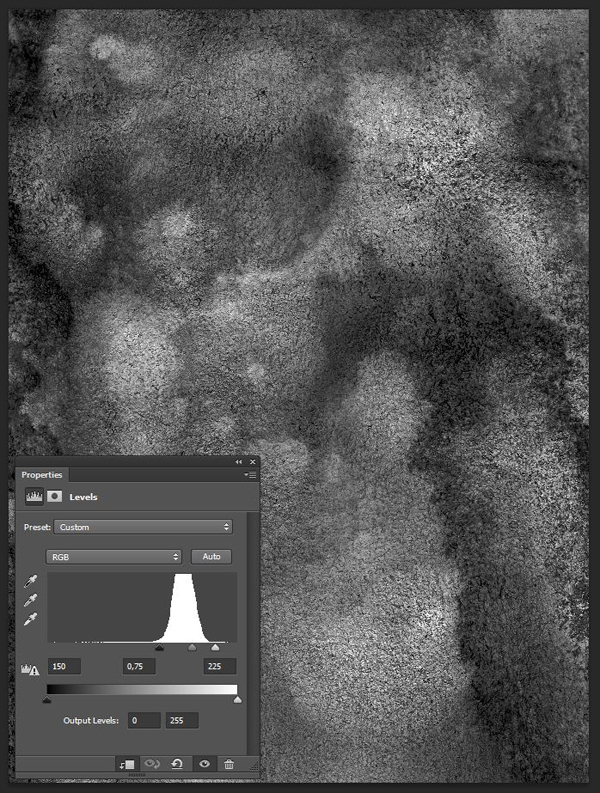
Blending mode: Soft light @ 50% opacity.
The second texture we’ll use from this pack is True Watercolor. Rose Collection (6).jpg.


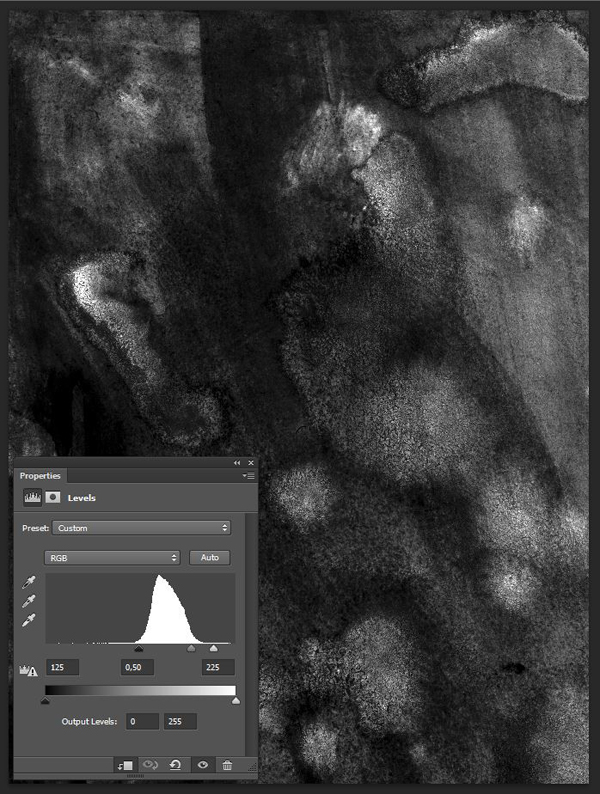
Blending mode: Soft light @ 50% opacity.
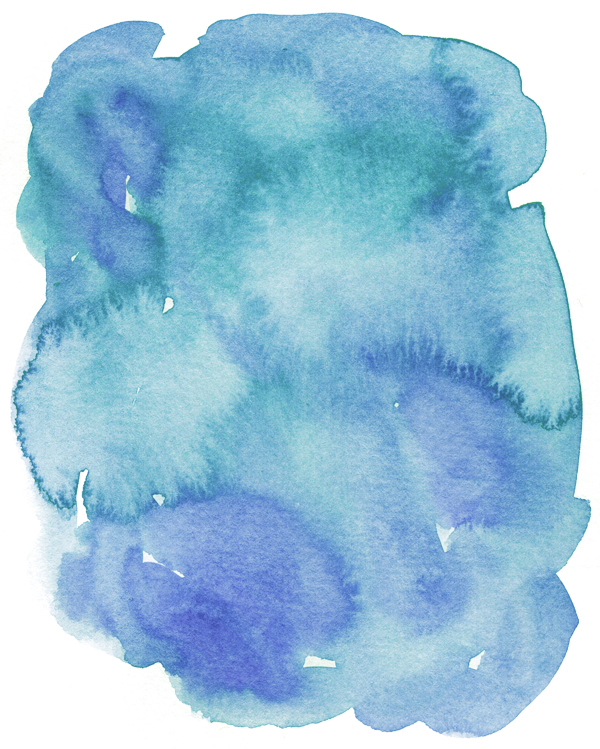
The next assets we’ll use are part of Graphic Box’ Winter collection bonuses (\gorgeous-artistic-graphic-box\Winter-collection+20-Bonus\20 bonus Watercolor forms). She created 20 watercolor washes, and we’ll use some of these now for subtle color staining.
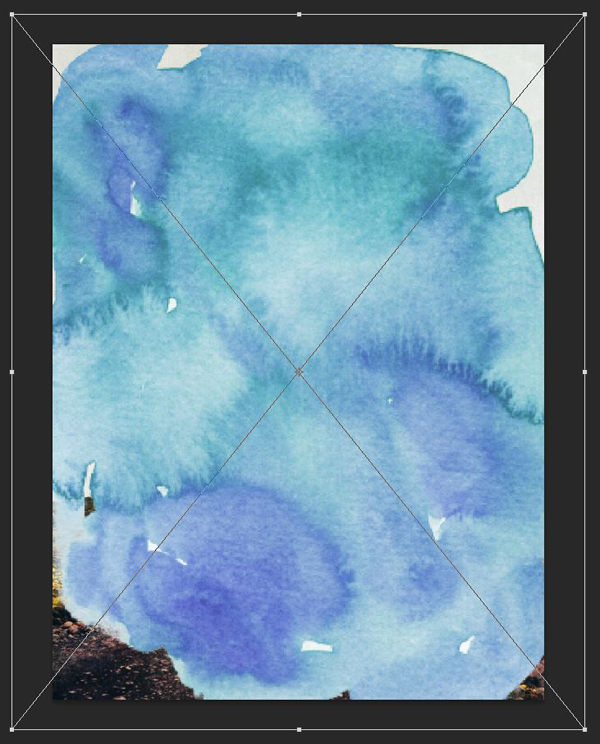
The first one we’ll use is 20.png.
Make sure it fully covers the piece.
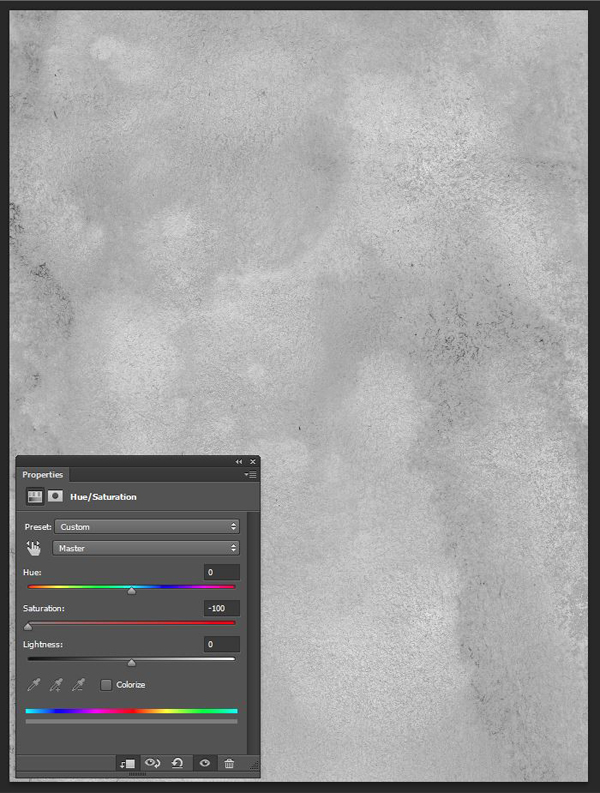
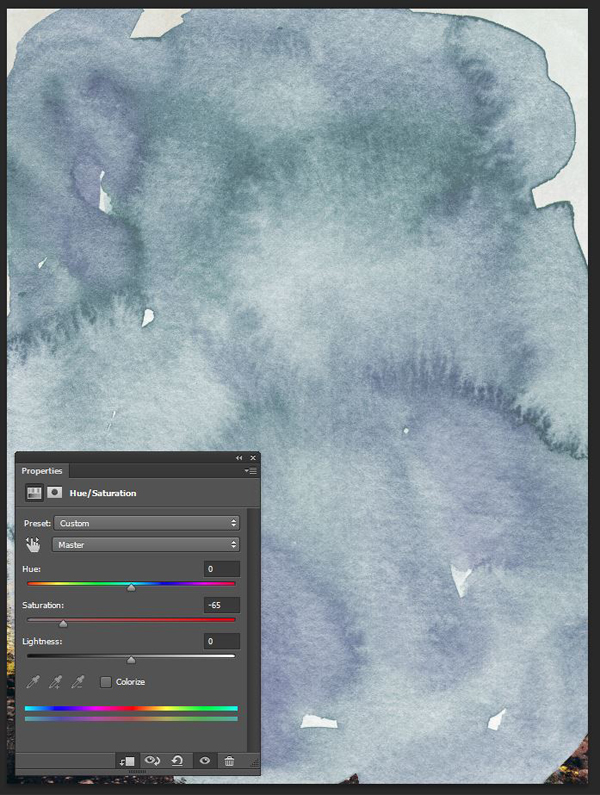
Because we want some of the color to show through, we won’t fully desaturate them with the hue/saturation adjustment layer.
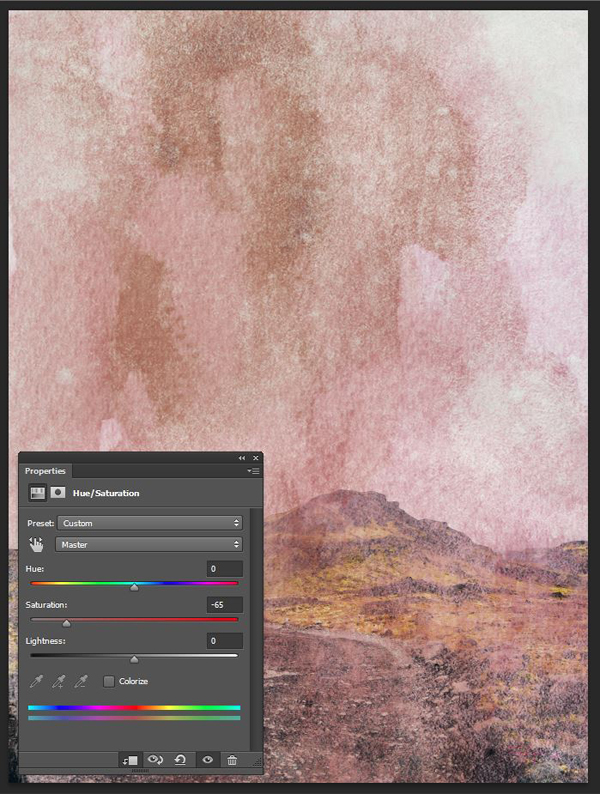
Blending mode: Overlay @ 75% opacity.
Next, we’ll use 14.png, in a similar manner, and with similar intentions.
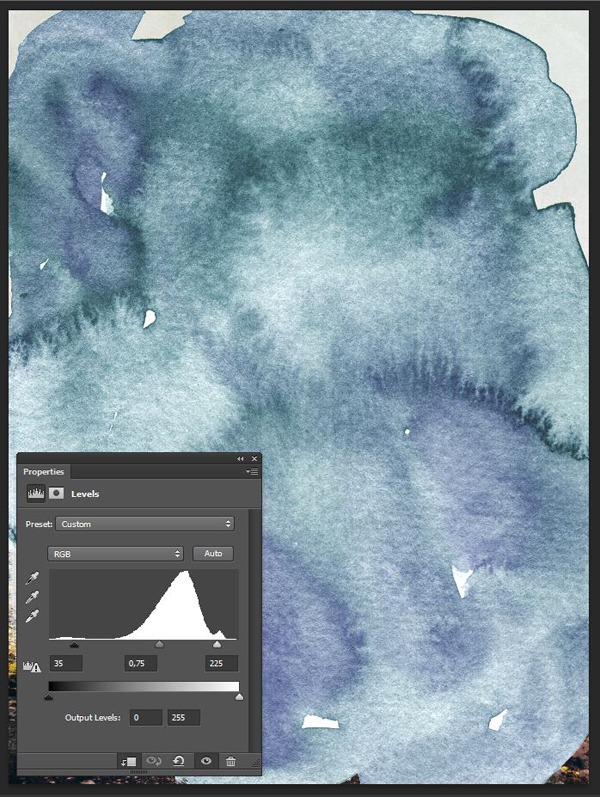
Blending mode: Soft light @ 50% opacity.
The last texture we’ll add to the background comes from Vintage Design Co.’s Super Strike bonus textures. It’s called Manilla 2.png, and you can find it in \gorgeous-artistic-vintage-design-co\SuperStrike\Super Strike – Textures\Papers.

This texture only requires you to place it in your document, sharpen it, and to change its blending mode to Color burn @ 25% opacity.
Also, now that we’re done with the background, you can further organize your layers in layer groups.
STEP 2: THE MAIN TEXT BLOCK
It’s now time to manipulate some text, and some vectors flourishes, and that means it’s time to open up Illustrator.
Creating a badge
We’re going to leverage elements from the Winter collection, as well as from the Rustic pack vol. 03, to create laurel-like flourishes. After that, we’ll use Birch Brush Regular, along with 2 other (free) typefaces, to create a badge like presentation for our resolution.
Start by creating a new Illustrator document. It can help to have it match the size of our Photoshop document, but isn’t mandatory.
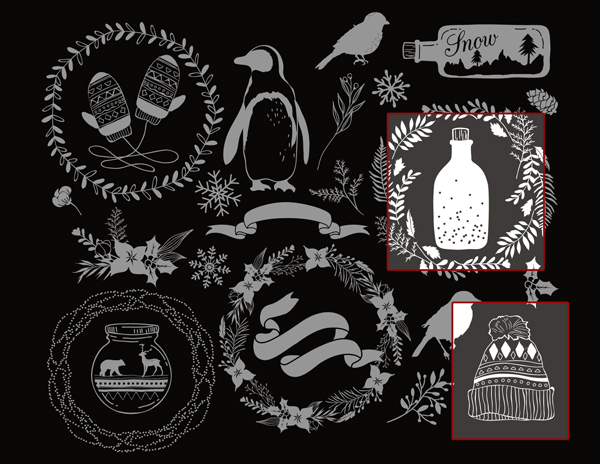
Next, we have to track down the various assets we’ll be using. They are spread over a few files of the Winter collection (\gorgeous-artistic-graphic-box\Winter-collection+20-Bonus\Graphic elements\Eps).
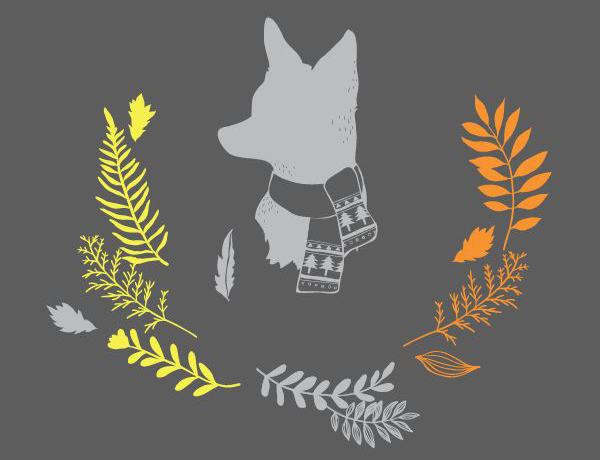
In the file 02.eps, you’ll find the “fox wreath.”
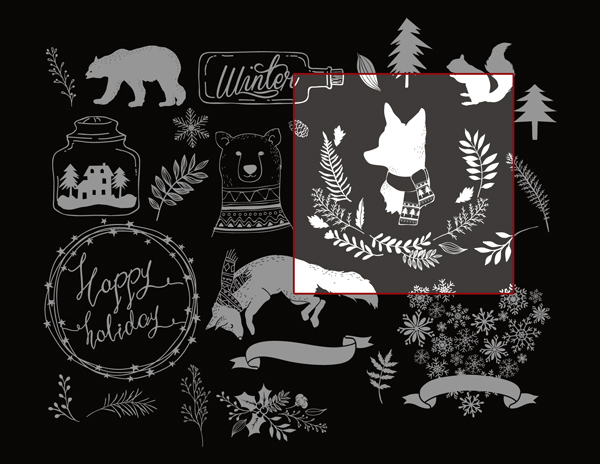
In the file 03.eps, you’ll find two elements we won’t use right away in the piece, but that you should put aside anyways. It’s the bottle (top right), and the hat (bottom right).
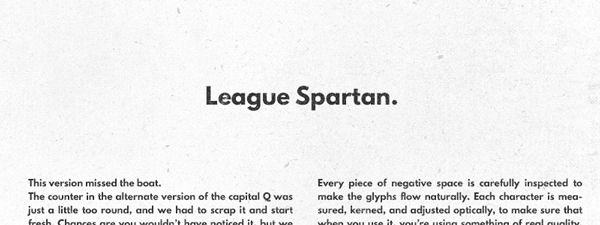
From there, we need to talk about typefaces. Both of the extra typefaces not included in the deal that I’d suggest using are League Spartan Bold (from the League of Moveable Type), and Leckerli One (from Gesine Todt, via Font Squirrel).
I found the typefaces through some of Vintage Design Co.’s demo pieces for the Super Strike PSD.

So, with these typefaces installed, it’s time to write up our resolution.
Assembling the badge
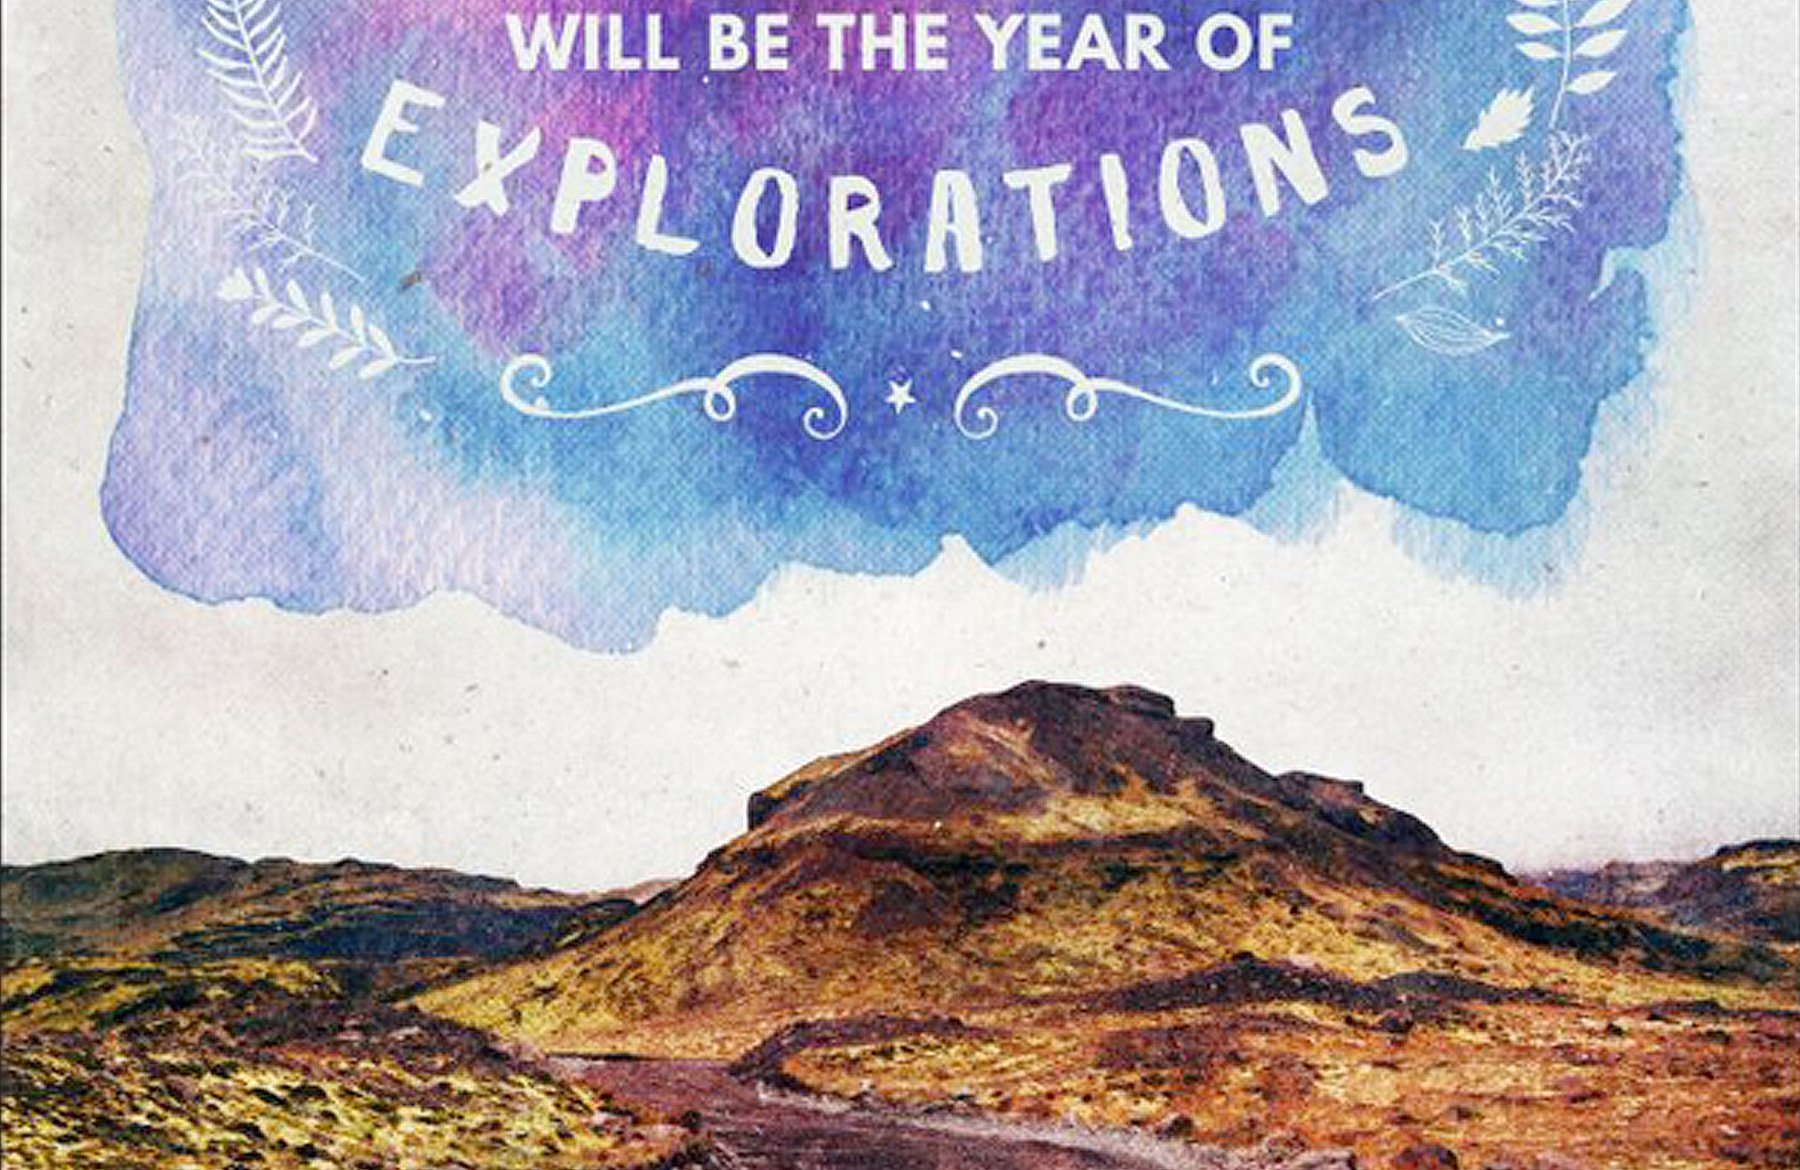
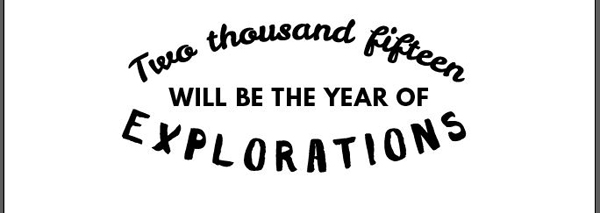
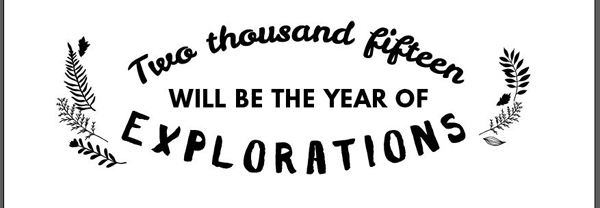
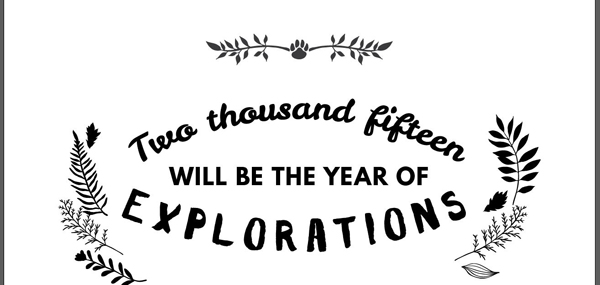
The text of my resolution goes as follows: “Two thousand fifteen will be the year of explorations.” I chose to break the copy into three separate type objects, in order to be able to use three different typefaces.
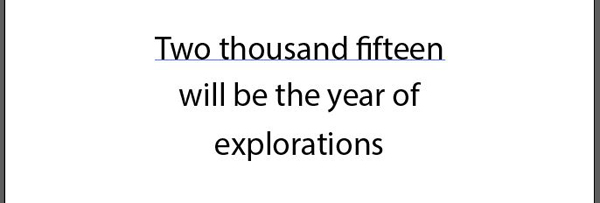
From there, and after a little bit of tinkering, I decided to assign which typeface to which line. The ultimate goal in these cases is to have a visually pleasing combination, that retains legibility.
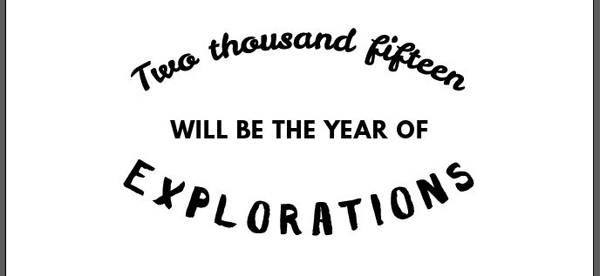
I ended up with Leckerli One assigned to the year, League Spartan Bold assigned to the middle line, and Birch Brush Regular assigned to “explorations.” Leckerli and Birch both bring their own type of visual emphasis to their text block, while League Spartan allows the middle line to be more subtly present.

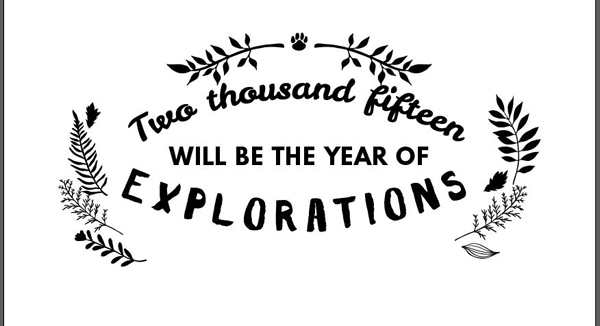
I was pleased with the direction, but not with the result. I decided to switch the middle line to all caps.

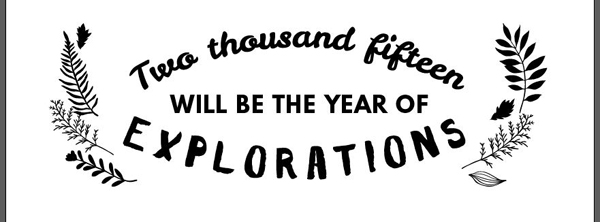
The contrast between the various letter shapes was now satisfying, but not their size relationships. I reduced the League Spartan line down to 48 points tall, with kerning set to optical, and tracking to a value of 50. This helps the letters to be grouped slightly tighter (optical kerning), while at the same time spreading them out more for better legibility (tracking set to 50).

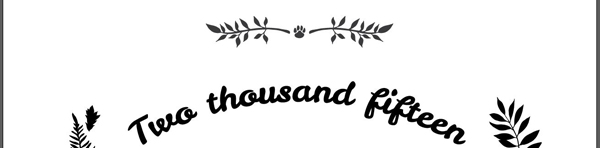
We’re closer to the desired effect: “two thousand fifteen” and “explorations” are visually forward, while the middle line draws back some. In order to match the strength of the year, I increased the size of “explorations” to 84 points tall, set its kerning to optical, and its tracking to 250.

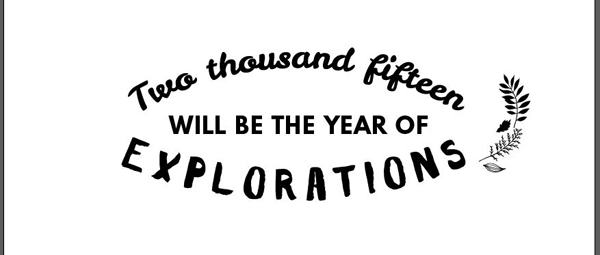
With the lines balanced visually, I could proceed to some embellishment (remember that we’re building a badge), and gave them a mirror arc warp of 35%. This creates a visual container for the text.
After some additional fumbling with the space between the lines, the foundation for our badge is ready.
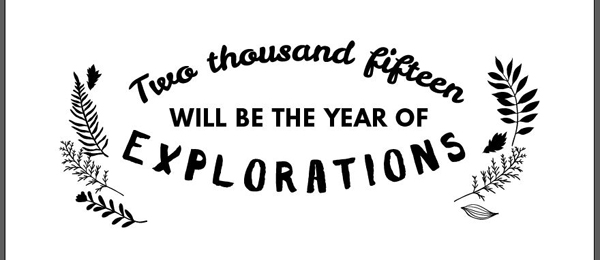
Embellishing the badge
The result so far is neat, but not enough. That’s where the “fox wreath” comes into play. What’s great with vector resources is that you don’t have to always use the full element that you’re given. You can always pick apart bits and pieces, and remix them into something that fits your needs.
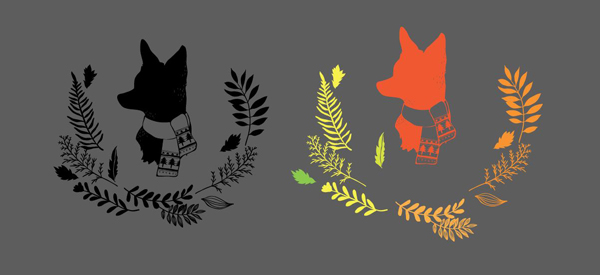
We’re precisely going to exploit this by using only the following groups of elements to build laurel branches of sorts for each side of our badge.
Let’s start by the right side. After ungrouping the copy of the fox wreath, select the elements I’ve highlighted in orange, and paste them on the right side of your badge.
Do the same on the left side.
Now, for these elements to act as side ornaments, they need to be of the same eight, and aligned on the same horizontal line. I’ve sized my elements to be 5″ tall. The neat thing in this case is that they’re similar, but not identical, which reinforces the “hand-made” vibe of our piece.
Ultimately, the position of the ornaments depends a lot on personal taste. I would however suggest to keep the text centered within both “laurel branches.”
So, we have “branches,” but something is still missing. The good news is that all of the pieces we need are in the Rustica vol. 03 vector pack (\gorgeous-artistic-make-media-co\Rustica Pack Vol. 3+Birch Brush Mini\Rustica Vol. 3 Vectors\CreativeMarket_RusticaPack3.ai).
We’re going to leverage some of the flourishes, as well as some of the branch designs, to create some dividers at the top and bottom of our badge.


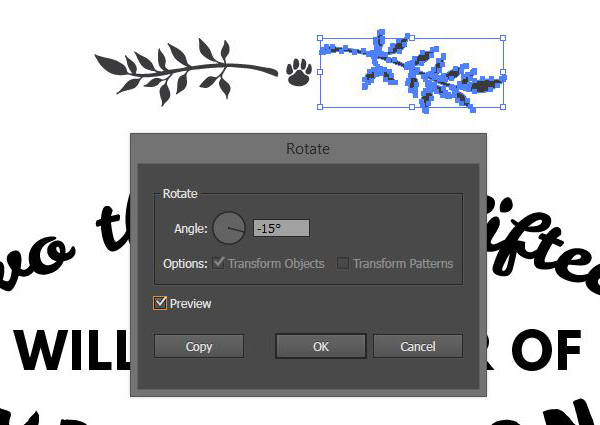
Let’s start with the top elements. We’ll use the branch design for that, but instead of coupling it with the star currently in their middle, we’ll use the paw print that’s located in the middle of the elements we’ll use for the bottom.
Bring them into your design, and start by roughly aligning the paw print with the branches.
The paw print is currently too big compared to the branch. I reduced its size by approximatively 25%.
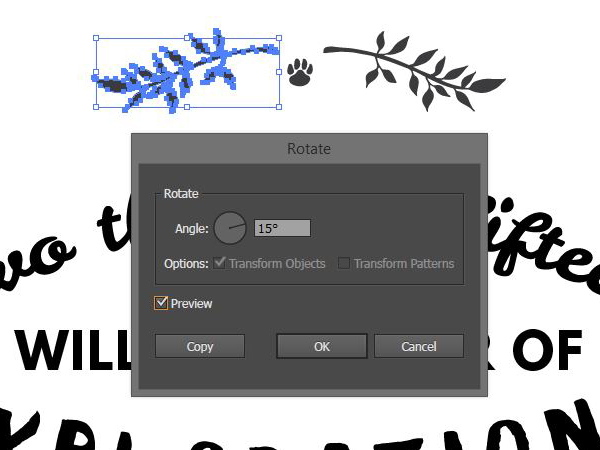
I’m not entirely satisfied with the angle of the branches. Give them a mirror rotation of 15°, so they point towards the bottom more.
Proceed to realign the paw print.
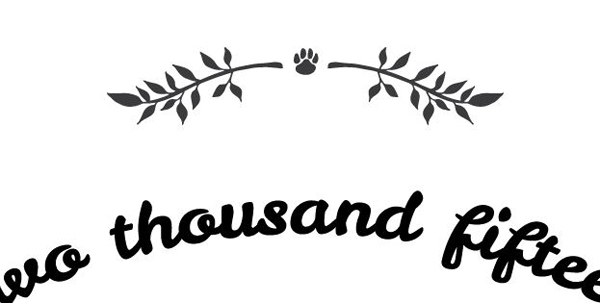
Finally, increase the width of the ensemble so it goes slightly over the width of the middle line of text. This is equivalent to 8″ in my document.
Proceed to the final spacing and size adjustments between the branches and the paw, and switch the color to black, like the rest of the badge.
Finally, proceed to spacing adjustments between the top divider and the rest of the badge.
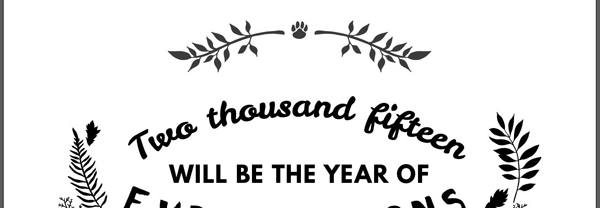
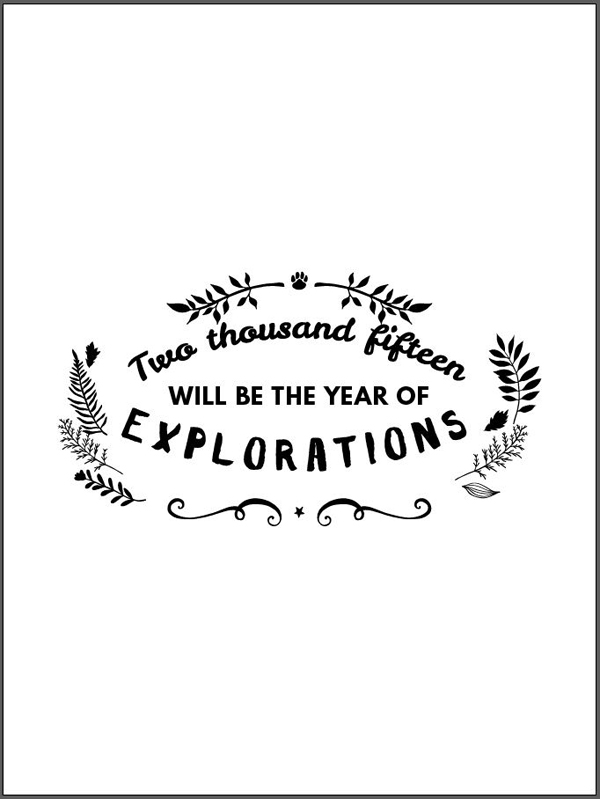
It’s time to follow a similar process to construct the bottom divider ensemble. Remember to swap the paw print for the star. I’ve chosen to make the width of both dividers identical (8″).
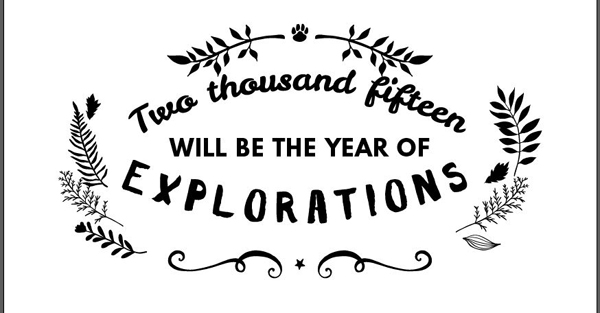
And our badge is now complete. Its current width is approximatively of 14.65″, but that will get adjusted later in Photoshop anyways.
Quick break: putting additional elements aside
Remember the bottle and hat I asked you to save aside earlier?
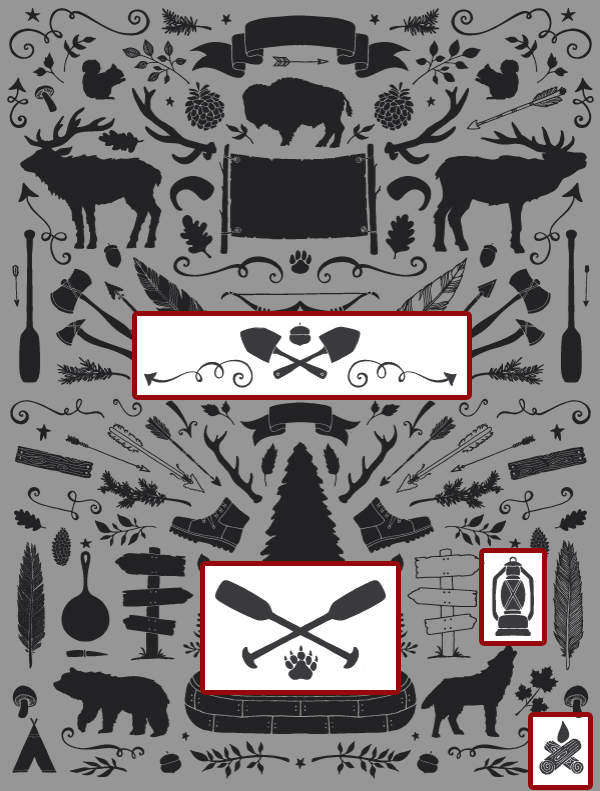
Additional elements are going to join them in now. You’ll want to grab the fire, the camping lamp, and the highlighted flourishes. We’ll use all of these for corners and borders later on.
Bringing the badge in the design
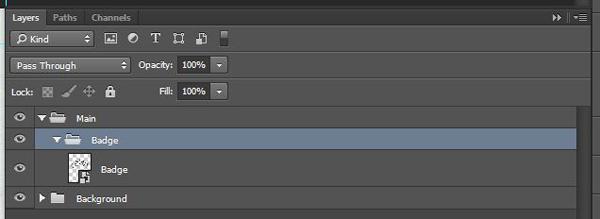
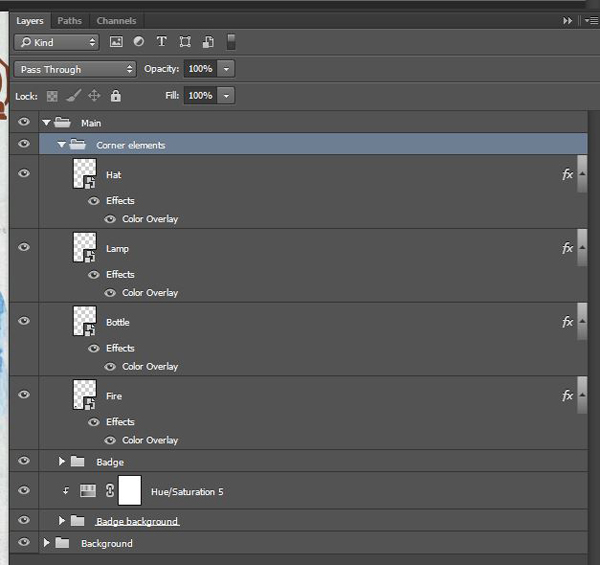
This is where the tricky part begins. Paste the badge as a smart object in Photoshop, and give it its own layer group.
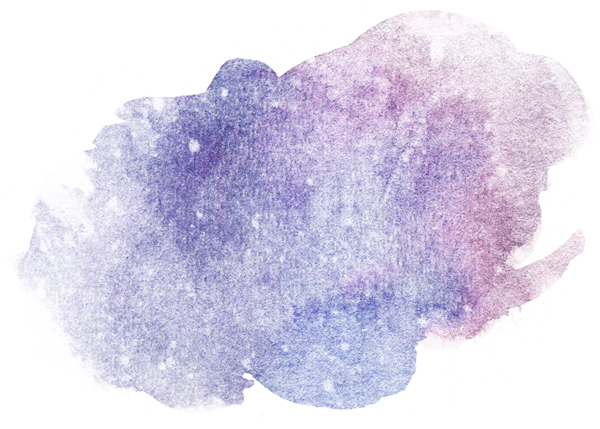
We could leave the copy floating in the sky like this, but the piece would feel rather unfinished. So we’re going to use some of Graphic Box’s watercolor shapes to give it a background.
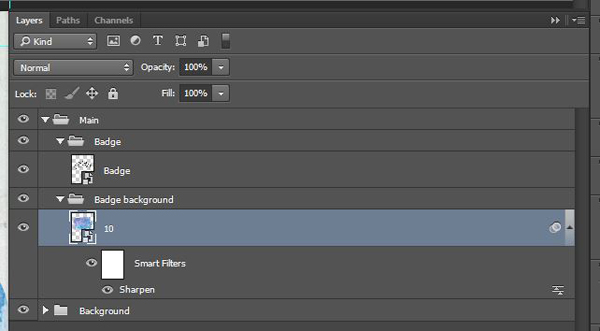
Start by placing 10.png in your document, behind your badge smart object.
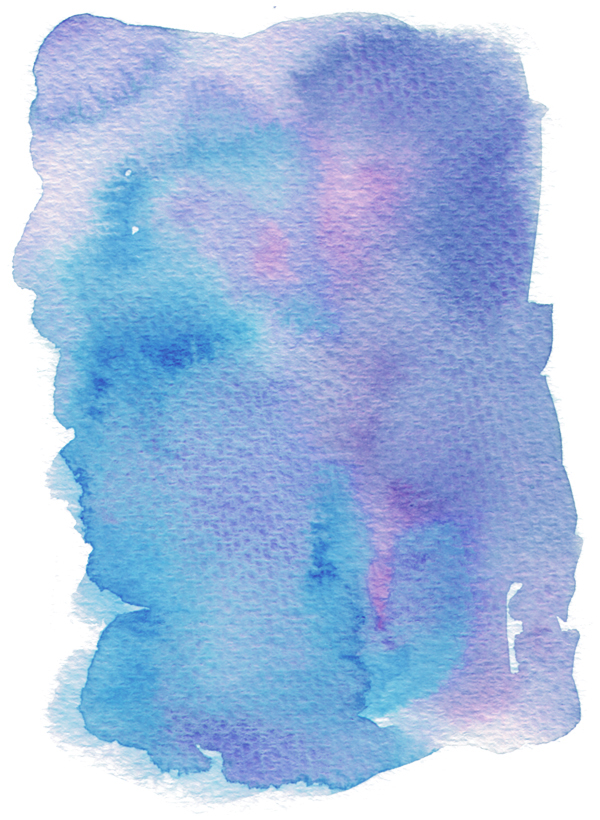
The watercolor shape should be placed big enough so its edges reach the guides placed at 1″ of the canvas’ edge. I’ve also slightly rotated the element so it looks straighter.

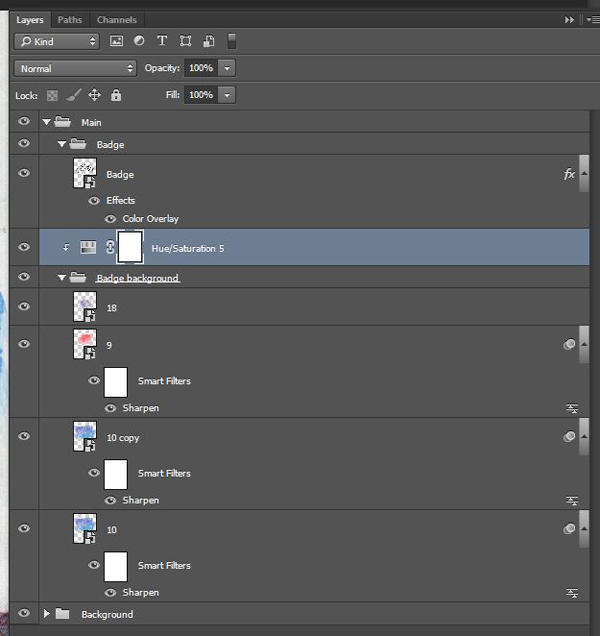
After giving the watercolor piece its own layer group, this is what my layer stack looks like.
Next, duplicate the watercolor smart object, and change the copy’s blending mode to Multiply @ 25% opacity. This helps to increase the contrast and presence of that main watercolor element.
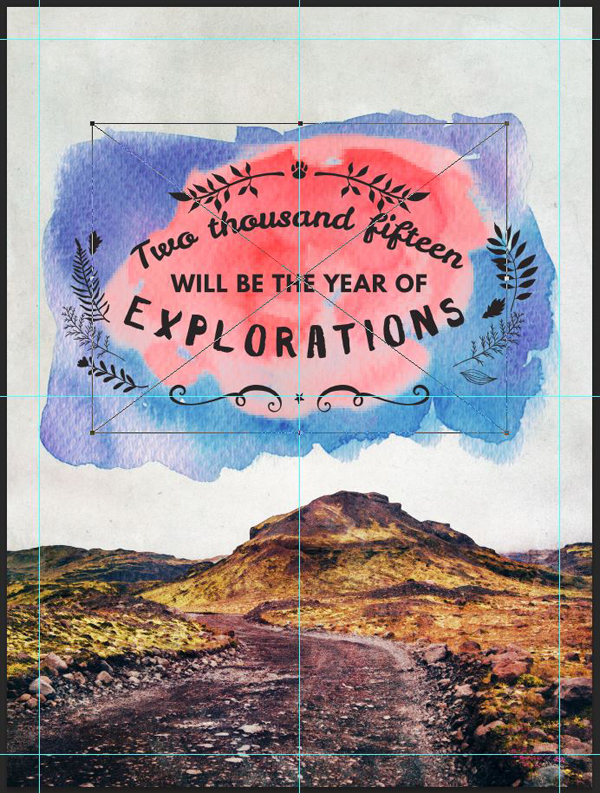
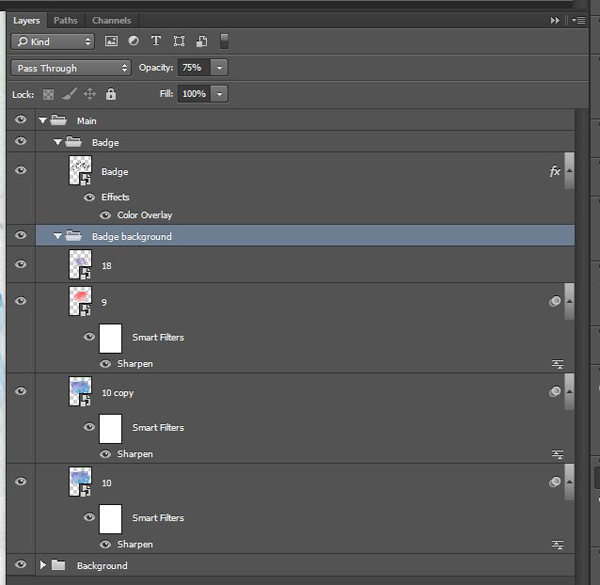
Next, we’re going to add a splash of red in the blue. Add 9.png into your design.
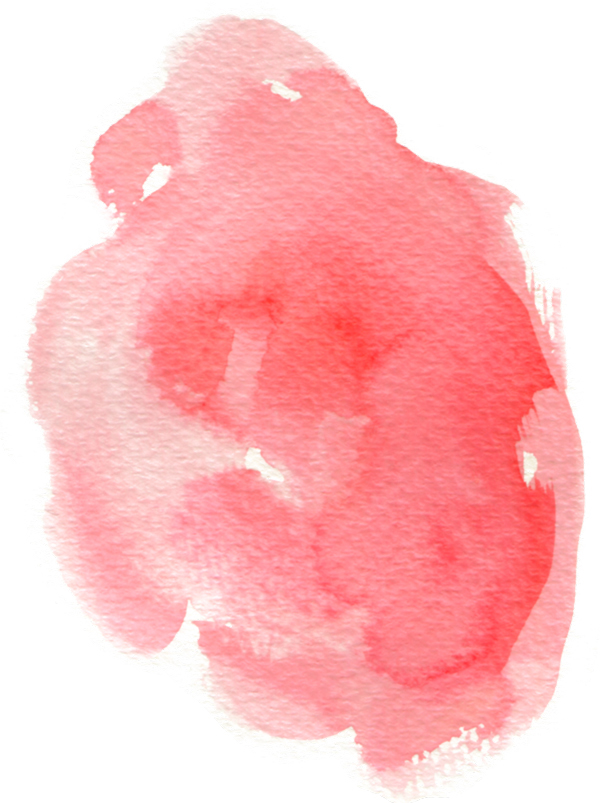
I’ve sized it so it sits behind most of the text.
Change its blending mode to Color burn @ 75% opacity.
To add some contrast to the bottom part of the watercolor stain, we’ll finish by adding 18.png in the piece.
It sits behind the lower part of the badge.
Change its blending mode to Color burn @ 50% opacity.
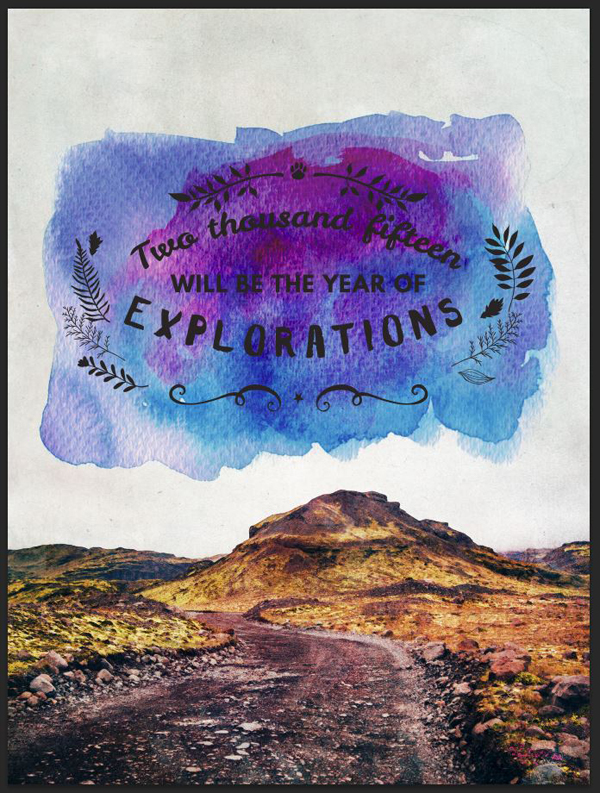
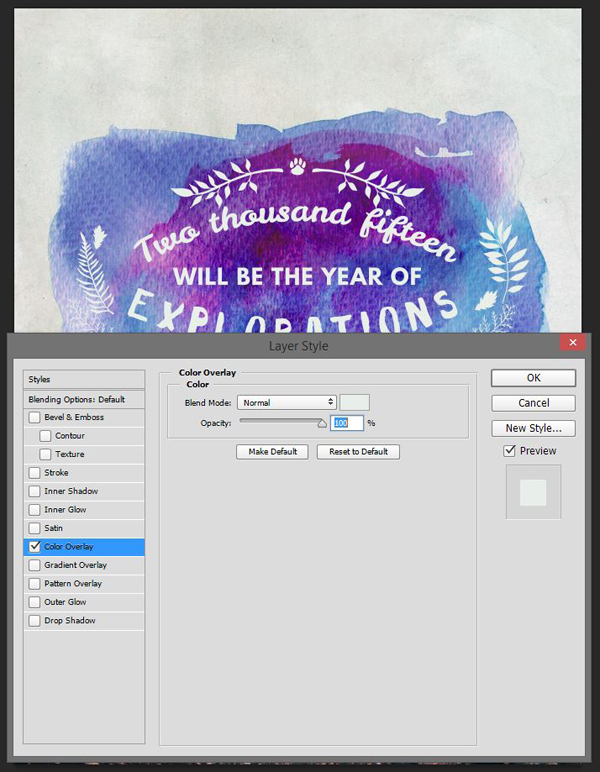
The stain is looking nice, but the text is unreadable in black. Give it a color overlay of #e9eeea (the light gray we sampled at the beginning to extend our background).

With that done, we can see that the stain is still overpowering the piece. We’re going to fix this by doing two things. The first one consists of lowering the opacity of the layer group containing the watercolor shapes down to 75%. This will actually allow some of the background texture to interact with the ensemble.
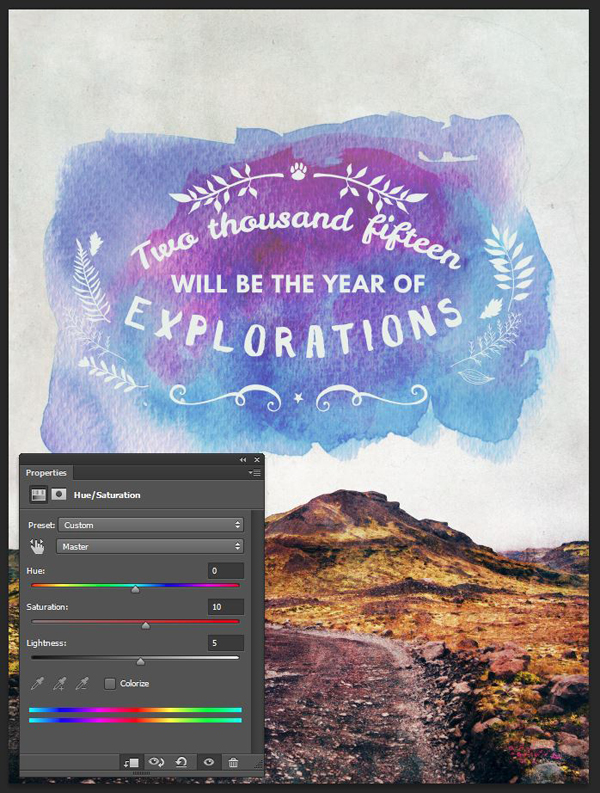
The second part of the solution is to use a hue/saturation adjustment layer clipped to the same layer group (possible on Photoshop CS6 and above). We’ll boost saturation a little bit, but mostly we’ll lighten the stain.
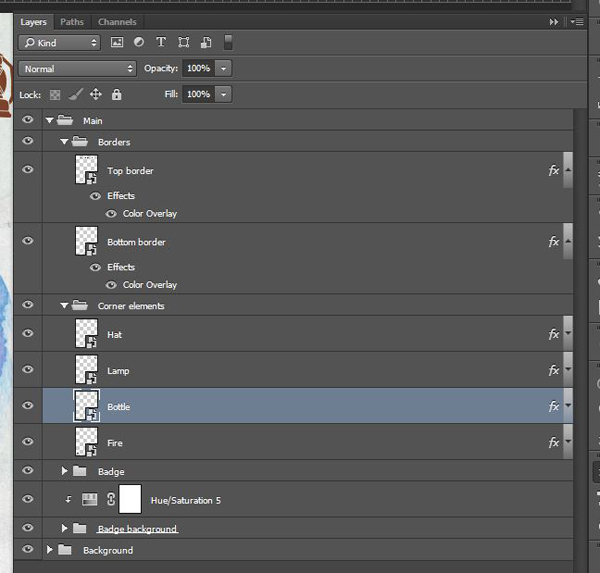
And here’s a look at what your layers should look like now.
STEP 3: CORNERS AND BORDERS
Remember the various vector elements we saved in the file we used to prepare our badge? This is where they come in handy.

The corners
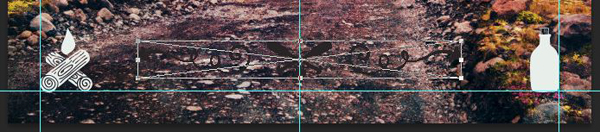
Let’s start by the corners. Paste the hat, the camping lamp, the bottle, and the fire, each at a corner of the piece. I suggest going clockwise from the top left, in this order. Each element is 2″ tall.
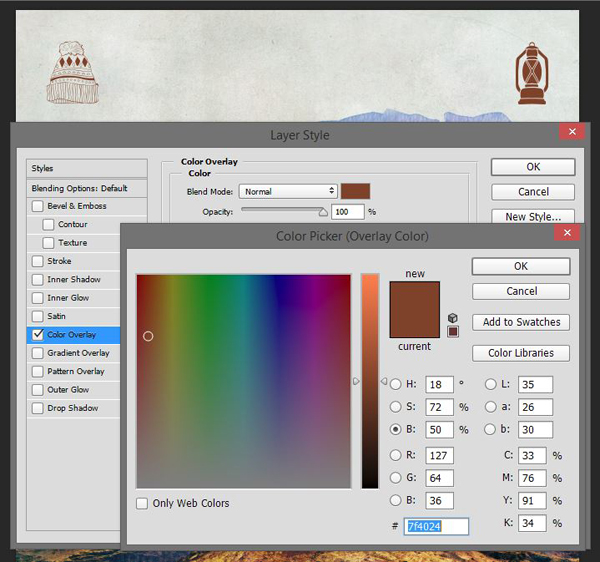
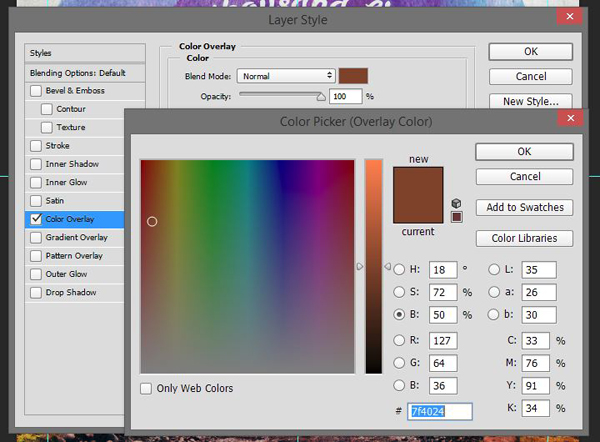
The elements aren’t that visible at this point. Give the hat and the lamp a color overlay of #7f4024. I sampled this burnt orange somewhere in the photo, so the elements will still “fit” the piece’s color scheme.
The elements at the bottom (bottle and fire) on the other hand, will receive a color overlay of #e9eeea, to contrast with the darker bottom part of the photo.
And we have our corners!
Borders
It’s time to assemble a top and bottom border from the rest of the elements we’ve set aside. Head back to your Illustrator file. We are going to combine the pair of shovels, the pair of paddles, and the pair of arrows to produce a top and bottom border.
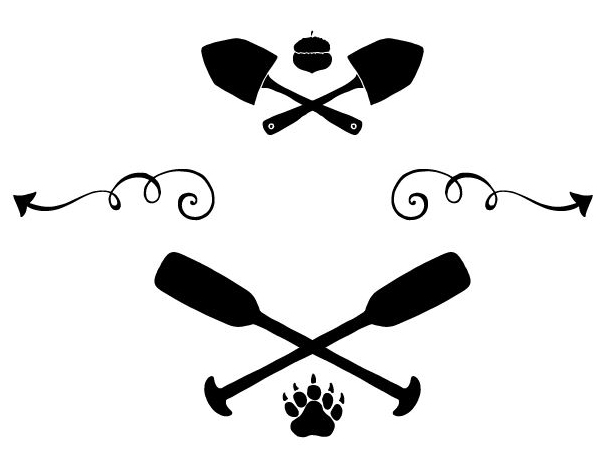
Start by increasing the width of the arrows to 10″, and duplicate it, in order to have two pairs handy.
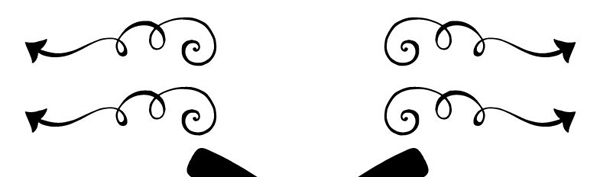
Let’s give the pair of arrows destined to the bottom border a quick horizontal flip, so they’ll visually participate to “end” the poster.
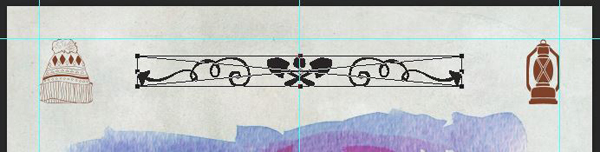
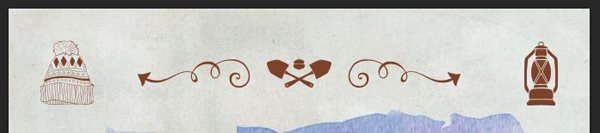
Next, let’s adapt the paid of shovels/nut combo in the middle the arrows for the top border. The arrows are 10″ wide. The shovels element 2″ wide, and bottom aligned with the arrows.

Paste that ensemble into your Photoshop document. Give it the same color overlay than the top corner icons (#7f4024).
The bottom border building process is the same.
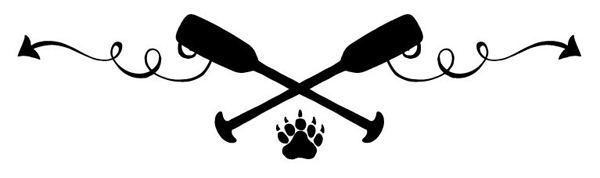


Once ready, paste it into your Photoshop document as well, at the bottom this time.
Give it the same color overlay than the bottom corner icons.
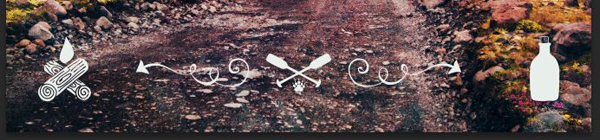
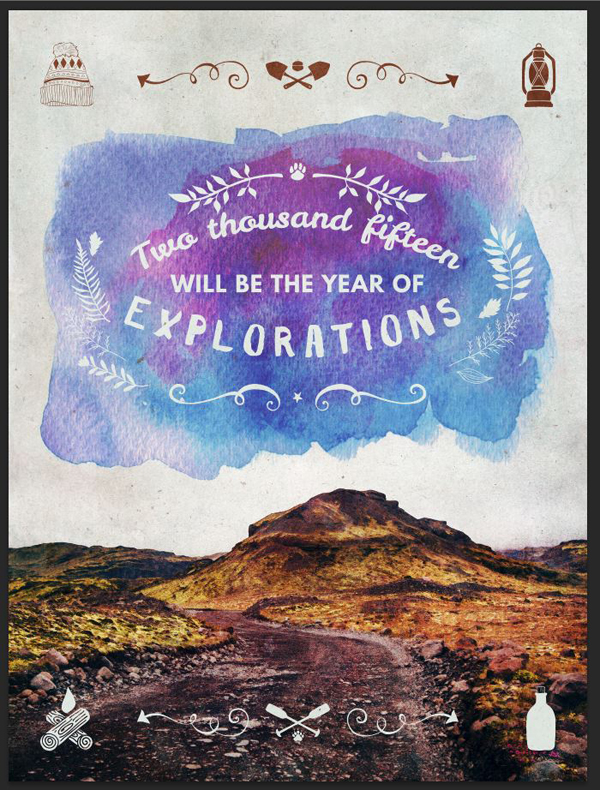
And we got ourselves a frame of sorts, with our corner, top, and bottom elements.
After a little bit of layer clean up, this is where we are at.
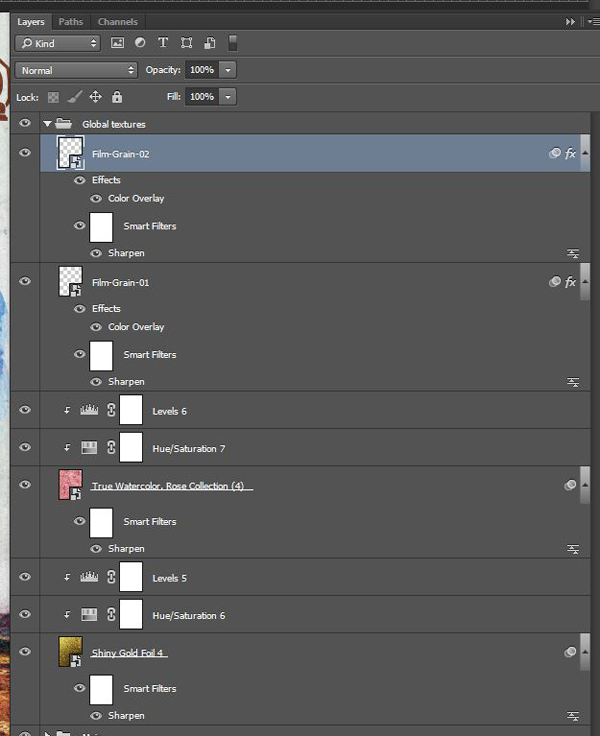
STEP 4: GLOBAL TEXTURES
This is the last stretch, I promise! In order to visually unify the whole piece, we are going to add four additional textures to the composition.
The first one is Shiny Gold Foil 4.jpg, by Studio Denmark. We are going to use it as a noise texture.
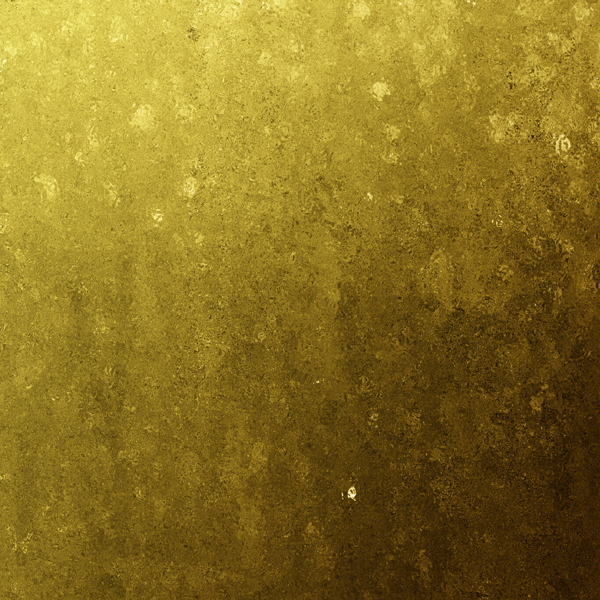
I’ve placed it so the bottom right corner of the texture and of the poster align.
Blending mode: Soft light @ 35% opacity.
The next texture is True Watercolor. Rose Collection (4).jpg, from the Charles Perrault bonus texture pack we used at the beginning.
Blending mode: Soft light @ 35% opacity.
The last two textures come from Vintage Design Co.’s bonus textures for the ExposureX2 PSD. You can find them at \gorgeous-artistic-vintage-design-co\ExposureX2\ExposureX2 – Textures\Film Grain (PNG).
First, we’ll use Film-Grain-01.png.

Place it so it covers the complete poster.

Then, after sharpening it, simply give it a color overlay of #7f4024.
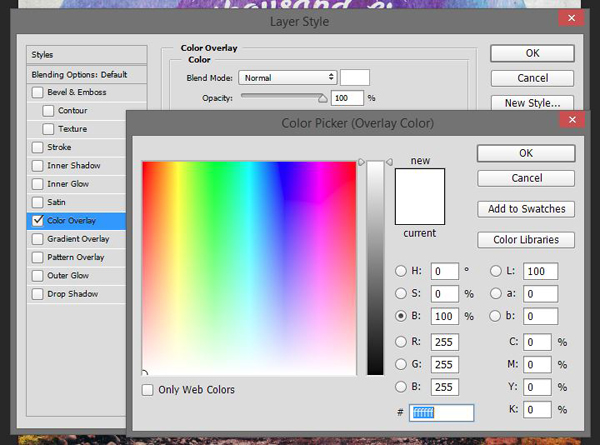
Repeat the process for Film-Grain-02.png, but give it a pure white color overlay.


And here is the snapshot of the layer stack so far.
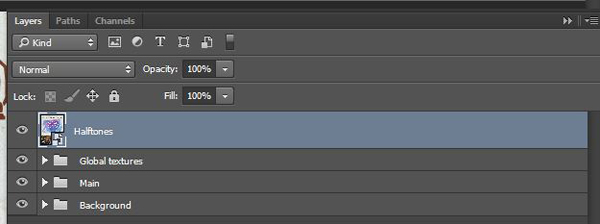
STEP 5: HALFTONE EFFECT
The last touch to the poster is to give it a halftone effect. It’ll add a bit more depth to the poster, and will emulate a cheap print job.
Start by creating a merged copy of all visible layers (CTRL/CMD+SHIFT+ALT/OPTION+E). I renamed that layer Halftones.

Transform that layer into a smart object (Filter > Convert for smart filters on Photoshop CC).
We’ll apply a halftone effect from the Filter gallery (Filters > Filter gallery > Sketch > Halftone pattern). I’m using values of 8 for the dot size, and 35 for the contrast.
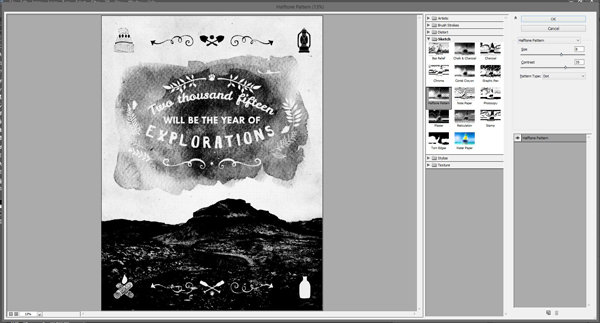
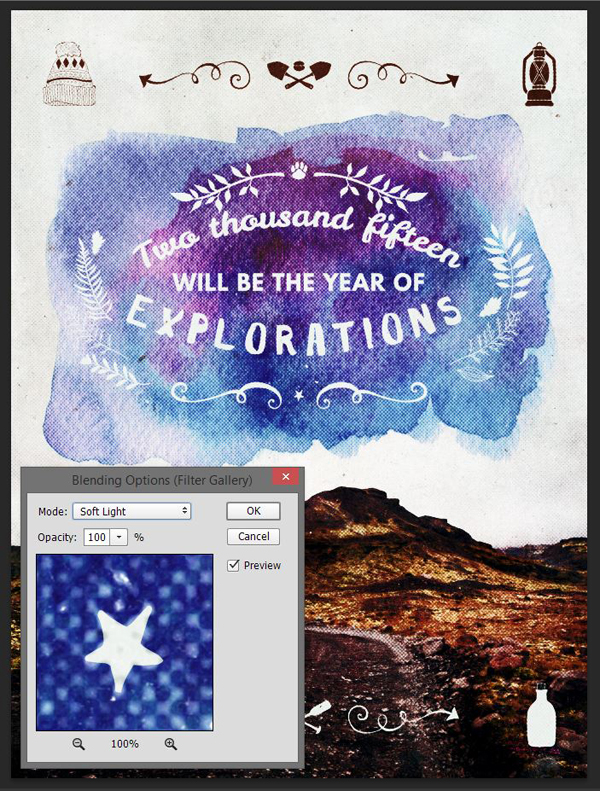
Next, we need to change the effect’s blending mode. Double-click on this symbol in the layer palette.
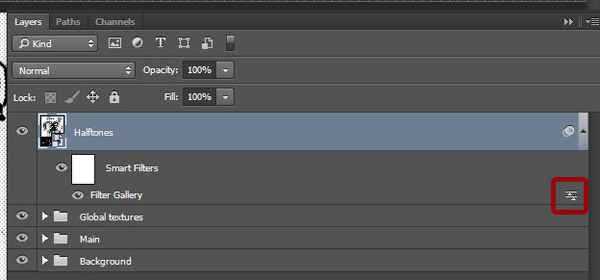
Change the blending mode to Soft light @ 100% opacity.
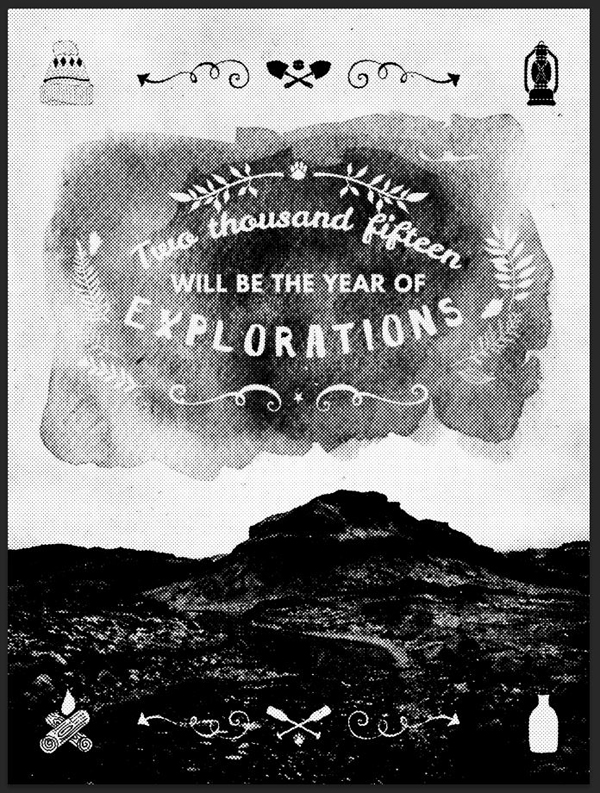
Finally, change the layer’s blending mode to Lighter color @ 35% opacity.
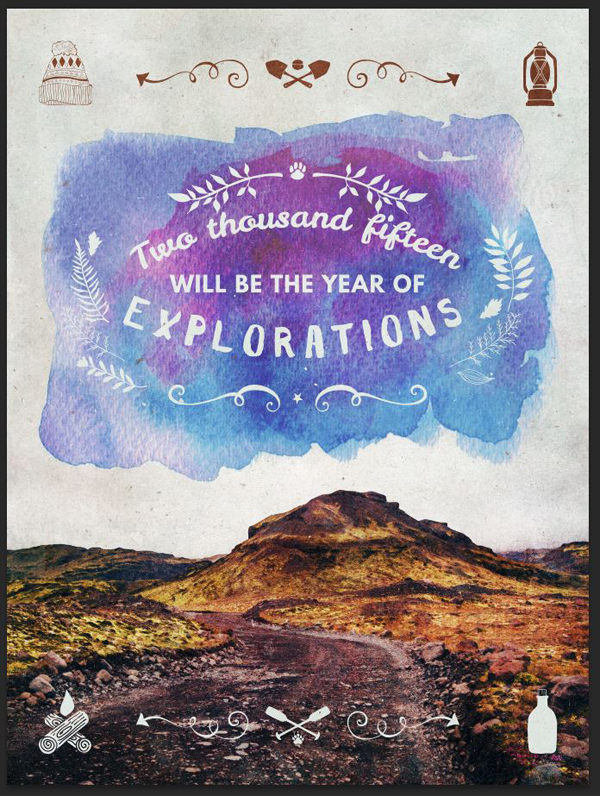
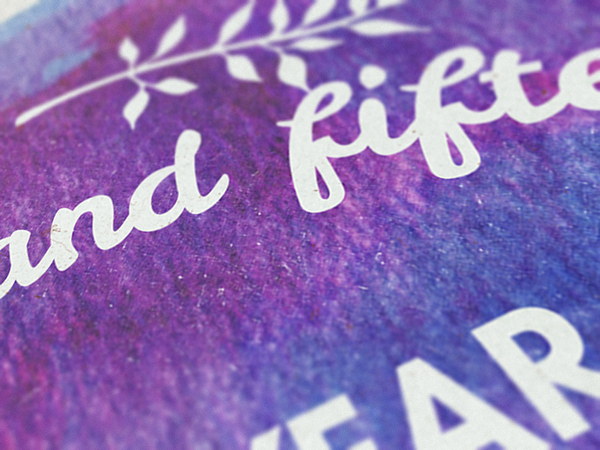
And we’re done!
WRAPPING THINGS UP
Wow, that WAS a long one. You should treat yourself to a warmer for that coffee or tea that you’ve been drinking. I hope you had as much fun following along than I had writing.
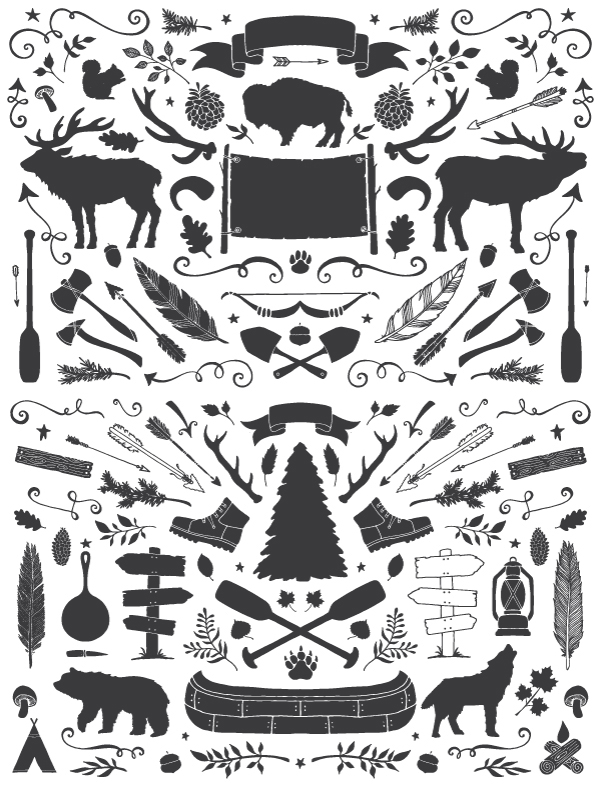
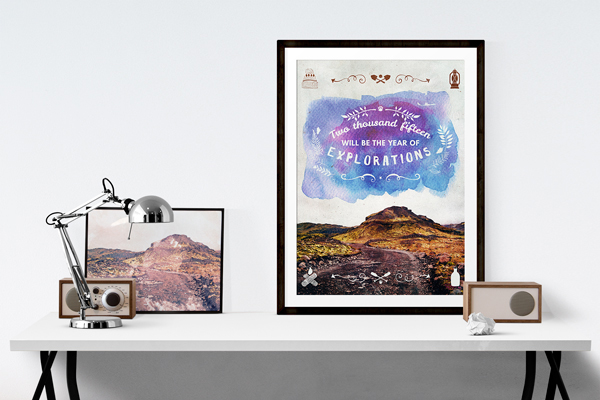
Aren’t all these mockup kits amazing? I put this one together in less than a minute!
Any technical questions left unanswered? Please use the comments below, and I’ll reply to them!
Don’t forget to grab the Gorgeous, Artistic Design Bundle! The 1,000+ ensemble of creative items is available for a few more days only, at 93% off regular price. If you have the bundle already, I hope that you enjoy your new resources, and that this tutorial gave you a sense of what you can accomplish with them.
Finally, we’d love to see your tutorial outcomes! Please share them with us on the Design Cuts facebook page. We’ll share the best ones with the whole community.
That’s all folks! Until next time, cheers!
This bundle is amazing. I just love muddling around trying things out. Trouble is, I have bought so many resources now that sometimes I feel a little overwhelmed and can’t decide where to start.
This old grandma needs lot’s more tutorials please.
Haha, no worries there are always more and more tutorials coming. :) I’m glad to hear you’ve enjoyed this one. Please feel free to send us your outcome. I’d really love to see it. :)
More tutorials? We’ll keep ’em coming for sure!
I would love to have been able to do this tutorial but I have PSE11 which doesn’t support vector files and doesn’t have the smart object function. Would it be possible to create the occasional tutorial for us PSE users?
I’m going to try out your watercolour effect instructions, it’s such a great effect.
Thanks,
Carol
Hey Carol,
I’m so sorry you can’t use this tutorial. We definitely have plans to introduce tutorials for PSE. We’re working on lots and lots of improvements for this year, and I’ll be sure to get the team to include some tutorials for alternative design programs.
I’m making a note of researching the PSE limitations a bit more, so I can try to avoid some of the things that you guys can’t do.
This is a lovely bundle. Thank you. However, I’ve never known what to do with PSD brushes and would love to know exactly how the portrait of you three (on the intro to this bundle) was produced. In ten minutes you say …
Happy new year everyone.
Hey Ann,
You’re very welcome, we’re so glad that you’re enjoying the bundle :). Here’s a breakdown of my exact workflow to create that graphic in 10 minutes:
– Run the Charles Perrault Watercolor Studio 3 effect on our team photo
– Use some of the watercolor brushes (black) to mask off the edges of this photo further
– Drop over a watercolour shape below this photo
– Add a couple of splatters from the create an artistic scene pack
– Add the paintbrush and paint pot from the artistic scene pack
– Add the text using Make-Media-Co’s awesome font
– Add the trees from the Wintery graphics pack (white) making them appear to cut into the watercolor shape.
I hope this helps, and I’m going to email this to you, if you’d like me to break this down any more for you. I could also send you the .psd if you wanted :).
Thanks for putting together the tutorials for this latest bundle!! Totally love working with the watercolor sets!! Great way to dive into 2015 <3
They are really awesome to use, right. :)
Thank you Jordan! Glad we can help you to use your resources better.
Bought the deal and the deal is awesome. The tutorial is nice just hard to follow along between the header bar and the go to the deal bar leaves a pretty small window to see things. I will be really anxious and happy to see these tutorials offered in a pdf format both for future reference and the ability to see more of it at a time. I fell like I’m missing out on some great advice!
Ha, thank you for your kind words. For the page layout issue, I would strongly suggest that you send a screenshot (along with your screen resolution) to the folks at Design Cuts, either via Twitter (https://twitter.com/designcutsdeals) or their Facebook page (https://www.facebook.com/designcuts).
Thanks Simon. :)
Thanks so much for the kind words. I’m glad to her you’re Enjoying your new resources.
We’ll try our best to offer our tutorials in PDF format in the future, but it may take some work arounds in the meantime. :)