")
")
")

Design Training #1:
Create a Vintage Type Effect With Chris Spooner
Learn how to create a vintage type effect using Chris’s tips!
Stop! Before you start this free training…
Before you start this expert design training you should watch the video above.
Then, download the freebies you need to follow this tutorial below by entering your email:
What We’re Creating:
In this Adobe Photoshop tutorial I’m going to show you how to put the exclusive textures pack to use and create a cool vintage type effect with aged distressed textures. We’ll create a cool type layout with 1950s inspiration then use the texture pack to erode the design and give it an aged weathered appearance.

Step 1:
Start by downloading the aged photo textures that I’ve provided for this tutorial, using the form above. This will also give you access to the Photoshop source file for this tutorial, so you can follow along with every step in detail.

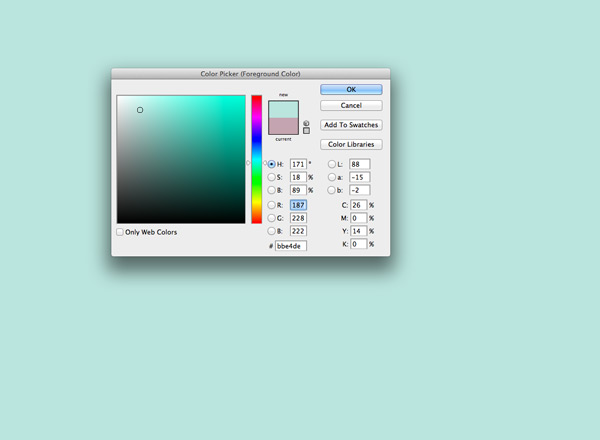
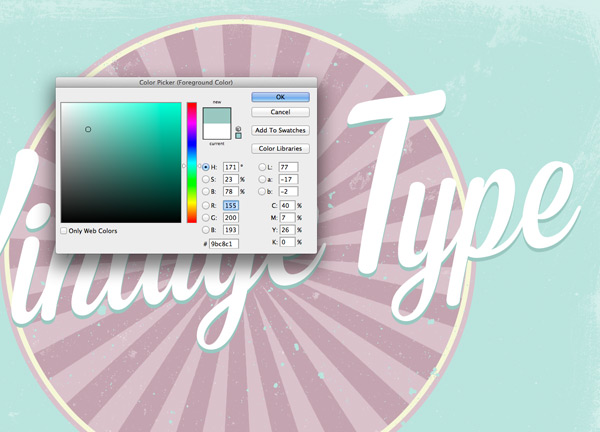
Create a new document in Photoshop and fill the background with a solid pastel green such as #bbe4de.
Step 2:
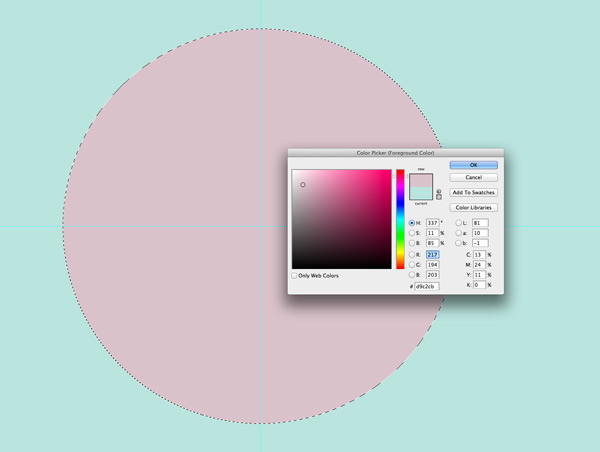
Use the Elliptical Marquee tool to draw a circular selection in the centre of the canvas then fill this area with #d9c2cb.
Step 3:
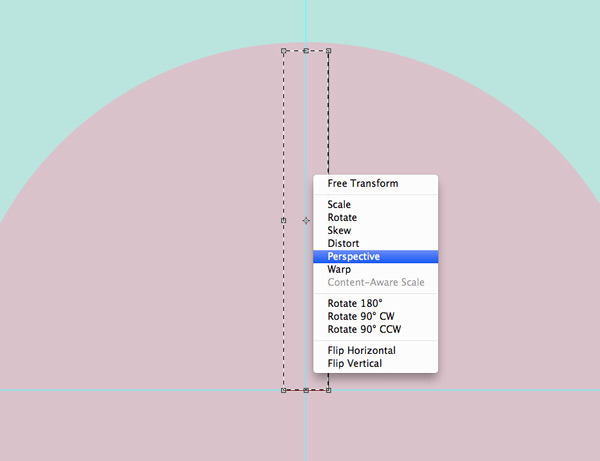
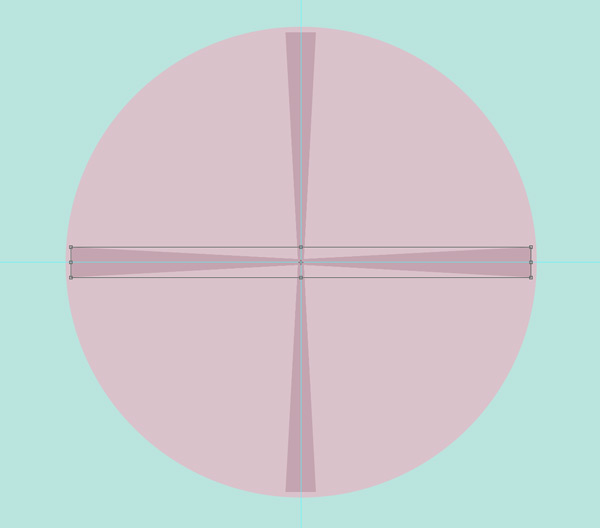
Draw a long thin rectangular selection from the centre of the circle extending close to the edge. Right click and select Transform Selection, right choose the Perspective option.
Step 4:
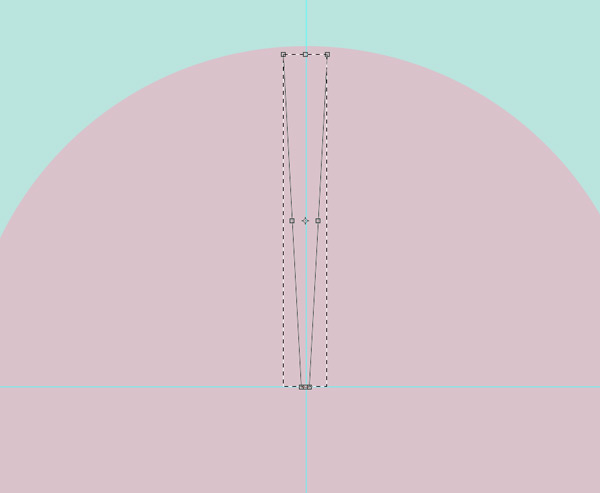
Drag one of the lowermost corner handles inwards to narrow the bottom edge. Hit Enter then fill this new selection with #c3a4b0.
Step 5:
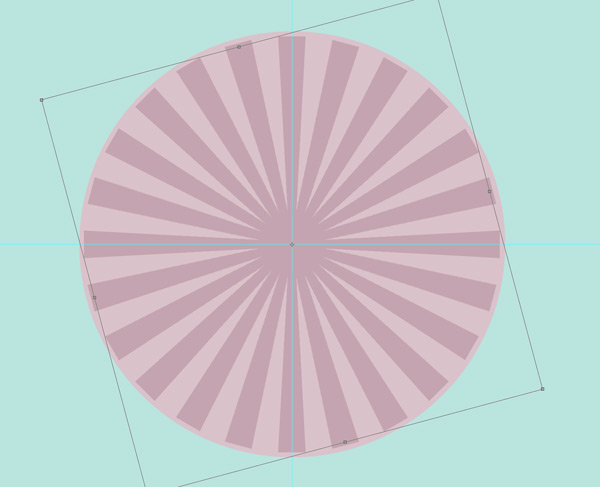
Press CMD+J to duplicate the layer, press CMD+T to transform the object then right click and select Flip Vertically. Position this flipped copy on the opposite side of the circle then merge the two layers together.

Step 6:
Use the shortcut CMD+J again to duplicate the layer, then transform and rotate the objects perpendicular to the originals. Hold the Shift key while rotating to constrain the angle.
Step 7:
Repeat the process of duplicating and rotating copies of the lines to form a radial flare. Merge all the layers together into one.
Step 8:
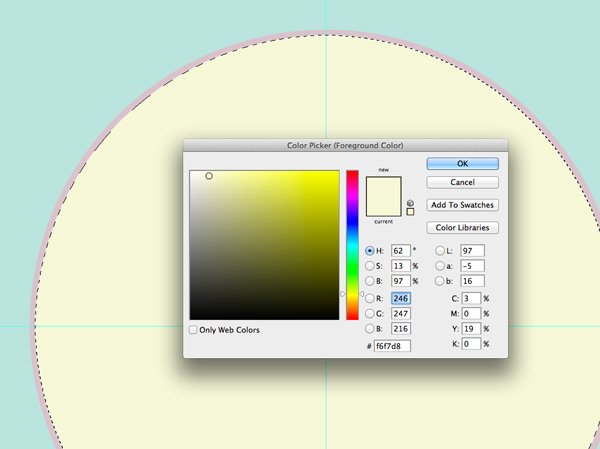
CMD+Click the layer thumbnail of the circle layer to load its selection, then go to Select > Modify > Contract. Enter 10 pixels in the options and hit OK.

Step 9:
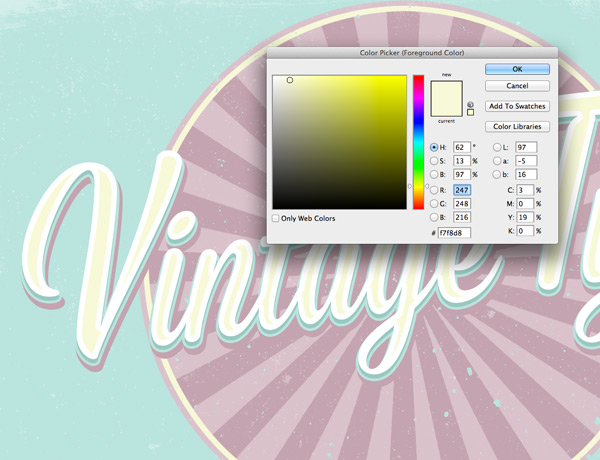
Fill this new circular selection with a pale yellow (#f6f7db) on a new layer.
Step 10:
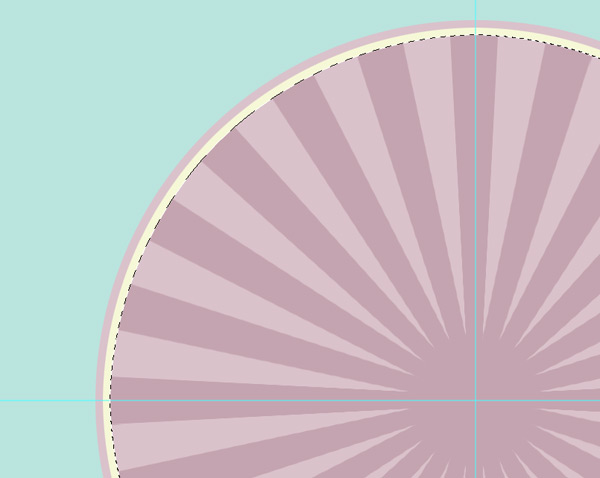
Head back to Select > Modify > Contract and scale the selection down by another 10 pixels. Hit the delete key to remove this inner portion, leaving a thin yellow ring.
Step 11:
We can now use the texture pack to begin eroding and distressing the design. Copy one of the textures into the document and scale it to size.
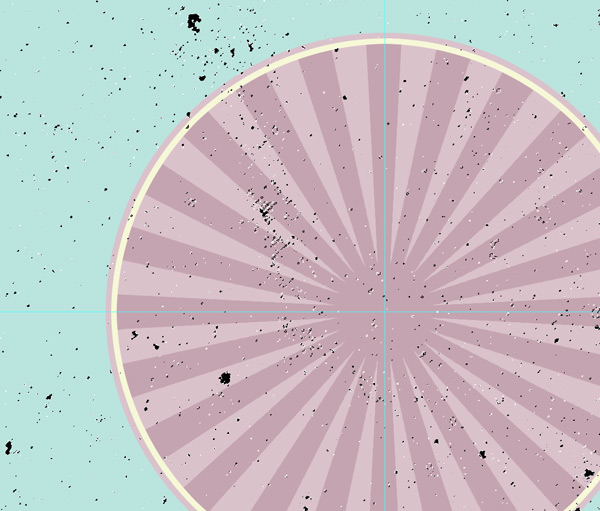
Step 12:
Load the selection of the texture file by clicking the layer thumbnail while holding the CMD key. Erase this selection from each of the layers by adding a Layer Mask.
Step 13:
Repeat the process with a couple of different texture selections. Add different textures to each layer to allow different underlying colours to show through.
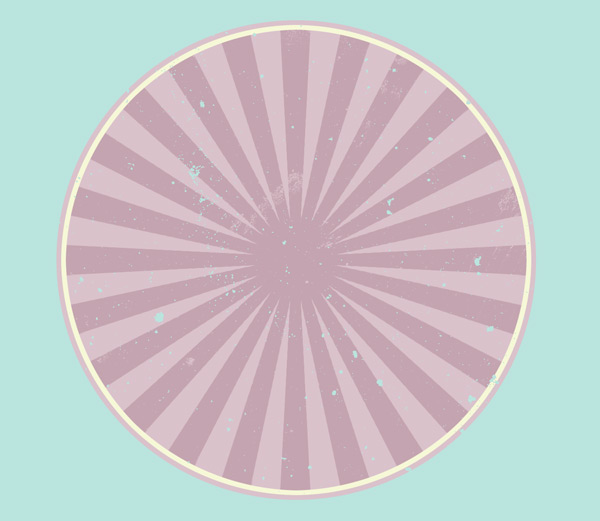
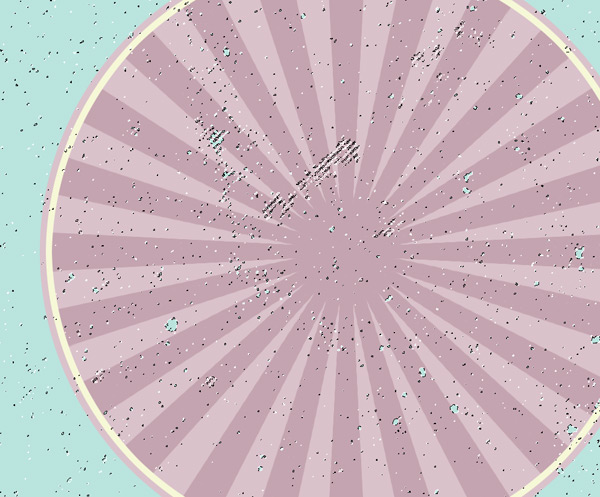
Step 14:
Paste in a full texture and scale it to fit the canvas. Invert the colour to white then lower the opacity to around 40% to add a touch of detail to the background.

Step 15:
Use the Type tool to create a title across the circular background. Here I’ve chosen the awesome Mission Script font.
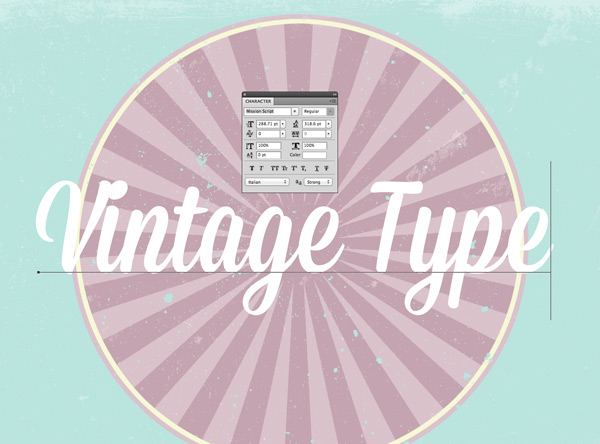
Step 16:
Transform the text and select the Skew adjustment. Move the right handle upwards to shear the text so it flows upwards at an angle. Scale the text to break out of the circle but position it centrally.

Step 17:
Select just the first letters of each word and increase the text size considerably. This not only fixes the interference between the letters, it also relates well to typographic techniques originally used on old 50s signs and logos.

Step 18:
Duplicate the text layer and position it underneath the original in the layer stack. Move the duplicate downwards a few nudges and give it a darker green fill (#9bc8c1).
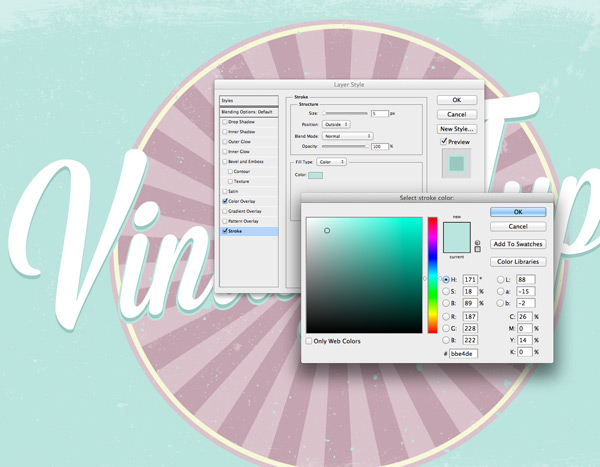
Step 19:
Double click this new text layer to open the Layer Style properties. Add a Stroke effect with 5px #bbe4de to create an alternating colour outline effect.
Step 20:
Create another duplicate, this time with the same fill colour as the radial background flare. Add a 7px stroke of the same colour to fatten this text and create a larger offset outline.

Step 21:
CMD+Click the original text layer to load its selection. Go to Select > Modify > Contract and reduce it by 10px in size. Give this new selection the same yellow fill as the ring on its own layer.
Step 22:
Align an angled selection with the Polygonal Lasso tool to select and erase the upper half of the yellow inset layer.

Step 23:
Draw a much thinner selection strip and use this to erase alternating stripes into the text to recreate a popular vintage shading technique.

Step 24:
Group all the elements that make up the main text graphic then add a Layer Mask. Use various textures to distress the text in the same fashion as the background to create an old aged appearance.

AND WE’RE DONE!
The texturing of the design really helps capture the vintage theme by giving it the appearance of an authentic logo, sign or product label that has corroded and peeled as it has survived the years.
Download the source file for this tutorial (plus exclusive freebie):
 Today’s tutorial uses Chris’s Aged Photo Textures freebies pack, exclusively available to Design Cuts subscribers. Download this awesome freebie and the source file for this tutorial using the form below. Entering your email will allow notify you of our big launch.