Choose Template
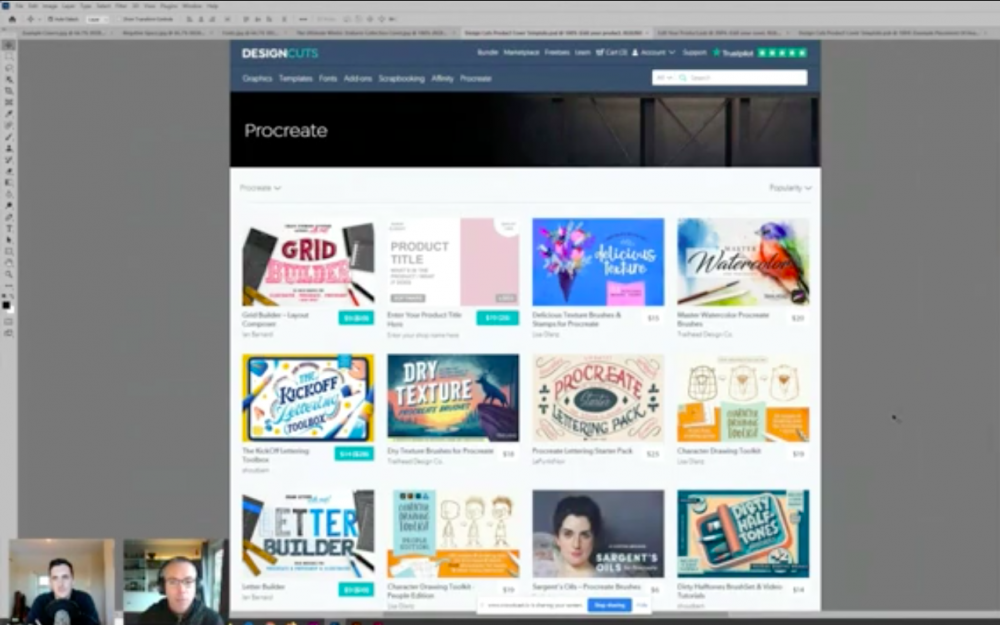
To begin, choose a product template from Photoshop. This product template will help you foresee what your product would look like against other products in your marketplace, how it competes and how legible it is when put together.
Add Text
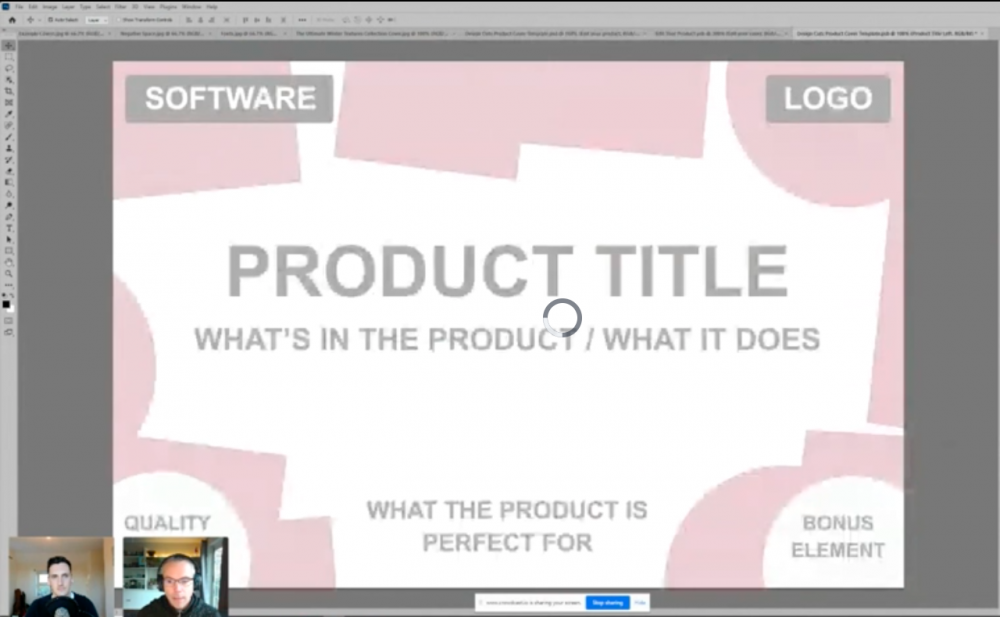
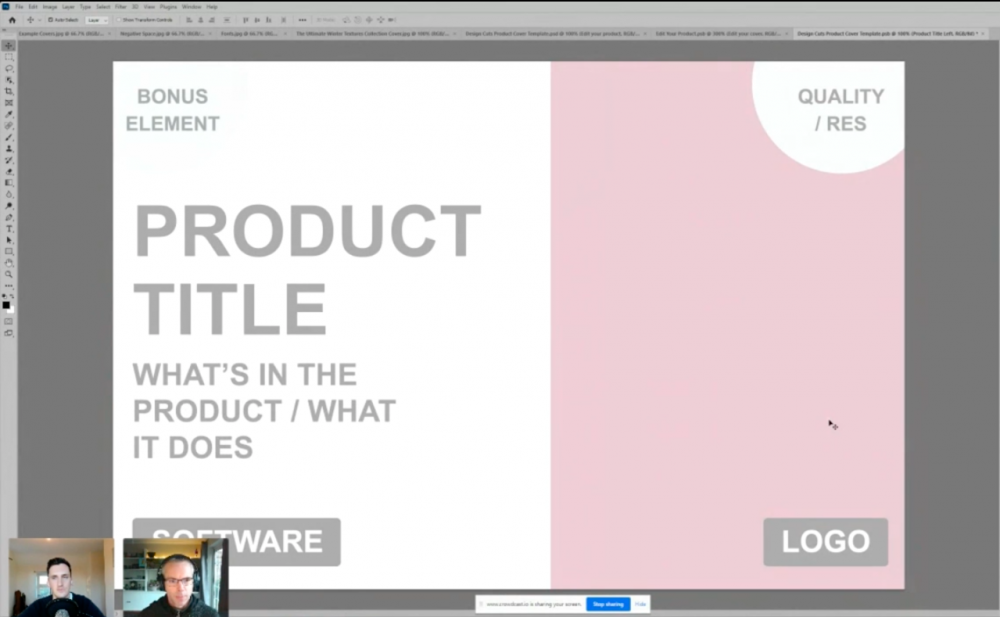
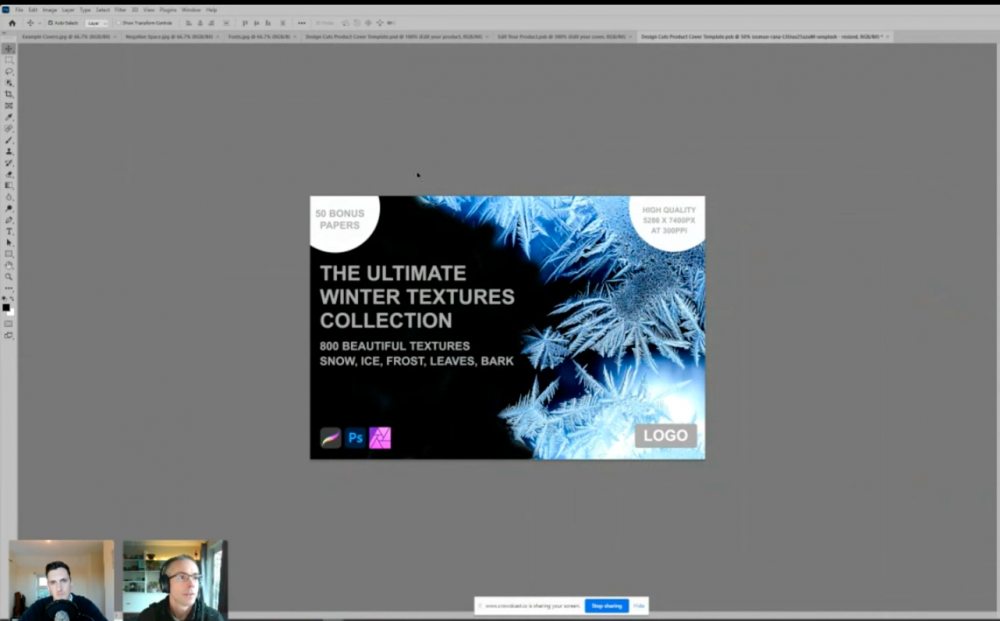
Add the title of your product to ensure that your text is visible and attractive. Then add what's in the product, the software it runs on, and bonus elements to attract people to buy it. Add text about the quality and resolution, and attach your logo for brand credibility.
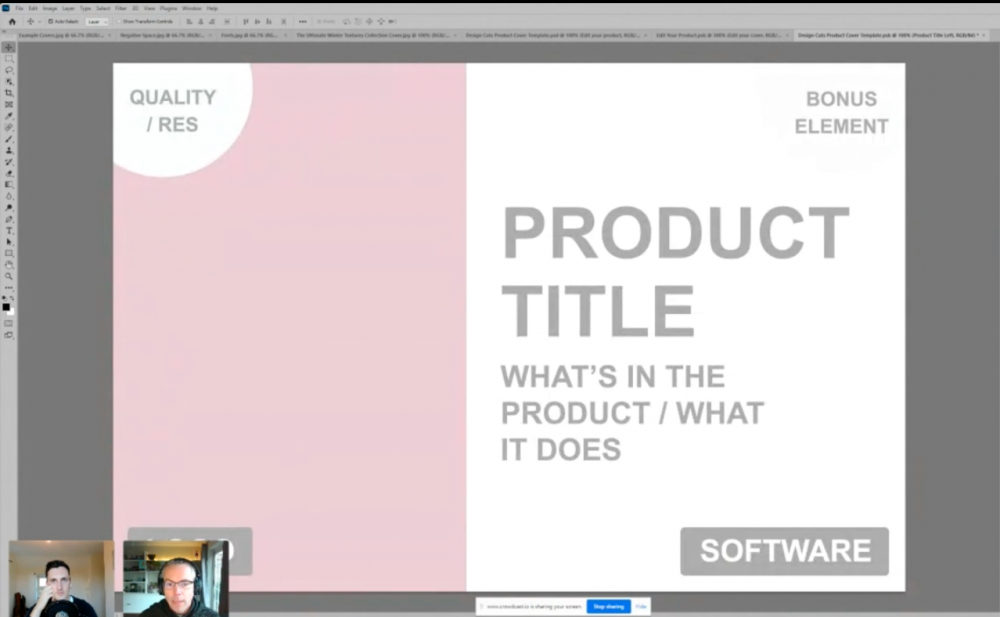
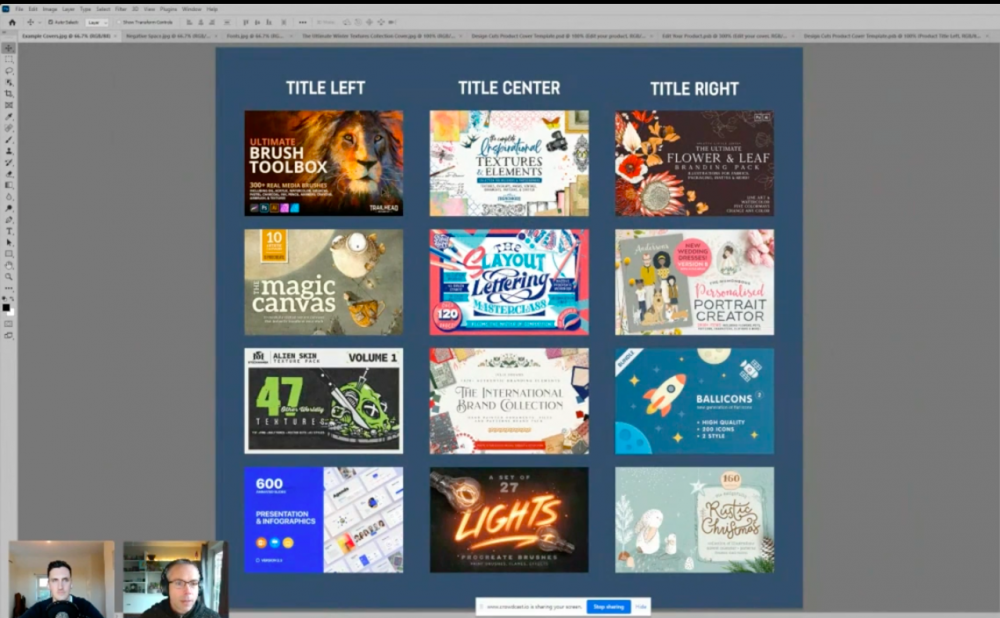
To do this, double click and get the smart object to fill your text. The pink elements as shown in the image below are where you can add your graphical elements. You can choose from the center, left, or right-aligned layout for your product type. This will help give you a structure and basic idea of how your product would look.
Pro tip: You can make editions to the size of the letters as well as the elements and restructure them as you like.
(For reference, please see some example covers as shown in the image below.)
Understand Negative Space
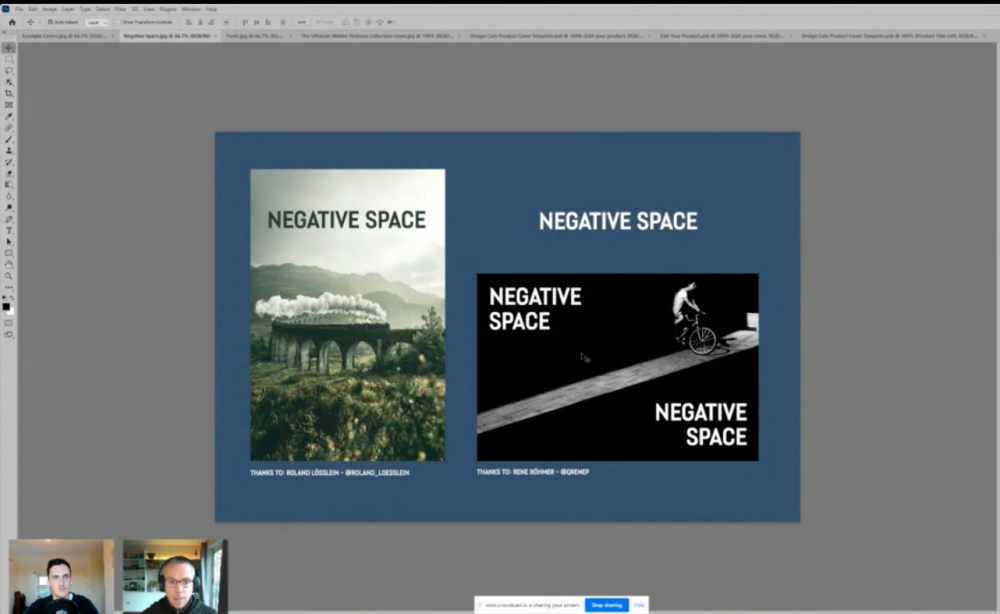
Negative space is an area which is free of the main objects or the focus of the design. For example, as shown in the image below, the man on the bike is the positive space and the light coming across on him is the negative space. Negative spaces are ideal for dropping text, elements etc, in a legible way. So, negative spaces are mostly the blank areas in an image.
Work on the Template
Add Text
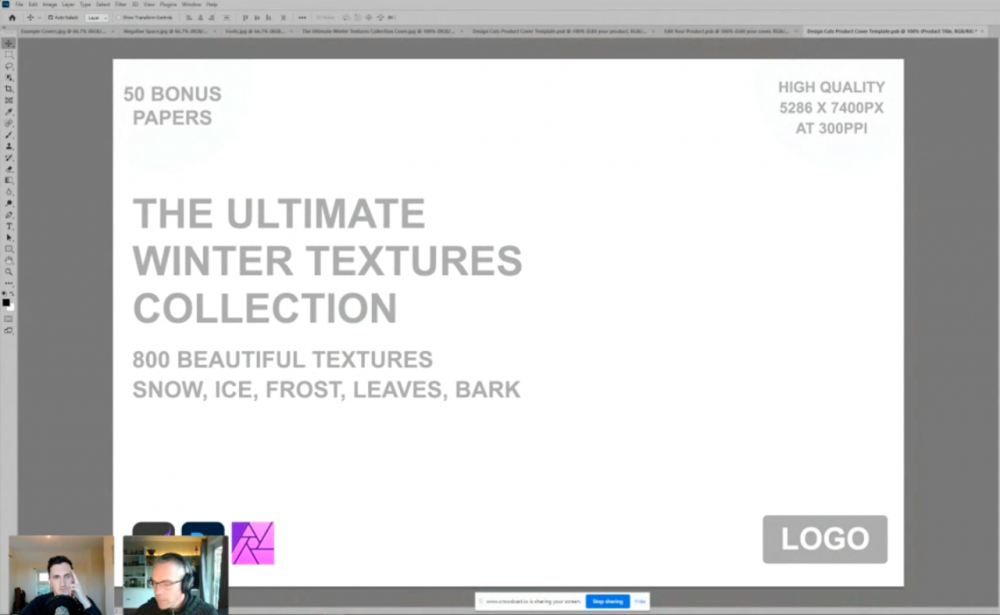
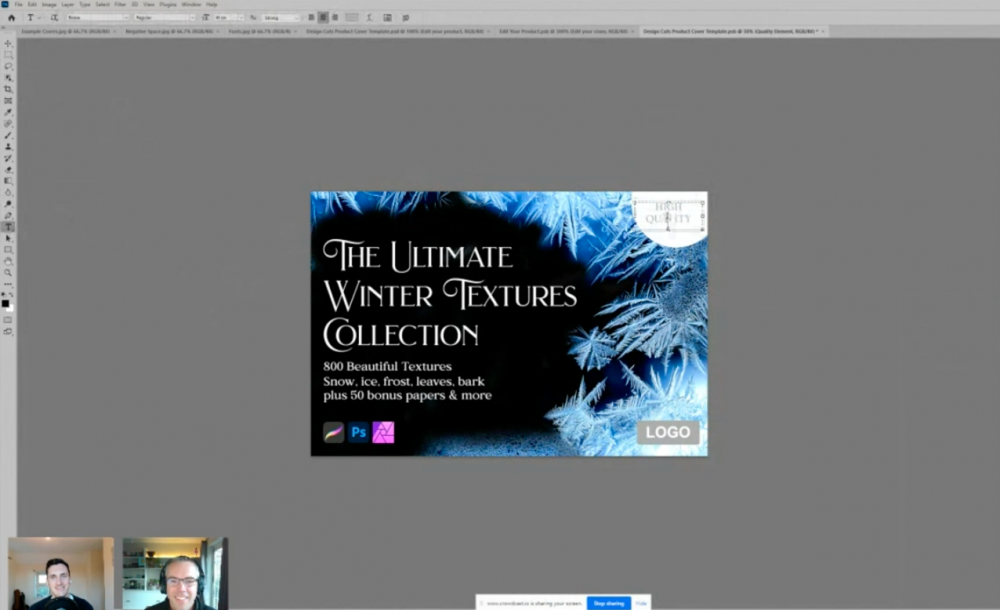
Put in the text and replace the existing title. Add other text to describe your product. Check the height of the letters with the minimum and maximum height as added in the template. Then add quality details and software. Please see the image below for reference on how to add text.
Pro tip: Adding a logo is extremely important for branding purposes.
Add a Background
Choose a cover from the example covers. For this particular example, Matt used an image from Unsplash to get a frost texture for his cover. Transform the image by using Command + T and find a composition that fits around your text.
Get rid of the negative spaces by adding a layer behind and coloring it. Then, use Command + L to give the imagery a pop, adding highlight and shadows.
Pick a Font
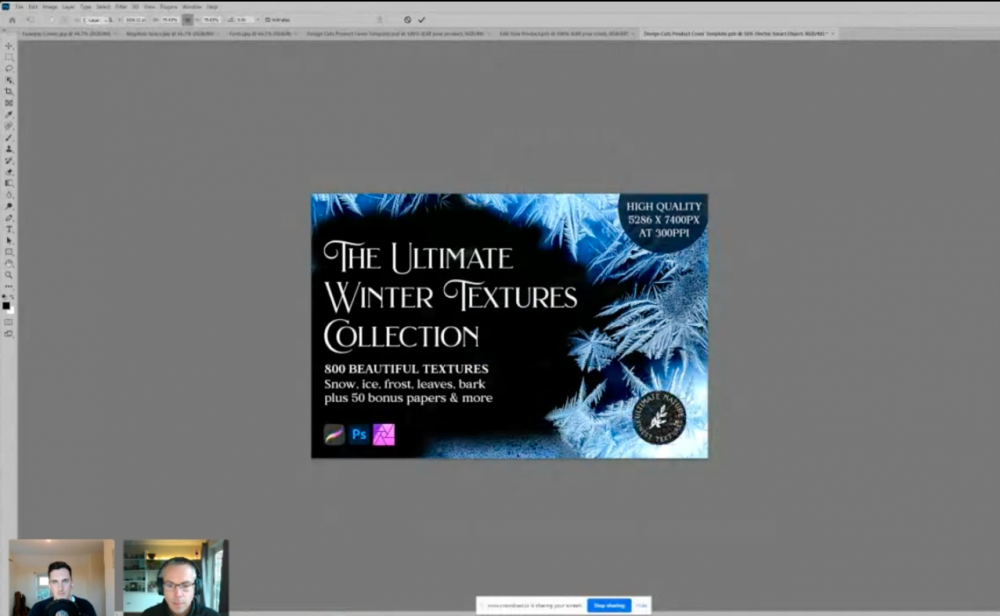
There are various fonts added in the template. Pick a font that you like and fits best with the composition. Rewrite the text and rearrange the size.
Pro tip: If the composition looks too cluttered, you can get rid of any text that you think doesn’t fit or rearrange them.

Add Elements and Color
Copy the background and add the elements by rearranging them. Making a circular composition add elements around the text. Add a mask and then remove all the extra elements.
Pick any one of the dark blues to tie the composition together in terms of the color. Drop the opacity of that layer. To add more legibility to the white text, add effects for the layer. Drop the shadow with zero distance and spread it.
Add Logo
The Ultimate Branding Collection by 7th Avenue Designs is a great package that consists of various pre-made elements and designs. Pick any illustration you like for the logo then edit it by adding your brand name. Copy-paste this onto your composition.
Pro tip: To tie the overall design together, press Command + B to adjust the level of color of all the elements on the composition.
Finalise the Composition
Copy the entire composition from Photoshop and paste it onto the final template. Edit the description, price and details as per the product.
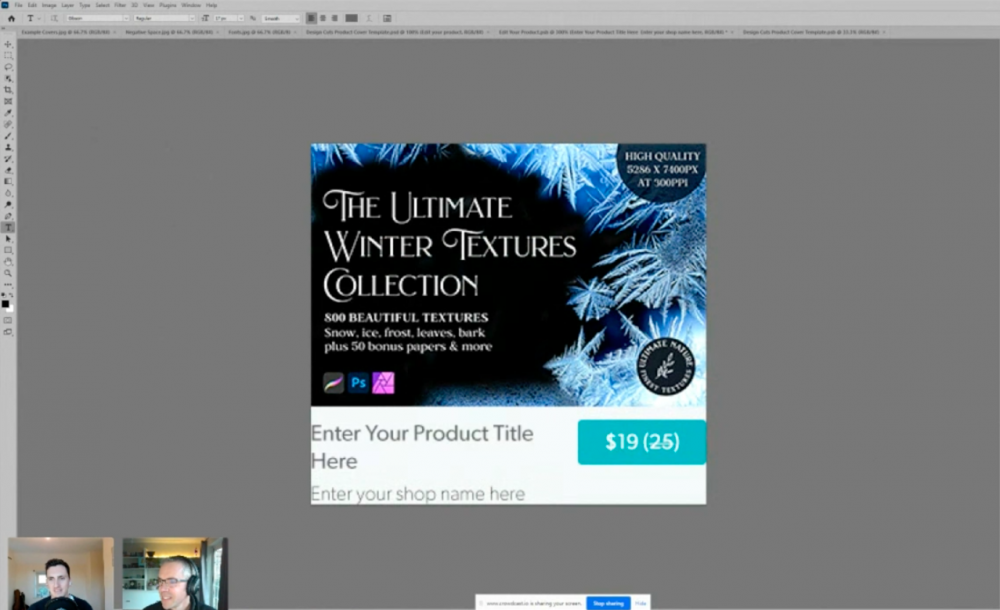
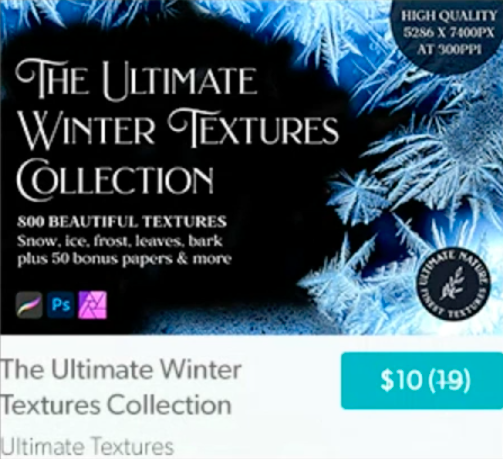
Finally, check the legibility, i.e. text, logo, elements, color etc. once it’s all done. At the same time also check how it compares to the other products placed on the page and make any editions if needed.
That’s it! You've successfully designed a digital design product cover.


Be the first to comment