One thing I realised when opening the Beautifully Artistic Brushes Bundle for the first time is that it’s a lot of files that needed to be installed in Photoshop and Illustrator before I could use them.
Today, I’m going to show you, in detail, how to install and use your new brushes. I’ll also walk you through the steps of installing brushes in bulk, which is a huge time saver, and should make your life a lot easier. I’ll be covering the process for both Photoshop and Illustrator, in a Windows and a Mac environment. I personally use the Creative Cloud version of Photoshop and Illustrator, but the folder paths should be similar whatever the version that you’re using is.
Let’s get started.
INSTALLING BRUSHES IN PHOTOSHOP
Installing just one brush pack
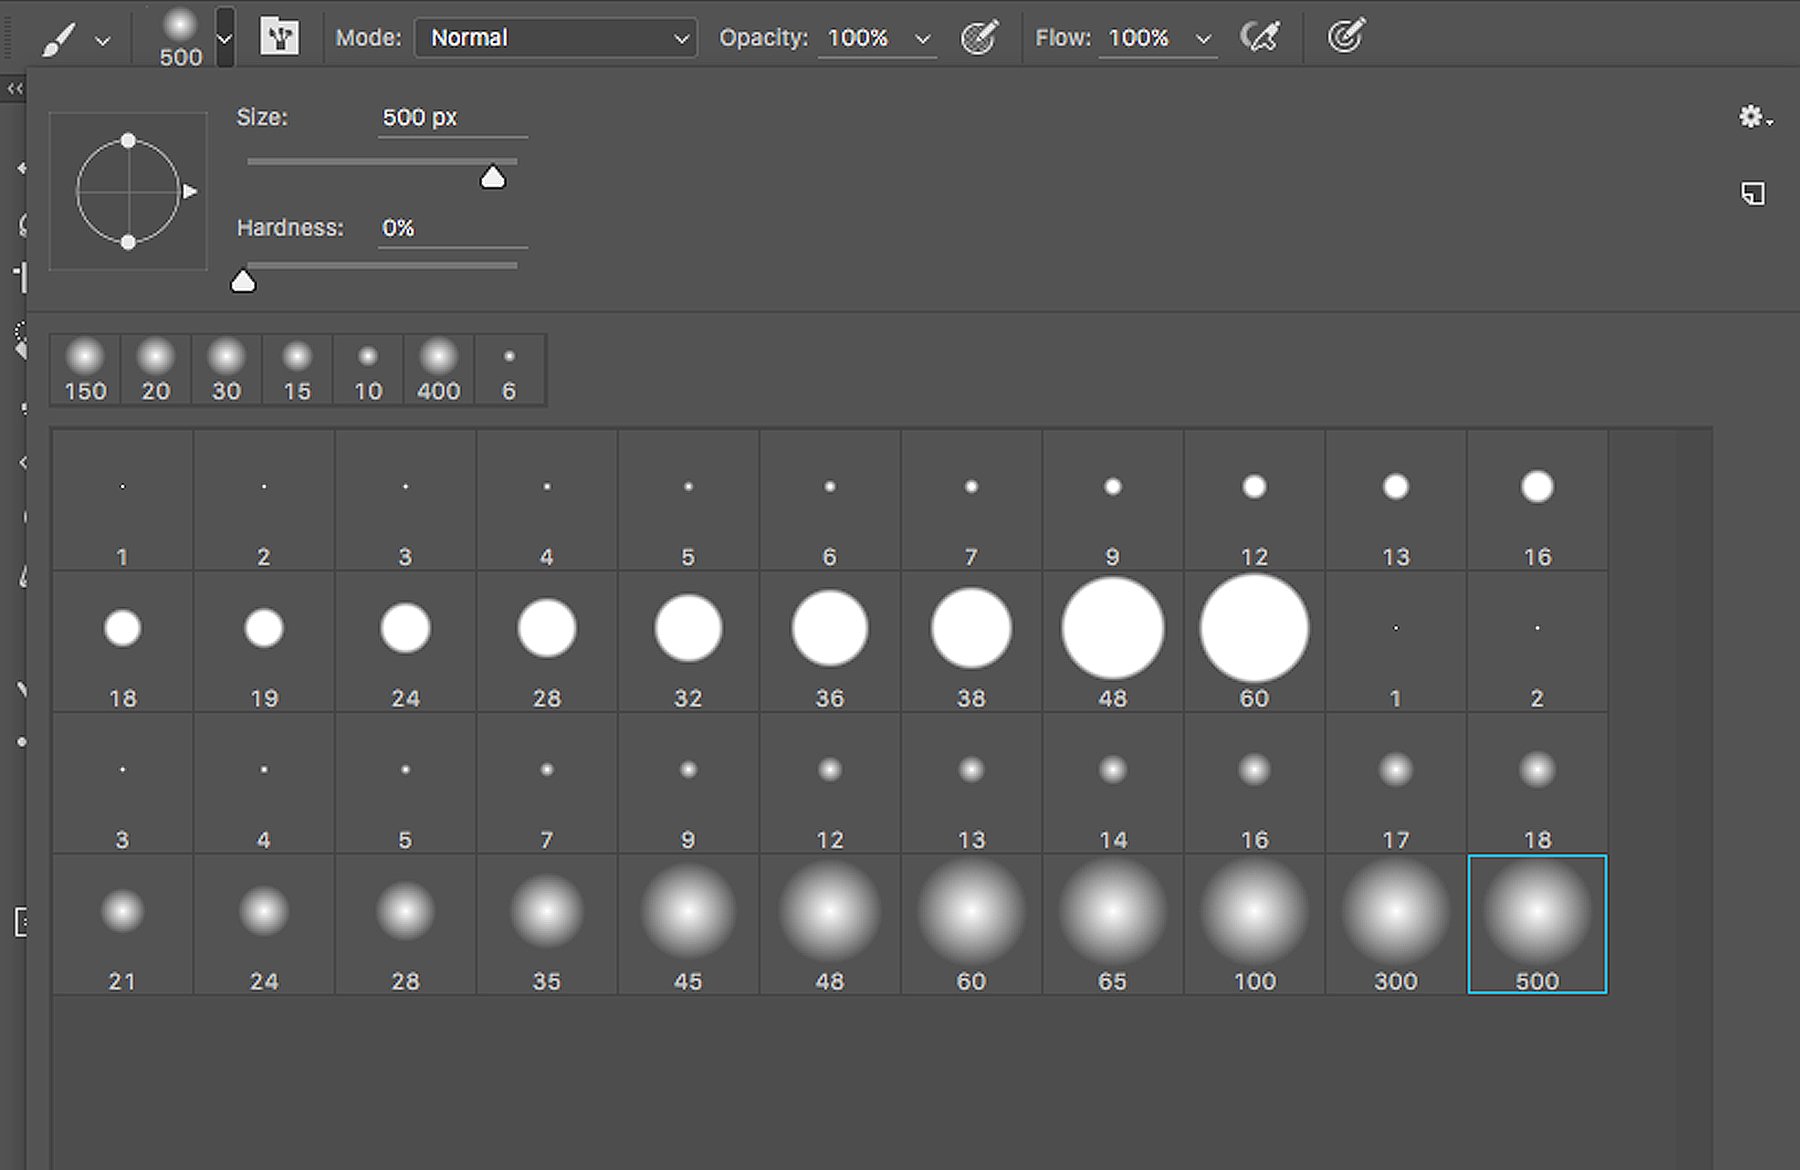
The process to install a single brush pack in Photoshop is the same in Windows and OSX. Select the brush tool (B). Open its properties panel.
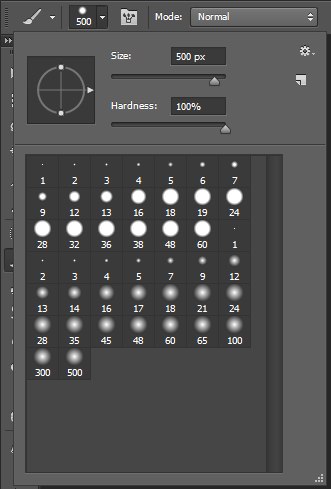
From, you’ll want to click on this little gear icon.

This will give you access to a menu with all of your brushes, but also with a few important options. “Load brushes” is the one we want.
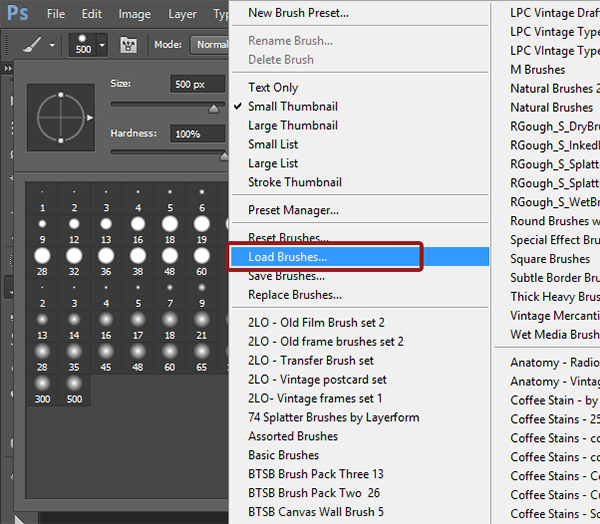
This will prompt you to browse your hard drive, and locate the brush file you’d like to install. Select and the file and click the Ok button, and you’re good to go.
Bulk-installing brush packs
Installing multiple brush packs in bulk is a fantastic time saver, and here’s exactly how to do it.
Let’s start with Windows.
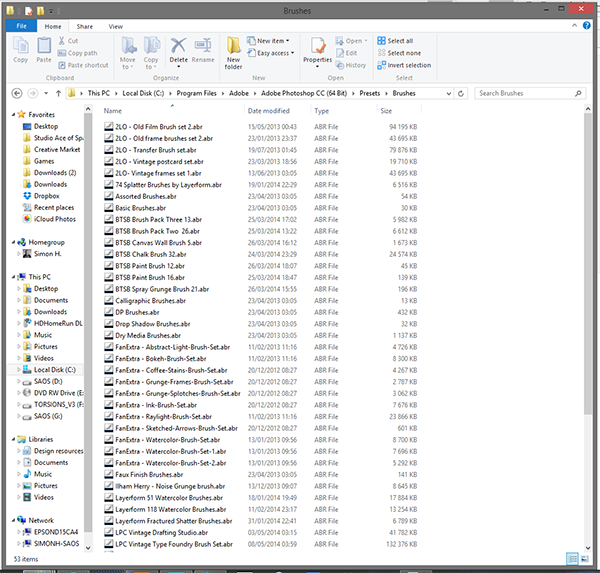
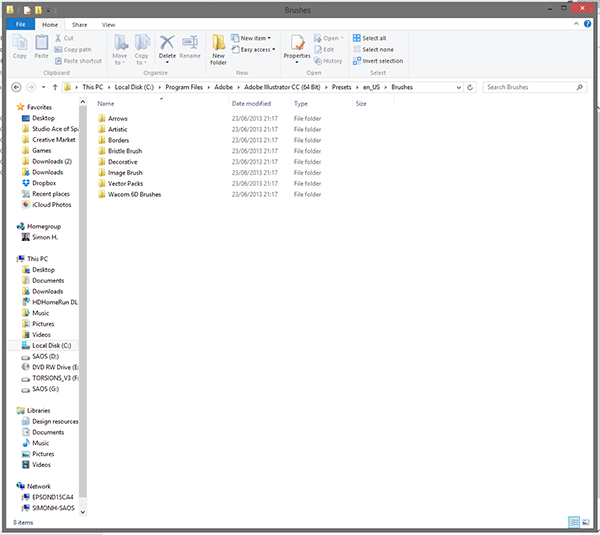
Navigate to Program Files\Adobe\Adobe Photoshop CC (64 Bit)\Presets\Brushes, and simply copy and paste the brush packs’ ABR files in there.
Note that if you’re using a different version of Photoshop, the file path will obviously change to reflect that.
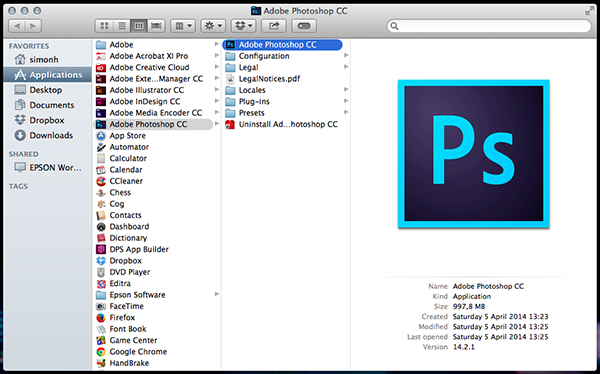
On OSX, it’s very easy as well. Hover the Photoshop icon in your dock.

Click on it while pressing the CMD key at the same time. This will open a Finder window that will bring you straight to Photoshop folder.
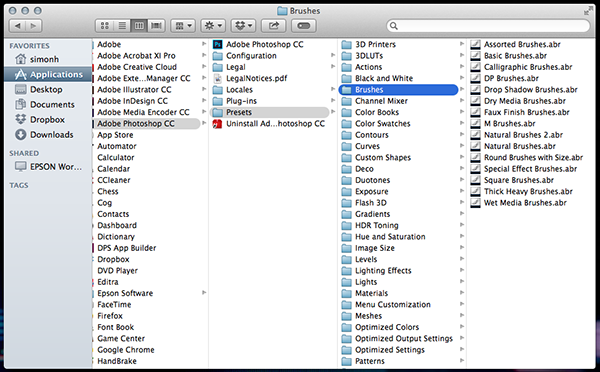
From there, navigate to the Brushes folder, and simply drag and drop the ones you’d like to add in there.
Easy as pie, right?
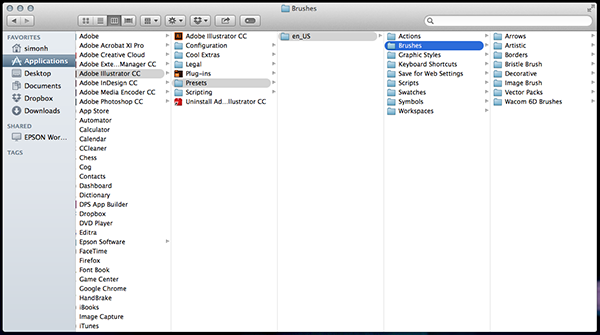
INSTALLING ILLUSTRATOR BRUSHES
To install brushes in Illustrator the processes are the same as with Photoshop, it’s just the folder paths that change. Also, in Illustrator, brushes are organised by folders. You could start creating your own classification in there.
Windows
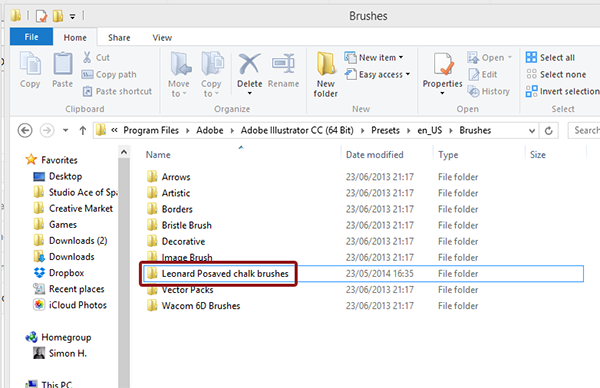
And here they are, properly organized.
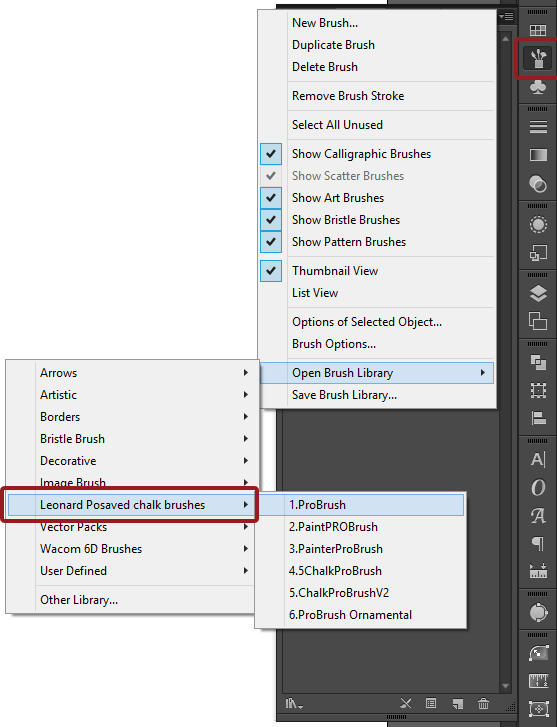
Mac OSX
Like I said above, the process is the same as for Photoshop. Simply CMD+CLICK the Illustrator icon in your dock, and navigate to the desired folder.

What Next?
Now that you know how to install brushes correctly, you may feel a little more confident to start using them.
Our current brushes bundle is the biggest and best that we’ve ever seen, offering you 1000+ of the best Photoshop and Illustrator brushes in the world, for 90% off. If you want to grab this bundle you need to act fast though, as it’s ending in just a few hours:
Click to view the Beautifully Artistic Brushes Bundle + Extras for just $27 (90% Discount)
Once you’ve grabbed your new brushes, we’ve put together two awesome tutorials show you how to use them:
Design a Creative Coffee Shop Meetup Poster
Design an Awesome Grindhouse Style Movie Poster
Please let us know how you get on with your new brushes, and if you get stuck, don’t hesitate to contact us, we’re here to help.


I am having trouble loading these brushes. I have a Mac running Yosemite. I have looked at your basic installation tutorial but I can’t seem to get them loaded. I have PS CS6 Any help would be appreciated.
Hey Lois,
Thank you so much for reaching out to us and I am so sorry to hear that you are having difficulty loading your brushes.
Rest assured I can certainly help you with this and have popped you over an email to get you working with these!
I didn’t know before how to install brushes in bulk! This is great, thank you!!
You’re so welcome Luisa, thanks for commenting!
We hope that these tips come in great use for you :)