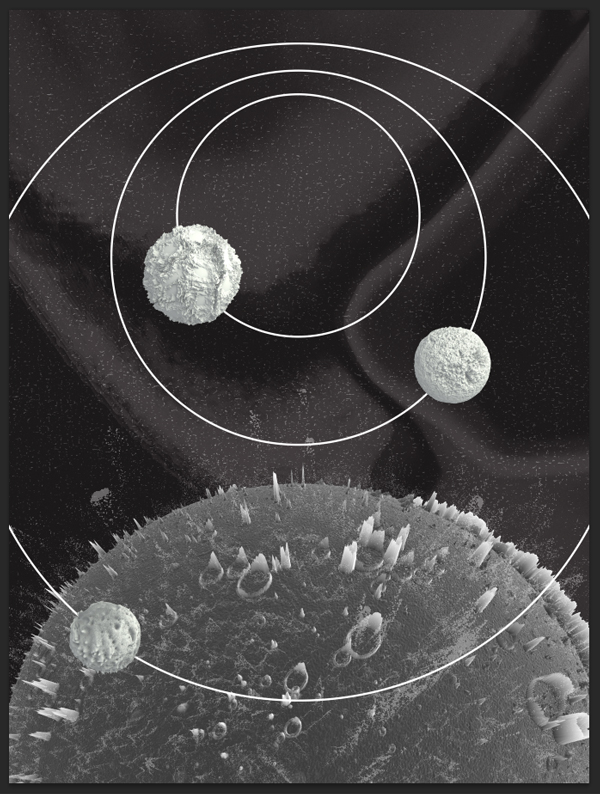
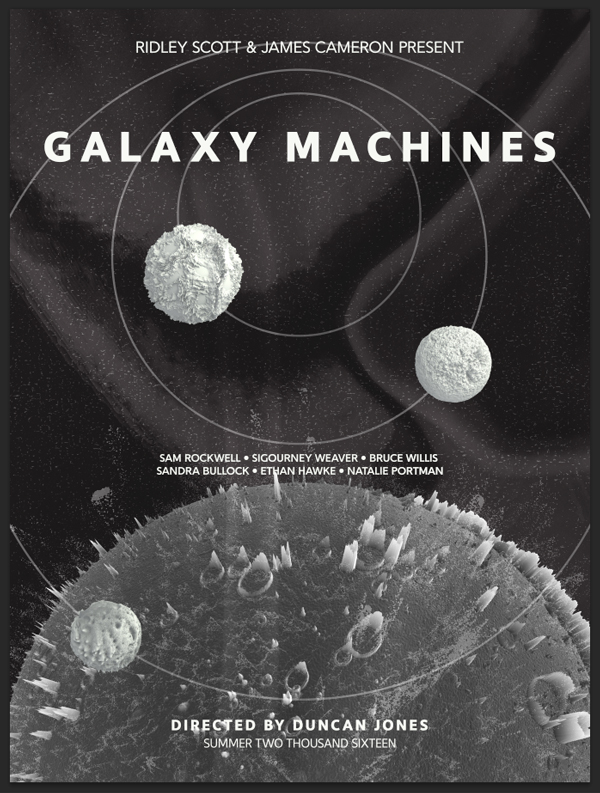
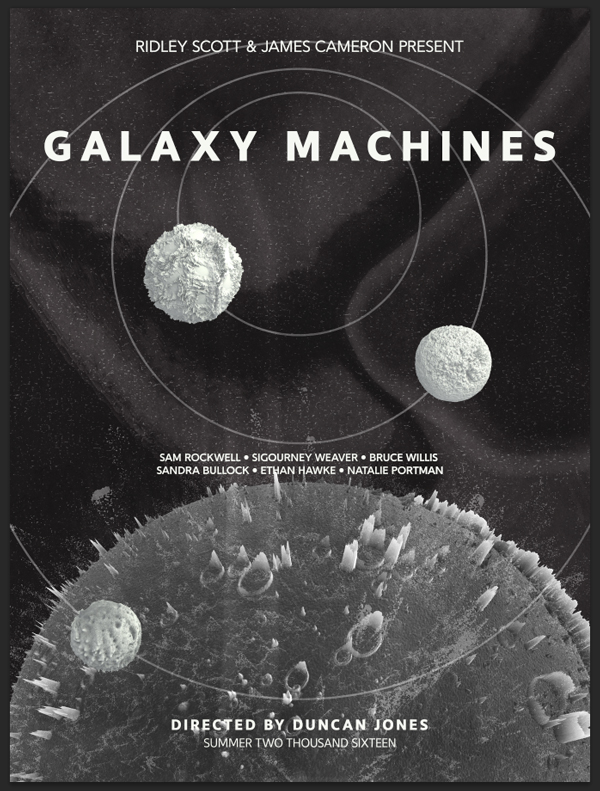
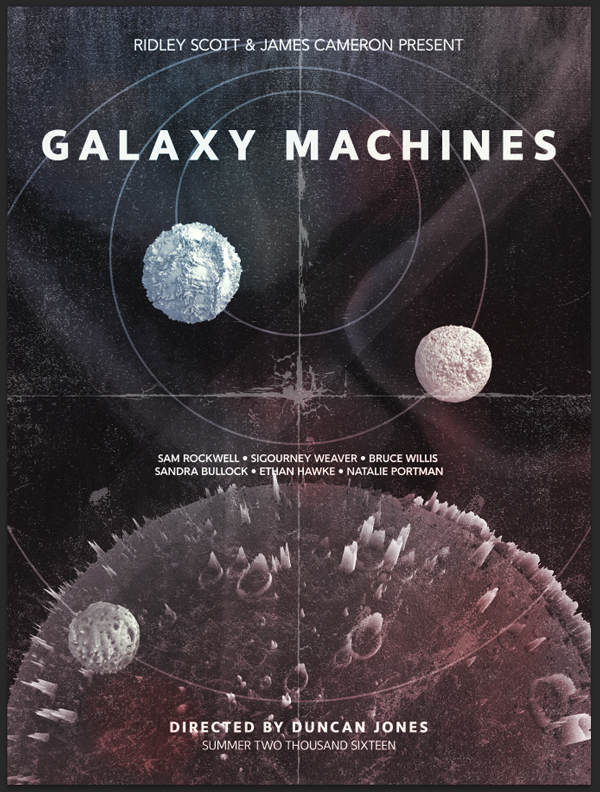
WHAT WE’RE CREATING:
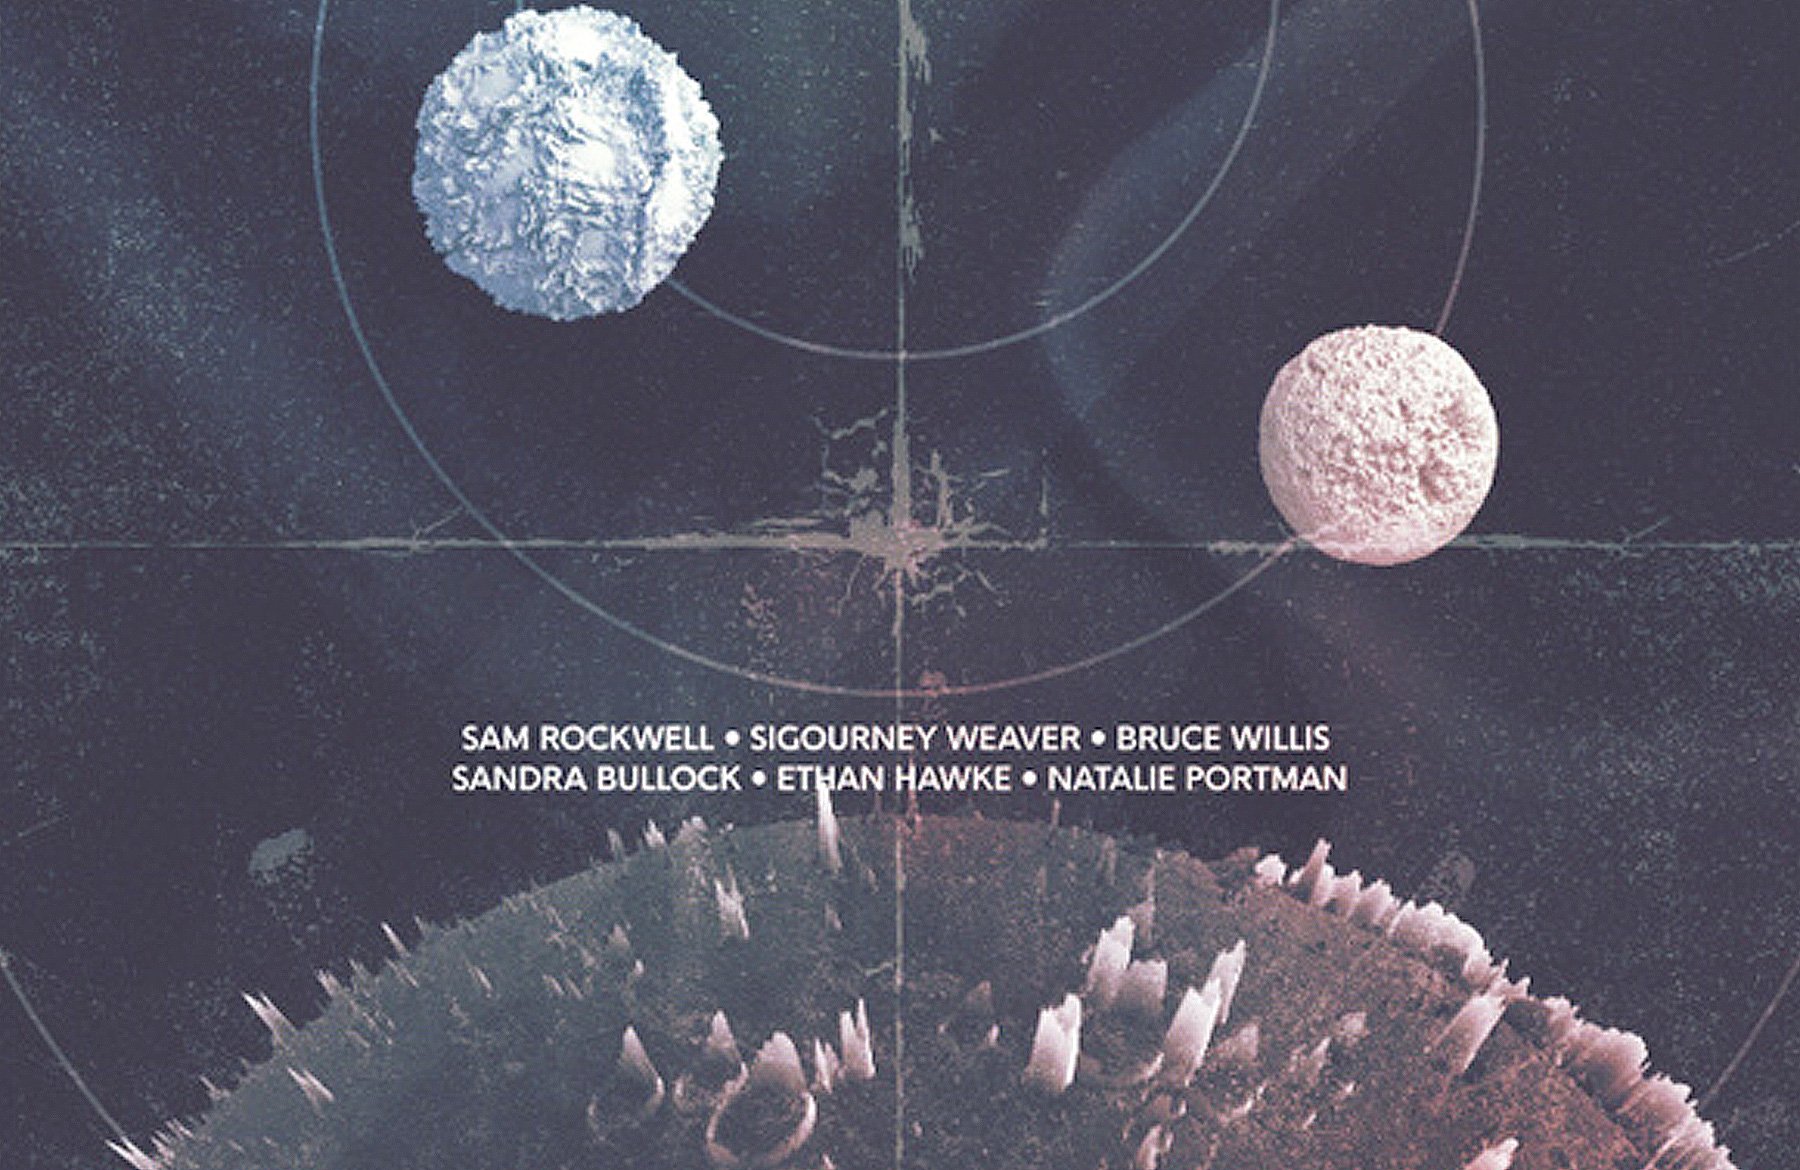
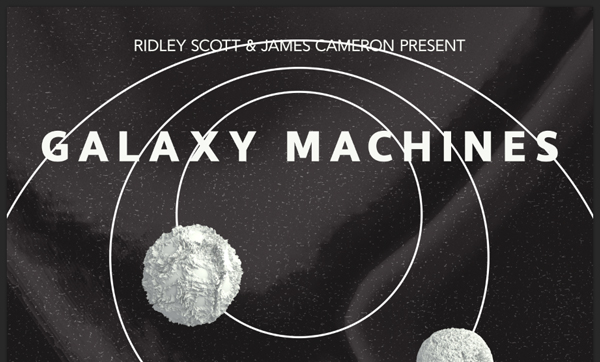
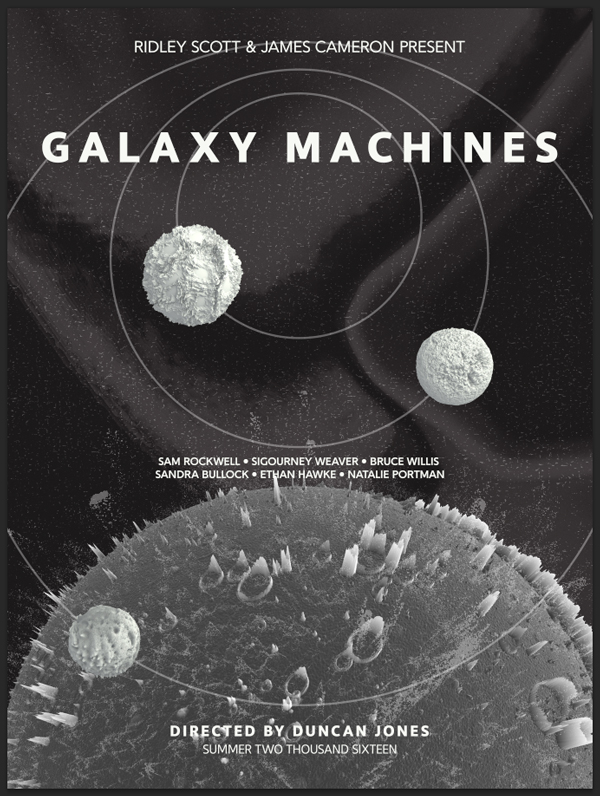
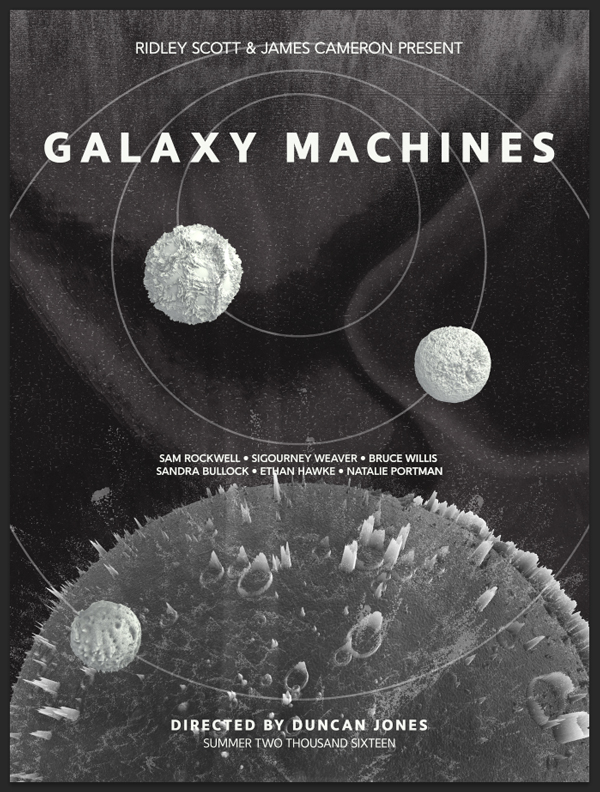
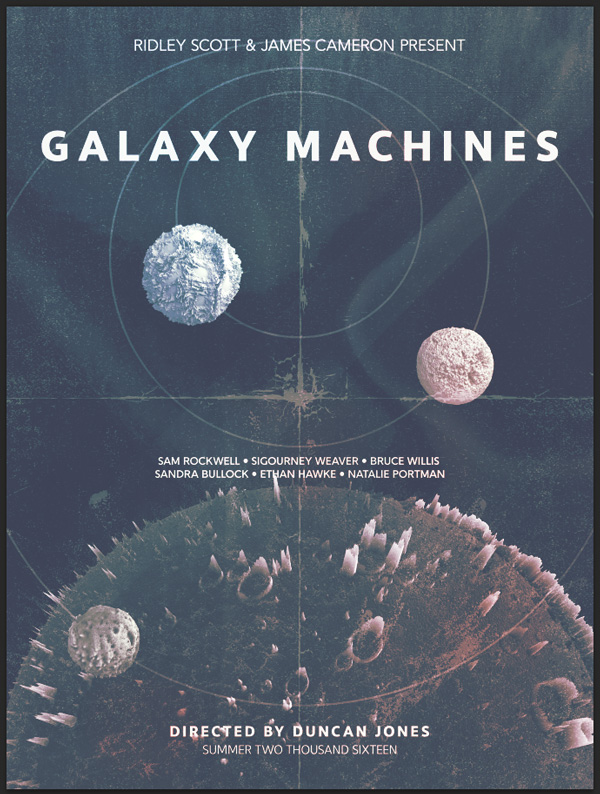
Hello all! I’m excited to share with you my first tutorial on the new version of the Design Cuts site. It looks like a main theme within the modern creative design bundle is space. After Pam’s great ’80s, candy-flavored version, we will focus on a more contemporary and Sci-Fi vibe for our piece. We will use the bundle’s content to create a poster with a slightly mysterious vibe for Galaxy Machine, a fictional up-coming movie directed by Duncan Jones, and starring Sam Rockwell, Sigourney Weaver, Bruce Willis, Sandra Bullock, Ethan Hawke, and Natalie Portman.
We’ll explore an efficient technique to extract elements from their backgrounds, and subtle coloring through the use of textures, and adjustment layers.
Ready to go boldly go beyond the final frontier? So am I, so let’s do it.
A FEW TECHNICAL NOTES BEFORE WE DIVE INTO THE WORMHOLE
First of all, I know that a lot of you will be happy to hear that this is a Photoshop-only piece!
Second, let’s get the usual PSAs out of the way.
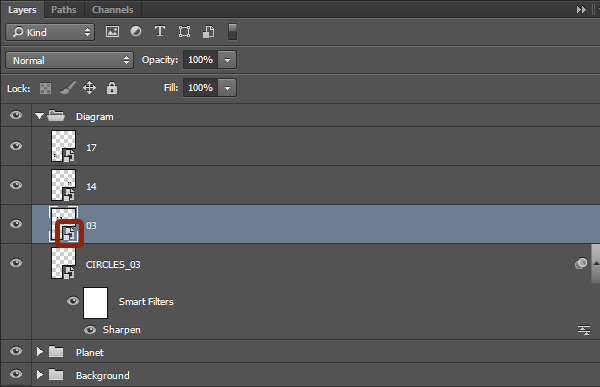
- Don’t know what a clipped layer is? Glad you asked! This means that the layer is only visible/applies to the layer directly below it. You can very quickly do this by holding ‘Alt’ down on your keyboard and clicking between the two layers. Here’s a quick demonstration.
- Every time we’ll work with textures, we’ll follow this simple process: place as smart object, sharpen, desaturate, enhance contrast with levels, and modify the blending mode.
- Placing the textures as smart objects, and using adjustment layers to tweak them, allows us to stick to a non destructive workflow. We’ve explored in depth the numerous pros and few cons of such a workflow in this past tutorial: “How to Use Textures The Right Way.”
STEP ZERO: THE CONCEPT
When I got to look at the bundle’s components, I immediately knew that I wanted to make prominent use of the following items.
Offset’s geometric masks and shapes
These simple, elegant geometrical constructions have so much character, and presence.

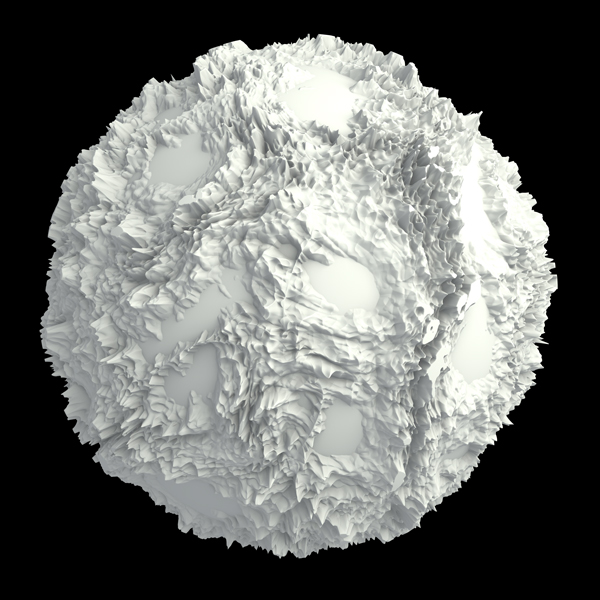
Rule by Art’s Molecule
A miniature world is contained in each of these.
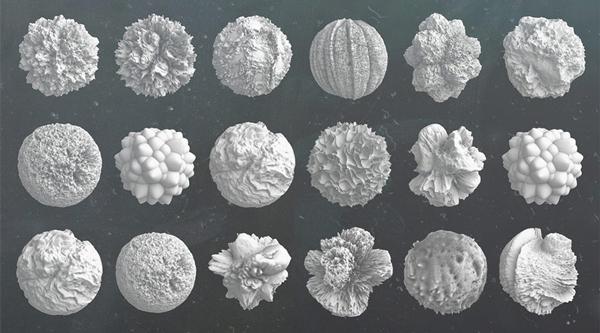
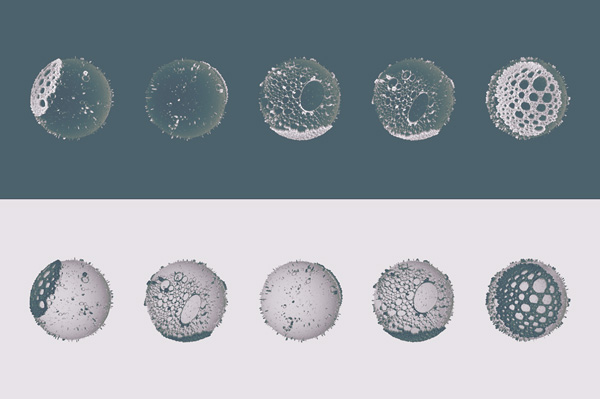
Rule by Art’s Lunar
With a space-themed piece, this was a necessity.

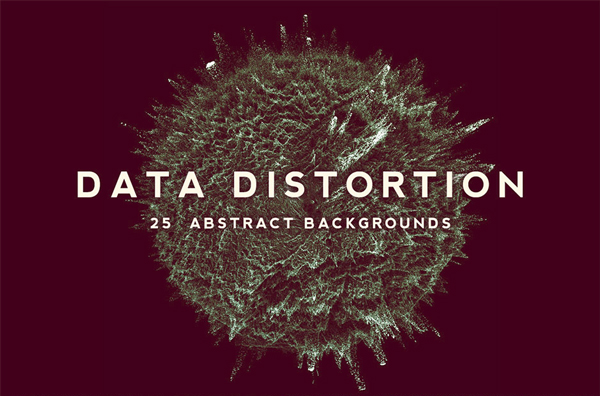
Extra sprinkles
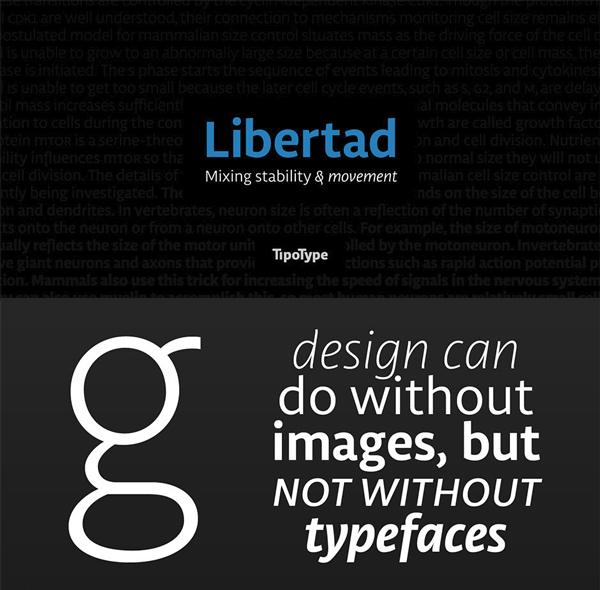
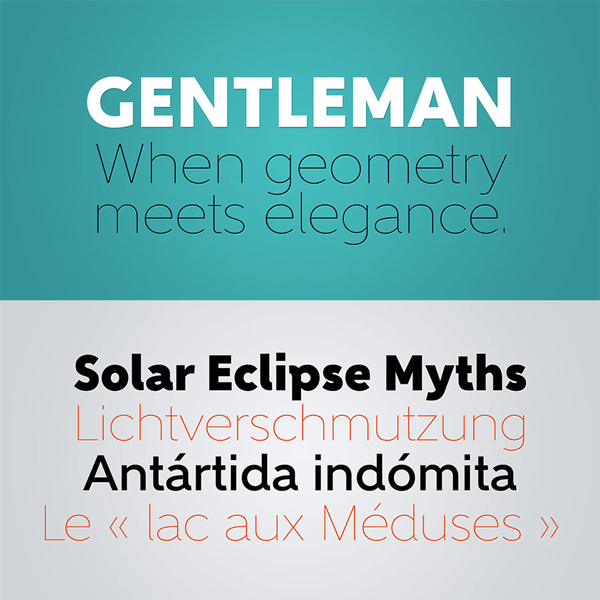
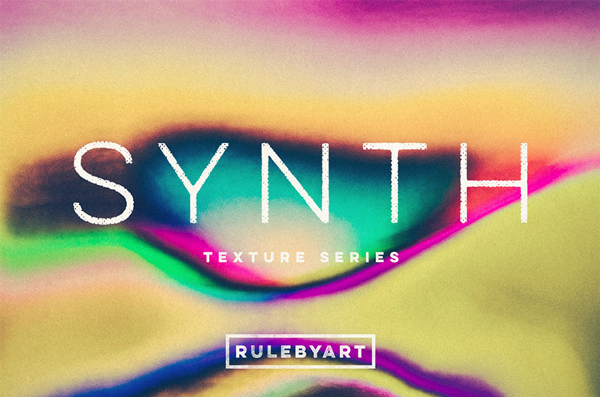
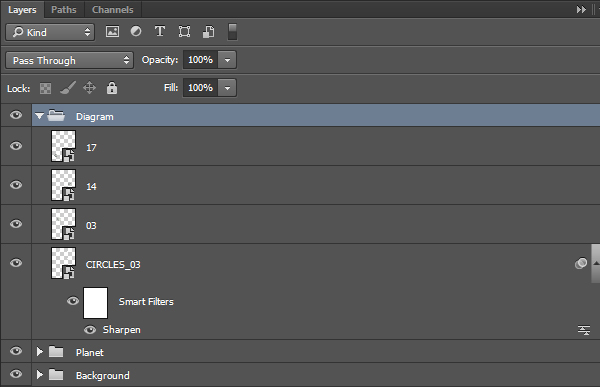
With these main visual elements, additional pieces like Rule by Art’s Synth and Data distortion sets, Juraj Chrastina’s Gentleman type family, and Tipo Type’s Libertad type family are the icing on the cake.
Looking at inspiration
The two main sources of inspiration I dived in before going through the three iterations of the poster’s layout are the visual design of Stanley Kubrick’s 2001: a space odyssey (1968), and Duncan Jones’ Moon (2009).
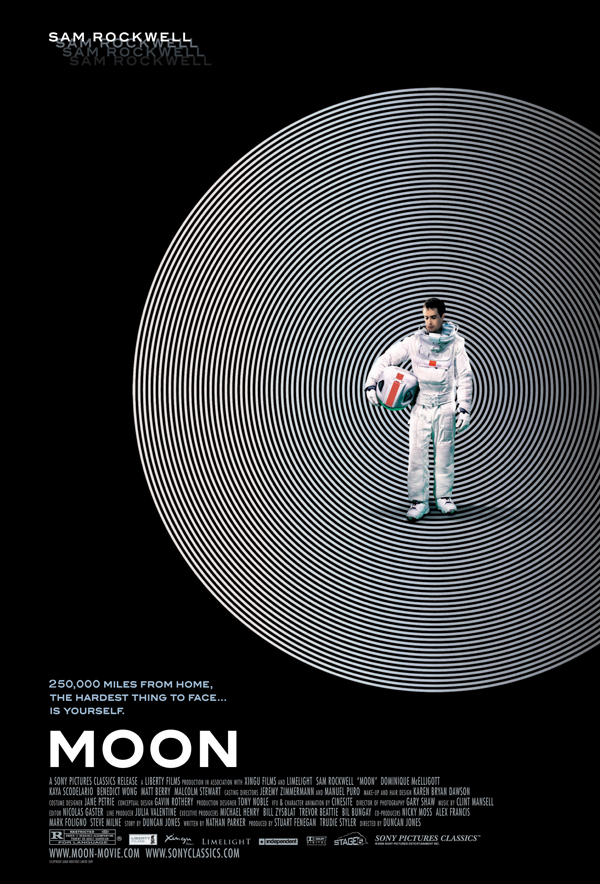
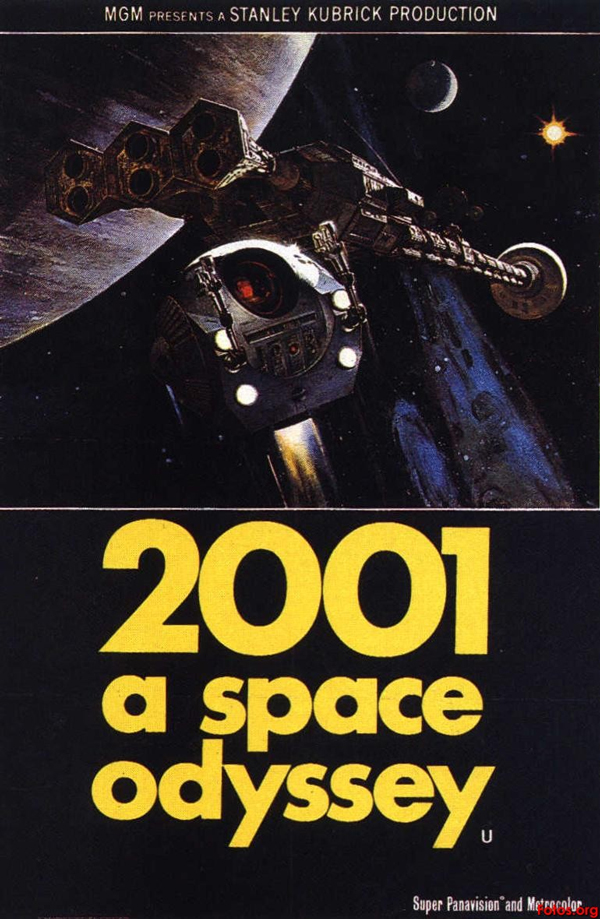
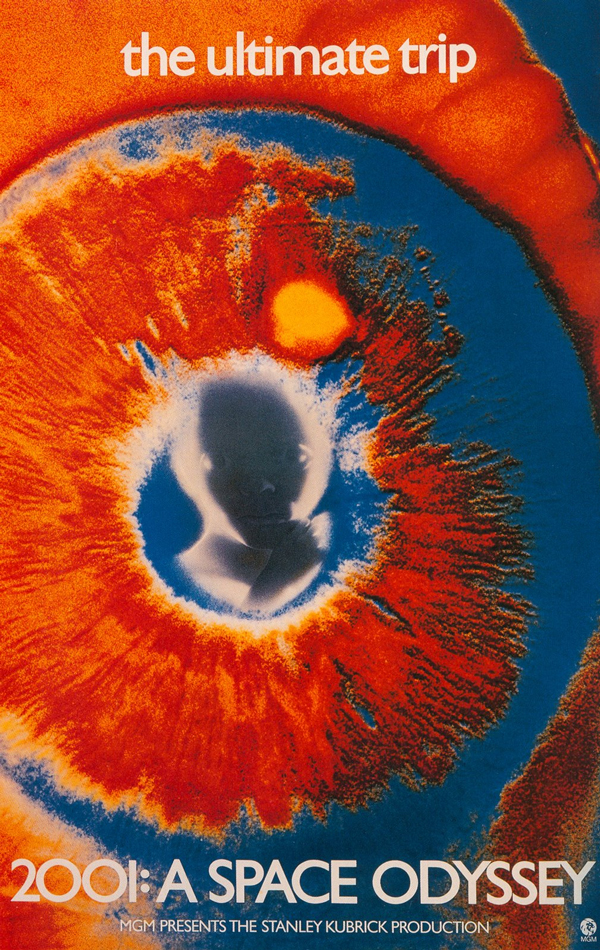
These movies have been scrutinized following the typographic angle by the awesome blog Typeset in the Future. The post on 2001 is pretty spoiler free, but the one focused on Moon reveals important details of the plot. If you haven’t seen it yet, I strongly recommend it!
Add some additional gems from Alien, and some Google images and Pinterest searches, and the mood board is pretty full.
Layout basics
I knew I wanted one of the Lunar asset as a big planet at the bottom of the poster.

The idea came from remembering this poster designed by Jeff Finley in 2010.
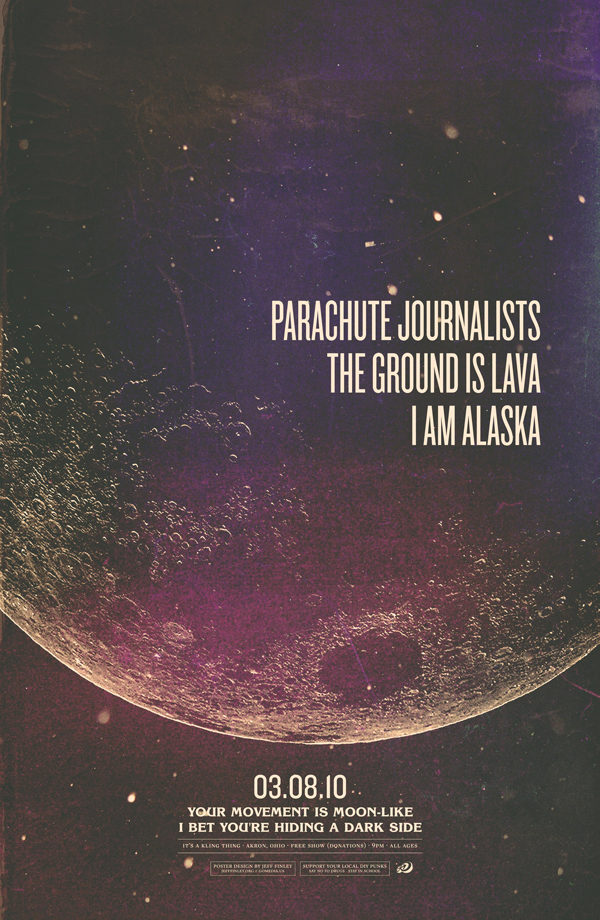
As a contrasting set of elements, one of Offset’s circles asset will help to bring the scientific diagram vibe to the composition.
With these basic foundations in place, it’s time to get the poster designed.
STEP ONE: DOCUMENT SETUP
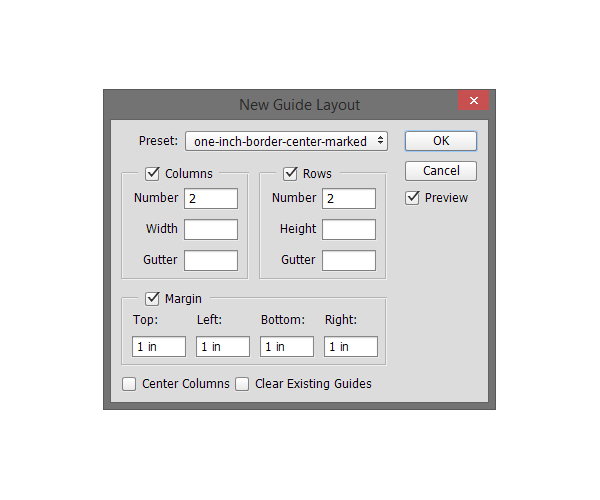
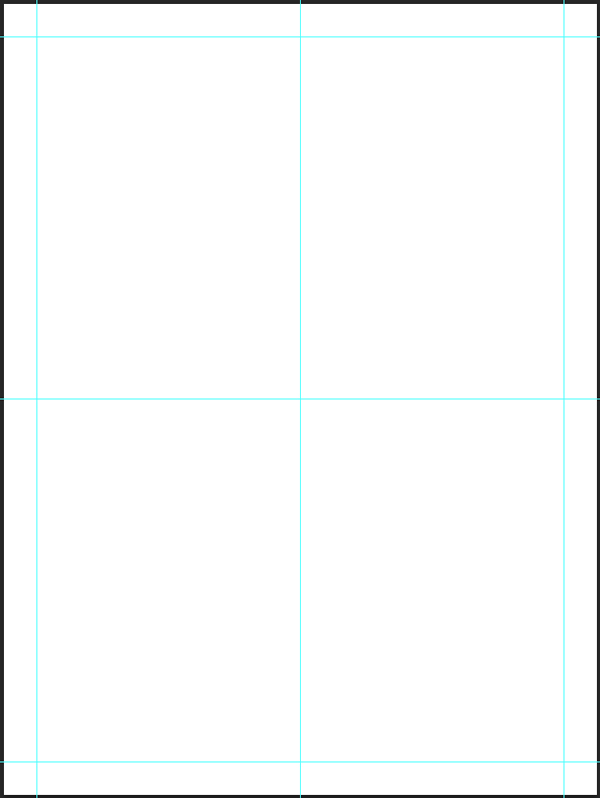
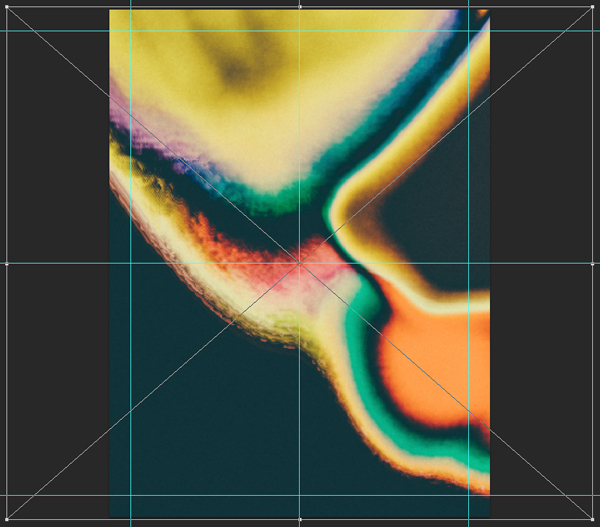
We are going to use our typical 18″x24″ canvas. Along with the canvas, create some guides that mark the center of the frame, along with a 1″ margin around it.
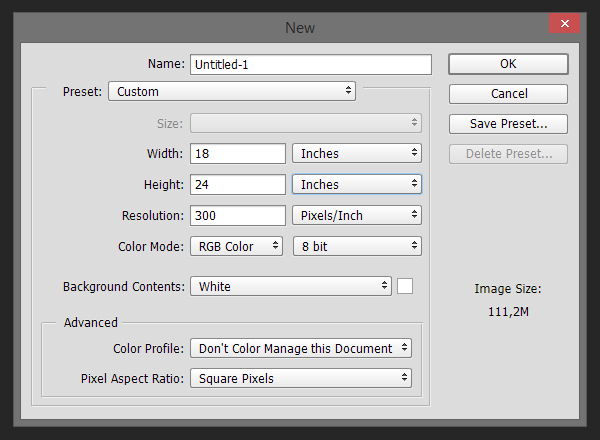
Protip: if you have Photoshop CC 2014, you’ll have access to a functionality called New guide layout. It will allow you to fill a few settings in a panel, and all of your guides will be set for you. You can access the functionality through View > New guide layout.
Also, I can already tell you that the final file will break the two Gb file size limit allowed by the PSD format, so use the PSB file format when saving your file along the way.
STEP TWO: THE BACKGROUND
Since most of the coloring will happen later in the piece through the use of textures, and other adjustment layer tricks, we are going to build our piece in grayscale, or close to that.
We’ll start by filling the background layer with the cold dark gray #231f20. This is the hexadecimal code for CMYK black, but because our color mode for the file is set to RGB, it will appear as dark gray, with a slightly red hue.

Next, we are going to use one of Offset’s textures to emulate a star field. It’s called GRIT.png, and is located in the \modern-creative-bundle-offset\Textures + Image Masks Collection\PNG_FILES\SURFACE_TEXTURES\ folder of the bundle. Note that the texture is white specks on a transparent background, I made them black for preview purposes only.
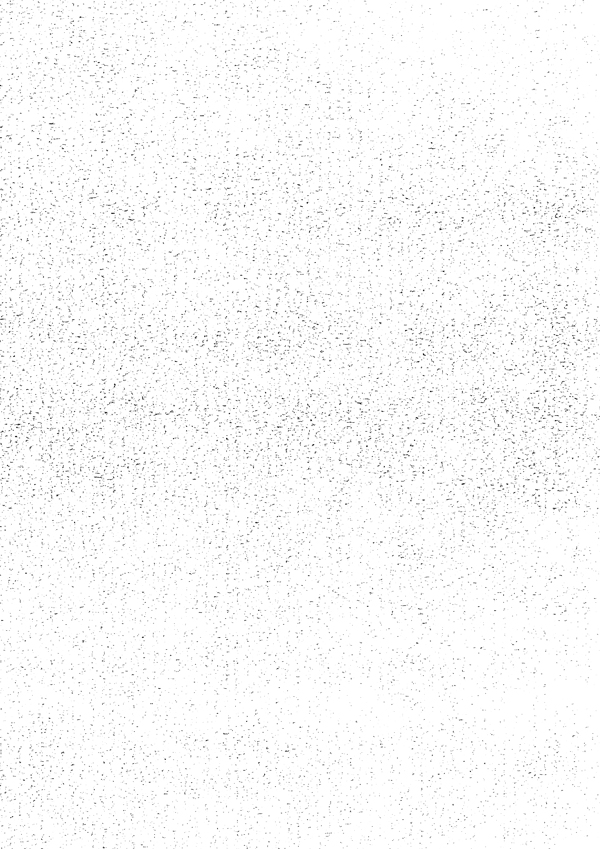
The texture should be placed in the canvas, and scaled up (160%) to cover the whole piece.
Once the texture in place, and after sharpening it (Filter > Sharpen > Sharpen), we can change its blending mode to Screen @ 35% opacity, and our starry void is done.

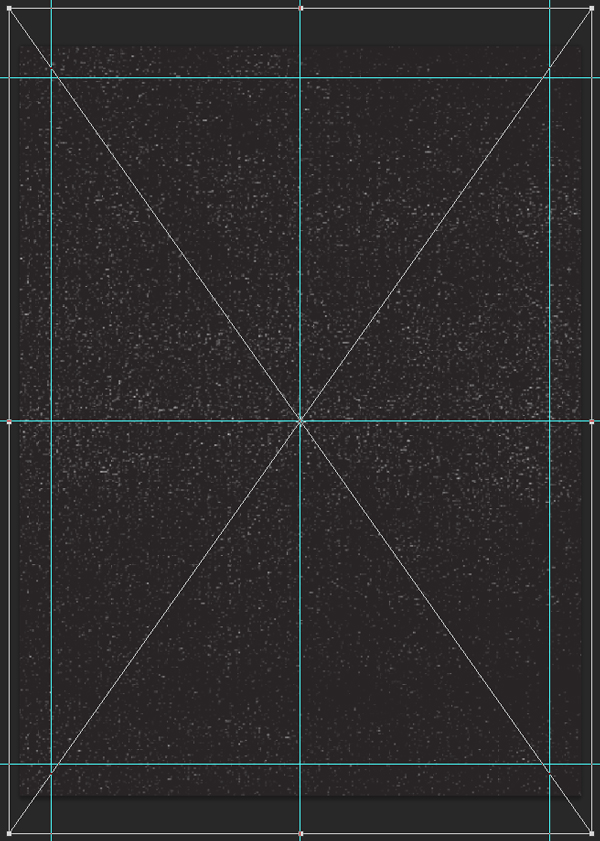
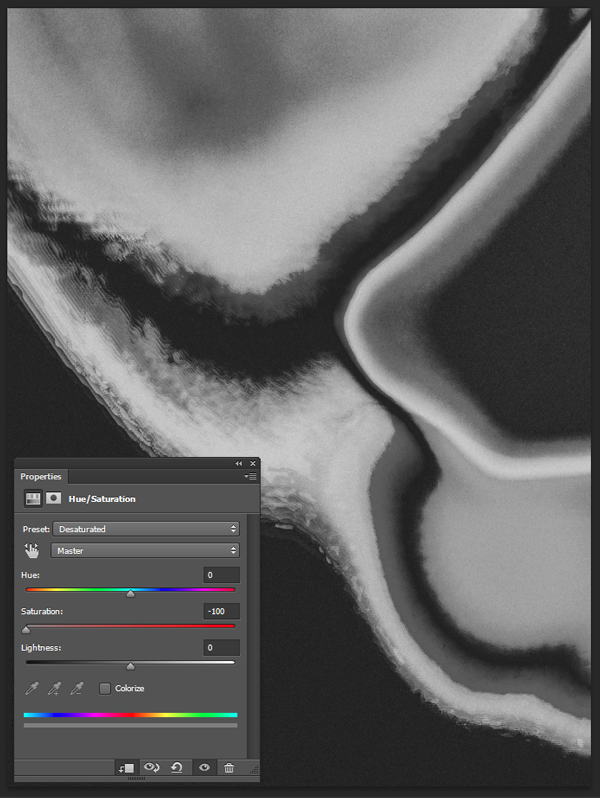
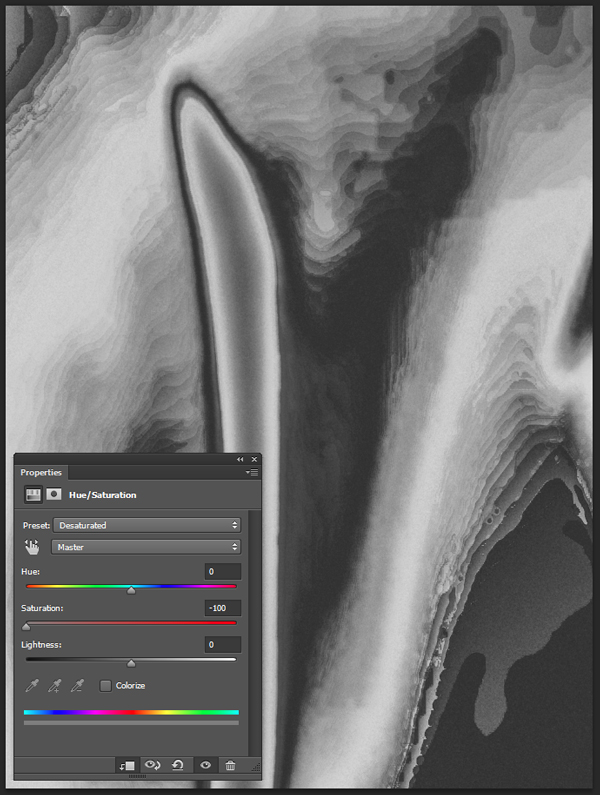
The next texture is 21.jpg, from Rule by Art’s Synth set/
We need to place it centered in the canvas, and scaled up to 208%, so it covers it entirely.
Once in place, and sharpened, we need to desaturate the texture using a clipped hue/saturation adjustment layer.
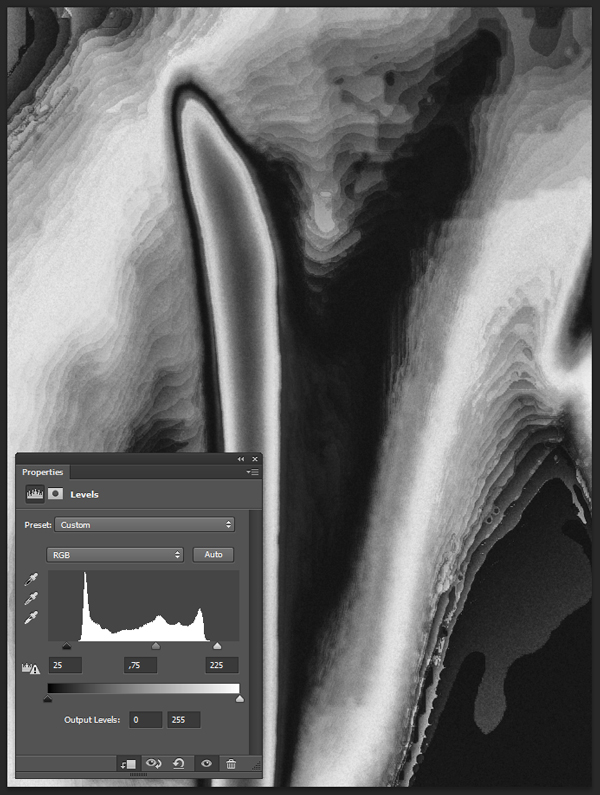
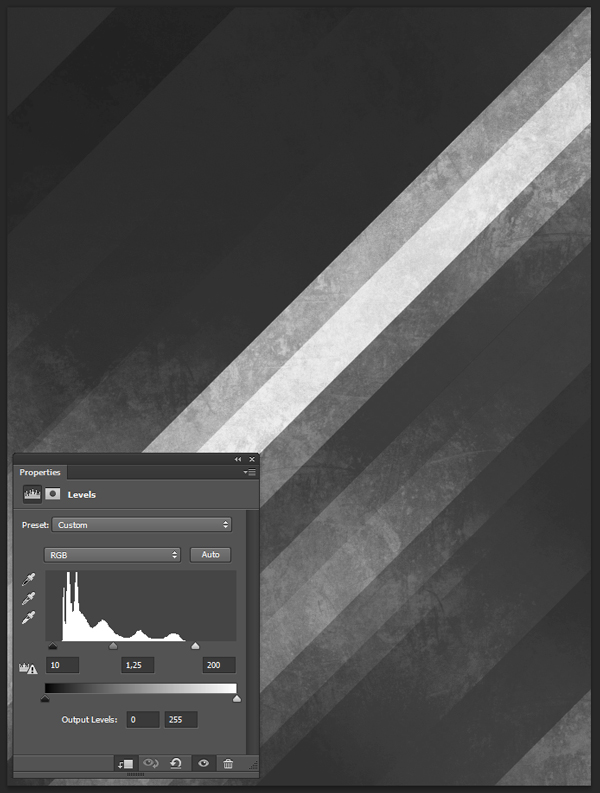
Next, a clipped levels adjustment layer will help us to refine its impact on our piece.
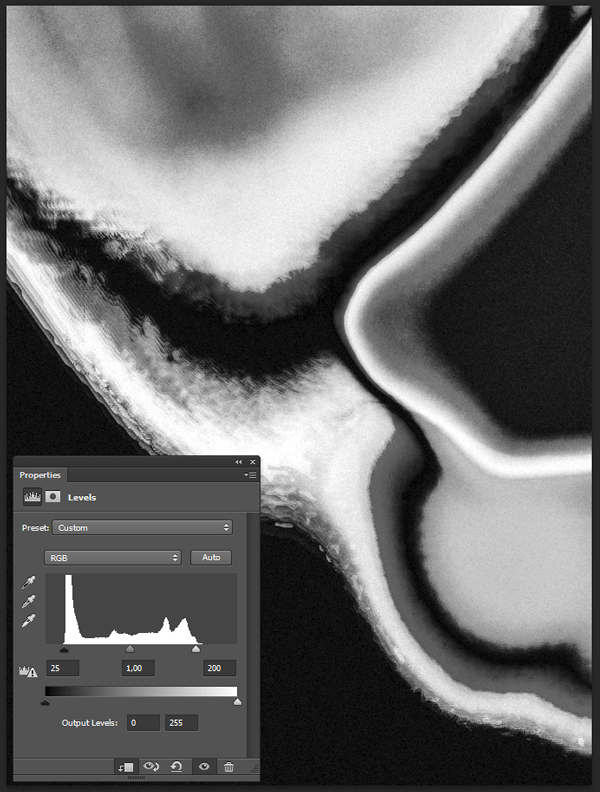
In order to use it to emulate some random gas cloud floating in the void, we have to change the blending mode to Soft light @ 50% opacity.
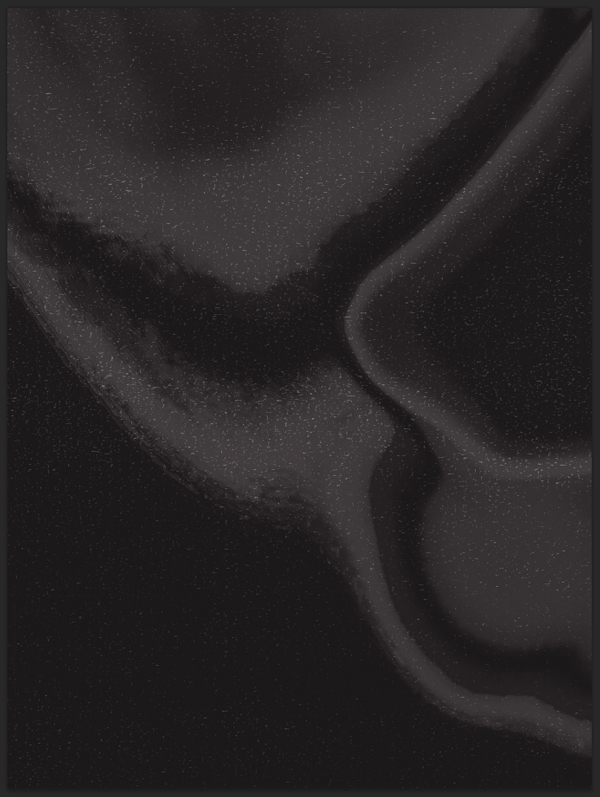
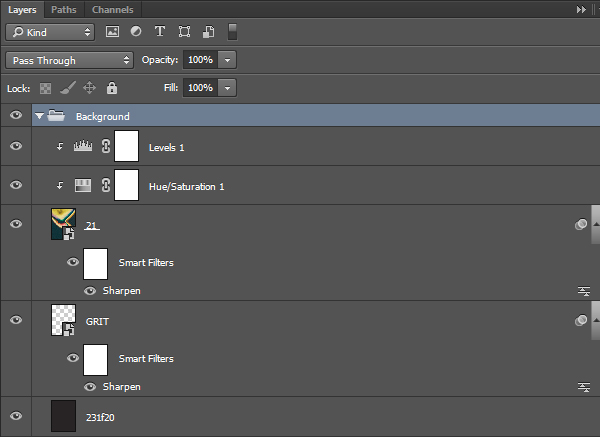
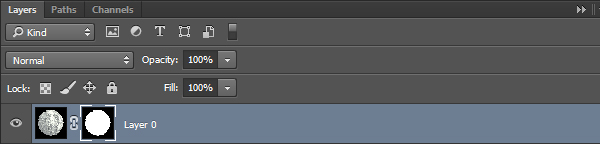
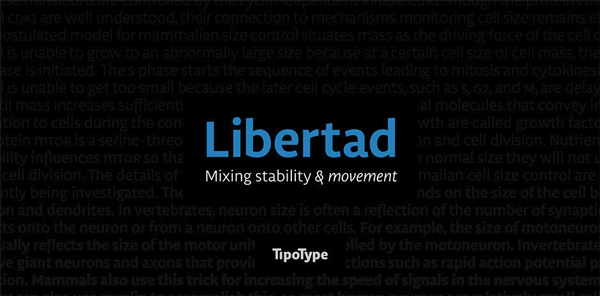
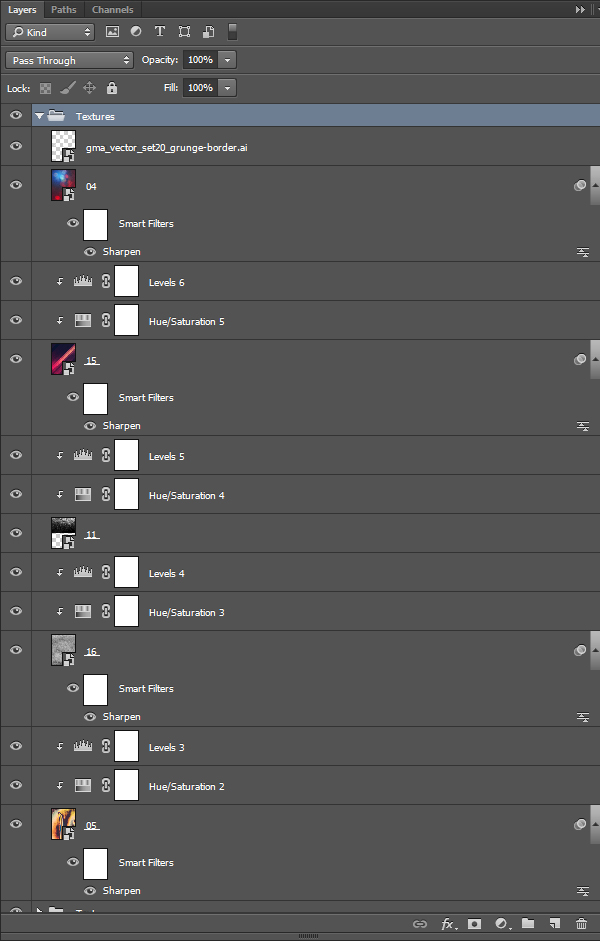
And with that, the background is ready to go. Here’s a look at our layers so far.
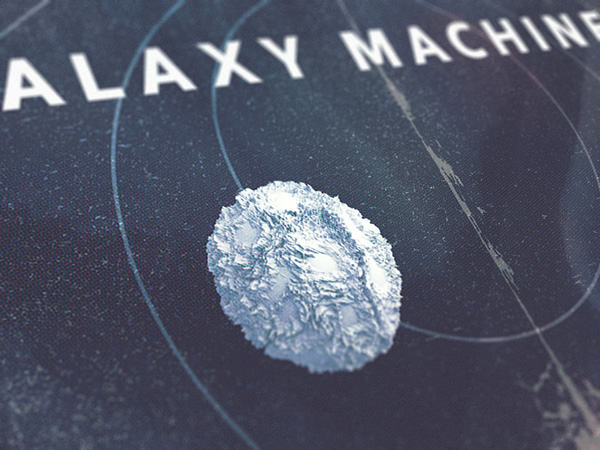
STEP THREE: THE PLANET
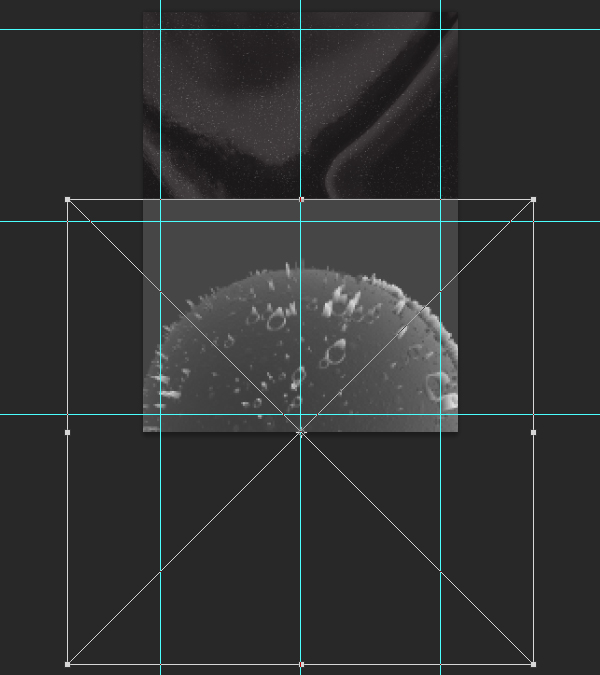
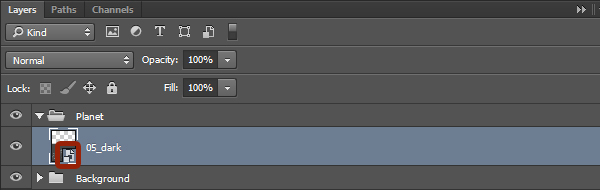
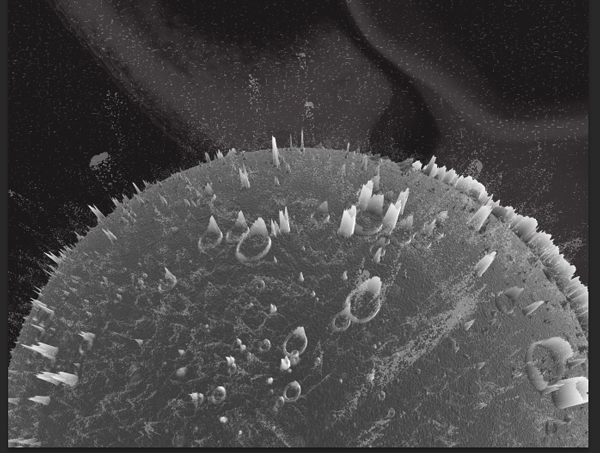
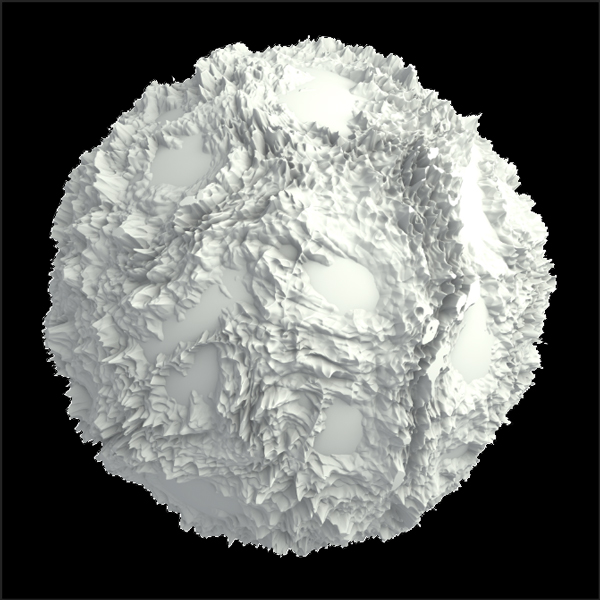
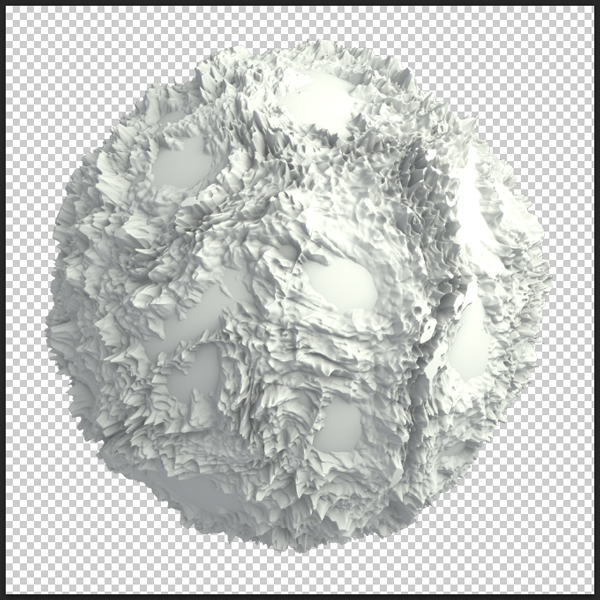
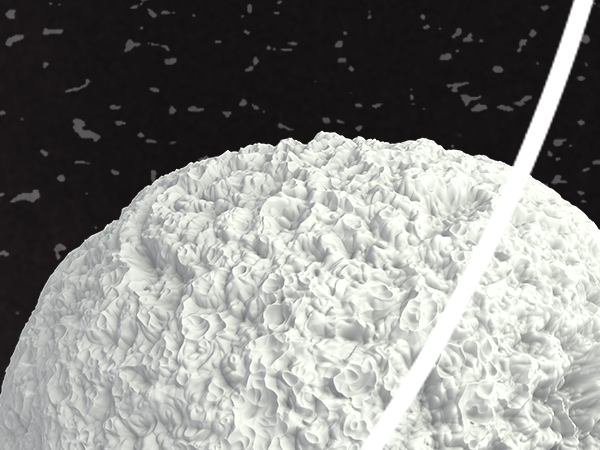
We are now going to start building the focal point of the poster. To do so, we’ll use 05_dark.tif for Rule by Art’s Lunar set of assets (\modern-creative-bundle-rule-by-art-1\Lunar\Lunar).

Place the file as a smart object (as you should as often as possible!), and make sure its center is aligned with the bottom edge of the poster (X: 9″, and Y: 24″). We’ll need to scale it up to 400%, so it bleeds off the edge of the piece.
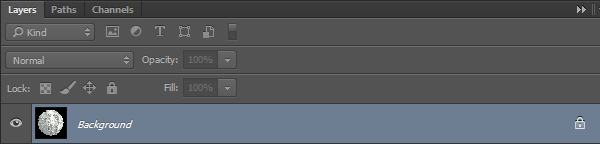
The planet comes with a background, but because we placed it as a smart object, we can have a closer look at its structure.
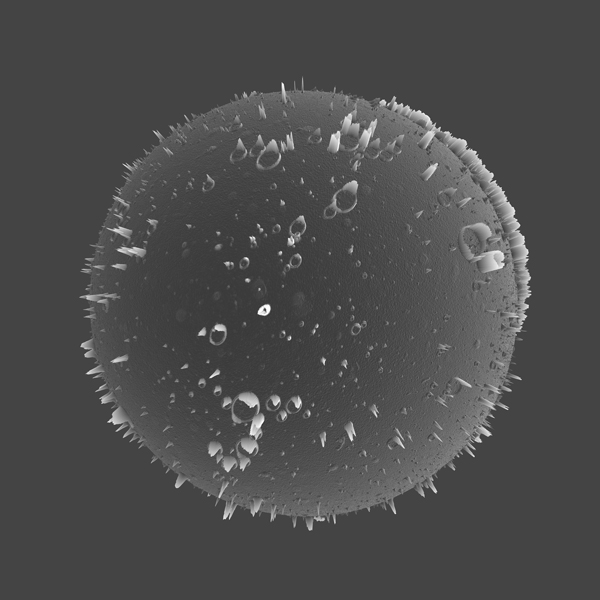
As we can see when peaking closer in the smart object, the file is layered, and the background can be turned off.
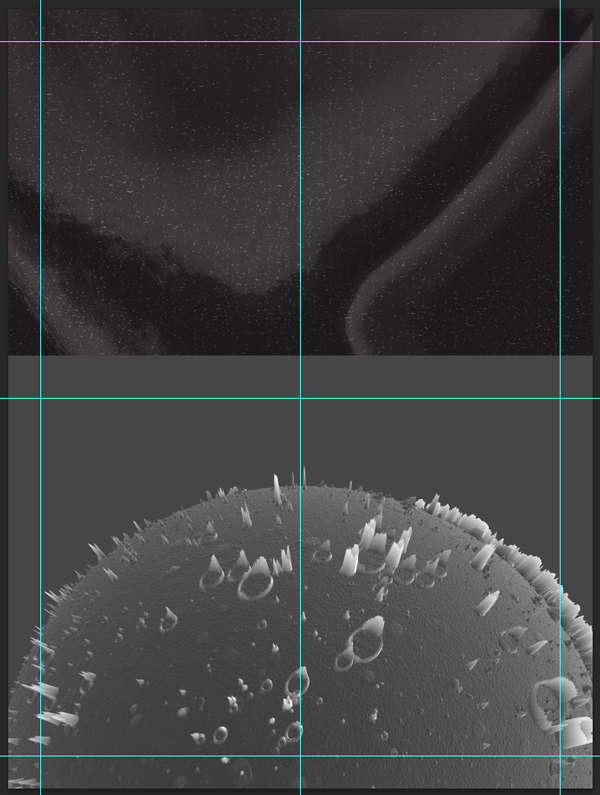
After turning the background layer off, saving the change, and heading back to our master file, we have now a perfectly isolated planet.
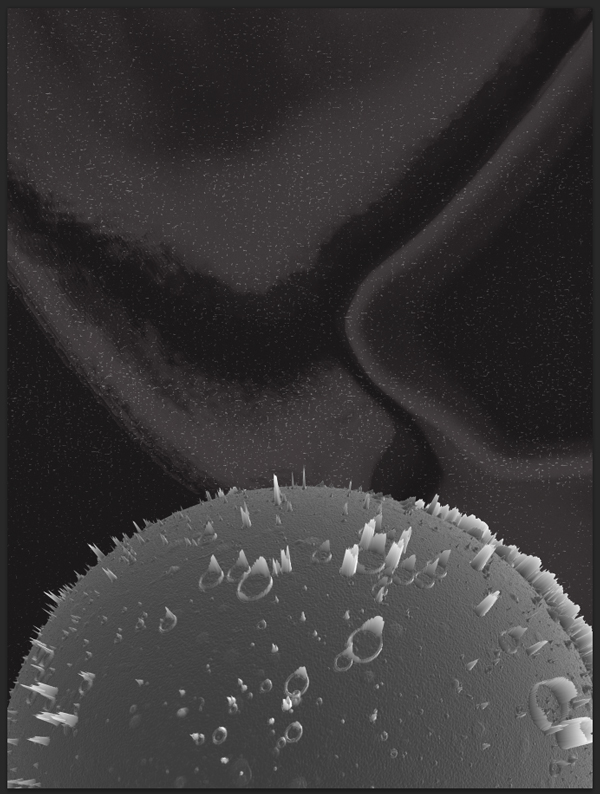
The next step is to sharpen the planet, and to slightly increase its contrast at the same time. We’ll accomplish that by using the high pass filter. First, we need a clipped duplicate of our smart object.
Second, we’ll apply an instance of the high pass filter (Filter > Other > High pass) to the clipped copy. We’re using a radius value of 100 pixels in this case.
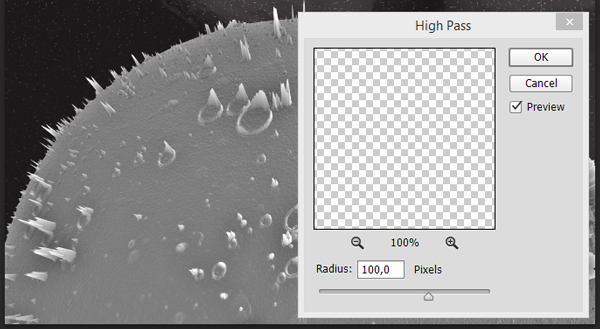
Finally, we just have to change the blending mode of the smart object to Soft light @ 50% opacity.
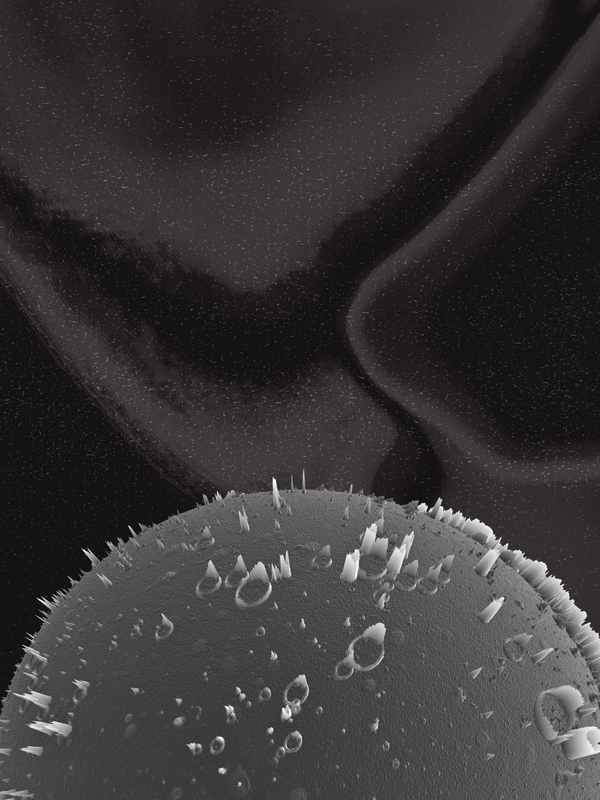
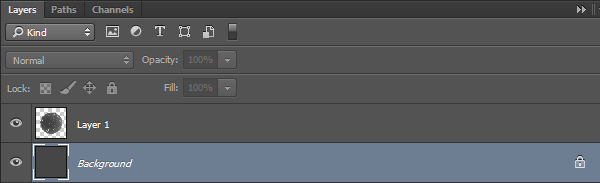
The last asset we need to complete the “planet” is a texture from Rule by Art’s Data distortion set (\modern-creative-bundle-rule-by-art-1\Data-Distortion\). 24.jpg features a circular “cloud” arrangement, that will be perfect to simulate an atmosphere.

We simply have to place it aligned with the planet asset, and scaled so it extends slightly beyond its limits (200%).
The texture is a bit busy, so to soften it a bit, we are going to use a clipped levels adjustment layer.
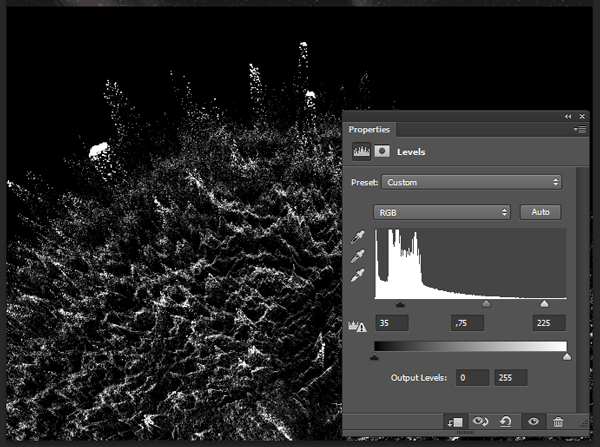
The last touch is to change the texture’s blending mode to Screen @ 35% opacity, and we have ourself what looks like clouds around the planet.
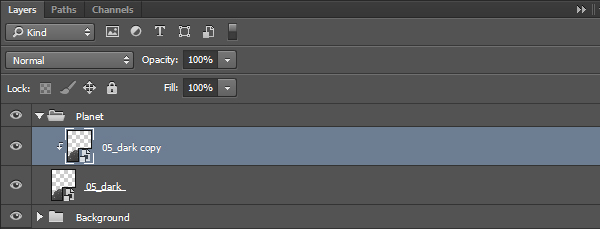
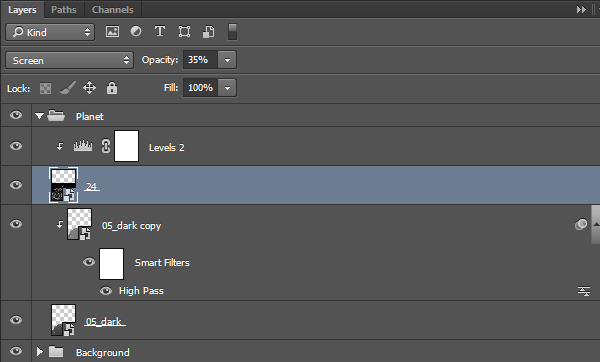
We have finished to build the planet. Here’s what our layers look like.
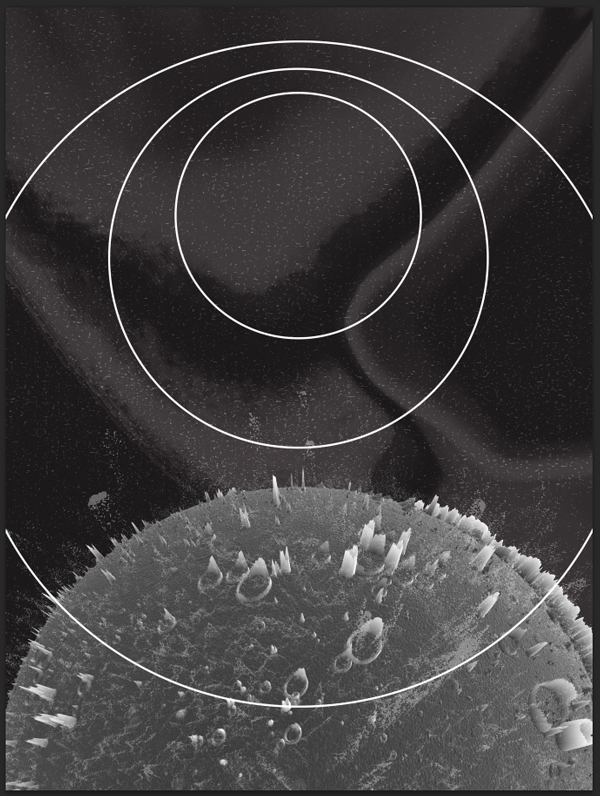
STEP FOUR: THE DIAGRAM
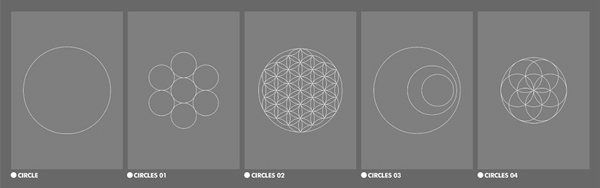
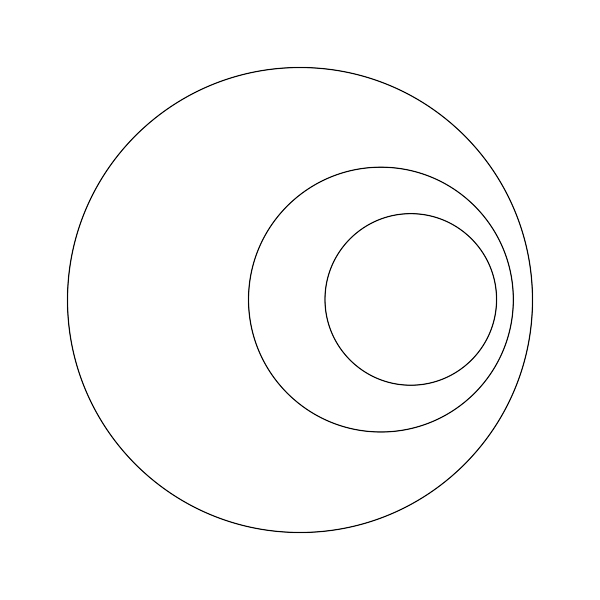
We are now going to put the diagram in place. The first piece of the puzzle is one of Offset’s geometrical constructions (\modern-creative-bundle-offset\Geometric Masks + Shapes Collection\PNG_FILES\GEOMETRIC_SHAPES). This one is called CIRCLES_03.png.
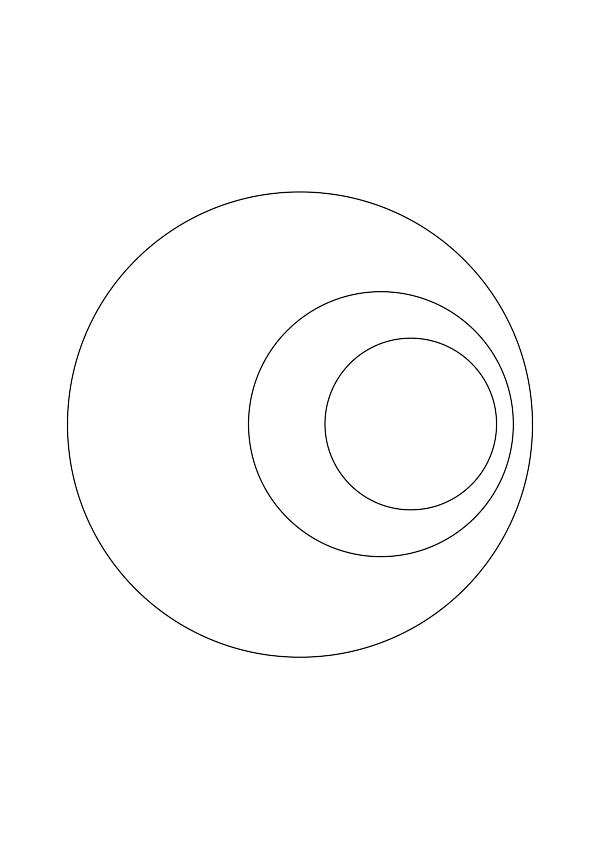
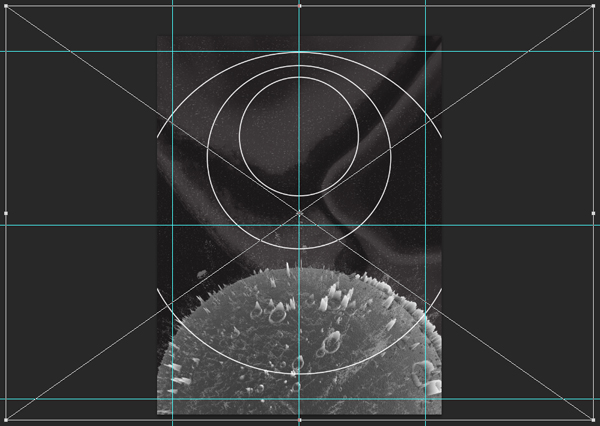
We need to scale it up to 225%, and make the outer circle flush with the top 1″ guide. The circles should be aligned towards the lower-half of the poster.
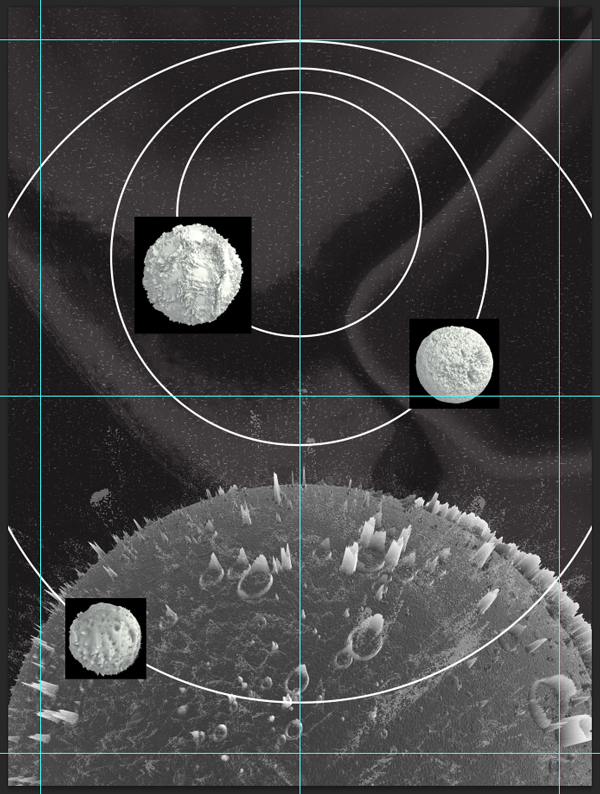
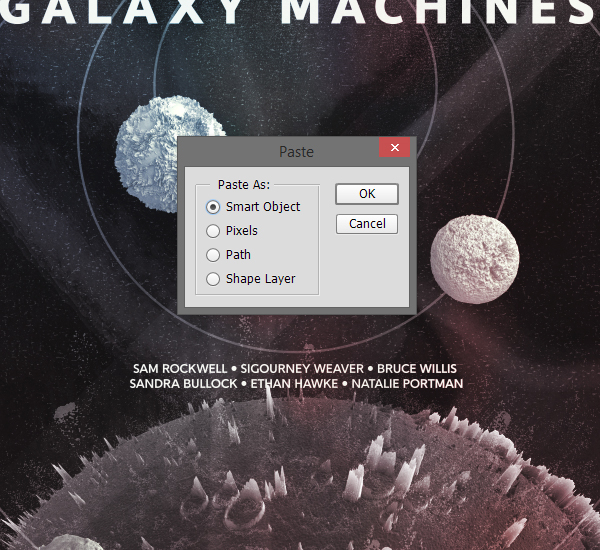
We are going to add other “planets” on the various orbits the diagram. These are from Rule by Art’s Molecule set: 03.tif, 14.tif, and 17.tif (\modern-creative-bundle-rule-by-art-1\Molecule).


The fastest way to place them is to use the coordinates of their center point. They are as follows:
- 03.tif – X: 5.7″, Y: 8.25″ (inner ring, left side of the composition) – scaled down to 6.50%
- 14.tif – X: 13.75″, Y: 11″ (middle ring, middle right side of the composition) – scaled down to 5%
- 17.tif – X: 3″, Y: 19.45″ (outer ring, lower right side of the composition) – scaled down to 4.5%
Below is a preview of the result.
The problem: each “star” has a black background. Just like with the planet before, let’s investigate the layer structure within the smart object.
Houston, we have a problem: each of the stars is flattened to its background.
But there’s a technique we can use to hide the background still. Let’s head to the channels panel (Window > Channels).
See the Alpha channel? That channel is the one in which informations relative to the transparency of an image are stored. The other channels (red, green, and blue) correspond to the per primary colors of additive color mixing.
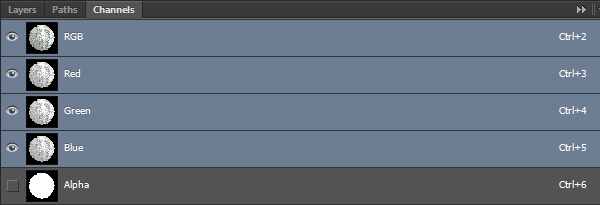
Note that not every file format has an alpha channel. JPG files don’t handle transparency, therefore they don’t have one.
Since the file has such a channel, we can use its content as the source for a layer mask. Simply CTRL+CLICK on the channel’s thumbnail to load its content as a selection.
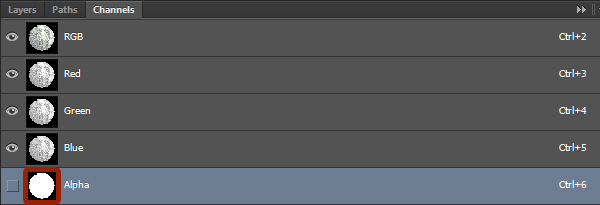
Then, we simply have to unlock the layer by double-clicking on it, and add a layer mask to it. Et voilà, background hidden.
After saving the manipulation in the smart object, our star has now no more background in our master file.

After repeating the process on the other two stars, our poster layout is nicely taking shape.
Note that instead of using the channel method in this case, changing the blending mode of the smart object to screen would also work, as the background square is black. We would however experience some transparency in the stars themselves, as they are in grayscale as well. Here’s a demonstration on 14.gif.
Using the alpha channel/layer mask (100% crop).
Simply changing the smart object’s blending mode (Screen @ 100% opacity – 100% crop).
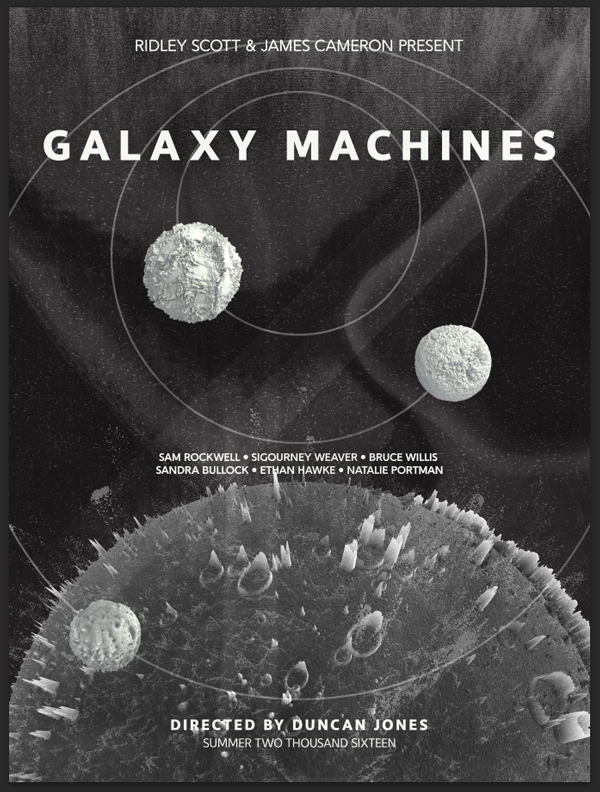
That being said, we’ve completed the diagram. It’s now time to look at our layers, and to talk type.
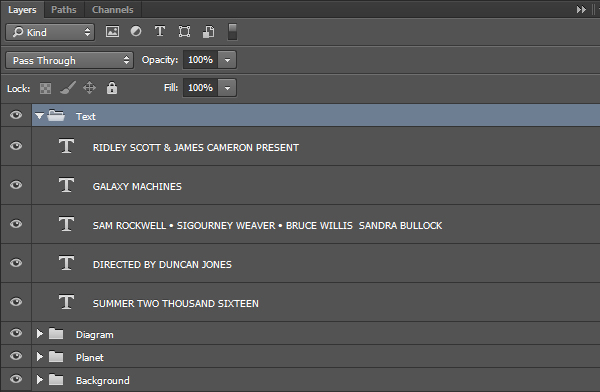
STEP FIVE: TYPOGRAPHY
A movie poster needs type elements: producer, title, actors, director, release date, and more.
In our case, our movie Galaxy Machines has been put together by some of the best in the field. It’s produced by Ridley Scott (Alien, Blade Runner, Gladiator), and James Cameron (Alien, Terminator, Avatar). It’s directed by Duncan Jones (Moon, Source code), and stars Sam Rockwell (Moon, Iron Man 2, Frost/Nixon), Sigourney Weaver (Alien, Ghostbusters, Wall•E), Bruce Willis (The Fifth Element, Armageddon, 12 Monkeys), Sandra Bullock (Gravity), Ethan Hawke (Gattaca), and Natalie Portman (Star Wars, V for Vendetta, Black Swan). Finally, the movie comes out during the summer of 2016.
After looking once again through Typeset in the Future, it’s pretty clear that Sci-Fi movies use primarily sans-serif typefaces. Our bundle includes two fantastic families, Gentleman and Libertad.

All the text is colored in a slightly off-white, #f7f9f4.
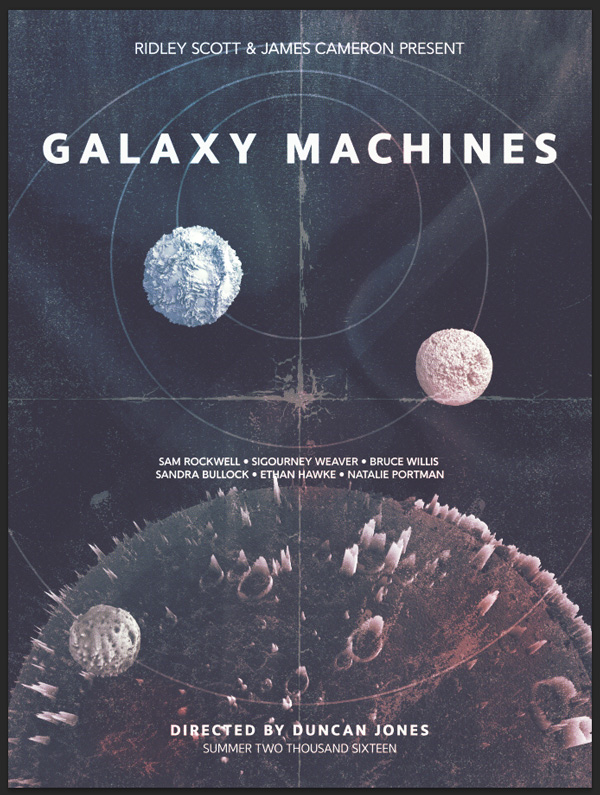
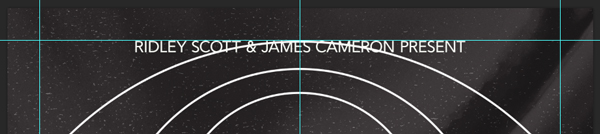
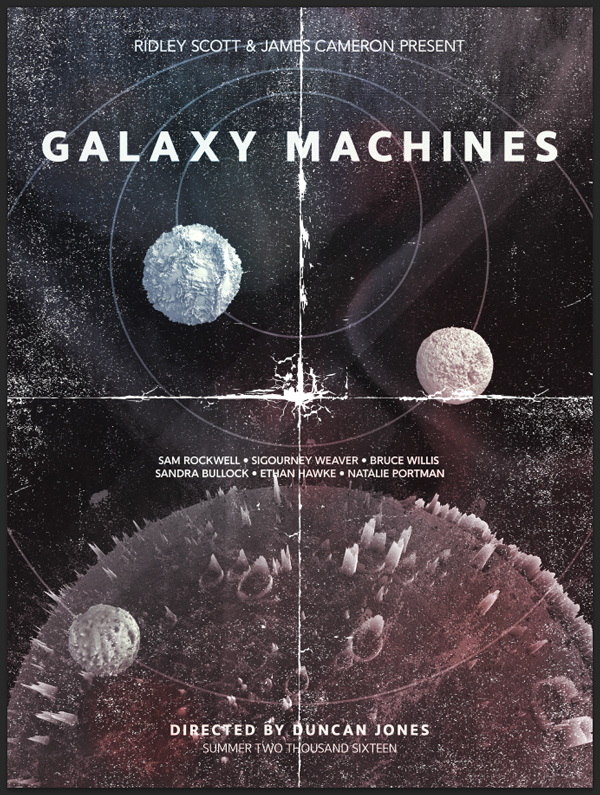
First line: the producers. The text will read “RIDLEY SCOTT & JAMES CAMERON PRESENT.” The copy is set in Gentleman 600 Regular, that’s 36 points tall, and centered. The kerning is set to optical. Finally, the top of the text is flush with the top 1″ line.
The title reads “GALAXY MACHINES.” It’s set in Libertad Extra Bold that is 102 points tall. The kerning is set to optical, and the tracking to 200. The line is positioned to be optically equidistant between the producers and the first star (roughly X: 9″, and Y: 4.35″).
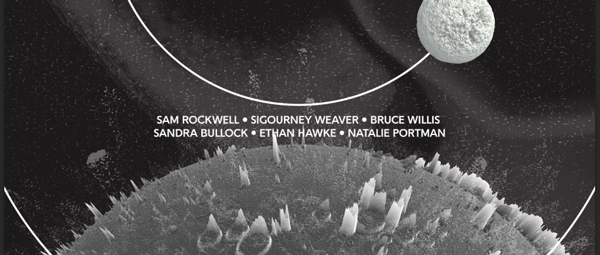
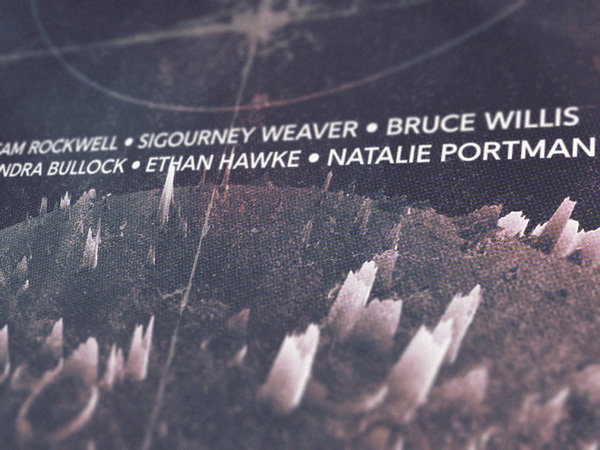
The actors’ names are listed on two lines by group of three, and separated by the “•” symbol. “SAM ROCKWELL • SIGOURNEY WEAVER • BRUCE WILLIS line break SANDRA BULLOCK • ETHAN HAWKE • NATALIE PORTMAN.” The type is set in Gentleman 800 Bold, that is 24 points tall, and centered. The kerning is once again set to optical. The line is positioned between the diagram’s middle circle, and the main planet’s edge (X: 9″, and Y: 14.15″).
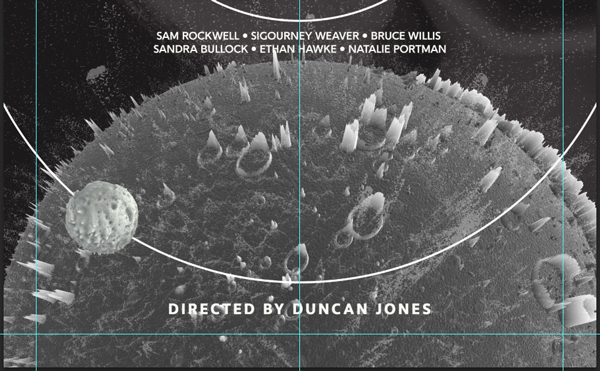
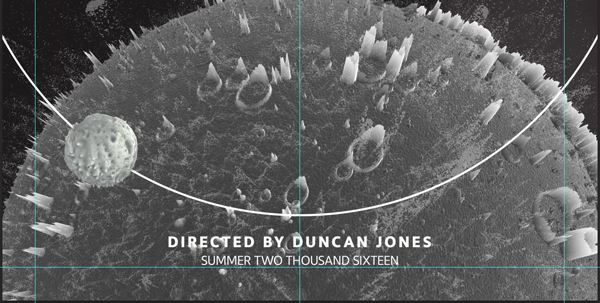
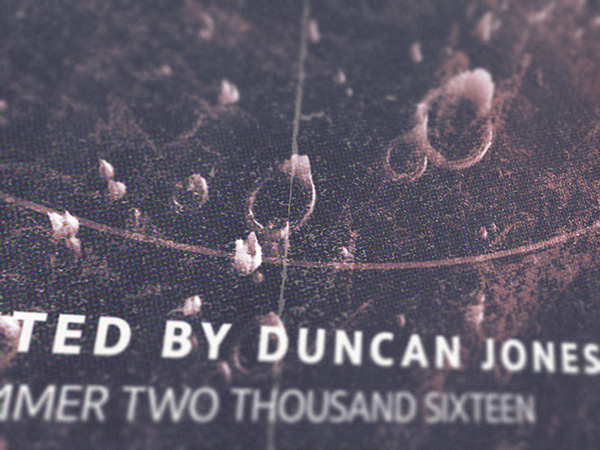
Next to last, the director. The centered line reads “DIRECTED BY DUNCAN JONES,” is set in Libertad Extra Bold that is 36 points tall, kerned optically, and tracked at 150. It’s positioned at X: 9″, and Y: 22.25″.
Finally, the discreet mention “SUMMER TWO THOUSAND SIXTEEN” is right below the director’s name. It’s centered, set in 30 points tall Libertad Regular, kerned optically. The bottom of the line is flush with the lower 1″ line.
And our copy is in place.

We can spot a few readability conflicts between the text, and the orbit lines of the diagram element. The solution? Change its blending mode to Screen @ 35% opacity.
A tiny bit of layer organization, and it will be time to talk about textures!
STEP SIX: TEXTURES
The textures in this poster are important for two reasons: they will help us to add substance to the overtly clean digital elements composing it, but will also be the basis for its colors. Let’s get started.
The first texture is 05.jpg, out of Rule by Art’s Synth set.
It needs to be placed centered in the canvas, and needs to fully cover it (scaled up 210%).
Blending mode: overlay @ 15% opacity.
Next, we’ll use 16.tif from Rule by Art’s Watercolor shapes set. It will help us to add some wash effect, as well as some subtle paper grain to the piece.
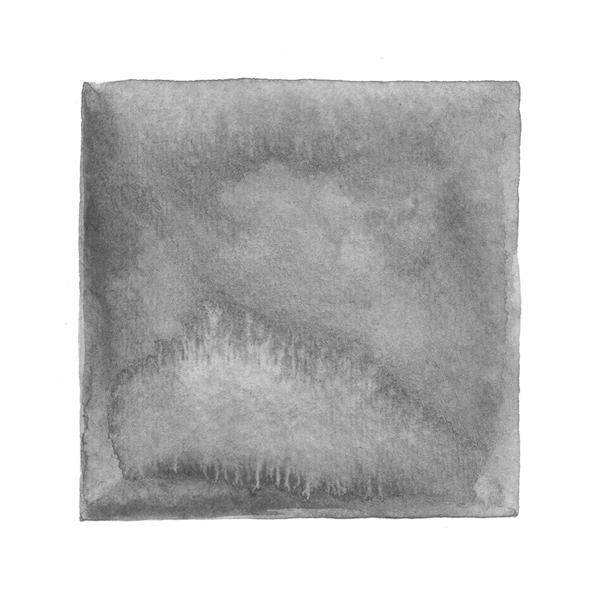
It’s placed centered, and scaled up 170%, so it covers the whole canvas.
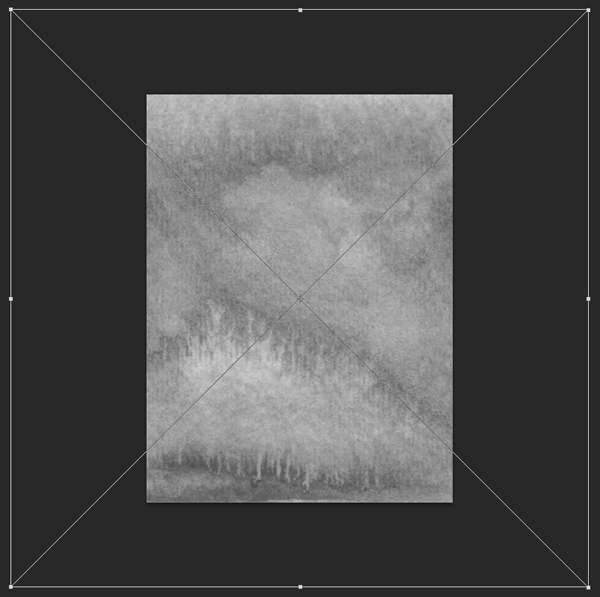

Blending mode: soft light @ 35% opacity.
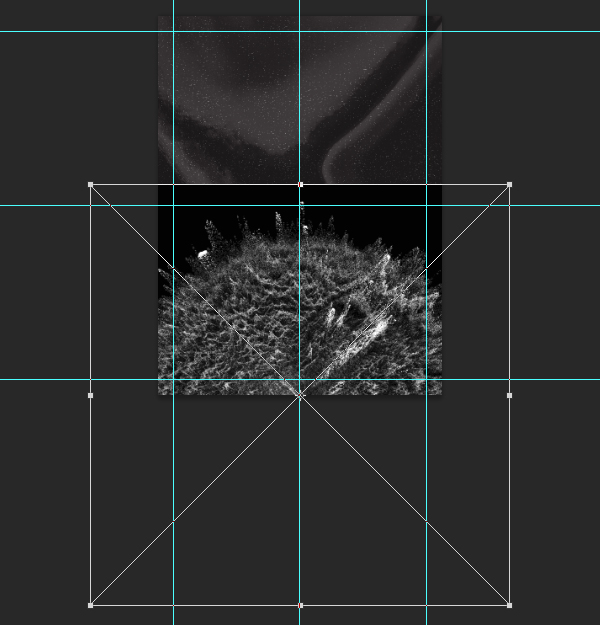
The following texture is 11.jpg, from Rule by Art’s Data distortion set.
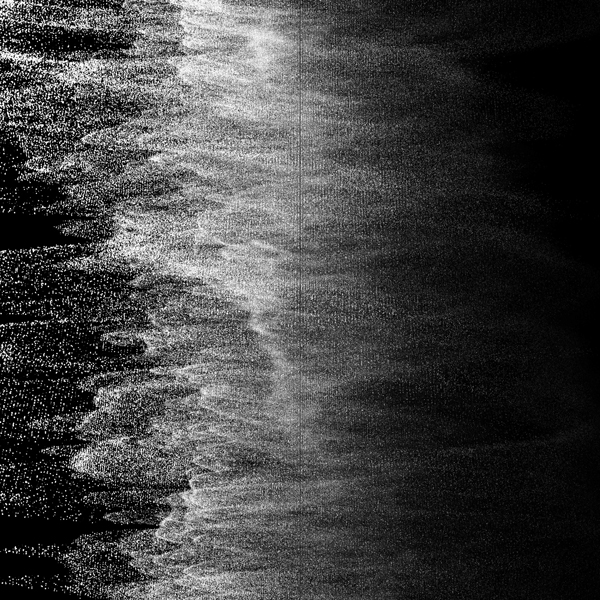
It’s placed to add some noise at the top edge of the canvas. We’ll rotate it 90° clockwise, so the noise seems to be raining down towards the lower half of the poster (X: 9″, and Y: 2.65″).
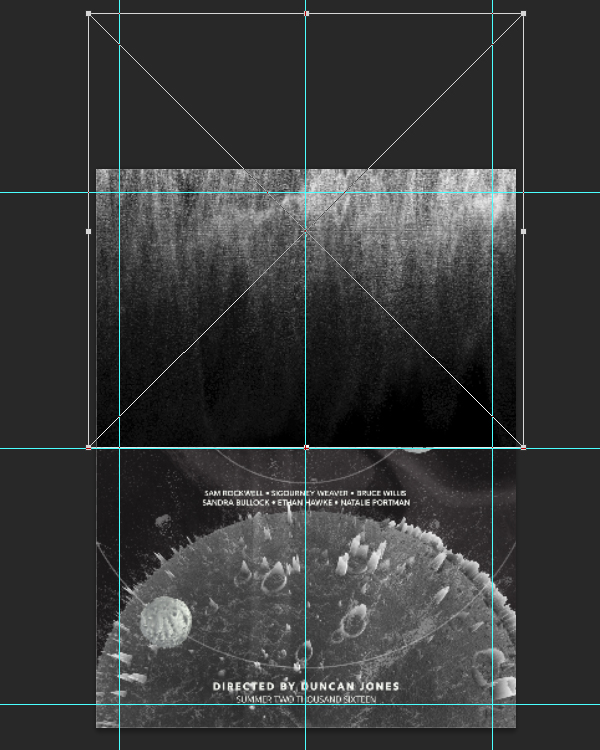
Note how the clipped levels adjustment layer helps us to create an artificial fade to black in the texture.
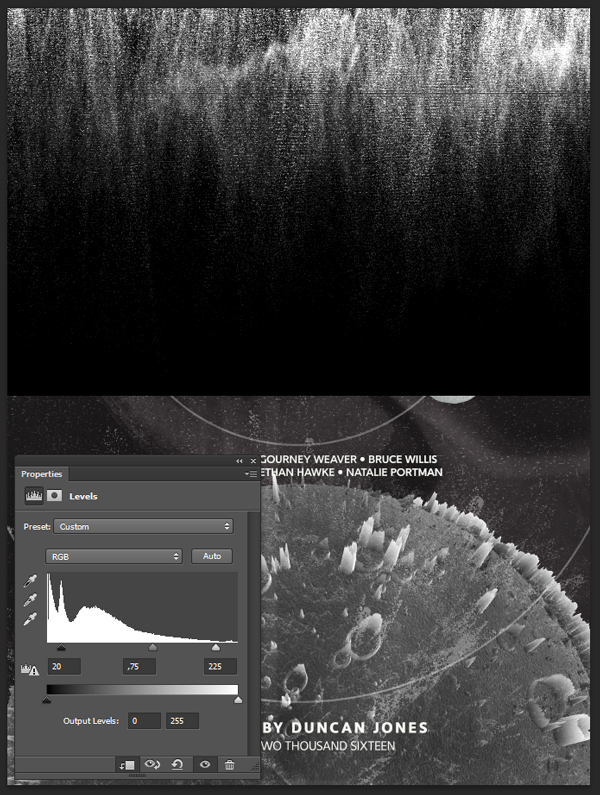
Blending mode: screen @ 35% opacity.
The next texture is from Digital Art’s Motion Grunge Backgrounds set (\modern-creative-bundle-digital-art\Motion Grunge Backgrounds). It’s 15.jpg.
It’s centered in the canvas, and scaled up to cover everything (280%).
Blending mode: soft light @ 30% opacity.
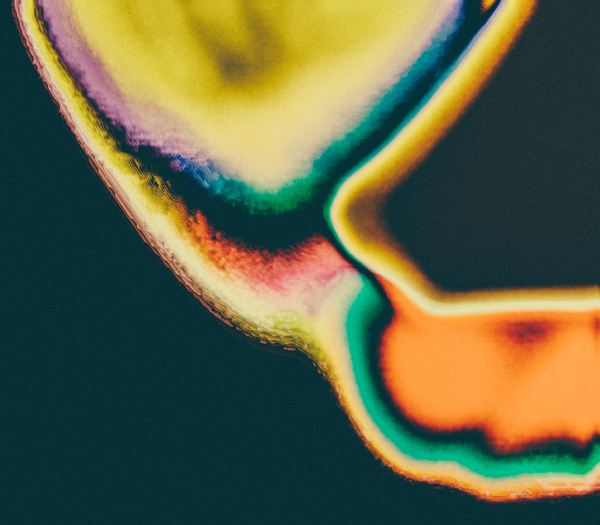
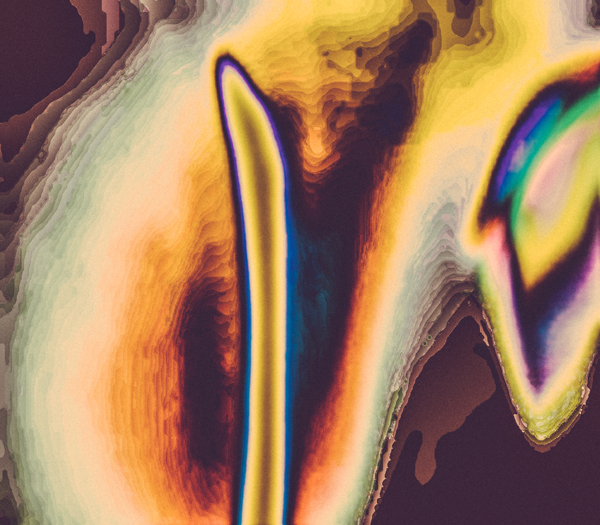
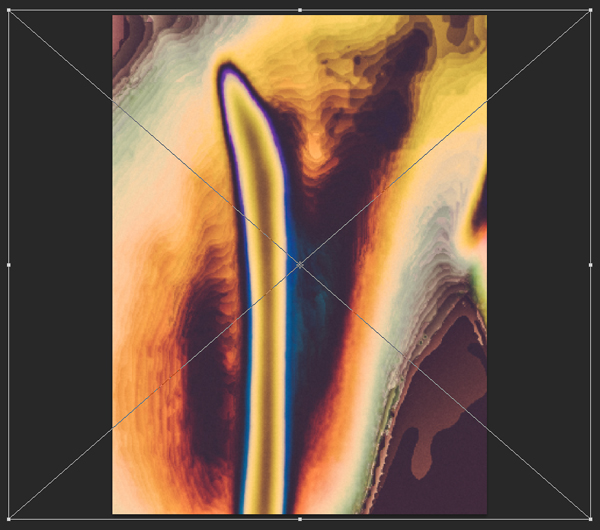
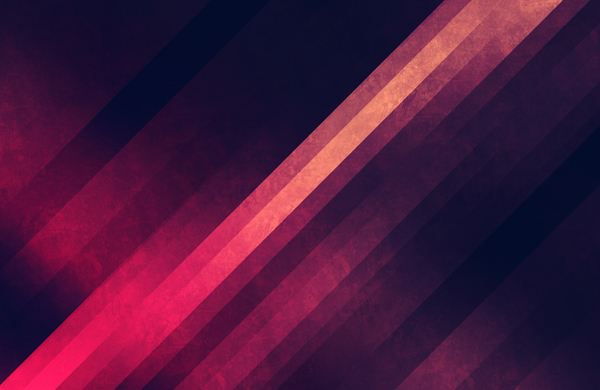
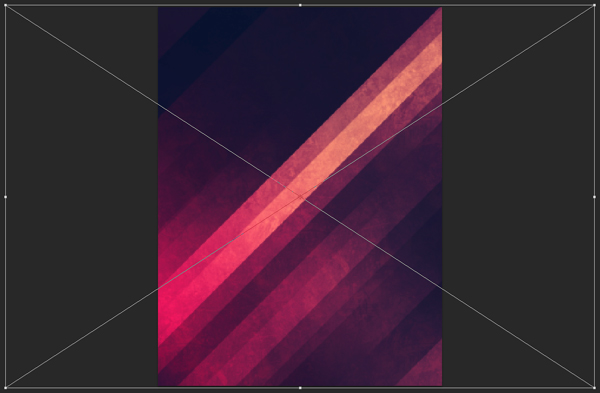
It’s finally time to add a splash of color, thanks to 04.jpg, from Digital Art’s Bokeh Grunge Backgrounds -v5 set (\modern-creative-bundle-digital-art\Bokeh Grunge Backgrounds -v5).

It’s placed rotated 90° counter-clockwise, centered, and filling the whole piece.
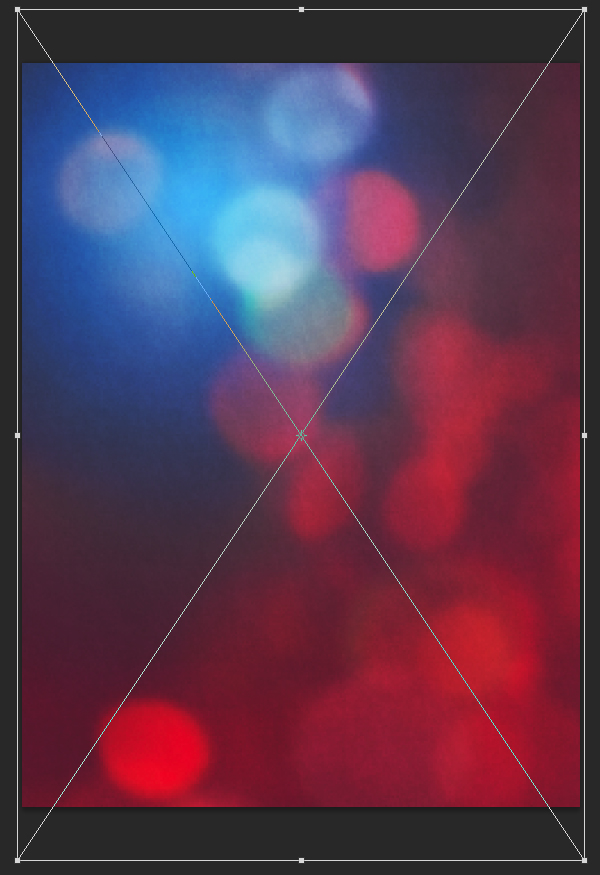
For this one, we’ll simply change the blending mode to overlay @ 35% opacity.
The last texture we’ll use is a vector one, but it isn’t a mandatory one. It’s only if fake page folds are appealing to you or not. Anyways, the texture is hidden within Go Media’s Freelance Kit (\modern-creative-bundle-go-media-freelance-kit\Vectors – Grunge Borders\gma_vector_set20_grunge-border.ai)
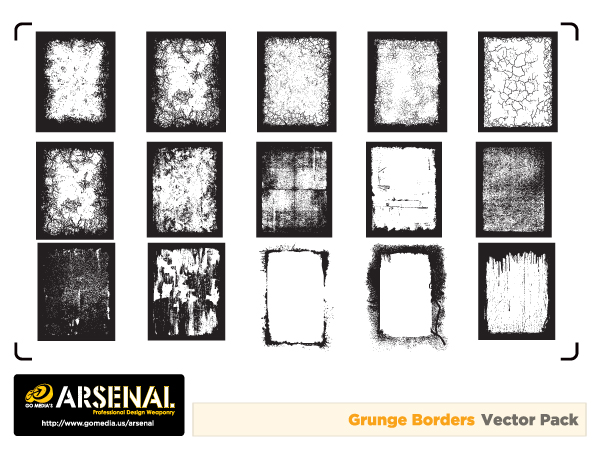
The one that’s of interest is the one at the center of the file.
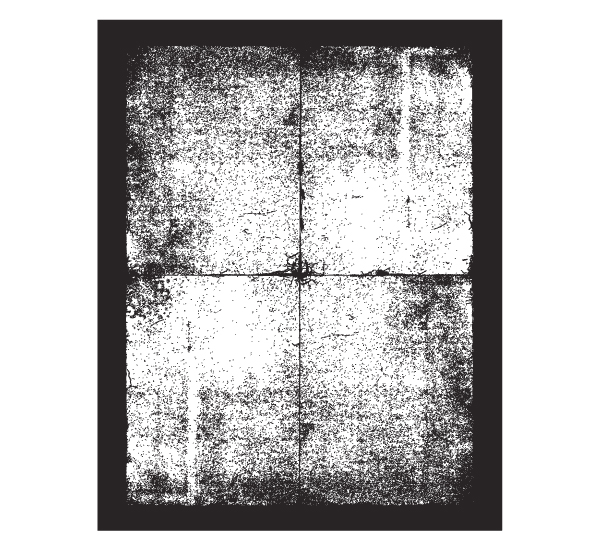
After changing its color to white, we simply have to paste it in an oversized fashion to feature just the folds (1750%).

Blending mode: screen @ 35% opacity.
And with that, all of our textures are in place. Here are the layers so far.
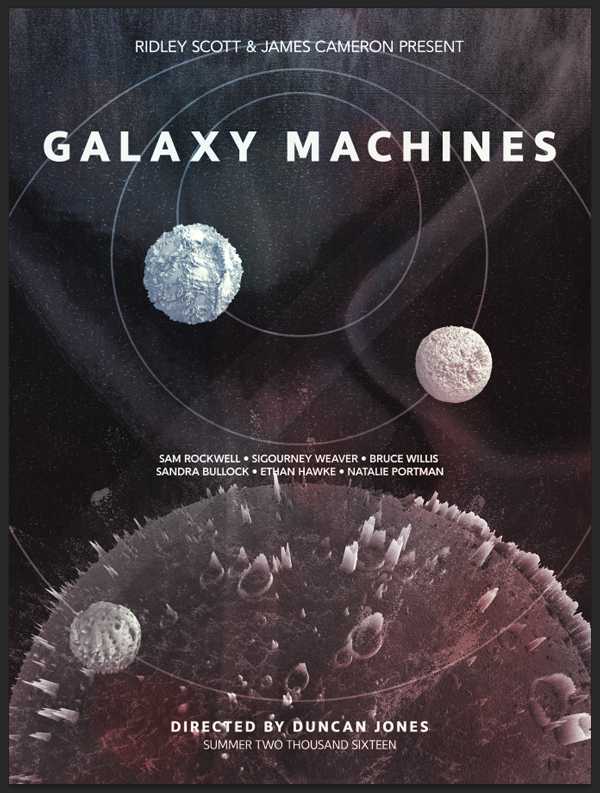
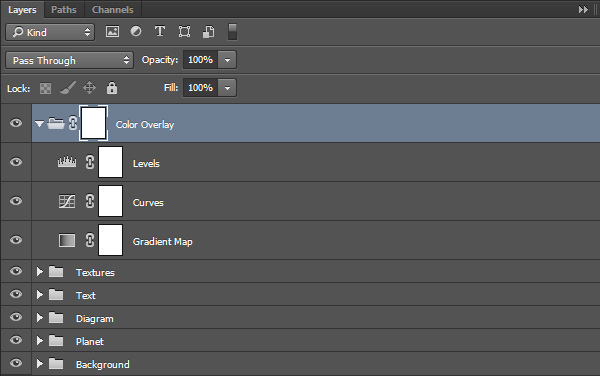
STEP SEVEN: COLOR TWEAKS
Our poster is almost done, but its colors are still a bit off. The colors aren’t hitting that “Sci-Fi vibe” strongly enough yet.
Luckily for us, there’s a silver bullet hidden within the bundle. Navigate back to Rule by Art’s Lunar set, and open the file Preview.psd (\modern-creative-bundle-rule-by-art-1\Lunar\preview).
If we navigate through the layers of that file, we’ll find a layer group names Color overlay. It gives the file that cold blue-ish/gray tint.

Simply dragging and dropping that ensemble of adjustment layers to our master file will produce some interesting results. Our palette is now much more “Sci-Fi” inspired, while still keeping some of the tones we brought in with the bokeh texture earlier.
A few adjustments are necessary though, as the fading is too intense. Start by deleting the exposure adjustment layer from the layer group.
Finally, we just have to bring the opacity of the gradient map adjustment level down from 70% opacity to 50% opacity.
Thanks to these small tweaks, we are retaining the cooler hues typical from a Sci-Fi movie, while presenting a better contrast. Our layers now look something like this.
The last but not least step is to add some faint halftones to the poster. This will give our piece a printed feel.
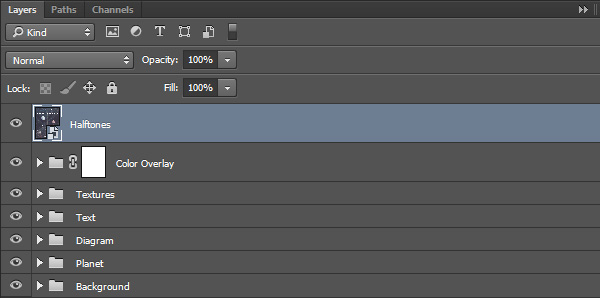
We start by creating a merged copy of all of our layers (CTRL/CMD+SHIFT+ALT/OPTION+E). This creates a new layer at the top of our layer stack, that we’ll rename into Halftones.
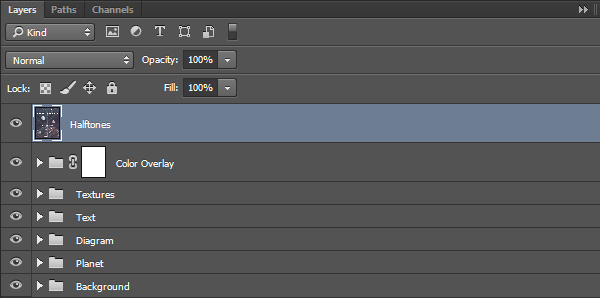
Next step: turning the layer into a smart object (Filter > Convert for smart filters on Photoshop CC, or Layer > Smart Object > Convert to Smart Object).
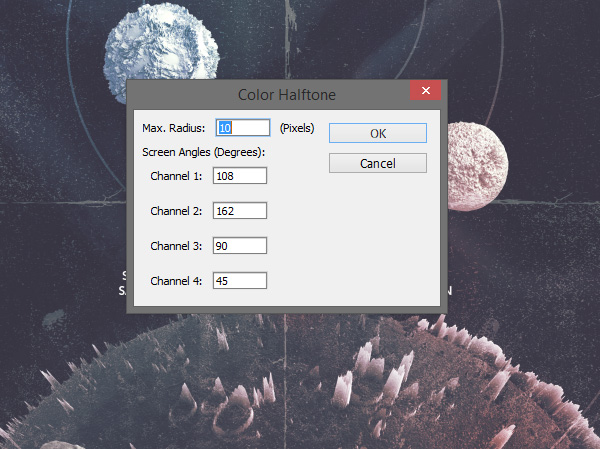
We’ll use the color halftone effect (Filter > Pixelate > Color halftone).
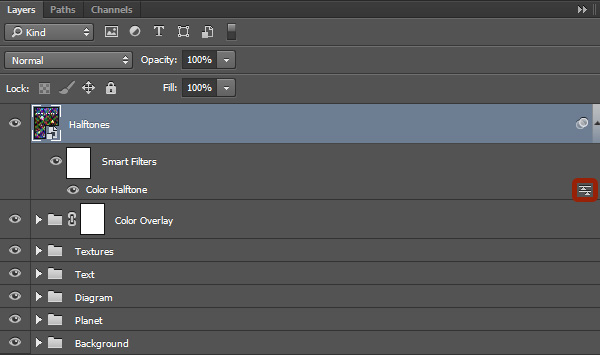
Next step: changing the blending mode of the effect to soft light @ 100% opacity, by double-clicking on this symbol in our layer palette.
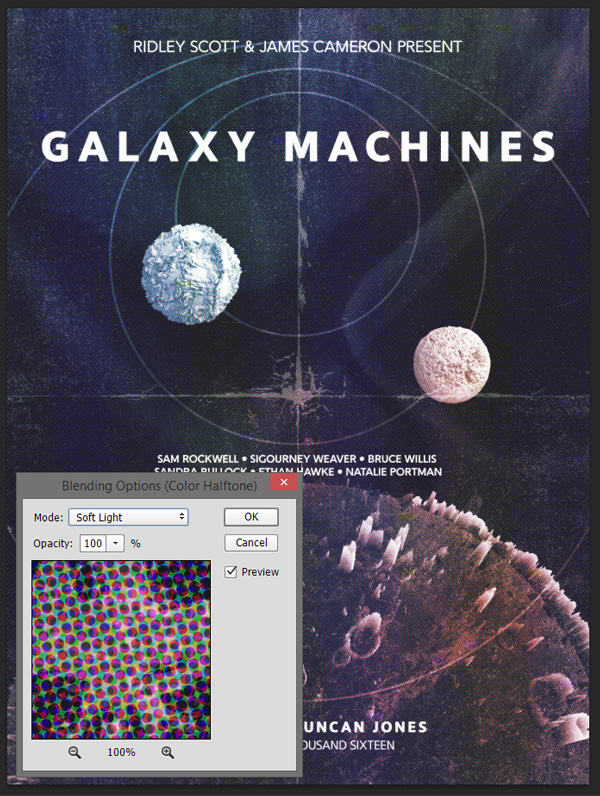
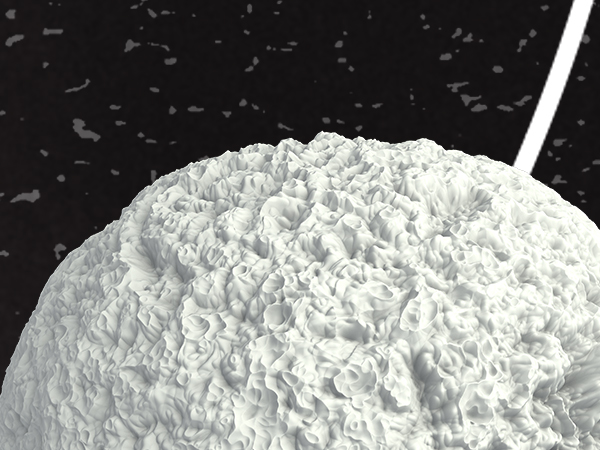
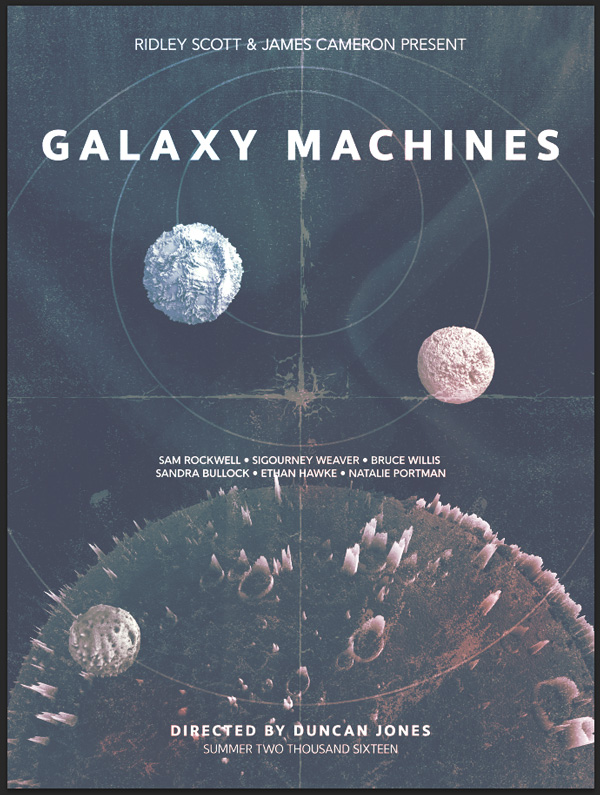
Finally, change the blending mode of the layer itself to lighten @ 50% opacity, and the piece is done!
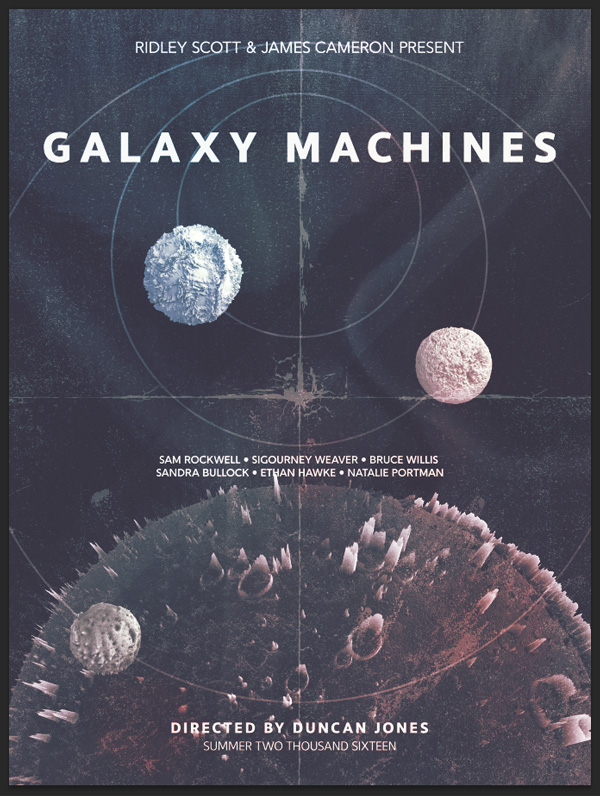
Doesn’t it look good, from up close?
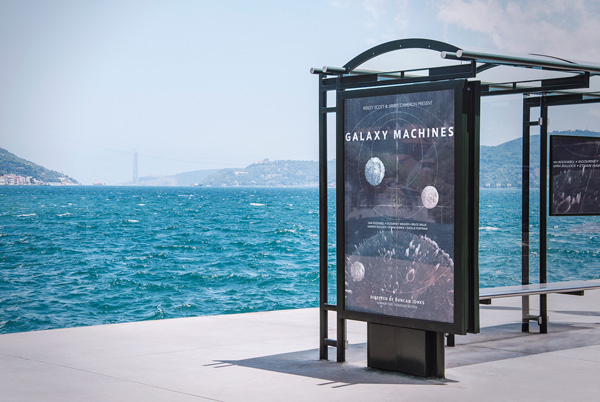
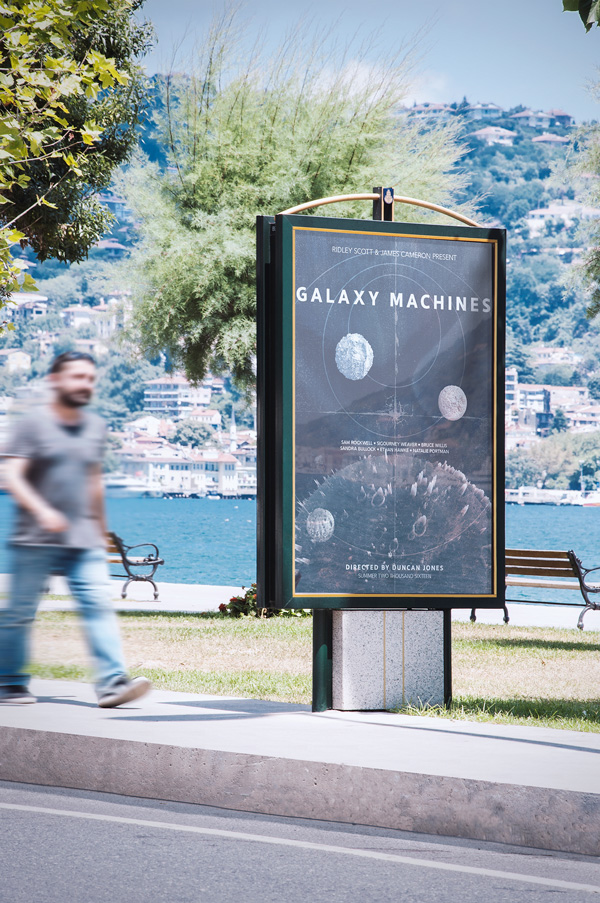
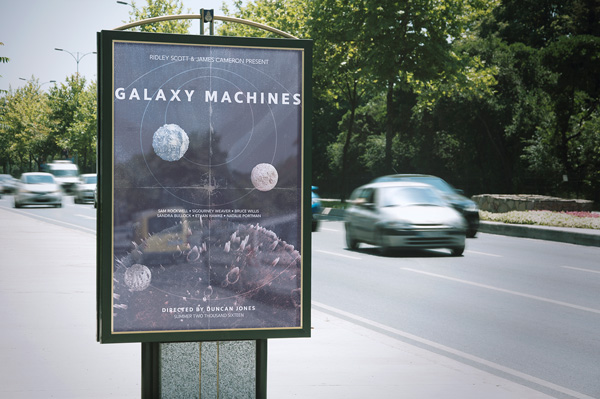
Or from afar? Here is the poster being shown off using some of the awesome outdoors mockup templates in our current bundle:
WRAPPING THINGS UP
Phew, that was another one of these long tutorials. I hope you liked the poster, and following the process along, as much as I liked designing and writing everything. If you have any technical questions, please use the comments below, and either myself or the rest of the Design Cuts team will reply to them.
Finally, we’d love to see your tutorial outcomes! Please share them with us on the Design Cuts Facebook page. We’ll share the best ones with the whole community.
Don’t forget, there are just a few days left to grab the modern, creative design bundle for 97% the regular price (saving you over $970 on this fantastic selection of modern, and artistic design resources)! If you have them already, I hope that you enjoy your new resources, and that this tutorial gave you a sense of what you can accomplish with them.
That’s it for me today! Until next time, cheers, and have a wonderful weekend.
Step 3 When I have used the High Pass filter and clipped it to the copy the soft light blending mode makes the picture very dark. The closest I could come to duplicating the tutorial’s effect is to use Screen at 75%.
I also noted you have to be very careful where you place objects. They can end up between an existing object and a layer clipped to it. That doesn’t work out very well.
I really liked the alpha channel selection and mask trick! It took me a few tries to realize one has to go back to the layers panel to add the mask. I tried to do it in the channels panel and that didn’t work.
It was good to see the layers panel for the textures. Is it really necessary to desaturate textures that are already grey? I did the desaturate but saw no difference.
The trick of copying the adjustment layers from another document to the poster was very elegant. Nicely done! Thank you for creating this tutorial.
Jeanne,
• I’m surprised by your issue with the high-pass filter. Did you make sure that you were also adjusting the layer’s opacity? I stand by my soft light @ 50% opacity setting though: I double-checked my PSD again. That being said, if screen @ 75% opacity works for you, and allows you to make the piece your own, then you should certainly use that.
• Yes, I agree! Sometimes, if you don’t have the proper layer highlighted in the layer panel (usually the one at the top), things can get strange very quickly. I often have my layer palette opened at all times when designing, so I can see what I’m doing.
• Very good point. I should have mentioned more clearly that the layer mask is to be applied from the layers’ panel, and not the channels’ panel.
• Sometimes, desaturating textures that are in grayscale doesn’t make any difference, and sometimes, it does. It’s often due to how the colors of the textures are encoded (CMYK, RGB, grayscale, bitmap, etc.). More often than not, it’s simply a precaution to ensure that you will not run into color shifts that you can’t explain down the road.
• Eh, the color preset that was hidden in the file is also part of the bundle, and a resource you can use :-) Inspiration, ideas, and elements to use in our work can be found everywhere.
As always, thank you for your feedback, and kind words.
In first place, thanks for another awesome tutorial!
I have one noob quoestion :-). In a lot of tutorials (this includes) we ever use the sharpen filter. What is it used for? I can not see any difference at work.
Thanks one more time!
Hey Jose,
That’s not a bad question at all! The sharpen filter is used to make sure that the textures and elements stay crisp, even when sized bigger than they are. If we didn’t use the filter, some elements could look blurry and/or pixelated, which isn’t something you’d want on your final piece.
Hey Simon,
Thanks for coming back to Jose! Awesome answer :).
Jose- please always ask questions- you may be a nooby now but we all had to learn at some point and we are always happy to help :).
This is Cool!
Thank you guys as I always love lessons for movie poster designs!
behance.net/pranaytony
Hey Pranay,
Thanks for the feedback- we are so pleased that you enjoyed the tutorial! I can see you have created some other movie posters on your behance- nice pieces Pranay!
Thank you for your kind words, Pranay!
I second Pranay Simon- such an awesome tutorial :).