WHAT WE’RE CREATING:
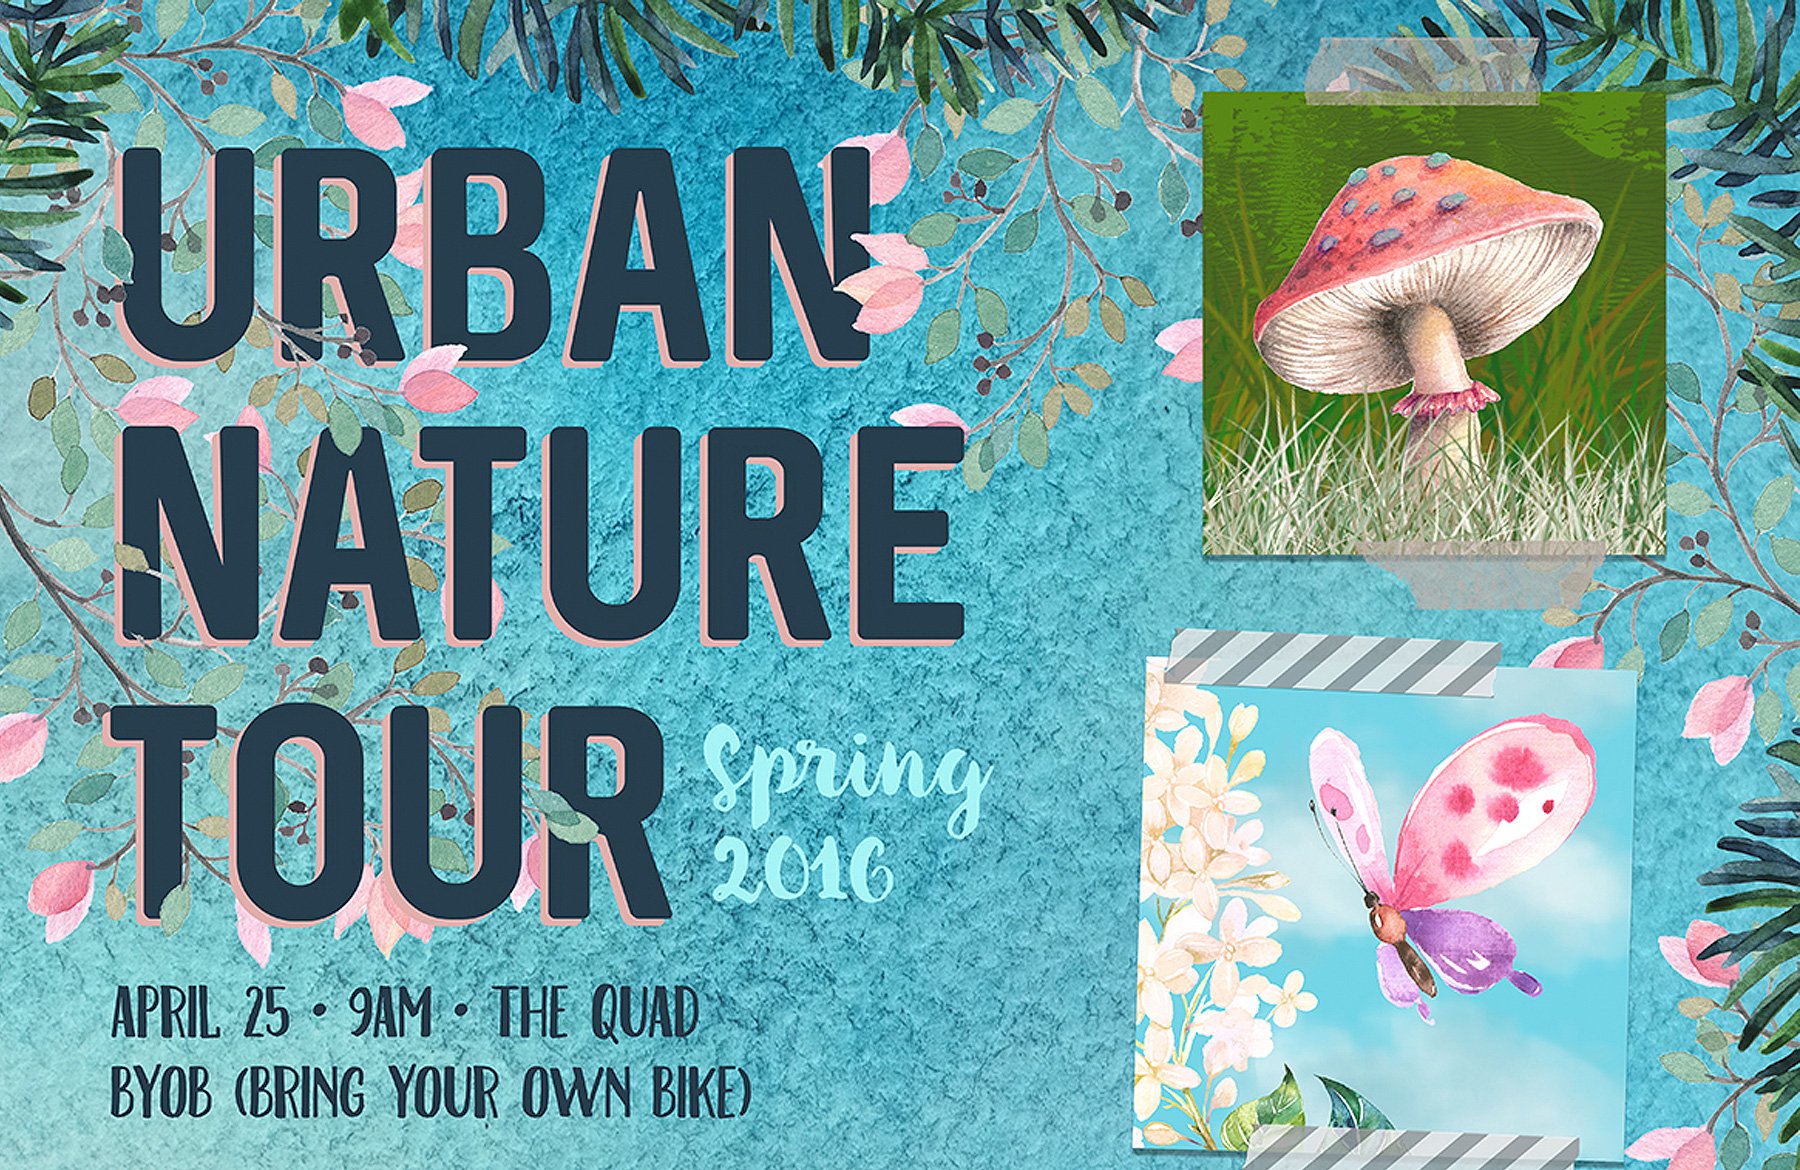
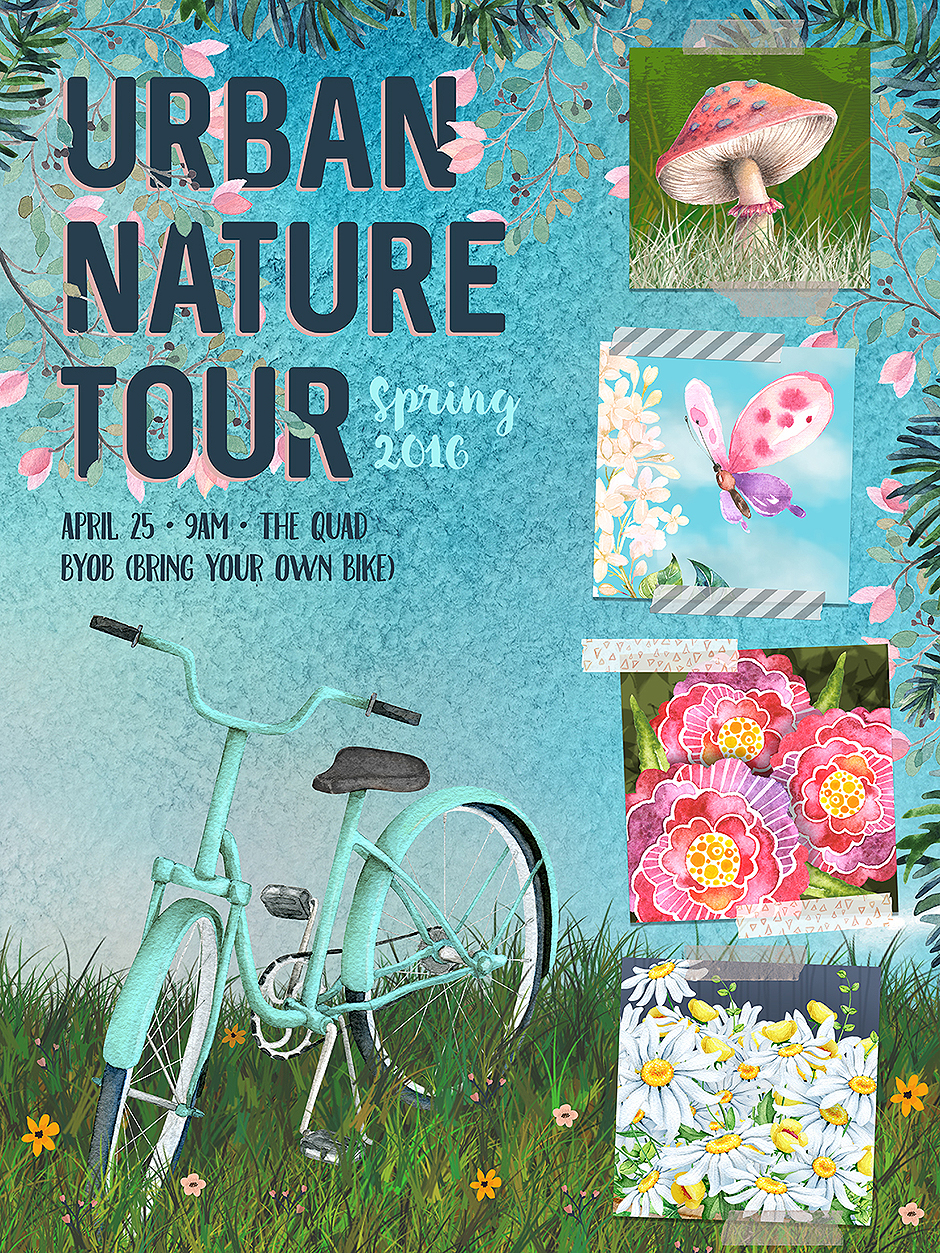
Hello designers! Renee here, ready to guide you safely through a nature tour poster tutorial. We’ll be creating our poster entirely in Photoshop. We’ll be exploring some of the great effects you can get with standard Photoshop brushes and utilizing layer masks to have our elements interact.
HAVE YOU SEEN OUR NEW YOUTUBE CHANNEL?
Watch the video tutorial below and subscribe to our new YouTube channel for regular updates direct to your inbox.
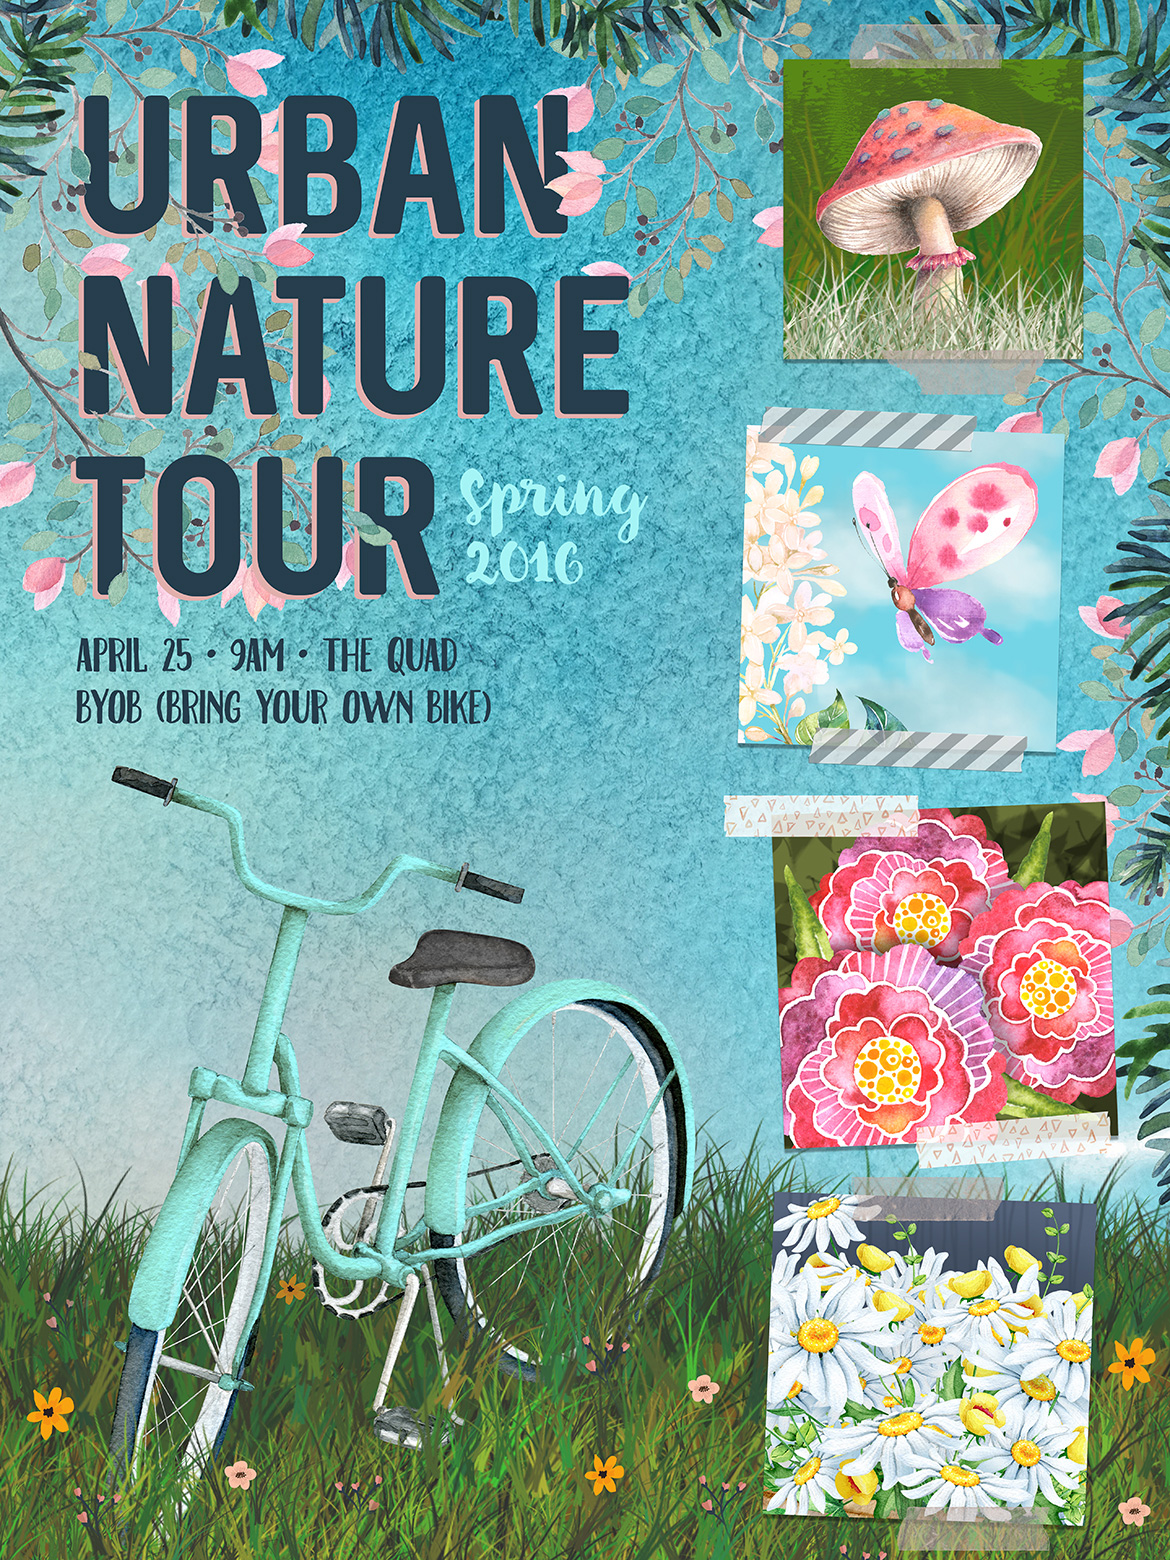
Here’s a look at what we’ll be creating:
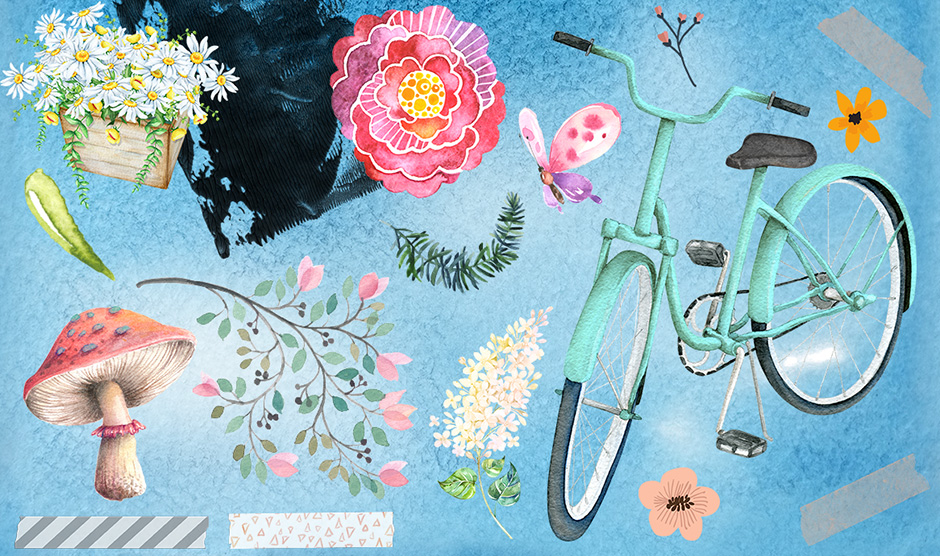
Follow along with this tutorial: Download the freebie files
The freebie pack includes loads of beautiful watercolor illustrations from Eva Katerina, Feather and Sage, Lisa Glanz, Mia Charro, Octopus Artis, Pattern Pop, Pixel Buddha, Star Jam, Tasiana and Tom Chalky. It’s another huge freebie pack!
This freebie pack is just a tiny sample of the resources available in The Creative Designer’s Complete Illustration Kit for just $29 (that’s an unbelievable 99% off). This huge collection includes 1000s of best-selling, hand-illustrated resources that will save you tons of time.
ADDITIONAL RESOURCES
In addition to the magnificent hand drawn freebies included in the freebie pack, we’ll use a couple of fonts. Our main title will use Phitradesign’s Sequel (100% free). We’ll also use My Creative Land’s Botanica Script Regular and Flavortype’s Caferus Normal Regular (both from previous bundles) for supporting text. You can easily substitute other fonts – just make sure to stick with fonts that have a hand-drawn feel to match our poster style.
Step 1: Background
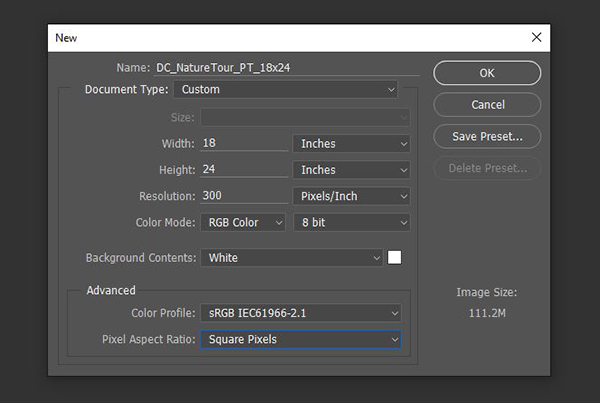
Open Photoshop and go to File > New. In the New Document dialog box, enter a width of 18 inches, a height of 24 inches and a resolution of 300 ppi. Choose RGB for Color Mode.
Click OK to create the document.
Save your file.
At the bottom of the Layers palette (Window > Layers), click the Create a New Layer icon. Double click the name of the layer and change it to Morning Background.
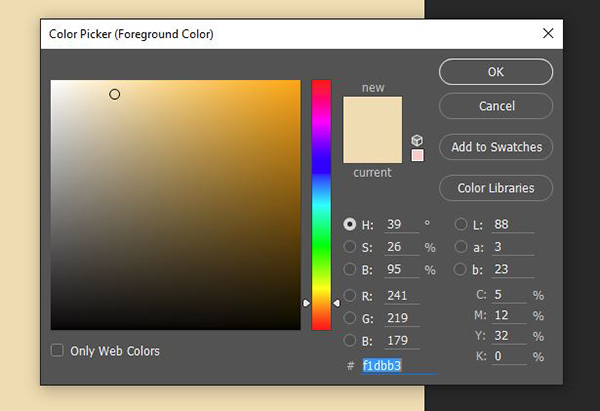
Let’s start by filling the layer with a solid color. Click on the foreground color swatch at the bottom of your toolbar to bring up the Color Picker. In the Color Picker, enter RGB values of 241/219/179. Press Ok.
Press opt + backspace to fill the layer with the foreground color.
Select your Brush tool (b). At the top left of your artboard, click the downward facing arrow just to the right of the brush thumbnail to access your Brush Preset picker. Select the first brush, Soft Round (hover over the thumbnails to see the brush names).
Press your right bracket key ] several times to increase the size of the brush until it’s about 3000 px.
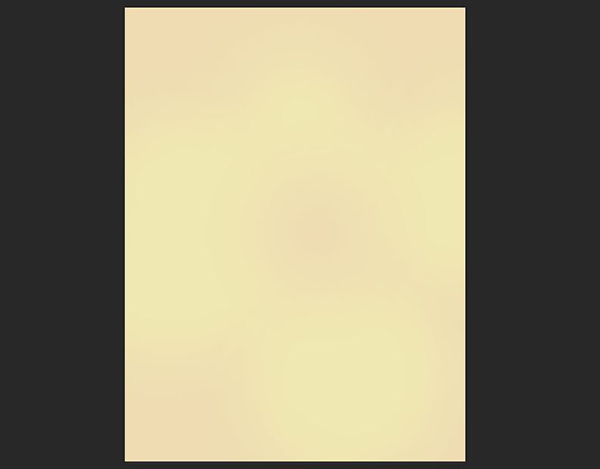
Click your foreground swatch at the bottom of the toolbar again and this time, select a bright yellow color. I’m using RGB 241/231/179. Press Ok.
Now just click around on a few areas of the background. It will be subtle, but will add some variation. Don’t worry about getting it exactly right – this layer will only be the slightest bit visible.
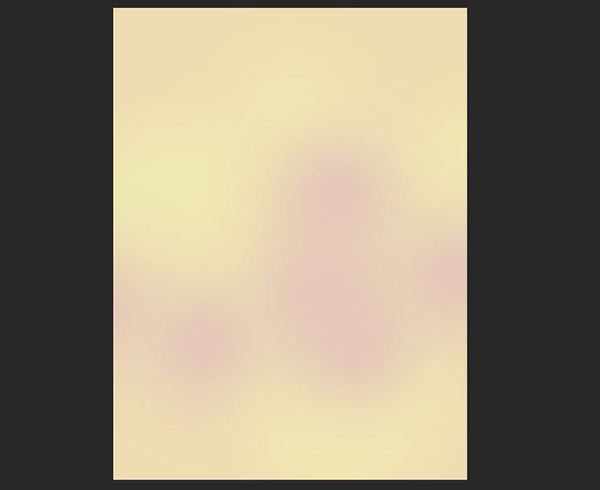
Now we’ll repeat this process with a pinkish color. In your Color Picker, choose a warm pink like RGB 231/199/186. Then use your brush tool add a small amount of it to the layer.
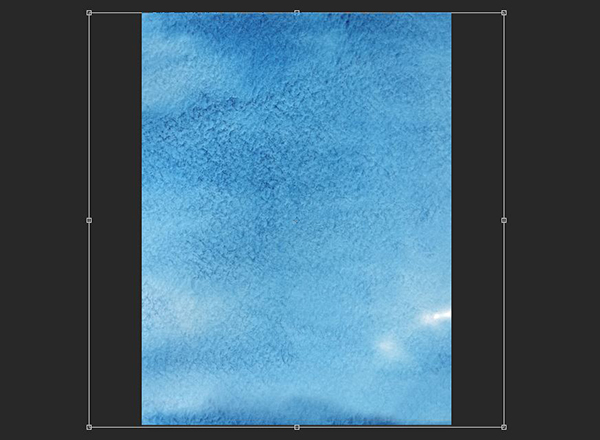
Go to File > Place Linked and navigate to the Tasiana folder in the freebies file. Select Indigo Watercolour background.jpg and click Place.
Use the corner handles of the image to increase the size while holding shift to maintain aspect ratio. Make it large enough to fill the entire artboard. Press enter to complete the transformation.
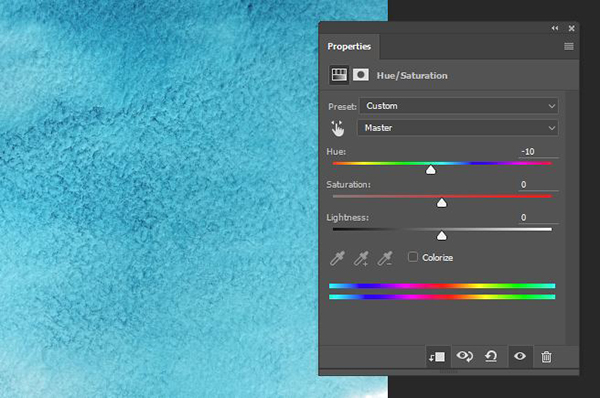
This will be our sky, but I want it to be a little more turquoise. With the Indigo Watercolour background layer selected, open your Adjustments panel (Window > Adjustments). Click on the first icon in the middle row to add a Hue/Saturation adjustment.
In the Properties panel that opens, change the Hue to -10, then make sure to click the icon on the bottom left of the panel to clip the adjustment to only the layer directly below it.
Later, we’ll go back and mask this layer to allow our yellow and pink Morning Background layer to subtly show through, but it will look much better if we wait until our other elements are in place.
Step 2: Text
Select your Horizontal Type tool (t). Click once on the artboard and type:
Urban
Nature
Tour
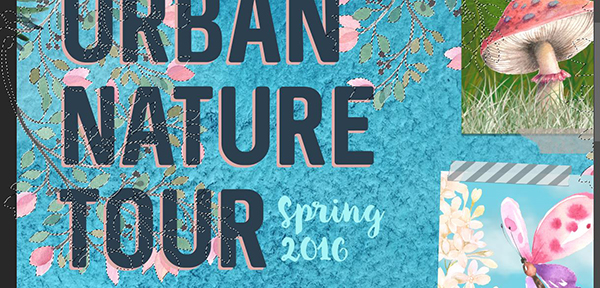
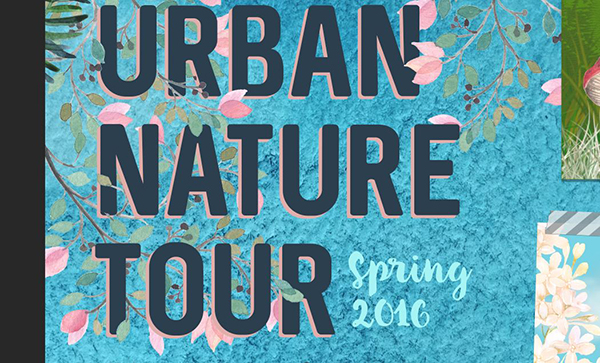
Use your Type tool to select the text. Open your Character palette (Window > Character) and change the font to Sequel Regular at 175 pt. Let’s tighten the leading, the space between lines, to 200 pt. Set Kerning to Optical and increase the Tracking (the space between letters) to 25. Lastly, click the Color Swatch on the Character palette and enter RGB values of 38/61/77.
Select your Horizontal Type tool again. Click on the artboard and type:
Spring
2016
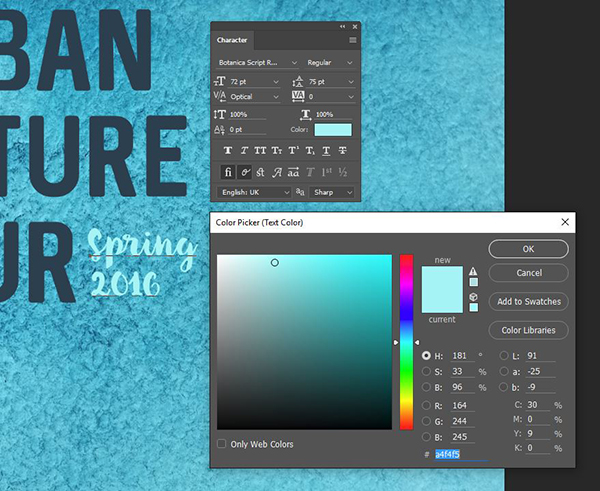
Select the text with your Type tool. In your Character palette, change the font to Botanica Script Regular at 72 pt. Tighten the leading to 75 pt. Set Kerning to Optical. Click the Color Swatch on the Character palette and enter RGB values of 164/244/245.
Position to the right of Tour.
We have one last bit of text. Click on the artboard with your Type tool and type:
April 25 • 9am • The Quad
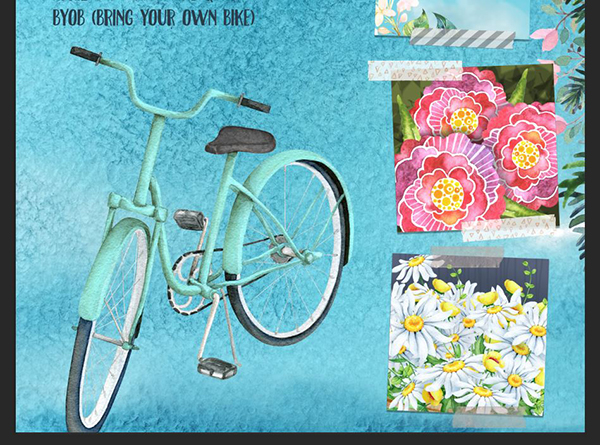
BYOB (Bring Your Own Bike)
To create a bullet on a Mac, type opt + 8. On a PC, open your Glyphs palette (Window > Glyphs), scroll down to the bullet and double click it.
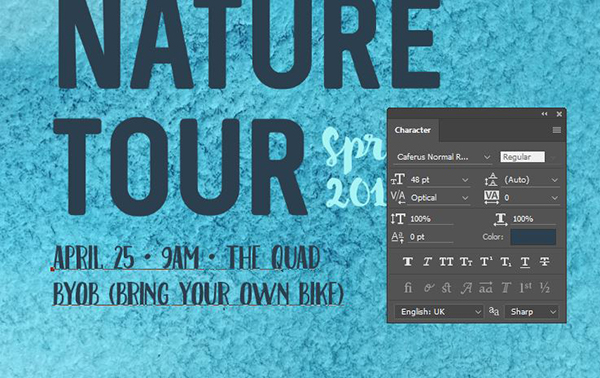
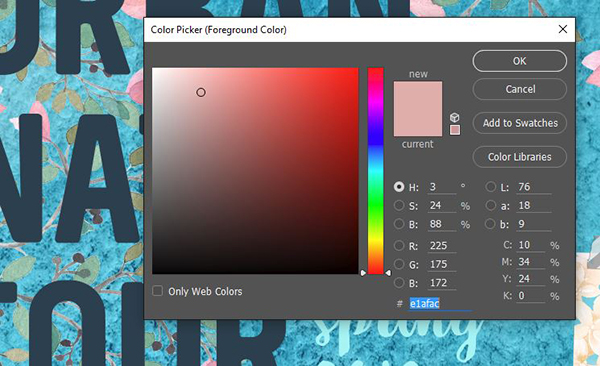
Select the text with your Type tool. In your Character palette, change the font to Caferus Normal Regular at 48 pt. Leave the Leading at 0. Set Kerning to Optical. Click the Color Swatch on the Character palette and use the eyedropper to sample the color from Urban Nature Tour.
Position below Tour.
Step 3: Foliage Frame
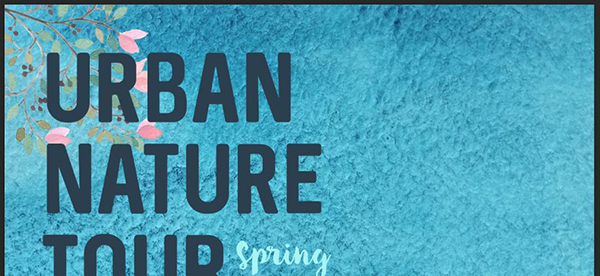
Now we’ll place in some foliage to frame out the top edges of the poster and interact with our event title.
In the Layers palette, click the Create a New Group icon. Double click the group name and rename it Pink Branches. Drag the Pink Branches group below the text layers in the Layers palette.
Go to File > Place Linked. Navigate to the Lisa Glanz folder and select Large Branch with Pink. Press Place.
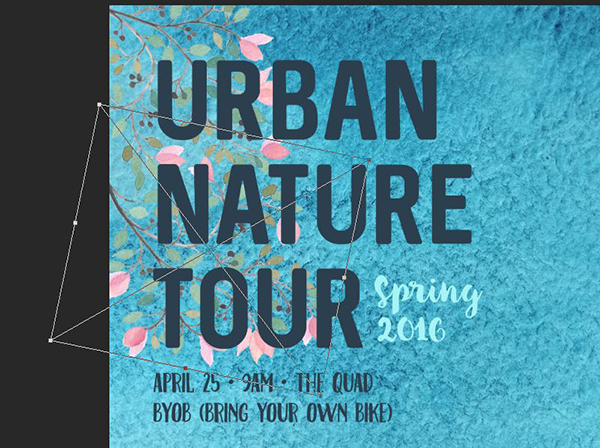
Use the corner handles to rotate the branch just over 90 degrees. Position it in the top left corner of the artboard and press enter to place.
Now we’ll just duplicate this same branch several times. In your Layers palette, drag the Large Branch With Pink layer down to the Create a New Layer icon to duplicate it.
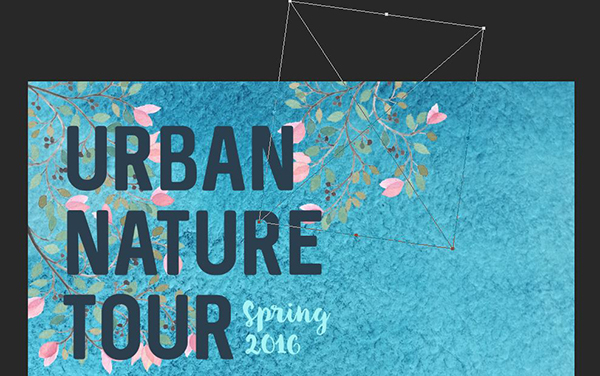
Go to Edit > Transform > Flip Vertical. This will help it look less like an exact copy. Now go to Edit > Free Transform. Use the corner handles to rotate the branch about 110 degrees. Then drag it below the first pink branch on the artboard so it sits behind the words Urban Tour.
Duplicate the layer we just transformed. Go to Edit > Free Transform and use the corner handles to rotate about 178 degrees. Position it at the top of the artboard so that the pink flowers sit just behind the end Urban Nature.
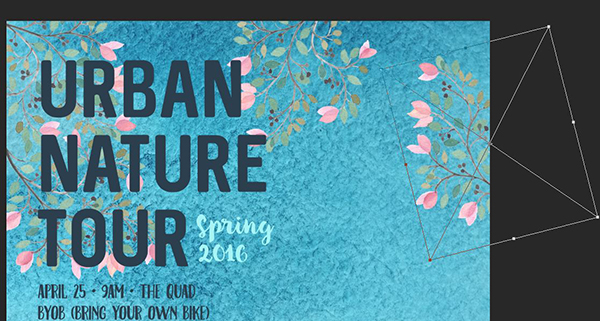
Now duplicate the first Large Branch With Pink layer, the one that hasn’t been flipped. Rotate the duplicate about -15 degrees and place on the far right side of the artboard to beginning framing the right side of the poster.
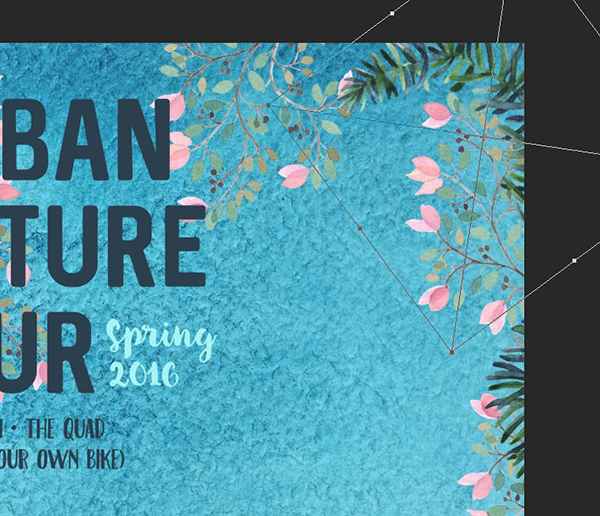
For our last pink branch, duplicate any of the layers that have been flipped (such as Large_branch_with_pink copy) and rotate it so that the flowers will just peek out from the right side of the artboard, -170 degrees with the layer I used.
Let’s add some pine sprigs to our frame. Go to File > Place Linked and navigate to the Pixel Buddha folder. Select 74 and press Place.
At the top left of your artboard next to W (width), increase the size to 200%. Make sure to click the link icon between W and H (height) so it sizes proportionally.
To the right of the height, enter a rotation angle of 180 degrees. Press enter to complete the transformation and position the branch on the far right side so it just barely peeks out from the edge of the artboard.
In your Layers palette, click the Create a New Group icon and name the new folder Pine Branches. Drag the pine branch, 74, into the folder.
Now we’ll simply duplicate this branch several times to frame the edges.
In the Layers palette, drag the pine branch layer, 74, down to the Create a New Layer icon.
Go to Edit > Free Transform and use the corner handles to rotate about -50 degrees, then position in the top right corner of the artboard.
Continue to duplicate the pine branch and place around the top and right edges of the artboard to add some subtle greenery. I’ve used a total of 7 pine branches sprinkled along the edges.
Step 4: Mushroom Image
We’re going to add four images along the right side of our poster.
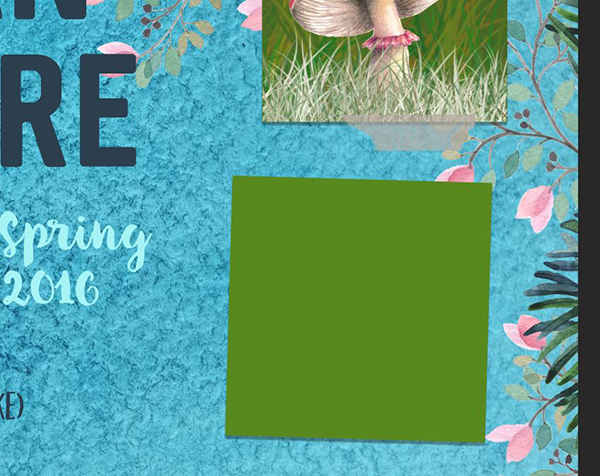
Create a new group and name it Mushroom Group. Now click the Create a New Layer icon and drag the new layer into Mushroom Group. Name the layer Mushroom Background.
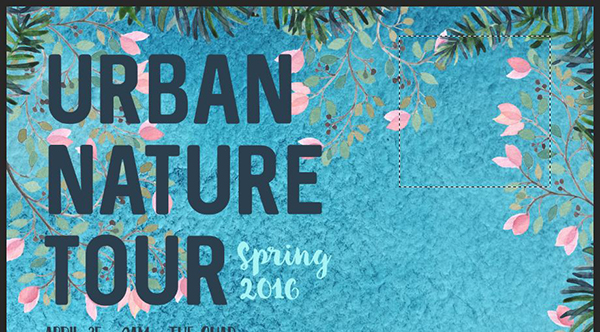
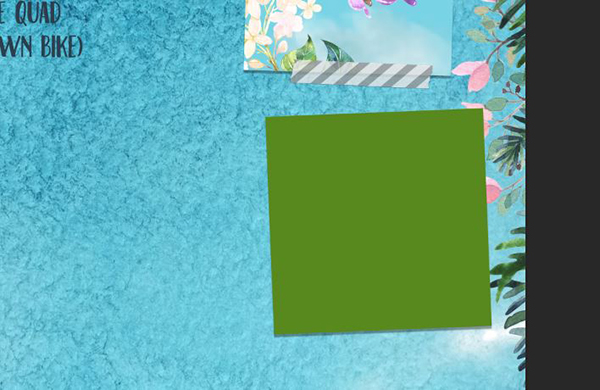
Select your Rectangular Marquee tool (m). In the top right of your artboard, hold shift and draw a 4.5 inch square.
Note: Newer versions of Photoshop will display measurements as you draw. If you’re in an older version, select Fixed Size next to Style at the top of the artboard and enter a width and height of 4.5 inches.
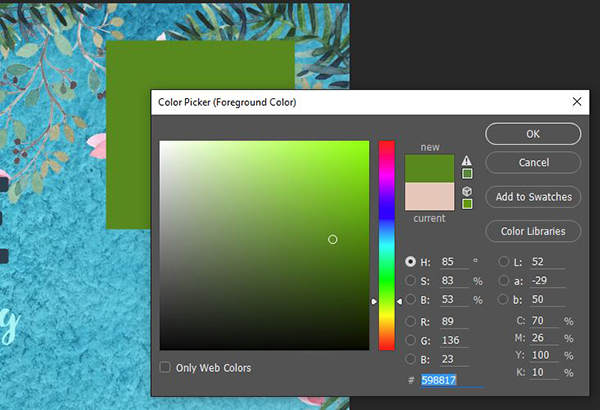
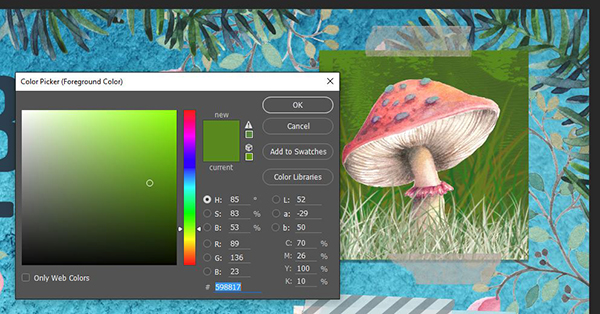
At the bottom of the toolbar, click the foreground color to bring up the Color Picker. Select a medium green color – like RGB 89/136/23. Then press opt + backspace to fill the selected area with green.
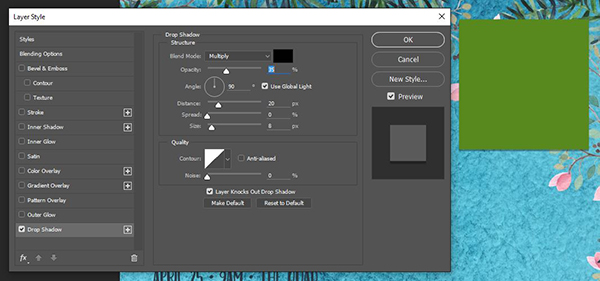
Click the FX icon at the bottom of the Layers palette and choose Drop Shadow. In the Layer Style dialog box, enter an angle of 90 degrees, Opacity of 35%, Distance of 20 px and Size of 8 px. Then press OK.
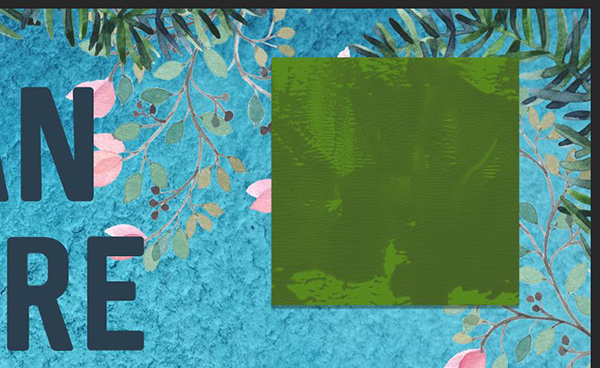
Now go to File > Place Linked and navigate to Paint-texture-Vol3-13 in the Tom Chalky folder. Press Place.
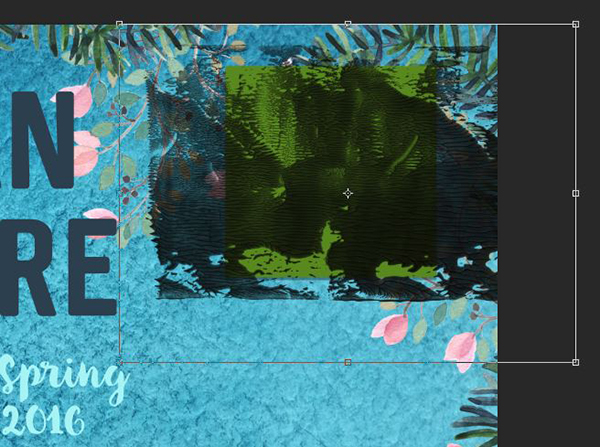
Hold down shift and use the corner handles to reduce the size of the texture until it’s just a little bigger than the green square, then press enter to complete the placement.
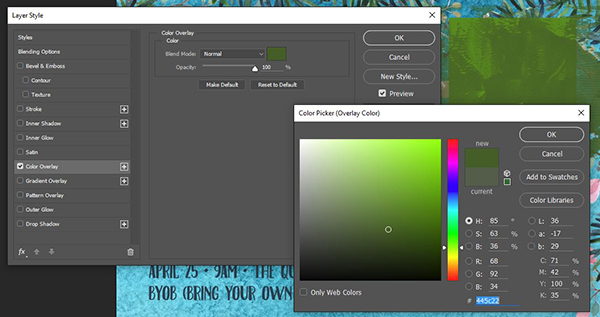
Let’s change the color so it blends better with our green. At the bottom of the Layers palette, click the FX icon and choose Color Overlay.
In the Layer Style dialog box, choose a Blend Mode of Normal and click the color swatch. In the Color Picker pop-up, select a deeper green than the square – like RGB 68/92/34. Press OK.
Next, we’ll just want to mask the texture so it stays within the bounds of our green square. Hold cmd and click on the thumbnail of the Mushroom Background layer in the Layers palette to create a selection around it.
Make sure the texture is the active layer and press the Add Vector Mask icon at the bottom of the Layers palette.
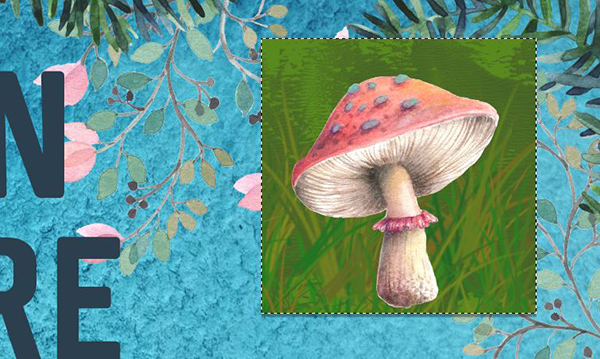
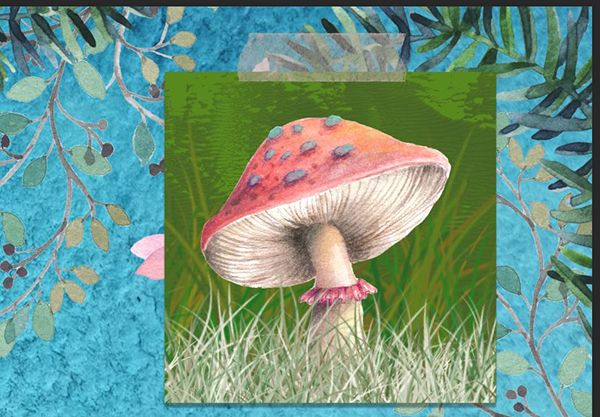
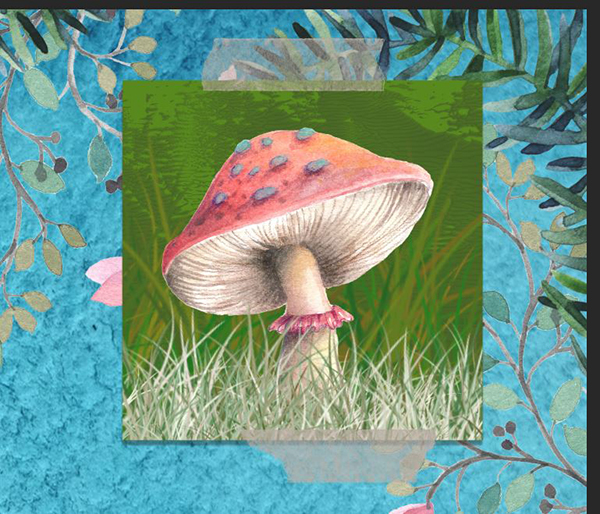
Go to File > Place Linked and navigate to Mushroom in the Lisa Glanz folder. Press Place. Hold shift (to maintain aspect ratio) and use the corner handles to reduce the size about 55% – until it fits nicely in the middle of the green square.
Now we’ll give our mushroom some ground to stand on. Click the Create a New Layer icon and name it Background Grass. Drag this layer under the Mushroom layer.
Your foreground color swatch should already be the green we used for the square. Click on your background color swatch and use the eyedropper to select the darker green of the texture. The brush we’re going to utilize will use both the foreground and background color swatches.
Hold cmd and click on the thumbnail next to the Mushroom Background layer to create a selection.
Choose your Brush tool (b). At the top left of the artboard, click on the arrow to the right of the brush thumbnail and choose the brush called Grass. Now press the right bracket key on your keyboard (]) several times until the size is 1200 px.
Drag your brush across the middle area of the square to create some background grass behind the mushroom.
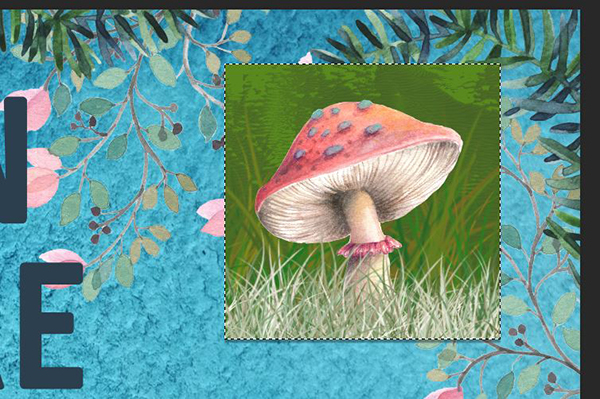
It will look a little more natural if our foreground grass is a little closer to the color of the mushroom, so click on the foreground color swatch and use the eyedropper to sample the tan color on the underside of the mushroom cap.
Click on the Create A New Layer icon and drag this new layer above the mushroom. With your Grass brush still selected, press the left bracket key ([) several times to reduce the brush size to 700 px.
With the square area still selected on the artboard, drag your brush across the bottom of the square several times.
Press cmd + d to deselect the square.
Go to File > Place Linked and navigate to the Feather and Sage folder. Select FS_Transparent Tape 02 and press Place.
Position the transparent tape at the top middle of the mushroom group and press enter to complete placement.
Now we’ll repeat for the bottom piece of transparent tape. Go to File > Place Linked and choose FS_Transparent Tape 04, then press Place.
Position at the bottom middle of the mushroom group and press enter.
Step 5: Butterfly Image
Create a new group and name it Butterfly Group.
In the Mushroom Group in your Layers palette, select the Mushroom Background layer and drag it to the Create a New Layer icon to duplicate it. Drag the duplicate into the new Butterfly Group.
On the artboard, use your Move tool (v) to drag the duplicate layer below the Mushroom image. To keep things casual looking, move it a little to the left and go to Edit > Free Transform and give it a slight rotation to the right. Press enter when you’re done.
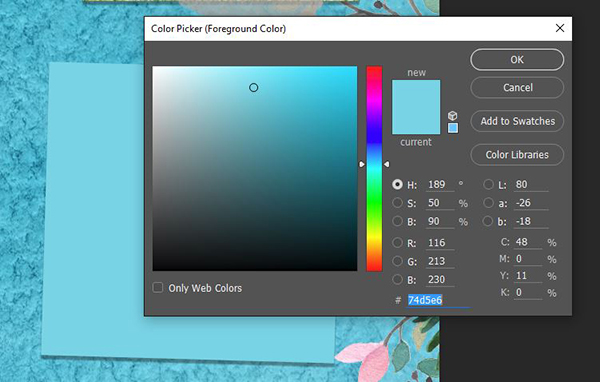
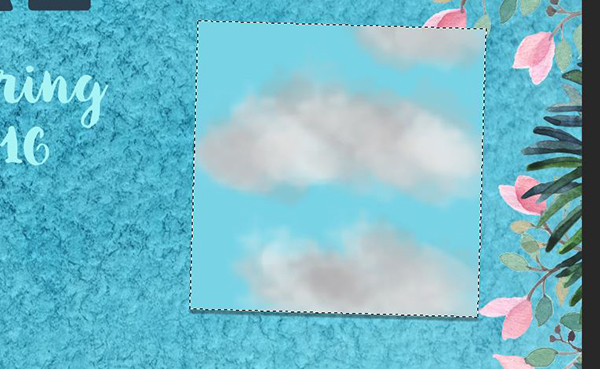
Click your foreground color swatch to bring up the Color Picker. Change the RGB values to 116/213/230. Press OK, then press opt + shift + backspace to fill the green square with our new blue color.
Rename the layer Butterfly Background.
Press d, then x to change your foreground color to White.
Select your Brush tool (b) and in the Brush Preset palette, choose the brush called Per Stroke Brightness Variance. Increase the Brush size to 400 px.
In the bar at the top of the artboard, change the brush Opacity to 30%.
Create a new layer in the Butterfly Group and name it Clouds. Hold cmd and click the thumbnail next to the Butterfly Background layer in the Layers palette.
With the Clouds layer active, start dotting your brush across a couple of areas on the blue square. You’ll see the brush automatically vary the color from white to gray. This will add depth to our clouds and we’ll brighten it up considerably when we’re done drawing. This technique works much better if you continually click and release instead of dragging the brush.
Press cmd + d to deselect.
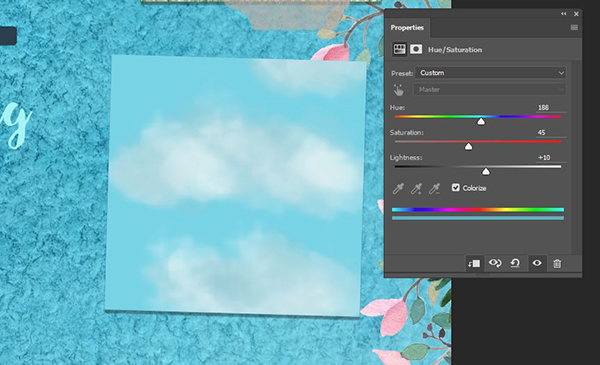
In your Adjustments palette (Windows > Adjustments), click the Hue/Saturation icon. In the dialog box, click Colorize. Then change your Hue to 188, Saturation to 45 and Lightness to 10. At the bottom of the palette, click the far left icon to clip the adjustment to the layer below it (so it only affects our clouds).
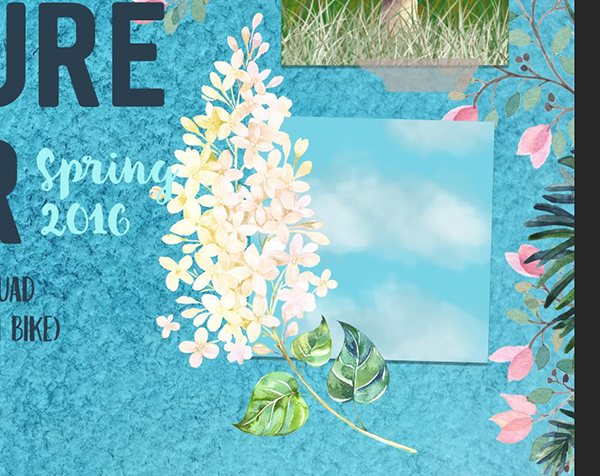
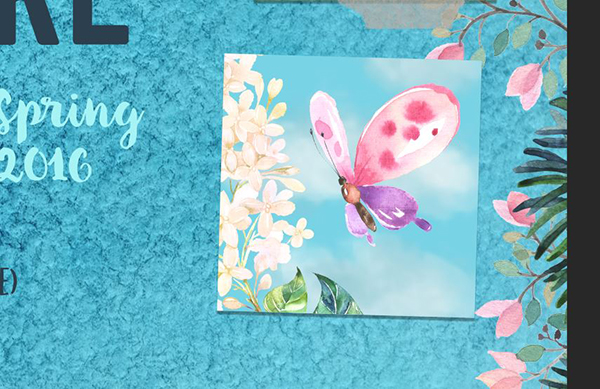
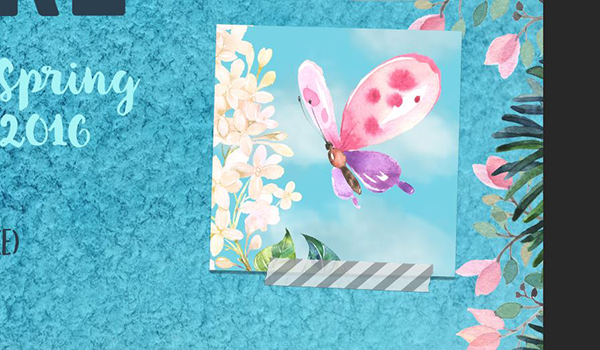
Now we’ll add a butterfly and flower. Go to File > Place Linked and navigate to the Octopus Artis folder and select LilacLight_04, then press Place.
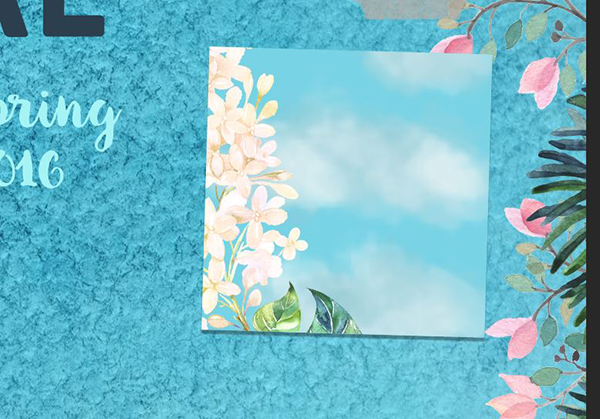
At the top of the artboard, enter a width of 70% and change the angle to -30 degrees. Place in the bottom left area of the blue square.
To mask the lilac so it stays within the bounds of our blue square, hold cmd and click the thumbnail next to the Butterfly Background layer in the Layers palette. At the bottom of the Layers palette, click the Add Vector Mask icon.
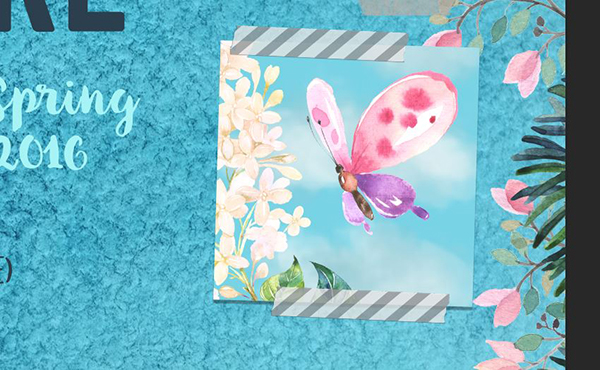
Go to File > Place Linked and select the Watercolour-Butterfly-13 file. Press Place. In the top bar above the artboard, change the width and height to 35% and position in the top right of the blue square, then press enter to complete.
This time, we’ll use washi tape to “affix” our image to the poster. Go to File > Place Linked and navigate to the Pattern Pop folder. Choose Washi_Stripe_Gray and press Place.
I’m going to give my tape a very slight rotation to match the rotation of the square – about 3 degrees. Place at the bottom middle of the Butterfly Group and press enter to complete.
In the Layers palette, drag the Washi_Stripe_Gray layer down to the Create a New Layer icon to duplicate it. On the artboard, use your Move tool (v) to drag the duplicate washi tape to the top left of the Butterfly Group.
Step 6: Flower Group
Create a new group and name it Flower Group.
In the Mushroom Group in your Layers palette, select the Mushroom Background layer and drag it to the Create a New Layer icon to duplicate it. Drag the duplicate into the new Flower Group and rename it Flower Background.
On the artboard, use your Move tool (v) to drag the duplicate layer below the Butterfly image. Again, we’ll keep our placement loose by rotating our image to the left and positioning it a little more to the right of the artboard. Press enter when you’re done.
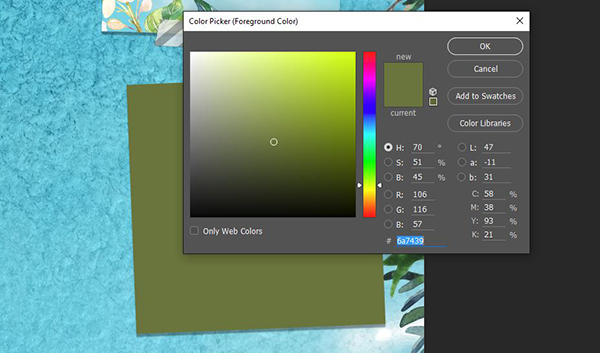
Click on your foreground color swatch and change the color to a darker, more muted green like RGB 106/116/57. Click OK, then press opt + shift + backspace to fill the square with the new green color.
To create a little texture in the background of this picture, we’ll use one of Photoshop’s standard brushes.
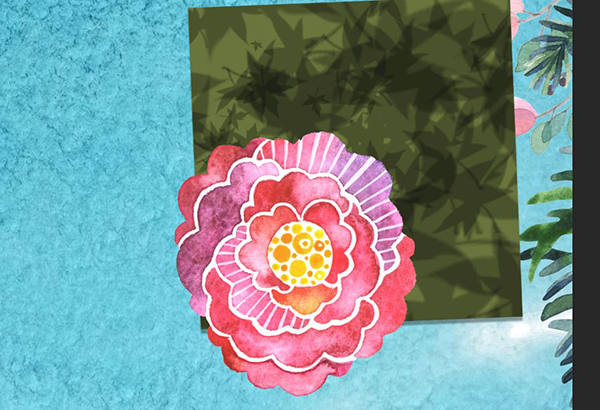
Create a new layer and name it Leaf Texture. Select your Brush tool and in the Brush Presets, select the brush called Scattered Maple Leaves. Increase the brush size to 1100 px.
Create a selection around the square by holding cmd and clicking on the thumbnail next to the Flower Background layer.
Press x to change your foreground color to black, then brush over the square several times.
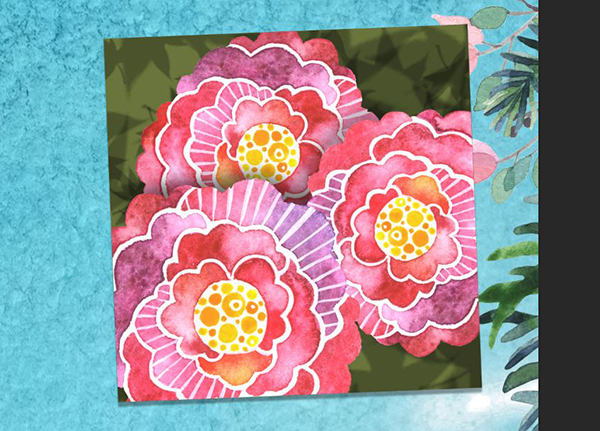
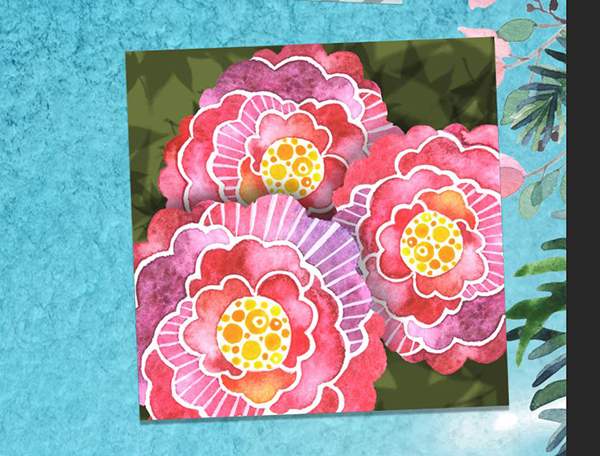
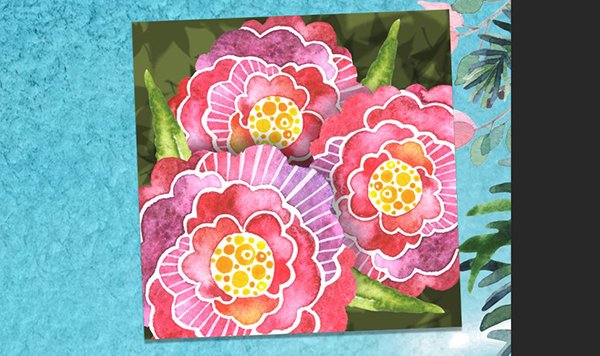
Go to File > Place Linked and navigate to the Star Jam folder. Choose Flowers4 and press Place.
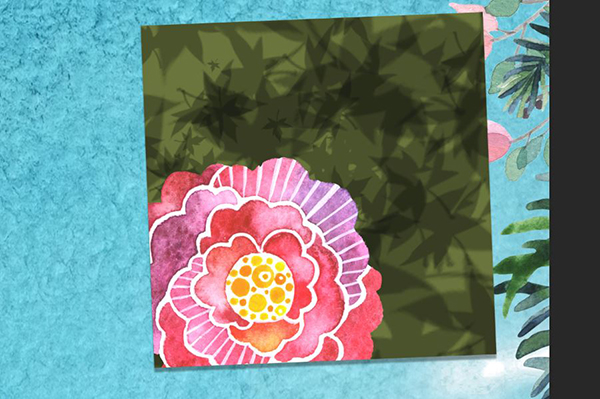
At the top of the artboard, enter a width and height of 70%. Position in the bottom left of the newest square.
Now we’ll mask it. Hold cmd and click on the thumbnail to the left of the Flowers Background layer. Then click the Create Vector Mask icon at the bottom of the Layers palette.
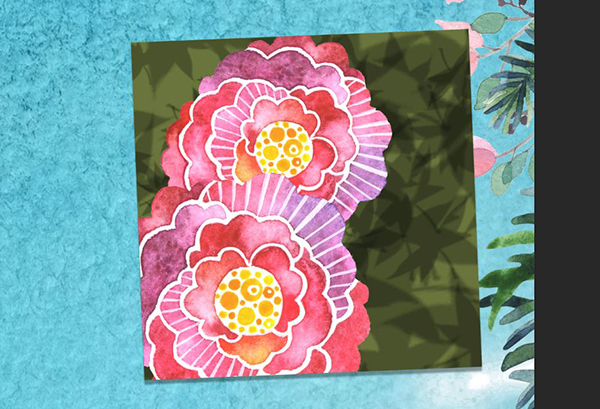
Duplicate the Flowers4 layer. In the Layers palette, drag the new layer below the first Flowers4 layer. Click the link icon between the image thumbnail and the mask thumbnail on the Flowers4 copied layer. This makes it possible to move the item within the mask without moving the mask.
Click the image thumbnail (not the mask thumbnail) to make it the active item. Go to Edit > Free Transform and use the corner handles to reduce the size slight and give it a 45+ degree turn in any direction. We just want to keep it from looking like an exact duplicate. Move it up to the top left corner of the square. Press enter when you’re done.
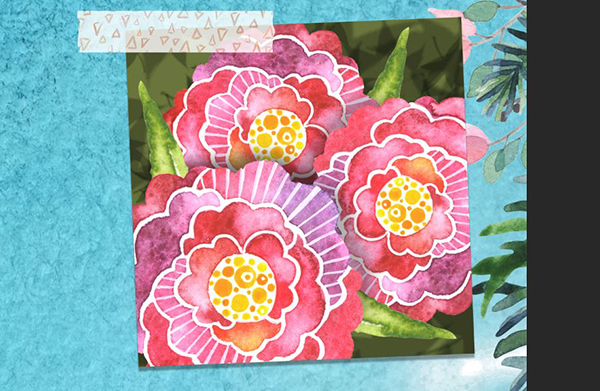
Duplicate the most recent Flowers4 layer (Flowers4 copy). In the Layers palette, drag this layer between the other two Flowers4 layers. Again, click the link icon on the layer and go to Edit > Free Transform, then give the image a slight rotation and position it on the right of the image. Press enter when you’re done.
Let’s add just a tiny bit of shadow to separate our flowers. Create a new layer and name it Flower Shadow 1. Place it between the bottom 2 flower layers (copy and copy2).
Select your Brush tool (b). In the Presets, choose the first brush, Soft Round. Press [ several times to reduce the size to 200 px.
Press cmd and click the thumbnail on the Flowers Background layer to confine our drawing area to the square.
Drag your brush in one smooth motion around the edges of the bottom and right flowers where they overlap the top flower.
Create another new layer and name it Flower Shadow 2. Drag this layer between the top two flower layers (copy 2 and the original Flowers4).
With the square area still selected, drag your brush along the edge of the bottom left flower where it overlaps the flower on the right.
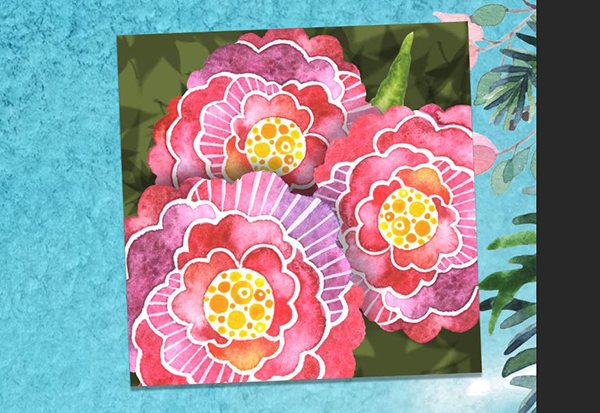
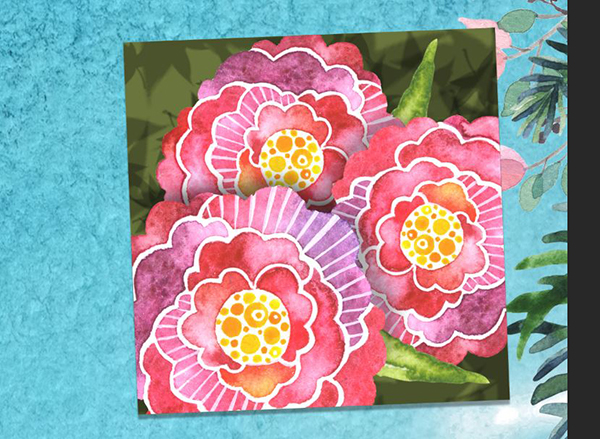
Go to File > Place Linked and choose the Leaves22 file, then press Place.
Rotate about 125 degrees and position at the top right of the flowers. In the Layers palette, drag the leaf layer below the bottom flower layer.
Duplicate Leaves22. In the Layers palette, drag the duplicated leaf layer just above Flowers4 copy 2 (below Flower Shadow 2).
Go to Edit > Free Transform. Rotate the leaf to the right and position it in the bottom right of the square.
Duplicate the most recent Leaves22 layer (copy). Place this one on the left of the square and rotate so it flows nicely with the shape of the square and placement of the flowers. Make sure to keep the leaves within the square. If they fall outside the square, just use the masking technique we employed with the flowers.
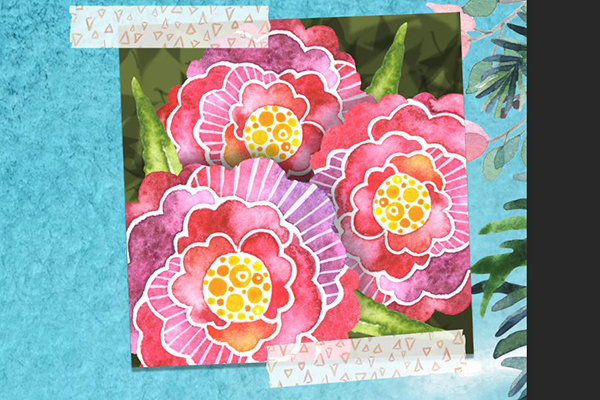
Go to File > Place Linked and select Washi_Triangles_Peach in the Pattern Pop folder. Press Place.
At the top of the artboard, enter a width and height of 65%. Place at the top left of the flowers square.
Duplicate the layer. Go to Edit > Free Transform. Rotate the duplicate 175 degrees and place at the bottom right of the square.
Step 7: Basket Group
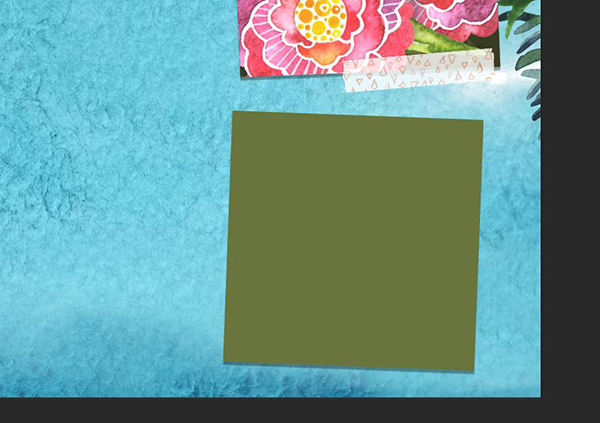
Duplicate the Flower Background layer from the Flower Group. Rename it Basket Background. Create a new group and name it Basket Group, then drag the Basket Background layer into the new group.
On the artboard, position the Basket Background square below the Flower Group and give it a little rotation to the right to continue our slightly irregular placement.
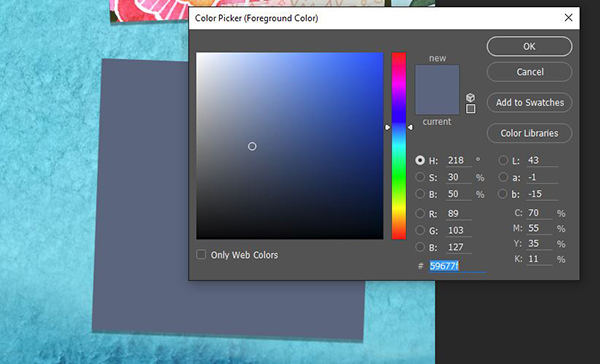
Click your foreground color swatch and change the color to RGB 89/103/127. Press OK, then press opt + shift + backspace to fill the square with the new color.
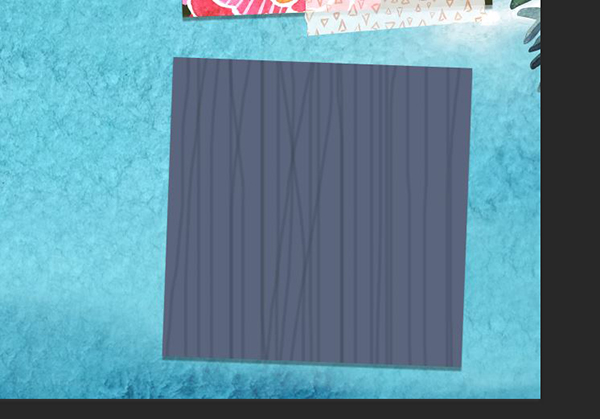
Create a new layer and name it Basket BG Texture.
Click your foreground color swatch and change it to RGB 52/65/82.
Hold cmd and click the thumbnail next to Basket Background to create a selection.
Select your Brush tool (b). Press [ several times until the size is reduced to 20 px. Now we’ll just draw some messy lines going from top to bottom. Drawing quickly will give you the best results.
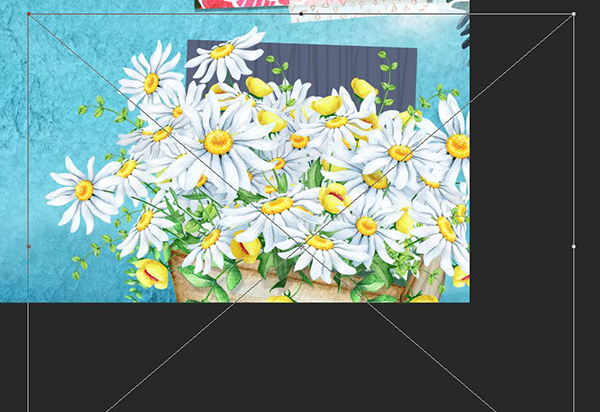
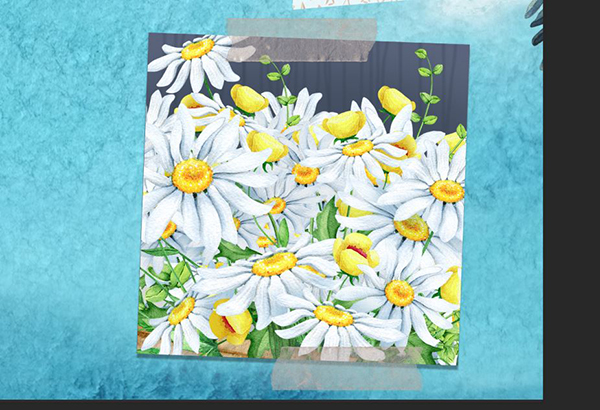
Go to File > Place Linked and choose Basket chamomiles in the Eva Katerina folder. Press Place.
Position over the middle to bottom of the blue square. Press enter.
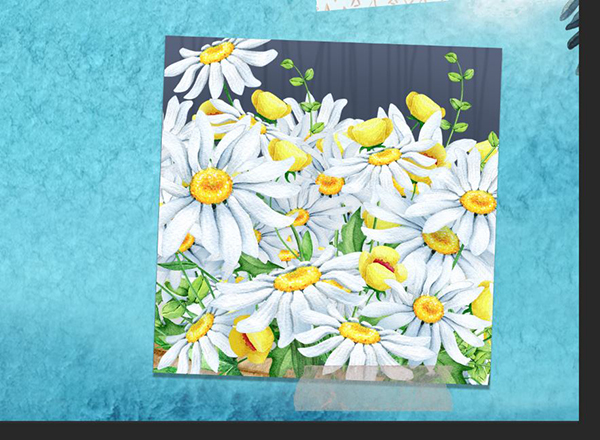
Hold cmd and click the thumbnail next to Basket Background. With Basket chamomiles selected as the active layer, click the Create Vector Mask icon.
Open the Mushroom Group folder and duplicate FS_Transparent Tape 02. Drag the duplicate layer into the Basket Group.
On the artboard, use your Move tool (v) to position the tape at the bottom right of the basket square.
Duplicate the tape layer (that’s in the Basket Group). With the new layer selected, go to Edit > Free Transform. Use the corner handles to rotate about 180 degrees, then position at the top middle of the square.
Step 8: Bicycle and Grass
In the Layers palette, create a new group and name it Bicycle with Grass. Drag this new group below the Pink Branches group.
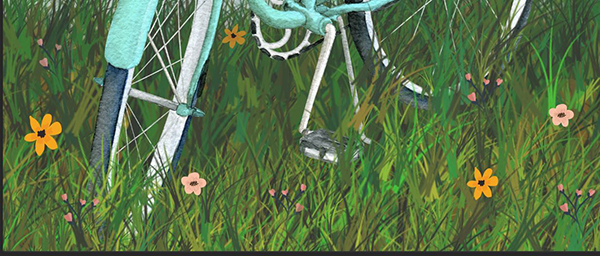
Go to File > Place Linked and select Eva Katerina’s Turquoise bicycle. Press Place. Position the bike in the lower left corner of the poster with the very tip of the front tire just falling off the bottom edge of the artboard.
Now we’ll use our grass brush again to build up an area for the bike to live.
Create a new layer and name it Grass Background. Drag the layer below the bike layer.
Click your foreground swatch and use the eyedropper to sample the background color of the mushroom square. Press OK when done.
Now click on your background color swatch. For this one, I’m going to sample one of the darker colors of one of the pine branches on the outer edge.
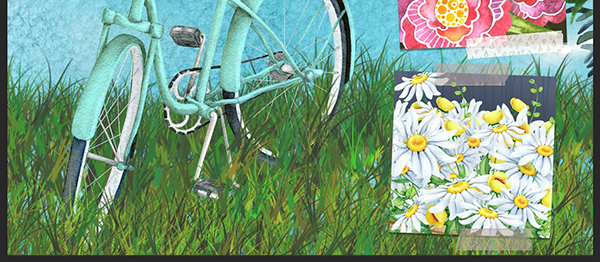
Select your Brush tool (b). In the Presets, select the Grass brush. Change the brush size to 1000 px.
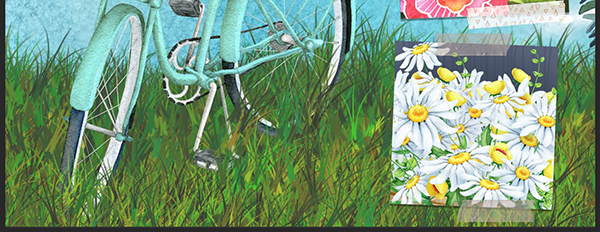
Now just drag the brush along the bottom of the artboard, going about halfway up the back wheel of the bike.
Create a new layer and name it Grass Foreground. Drag the layer above the bike layer.
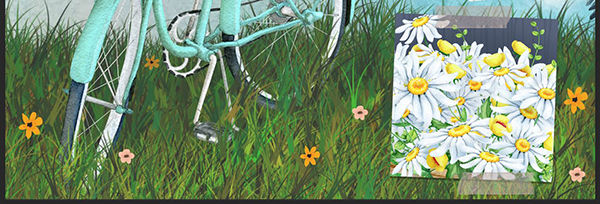
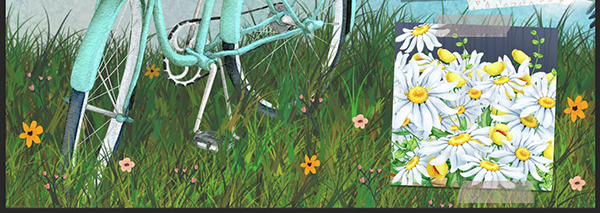
Use the same brush to draw grass in front of the bike tires and in the lowest areas of the poster.
To fill in the areas where blue is showing through, we’ll add some dirt. Create a new layer and name it Dirt. Drag this layer the the very bottom of the Bicycle with Grass group.
Click your foreground color swatch and enter an RGB value of 118/89/40.
Select your Brush tool and in the Presets, select the Soft Round Brush. Drag the brush around the areas behind the grass, but be careful not to draw above the grassline at all.
Let’s tone down the brightness of our grass just a touch. We’ll also make the background grass a little darker than the foreground grass.
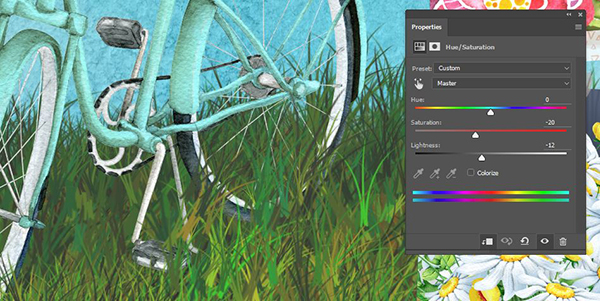
Select the Grass Background layer. In the Adjustments panel, click the Hue/Saturation icon. Enter a Saturation of -20 and Lightness of -12. Click the far left icon at the bottom of the palette to clip the adjustment to the Grass Background layer only.
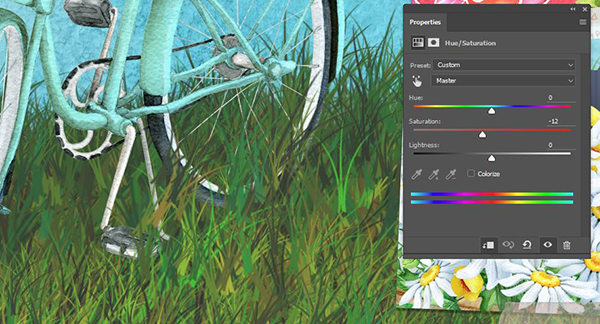
Select the Grass Foreground layer. In the Adjustments palette, click the Hue/Saturation icon. Change the Saturation to -12, then click the far left icon to clip the adjustment to the Grass Foreground layer.
Step 9: Finishing Touches
All of our copy layers should be above the groups in the Layers palette. Find the Urban Nature tour text layer and drag it to the Create a New Layer icon to duplicate it. Drag the duplicate layer below the original.
Click your foreground color swatch and use the eyedropper to sample one of the darker pinks from the Pink Branches.
Press opt + shift + backspace to change the color of the duplicated text to pink.
Use your Move tool (v) or arrow keys on the keyboard to move the pink text down and to the left of the original blue text.
In the Layers palette, hold shift to select both Urban Nature Tour text layers. At the bottom of the Layers palette, click the Create a New Group icon. Name the new Group Urban Nature Text.
Now click the Add Vector Mask icon.
Open your Pink Branches folder. Hold cmd and click the thumbnail of the first layer. Then continue to hold cmd and also shift to add the selections of the other Pink Branch layers. Click on the thumbnail of each (while holding cmd + shift) to add to the selection area.
Close the Pink Branches folder and click on the layer mask thumbnail on the Urban Nature Text group.
Select your Brush tool (b) and in the Presets, change to the Hard Round brush. Your foreground color should already be black.
Now we’ll just find a few areas where the pink branches could lay on top of the text instead of behind it. Brush over those areas to mask out the letters and make the pink branches appear to interact with the words.
Next, we’ll make parts of our blue background texture a little transparent to see our pretty Morning colors and make the poster more legible.
In the Layers palette, select the background layer (the blue watercolor). Click the Create a Vector Mask icon.
Select your Brush tool (b) and in the Presets, choose the Soft Round brush. Increase the size to 2500 px. At the top of the artboard, change the brush Opacity to 20%.
Now we’ll brush lightly over a few areas to let a little of our morning light shine through. Focus mostly around the bicycle and the bottom area closest to the grass, but also a little bit behind our words.
Our last step will be to add some wildflowers to the grassy area.
Go to File > Place Linked and navigate to the Mia Charro folder and select Petite Fleur 82. Press Place.
At the top of the artboard, change the width and height to 10%. Position the flower in the bottom left of the grassy area.
Duplicate the layer several times and sprinkle the flowers throughout the grassy area. Vary size and rotation for a more natural look. Put all of the Petite Fleur 82 files in a folder called Yellow Flowers.
Repeat the process with Petite-Fleurs-8 and make a Pink Flowers folder.
Create a new folder and name it Pink Bell Flowers. Place Petite Fleurs 9 and follow the same basic technique.
The stems on the little bell flowers are pretty overpowering, so we’ll use a mask to gradually fade those out.
With the Pink Bell Flowers folder selected, click the Create a Vector Mask icon.
Choose your Brush tool (b). We’ll continue to use the Soft Round brush, but reduce the size to about 100 px.
Brush over the ends of the stems of each of the bell flowers so they appear to grow from the grass instead of sitting on top of it.
And we’re done!
I hope you guys enjoyed working with these beautiful watercolor files.
Remember that whether it’s your outcome for this tutorial or something new you’ve made, we’d love to see your designs on our Facebook page.
Please leave a comment if you have any questions or suggestions. I always look forward to hearing from you!
And there’s still time to check out The Creative Designer’s Complete Illustration Kit to easily add the beauty of hand-crafted illustrations to your work!














I really enjoyed this tutorial! thank you. I also couldn’t find the brightness variance brush but i made do with another brush :-)
Thank you so much for your kind words! I’m so pleased to hear you enjoyed this tutorial :)
What an awesome freebies pack. Thank you so very much. I should be able to follow along with most of this tutorial as I only have PSE12. The one thing I’d have loved to find would be the Per Stroke Brightness Variance brush. That would be such a cool brush since it automatically varies the colour like the grass brush does. Unfortunately, I just spent a half hour going through my brushes to see if it might be somewhere other than the in the default brush area but alas I’m thinking that it might only be available in the full PS. Other than that though, I should be able to get through this tutorial. Love the tips on achieving a more realistic look with the grass. Thanks for another great tutorial!
Hey Lisa,
Thank you so much for getting in touch with your incredibly kind words – It’s great to hear you are loving this freebie and I hope you enjoyed this tutorial as well :) I’m sorry to hear that you were not able to work with the Per Stroke brushes – unfortunately these are not compatible with Elements – but I’m glad you could pick up some new tips & tricks from this one!
Thanks again for your kind words, Lisa. If you have any queries or if there is ever anything I could assist you with please do get in touch. I’m always happy to help!
Thanks so much for another great tutorial. I always pick up new tips as I watch how you navigate your projects. I especially liked this one since I only use PS so I could use all the information presented! I also wanted to tell you that I really liked how you used the music mostly in the areas where you were doing repetitive things and then had the music off as you were explaining your steps. That helps me really focus on the process itself Thanks again!
Hey Diane,
Thank you so much for getting in touch and thank you for your kind words! I’m so pleased to hear you enjoyed this tutorial and picked up a few new tips & tricks from it, Renee did an amazing job putting it all together :)
Thank you so much for your lovely feedback, we really appreciate you taking the time! If you have any suggestions for future tutorials or if there is ever anything I could assist you with please do get in touch. I’m always happy to help!
Hello Renee!
This is a great video tutorial!
I am really enjoying here with these video tuts, which are designed by you!
I am experiencing these watercolors so cool!
Thank You So Much DC n Renee!
Truly
Pranaytony
behance.net/pranaytony
pranaytony.harekrishna@gmail.com
Thank you so much, Pranaytony! It’s great to hear you enjoyed Renee’s tutorial – she did an awesome job with it :)
Thanks again for your kind words. The team & I really appreciate it :) please don’t hesitate to contact me should you have any questions or queries. I’m here to help.
Ik hou ontzettend veel van jullie tutorials,mijn oprechte “dank je wel”
Hey Monique,
Thank you so much for your kind words! I am really pleased to hear that you are enjoying our tutorials :)
If you have have any questions or queries with them, please do not hesitate to get in touch! I’m always happy to help.