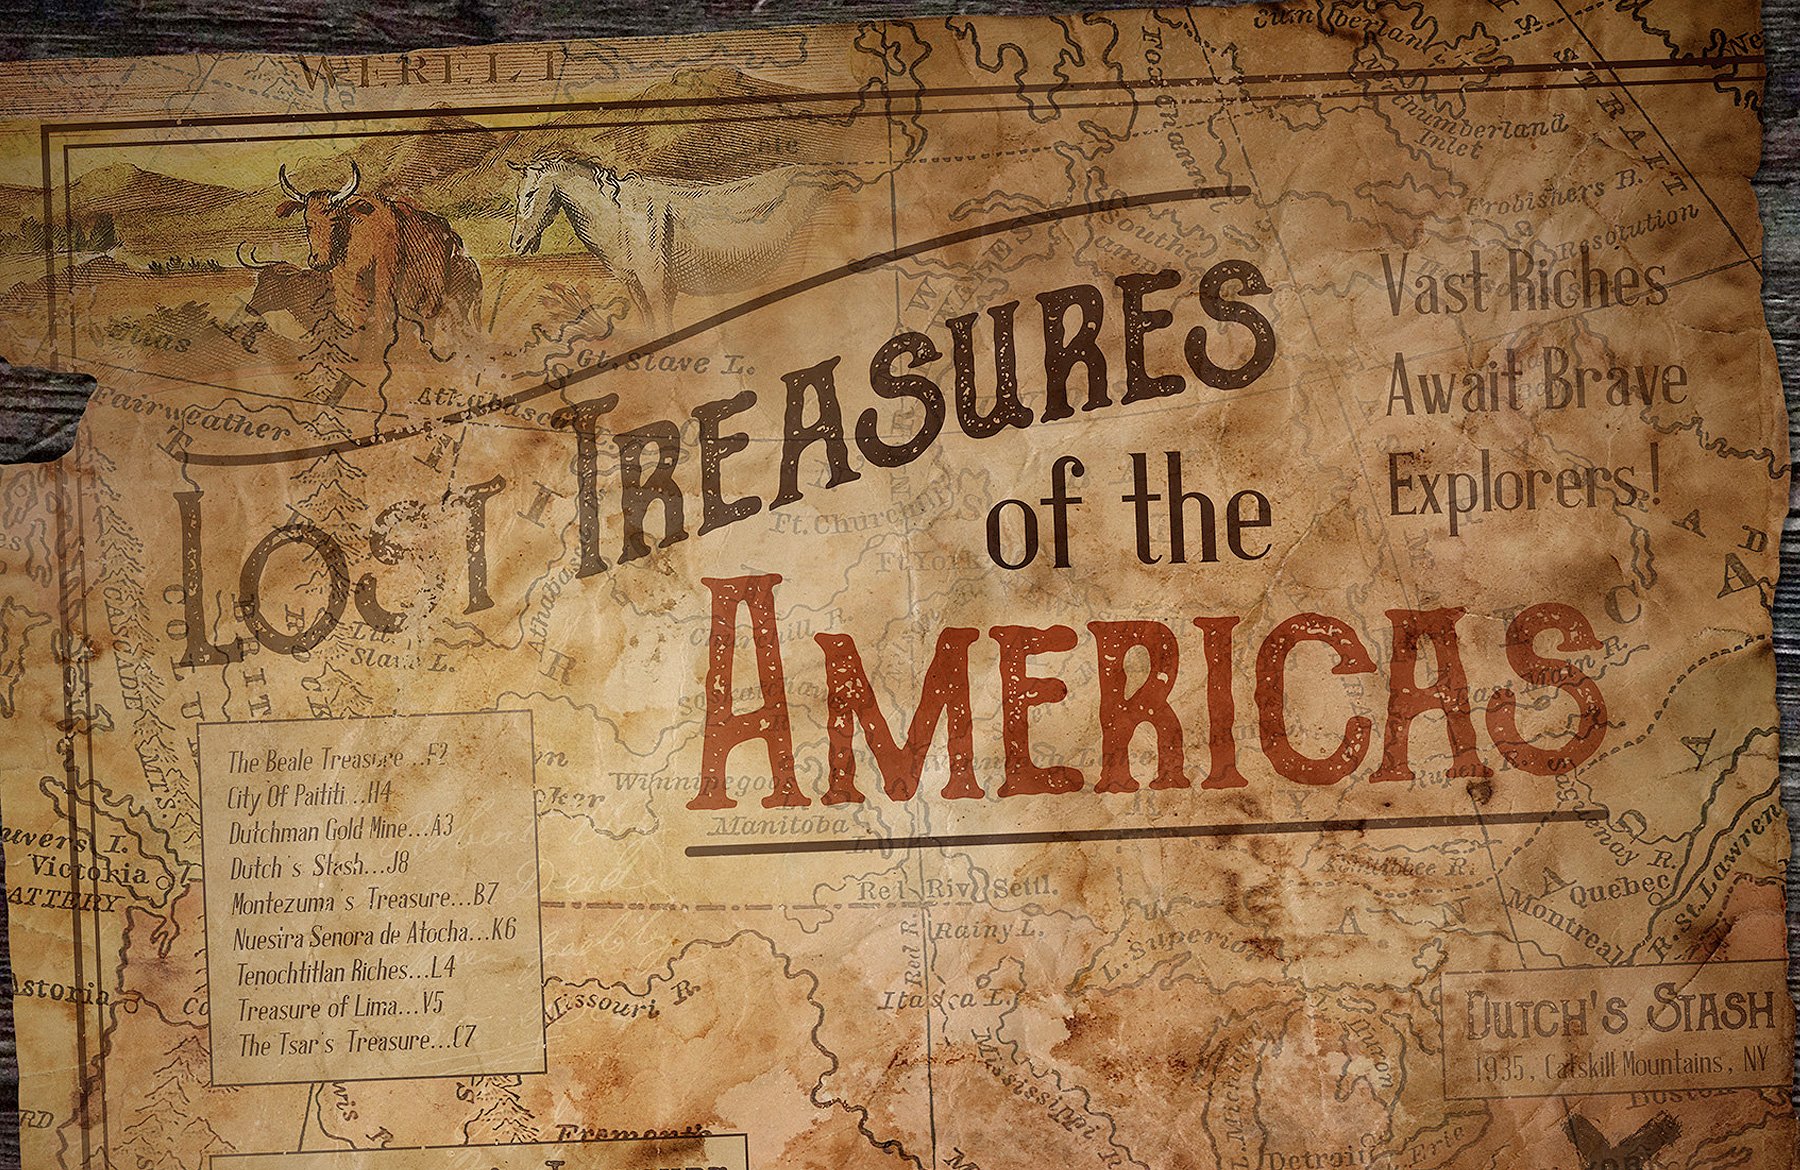
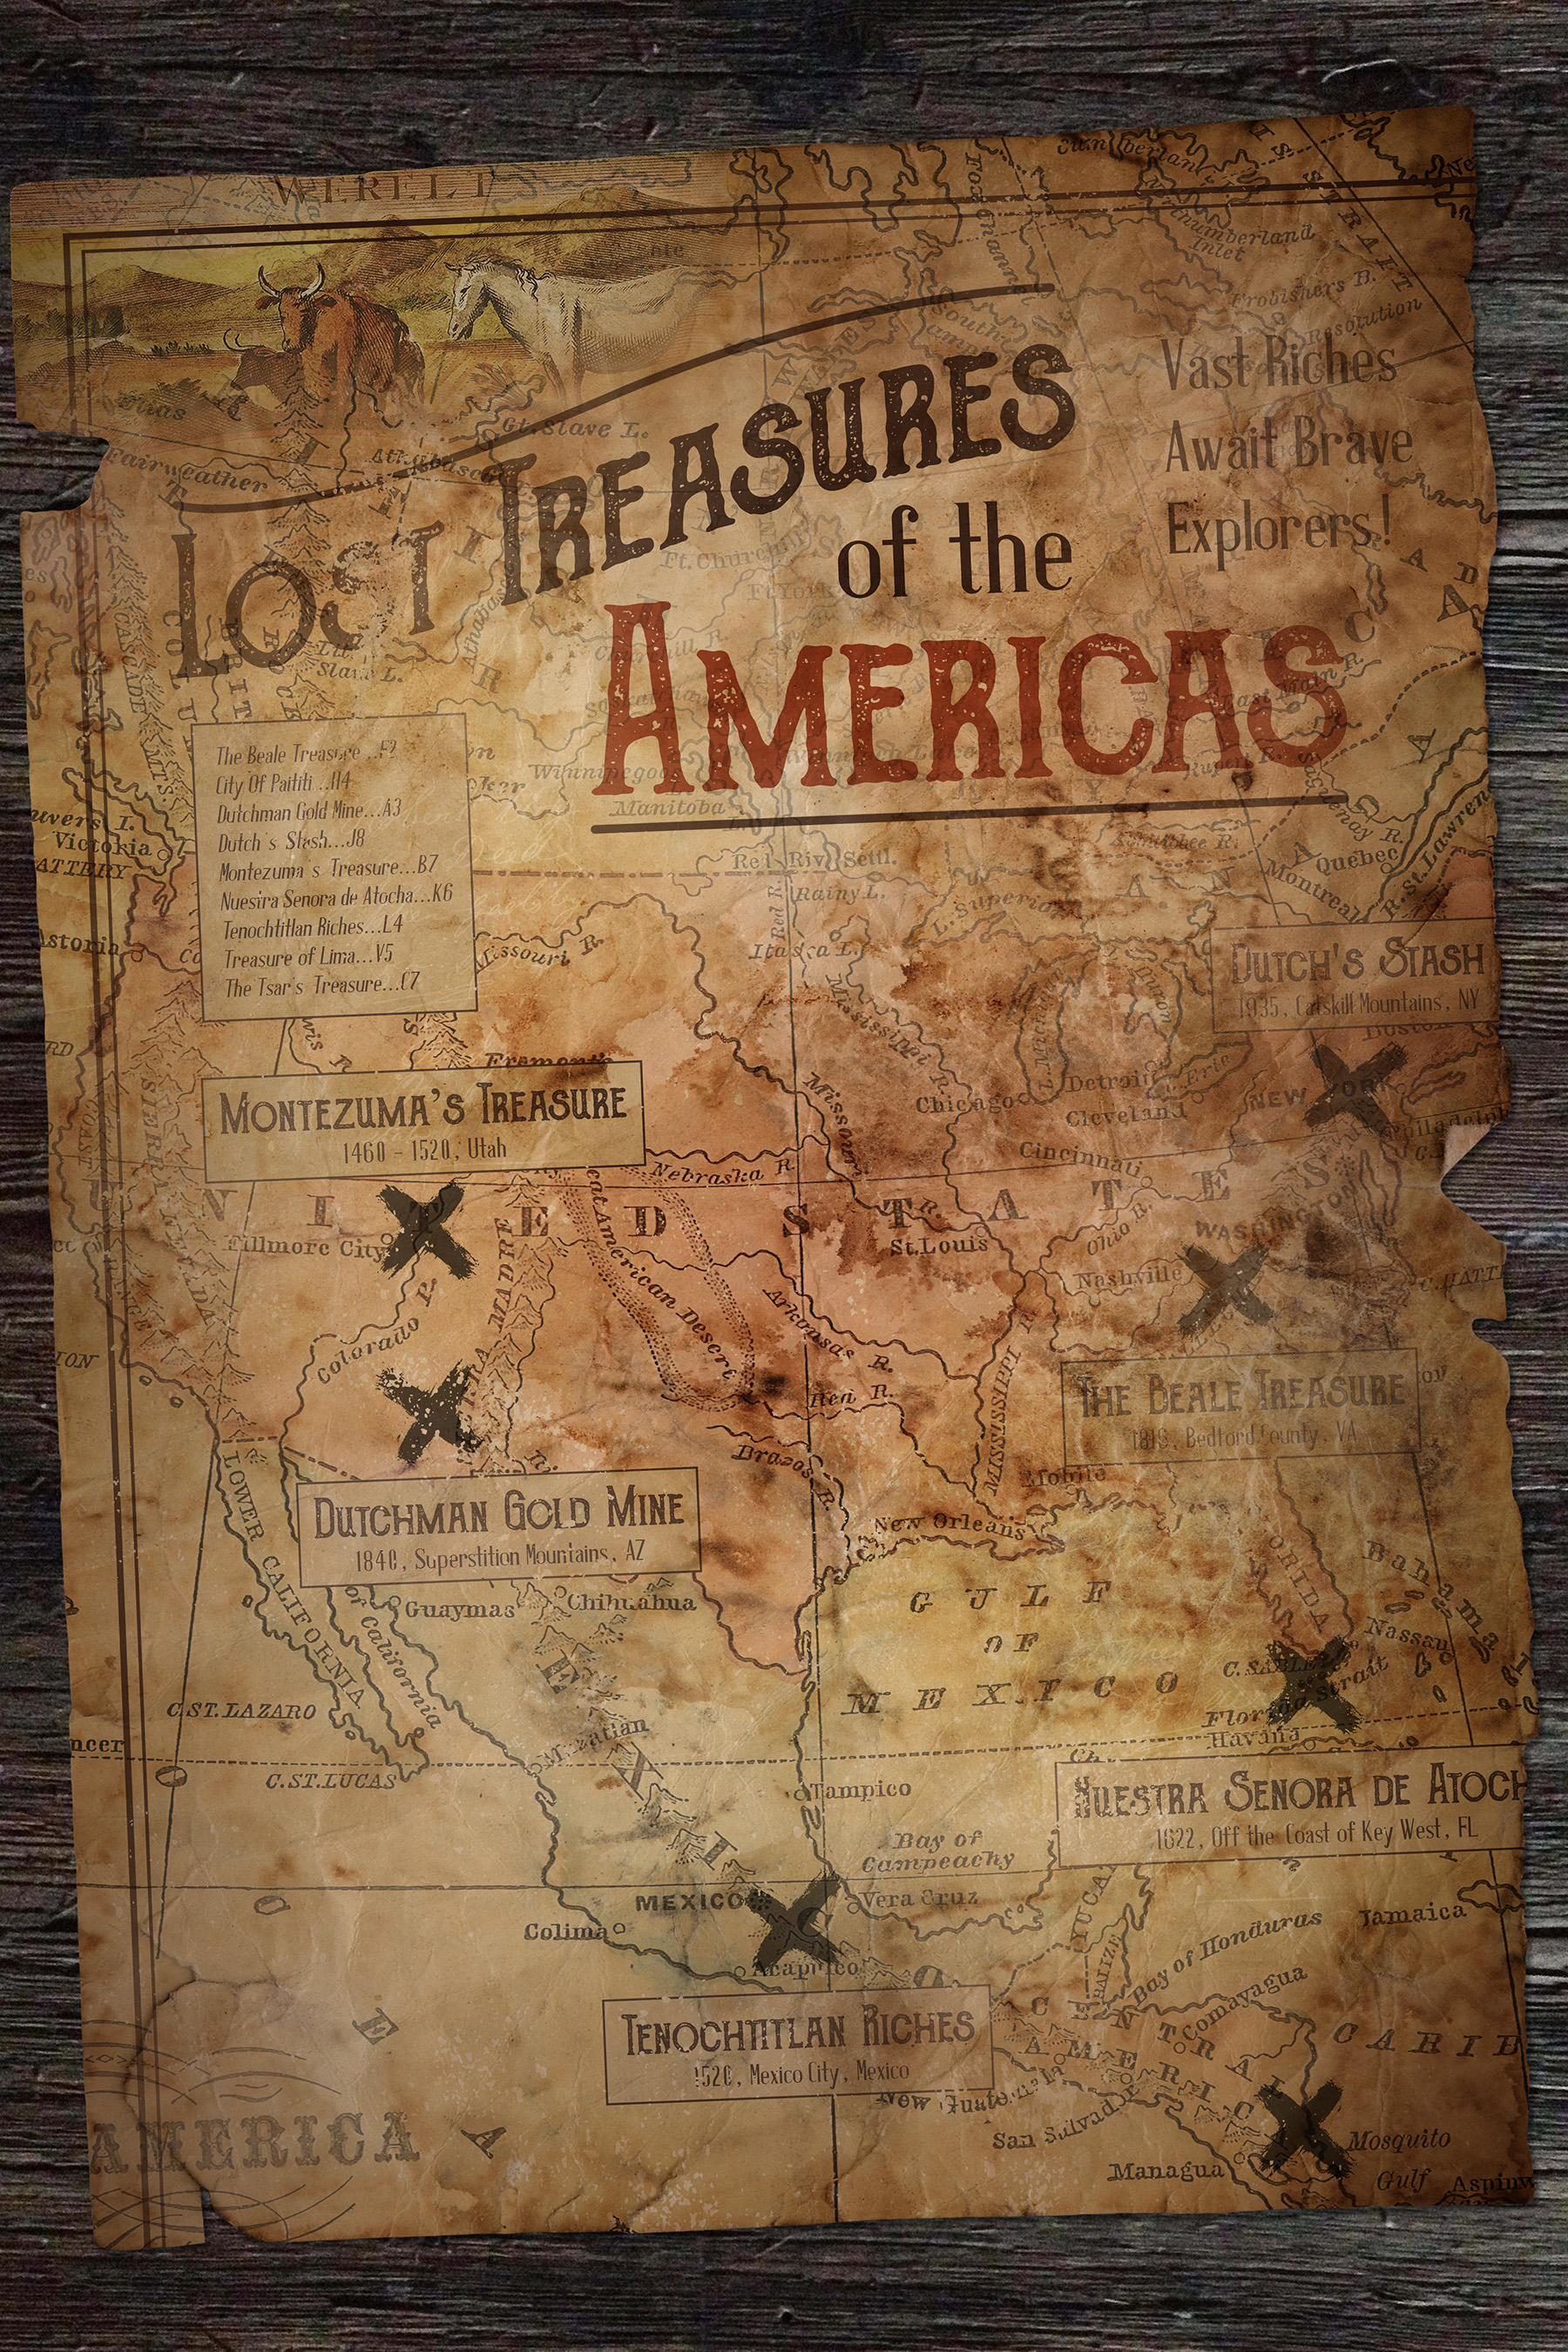
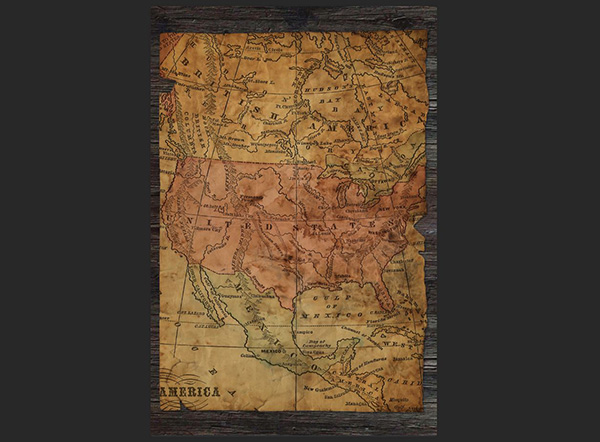
WHAT WE’RE CREATING:
Hey there designers! Renee here with a tutorial for an old treasure map. We’ll be creating everything in Photoshop and exploring the vast number of ways to mix, match, use and abuse layers upon layers of textures with masks and blend modes!
HAVE YOU SEEN OUR NEW YOUTUBE CHANNEL?
Watch the video tutorial below and subscribe to our new YouTube channel for regular updates direct to your inbox.
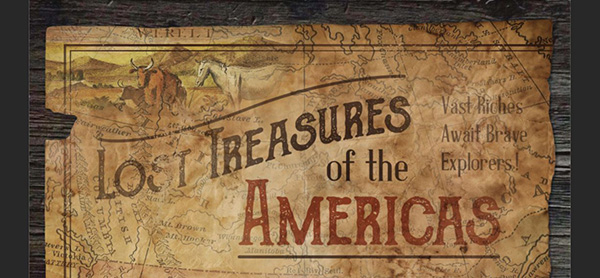
Here’s a look at what we’ll be creating:
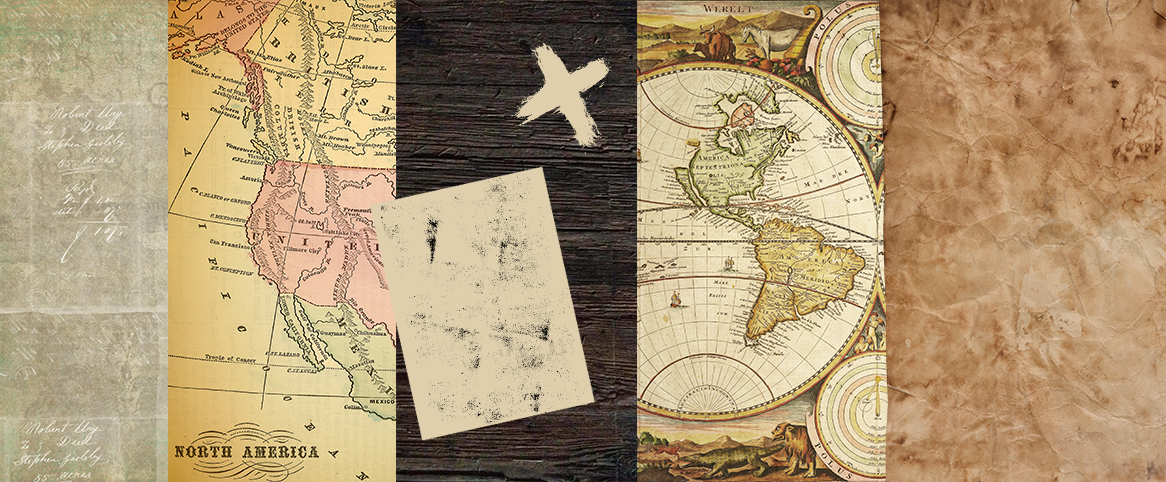
Follow along with this tutorial: Download the freebie files
The freebie pack includes vintage maps, textures and grit from the talented designers at 2 Lil Owls, Alien Valley, Artfanaticus, Blixa 6, Design Spoon and Unio.
This freebie pack is just a tiny sample of the huge number of resources available in The Mammoth Textures, Patterns and Backgrounds Bundle for just $29 (that’s 99% off). This collection features thousands of high-quality textures and patterns from vintage to modern and everything in between.
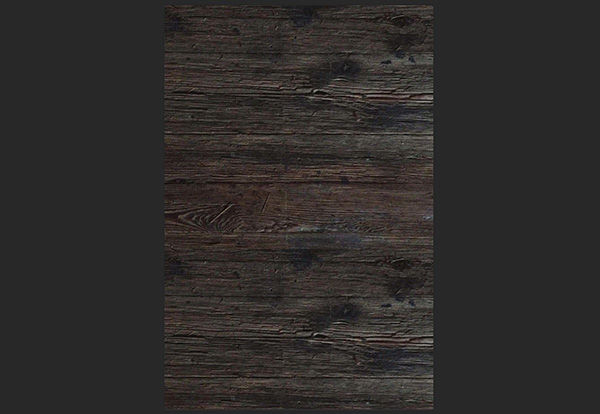
Step 1: Background
Open Photoshop and go to File > New. In the New Document dialog box, enter a width of 12 inches and a height of 18 inches. Set your Resolution to 300 ppi and your Color Mode to RGB.
Click OK to create the document.

Save your file.
We’ll start by creating a surface for our map to sit on. Go to File > Place Linked and navigate to blixa-6_12x12Wood_Rugged1 in the Freebies folder. Press Place, then press enter to complete the placement.
Use your Move Tool (v) while holding Shift to move the wood texture to the top of the artboard.

In the Layers palette (Window > Layers), drag the wood texture layer down to the Create a New Layer icon to duplicate it. Hold Shift and use your Move Tool to drag the duplicate down until it covers the bottom half of the artboard.
Exact placement isn’t super important. Just find a spot where it looks like the woods mostly blend together. Most of it will be covered by the map.
Hold down Shift and click on both wood layers in the Layers palette. With both selected, click the Create a New Group icon at the bottom of the Layers palette. Double click the name, Group 1, and change it to Wood Background.
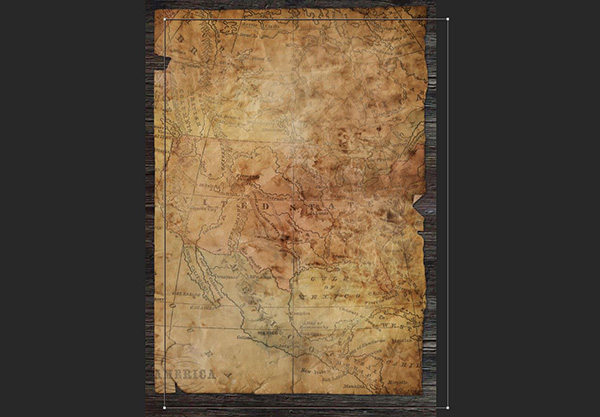
Go to File > Place Linked and navigate to alienvalley_paper25 in the Freebies folder. Press Place.
Hover over the corner handle until you see the curved, double-sided rotation arrow. Hold Shift, then click and rotate to the right 90 degrees.

Hover over the corner handle again, this time, we want the straight, double-sided arrow. Hold Shift and pull to the top right to increase the size of the paper until it’s almost as wide as the artboard. Press Enter when you’re done.

Our last step for this section is to add a shadow to the paper so it looks to be realistically sitting on the of the wood background.
At the bottom of the Layers palette, click the FX icon and select Drop Shadow. In the popup, make sure Blend Mode is Multiply. Change Opacity to 40%. Set the angle to 120 degrees, Distance to 15 px, Spread to 5% and Size to 10 px. Then press OK.

That takes care of our background and base for our map. Now we’ll start putting together the map!
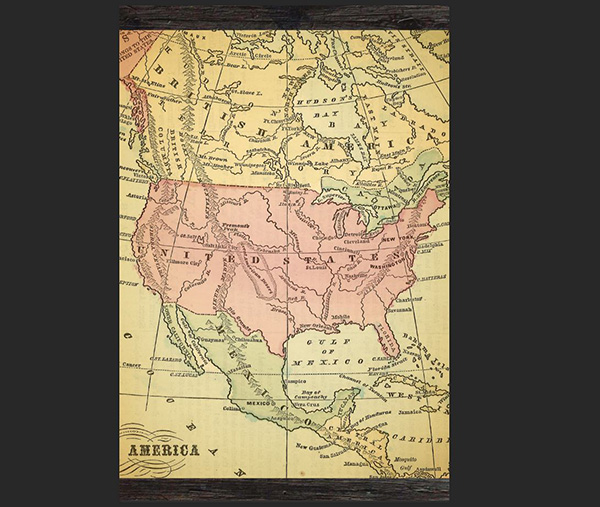
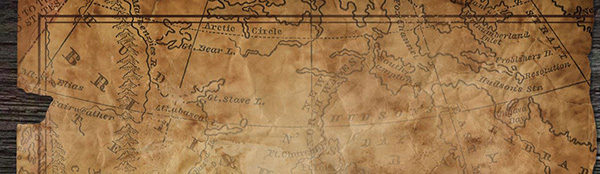
Step 2: Map
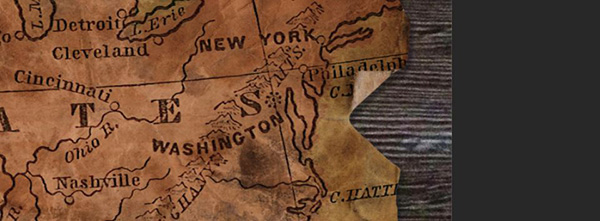
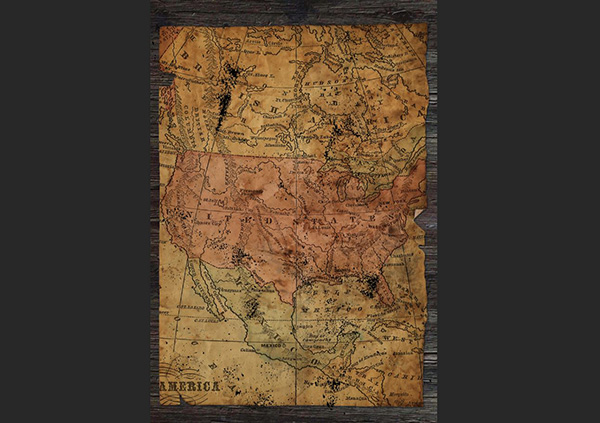
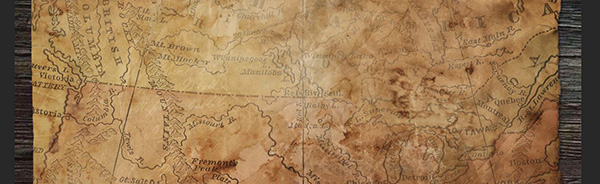
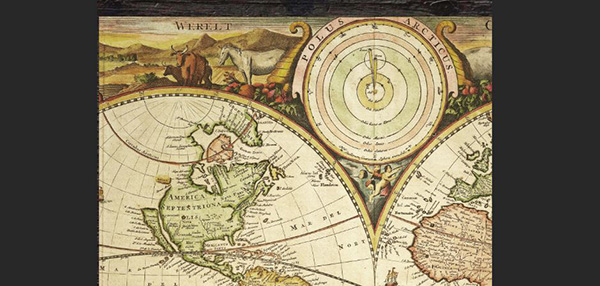
Go to File > Place Linked and navigate to artfanaticus_Vintage Maps (4) in the Freebies folder. Press Place.
Hold Shift and use the corner handles to increase the size of the map until it covers the entire paper base. Press enter when done.
In your Layers palette, hold Cmd and click the thumbnail image for the alienvalley_paper25 layer. This will create a selection around the paper. Release Cmd, then click once on the map layer to make sure it’s the active layer. Now click the Add Layer Mask icon at the bottom of the Layers palette.
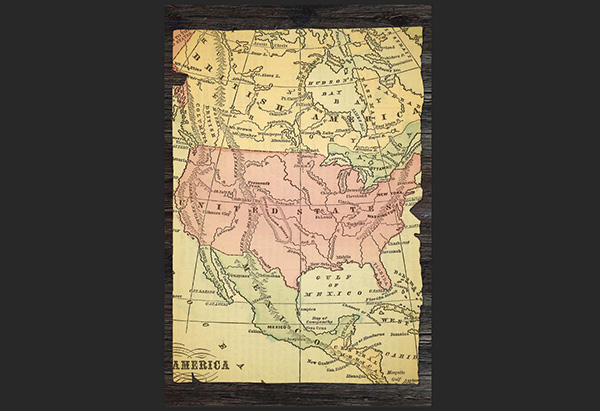
At the top of the Layers palette, change the Blend Mode from Normal to Multiply.
If you zoom in to the right middle side, you’ll see a little piece of the paper base that’s folded over. This piece wouldn’t have the map printed on it since it’s folding over from the back of the piece, so we’ll hide that area of the map.
Select your Brush Tool (b). At the top left of the artboard, click on the brush thumbnail to access the flyout menu. Select the Hard Round brush and change the size to 30 px. To the right of the thumbnail and Mode, change the Opacity to 100%.
In the Layers palette, click on the black and white layer mask thumbnail on the map layer. Press d to change your foreground color to white and background to black. Then, press x to toggle so black is the foreground color.
On the artboard, brush over the folded area of the paper.
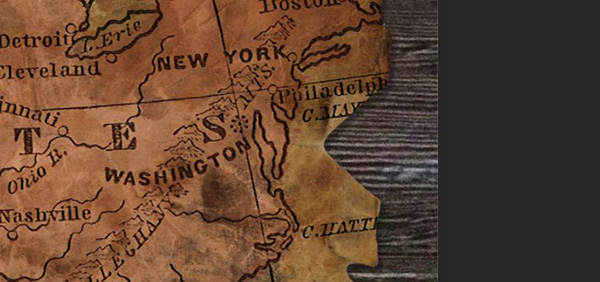
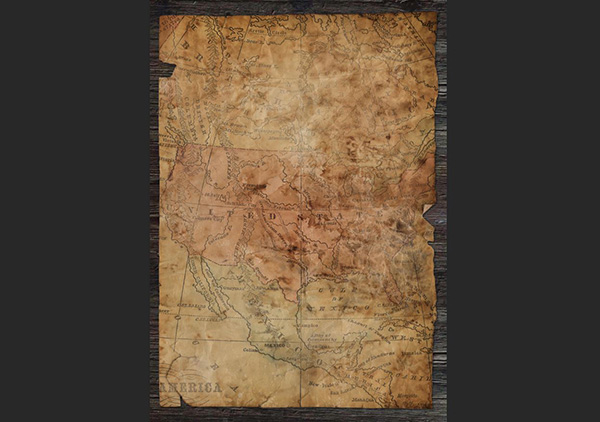
Now we’ll remove some of the “ink” of our printed map – in real life, it would have faded, chipped and scuffed in areas.
Go to File > Place Linked and navigate to designspoon_Grit-textures-24. Press Place.
Hold Shift and use the corner handles to increase the size until it covers the entire map area. Press Enter when done.
In the Layers palette, hold Cmd and click the thumbnail image of the grit texture layer to create a selection around the grit.

Release Cmd and click once on the black and white layer mask thumbnail on the map layer to make it active. Now press Opt + Backspace to fill the selected area with black (on layer masks, black = hide and white = visible).
Turn off the grit texture layer by clicking the eye icon to the left of the layer thumbnail in the Layers palette.
Select your Brush Tool again. Click the brush icon thumbnail at the top left of the artboard to access the flyout menu and choose the Soft Round brush. Change the Size to 1600 px. Reduce the Opacity to 20%.
On the artboard, brush over a few random areas of the map to fade sections back.
Now we’ll add some subtle overlays of handwriting. Go to File > Place Linked and navigate to 2lilowls_Farmhouse-Chic(2)-18 in the Freebies folder. Press Place, then press Enter.
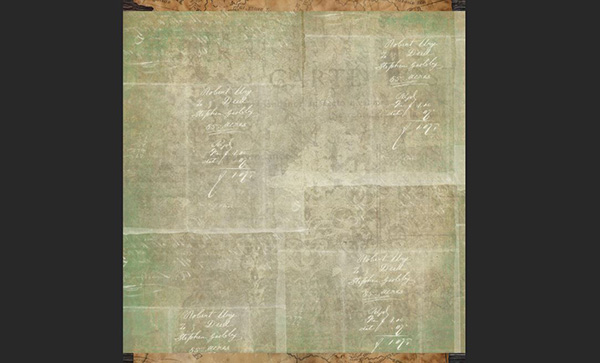
In the Layers palette, hold Cmd and click the thumbnail image on the Alien Valley base paper layer to create a selection. Click once on the Farmhouse Chic layer to make it active. At the bottom of the Layers palette, click the add Layer Mask icon.
Select your Brush Tool and change the Opacity to 100%. Brush over the Farmhouse Chic texture until you’re left with just an area on the top left and bottom right.

At the top of the Layers palette, change the Blend Mode to Overlay and the Opacity to 40%.
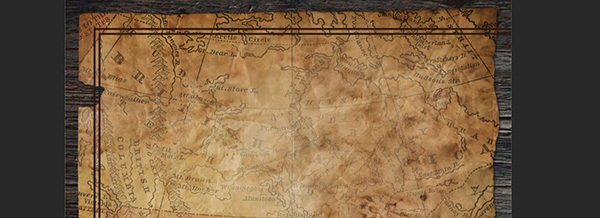
To give the impression that this is only a piece of a larger map, we’ll add a partial border.
In the Layers palette, click the Create a New Layer icon. Double click the name, Layer 1, and change it to Thick Border.
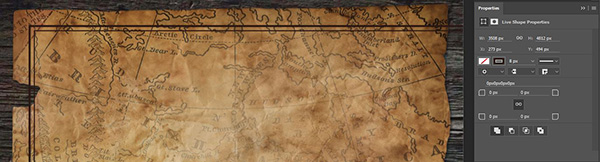
Select your Rectangle Tool (u). At the top left of the artboard, make sure the Tool Mode is Shape and the Fill is None. Click on the Stroke thumbnail. In the flyout menu, click the icon for the Color Picker at the top right. From the Color Picker popup, sample a very dark brown color from the artboard – mine is RGB 41/17/11.

Lastly for the Stroke settings, change the Stroke Width to 15 px. Now draw a rectangle starting at the top left of the map and ending off the map to the bottom right.
In the Layers palette, drag the Thick Border layer down to the Create a New Layer icon to duplicate it.
Double click the name of the duplicate, Thick Border copy, and change it to Thin Border.
Use your Move Tool (v) to drag the copy down and to the right of the original border to create a second, inner border.
Open your Properties palette (Window > Properties) and change the Stroke Width to 8 px.
In the Layers palette, hold Shift and select both the border layers. At the bottom of the Layers palette, click the Create A New Group icon. Double click the name of the group, Group 1, and change it to Border.
Hold Cmd and click the black and white layer mask thumbnail on the map layer. Release Cmd and click once on the Border group to make it active. At the bottom of the Layers palette, click the Add Layer Mask icon. Now our border has the exact same edges, cracks and fade as our map.
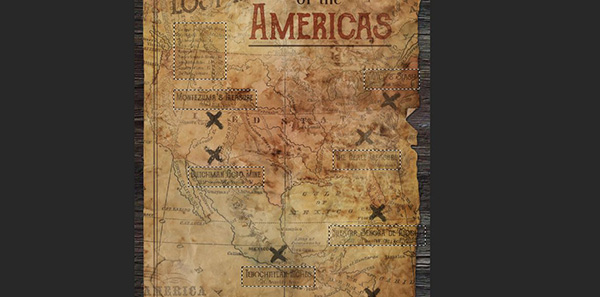
Step 3: Title
At the bottom of the Layers palette, click the Create a New Group icon. Double click the name and rename it Title.
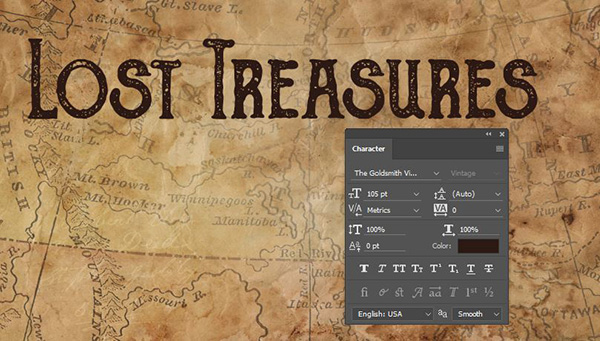
I’m going to use 2 fonts that are available for free online – The Goldsmith Vintage from Burntilldead Typefoundry and Antique Book Cover by Adazing Design.
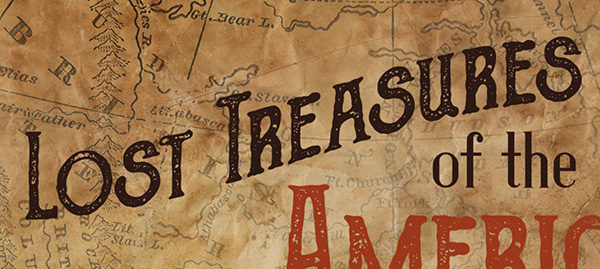
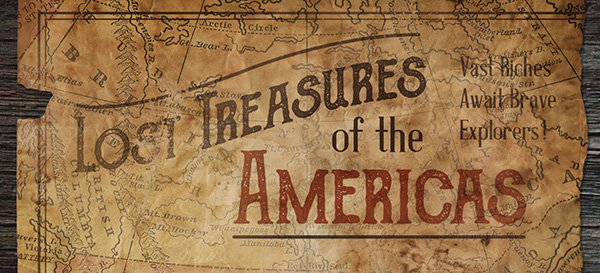
Select your Type Tool (t). Click once at the top of the artboard and type: Lost Treasures.
Open your Character palette (Window > Character) and change the font to The Goldsmith Vintage at 105 pt. Click the Color thumbnail and use the same color as the border – RGB 41/17/11.
Go to Type > Warp Text. For Style, select Rise. Make sure you have Horizontal selected and set the Bend to +50. Click OK.
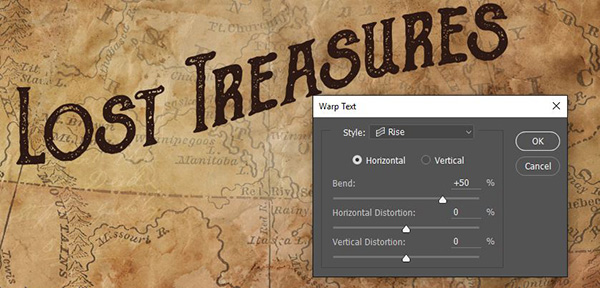
Position at the top left of the map, but leave some room to add a little flourish above later.

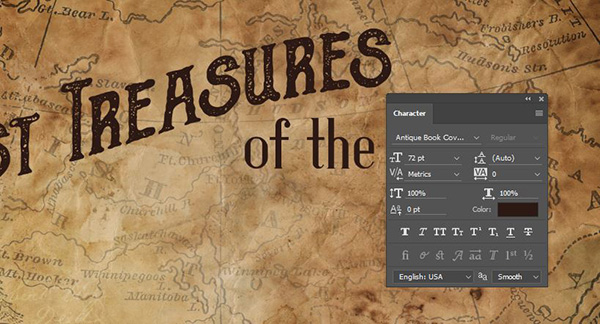
Select your Type tool again. Click once on the artboard below Treasures and type: of the.
In your Character palette, change the font to Antique Book Cover at 72 pt. Click the Color thumbnail and once the popup opens, use the eyedropper to sample the same brown we used in Lost Treasures.
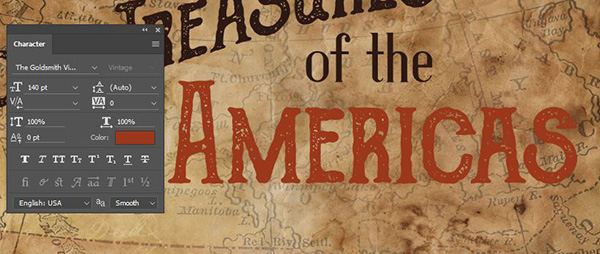
Select your Type tool again and click once below our current text and type: Americas.
In the Character palette, change the font to The Goldsmith Vintage at 140 pt. This time, change the color to RGB 158/49/15. Position below “of the”.
Select your Type Tool again and click on the artboard at the top right and type:
Vast Riches
Await Brave
Explorers!
In the Character palette, change the font to Antique Book Cover at 40 pt. Reduce the Leading, the vertical space between lines, to 40 pt. Change the color to the same brown as Lost Treasures.
Open your Paragraph palette (Window > Paragraph) and select Left Align Text.
Position in the top right of the artboard to the right of the title.

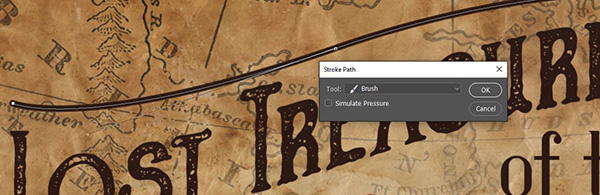
Now we’ll add a couple of flourishes around our title. Create a new layer and name it Top Flourish. Select the Pen Tool (p). Click once at the top left of the L in Lost Treasure to create your first point. Click again above the first E in Treasures, but this time, drag up and to the right when you click to create a curve. Finally, click above the last S in Treasures to complete the line.
Note: If you don’t like the placement of your points, you can hold Cmd, then click on each point and adjust it as you wish.
Select your Brush Tool. Choose the Hard Round brush and change the size to 20 px.
Open your Paths palette (Window > Paths). Right click on the Work Path and select Stroke Path. In the popup, choose Brush for Tool and click OK.
In the Layers palette, create a new layer and name it Bottom Flourish.
With your Brush tool still selected, click once below the first A in Americas. Hold Shift and drag across to the end of the word.

In the Layers palette, click on the Title Group to make it active. Hold Cmd and click on the black and white layer mask thumbnail on the Border group. At the bottom of the Layers palette, click the Add Layer Mask icon.
At the top of the Layers palette, change the Blend Mode to Multiply.
Next, we’ll add a little illustration to the top left of the map in the space between the top flourish and the border.
Go to File > Place Linked and navigate to artfanaticus_Vintage Maps (6) in the Freebies folder. Press Place.
At the top of the artboard, change the Width and Height to 140%. Position so the animals at the top left of the map are at the top left of our paper.
At the bottom of the Layers palette, click the Add Layer Mask icon. Click on the black and white layer mask thumbnail, then press Opt + backspace to fill it with black and hide our entire new map.
Hold Cmd and click the black and white layer mask thumbnail on the Title group to create a selection.
Select your Brush Tool and choose the Soft Round brush at 1600 px with 100% Opacity. Press x to change your foreground color to white, then brush over the top left of the map until you can see the animals.
Note: If you reveal too much of the map, just press x to toggle back to a black foreground color and brush over the area you’d like to hide.
In the Layers palette, drag this layer below the Border group.
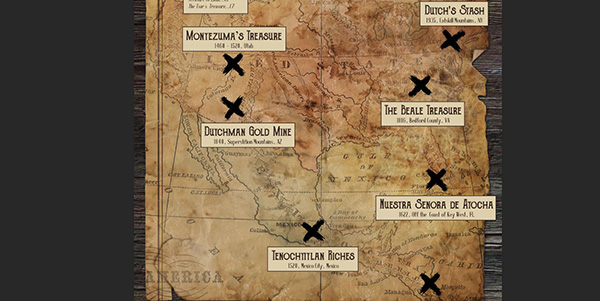
Step 4: X Marks the Spot
Let’s add some treasure to this map! We’ll start with a key to give a quick list of the treasures listed on the map and where to find them.
Create a new Group and name it Treasures.
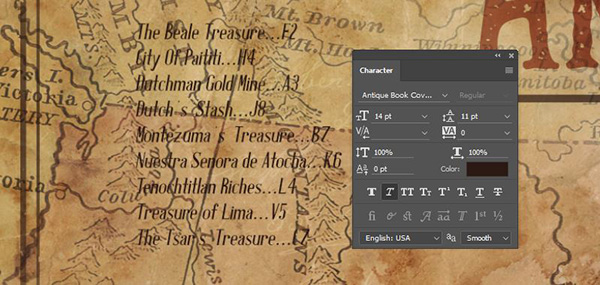
Select your Type Tool, click once below Lost and type:
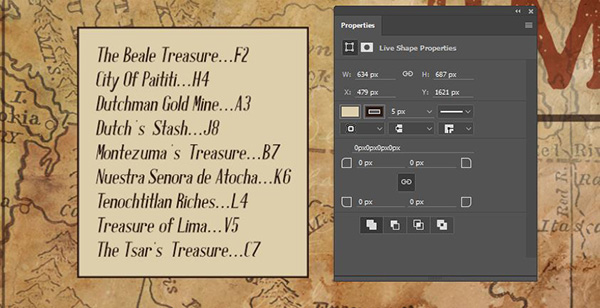
The Beale Treasure…F2City Of Paititi…H4Dutchman Gold Mine…A3Dutch’s Stash…J8Montezuma’s Treasure…B7Nuestra Señora de Atocha…K6Tenochtitlan Riches…L4Treasure of Lima…V5The Tsar’s Treasure…C7
In the Character palette, change the font to Antique Book Cover at 14 pt and reduce the Leading to 11 pt. For the color, use the same dark brown we’ve been using – RGB 41/17/11.
At the bottom left of the Character palette, click the italic T to apply faux italics.
In the Layers palette, click the Create a New Layer icon. Drag the new layer below the text list.
Select your Rectangle Tool. At the top of the artboard, change the Fill color to RGB 223/207/173. Change the Stroke color to our dark brown – 41/17/11. Make the Stroke Width 5 px.
Draw a rectangle around the text list.
Now we’ll add individual treasure sites. These are all based on genuine legends – some myths, some verified true stories.
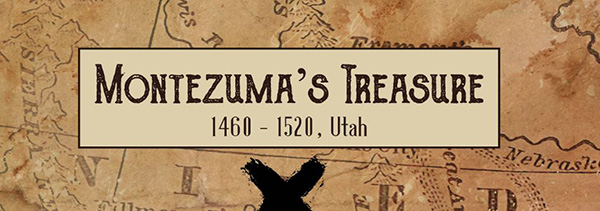
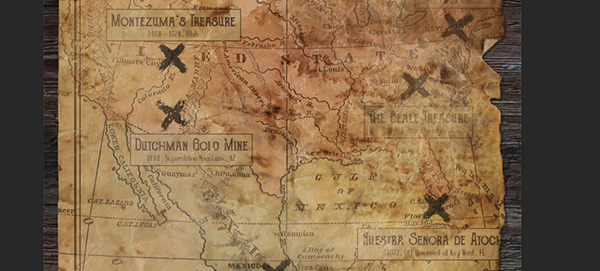
First up: Montezuma’s Treasure. This treasure is fabled to be somewhere in Utah.
Create a new group within the existing Treasures group and name it Montezuma.
Go to File > Place Linked and navigate to unio_tempera-brush patterns-06 in the Freebies folder. Press Place. Position the shape roughly in the area of Utah – just below Salt Lake City.
Use the corner handles to rotate the image in either direction until it looks more like an X. At the top left of the artboard, enter a width of 60% and click the link icon between width and height to maintain aspect ratio. Press Enter when you’re done.
Select your Type Tool and click once above the X. Type:
Montezuma’s Treasure
1460 – 1520, Utah
Use your Type Tool to select the top line and in the Character palette, change the font to The Goldsmith Vintage at 30 pt. Change the color to dark brown.
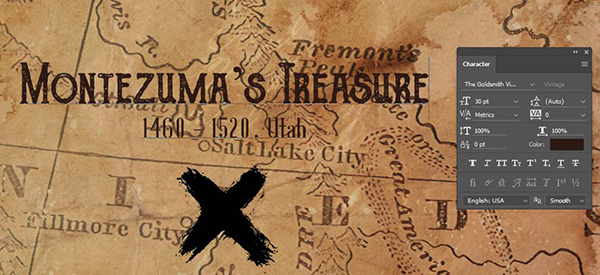
Use your Type Tool to select the second line. In the Character palette, change the font to Antique Book Cover at 16 pt and decrease the Leading to 14 pt. Change the color to dark brown.

Select your Rectangle Tool. Draw a rectangle around the words. Your properties should still be the same as when we drew the rectangle around the entire list of treasures earlier.
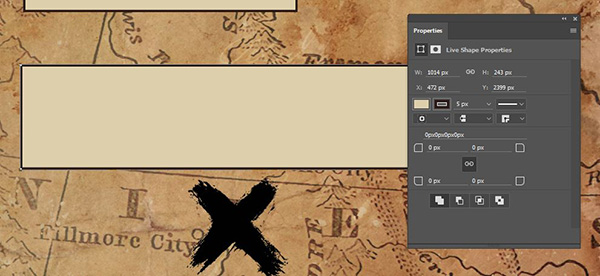
In the Layers palette, drag this layer below the Montezuma’s Treasure text layer. Select your Move tool and use your arrow keys to center the rectangle behind the text.
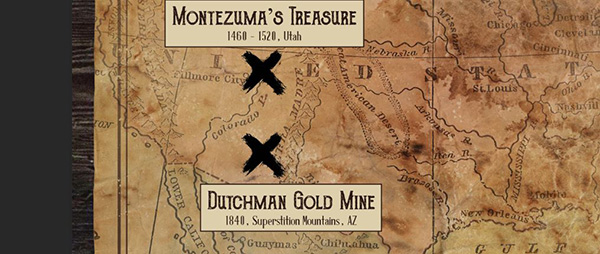
Next, we’ll add the lost Dutchman Gold Mine.
In the Layers palette, drag the Montezuma group down to the Create a New Layer icon to duplicate it. Rename it Dutchman Mine.
On the artboard, use your Move Tool to drag the duplicate group away from the original (just so it isn’t terribly confusing).
In the Layers palette, open the Dutchman Mine group and select the unio layer with the X. The Dutchman Gold Mine was supposedly found (and subsequently lost) in the Superstition Mountains in Arizona. This map isn’t incredibly accurate, so we’ll just give it our best guess and drag the X to a spot between the Colorado River and the Sierra Madres.

Hold Shift and in the Layers palette, click both the Rectangle and the text layer (that still currently says Montezuma’s Treasure). With both selected, use your Move tool on the artboard to drag them below the X.
Use your Type Tool to select the top line of text and change it to: Dutchman Gold Mine.
Then use your Type Tool to select the second line of text and change it to: 1840, Superstition Mountains, AZ.

In the Layers palette, select the Rectangle layer. Go to Edit > Free Transform. Use the handles on the left and right sides to reduce the size of the rectangle until you have about the same amount of padding on each size of the text as you had on the original Montezuma’s Treasure.
We’ll add several more treasures using the exact same technique. Copy the last group, move the X, change the copy and adjust the rectangle.
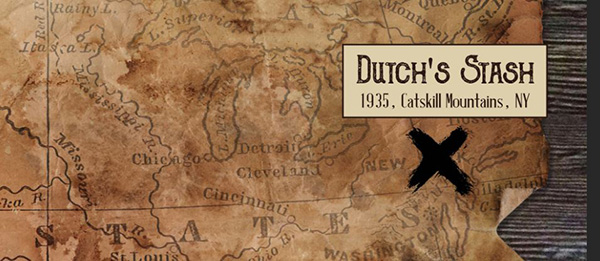
Dutch’s Stash
1935, Catskill Mountains, NY
This is the alleged stash of riches belonging to gangster Dutch Schultz.
The Beale Treasure
1816, Bedford County, VA
This one is almost certainly a hoax. Too bad – it was supposedly a treasure of gold, silver and jewels worth over $60 million!

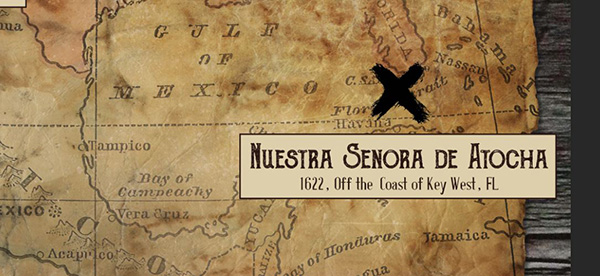
Nuestra Señora de Atocha
1622, Off the Coast of Key West, FL
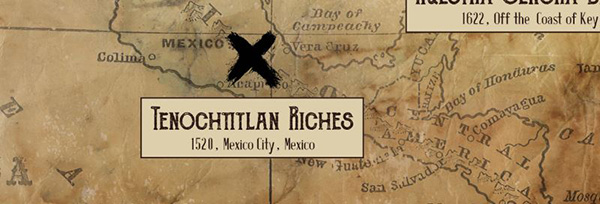
Tenochtitlan Riches1520, Mexico City, Mexico
Mexico City is built upon the ruins of the Aztec city of Tenochtitlan – the city is brimming with important, historical riches.
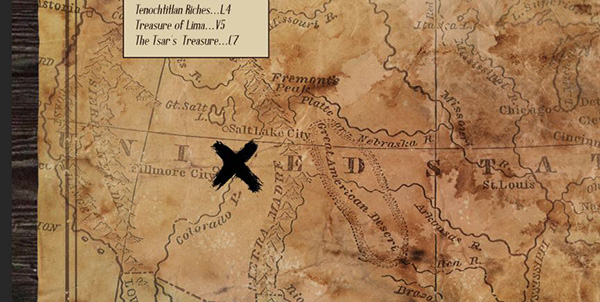
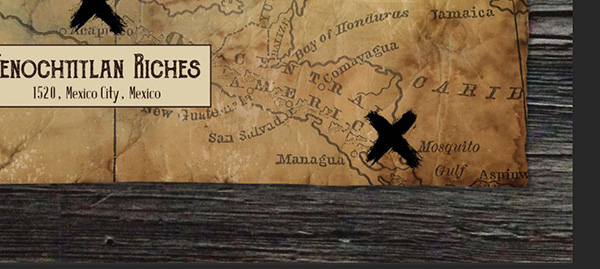
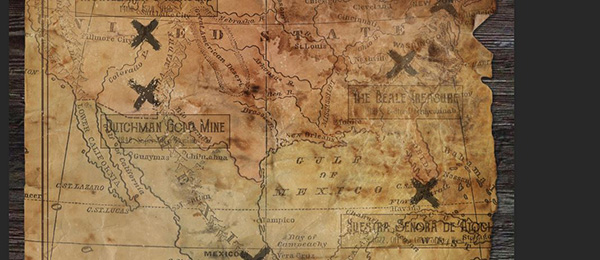
Let’s add one last X at the top of Central America to imply that there are more treasures marked on this map than you can see on this torn scrap.
In the Layers palette, drag the unio X layer from the last group, Tenochtitlan, down to the Create a New Layer icon to duplicate it. Drag the duplicate out of the Tenochtitlan group, but still within the larger Treasures group.
On the artboard, position the X somewhere in Central America – I think I’m in Nicaragua here.
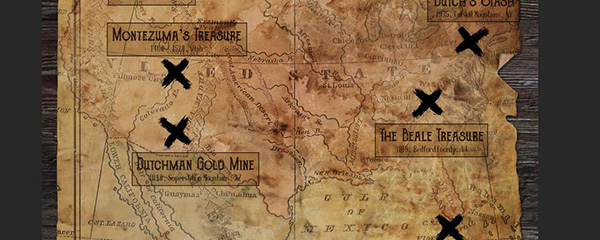
To keep the Xs from looking so identical, go back through and rotate a few of them. I’ll walk you through the first one…
Open the Dutchman Mine group and select the unio X layer. Go to Edit > Free Transform and use the corner handles to rotate the X about 90 degrees.

I’ll repeat that with the Xs in the Beale group, Dutchs Stash group, Tenochtitlan group and Nuestra Senora group, but each time rotating the X to a different degree.
Now for the magic that makes all of these look like part of the map! Select the main Treasure group in the Layers palette. At the top of the Layers palette, change the Blend Mode to Multiply.
Hold Cmd and click on the black and white layer mask thumbnail on the map layer to create a selection. Release Cmd and click once on the Treasures group to make sure it’s active. At the bottom of the Layers palette, click the Add Layer Mask icon.
This looks pretty good, but it’s really hard to read the treasure details over the map illustration, so we’ll hide the parts of the map behind the rectangles.
Open all of the groups inside the Treasures group so you can see all of the layers (they will already be open if you haven’t collapsed any of them).
We’re going to create a selection around all of the rectangles. Start at the bottom and work your way up. Hold Cmd and click the thumbnail on the Rectangle 1 layer, then hold Cmd + Shift and click the thumbnail on the Rectangle 2 layer (inside the Dutchman Mine group). Continue working through the various treasure groups, clicking the thumbnail for each of the rectangle layers while holding Cmd + Shift.
In the Layers palette, click once on the black and white layer mask thumbnail on the main map layer (artfanaticus_Vintage Maps 4) to make it active. Press Opt + Backspace to fill the selected areas with black, thus masking them out.
Step 5: Finishing Touches
Let’s add a darker edge to our page.
Create a new layer in the Layers palette. Drag it to the very top of the layers and rename it Dark Edges.
Hold Cmd and click once on the thumbnail on the alienvalley_paper25 layer.
Select your Brush Tool. In the settings at the top left of the artboard, select the Soft Round brush. Set the size to 1600 px and Opacity to 20%.
Note: Use the left and right bracket keys ( [ ] ) on your keyboard as a shortcut to decrease and increase brush size on the fly.
At the bottom of your toolbar, make sure your foreground color is dark brown (RGB 41/17/11).
Drag your Brush Tool over the edges of the map. Go over any areas you want darker more than once.

Press Cmd + d to deselect. At the top of the Layers palette, change the Blend Mode to Multiply.

Our last step will be to rotate the map so it sits at an angle on our background.
Select your top layer, Dark Edges, then hold Shift and select the layer just above the Wood Background group, alienvalley_paper25.
With all of the map-related layers selected, go to Edit > Free Transform. Use the corner handles to rotate everything to the left a couple of degrees. Press enter.
And we’re done! We’ve created a vintage treasure map using complex layering and texturing, plus loads of layer masks. I don’t know about you guys, but I’m ready to get out of here and go adventuring!
Remember that whether it’s your outcome for this tutorial or something new you’ve made, we’d love to see your designs on our Facebook page.
Please leave a comment if you have any questions or suggestions. I always look forward to hearing from you!
There’s still time to check out The Mammoth Textures, Patterns and Backgrounds Bundle to fill your library with an astounding variety of high-quality resources for only $29.
This was a fun exercise and great way to learn! thank you!
Thank you so much for your comment, Joyce! I’m really pleased you had some fun with this tutorial! :)
Merci, je vais suivre vos indications.
I hope you enjoy this tutorial, Claude! Please do let me know how you get on and if there is ever anything I could assist you with please do get in touch. I’m always happy to help! :)
nice tutorial – thanks
You are very welcome, Jean. I’m glad you enjoyed this one :)
Loved this tutorial; lots of great uses of masks and blending. Thanks guys!
Thank you so much, Emma! I’m really pleased you enjoyed it :)
Thanks. Great tutorial.
Just so I’m clear, if I’ve already bought the Bundle, then I don’t need to download the freebie?
Hey Alfonso,
Thanks so much for your comment! It’s great to hear you enjoyed this tutorial :) you are correct – the freebie is a sample of the Mammoth Textures, Patterns & Backgrounds Bundle so you do not need to download it if you have purchased the full bundle.
I hope this helps, Alfonso, and please don’t hesitate to contact me should you have any other questions. I’m here to help!