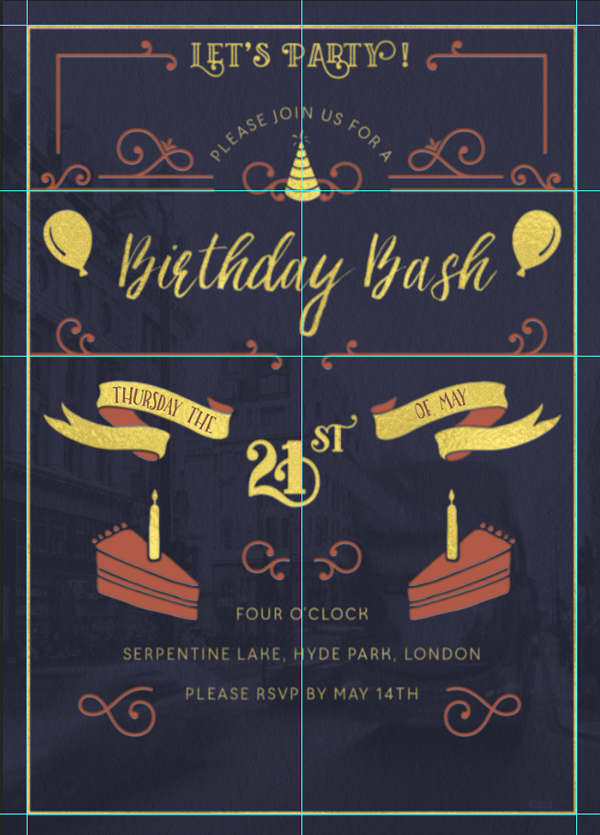
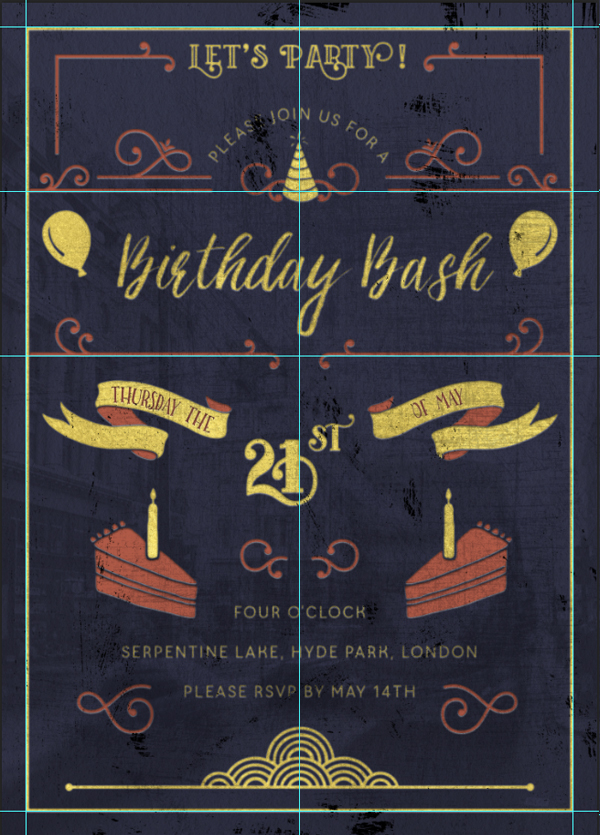
WHAT WE’RE CREATING:
Hello Design Cutters!
Pam here and I’m incredibly excited to bring you a new tutorial demonstrating how to use some of the incredible fonts and resources that can be found in the current bundle. I was inspired by the ornate decorative elements in the current deal and decided to showcase them in an elegant birthday party invitation. Of course, the copy and vector objects can be changed out to create an invite for any occasion!
Let’s get started!

Follow along with this tutorial: Download the freebies
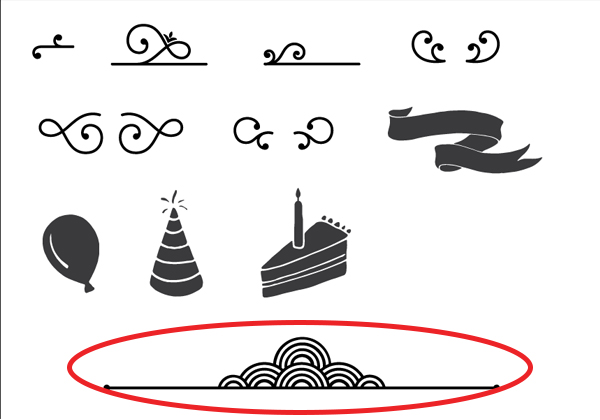
As always, we have an amazing freebie for you to enjoy. Thanks to our designers we have collected a variety of decorative elements, objects and textures!
Remember, this freebie is just a tiny sample taken from this great bundle: 22 Professional & Artistic Fonts (With Web Fonts and Extended Licensing) at just $29 (an incredible 99% Off). This is the most varied font bundle to date, with tons of beautiful artistic styles mixed in with clean, elegant typefaces. There is a font for every application and project all bundled into this amazing deal.

Step 1:
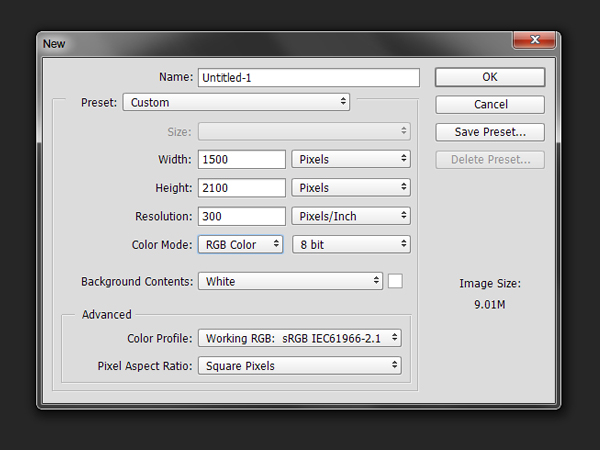
Open up Photoshop and create a new document with the following attributes:
Width: 1500px
Height: 2100px

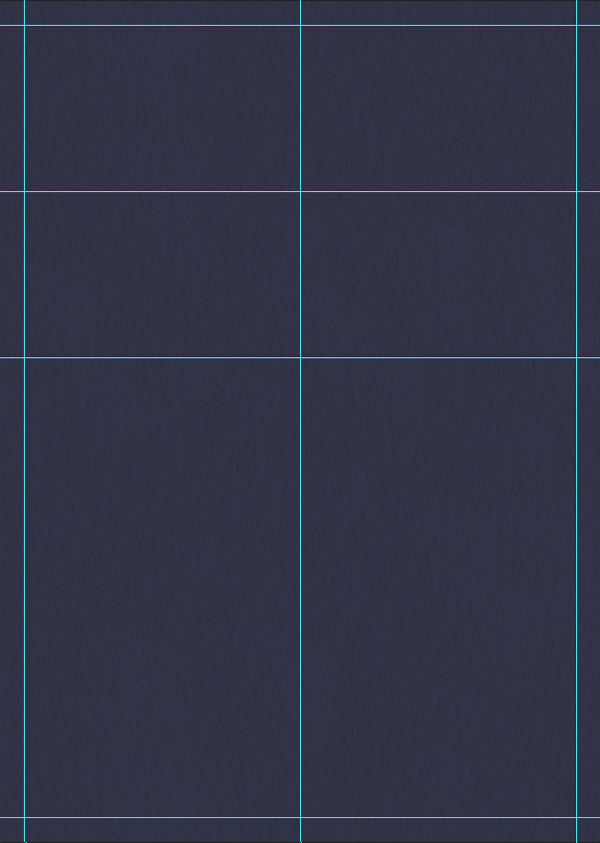
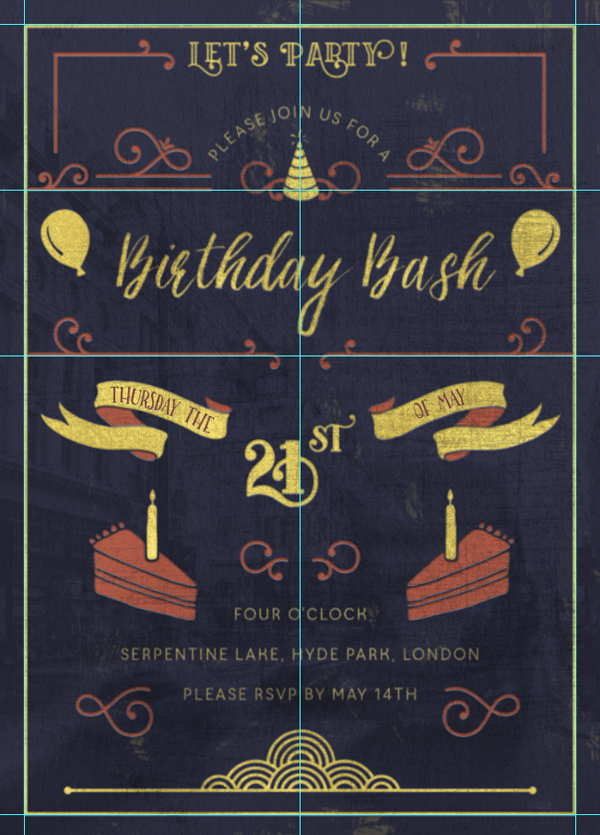
Next, let’s add some guides. Navigate to View > New Guide and place guides in the following:
Vertical: 60px, 1440 px, 750px
Horizontal: 60 px, 2040 px, 475 px, 890px

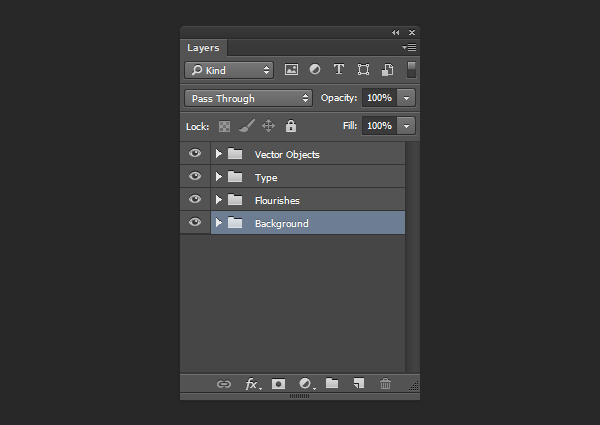
Our final step in preparing our document is setting up some layer groups to help keep us organized. To do this, click on the layer drop down menu and choose “New Group.” I created four groups: Background, Flourishes, Type, & Vector Objects.
Step 2:
First, let’s create our background. Place Make Media Co’s Paper6.jpg from our freebie pack into our background group and scale to fit the page.

Create a new fill layer in our background group by navigating to Layer > New Fill Layer > Solid Color. Click okay on the pop up menu and then input the color R:54, G:56, B:77.
On our new fill color layer, change the blending mode to “Multiply.”
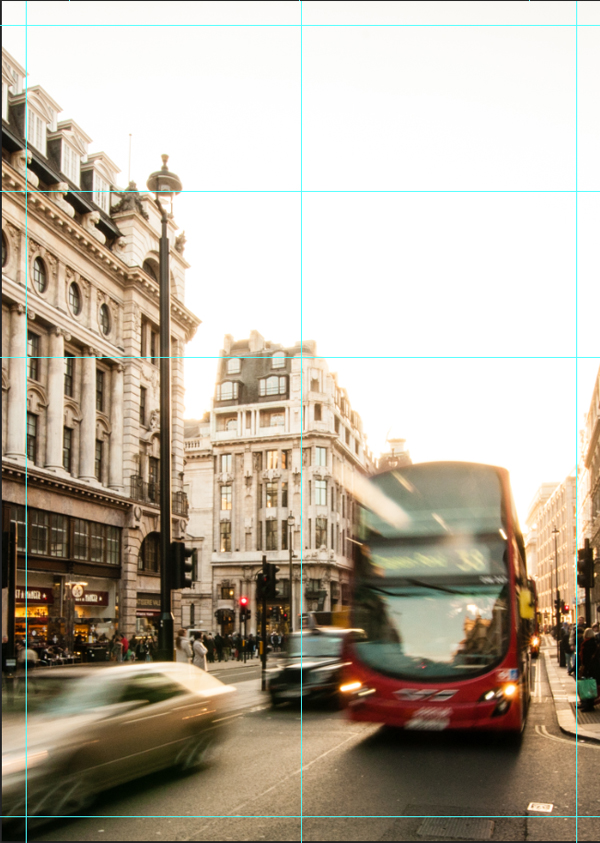
To add some depth to the image, download this beautiful City Photo courtesy of Unsplash. Place it on top in your background group and move it until you get the composition you like best.
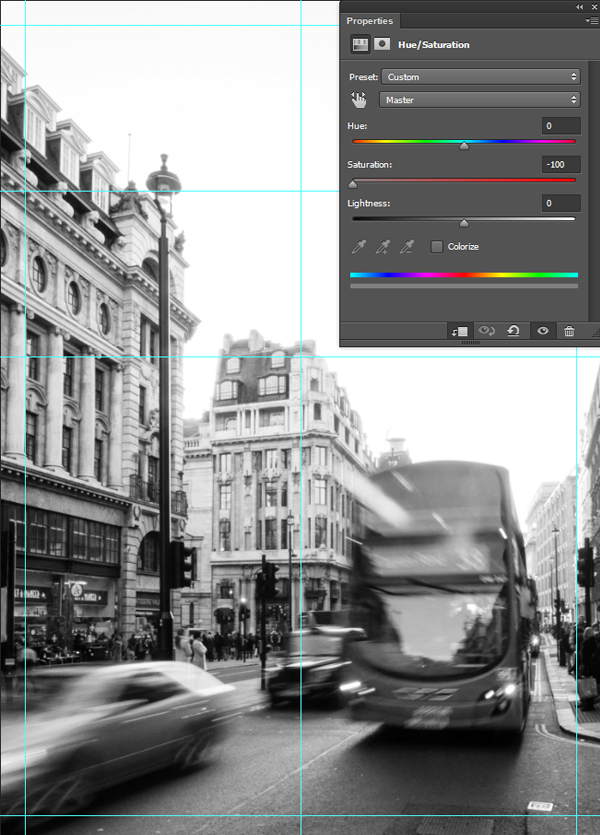
Next create a Hue/Saturation adjustment layer and clip it to the photo. Set the Saturation at 0% so that the photo becomes black and white.
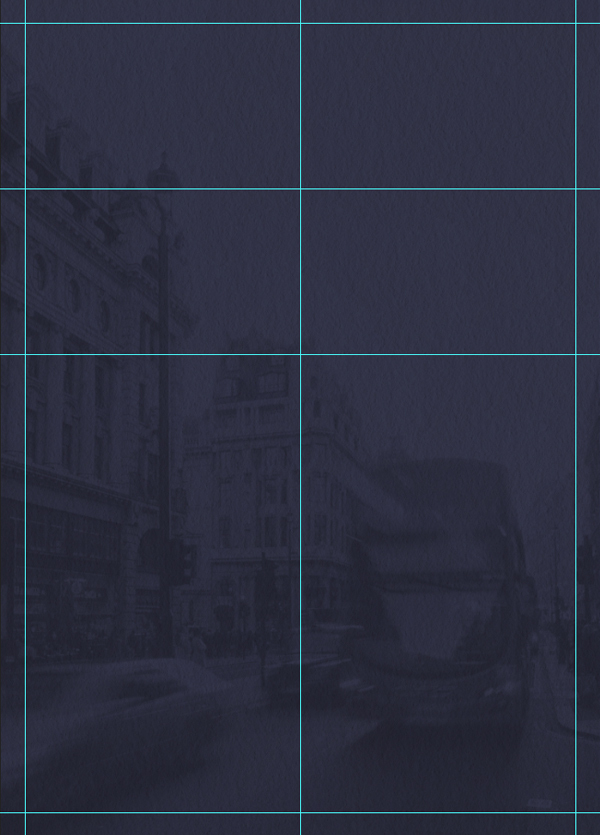
Change the blending mode of the photo to “Multiply” and set the opacity to 30%.
Step 3:
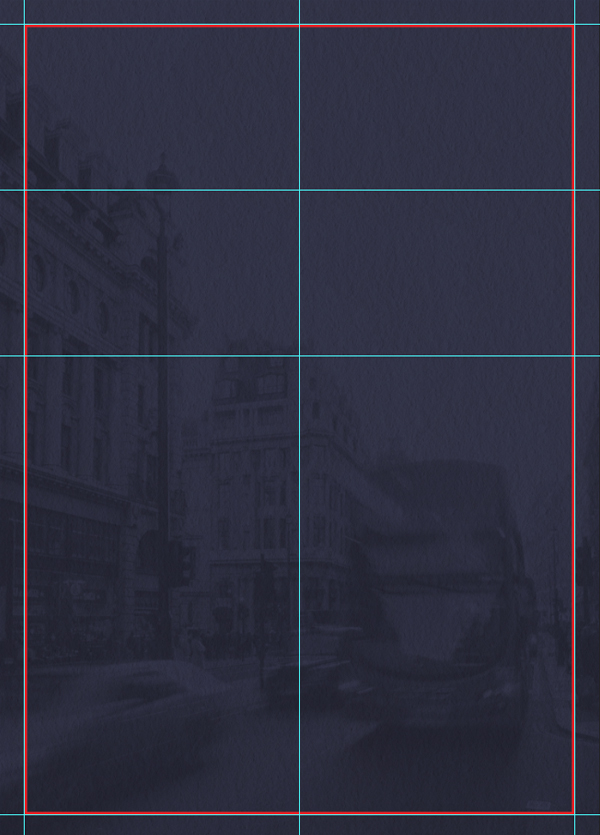
For our next step we are going to create a border around the image within our background group. Select the rectangle tool and with a stroke of two points create a box that aligns with the outer guides (the color is unimportant because we will be changing it next).
Now we are going to be using the Letterpress Styles provided by Make Media Co. NOTE: These letterpress styles are part of the wider bundle and not included in the freebie pack.
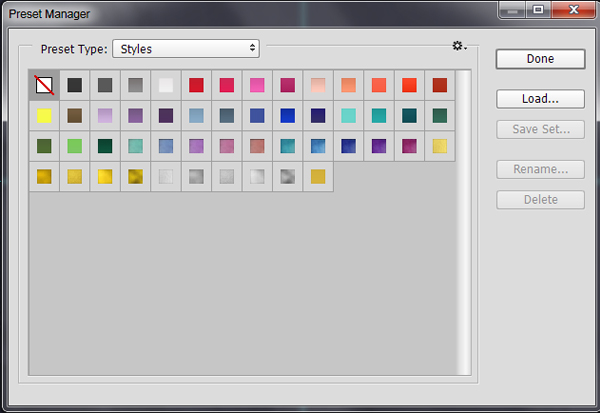
In your document, navigate to Edit > Presets > Preset Manager. In the new pop up window, select “Styles” from the preset type drop down menu. Then, click load and locate the file LetterpressStyles.asl in your bundle under make-media co > Lettersmith-Font-and-Design-Kit > Photoshop Styles. Then, click done.
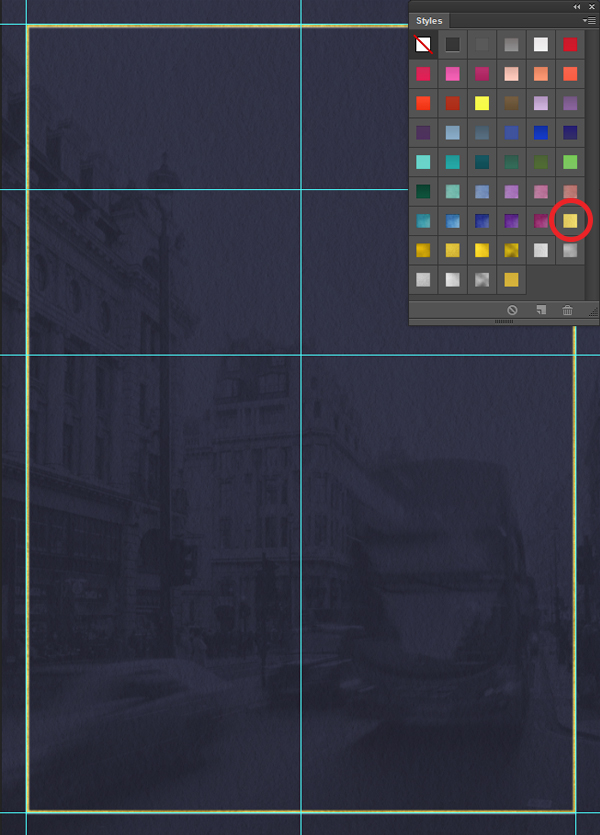
Now, we can open up the styles panel by going to Window > Styles. Styles are a really quick, easy way to apply different looks to your work. These in particular come in a variety of colors and textures and immediately make your work look like it’s been letter pressed. They’re as simple as selecting the layer you want to apply the style to and clicking the style you like!
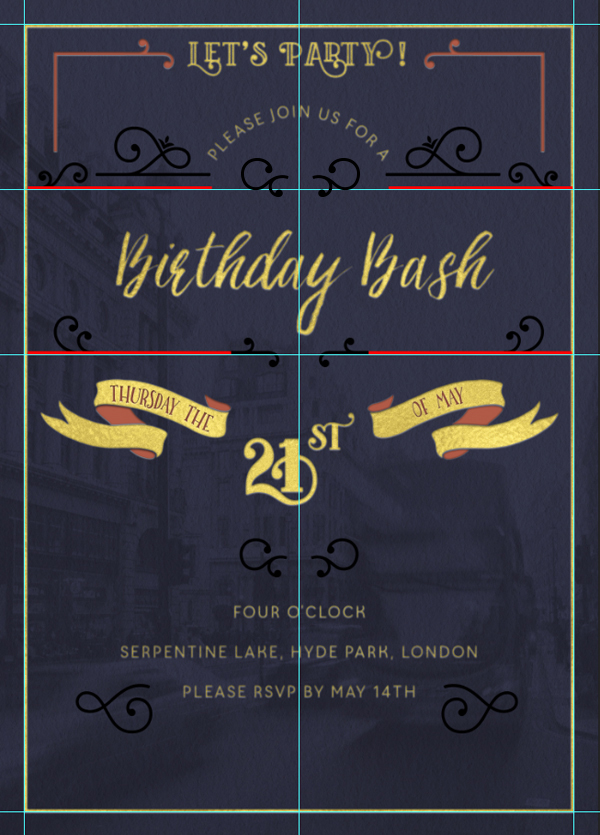
Select your rectangle layer and choose your favorite of the many gold options. I chose the one circled in red.
Step 4:
Let’s start working with some of the amazing fonts in this bundle! To get the most out of our type we are going to be working with glyphs. To do this, open up a new Illustrator document of the same size.
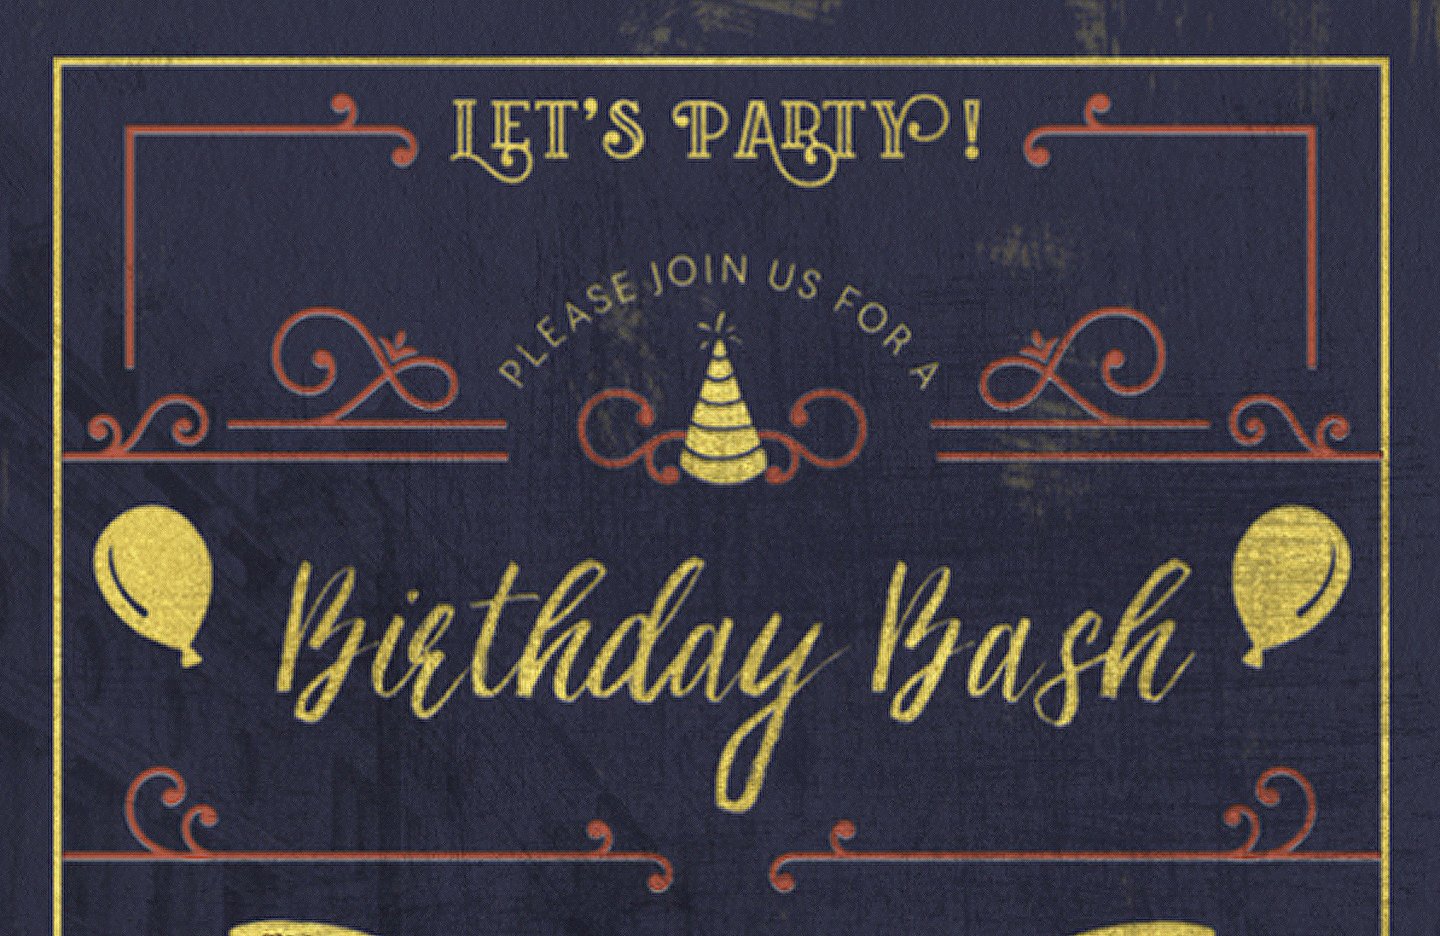
In 20pt Sherlock Pro Inline type “LET’S PARTY!”
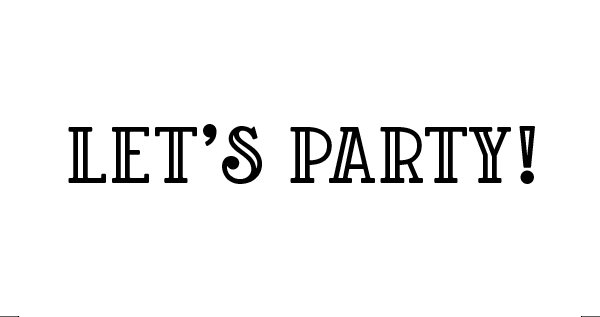
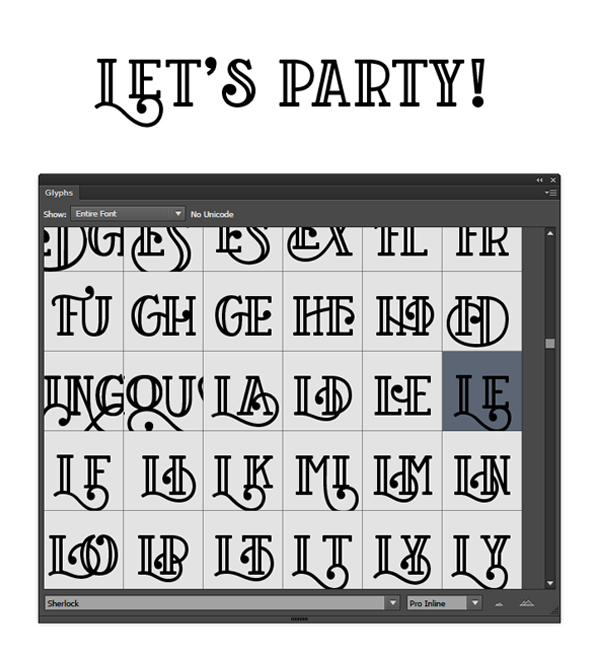
Now, open up the glyphs panel by navigating to Type > Glyphs. Here, you can see all of the possible letters for any given font. Sherlock in particular has an amazing array of letter possibilities! There are also a lot of combinations, which is what I used to change up the “L” and “E” in “LET’S.” Scroll through the glyph panel until you find the following:
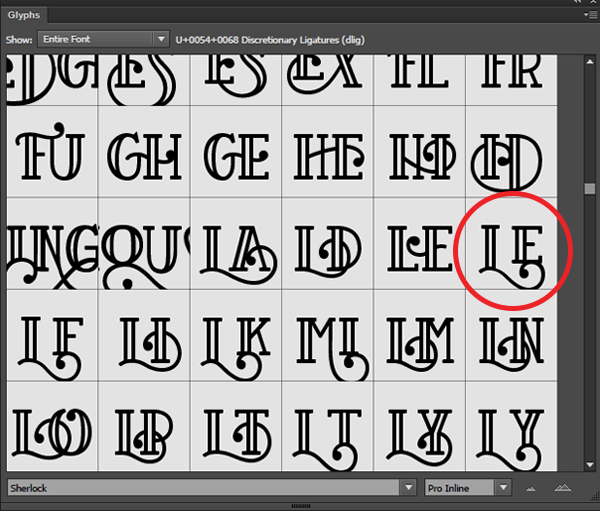
Highlight the “LE” in “LET’S” and double click the combined “LE” in the glyphs panel to replace it.
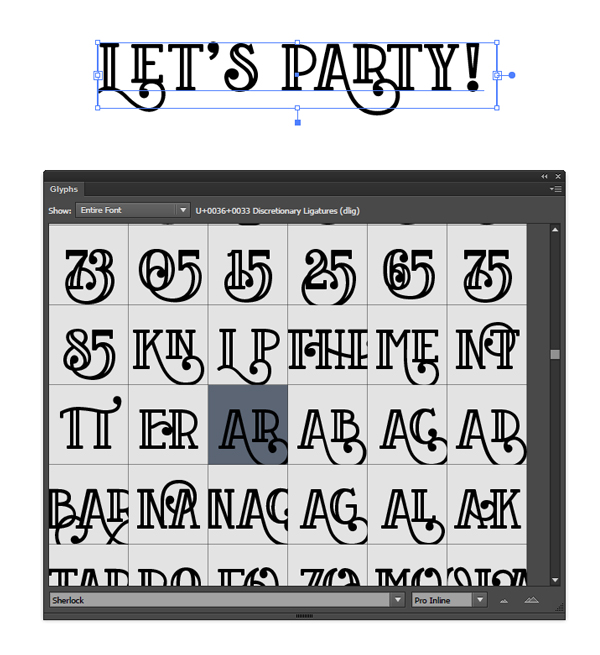
Now, highlight the “AR” in “PARTY” and locate the following glyph. Then, double click to apply it.
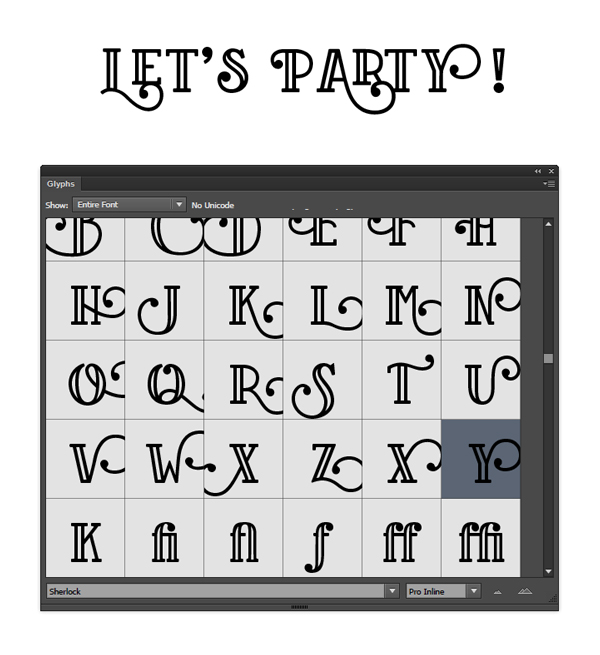
Finally, we are going to replace the “P” and “Y” with decorative alternatives. Once applied, put an extra two spaces between the “Y” and the “!” so that they don’t overlap.
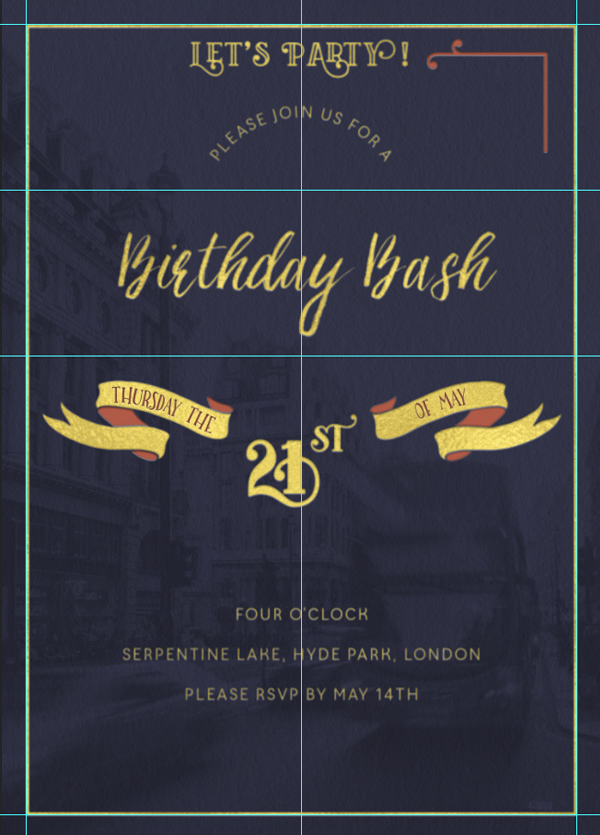
Copy the finished phrase and paste it as a smart object in your Birthday Invitation PSD under the “Type” group. Place it centered at the top of your page just under the rectangle border line. Apply the gold style we used on the previous element.

Step 5:
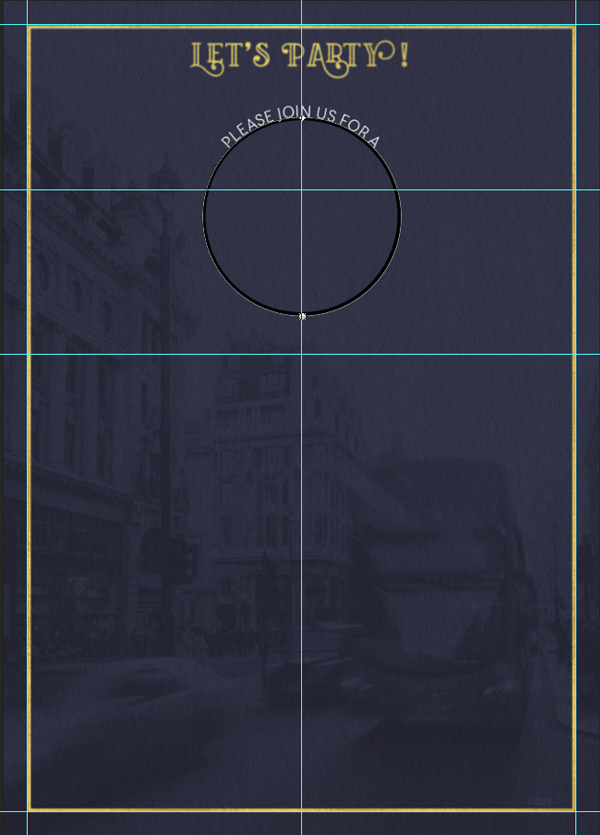
For the next section, we are going to use type on a path so that our next phrase sits in the shape of an arc. In the “Type” group, create a circle using the Ellipse tool. Once the tool is selected, you can click anywhere on the file and a pop up will appear. Input the specifications for a 500 x 500px circle. Move the circle directly under “LET’S PARTY.”

Using the type tool, move your cursor over the top center stroke of the circle. You should see your type tool change to show a cursor over a wavy line. Click the circle and the type will now adhere to the shape. Using the centered type option, type “PLEASE JOIN US FOR A” in Lean-O Sans FY Regular 10pt.
Right now, our type looks a little too close together. To fix this, we are going to track out our phrase. Open up the character window by navigating to Window > Character. Highlight the text and change the tracking to 100pt.Tracking is a fun way to add style to your type, similar to applying a bold or italic element.
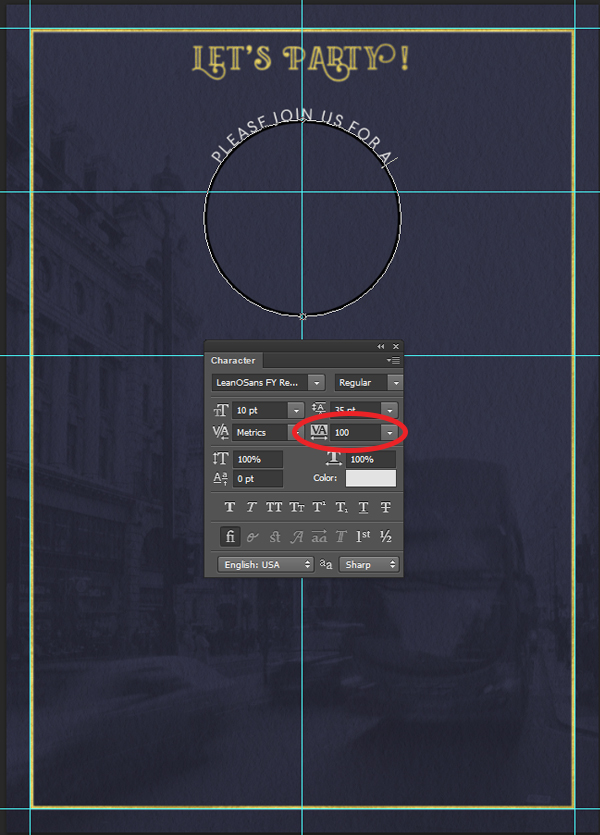
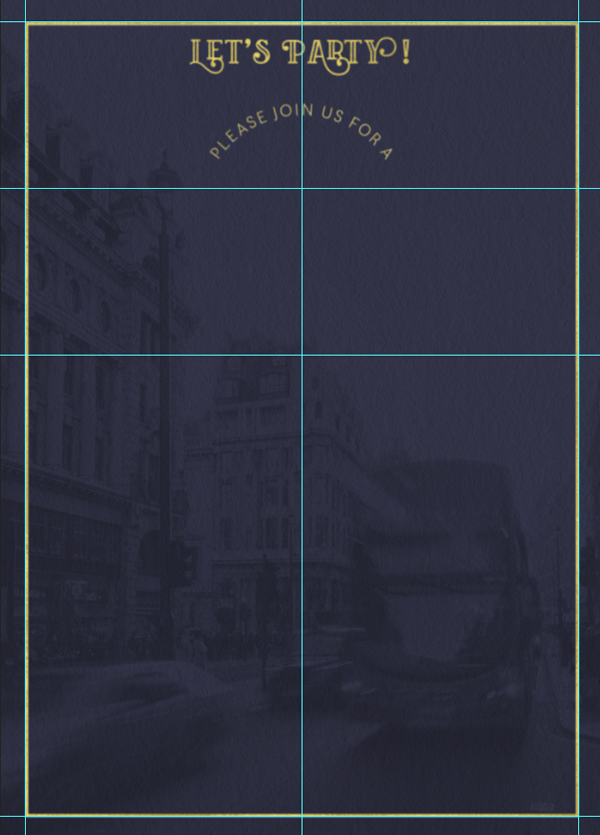
Delete the circle layer as it is no longer needed, and apply the same gold style to the type that we have on previous elements.
Step 6:
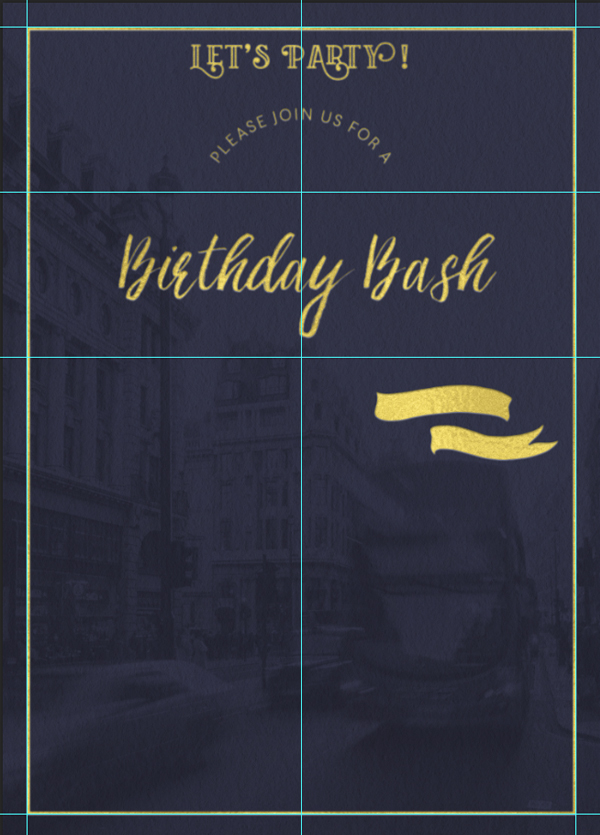
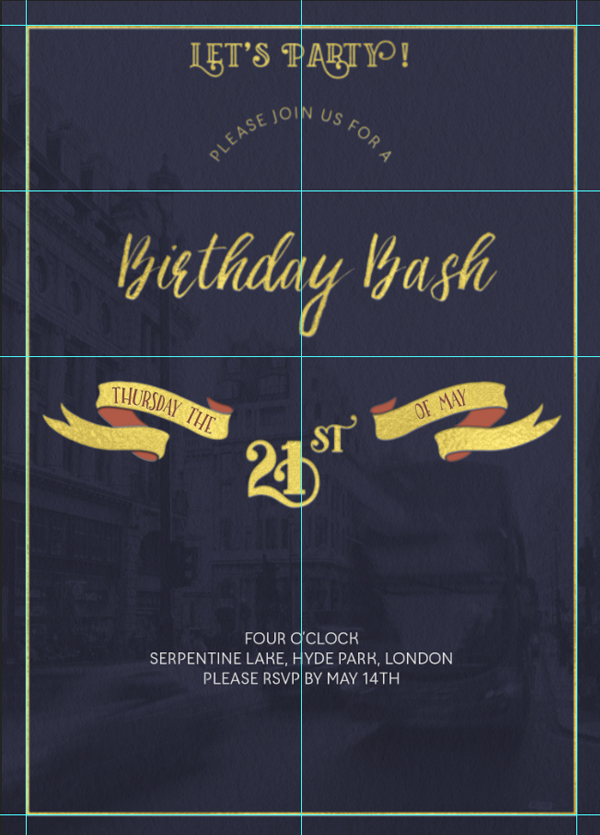
For the next piece of type, create a type box in between the two horizontal guides directly under “PLEASE JOIN US FOR.” Then, in 40 pt Ashley Brush Script type “Birthday Bash.” Note: your type may still be set to track out to 100. Change this setting back to the default “0.”
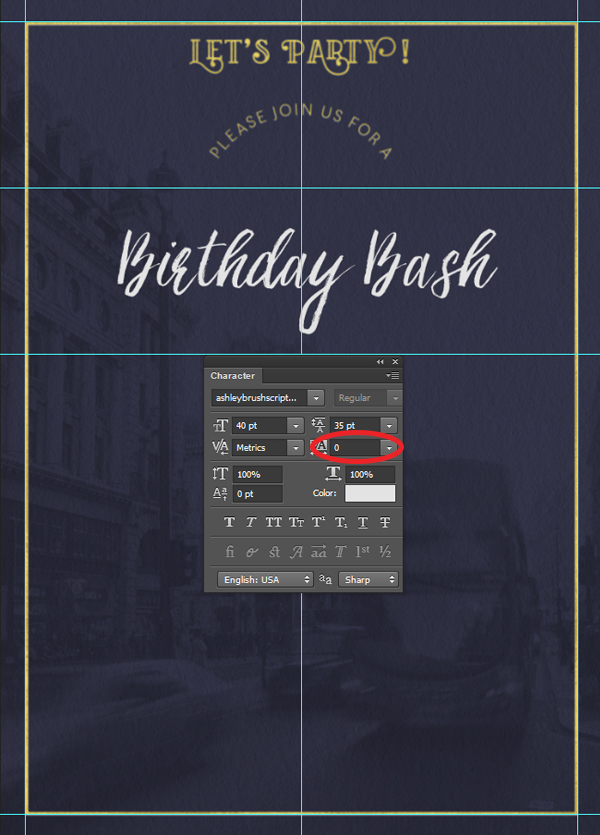
Apply the same gold style as we have previously.

Step 6:
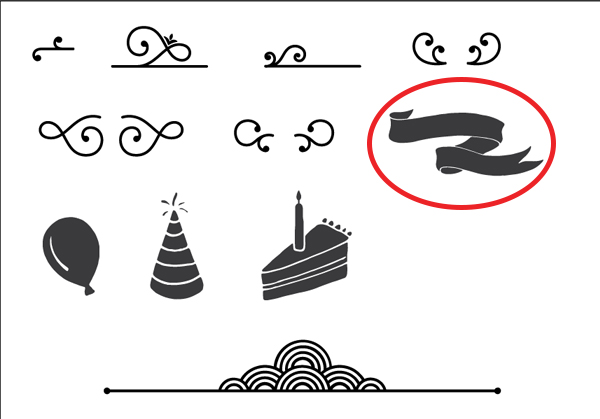
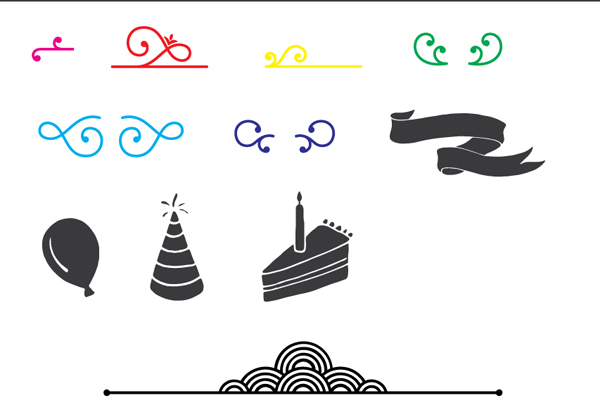
For the next step we are going to be creating type inside of a banner. For this, we are going to be using the type on a path tool in Illustrator by creating our own path to type on. The first step is to open up the freebies file and choose the following banner element, and then place it into an illustrator document (or, you can work on it within the freebie file as we are going to be pasting it into our PSD when we are done).
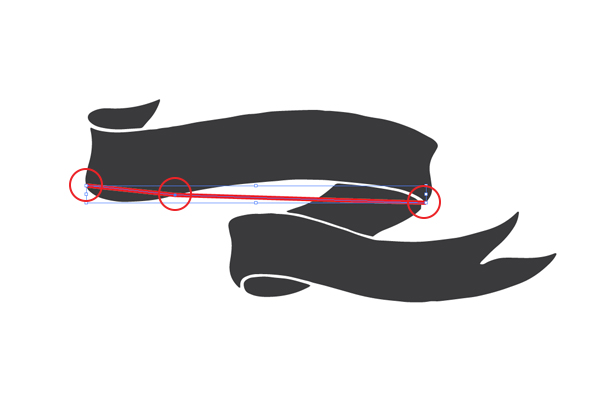
Since we want our type to follow the same path as the banner, we are going to use the pen tool to create a similar line to the curve of the upper ribbon. First, with the banner selected, navigate to Object > Lock > Selection. Now we can create a line on top of it without accidentally editing the banner itself.
Next, select the pen tool with a stroke of 1. I make my stroke red so that it is easier to see. The pen tool can be kind of tricky to get used to, but what we are doing should only require three anchor points. Click to create an anchor point, and then place two more in the following places on the ribbon:
To make the line we just created adhere to the curve of the ribbon, select the anchor point tool (shift + c). Now, on the second point, click and drag until the left side of the line follows the same curve as the ribbon.
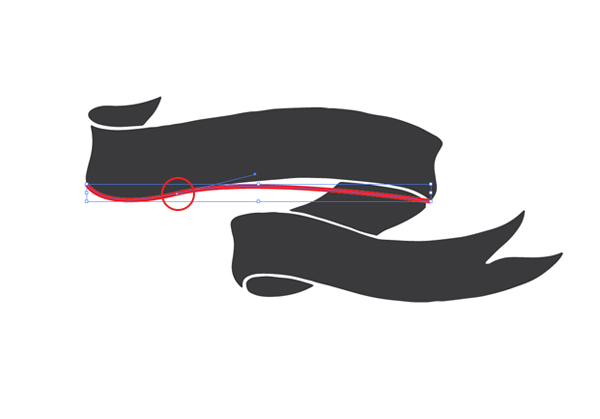
Repeat the same process for the final point, clicking and dragging until the path follows the ribbon.
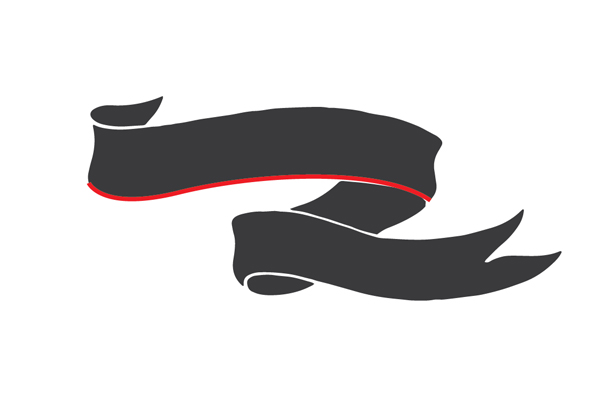
Now we have a path to type on! Copy the line we just created underneath the current one so that we have it ready to go for the second ribbon. Then, select the type tool and click on the beginning of the stroke. The stroke will disappear and a line to type on will appear in its place. Type “OF MAY” Using Lettersmith 20 pt.
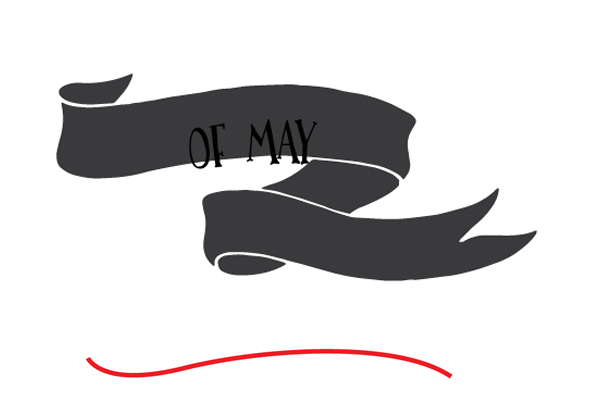
Move the new type so that it is centered on the ribbon. Then, open up the Character window by navigating to Window > Type > Character. Select the type and change the tracking to 25.

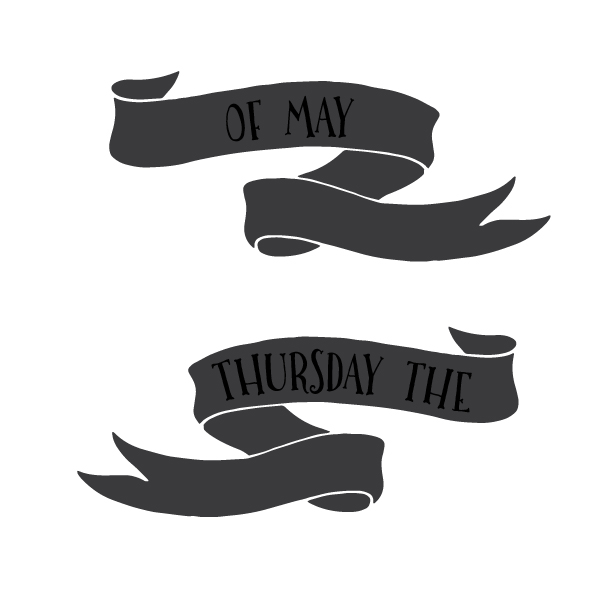
Unlock the banner by navigating to Object > Unlock All. Then, make a copy of it and place the extra path on the new banner.

With the path and banner selected, go to Object > Transform > Reflect and choose vertical.

Using the same presets and process as before, type “THURSDAY THE.” Note: sometimes when you attempt to type on a path the type will appear upside down on the path. To fix this, navigate to Type > Type on a Path > Type on a Path Options and check “flip.”
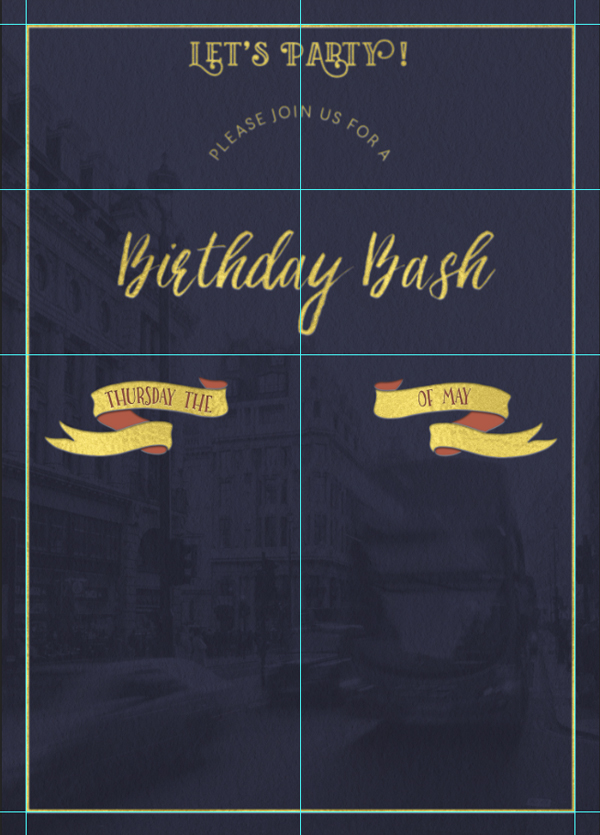
To place our new banners into our PSD file, we need to copy them over piece by piece so that we can edit the colors on individual parts. To do this, select everything in the illustrator file and hit Object > Ungroup. Now, we can choose individual pieces. Copy the front most parts of the first banner and paste them into the PSD. Move them so that they sit inside the margins and just below the horizontal guide under “Birthday Bash.” Then, apply the gold style.
Next, select the back parts of the banner and paste them into your PSD. Move them so that they align with the front of the banner. For these pieces, we want to change the color, but keep the same letterpress indent style as the other parts of the invitation. To do this, first set it in the same gold style we applied to the front part of the banner.

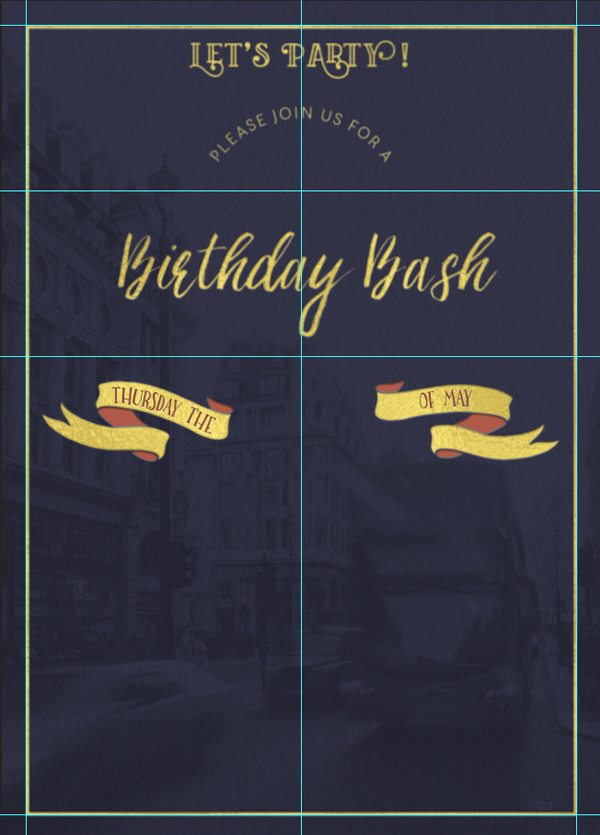
Now, on that same layer, click the “fx” button at the bottom of the layers panel and select “Color Overlay.” Input the color R:176 G:90 B:71. Now, the back of our banner still has the same shadow effects but we can introduce a new color to our color palette.

Repeat the same process to place the banner on the opposite side of the invitation.
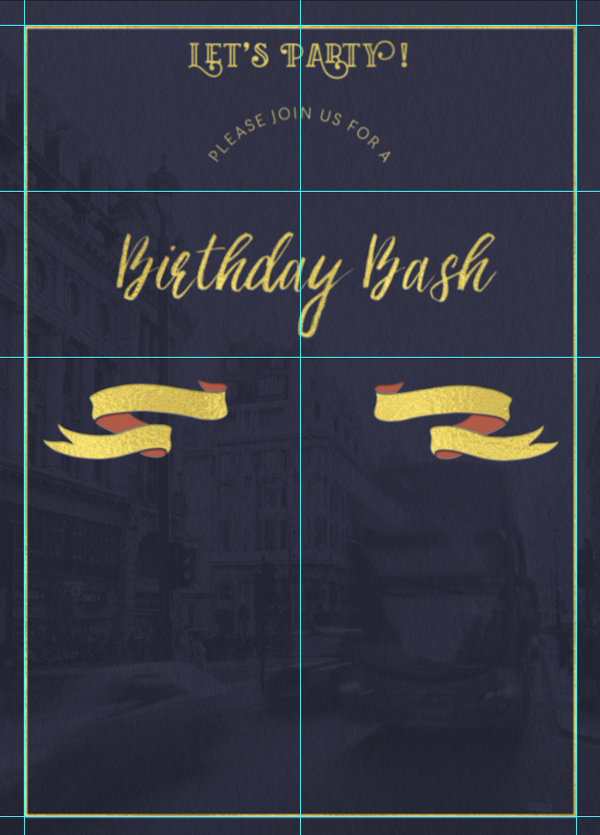
Finally, place the type into the invitation on top of the banner, and repeat the same process of applying the gold style and then adding a color overlay with R:176 G:90 B:71.
Next, select all of the layers that complete the left banner. Then, go to Edit > Transform > Rotate (or hit ctrl/ cmd + t) and rotate the banner 15 degrees.
Now, rotate the right banner -15 degrees.

Step 7:
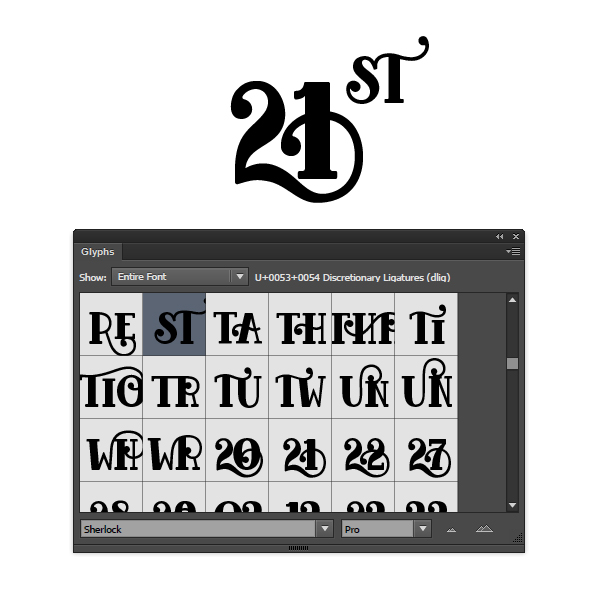
To create the date of the party, we are going to use a premade glyph from Sherlock. In your Illustrator file, locate the following glyph of the number “21” and size it to 46 pt.

Then, in the same Sherlock glyph panel, locate the following “ST” and place it in 22 pt. to the upper right of the “21.”
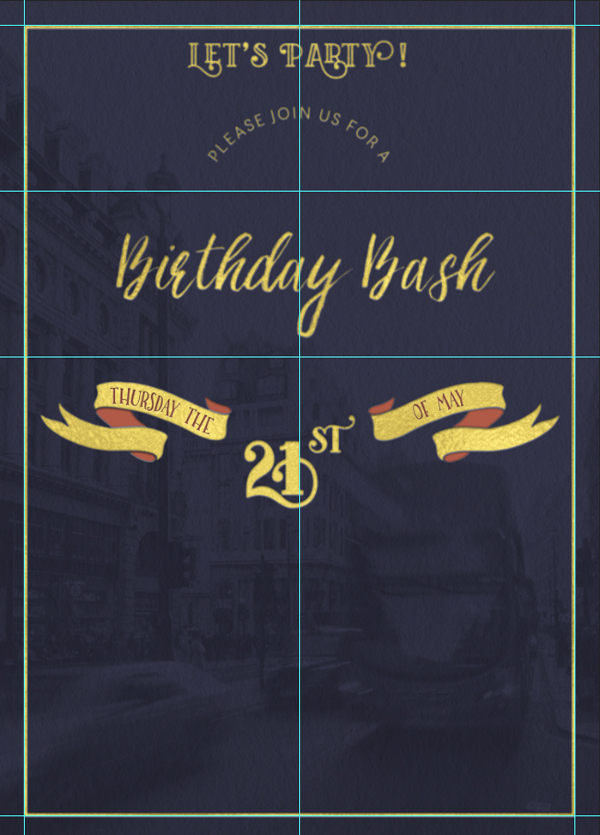
Copy the “21st” and place it in the PSD invitation in between the two banners and apply the gold style.
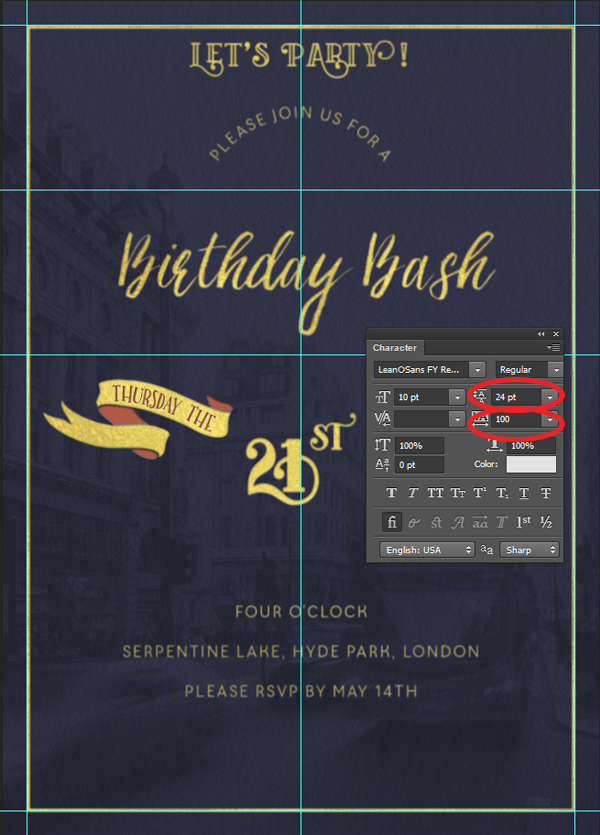
For our last bit of type, create a type box half way between the “21st” and the bottom border of the PSD. Then, in centered Lean-O Sans FY 10 pt type the following three separated lines:
“FOUR O’CLOCK”
“SERPENTINE LAKE, HYDE PARK, LONDON”
“PLEASE RSVP BY MAY 14TH”
Select the type box we just created and open up the Character window. Change the leading to 24 pt. to space the lines out, and change the tracking to 100. Then, apply the gold style.
Step 8:
Next we are going to add our decorations! Open up your freebie-vector file and select the following:
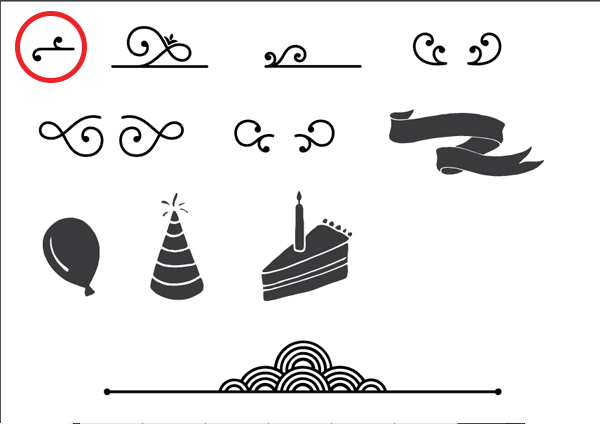
Copy and paste the flourish into our “Flourishes” group and position it to the right of “LET’S PARTY.”
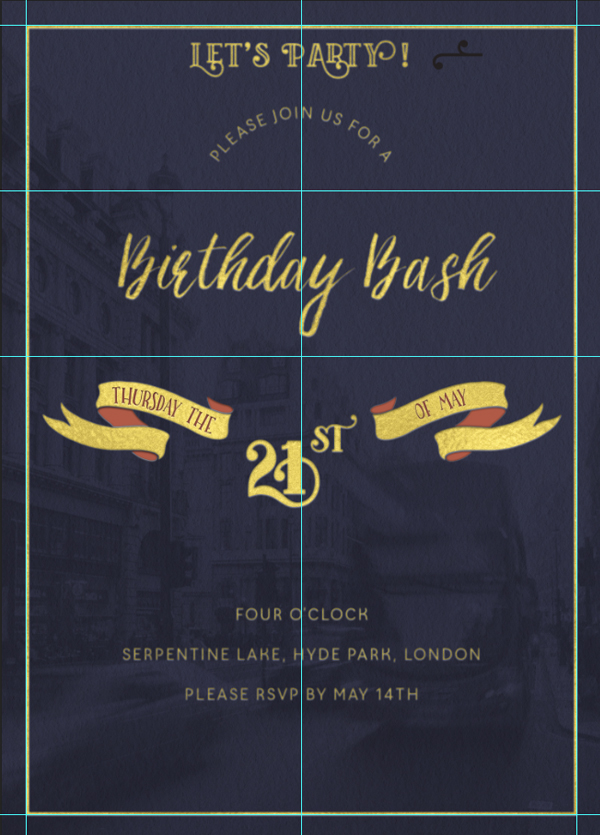
Now, we want to extend the flourish and create an inner border. To do this, we are going to use the line tool and create a line from the end of the flourish. Use a fill color (the color itself doesn’t matter) with no stroke and make the width 170 px and the height 8 px.

Create another line, this time vertical, extending from the end of our first. Make the width of this line 8 px and the height 250 px.
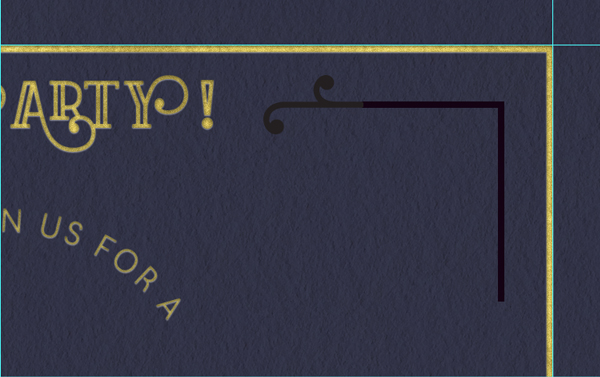
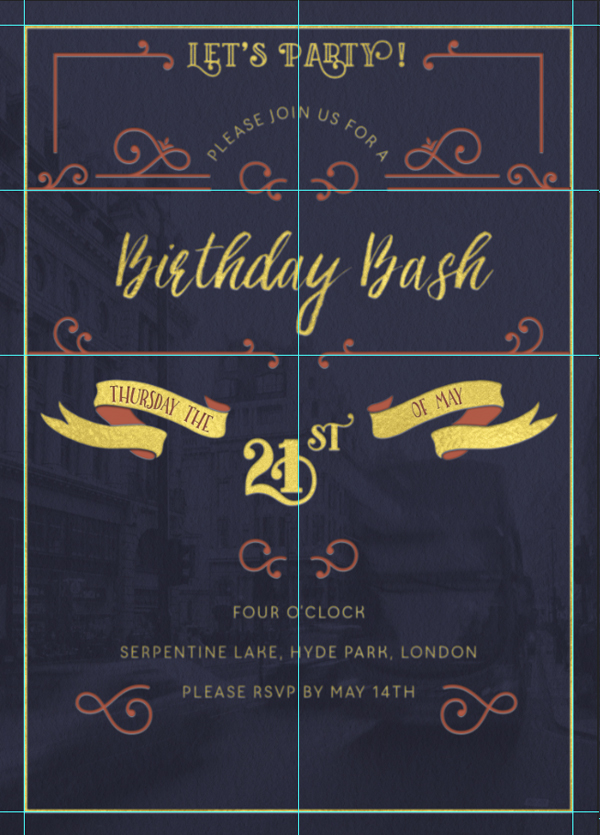
Merge the flourish and two line layers by selecting all three and using the Layer’s panel drop down menu to choose “Merge Layers” or by hitting ctrl/cmd + e. Then, apply the gold style and add the orange color overlay. A quick way to do this is to hold the alt key, select the color overlay fx from a different layer and drag it onto the flourish layer. This will apply the same effect to the flourish layer.
Duplicate the new combined layer and reflect it so that it is applied to the opposite side of the invitation. “Duplicate” can be found under the layers drop down menu, and to reflect a layer navigate to Edit > Transform > Flip Horizontal.

Now that we’ve gone in depth with placing our first flourish, I’m going to show you where I placed my others from the freebie-vector file. Please feel free to play around with your placement; there are a lot of cool combinations to create an awesome design! I color coded my images so that you can see which flourishes I put in which location:
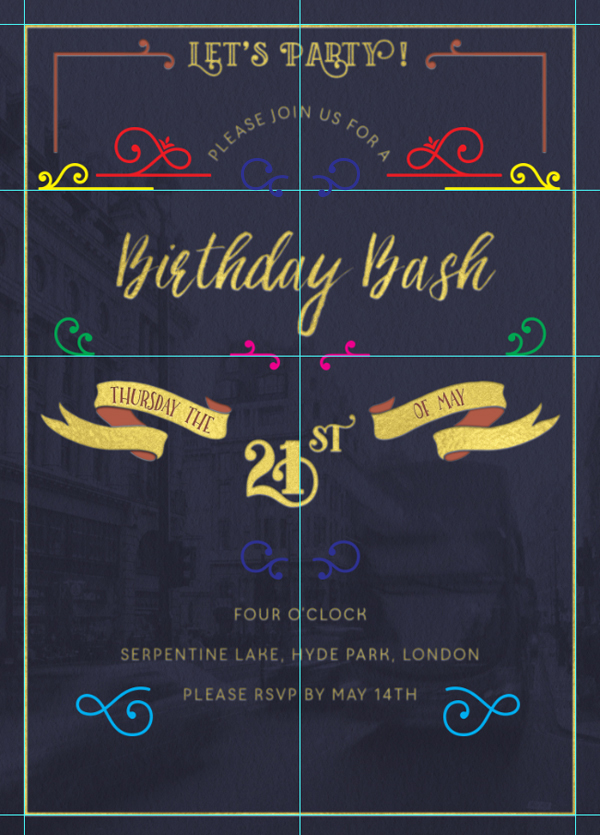
Next, I created lines that are the same 8 px in height over the guides to extend the flourishes. They are highlighted in red below:
Now we can merge all of our new flourish layers and apply the gold style and orange overlay.
Step 9:
Next we are going to add our birthday vector objects! Return to the freebie-vector file and select the party hat.
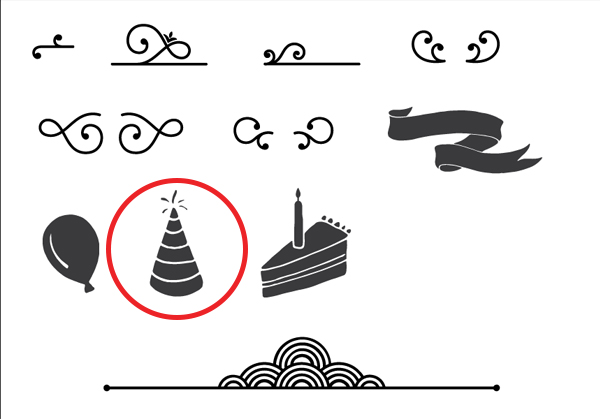
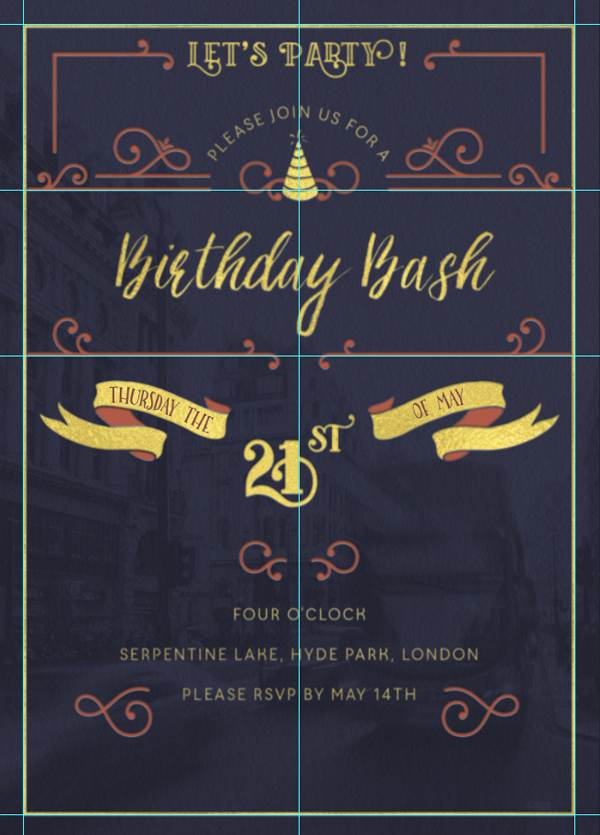
Place the hat and scale it down so that it sits on top of the flourishes underneath “PLEASE JOIN US FOR A.” Then apply the gold style.
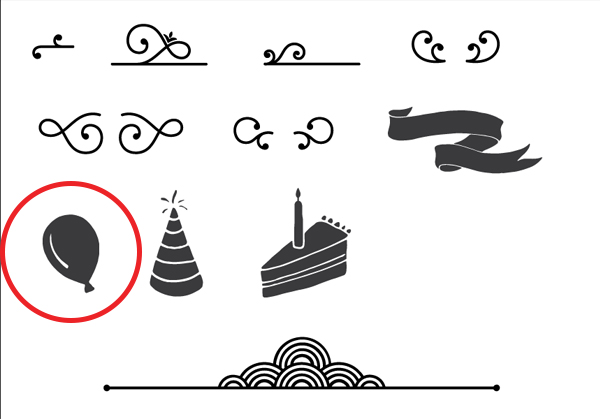
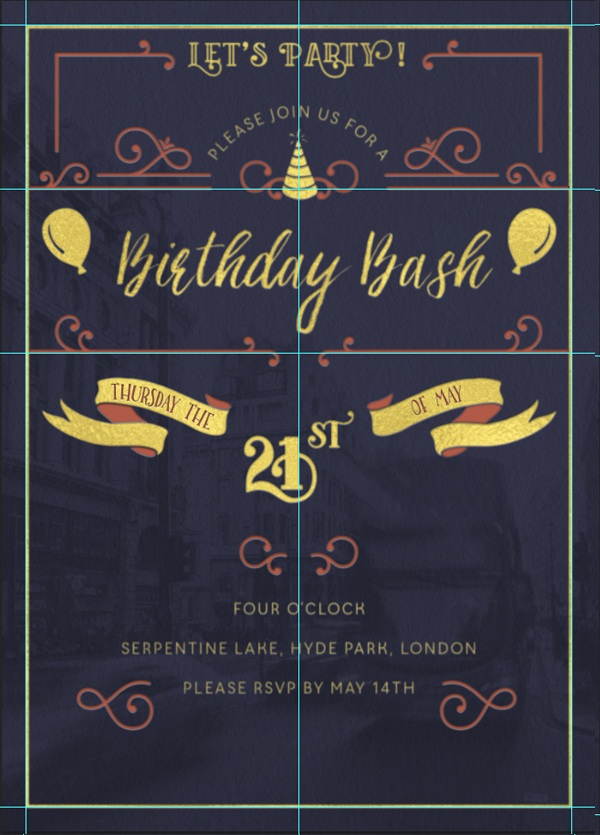
Next select the balloon in the freebie-vector file, scale down and place it to the left side of “Birthday Bash.” Duplicate the layer and reflect it so that balloons sit on either side. Then apply the gold style.
For the next item in the freebie-vector file, select the cake and ungroup it as we did with the banners. Now select just the objects within the cake (no candle) and place it in the following position with the style and orange overlay:
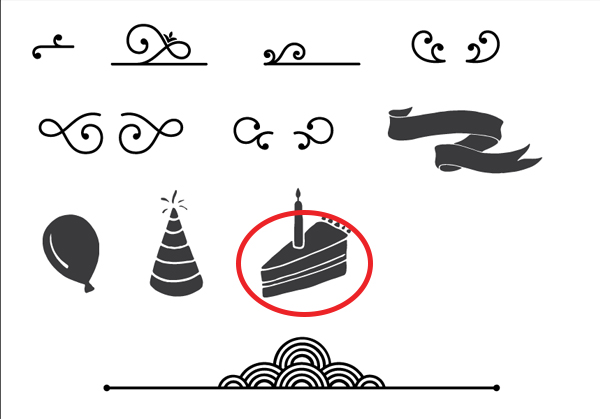

Now copy over the candle, place it above the cake and apply the gold style.
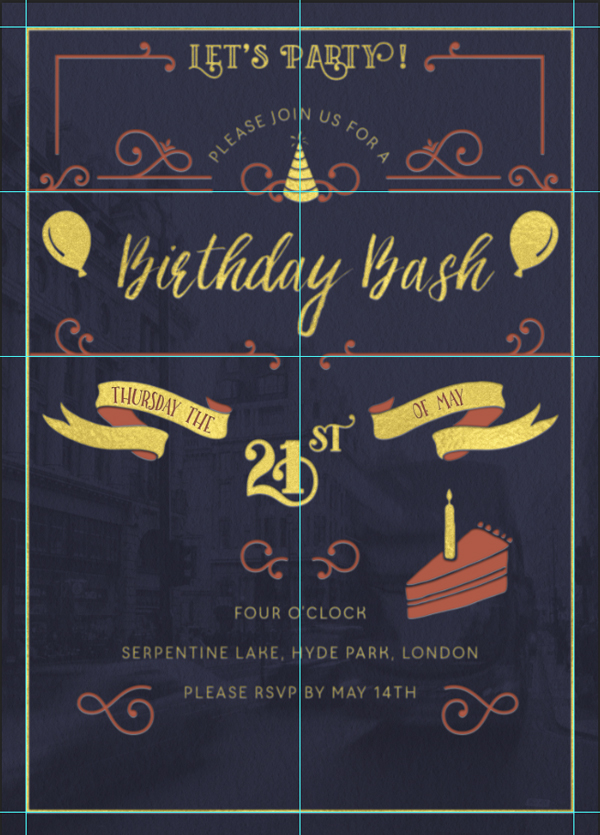
Duplicate the cake and candle and reflect it on the opposite side.
Step 10:
Just a few final touches left! In the freebie-vector file, select the large flourish at the bottom:
Place it at the bottom of the invitation and apply the gold style.

Now we are going to place our final bit of texture. Place grunge_texture_1 from our freebie pack and scale it up to fill a larger area of the invitation.
Apply a color overlay to the texture layer with the color R:54 G:56 B:77. Unfortunately, we can’t change the blending mode when there is an fx applied to the layer. To fix this, right click on the texture layer and choose “Rasterize Layer Style.” Then, change the layer blending mode to multiply and the opacity to 30%.

Finally, place the file in the freebie pack named grunge_texture_5.
Apply the gold style we have been using in the bundle and set the opacity at 20%.
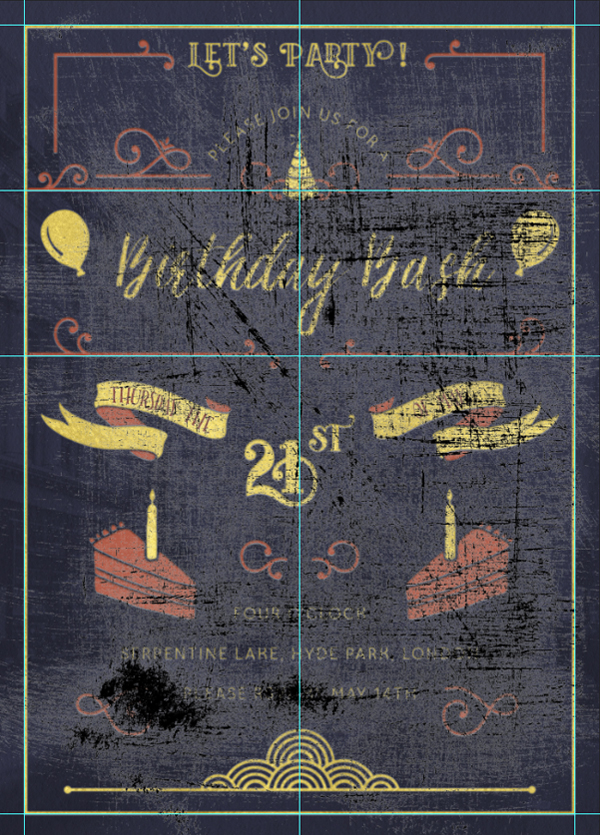
And we’re done!
I hope you enjoyed following through this tutorial with me! I had so much fun playing around with the different fonts and decorations in this bundle, and there are so many more that we didn’t touch upon. I am incredibly excited to see your take on this elegant party invitation.
Remember to share your designs on the Facebook page too, as we love being inspired by the way you make these tutorials your own.
Hopefully this tutorial is a good example of how you can mix typefaces and decorations to create a really unique piece of art. Remember, you can get this amazing bundle for 99% off this week only! It’s been getting some superb feedback from the DC community. You can grab your copy here:
22 Professional & Artistic Fonts (With Web Fonts and Extended Licensing)
I’m so excited to try this one but…Freebie? Can’t find it anywhere.
Hey Alexandra,
Thanks so much for taking the time to let us know your excited about this tutorial :).
I am so sorry that you haven’t been able to find the freebie that goes along with it! I have just sent you over an email with a link to it Alexandra, I would hate for there to be any further delay in you being able to use this!
If there is anything I can assist you with in the meantime, please do get in touch- I’m always happy to help!
I’m having trouble downloading the freebies to follow along on this tutorial. Any help?
Hey Lauren,
I’m so sorry about this. We’ve been made aware of this problem, and our coding ninja Darren is working on fixing this issue. We’ve recently re-launched out website, and unfortunately the odd error is still cropping up here and there. But we’re on it, and will be sure to send you an update as soon as this has been fixed.
Just followed the tutorial! FUN!
I am over the moon about this last fonts bundle.
Hey Roberta,
Thanks for the feedback on the tutorial- we are so pleased you enjoyed it! And that you are loving the fonts bundle- it is getting a whole lot of love from the community :).
I’ve been really waiting for this one. Can’t wait to play along.
Hey Meda,
We are really happy that you are enjoying the tutorial! Please do feel free to send over your design when you’ve completed it- we would love to see it :)