WHAT WE’RE CREATING:
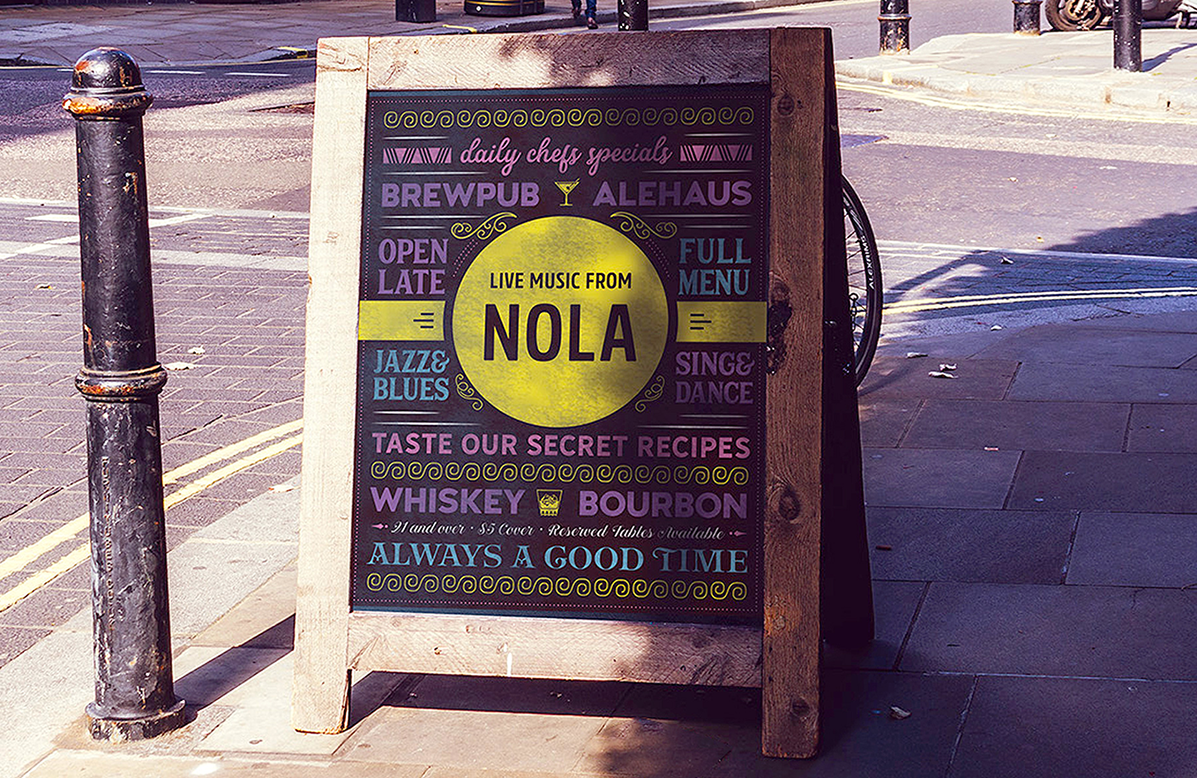
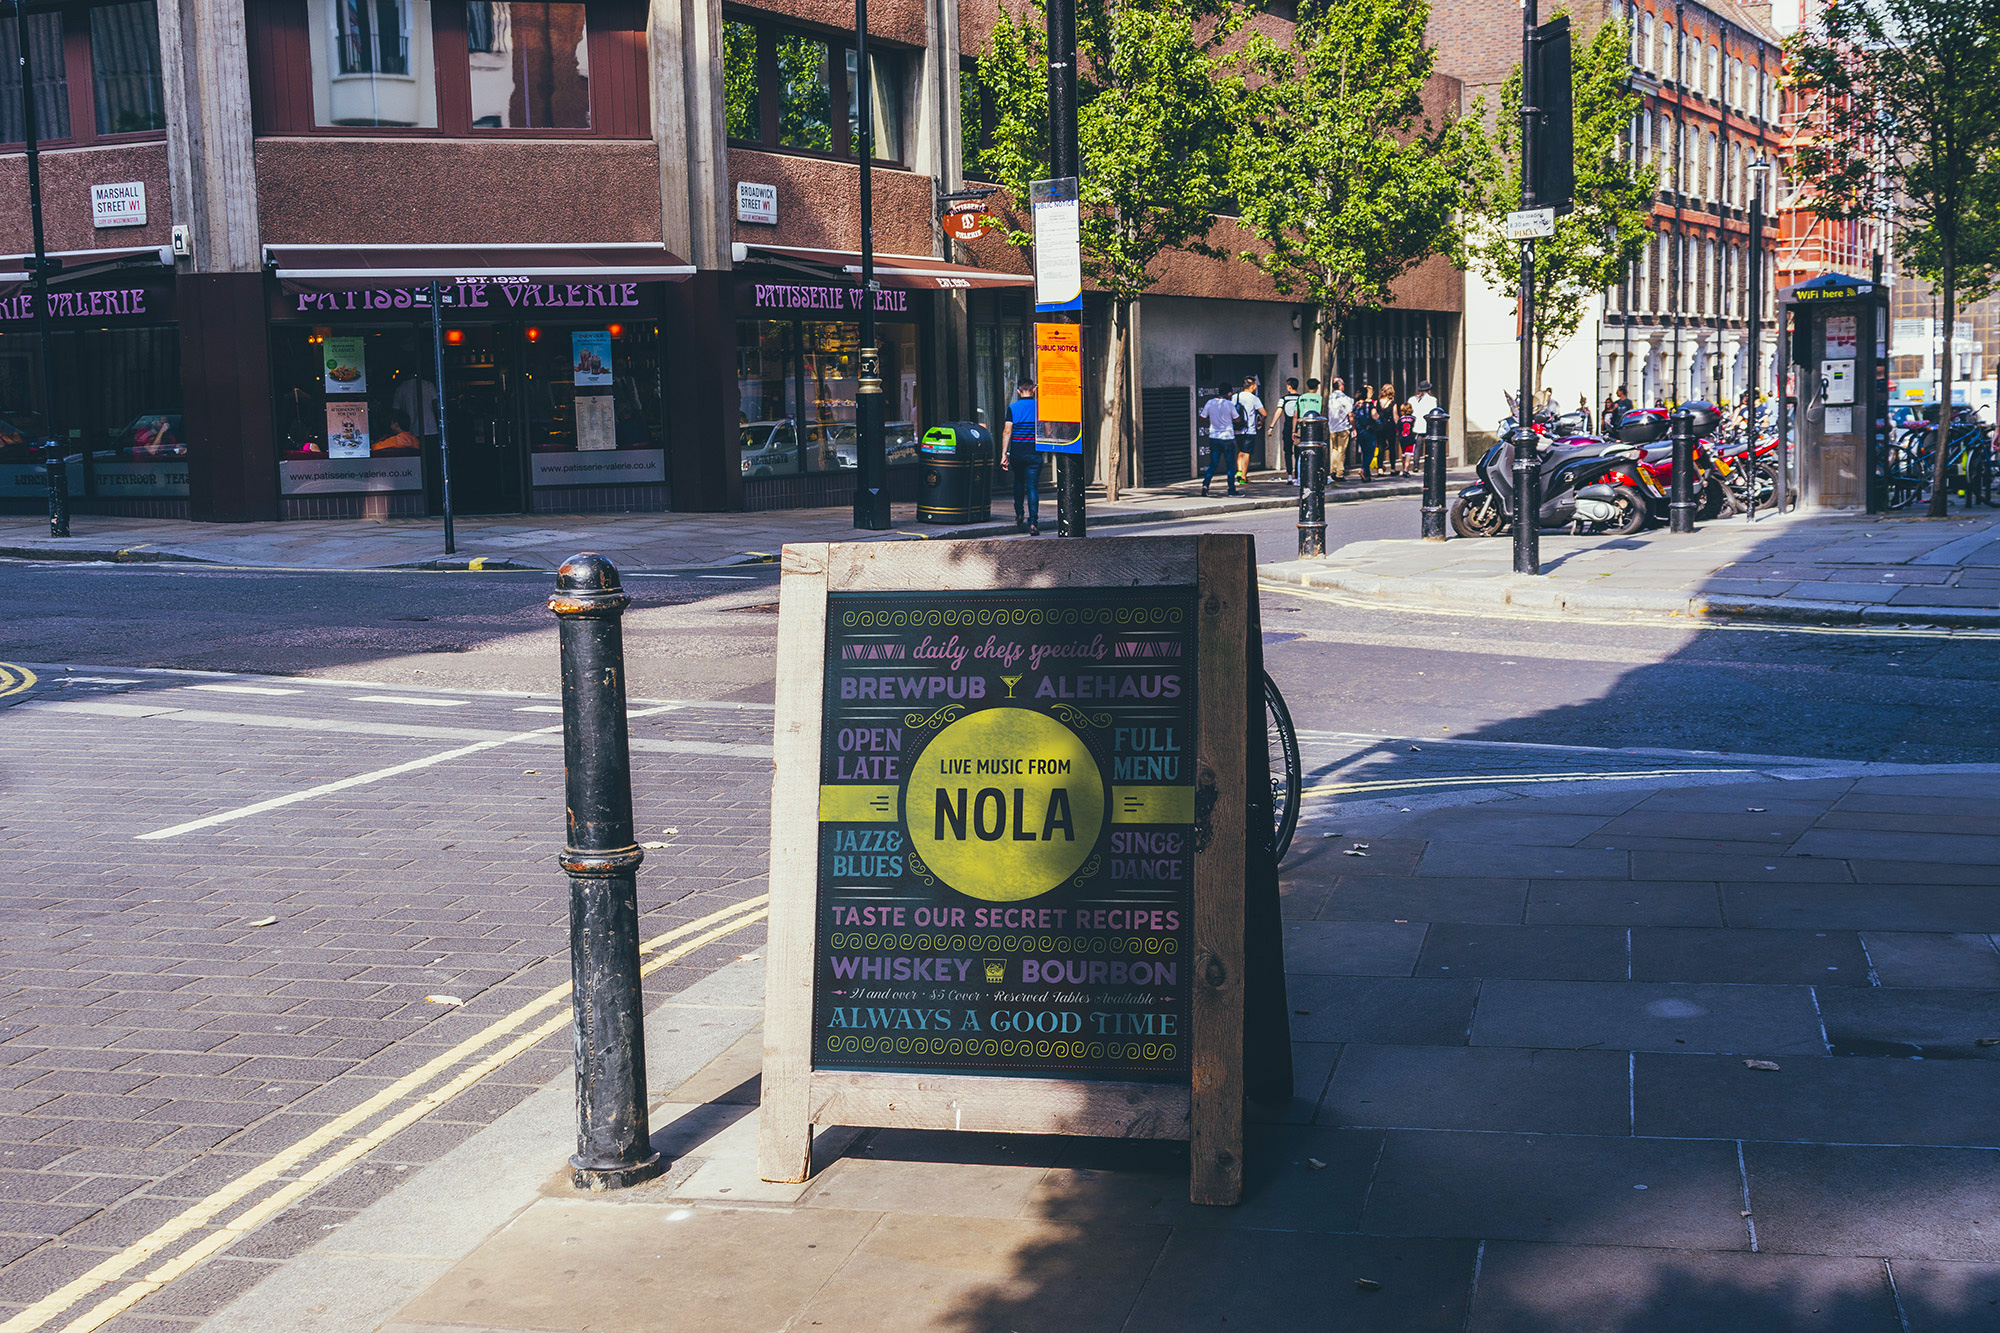
Hey Design Cutters! Renee here with a tutorial for a typography-based chalk board sign for a gastropub. We’ll use a variety of font styles along with supporting ornaments to create our layout. This is a great tutorial for beginners to Illustrator.
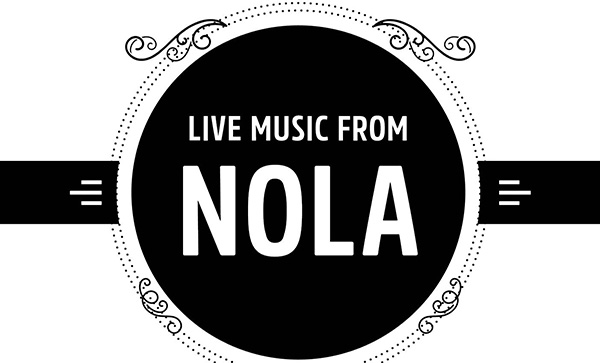
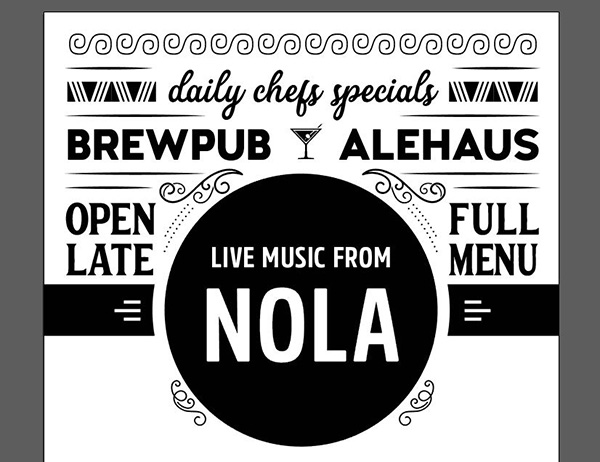
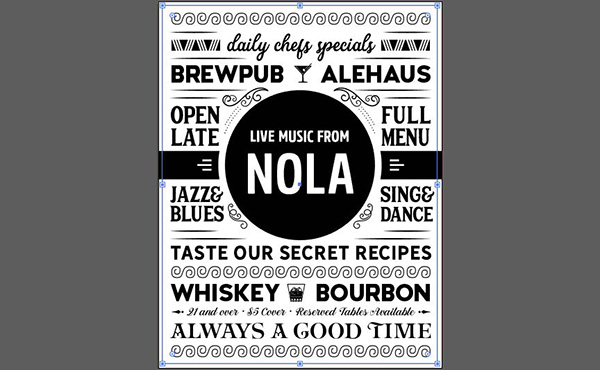
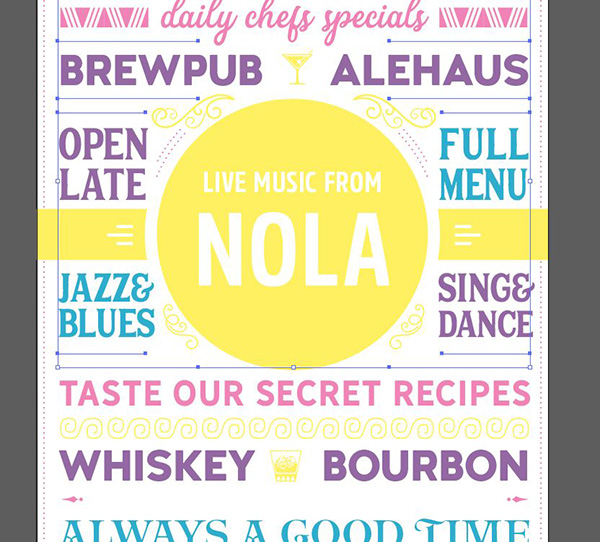
Here’s a look at what we’ll be creating:

Follow along with this tutorial: Download the freebie files
The freebie pack features extras and ornaments from District 62 Studio, PeGGO Fonts and My Creative Land.
This freebie pack is a tiny sample of some of the most popular fonts across every aesthetic available in The Essential, Popular Fonts Collection for just $29 (that’s 99% off). Take your font library to new heights with these industry leading fonts from the best font designers in every field.

Step 1: Centerpiece
Open Illustrator and go to File > New. In the New Document dialog box, enter a document name, a width of 8.5 inches and a height of 11 inches.
Click OK to create the document.

Save your file.
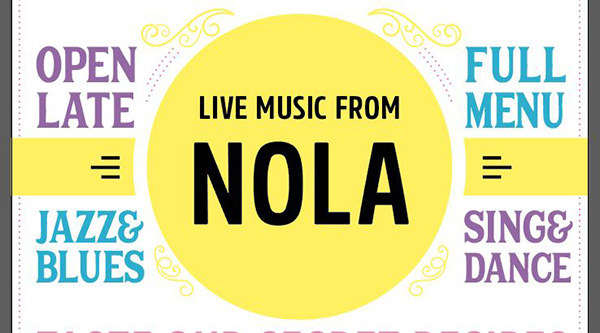
We’ll start by laying out everything in black, then we’ll go back and add color when we’re done with the layout.
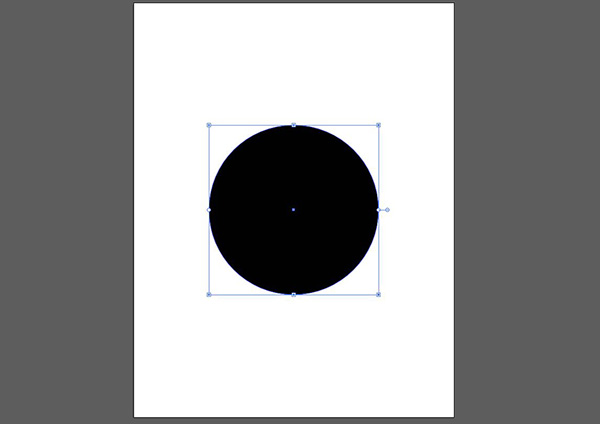
Select the Ellipse Tool (L) and click once on the artboard.
In the popup, enter a Width and Height of 4.5 inches. Press OK.

Open the Swatches palette (Window > Swatches) and select Black for the fill color and None (the white box with a red slash) for the stroke color.
Open the Align palette (Window > Swatches). Under Align Objects, select the icons for Horizontal Align Center and Vertical Align Center.
Note: If nothing happens when you click the icons, click the downward facing arrow under Align To and select Align to Artboard.
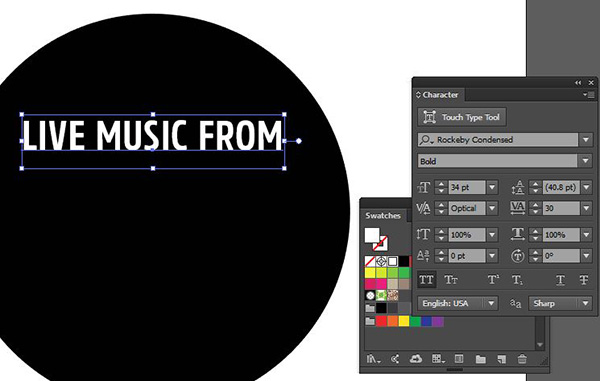
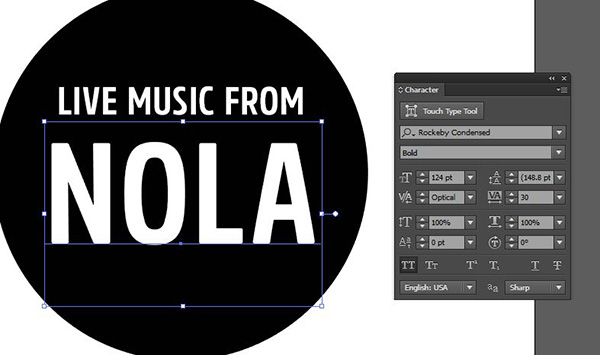
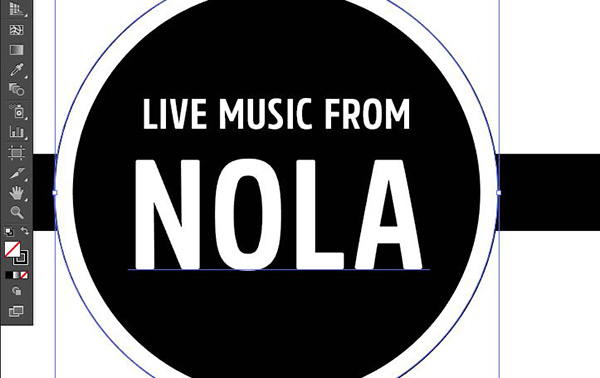
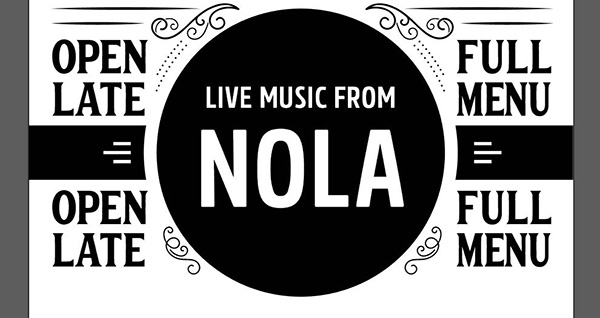
Select the Type Tool (t). Click once in the circle and type: LIVE MUSIC FROM
In the toolbar, select the main Selection Tool.
Open the Character palette (Window > Type > Character). Set the font to Rockeby Condensed Bold at 34 pt. Change the Kerning to Optical and set the Tracking, the space between individual letters, to 30.
Open the Swatches palette and select White for the fill color.
Position the text in the top middle section of the circle.
Select the Type Tool again. Click once under the first line of text and type: NOLA
Switch to the main Selection Tool.
In the Character palette, increase the font size to 124 pt.
Now we’ll start to build out from this center circle.
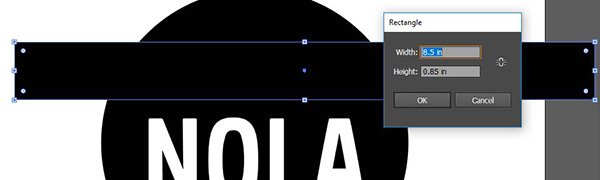
Select the Rectangle Tool (m). Click once on the artboard. In the popup dialog box, enter a Width of 8.5 inches and a Height of .85 inches. Press OK.
In the Swatches palette, change the fill color to black.
In the Align palette, select the icons for Horizontal Align Center and Vertical Align Center.
We want to create some space between the edge of the circle and the new rectangle, so next up, we’ll utilize the Pathfinder to cut out part of our rectangle.
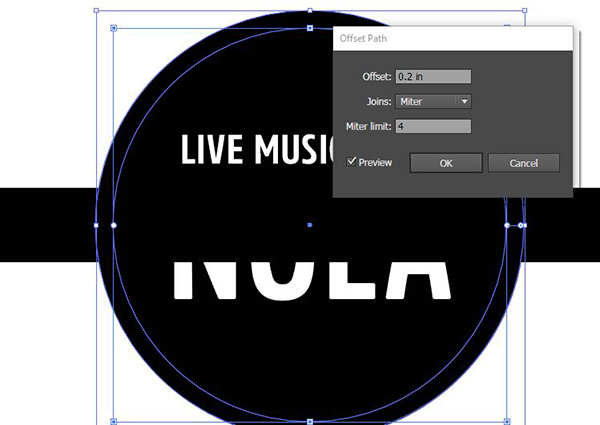
Switch to the main Selection Tool (v). Select the circle. Go to Object > Path > Offset Path. In the popup dialog box, enter an Offset of .2 inches and press OK.
Go to Object > Arrange > Bring to Front.
With the offset circle still selected, press Cmd + C to Copy it. We’ll use the copy later. Hold Shift and also select the rectangle.
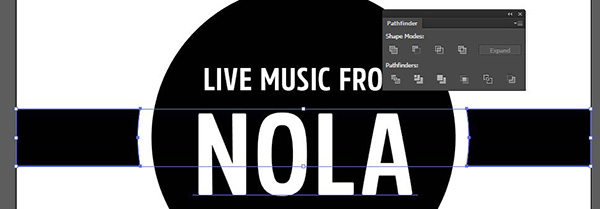
With both the offset circle and the rectangle selected, open the Pathfinder palette and under Shape Modes, select Minus Front.
Note: Whichever object shape is in front will be removed from the object shape behind it, therefore it was important to bring the offset circle shape to the front to subtract it from the rectangle shape.
Press Cmd + F to Paste the copied offset circle in its original position.
At the bottom of the toolbar, click the curved, double-sided arrow at the top right of the swatch thumbnail to toggle the Fill color to None and the Stroke color to black.
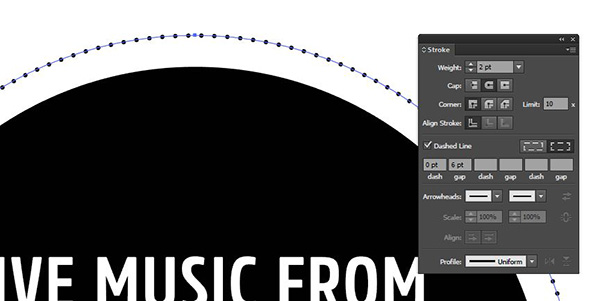
Now we’ll turn this into a dotted line. Fortunately, Illustrator makes it really easy.
Open the Stroke palette. Increase the Weight to 2 pt. Next to Cap, select the middle Round Cap icon. Next, turn on the Dashed Line option. Set the first Dash to 0 and the first Gap to 6 pt.
We’ll come back to this circle later and cut it down to a smaller section. First, let’s add some additional ornaments so we know where we want our supporting dotted line to go.
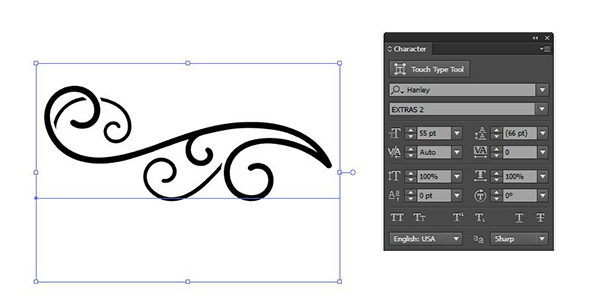
Select the Type Tool. Click once on the artboard and type a right bracket: ]
Switch to the main Selection Tool.
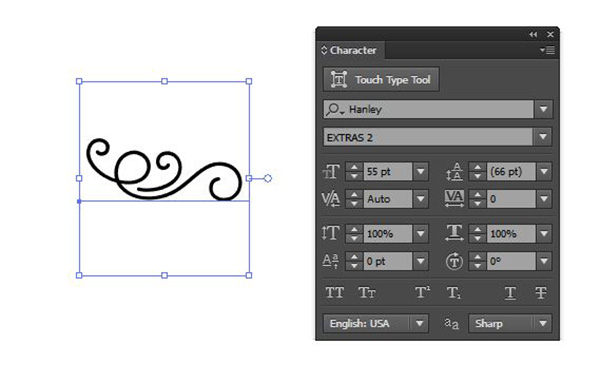
In the Character palette, change the font to Hanley Extras 2 at 55 pt.
Note: If you haven’t purchased the font bundle yet, the outlined ornaments are available in the freebie pack, labeled with the font name and letter.
Go to Object > Transform > Rotate. In the popup, enter 24 degrees and press OK.

Position along the top left edge of the dotted circle.

Select the Type Tool again. Click once on the artboard and type and uppercase i: I
Switch to the main Selection Tool.
The font should already be set as Hanley Extras 2 at 55 pt, so no need to change anything.
Go to Object > Transform > Rotate. In the popup, enter -42 degrees and press OK.
Position along the bottom left side of the dotted circle.
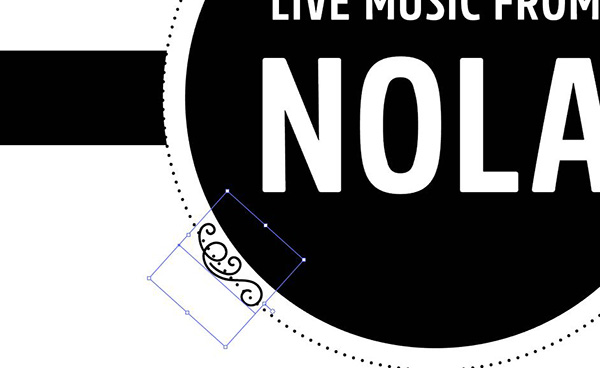
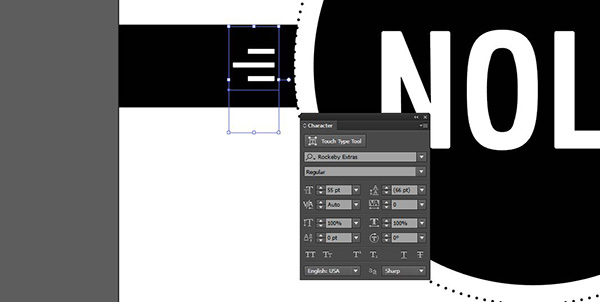
Select the Type Tool. Click once on the artboard and type a hashtag: #
Switch to the main Selection Tool.
In the Character palette, change the font to Rockeby Extras (still at 55 pt).
In the Swatches palette, change the fill color to white.
Position in the rectangle to the left of the circle.
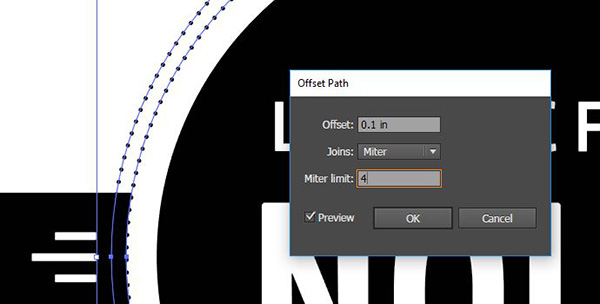
With the main Selection Tool, select the dotted circle. Go to Object > Path > Offset Path. In the popup dialog box, enter 0.1 inches and press OK.
Again, we’ll cut this apart later to make some small, supporting elements. For now, we’ll leave the two full dotted circles.
Select the three ornaments we’ve added so far – the ornament on the top left of the circle, the one on the bottom left and the one on the left side of the rectangle. To select multiple objects, hold Shift as you select each.
With all three selected, go to Object > Transform > Reflect. In the popup, select Vertical, then press Copy (instead of OK).
Hold Shift and drag the reflected copies to the same relative location on the right side of the circle.
Step 2: Top Half
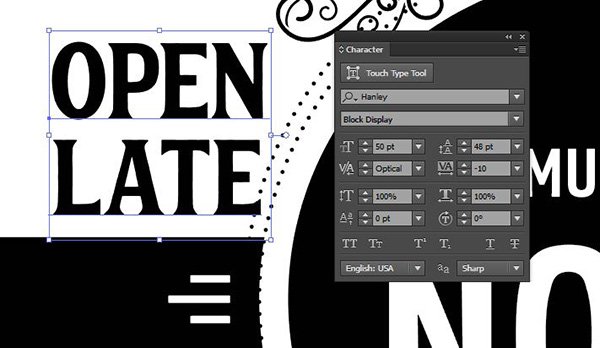
Select the Type Tool (t). Click once above the top left of the rectangle and type:
OPEN
LATE
In the toolbar, switch to the main Selection Tool.
Open the Character palette and change the font to Hanley Block Display at 50 pt. Set the Leading, the space between lines, to 48 pt, Kerning to Optical and the Tracking to -10. Position so the last letter of LATE skims the outer dotted circle.
Hold Shift + Opt, then click on OPEN LATE and drag it to the same relative position on the right side of the circle.

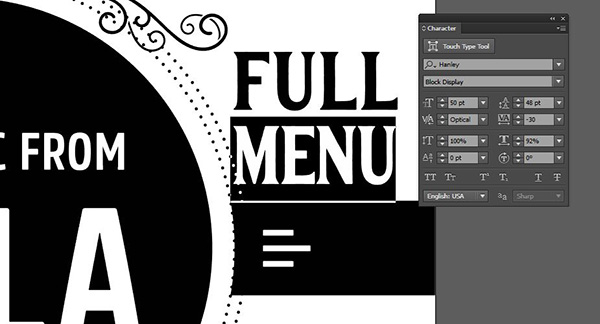
With the Type Tool, select the text on the right and replace it with:
FULL
MENU
Now select only the word FULL. In the Character palette, change the Tracking to 10.
Next, select just the word MENU. Change the Tracking to -30 and the Horizontal Scale (the width of the letters) to 92%.
This is a good time to trim our dotted circles. With our nearest words in place, we can see where we need the lines to end.
Switch to the main Selection Tool. Select the outer dotted circle.
Switch to the Pen Tool (p). Click once on the dotted line just to the bottom right of the N in OPEN. This will add an anchor point to the path.

Click again on the same dotted line just under the top ornament to create another anchor point.
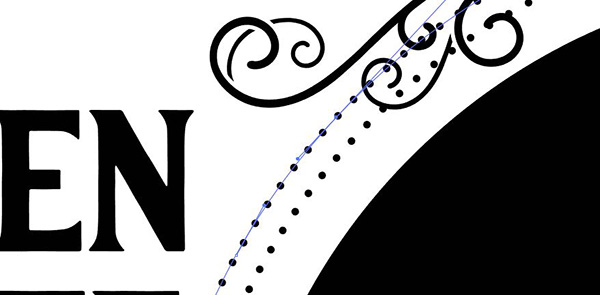
Switch to the Direct Selection Tool (a). Click an empty spot off the artboard to clear the selection, then click the line between the two new anchor points we just created. Press Cmd + C to Copy.
Now press Delete twice to delete the outer dotted line.
Press Cmd + F to Paste the single section of the circle in place.

The reason for doing it this way is to preserve the curve of the circle shape. We could draw the lines freehand with the Pen Tool, but it’s likely that we’d struggle to match the curve of the inner circle shape.
Now we’ll repeat the process on the inner dotted circle.
Select the inner dotted circle, then use the Pen Tool to click once on the line to create the first new anchor point. Let’s put this one a little lower than the outer dotted line, so just to the upper right of the E in LATE.

Then use the Pen Tool to add a second anchor point just below the top ornament.

Switch to the Direct Selection Tool (a). Click an empty spot off the artboard to clear the selection, then click the line between the two new anchor points we just created. Press Cmd + C to Copy.
Now press Delete twice to delete the outer dotted line.
Press Cmd + F to Paste the single section of the circle in place.

Use the main Selection Tool (v) while holding Shift to select both dotted lines. Go to Object > Transform > Reflect. In the popup, select Vertical and press Copy.
Hold Shift and drag the copied reflections to the same relative position on the right side of the artboard.

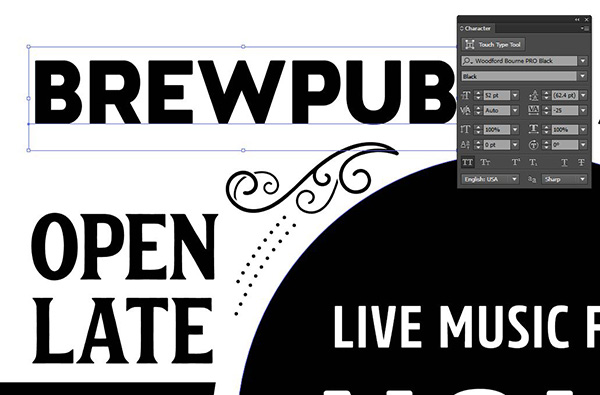
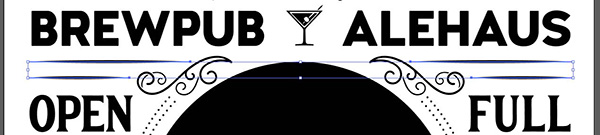
Select the Type Tool. Click once on the artboard above OPEN LATE and type:
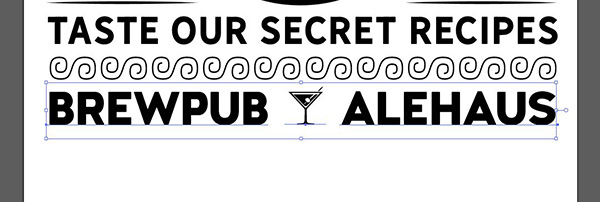
BREWPUB
Switch to the main Selection Tool.
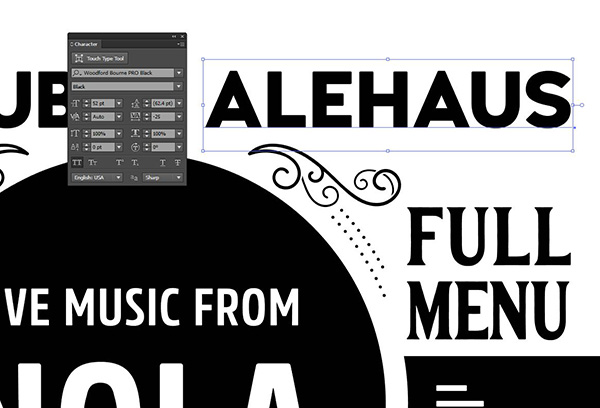
In the Character palette, change the font to Woodford Bourne Pro Black at 52 pt. Set the Tracking to -25.
Align the left side of the first letter in BREWPUB with the left side of OPEN LATE. Position above the top curly ornament.
Hold down Opt + Shift, then click on BREWPUB and drag it to the right to create a copy.
Select the copied text with the Type Tool and replace with: ALEHAUS
Align the right side of the S in ALEHAUS with the right side of FULL MENU.
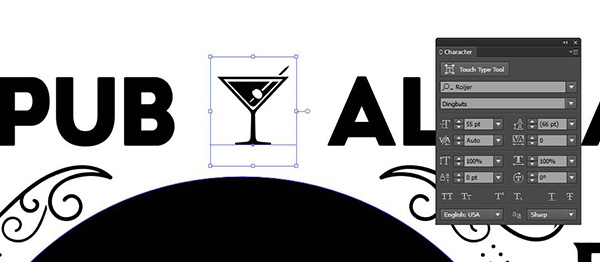
Select the Type Tool. Click once between BREWPUB and ALEHAUS and type a lowercase v.
Switch to the main Selection Tool.
In the Character palette, change the font to Roijer Dingbats.
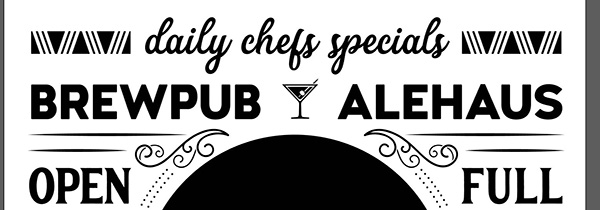
Select the Type Tool. Click in the middle above the martini glass and type:
daily chefs specials
In the Character palette, change the font to The Humber at 78 pt. Set Kerning to Auto and Tracking to 0.

Now will fill in some of the space with ornamentation.
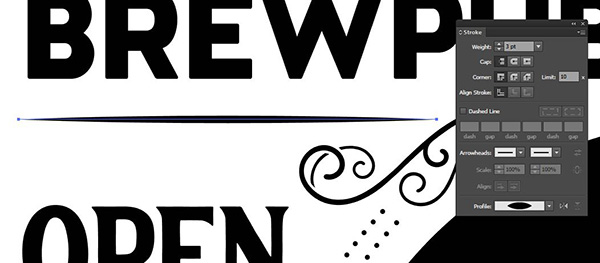
Select the Line Segment Tool (/). Hold Shift and draw a line under BREWPUB beginning under the first B and ending before it touches the ornament.

Open the Stroke palette. Increase the Weight to 3 pt. Under Width Profile, select Width Profile 1.
Repeat to create a shorter line under the first line. Draw the line with the Line Segment Tool while holding Shift. In the Stroke palette, increase the Weight to 3 pt and select Width Profile 1.

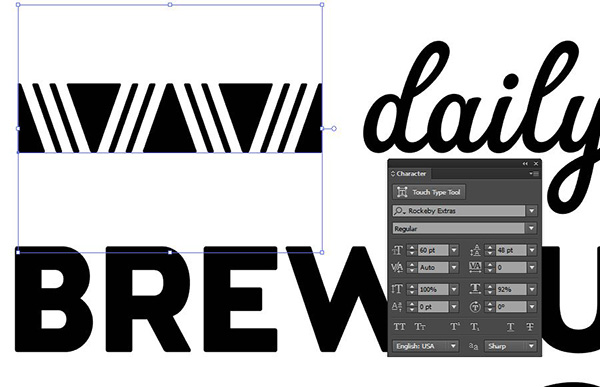
Switch to the Type Tool. Click once to the left of daily chefs specials and type two asterisks: **
Switch to the main Selection Tool.
In the Character palette, change the font to Rockeby Extras at 60 pt. Align with the left side of BREWPUB and along the same horizontal plane as daily chefs specials.
Hold Shift and click on the two line segments and the ornament we just created to the right of daily chefs specials.
With all three selected, go to Object > Transform > Reflect. Choose Vertical and press Copy.
Hold Shift and drag the reflected copies to the same relative position on the right side of the artboard.
Select the Type Tool. Click once at the top of the artboard and type ten of a lowercase a.
Switch to the main Selection Tool.
The font should already be Rockeby Extras, so we’ll just reduce the font size to 40 pt.
Position above daily chefs specials.

With the main Selection Tool, hold Shift and select both the long lines under BREWPUB and ALEHAUS. Continue to hold Shift and also Option, then click and drag up to create copies. Position the copies between BREWPUB and ALEHAUS and the daily chefs specials lines.
Now repeat with the shorter lines. With the main Selection Tool, hold Shift and select both the short lines under BREWPUB and ALEHAUS. Continue to hold Shift and also Option, then click and drag up to create copies. Position the copies between the daily chefs specials text and the row of ornaments above it.

Press Cmd + A to Select All. Hold Shift and press the Up Arrow on your keyboard several times until the top row of ornamentation is about the same distance from the top of the artboard as the sides of the text are from the left and right edges of the artboard. Essentially, we’re creating a border of negative space.
Now on to the bottom part of the sign.
Step 3: Bottom Half
With the main Selection Tool, hold Shift and select both OPEN LATE and FULL MENU. Hold Shift + Option, then click and drag down to create copies. Position the copies below the rectangle.
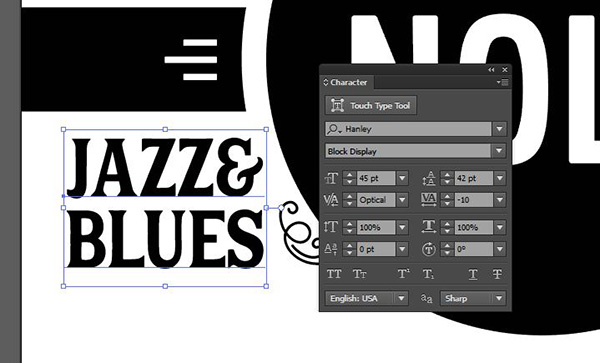
Switch to the Type Tool. Select OPEN LATE. Change to:
JAZZ&
BLUES
Switch to the main Selection Tool.
In the Character palette, change the font size to 45 pt and reduce the Leading (the space between lines) to 42 pt.
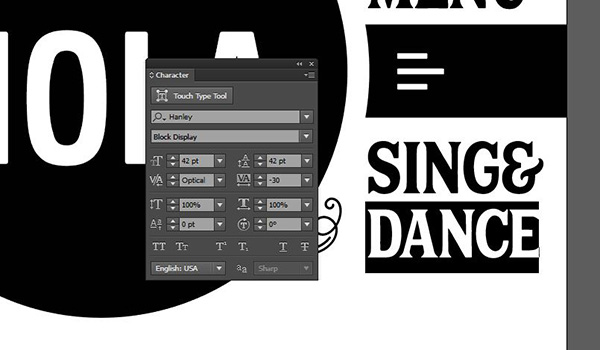
Now select FULL MENU with the Type Tool. Replace with:
SING&
DANCE
Switch to the main Selection Tool.
In the Character palette, change the font size to 45 pt and reduce the Leading to 42 pt.
Now use the Type Tool to select just DANCE. Reduce the font size to 42 pt and the Tracking (the space between characters) to -30 so it will better match the width of SING&.
Hold Shift and use the main Selection Tool to select the four lines below BREWPUB and ALEHAUS.
Go to Object > Transform > Reflect. Choose Horizontal and press Copy.
Hold Shift and drag the copies down below JAZZ & BLUES and SING & DANCE.

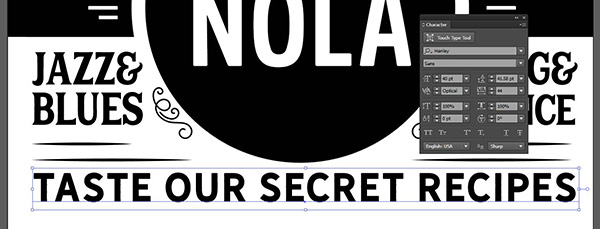
Select the Type Tool. Click once on the artboard below the reflected lines and type:
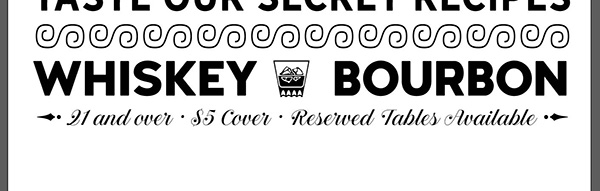
TASTE OUR SECRET RECIPES
Switch to the main Selection Tool.
In the Character palette, change the font to Hanley Sans at 40 pt. Set the Kerning to Optical and the Tracking to 44. Center on the artboard.
Hold Option + Shift, then click on the very top row of ornaments and drag down to create a copy. Position the copy below the bottom line of text.

Hold Shift and select BREWPUB, ALEHAUS and the martini icon between them.
Hold Option + Shift, then click on them and drag down to create copies. Position the copies below the bottom line of ornaments.
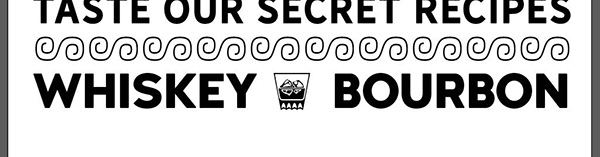
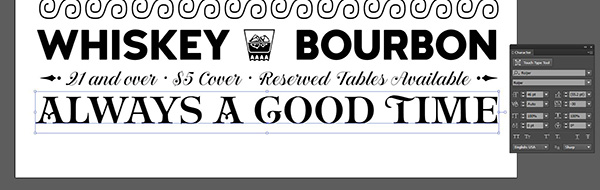
With the Type Tool, select BREWPUB and change it to: WHISKEY
Select ALEHAUS and change it to: BOURBON
Select the martini and type a lowercase w, then switch to the main Selection Tool and use the arrow keys on your keyboard to center the whiskey glass between WHISKEY and BOURBON.
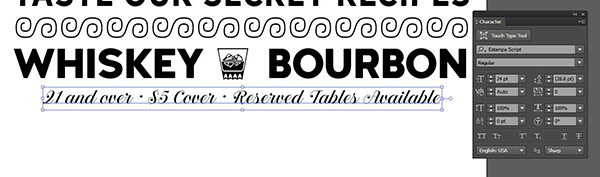
Select the Type Tool. Click once on the artboard under the last line and type:
21 and over • $5 Cover • Reserved Tables Available
Switch to the main Selection Tool.
In the Character palette, change the font to Estampa Script at 24 pt and center on the artboard.
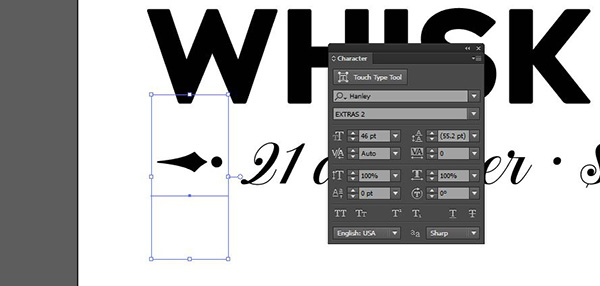
Select the Type Tool. Click once on the artboard to the left of the last line and type a lowercase p.
In the Character palette, change the font to Hanley Extras 2 at 46 pt.
Go to Object > Transform > Reflect. Select Vertical and press Copy.
Hold Shift and drag the reflected copy to the same relative location on the right side of the artboard.
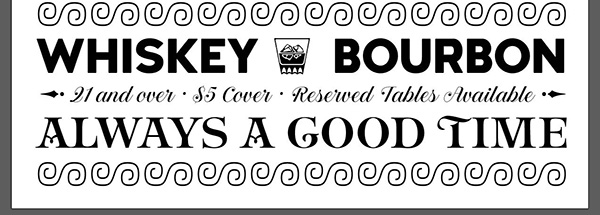
Switch to the Type Tool. Click once below the last line of copy and type: Always a Good Time
In the Character palette, change the font to Roijer at 46 pt. Set the Tracking to -30.
Hold Option + Shift, then click on one of the rows of ornaments and drag down to create a copy. Position the copy below the bottom line of text.
Let’s also add a border around the entire piece.
Select the Rectangle Tool (m). Click once on the artboard and in the dialog popup, enter a Width of 8.25 inches and a Height of 10.75 inches. Press OK.
Open the Align palette and select the icons for Horizontal Align Center and Vertical Align Center.
At the bottom of the toolbar near the color thumbnail, click the double-sided, curved arrow to toggle the Fill color to None and the Stroke color to black.
Select the Eyedropper Tool (i). Use the eyedropper to sample one of the dotted lines.

Go to Object > Arrange > Send to Back.

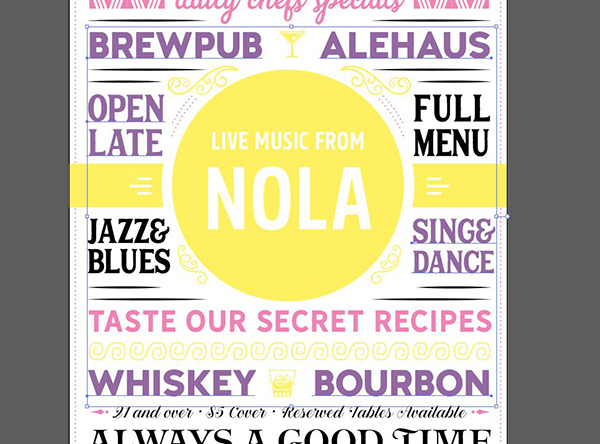
And that’s our basic layout complete. Now we’ll add some color!
Step 4: Color
We’ll start by creating a color palette for our piece. This palette is based on colored chalk like you’d see on a pub slate.
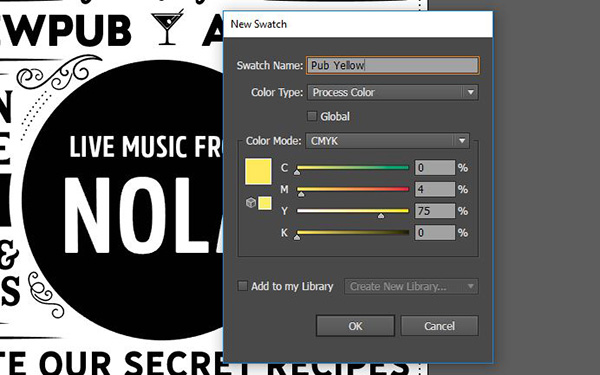
For each color, we’ll enter the CMYK values in the Color palette, then add the swatch to the Swatches palette.
Open the Color palette (Window > Color). Enter CMYK values of 0/4/75/0.
Now open the Swatches palette and click the New Swatch icon at the bottom right of the palette. In the popup, name the swatch Pub Yellow and click OK.
Use the same technique to make swatches for the following colors.
Pub Pink 0/60/0/0
Pub Purple 46/65/8/0
Pub Teal 70/8/13/2
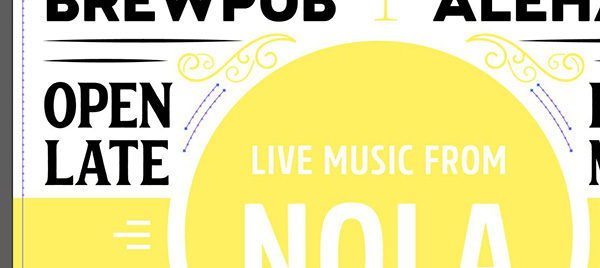
With the main Selection Tool, hold Shift and select the three lines of ornaments, the big circle in the middle, the rectangle that spans across the middle, the two drink illustrations and the curly ornaments around the middle circle.
In the Swatches palette, change the Fill color to Pub Yellow.

Now select the daily chefs specials line including the ornaments on either side, the secret recipes line and just the ornaments on either side of the 21 and over line toward the bottom of the sign.
In the Swatches palette, change the Fill color to Pub Pink.

Select all of the dotted lines – the border and the four small line segments on either side of the middle circle.
In the Swatches palette, leave the Fill color as None and change the Stroke color to Pub Pink.
Select BREWPUB, ALEHAUS, WHISKEY, BOURBON, OPEN LATE and SING & DANCE.
In the Swatches palette, change the Fill color to Pub Purple.
Select FULL MENU, JAZZ & BLUES and Always A Good Time.
In the Swatches palette, change the Fill color to Pub Teal.
Select the line that details age and cover. Change the Fill color to White.
Select any one of the black lines. Go to Select > Same > Stroke Color.
In the Swatches palette, change the Stroke color to White.
Now select LIVE MUSIC FROM NOLA and the small ornaments on either side of the circle (the three line clusters). Change the Fill color to Black.
For our last step, we’ll add a solid black background.
Select the Rectangle Tool (m). Draw a rectangle shape that covers the entire artboard. In the Swatches palette, change the Fill color to Black and the Stroke color to None.
Go to Object > Arrange > Send to Back.
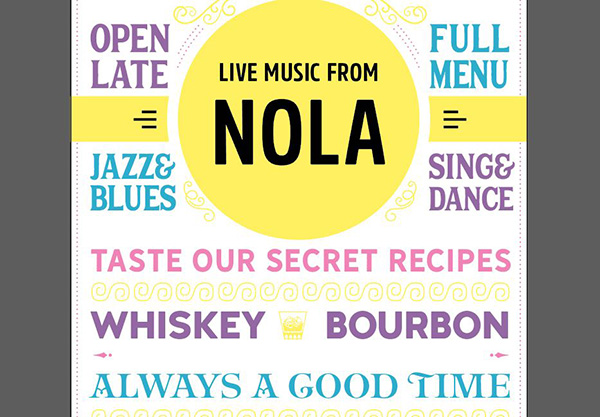
And we’re done! We’ve created an eye-catching sign using beautiful fonts while learning tons of type basics in Illustrator.
Remember that whether it’s your outcome for this tutorial or something new you’ve made, we’d love to see your designs on our Facebook page.
Please leave a comment if you have any questions or suggestions. I always look forward to hearing from you!
There’s still time to check out The Essential, Popular Fonts Collection– the first time these fonts have been available at anywhere close to this kind of discount!

Nice tutorial – except not everyone uses a MAC :-/ Your instructions only include MAC commands, not that I can’t figure it out, but it is kind of short sighted to exclude PC users.
Hey Diane,
Thanks for the comment and I am so sorry if you felt excluded! We usually try and include both PC and Mac commands so my sincere apologies for forgetting them with this tutorial. I will pass your feedback onto our tutorial writer though and ask for both commands to be included in the future! I hope this helps!
You should do tutorials with CorelDRAW. More and more ppl are swith in like I did from PS. Cost is outrageous plus with CorelDRAW, you own it and all your work!
Thanks
Hey Michael,
Thanks for the comment and we will definitely take your feedback on board. Unfortunately no one on our team works with Corel Draw at the moment and a lot of the designers we work with also only create using AI or PS but we will definitely keep it in mind for future tutorials!
Another great tutorial!! Thanks Renee!
Thanks Andrea, we are so glad you liked it :)
Don’t know what I’m doing wrong but I can’t get the dotted lines to clear following the instructions above. I don’t know if it’s because I’m using illustrator CS6 and something has changed, if I have something set wrong or if I’m just messing up the steps somehow but after several attempts I can’t get it to clear.
Oh, sorry, finally got it. I had left out the original selection of the whole circle with the main selection tool…DUH!
Hey Joanne,
Thanks so much for updated the comments to let us know that you figured this one out- that’s great news!
We hope that you’ve enjoyed this tutorial :)
I did enjoy this tutorial and I posted my final result on the Facebook page ,so you can see what I did with it. Didn’t follow the original exactly but certainly took the instructions and inspiration from the tutorial.
Hey Joanne,
That’s great news and thank so much for sharing your design with us on Facebook- it looks great!
We are so glad that this helped with some inspiration and i’m really pleased to hear that you had fun with it :)