WHAT WE’RE CREATING:
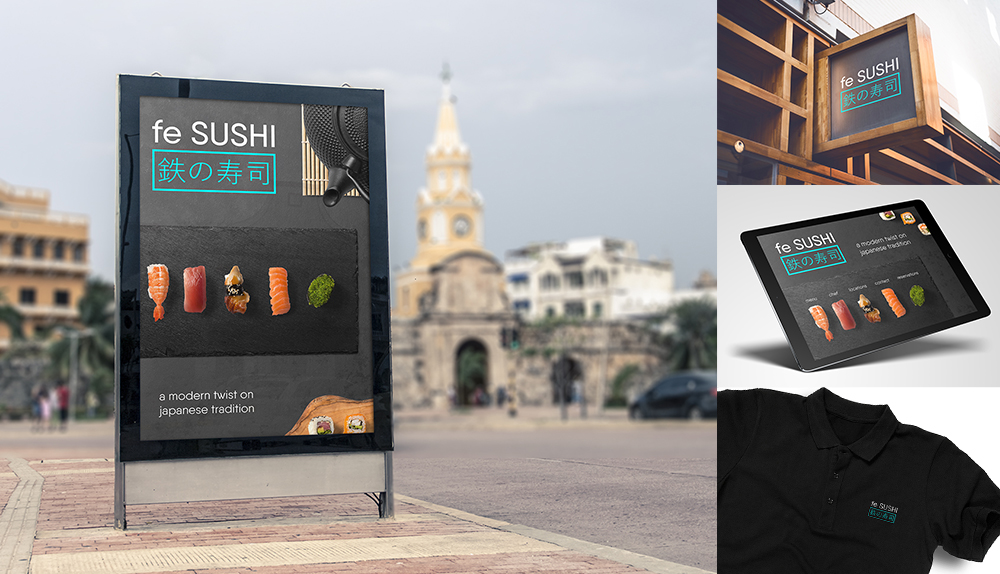
Hello designers! Renee here with a Photoshop tutorial for a sushi restaurant branding package. We’ll create a basic brand look, then use that look to flesh out the brand through signage, shirts and more.
HAVE YOU SEEN OUR YOUTUBE CHANNEL?
Watch the video tutorial below and subscribe to our YouTube channel for regular updates direct to your inbox.
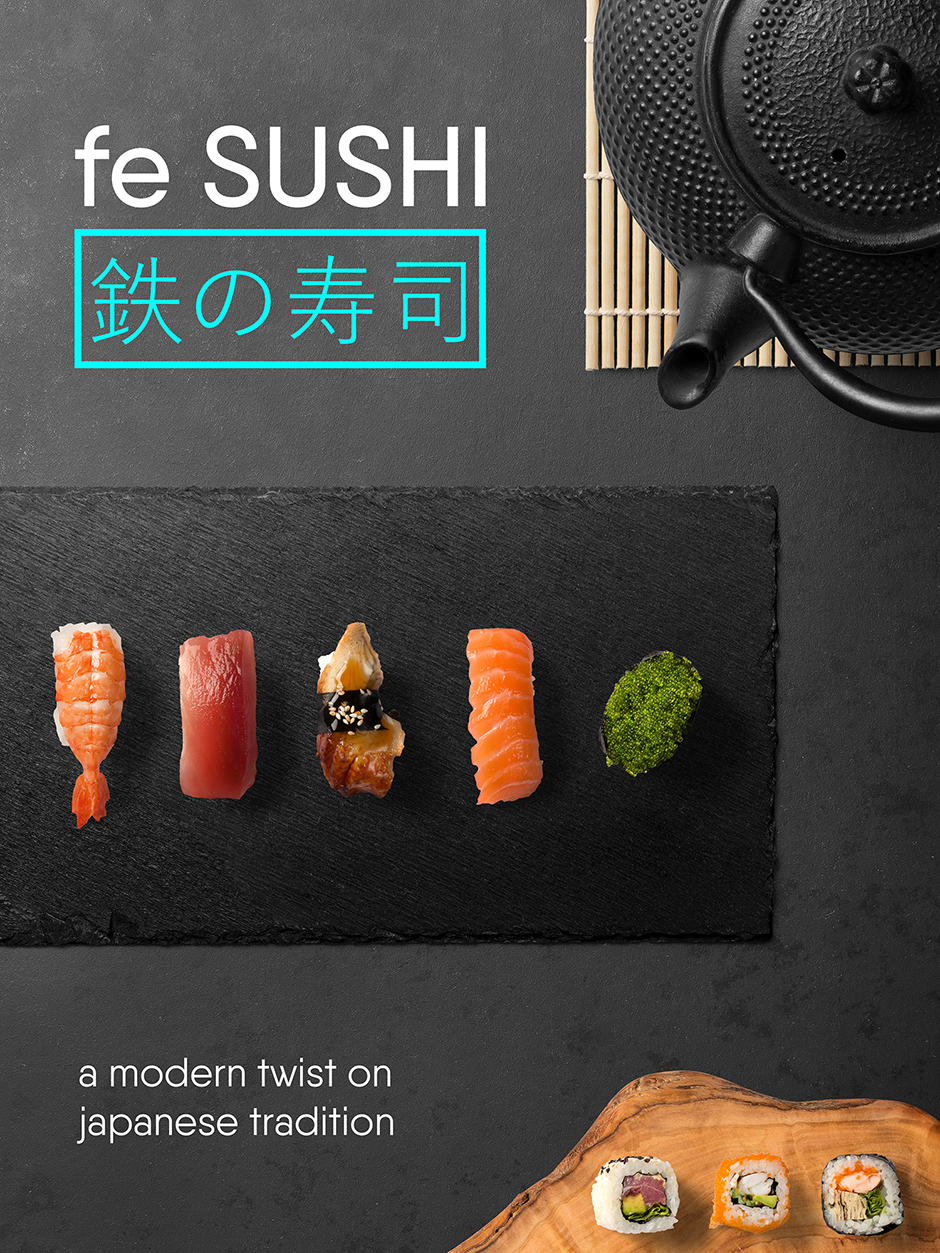
Here’s a look at what we’ll be creating:
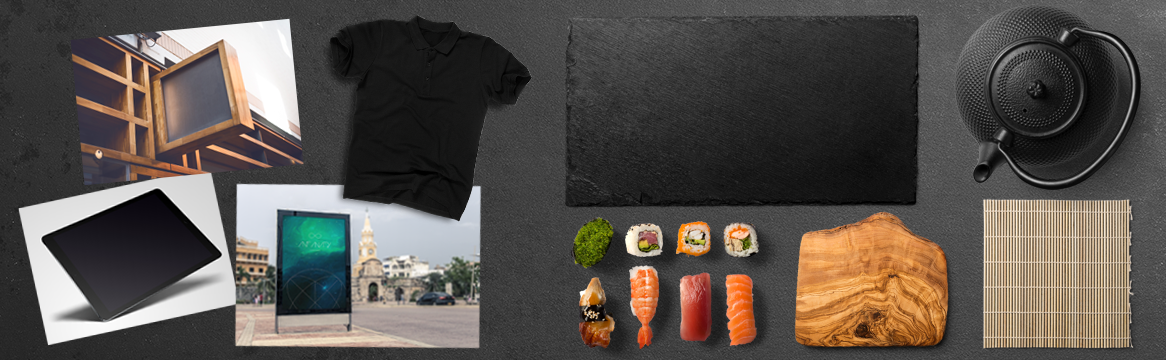
Follow along with this tutorial: Download the freebie files
The freebie pack includes incredible scene setters and mock-ups from our generous design partners at Limedot, Original Mockups, Mockup Cloud and Unio.
This freebie pack is just a hint of the resources available in The Massive Mockup Templates Bundle for just $29 (that’s 99% off). This bundle brings you a versatile selection of ready-to-use mockup templates from some of the industry’s leading designers.
Concept
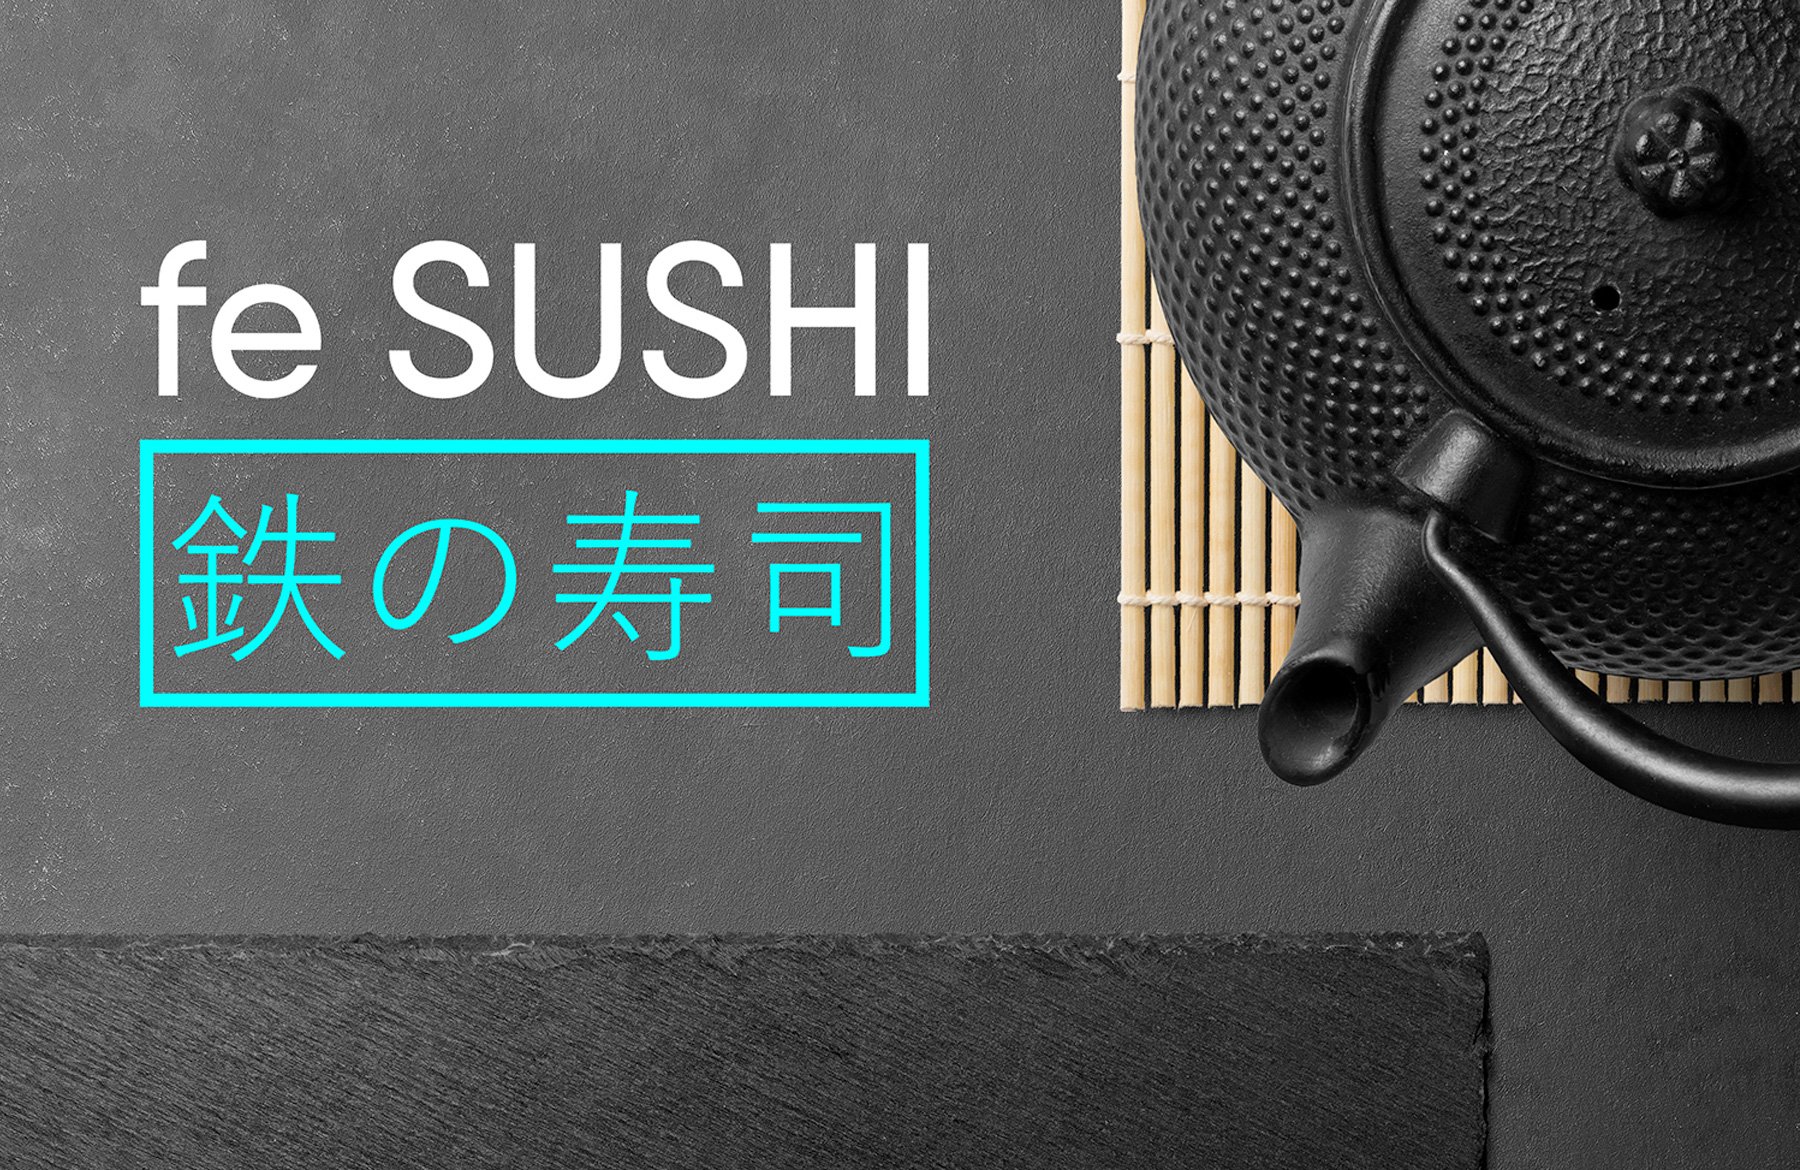
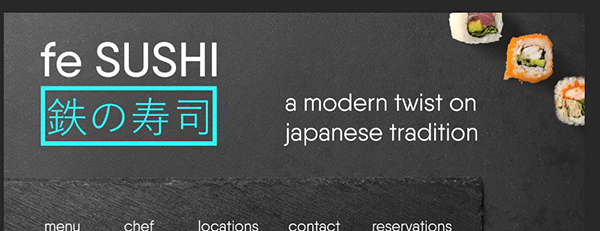
In this exercise, we’ll develop a brand for a modern sushi restaurant called Fe Sushi. “Fe” is the symbol for the element iron. So essentially, our restaurant will be a twist on Iron Sushi.
We’ll use clean, minimal design to communicate the modern feel of the brand while using brightly colored, tasty food images for instant consumer recognition of the type of cuisine.
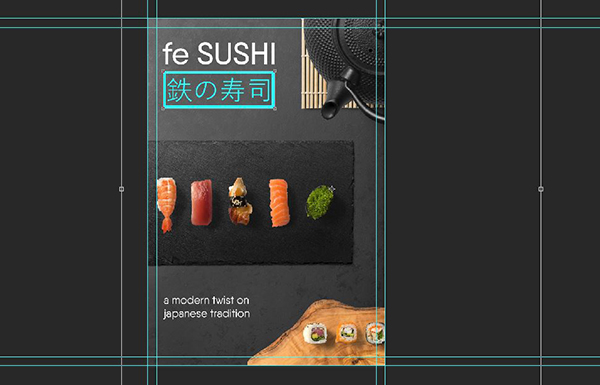
Step 1: Ad Layout
Let’s start by laying out a basic ad with a logo to shape our brand look.
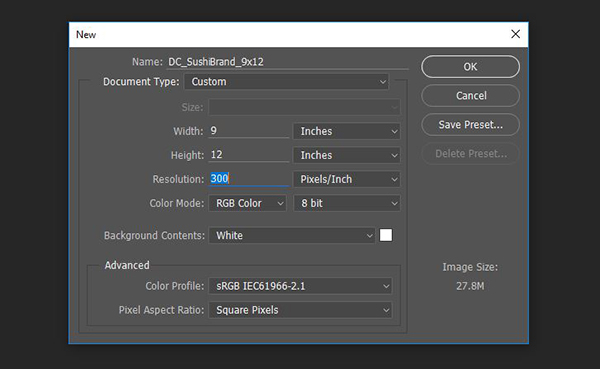
Open Photoshop and go to File > New. In the New Document dialog box, enter a width of 9 inches and a height of 12 inches. Set your Resolution to 300 ppi and your Color Mode to RGB.
Click OK to create the document.
Save your file.
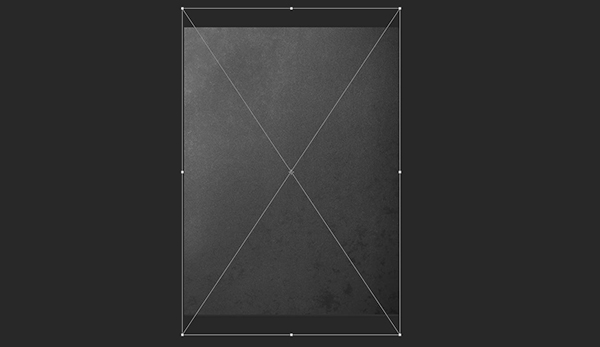
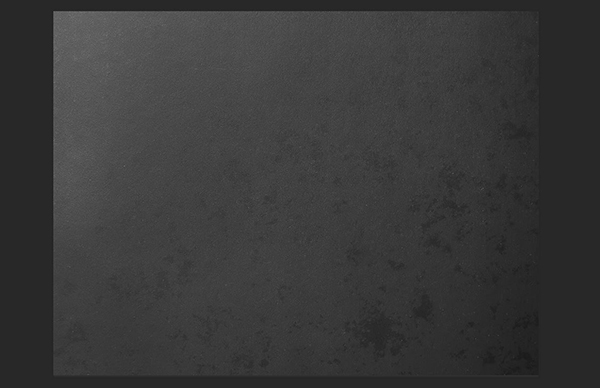
We’ll start with a background image. Go to File > Place Linked. Navigate to the freebies folder and select MockupCloud_20-paper-texture. Press Place.
At the top of the artboard next to Angle, enter -90 degrees. On the artboard, hold Shift and use the corner handles to increase the size until it fills the entire artboard. Press enter when done.
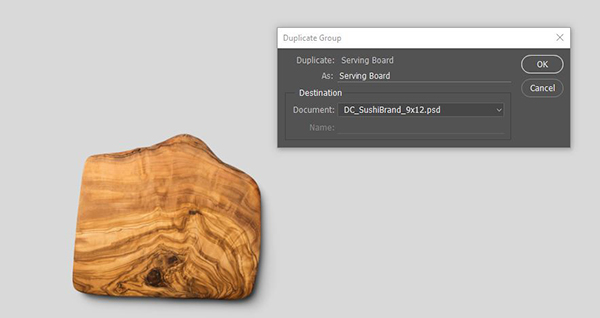
In Finder (or Windows Explorer on a PC), navigate to the freebies folder and open MockupCloud_Serving Boards-Trays-Pads.
When the file opens, you may get a warning about a missing font. Click Cancel – we won’t be working with the text at all.
In the Layers palette (Window > Layers), click once on the top Serving Board group.
Go to Layer > Duplicate Group. In the popup window, select the ad layout file for the Destination Document and click OK.
Back in the ad layout file, you won’t be able to see the serving board just yet. It copied over, but it’s somewhere off the artboard. To see it, press Cmd – (hyphen) several times to zoom out. Now go to Edit > Free Transform to see the edges of the selection.
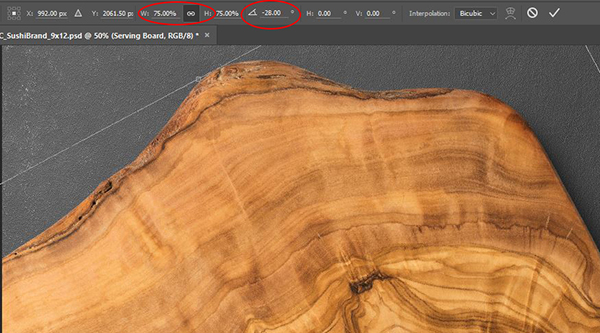
Use the Move Tool (v) to drag the serving board up to the visible part of the artboard.
At the top of the artboard, enter a Width (W) of 75% and click the link icon between Width (W) and Height (H) to maintain the aspect ratio. Enter an Angle of -28 degrees. Press Enter.
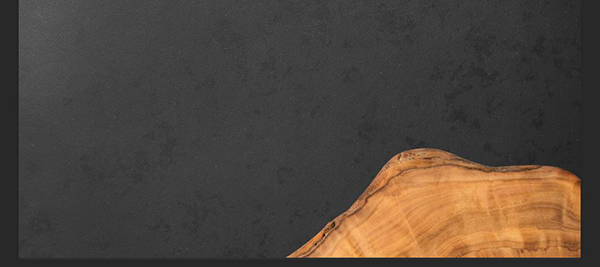
Position the serving board at the bottom right corner of the artboard so we only see a small portion of it.
Go back to the MockupCloud_Serving Boards-Trays-Pads file. Select the group named Pad. Go to Layer > Duplicate Group. Select the main ad layout for the Destination Document and press OK.
In the main ad layout file, zoom out (Cmd -) and go to Edit > Free Transform to locate the Pad group. Drag it to the top right corner of the artboard so we only see the lower left side of the bamboo pad and press Enter.
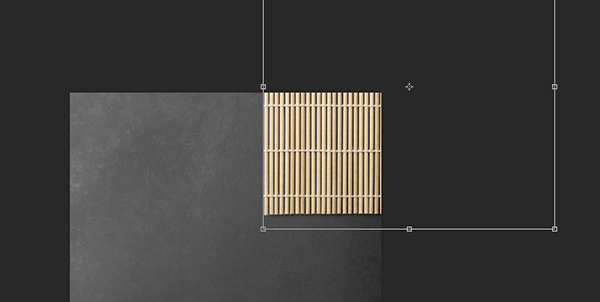
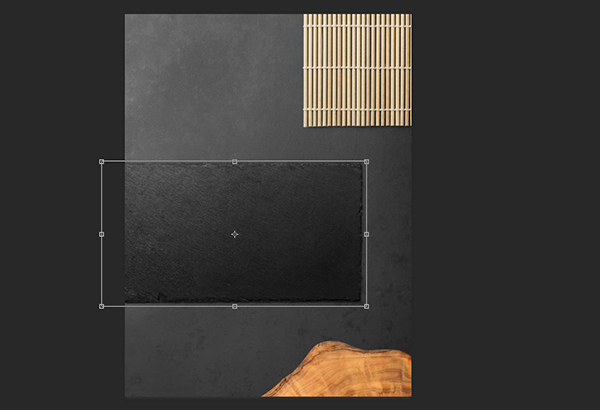
Go back to the MockupCloud_Serving Boards-Trays-Pads file. Select the bottom group named Serving Board. Go to Layer > Duplicate Group. Select the main ad layout for the Destination Document and press OK. You can now close this file.
In the main ad layout file, zoom out (Cmd -) and go to Edit > Free Transform to locate the new Serving Board group. At the top of the artboard, enter a Width of 78% and click the link icon between W and H.
Position the black serving board halfway between the top bamboo pad and bottom wood board, partially falling off the left side of the artboard. Press Enter.
In the Freebies folder, open MockupCloud_Kitchenware-Misc. Choose Cancel on the popup window for the missing font.
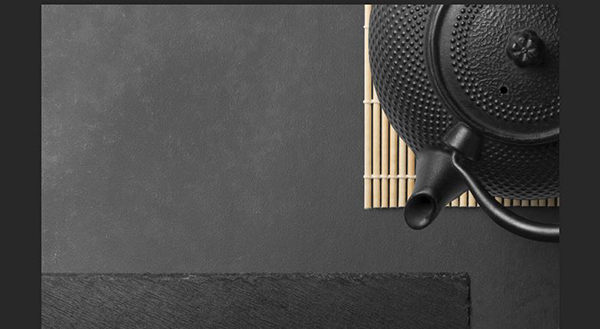
In the Layers palette, select the Tea Pot group. Go to Layer > Duplicate Group and select the main layout file for the Document Destination. Press OK, then close this file.
In the main layout file, go to Edit > Free Transform to locate the teapot. Drag the teapot to the top right corner on top of the bamboo pad. Press Enter.
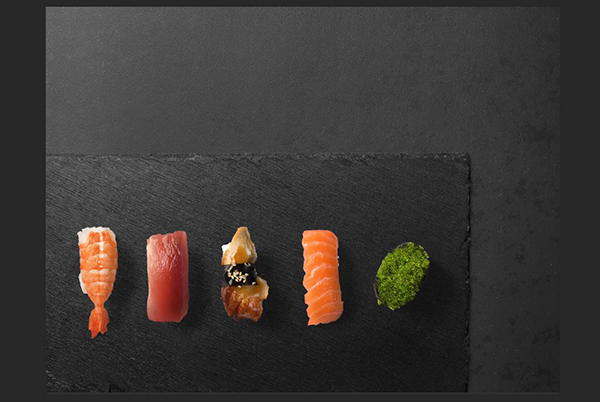
From the Freebies folder, open MockupCloud_Food-Seafood.
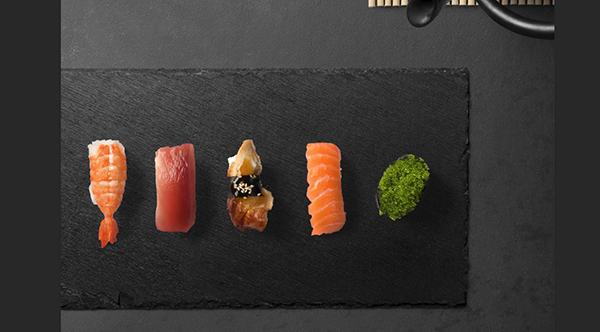
In the Layers palette, select the top Sashimi group. Hold Shift, then click the bottom Sashimi group. This will select all 5 Sashimi groups. Go to Layer > Duplicate Layers and select the main ad file for the Document Destination. Press OK.
In the main ad file, go to Edit > Free Transform. At the top of the artboard, enter a Width of 80% and click the link icon between Width and Height. Drag the sashimi roughly over the black serving board and press Enter.
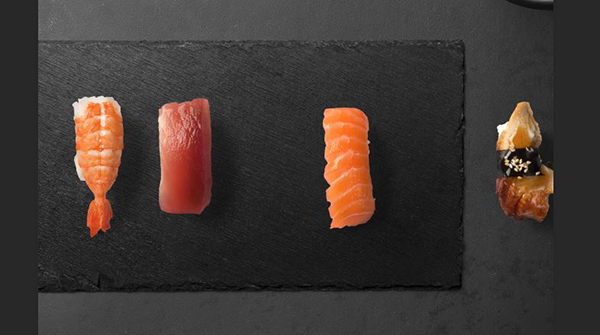
In the Layers palette, select one Sashimi group at a time and use the Move tool to arrange them in a line on the serving board.
Go back into MockupCloud_Food-Seafood.
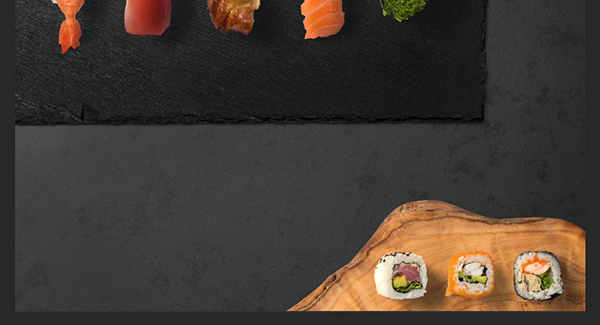
In the Layers palette, select the top Sushi group. Hold Shift, then click the bottom Sushi group. This will select all 3 Sushi groups. Go to Layer > Duplicate Layers and select the main ad file for the Document Destination. Press OK, then close the file.
In the main ad file, go to Edit > Free Transform. At the top of the artboard, enter a Width of 75% and click the link icon between Width and Height. Drag the sushi pieces onto the visible area of the artboard and press Enter.
Individually select each Sushi group in the Layers palette and use the move tool to position the sushi in a line on the wood serving board.
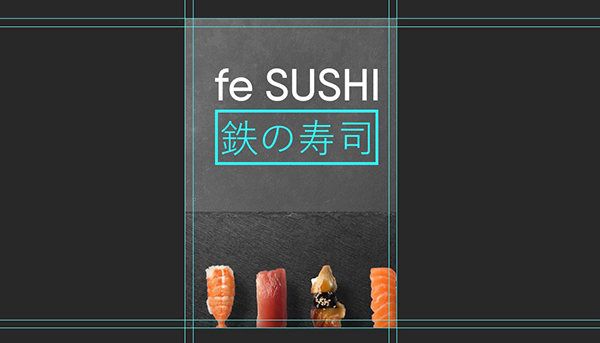
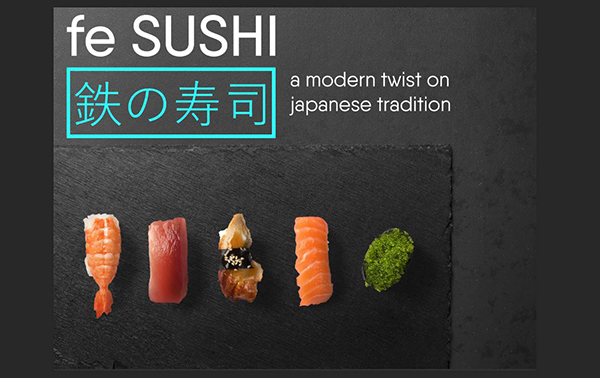
Step 2: Logo and Tagline
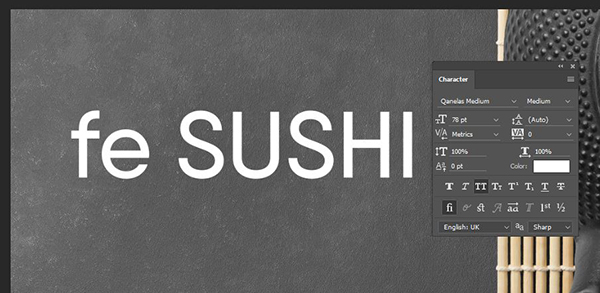
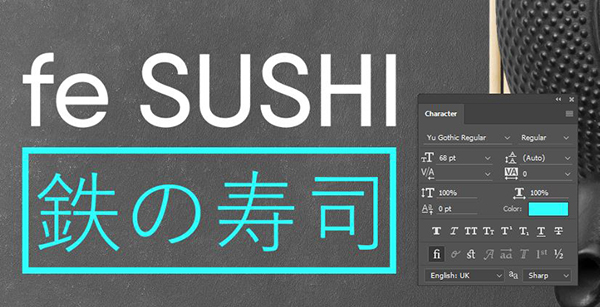
Select the Type Tool (t). Click once on the top left of the artboard and type: fe SUSHI
Open the Character palette (Window > Character). Change the font to a geometric sans serif. I’m using Qanelas Medium, a premium font, but you could also use Century Gothic, Futura, Chalet, Helvetica or any other elegant, sans serif font.
For Qanelas Medium, I’ll set the size to 78 pt.
Click the color swatch on the Character palette and in the Color Picker popup, select white, then click OK.
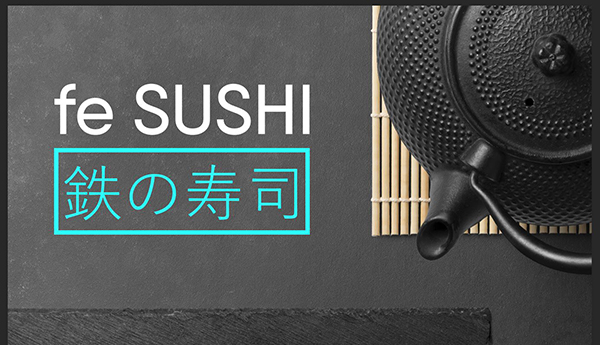
Select the Rectangle Tool (u – this shortcut will pick the most recently used shape tool).
At the top left of the artboard, set the Tool Mode to Shape.
The Fill Color should be None (white box with a red slash).
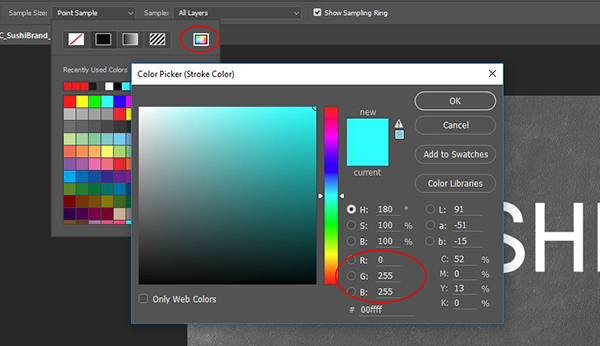
Click the Stroke Color thumbnail. At the top right side of the popup, click the Color Picker thumbnail to bring up the Color Picker. In the Color Picker, enter RGB values of 0/255/255 and click OK.
Increase the Stroke Width to 20 px.
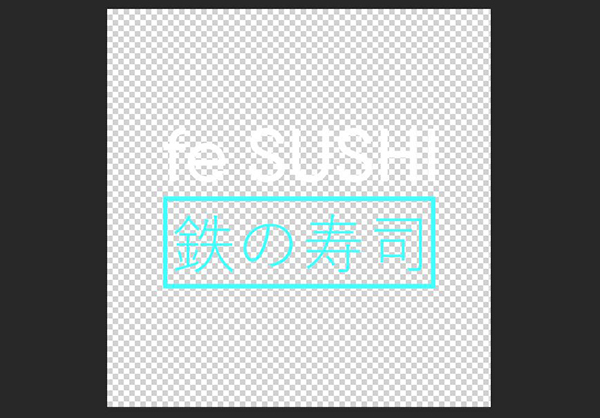
On the artboard, draw a rectangle under fe SUSHI that’s the same width as the words. Approximate the height at about 400 px. After drawing the rectangle, adjust the Height to exactly 400 px at the top of the artboard.

Inside the teal rectangle, we’ll add the Kanji characters for Iron Sushi. For our purposes, I’m going to translate this with Google. In the case of a real branding client, it’s imperative that you confirm the translation with a native speaker!
To use the Google translate service, type the English words into the left side of their translation tool, then press the Copy icon under the translation on the right side of the screen.

In Photoshop, select the Type Tool (t). Click once inside the teal rectangle and press Cmd + d to Paste the Kanji characters copied from Google Translate.
Switch to the Move Tool.
In the Character palette, change the font to Yu Gothic Regular at 68 pt. Click the Color swatch and in the Color Picker, enter RGB values of 0/255/255.
In the Layers palette, select the fe SUSHI layer, then hold Shift and click on the Kanji layer to select all three layers of the logo.
At the bottom of the Layers palette, click the Create A New Group icon. Double click the name of the group, Group 1, and rename it Logo.
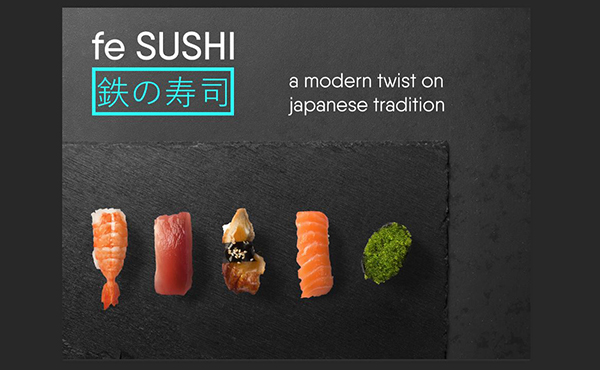
On the artboard, position the logo in the space at the top left of the artboard so the bottom of the teal rectangle lines up with the bottom of the bamboo pad.
Select the Type Tool (t).
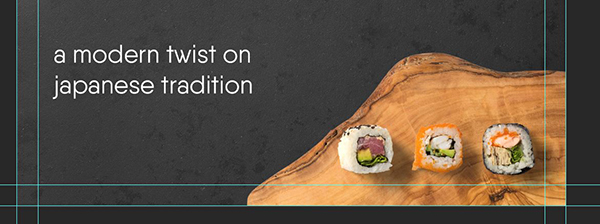
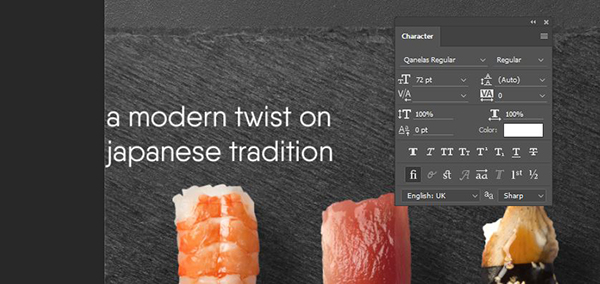
Click once on the lower left of the artboard and type:
a modern twist on
japanese tradition
In the Character palette, change the font to the same used for the main name on the logo, but considerably smaller. I’m using Qanelas Regular (a slightly thinner version of the font logo) at 28 pt.
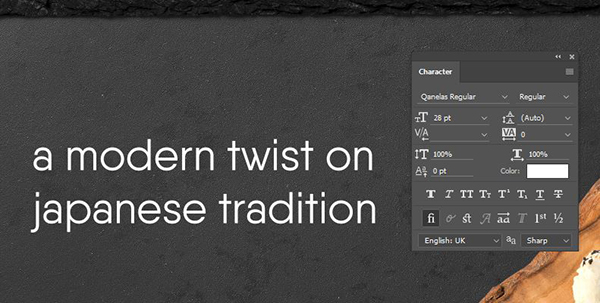
Align the left side of the words with the left side of the logo.
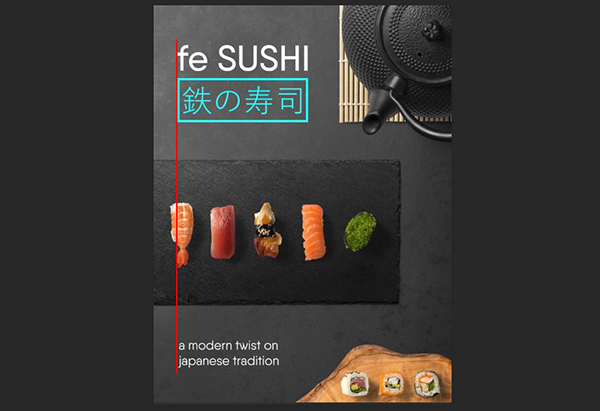
And that’s it for our ad! These resources are so easy to use, it comes together quickly.
Next up, we’ll use our new brand look in a few different mediums.
Step 3: Outdoor Board
Let’s start by showcasing our new ad on an outdoor board.
In the Freebies folder, locate OriginalMockups_Action and double click it. This will automagically install the action in Photoshop. In Photoshop, go to the Actions panel (Window > Actions) to see that it’s been added.
Back in the Freebies folder, open OriginalMockups_Mupi-Billboard-3.
In the Layers palette, turn off the layer called Help Guide.
Double click the thumbnail for the layer named Poster Layout. This will open a new file named Vertical Mupi. This is where we’ll place our ad.
In the Layers palette of the original ad layout file, select the lowest layer, MockupCloud_20-paper-texture. Hold Shift, then select the very top layer. Go to Layer > Duplicate Layers. Select Vertical Mupi for the Document Destination and click OK.
In the Vertical Mupi file, go to Edit > Free Transform. Zoom out if needed (Cmd -) and use the corner handles while holding Shift to reduce the size of the artwork until it fits on the new artboard. Press Enter when you’re done.
The inner guides on this file indicate the live or safe area – the area that will definitely be visible. With the current dimensions of the layout, one piece of sushi will be cut off on the bottom right side, so let’s make a minor adjustment.
At the top left of the artboard, click the little box next to Auto-Select. This will automatically select the layer for the object you click on the artboard.
On the artboard, click the left piece sushi. Hold Shift and click the middle piece of sushi, then continue to hold Shift and select the right piece. With all three selected, turn Auto-Select back off (in the top left of the artboard) and use the Move Tool to drag the pieces of sushi down and to the left until they’re inside the guides, but still on top of the wood serving board.
Save this file by pressing Cmd + s, then close it and return to the OriginalMockups_Mupi-Billboard file.
To see the updated billboard, we’ll first have to run the new action.
Open the Actions panel. In the panel, click on the arrow to the left of Original Mockups Action to open the group. Inside the group, click on Poster 01. At the bottom of the panel, click the Play Selection button.
It does a bunch of cool stuff, then poof! Like magic, we have our updated billboard fully integrated into the scene with realistic reflections and lighting.
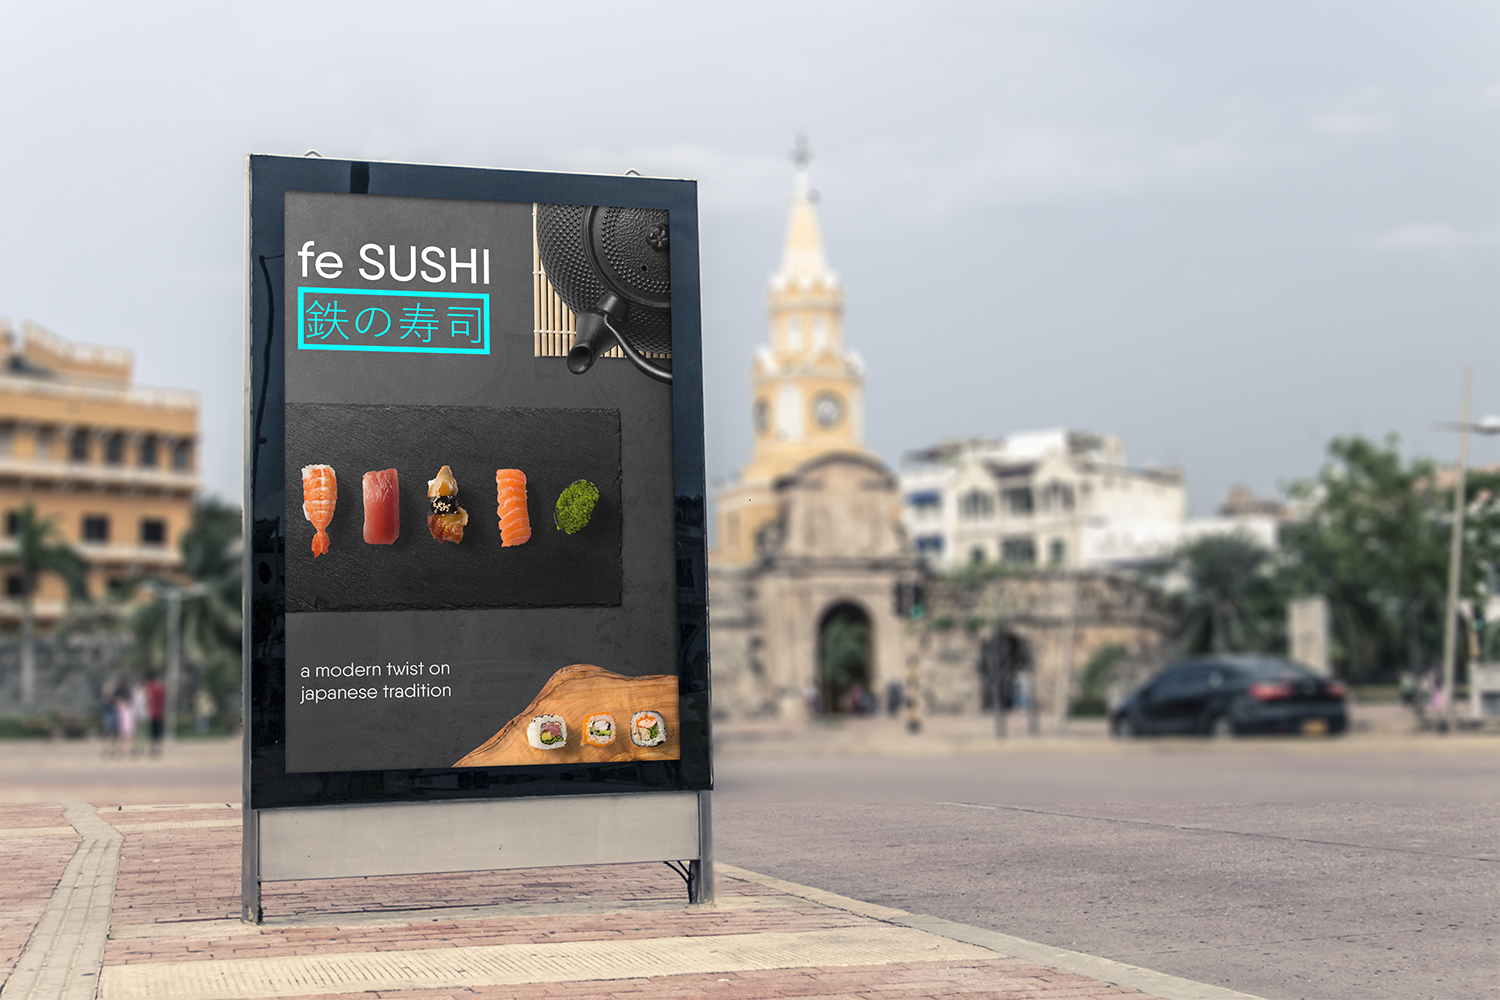
Save the billboard file and close it.
Step 4: Tablet
Now let’s try a website mockup on a tablet screen.
From the Freebies folder, open Unio_IPadProMockup.
In the Layers palette, double click the thumbnail on the layer named YOUR PREVIEW HERE. This will open a new file, Your-preview-here1.psb.
This time, we’ll bring things over a few pieces at a time instead of doing it all at once. This will make it easier to adjust for the completely different dimensions.
In the original ad layout file, select the background texture layer from MockupCloud and go to Layer > Duplicate Layer. Select Your-preview-here1.psb as the Document Destination and press OK.
Go to Your-preview-here1 to see that the texture layer has been added. Use the Move Tool to scoot the texture up a little so we can see more of the interesting details that are more prominent toward the bottom of the texture.
Go back to the main ad layout file and in the Layers palette, select the top Sashimi group, then hold Shift and select the lowest Sashimi group. Now hold Cmd and click on the name of the black Serving Board layer.
Note: Holding Shift while selecting layers or groups in the Layers palette will select everything between the two selected layers. Holding Cmd will only select the layers or groups you click on.
Go to Layer > Duplicate Layers and select Your-preview-here1.psb for the Destination Document and press OK.
In the Your-preview-here1 file, position the newly copied sashimi and serving board at the lower left corner of the artboard.
In the Layers palette of the ad layout file, hold Shift and select both the Logo group and the layer with the restaurant tagline. Go to Layer > Duplicate Layers. Select Your-preview-here1.psb for the Document Destination, then press OK.
In the Your-preview-here1 file, position the tagline with the right edge of the black serving board.
In the Layers palette, select the Logo group. Go to Edit > Free Transform. At the top of the artboard, enter a Width of 70%, then click the link icon between Width and Height to maintain aspect ratio. Hit Enter when done and position the logo at the top left of the artboard, halfway between the top edge of the artboard and the top of the black serving board.
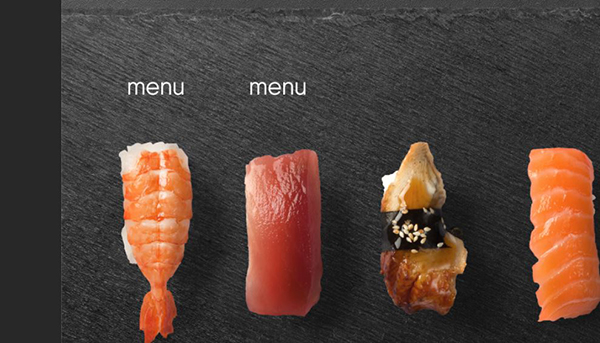
In the Layers palette, select the tagline layer. Drag it to the Create A New Layer icon at the bottom of the Layers palette to duplicate it.
Drag the duplicate just above the shrimp.
Open the Character palette and change the font size to 72 pt.
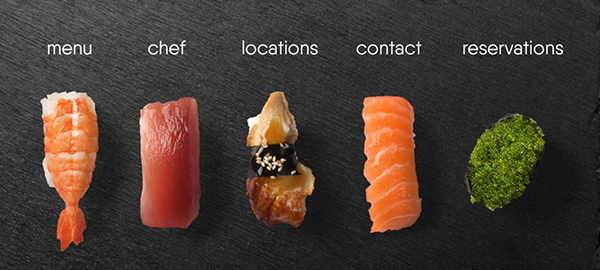
Switch to the Type Tool (t). On the artboard, select the smaller text we just created and replace it with: menu

Change to the Move Tool. Hold Shift + Opt, then click on “menu” and drag to the right to create a copy. Position the copy above the second piece of sashimi.
Repeat three more times so the word “menu” is over each piece of sashimi on the serving board.
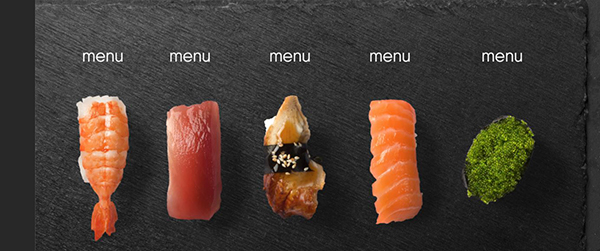
Select the Type Tool. On the artboard, select the text above the second piece of sashimi and replace it with: chef
Switch to the Move Tool. Hold Shift and center the text above the second piece of sashimi.
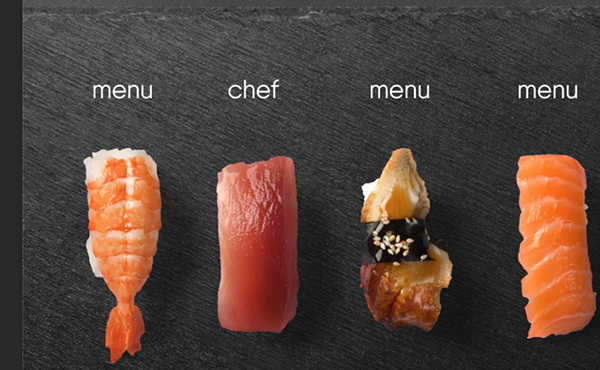
Change to the Type Tool and repeat the process on the remaining text. Replace with locations, contact and reservations. Use the Move Tool to center each word over a piece of sashimi.
In the main ad layout file, select the three sushi layers and go to Layer > Duplicate Layers. Select Your-preview-here1 as the Document Destination and press OK.
In Your-preview-here1, use the Move Tool to position the three pieces of sushi in the top right corner of the artboard.
Save Your-preview-here1.psb and close it.
Back in the Unio_IPadProMockup file, you’ll see that the screen has automatically updated with our layout.

Save and close the tablet layout file.
Step 5: Sign
This one is really simple, but packs a lot of punch when presenting concepts to a client.
From the Freebies folder, open Limedot_10-Signboard-Mockups.
In the Layers palette, drag the layer named DELETE THIS LAYER to the trash icon to delete it.
Click on the arrow to the left of the Signboard 2 group to open it, then open the group inside of it. There are two layers named Double-click to add.. Double click the thumbnail image on either of those layers. This will open Rectangle 11.psb.
In the Layers palette in the main ad layout file, select the Logo group. Go to Layers > Duplicate Group and select Rectangle 11.psb for the Document Destination and click OK.
In Rectangle 11, use the Move Tool (v) to center the logo vertically and horizontally on the artboard.
Save Rectangle 11, then close it.
Back in the Limedot signboard file, you’ll see that the logo now exists on the wooden sign.

Save the signboard file and close it.
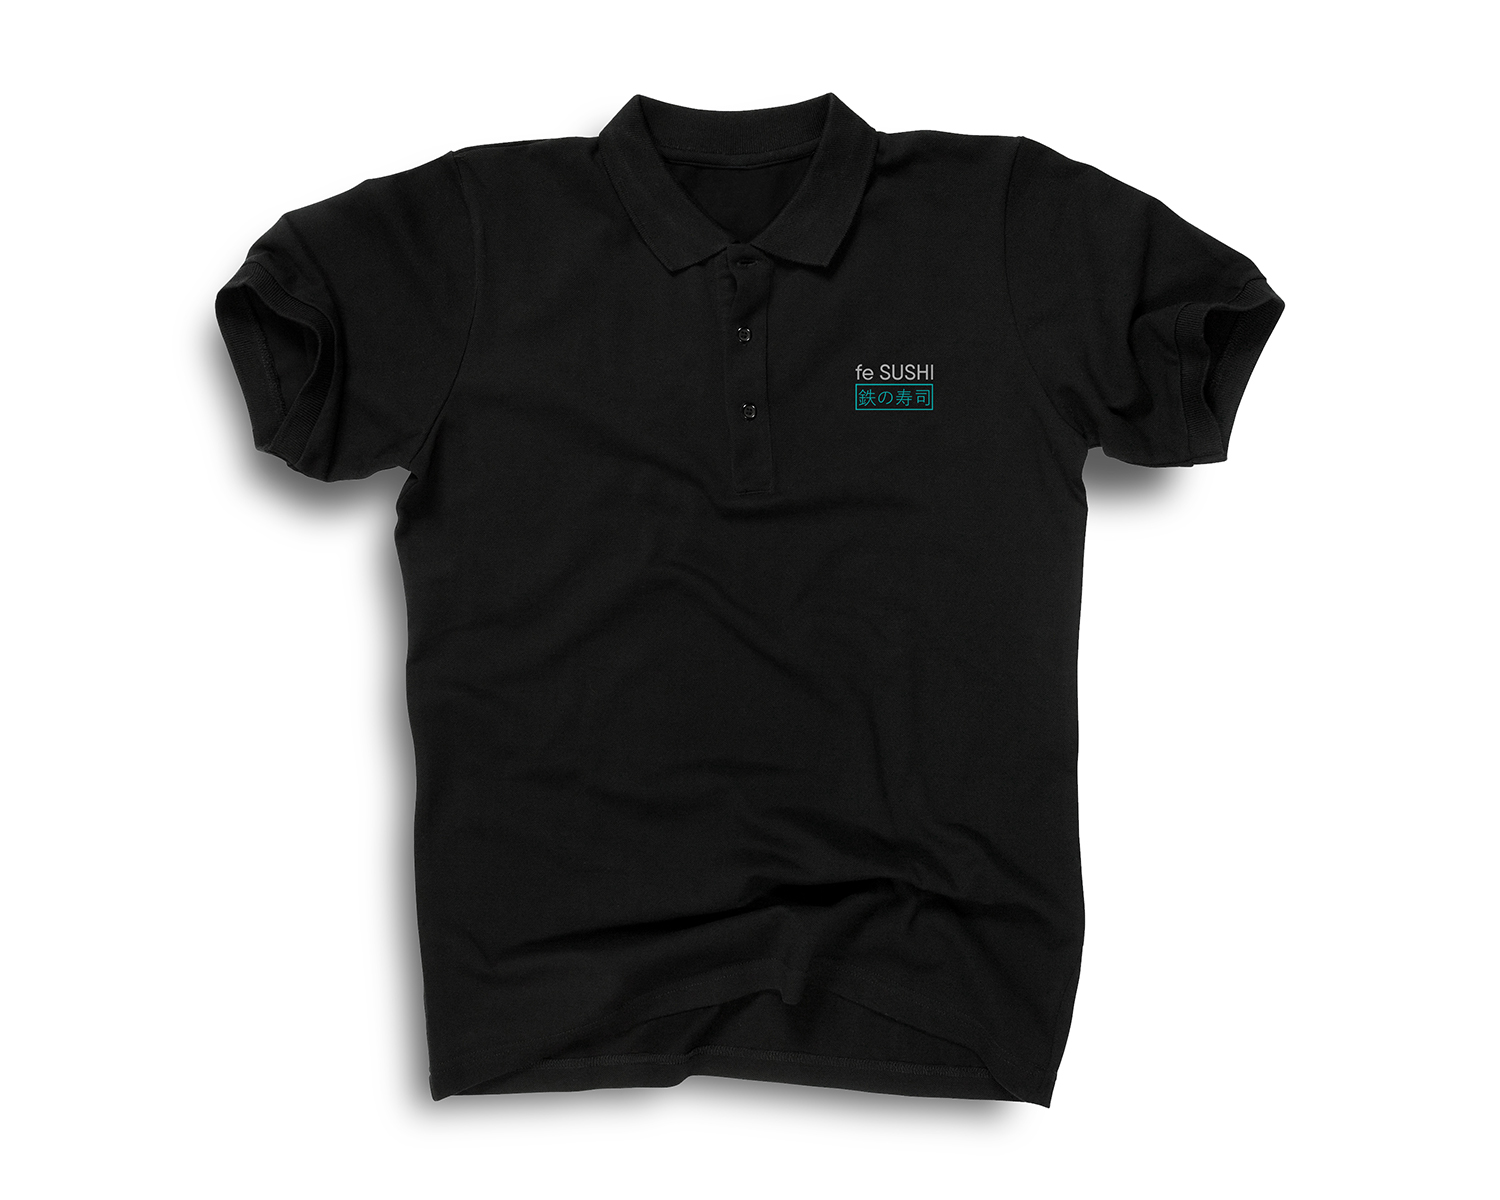
Step 6: Employee Shirt
The last piece we’ll create for our brand today is a shirt that would be worn by a member of the kitchen staff who isn’t in a chef uniform – bussers, dishwashers, etc.
From the Freebies folder, open Limedot_13-Apparel-Mockups.
In the Layers palette, drag the layer named DELETE THIS LAYER to the trash icon to delete it.
Click on the arrow to the left of the Shirt 13 group to open it, then open the first group inside of it. Double click the thumbnail image on the layer labeled “Double-click to add…”. This will open Rectangle 12.psb.
In the Layers palette in the main ad layout file, select the Logo group. Go to Layers > Duplicate Group and select Rectangle 12.psb for the Document Destination and click OK.
In Rectangle 12, use the Move Tool (v) to center the logo vertically and horizontally on the artboard.

Press Cmd + s to Save the file. In the Displace dialog box that opens, leave Horizontal and Vertical Scale set to 25. Displacement Map should be set to Stretch To Fit and Undefined Areas to Repeat Edge Pixels. Press OK.
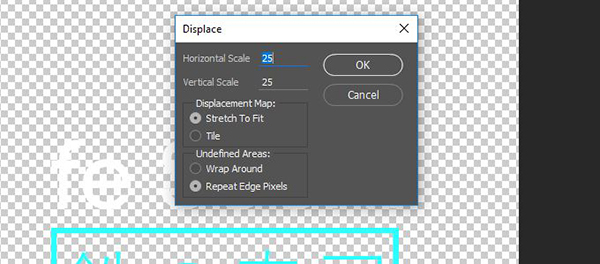
Now you’ll see a window open to choose a displacement map. Navigate to the Displacements folder in the Freebies folder and select Shirt 13, then click Open.
You can now close the file and return to the Limedot Apparel Mockup file where you’ll now see our Fe Sushi logo on the top right of the shirt.
And we’re done! We have an entire collection of professional, presentation-ready concepts for our new brand. I hope you’ve seen how amazingly fast a cohesive brand presentation can come together when you have high quality mockup templates.
Remember that whether it’s your outcome for this tutorial or something new you’ve made, we’d love to see your designs on our Facebook page.
Please leave a comment if you have any questions or suggestions. I always look forward to hearing from you!
There’s still time to check out The Massive Mockup Templates Bundle to bring your design work to life with world class, quality tools, from some of the greatest designers in the industry for only $29.
— truly AMAZING! [I wanted to use the word, awesome, but am still looking for a stronger word :)]
The tutorials you so graciously provide (including this one), the beautiful products you sell, the oh-so-cool bundles are . . . well, just wonderful! Already I’ve learned so much from these tutorials and am having a blast incorporating the mass quantities of high-quality, professional “stuff” from the Marketplace into my own mass quantities of high-quality, professional “stuff”:)
Thank you for everything you all do!
You guys rock!!!
Miss Diana
Hey Diana,
Thank you so much for the awesome comment! This is incredible feedback and I cannot tell you how much this means to the whole team here at DC!
Your support and kind words are truly appreciated and we couldn’t be happier to hear that you are loving the tutorials and resources :)
Oh wow, this is so so awesome! Thanks a lot! I have learned a lot from you.
Hey Christa,
Thank you so much for your lovely feedback! It’s so great to hear that you were able to pick up some new tips and tricks from our tutorials :)
Thanks again, Christa, and if there is ever anything I could assist you with please do let me know. I’m always happy to help!
Thank you so much, Christa! That’s music to my ears :) Let us know if you have any questions!
Another awesome tutorial! Thank you Renee!
Hey Andrea,
Thanks for your lovely comment :) Renee will be so pleased to hear you enjoyed her tutorial! She’s done an amazing job putting it together!
Thanks again, Andrea!
Thank you, Andrea! I really appreciate your feedback and hope we’ll have the opportunity to see your outcome!
That’s so great! Thanks a lot!
Hey Rachel,
Thank you so much :D We hope you enjoyed this tutorial! If you did have any questions or queries, please do let me know. I’m here to help!
Thanks Rachel!
Nice. I rarely have need of these currently, but this actually makes a mockup make more sense to me for if and when.
Hey Angel,
Thank you so much for your incredibly kind words! We’re so pleased to hear you enjoyed this tutorial :) we hope you get some great usage of your mockup freebies as well!
Thanks ladyjewell! So glad to hear we may have helped spark some ideas!