In this tutorial I will be showing you how to create a fun and stylish flyer design for the Blades of Gold Barber Shop in Adobe Illustrator. We will first be assembling the main logo before laying out our background and text using some of the awesome design elements from Andimaginary Creative Co., Darumo, Retro Supply Co, and Unember to create our finished piece. Let’s get started!
HAVE YOU SEEN OUR YOUTUBE CHANNEL?
Watch the video tutorial below and subscribe to our YouTube channel for regular updates direct to your inbox.
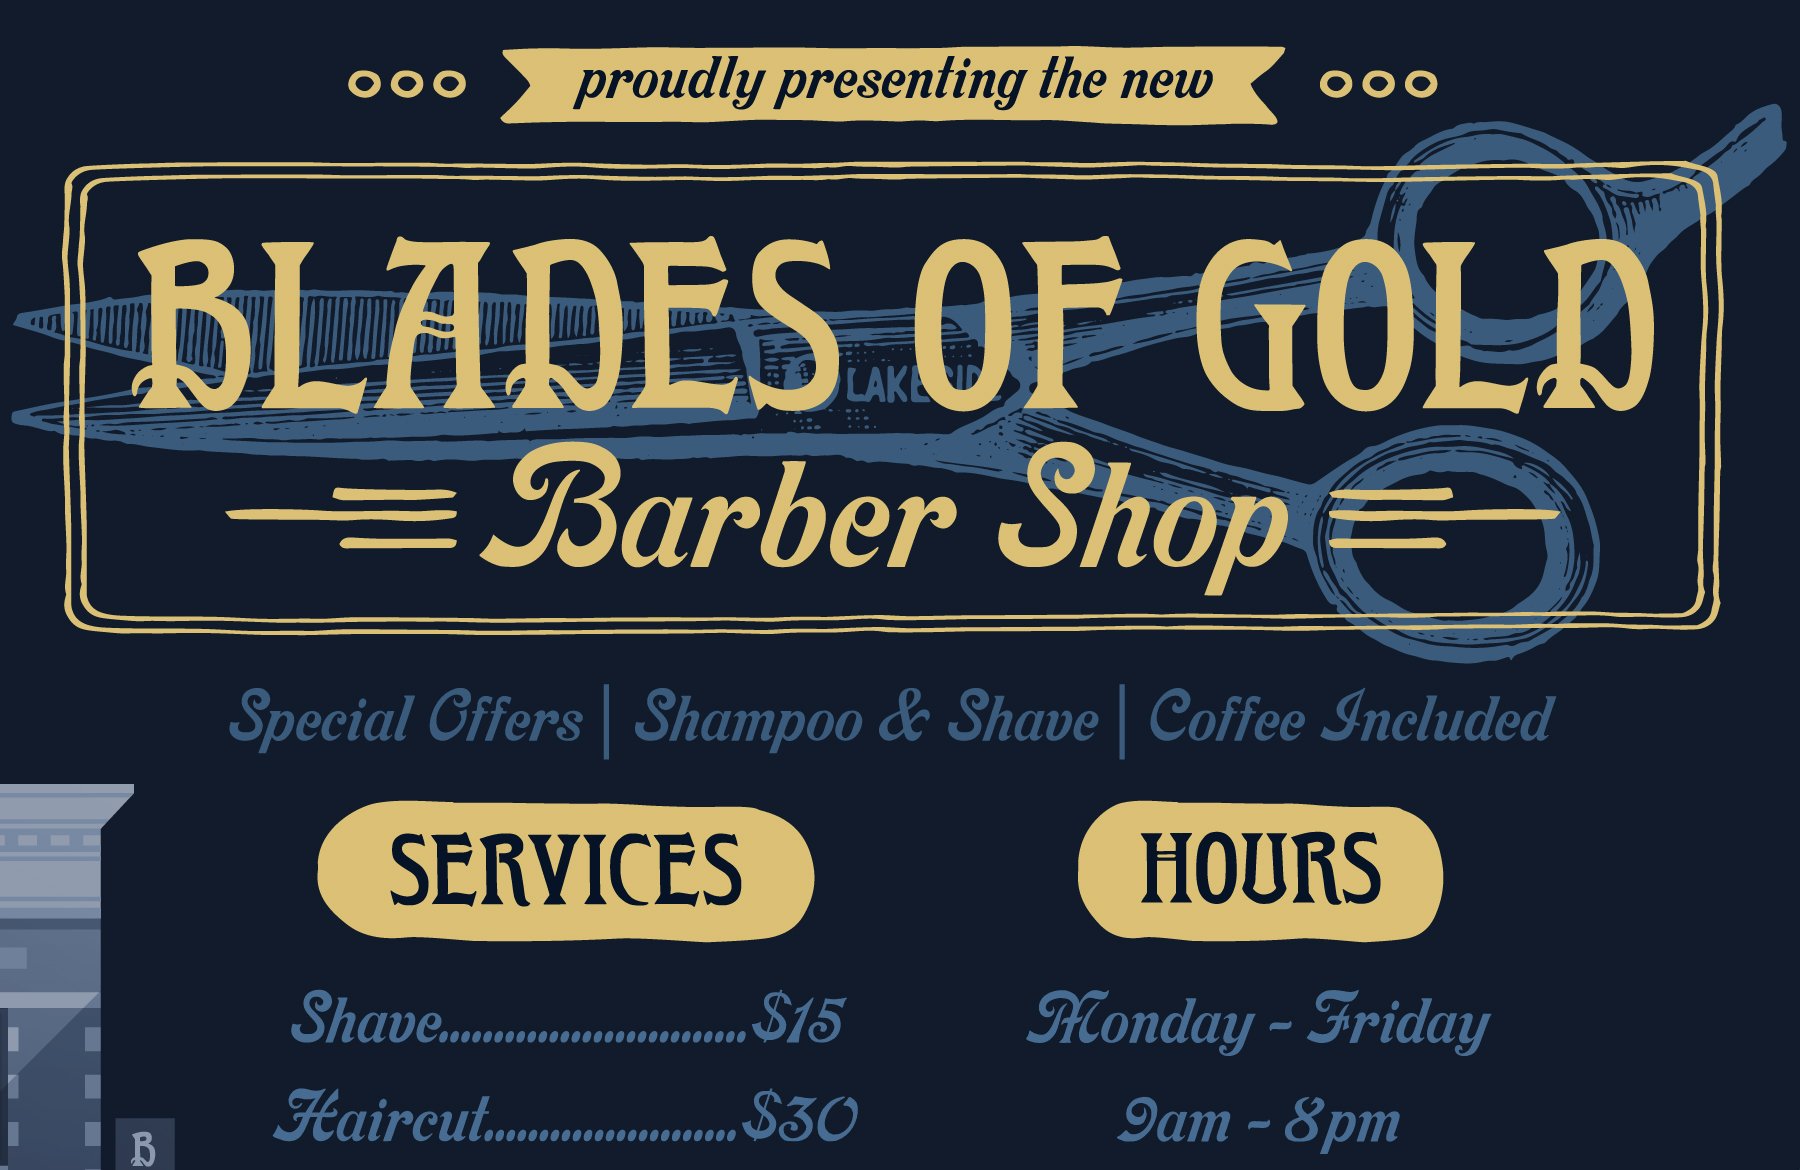
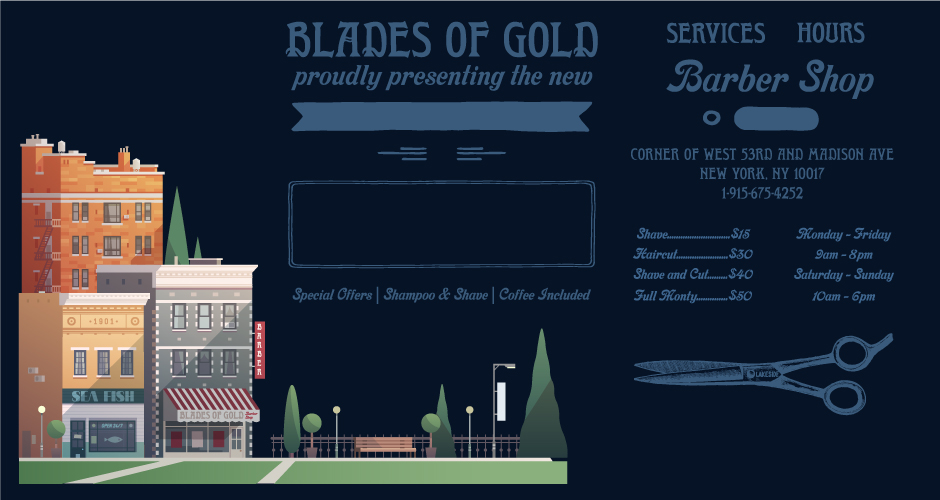
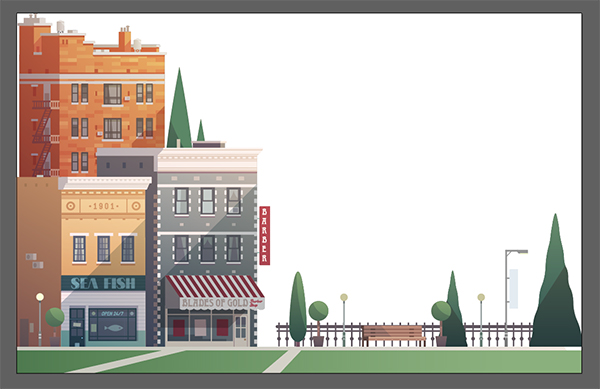
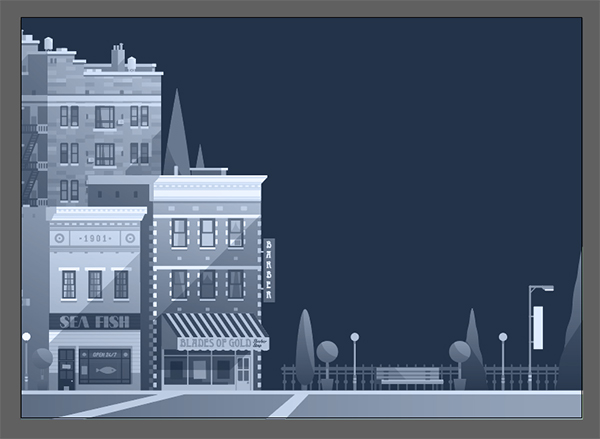
Here’s a look at what we’ll be creating:

Follow along with this tutorial: Download the freebie files
This freebie pack includes a diverse sampling of high quality vectors that will be used to complete our flyer design.
The freebie pack is a small taste of what you can expect to find in the The Totally Artistic, Vector Supply Kit for just $29 (that’s 99% off). This bundle contains an astonishing variety of vector elements from some of the best vector designers in the business and also includes a stunning selection of fonts that will compliment your new vectors perfectly.
Step 1: Blades of Gold
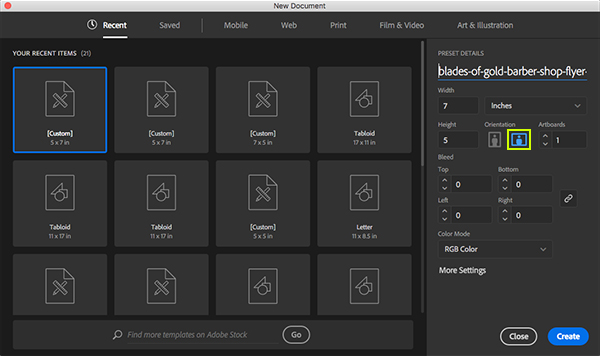
To begin let’s open Adobe Illustrator and create a New Document. In the ‘New Document’ window we want to make sure that we first give our document a name – here I will be using the name ‘blades-of-gold-barber-shop-flyer-design’ but feel free to change this if you wish. We will be working in ‘RGB Color’ for the ‘Color Mode’ and and will leave the ‘Artboard’ set to ‘1’. After that we want to make sure that our artboard is 7” wide by 5” tall so that it has a landscape orientation. You can also check this in the ‘Orientation’ section highlighted by the green box in the image below:
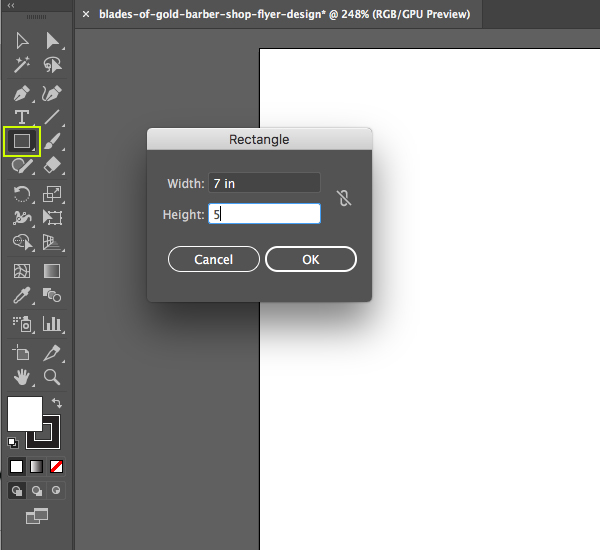
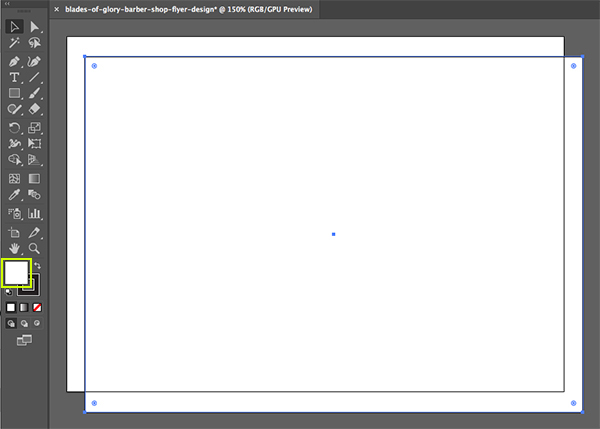
After setting up our parameters go ahead and press ‘Create’ to make your document. Now that we are inside the document window we want to press the letter ‘M’ to get the ‘Rectangle Tool’ and then double click on your canvas to bring up the ‘Rectangle’ properties. From here, enter a value of ’7 in’ for the width and ‘5 in’ for the height and then press ‘OK’ in the panel to create your rectangle.
Now that we have our rectangle that is the same size as our document you may notice that it doesn’t line up with the borders of our dartboard and that it will also most likely have a white fill color with a black stroke or outline around it. To fix this, press ‘V’ to get the ‘Selection Tool’ and then click and drag the new rectangle so that it lines up with the borders of your artboard – You can also use the arrow keys to nudge it into place. Once your rectangle is in position we will double click on the white box representing the fill color of the shape as indicated by the green highlight in the image below:
After double clicking on the fill color you will be brought into the ‘Color Picker’ dialog box where we will enter a hex value of ‘#243349’ as shown below:
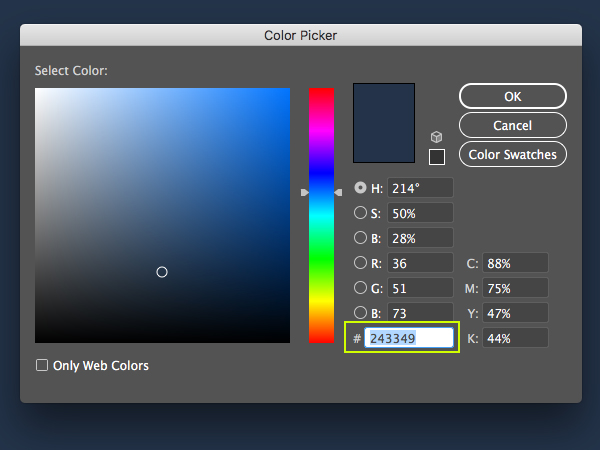
Press ‘OK’ to apply the change and fill your new shape with this dark navy color. You will still have a black outline to get rid of so to toggle between your fill and stroke colors simply press the ‘X’ key on the keyboard. Once the ‘stroke’ is brought to the front we will just need to click on the small white box with a red strikeout through it to eliminate the outline as indicated by the highlighted icon in the image below:

Step 2: The Layers Panel
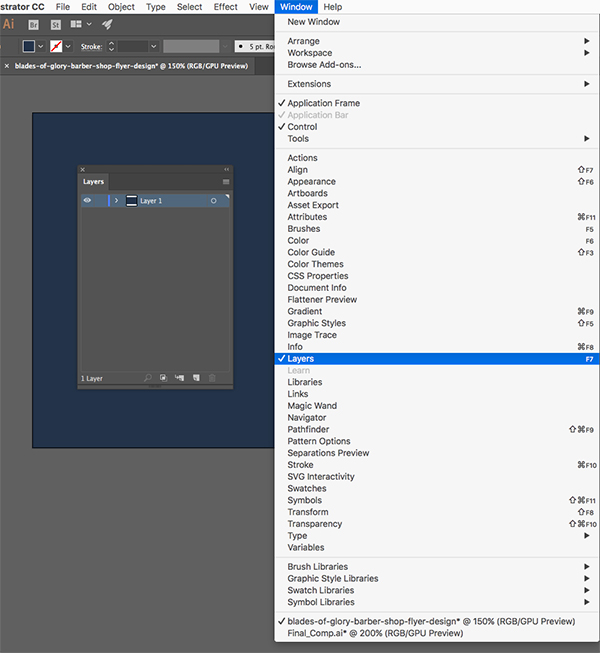
We now want to reveal the Layers Panel so that we can see our dark blue rectangle shape. Normally this panel will appear on the right side of the document similar to Photoshop, but if you don’t see it automatically you can bring it up by going to the ‘Window’ menu and selecting ‘Layers’ from the list. Conversely, you can use the keyboard shortcut Function(Fn)+F7.
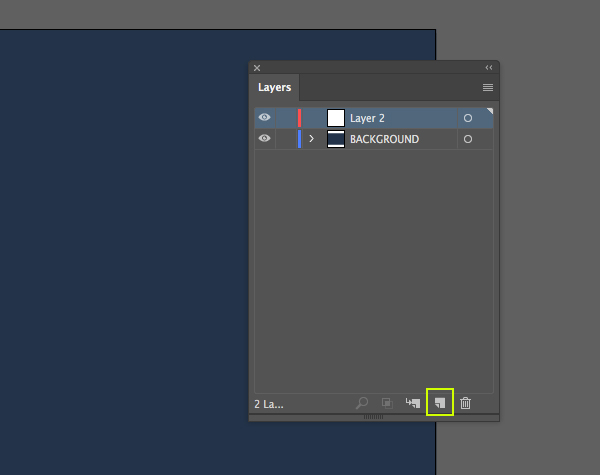
Once your Layers Panel is revealed you should have one single layer containing your rectangle named ‘Layer 1’. Double click on this text and change the name of the layer to ‘BACKGROUND’ as shown below:

After renaming your layer, click on the ‘Create New Layer’ icon at the bottom of the panel to add a second layer above the ‘BACKGROUND’.
Step 3: Vector Buildings
Next, go to the freebies folder where you will find the ‘Vector_Buildings.eps’ file. These were customized using a few of the vector building objects from Darumo which is available in the full bundle. Depending on which version of Illustrator you are working in, you will want to open the EPS file for that version. I will be using the ‘CC’ versions but this will remain the same throughout the duration of the tutorial for any of the EPS vector files we use. Once you have opened the ‘Vector_Buildings.eps’ file, press Command/Ctrl+A to ‘Select All’ and then Command/Ctrl+C to ‘Copy’ the buildings which are grouped together. You can now close this window and return to your working document.
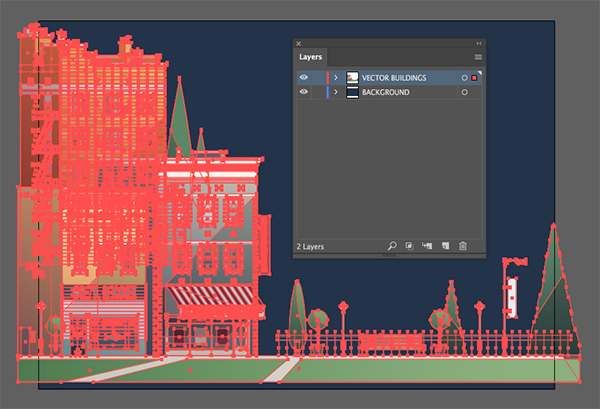
After you are in your main document, press Command/Ctrl+V to ‘Paste’ the buildings onto your second layer. Position the buildings so that the bottom of the group lines up with the bottom of your building on the left and tree on the right go slightly off of the canvas. After that, double click the ‘Layer 2’ text in the Layers Panel and change the name to ‘VECTOR BUILDINGS’ as shown below:
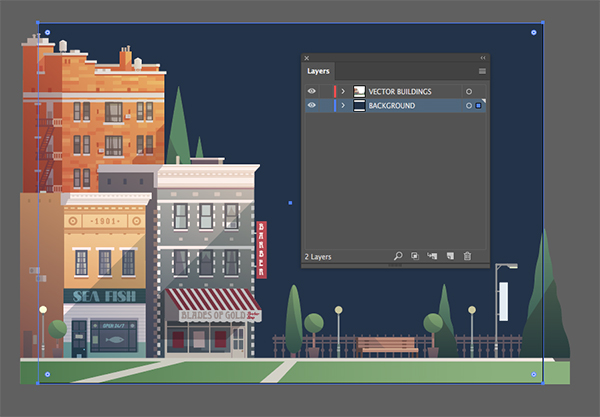
After nudging your buildings into place, select the ‘BACKGROUND’ layer and then click on the navy rectangle with your Selection Tool (V). From here, press Command/Ctrl+C to copy the shape.
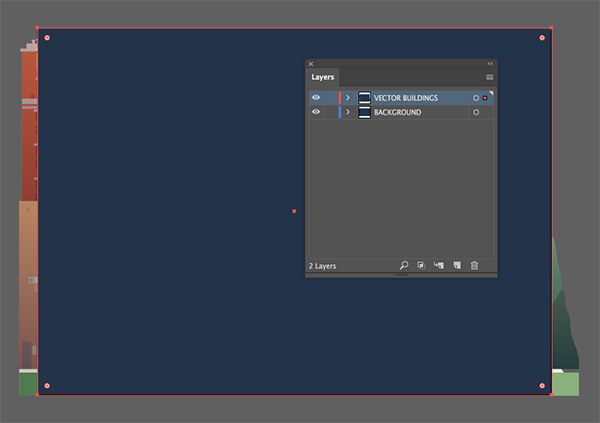
Next, select the ‘VECTOR BUILDINGS’ layer above the ‘BACKGROUND’ and then press Command/Ctrl+F to ‘Paste in Front’ and you should see the blue rectangle cover the buildings as shown here:
Use the Selection Tool (V) to click on the rectangle shape on top, and then hold the Shift Key and select any part of the buildings group that is sticking out below. You should now have both of these shapes selected at the same time. From here, go to the ‘Object’ menu and choose ‘Clipping Mask > Make’ or use the keyboard shortcut Command/Ctrl+7 on the keyboard.
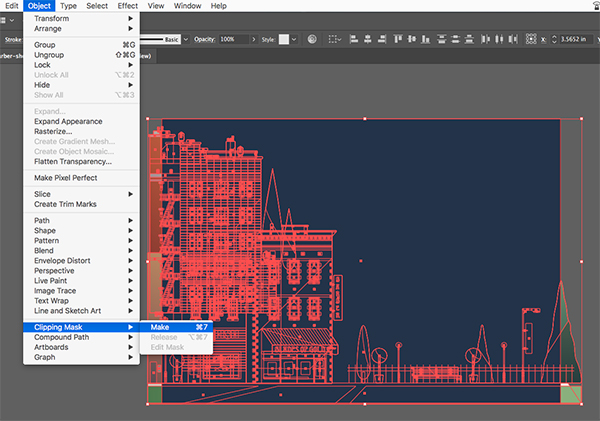
After applying the Clipping Mask your buildings should now be confined to the same area as your background rectangle or the artboard itself. This is similar to how we might crop an image in Photoshop to ensure that certain parts of the image are contained within our canvas area.

Step 4: A Fresh Coat
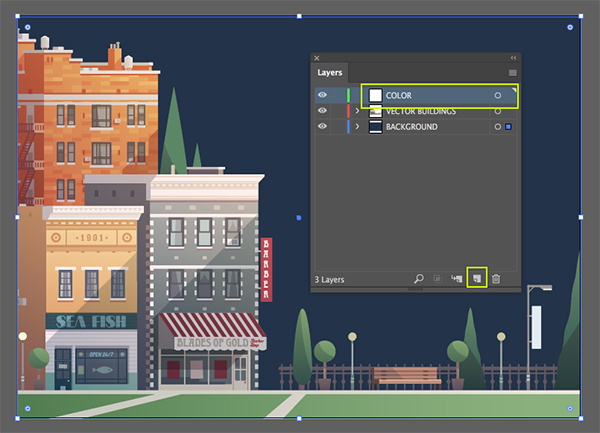
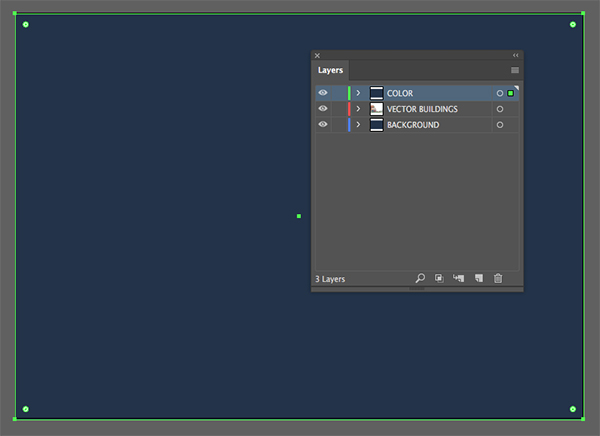
Create a third layer and rename it ‘COLOR’ in your Layers Panel. After that, select the rectangle shape from the ‘BACKGROUND’ layer and copy it by pressing Command/Ctrl+C.
With your ‘COLOR’ layer selected, press Command/Ctrl+F to paste the shape in front.
Next, go to the ‘Window’ menu and choose ‘Transparency’ from the dropdown list.
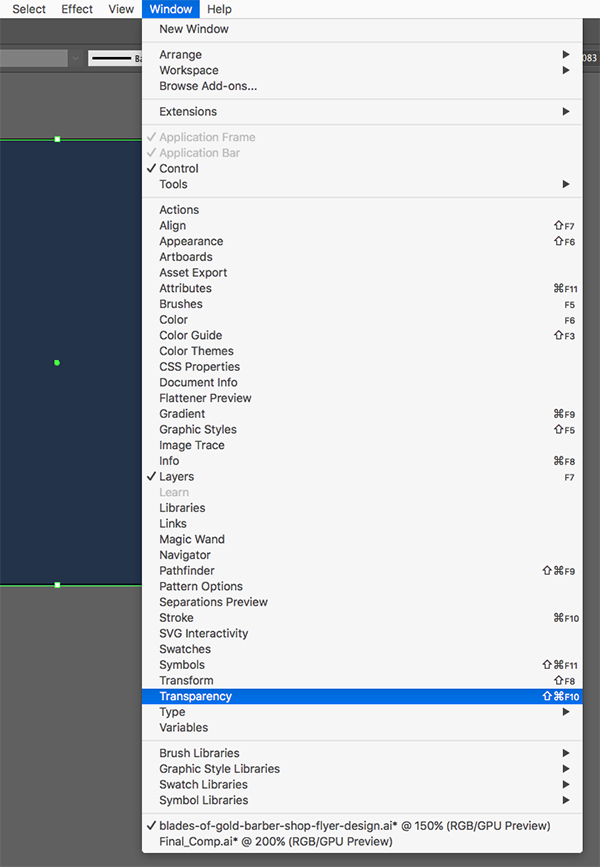
Once the Transparency panel appears, change the Blend Mode from ‘Normal’ to ‘Color’ as shown here:

After switching the Blend Mode of the blue rectangle shape to ‘Color’ your image should look like this:
Step 5: Extra Contrast
With the ‘COLOR’ layer selected, press Command/Ctrl+ to paste another copy of the shape on top. This time we will use the Transparency panel to switch the Blend Mode from ‘Normal’ to ‘Overlay’ and reduce the opacity to ’30%’ as shown below:

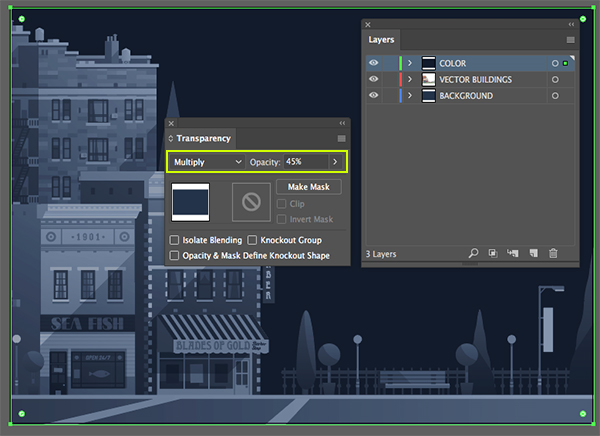
Paste one more copy of the blue rectangle on top of the previous two on the ‘COLOR’ layer. For this third copy we want to change the Blend Mode to ‘Multiply’ and reduce the opacity to ’45%’ as shown in the image below:
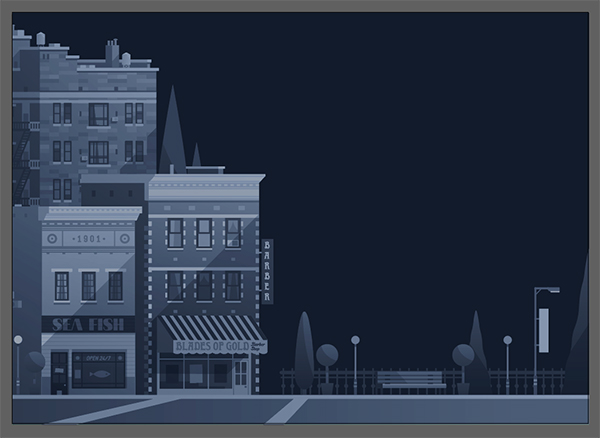
After stacking these three layers on top of each other your image should have a blue tone applied with more contrast as shown below:
Step 6: Building the Logo
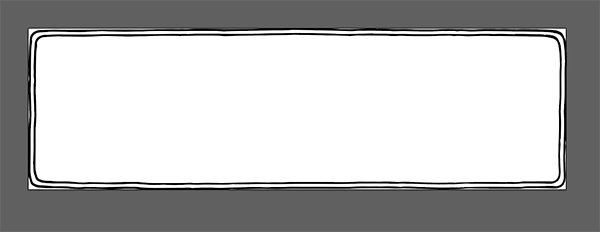
Navigate to the ‘Rectangle56.eps’ file inside of the freebies folder for the tutorial.
Return to the freebies folder and this time open the ‘Blades_of_Gold.eps’ file in Illustrator. This text was created using the ‘Roycroft Regular’ typeface from Retro Supply Co. Once the file has opened, use the Selection Tool (V) to click and drag around the outlined text and then copy it by pressing Command/Ctrl+C.

Once you have copied the text, close the window and return to the ‘Rectangle56.eps’ file. Once you are inside of this document press Command/Ctrl+V to paste the text inside of the rectangle shape.
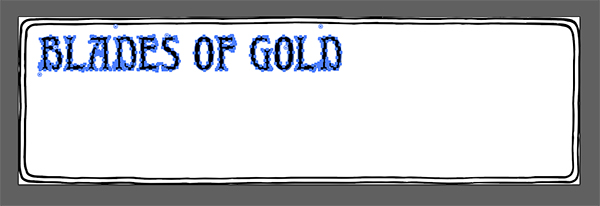
After pasting the ‘Blades of Gold’ text into the rectangle we will need to scale it up. To do this, select the outlined text with the Selection Tool (V) and then hold the Shift Key and drag outwards from the lower right hand corner of the bounding box to size the text up proportionally until it spans across the inside of the rectangle as shown here:

Step 7: Adding the Tagline
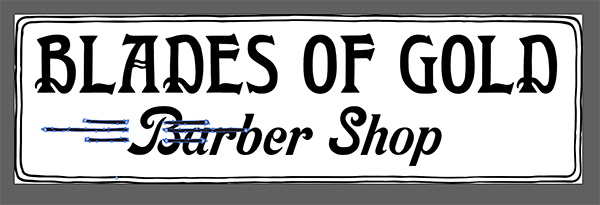
Navigate to the ‘Barber_Shop.eps’ file inside of the freebies folder for the tutorial and open it in Illustrator. This text was created using the ‘Cosmopolitan’ typeface from Retro Supply Co. Once the file has opened we will click on it with the Selection Tool (V) and then copy it by pressing Command/Ctrl+C. After you have done that you can then close out of the window and return to the ‘Rectangle56.eps’ file where we have started constructing our logo.

Once you are back in the ‘Rectangle56.eps’ file, paste the ‘Barber Shop’ type by pressing Command/Ctrl+V on the keyboard. Hold the Shift Key and drag outwards from any of the four corners to scale the text up so that it’s larger and place it below the ‘Blades of Gold’ text. We want the ‘Barber Shop’ type to fit nicely in the center beneath the main text, but to be a little bit smaller in size like this:

Step 8: Extra Design Elements
Open the ‘Lines43.eps’ file from the freebies folder in Illustrator. This file was created using some of the lines and dividers from Andimaginary Creative Co. After opening the file we will copy it using Command/Ctrl+C and then closing the window.

Return to the ‘Rectangle56.eps’ file and paste the lines by pressing Command/Ctrl+V on the keyboard.
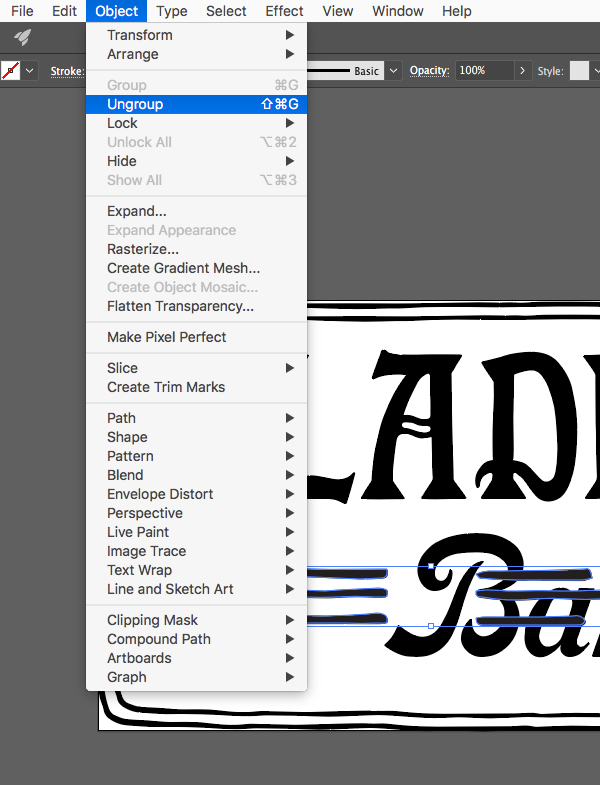
After pasting the lines we will need to move them apart, but before we can do that we will have to ungroup them. To do this, select the lines with your Selection Tool (V) and then go to the ‘Object’ menu and choose ‘Ungroup’ as shown below:
Now that we’ve ungrouped the lines we will have to group each side together once again since it broke the shapes apart. To do this, use the Selection Tool (V) to click on the first, top line on the right side. From there, hold the Shift Key and select the remaining two lines below so all three lines on the right are selected. From here, press Command/Ctrl+G to group them. Repeat this for the three lines on the left side so that each side will be grouped. We can now select the left lines as one whole shape, hold the Shift Key, and select the right three lines as another shape. After that, drag outwards from any of the four corners of the bounding box to scale the lines up a bit. Place the left lines off to the left of the word ‘Barber’ and then hold the Shift Key and slide the right lines off to the right of the word ‘Shop’ so you end up with something like this:

Step 9: Adding the Logo to the Flyer
Now that we’ve constructed our main logo in Illustrator, use the Selection Tool (V) to click and drag around the entire mark. From here, press Command/Ctrl+G to group them all together into one shape. Once you have done that, copy the logo by pressing Command/Ctrl+C and then close out of the window.

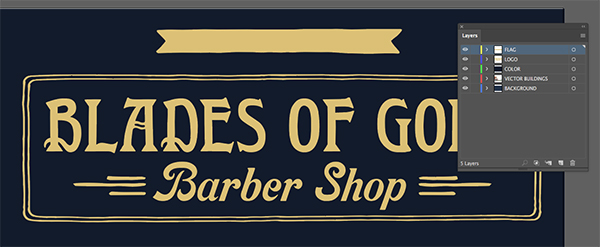
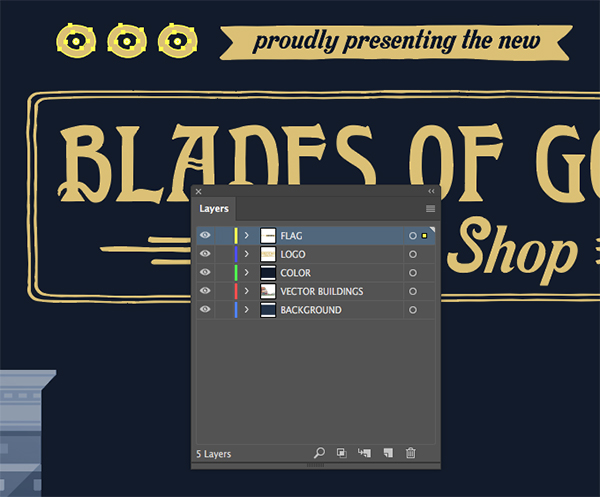
Return to your main flyer document and bring up your Layers Panel if you don’t already see it. After that, add a forth layer and change the name to ‘LOGO’ before pressing Command/Ctrl+V to paste the grouped logo on the new layer.
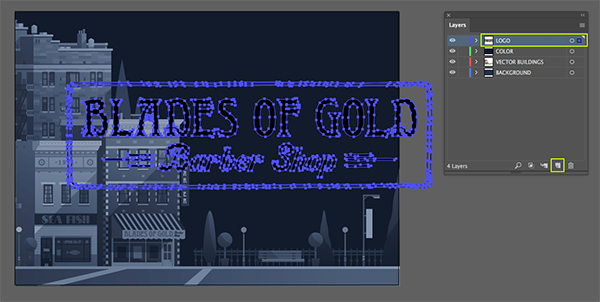
While your logo is still selected, double click on the fill color swatch on the left side of the toolbar as highlighted in the image below:
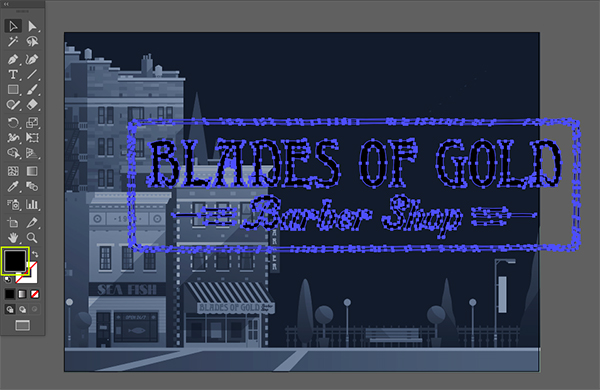
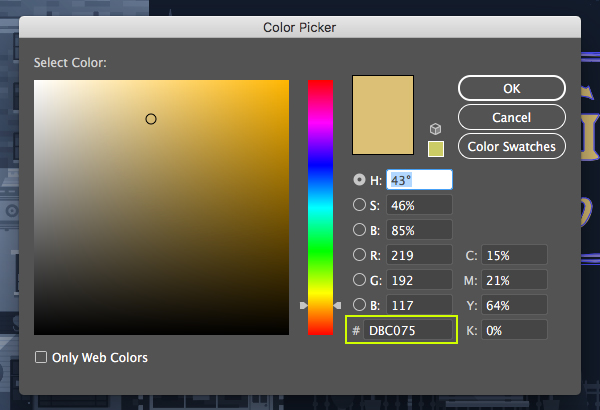
Once the ‘Color Picker’ window has opened, enter the hex value ‘#DBC075’ and then press ‘OK’ to apply the color changes.
Your logo should now have a nice gold color applied to it like this:
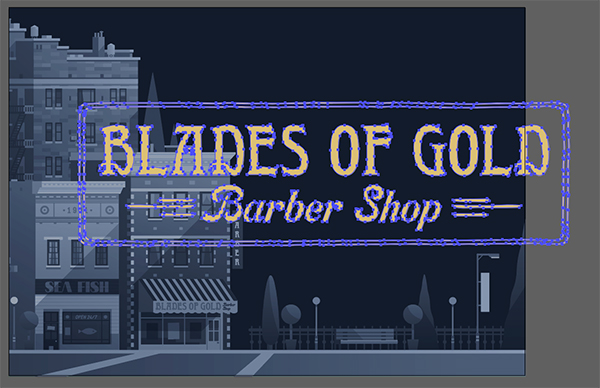
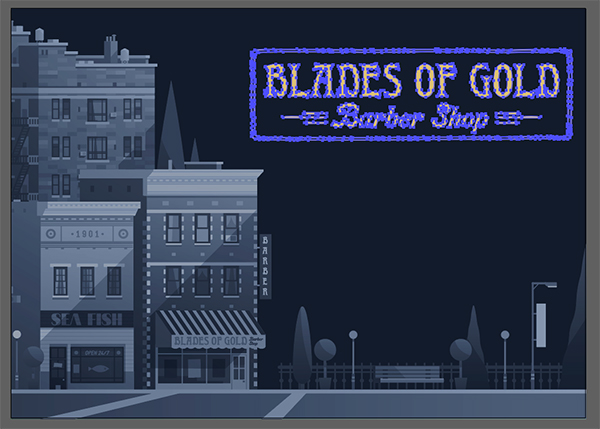
Next, hold the Shift Key and drag inwards from any of the four corners of the bounding box around your gold logo to scale it down proportionally and then position it towards the upper right of the document. Use the image below as a guide for the size and placement of your logo:
Step 10: Waving the Flag
Next, open the ‘Flag21.eps’ file from Andimaginary Creative Co. in Illustrator. Press Command/Ctrl+A to select the flag and then Command/Ctrl+C to copy it.

Return to your main flyer document and add a new layer named ‘FLAG’ before pasting the flag by pressing Command/Ctrl+V on the keyboard.

While the flag is selected press ‘I’ on the keyboard to grab your Eyedropper Tool and then click on any of the gold parts of the logo to sample the same fill color. Your flag should now be filled with the same color like this:
Step 11: Proudly Presenting
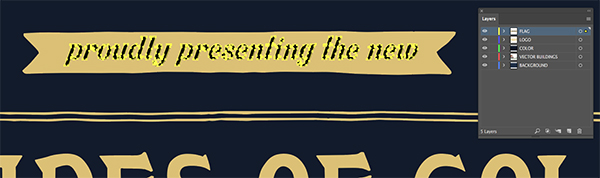
Open the ‘Presenting.eps’ file from Retro Supply Co in Illustrator. Use the Selection Tool (V) to click and drag around the text and then press Command/Ctrl+C to copy it. From here you can close the document and return to your main flyer design.

Return to your main flyer document and select the ‘FLAG’ layer before pressing Command/Ctrl+V on the keyboard to paste the text. Place this text in the center of the flag as shown here:
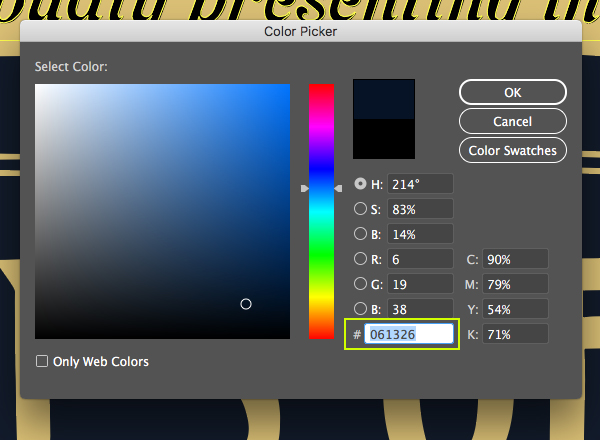
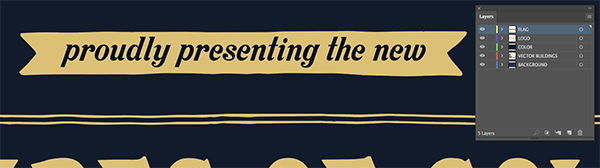
Double click on the fill color and change it from solid black to ‘#061326’ as shown in the image below:
Your text should now appear with a dark blue fill color. To deselect the text, or any layer that you no longer want selected, simply click off of it with the Selection Tool (V) or use the keyboard shortcut Command/Ctrl+Shift+A.
Step 12: Dot Dot Dot
Open the ‘Lines42.eps’ file from the freebies folder in Illustrator and select it with your Selection Tool (V). From here, copy the shape by pressing Command/Ctrl+C and then close the window.
Return to your main flyer document and select the ‘FLAG’ layer before pressing Command/Ctrl+V on the keyboard to paste the hand drawn dot from Andimaginary Creative Co. Once you’ve pasted the shape into your main flyer, press ‘I’ to switch to the Eyedropper Tool and then click on any of the gold from the main logo or flag to change the color of the circle to match.

From here, hold the Alt/Option+Shift keys and drag the hand drawn circle over to the left to make a copy. Leave a bit of room between the copy and the original to space them out a bit. Repeat this once more so that you end up with three copies all next to each other. Once you have three of these circle shapes, hold the Shift Key and click on each one so they are all selected together. After that, press Command/Ctrl+G to group them together.
Hold the Shift Key and drag inwards from any of the four corners of the bounding box around the group to make them smaller. Place this group to the left side of the flag with the text inside. After you have done that, hold the Alt/Option+Shift keys and drag a copy of the entire group to the opposite side. You should now have one group of three circles on the left and one on the right of the flag. From here you can select both of these circle groups, the flag, and the ‘presenting…’ text while holding the Shift Key and then group them all together by pressing Command/Ctrl+G on the keyboard.

Step 13: Rock Paper Scissors
Next, open the ‘Shears.eps’ file from the freebies folder in Illustrator. These shears are just one of many great vector illustrations from the full AVVS Barber Collection from Unember.
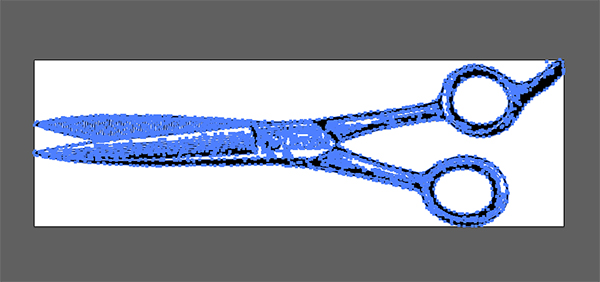
Press Command/Ctrl+A to ‘Select All’ and then copy them by pressing Command/Ctrl+C and close out of the window. Return to the main flyer document and create a new layer just below the ‘LOGO’ layer in the Layers Panel and rename it ‘SHEARS’. Once you’ve done that, press Command/Ctrl+V to paste the shears onto the layer.
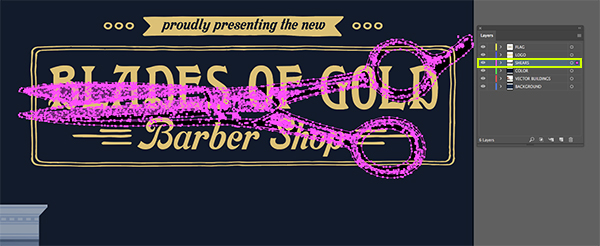
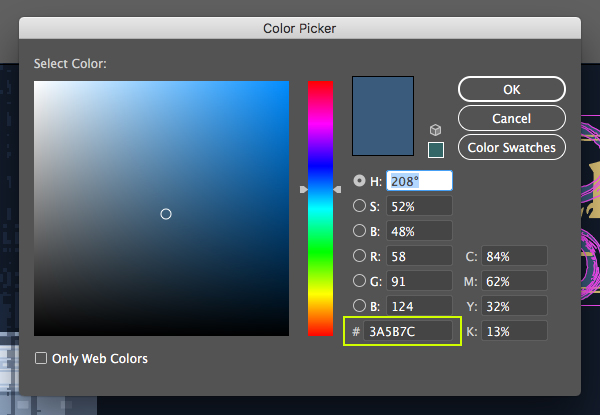
Double click on the fill layer and change the hex value to ‘#3A5B7C’ as shown below:
Press ‘OK’ to apply the color changes and then reduce the size of the shears slightly to fit behind the main logo. Use the image below as a guide for the size and placement of the shears illustration:

Step 14: Special Offers
Next, open the ‘Special_Offers.eps’ file in Illustrator. Copy the text by pressing Command/Ctrl+C and then close out of the window and return to your main flyer document.

Create a new layer just below the ‘LOGO’ layer and rename it to ’SPECIAL OFFERS’ before pressing Command/Ctrl+V to paste the outlined text onto your new layer. Position the text in the center beneath the logo and then press ‘I’ on the keyboard to grab the Eyedropper Tool and sample the blue color from the shears.

Step 15: At Your Service
Open the ‘Header16.eps’ file in Illustrator and then copy it before closing out of the window.
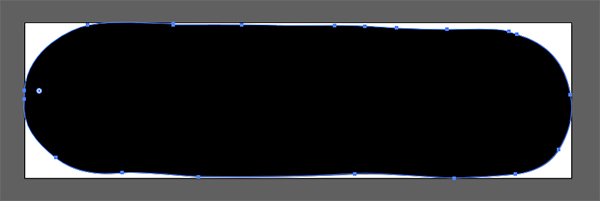
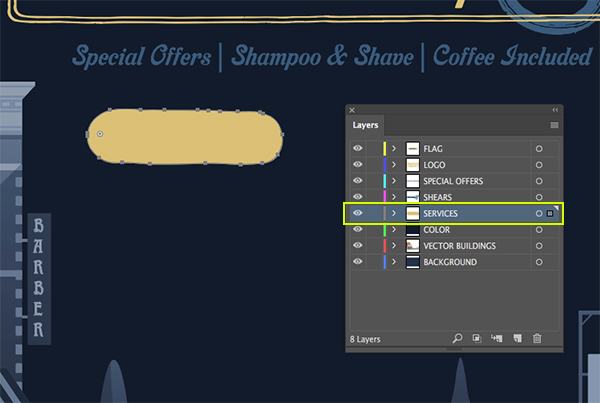
Return to your main flyer document and add a new layer just below the ‘SHEARS’ layer and rename it ‘SERVICES’ before pasting the shape by pressing Command/Ctrl+V. Now we will once again use the Eyedropper Tool (I) to sample some of the gold color from the main logo or the flag to change the color of the shape.
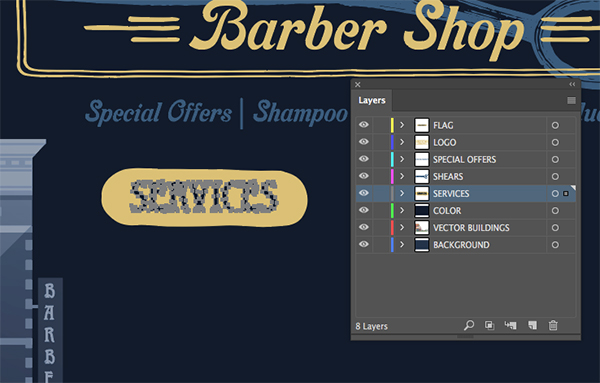
Now we will open the ‘Services.eps’ file from the freebies folder and copy that outlined text by pressing Command/Ctrl+C. Once you have done that you can close the document.
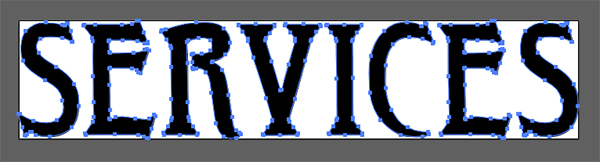
Return to your main file and paste the ‘Services’ text on the ‘SERVICES’ layer and place it on top of the gold header shape. From here we will use the Eyedropper Tool (I) to sample the color from the ‘Proudly presenting…’ text inside of the flag. The hex value for this color should be ‘#061326’.
We will now open the ‘Services_List.eps’ file and copy the text before closing the window and returning to our main document.
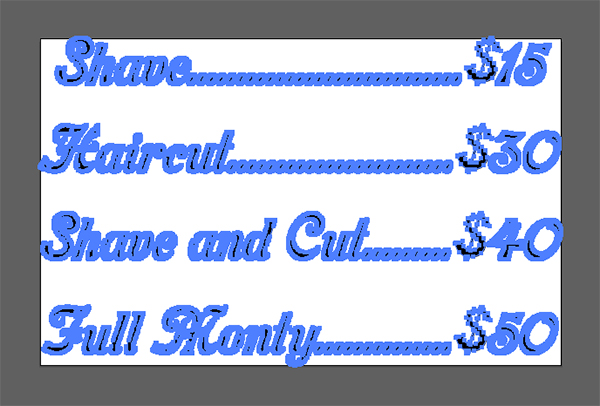
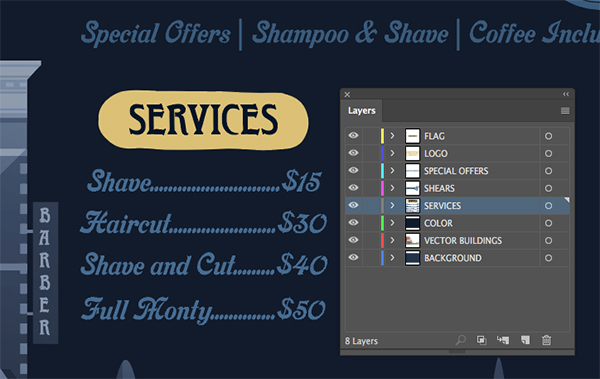
Paste the outlined text onto the ‘SERVICES’ layer and place it below the subhead. From here we will use the Eyedropper Tool (I) to sample some of the light blue color from the shears or the offers text which should be the lighter blue color or hex value ‘#3A5B7C’. Your layout should now look like the image shown here:
Step 16: Hours of Operation
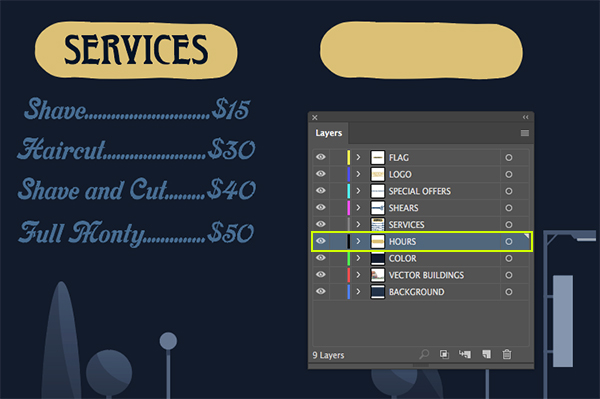
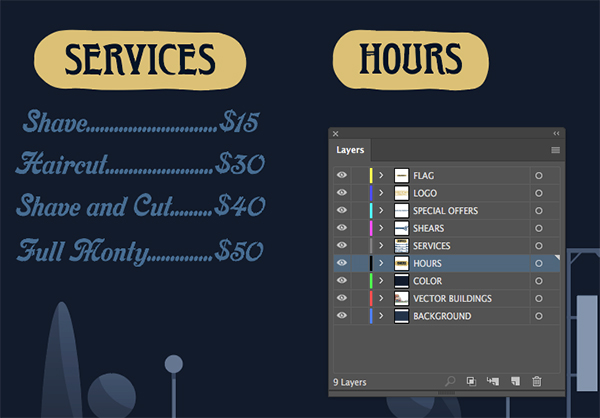
What we want to do next is select the rounded gold header behind the ‘SERVICES’ text and copy it by pressing Command/Ctrl+C. Create a new layer named ‘HOURS’ and place it just below the ‘SERVICES’ layer. Once you have done that, press Command/Ctrl+F to paste the header in front on the new layer. From here, hold the Shift Key and slide the shape over towards the right so it’s next to the original like this:
Open the ‘Hours.eps’ text in Illustrator and then copy it, close the window, and return to the main flyer document.
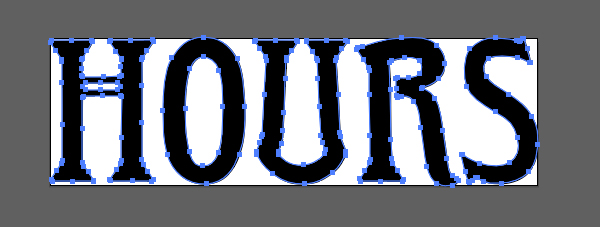
Paste the ‘HOURS’ text on top of the rounded header shape and use the Eyedropper Tool (I) to sample the dark navy color from the ‘SERVICES’ text. Here we will also need to use the Selection Tool (V) to make the rounded gold header shape less wide by selecting it and dragging it inwards until it hugs the ‘HOURS’ text nicely like this:
From here we will open the ‘Hours_List.eps’ file in Illustrator. After that we will once again copy it and then close the window before returning to our main document.
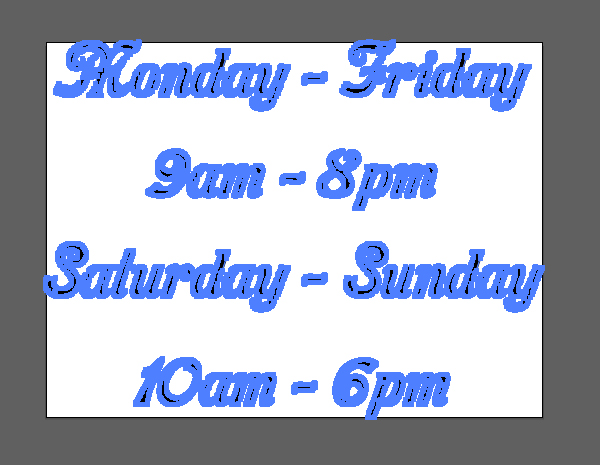
Paste the outlined text onto the ‘HOURS’ layer and use the Eyedropper Tool (I) to sample the same light blue used for the services list. Place the hours list below the header just like we did for the services.

Step 17: Adding the Address
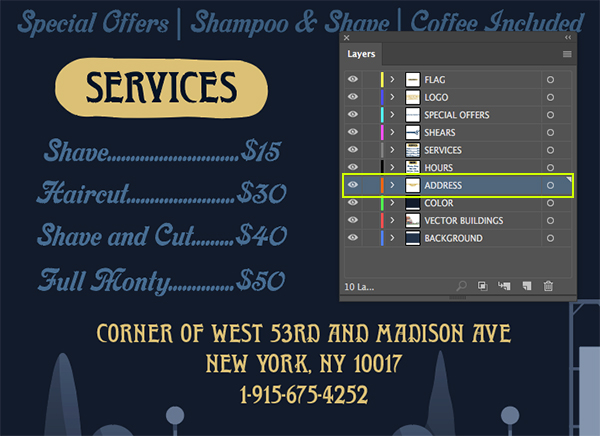
Next we will go back to the freebies folder for this tutorial and open the ‘Address.eps’ file in Illustrator. Click and drag around the text using the Selection Tool (V) and then copy it by pressing Command/Ctrl+C. After copying the outlined text we can close out of the window and return to our main document.
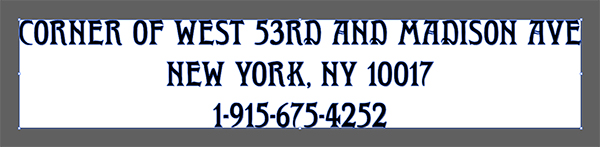
Create a new layer just below the ‘HOURS’ layer and rename it ‘ADDRESS’ before pressing Command/Ctrl+V to paste the outlined text. From here we will once again use the Eyedropper Tool (I) to sample any of the gold so that our address will match. Place the address below the list of services and the hours and center it between the two columns. From here you can also group together all of the parts on the ‘SERVICES’ layer as well as the three parts that make up the ‘HOURS’ layer to help keep things organized.
We have now completed our Blades of Gold Barber Shop Flyer Design! We’ve created this with a small handful of the high quality vectors and outlined fonts from the latest bundle, so just imagine what you could do with access to 1000’s! This collection is sure to give you plenty of brushes, illustrations, textures, patterns, shapes, florals and more to use in your work right away! We can’t wait to see what you create with these amazing resources.
Remember that whether it’s your outcome for this tutorial or something new you’ve made, we’d love to see your designs on our Facebook page.
Please leave a comment if you have any questions or suggestions. I always look forward to hearing from you!
There’s still time to check out The Totally Artistic, Vector Supply Kit featuring a massive collection of vectors that are as versatile as your design projects all for an unbeatable price of $29!
My favorite tutorial so far. In 3 years of learning Illustrator–how did I not know about the transparency panel???–I know now! Very easy to follow and the instructor is animated and easy to understand. I am finding the more I know about the different programs, the more I get out of the tuts. All a learning process. Design Cuts has always been a valuable resource for assets and learning. Thank you :)
Wow thank you so much for your awesome comment, your support means so much to us Debra!
We are so glad to hear that you are learning so much from our tutorials, and are able to get more and more out of them as your confidence in using these programs grows!
We hope that these tips and tricks come in great use with your own projects Debra