WHAT WE’RE CREATING:
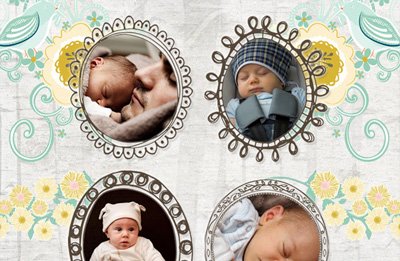
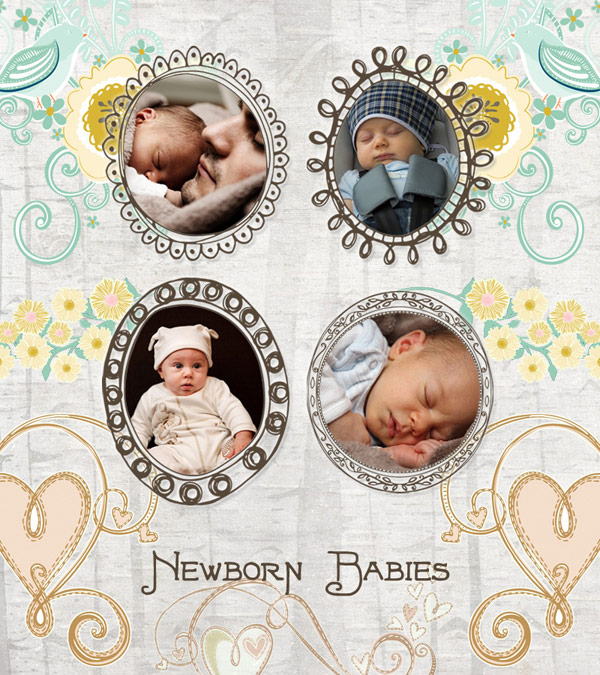
In today’s free design lesson you’re able to download a fantastic freebie pack containing some doodled, quirky frames taken from this week’s deal. I’m going to show you how simple it is to use these frames to make your personal and family photos much more interesting, as we create an incredibly cute baby photo collage.
It’s time to get broody, as we kick off another Design Cuts training lesson:
Follow along with this tutorial: Download the freebies
This tutorial is accompanied by a fantastic freebie pack, taken from this week’s deal, offering you 800+ lovingly created digital scrapbooking resources.
To give you a sample of the main bundle, we’re giving away a free quirky doodled frames pack.
Step 1:
Start by opening up Photoshop and creating a new document dimensions 800X900px.
If you’ve grabbed this week’s deal The Ultimate Scrapbooker’s Selection (800+ Lovingly Crafted Items) – 88% Off, this is the perfect time to put your new items to good use.
If you haven’t grabbed the deal, we highly recommend it, although you can find substitute items to follow along with this tutorial by browsing around online.
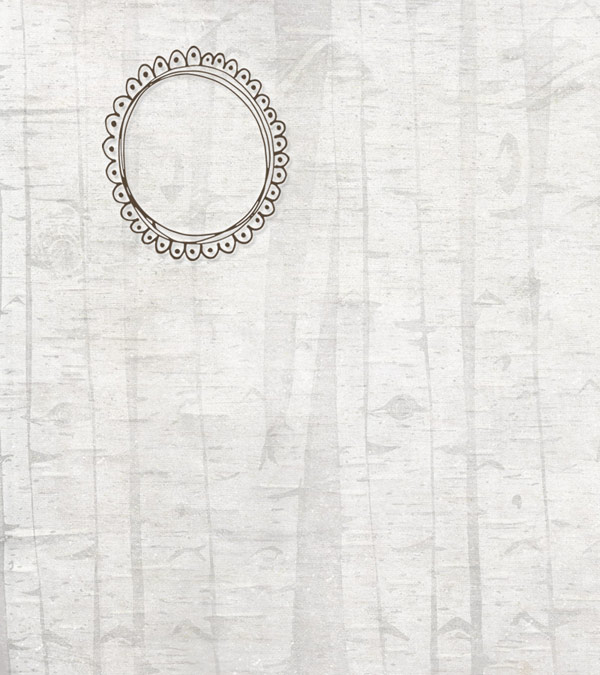
Access your Fish Scraps folder and open up your folder of Birch Paper Textures. Paste the first texture from the folder into your canvas, and reduce it’s opacity to around 30%:
Now apply another one of the textures, this time at 25% opacity. This should create a nice layered feel:
Step 2:
Be sure to download the awesome quirky doodled frames pack from the top of this page.
It’s totally free, and gives you a great sample of some of the items from this week’s deal The Ultimate Scrapbooker’s Selection (800+ Lovingly Crafted Items) – 88% Off.
Paste one of the frames into the top right of your canvas:
Apply the following blending options to this new ‘frame’ layer, in this order.
Color Overlay Blending Option:
Blend Mode: Normal
Color: 564738
Opacity: 100%
Outer Glow Blending Option:
Blend Mode: Normal
Opacity: 75%
Color: ffffff
Spread: 5%
Size: 7px
Drop Shadow Blending Option:
Blend Mode: Multiply
Color: 000000
Opacity: 25%
Angle: 120 degrees
Distance: 5px
Spread: 0%
Size: 4px
Here’s the result:
Step 3:
With your frame layer selected, use your magic wand tool to click in the center of it, and select the space within the frame.
With this selection active, create a new layer and fill the selection with white (or any color).
Now grab a lovely family photo to fill the frame. For the purpose of today’s tutorial I’m selecting some very cute baby photos. Of course you should use your personal family photos if possible.
Paste the photo above your white fill layer, and then apply a clipping mask, so that the photo crops to the shape inside your doodled frame. Resize it accordingly to make a good fit:
Step 4:
Repeat this technique, adding more frames and filling them with more photos.
Don’t forget to apply the correct blending options to each frame layer.
Step 5:
Now download the awesome free font Fortunaschwein.
Apply some relevant text beneath your photo frames.
Step 6:
Now create a new layer beneath your frames/photos layers and text layer.
Again, if you have managed to grab this week’s scrapbooking deal, you can apply a range of designs from the packs to add detail and lovely visual touches to your background.
This is just a tiny sample of the 800+ items included in this deal, but shows how charming and creative they are.
AND WE’RE DONE
I really hope that you enjoyed this tutorial. This charming collage effect is a really effective way to make your family photo albums more interesting, and is sure to impress people you show it to. Have fun with the tutorial and enjoy the freebies pack, and please let us know if you create your own version, we’d love to check it out.




GREAT
Thanks Keila! I’m really pleased you enjoyed it :)