WHAT WE’RE CREATING:
Hey there Design Cutters! Renee here with an Illustrator-based tutorial for a cute holiday card. This is a great tutorial for Illustrator beginners. We’ll create our layout using hand-drawn illustrations, patterns and ornaments. You can also enjoy a wonderful sample pack from our current bundle, bringing you adorable illustrations, shapes and textures.
HAVE YOU SEEN OUR NEW YOUTUBE CHANNEL?
Watch the video tutorial below and subscribe to our new YouTube channel for regular updates direct to your inbox.
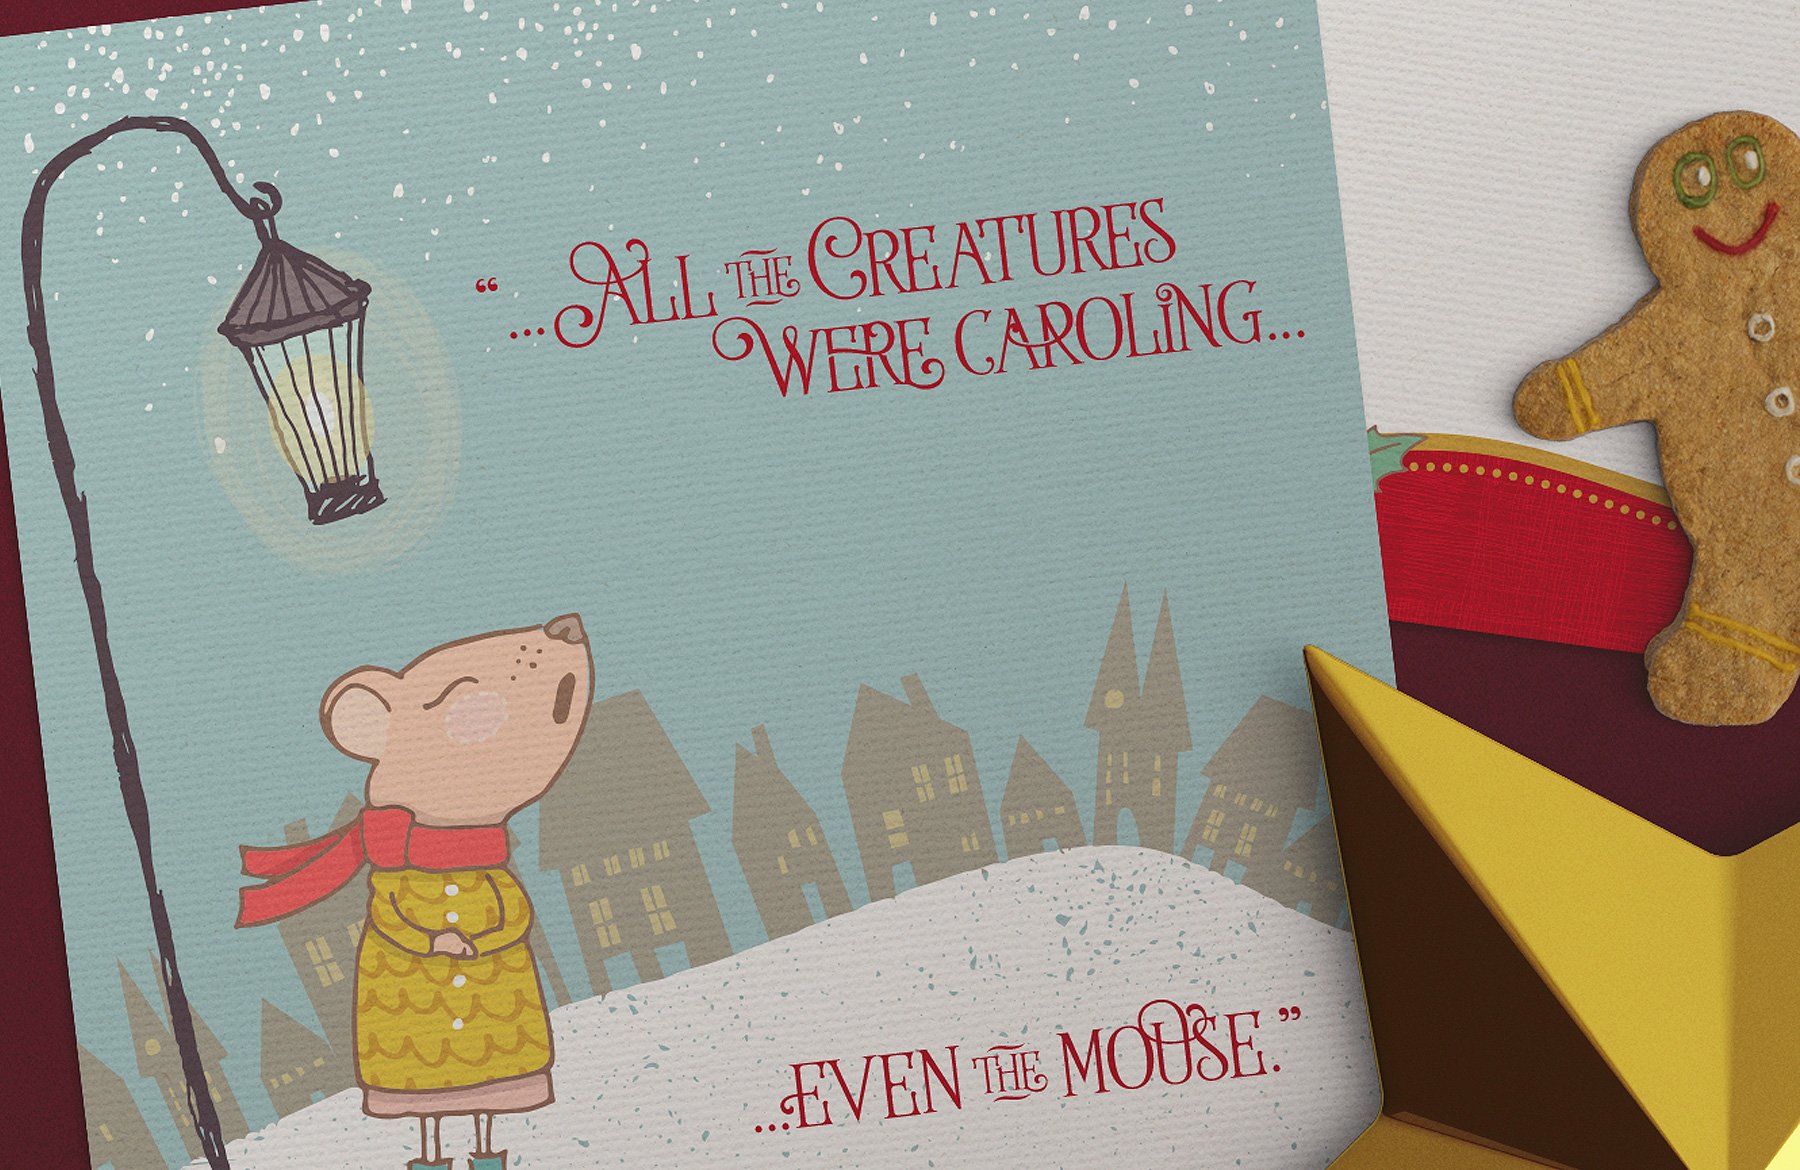
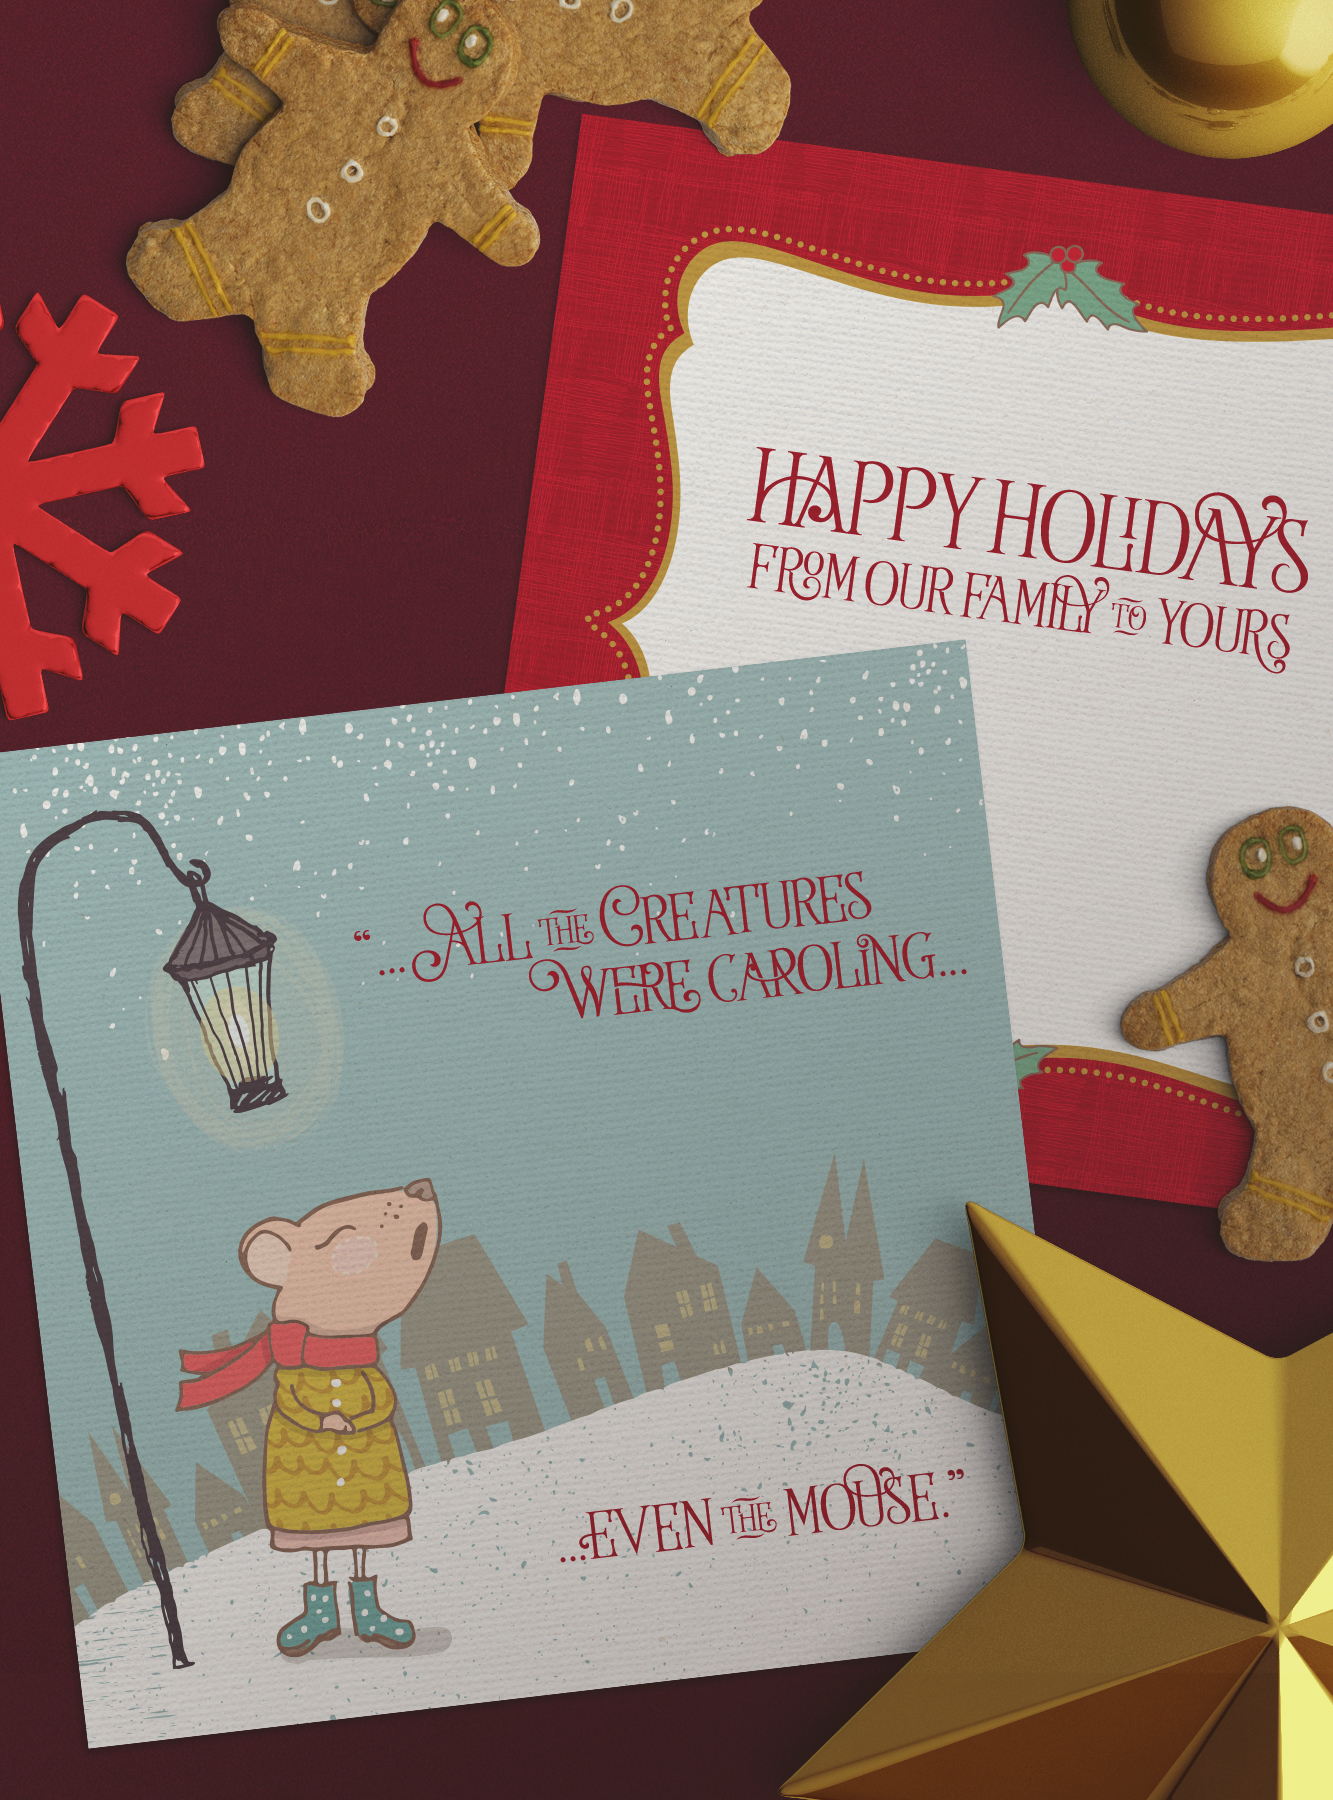
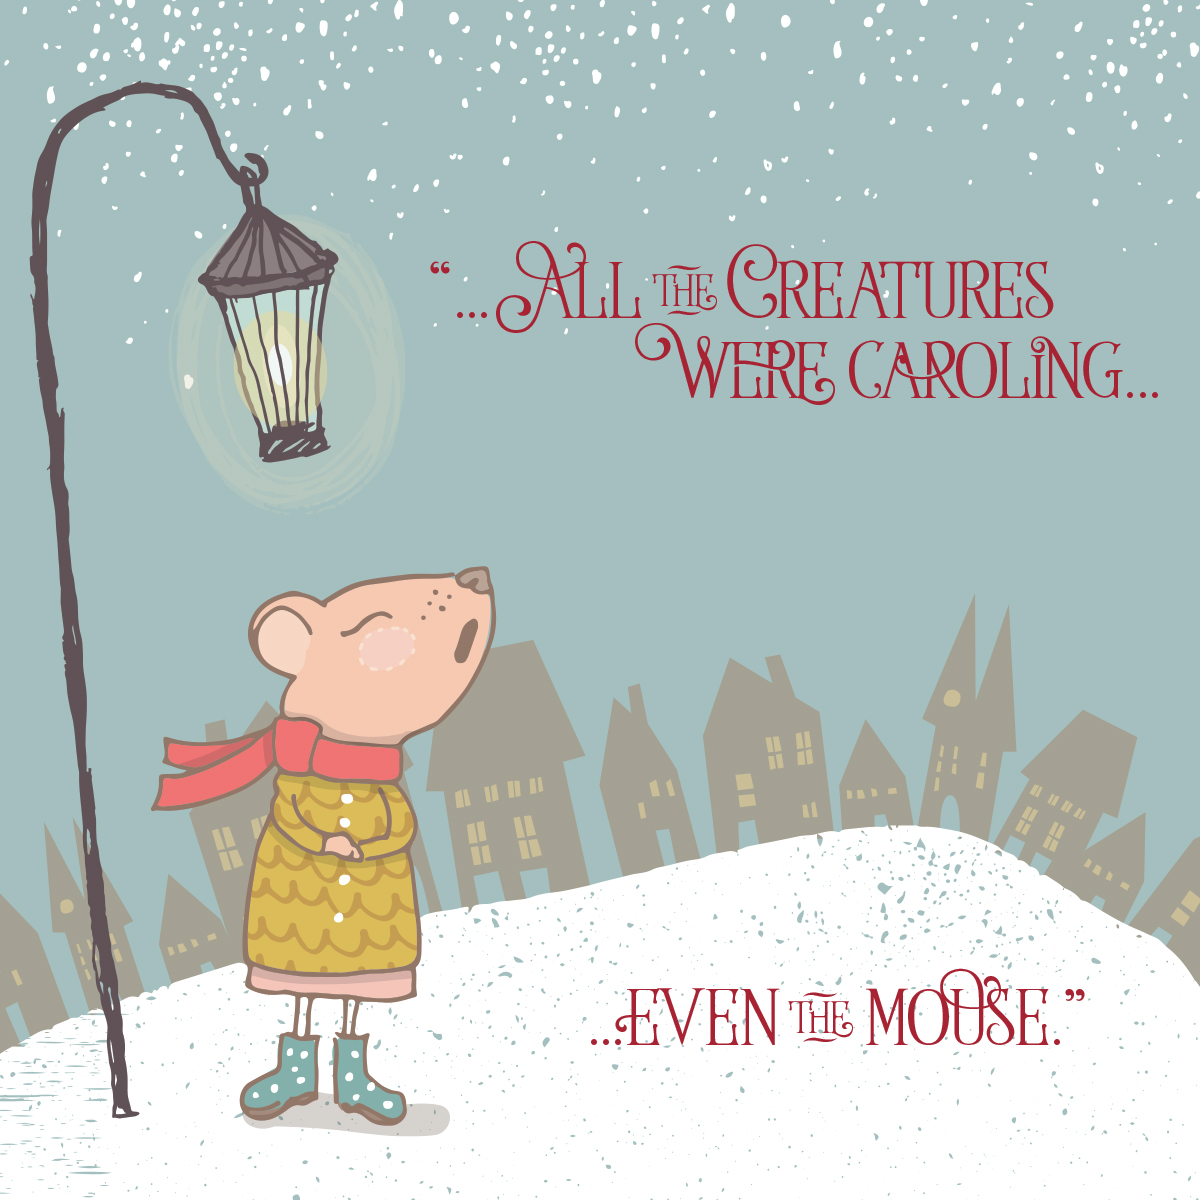
Here’s a look at what we’ll be creating:
Follow along with this tutorial: Download the freebie files
This festive freebie pack includes vector elements courtesy of Lisa Glanz, District62 and Summit Avenue.
This freebie pack is just a small sample of the resources available in The All-Purpose Vector Supply Kit for just $29 (an unbelievable 99% off). Build a versatile library of resources when you buy this kit featuring best-selling, practical elements you’ll find yourself using daily.
Step 1: Background
Open Illustrator and go to File > New. The New Document dialog box will open. Under Number of Artboards, enter 2. Next to Columns, enter 2. Enter a width of 6.25 inches and a height of 6.25 inches. Under Bleed, make sure the link icon on the far right is selected (to apply our input to all four sides) and enter a Top bleed of .125 inches.
Click OK to create the two page document.

Switch to your Selection tool (v), then press cmd + s to save your file.
At the bottom of the Layers palette (Window > Layers), double click the name of the layer, Layer 1, and change it to Background.
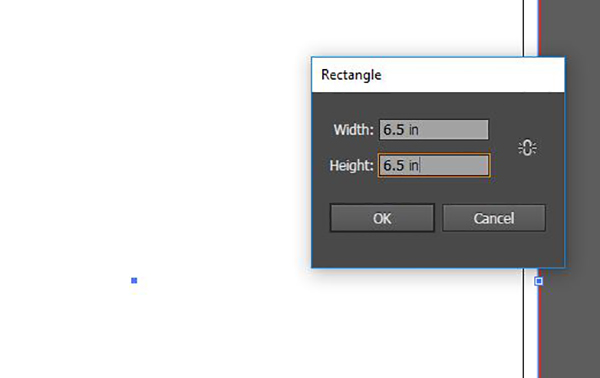
Select the Rectangle Tool (m). Click once on the left artboard. In the dialog popup box, enter a width of 6.5 inches (6.25 inches plus .125 inches bleed on each side = 6.5). Enter a height of 6.5 inches. Click OK.
To center the square on the artboard, open your Align palette (Window > Align) and under Align Objects, select the icons for Horizontal Align Center and Vertical Align Center.
Note: If nothing happens when you click the align icons, you may need to change your Align To settings. Click on the arrow just below Align To at the bottom right of the Align palette and select Align to Artboard.
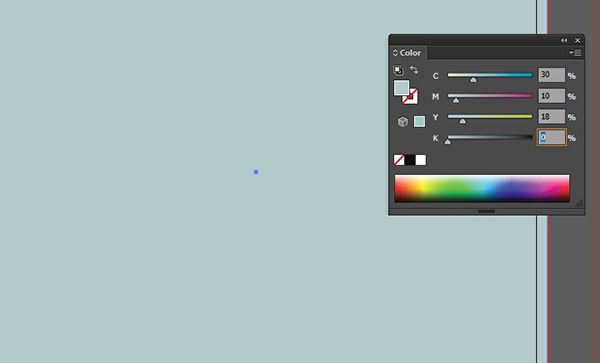
Open the Color palette (Window > Color).
Enter CMYK values of 30/10/18/0 for the Fill color.
Click on the Stroke icon at the top left of the palette to make it active, then select None at the bottom left of the palette (the white square with a red slash).
Now we’ll repeat the same process on the right artboard.
Select the Rectangle Tool (m). Click once on the right artboard. In the dialog popup box, enter a width and height of 6.5 inches. Click OK.
Center the square on the second artboard by selecting the icons for Horizontal Align Center and Vertical Align Center in the Align palette.
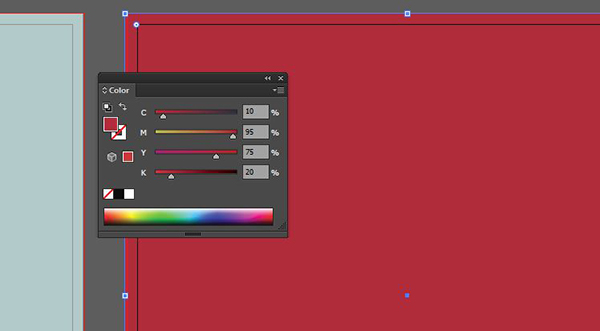
In the Color palette, enter CMYK values of 10/95/75/20 for the Fill color. Click on the Stroke icon at the top left of the palette to make it active, then select None at the bottom left of the palette.
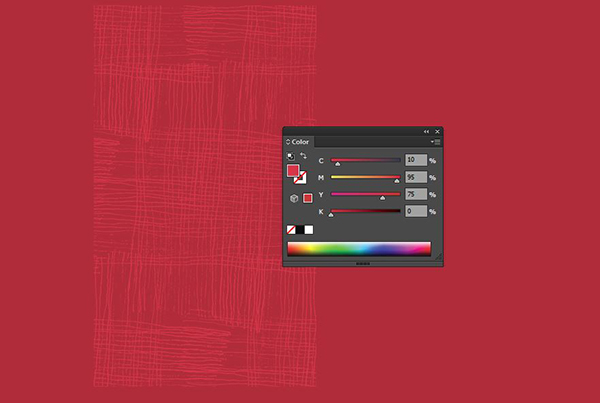
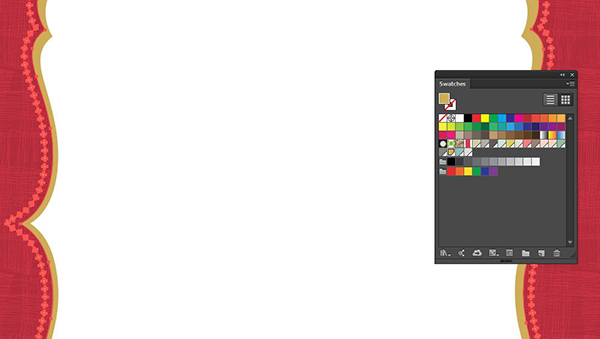
In the freebies folder, open LisaGlanz_TexturePattern. Use your Selection tool to select the pattern. Press cmd + c to Copy. Close the file, then in your main layout, press cmd + v to Paste.
With the pattern still selected, go to your Color palette, select the Fill icon and enter a CMYK value of 10/95/75/0.
Open your Swatches palette (Window > Swatches). Use your Selection tool (v) to drag the red pattern into the Swatches palette. This will create a new pattern swatch.
Press Backspace to delete the original vector from the artboard.
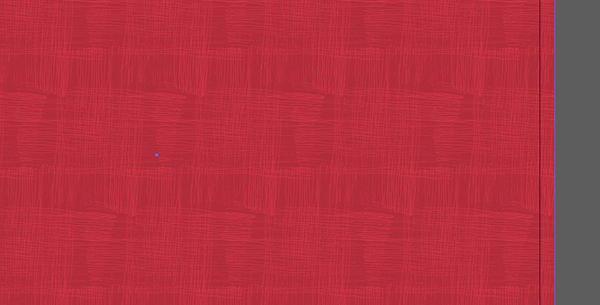
Select the darker red background square. Press cmd + c to Copy, then click on an empty space outside the artboard to Deselect. Press cmd + v to Paste in Place, creating a copy of the original solid background square.
In the Swatches palette, select the new pattern swatch. It will be the last swatch on the palette.
Now lock this layer. Open the Layers palette and click the space between the eye icon and the layer name.
Step 2: Front Design
In the Layers palette, click the Create New Layer icon. Double click the layer name and change it to Design Elements.
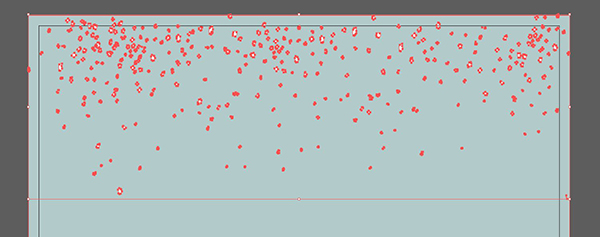
Open the LisaGlanz_Snow file in the freebies folder.
Select the falling snow vector at the top and press cmd + c to Copy.
In the main layout, press cmd + v to Paste. Hold Shift and use the corner handles to reduce the size until it is the same width as the artboard with bleeds. Position at the top of the first artboard.
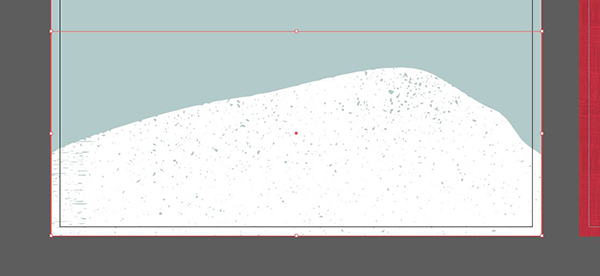
Go back into the LisaGlanz_Snow file and select the pile of snow at the bottom of the artboard. Press cmd + c to Copy it, then press cmd + w to Close the file.
At the top middle/right of the artboard, make sure the link icon between Width and Height is turned on. Next to Width, enter 7.625 inches and press Enter.
Center the snow on the artboard by selecting the icons for Horizontal Align Center and Vertical Align Center in the Align palette. Position at the bottom of the first artboard so that no blue is visible at the bottom.

Now we’ll mask the snow pile out so it doesn’t bleed over onto our second artboard and it will just make things look a little neater.
Select your Rectangle tool (m). Draw a rectangle starting on the far left edge of the bleed above the snow pile and ending at the bottom right corner of the bleed.
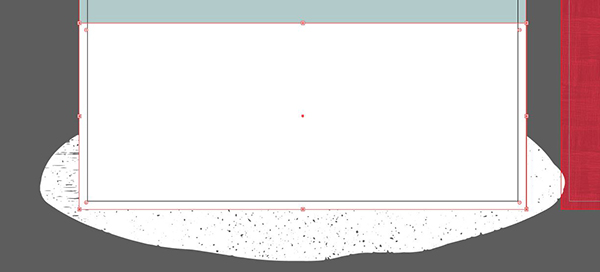
With the rectangle still selected, hold Shift and click on the snow pile to add it to the selection. With both selected, press cmd + 7 or go to Object > Clipping Mask > Make.
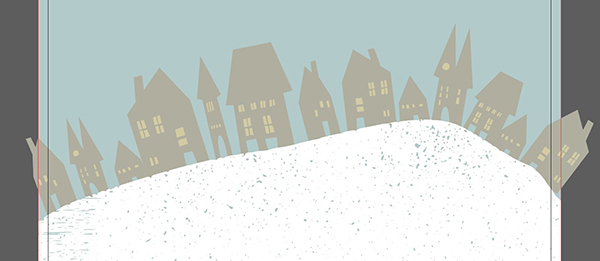
In the Freebies folder, open LisaGlanz_Houses. Select the houses vector and press cmd + c to Copy. Press cmd + w to Close the file.
In the main layout, press cmd + v to Paste. With the houses still selected, press shift + cmd + g once to Ungroup the houses. This will allow us to individually manipulate the position of each house.
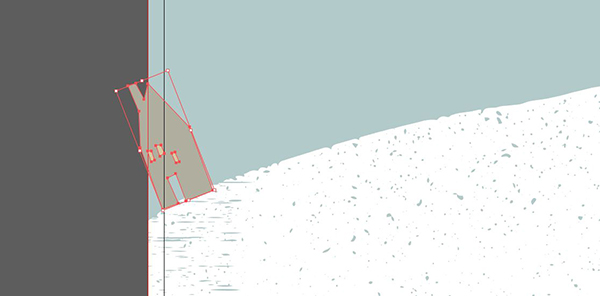
We’re going to position the houses along the snow pile with each at a slightly different angle to match the curve of the pile.
Select the house on the far left. Drag it to the left side of the first artboard and position so it sits mostly above the snow pile. Hover over the corner handle until you see the double-sided rotation arrow. Click and rotate to the left until the house is sitting at the same angle as the snow.
Repeat with the next house. Select it and drag it down to the snow pile, to the right of the first house. Use the corner handle to rotate to match the angle of the snow.

Continue positioning each house one at a time and adjusting the rotation to match the snow until you reach the right side of the artboard.

Select the remaining, unused houses and delete them. Hold Shift while making selections to select more than one item at a time.
Select all of the houses along the snow pile. With all selected, press cmd + g to Group.
Press cmd + [ (left bracket) once to send the house group behind the snow pile.
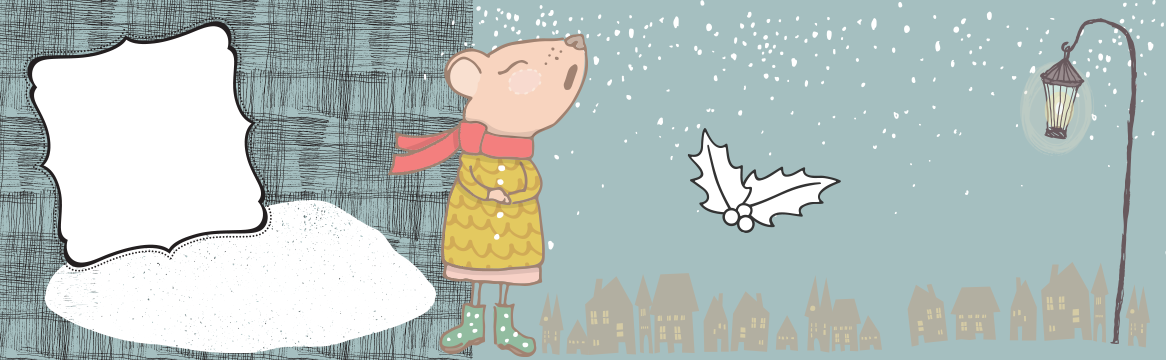
In the Freebies folder, open LisaGlanz_MouseLamp. Select the lamp and press cmd + c to Copy.
In the main layout file, press cmd + v to Paste.
Go to Object > Transform > Rotate. Enter 5 degrees and press OK.
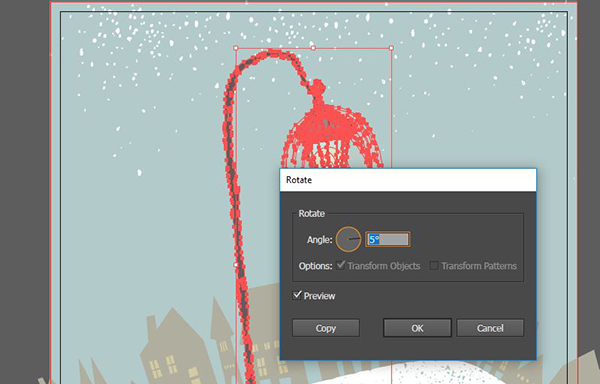
Position the lamp on the far left side of the artboard, centered vertically.
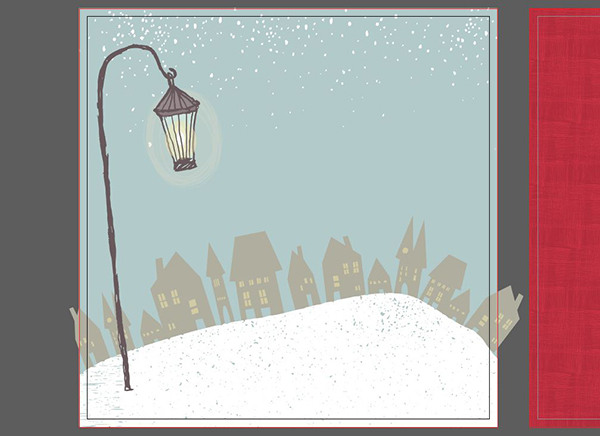
Go back to the LisaGlanz_MouseLamp file and select the mouse. Press cmd + c to Copy, then press cmd + w to Close the file.
In the main layout, press cmd + v to Paste.
Position the mouse below the lamp.

In the Freebies folder, open SummitAvenue_ScallopFrame. Use your Selection tool to drag across the elements and press cmd + c to Copy. Press cmd + w to Close.
In the main layout file, click once on the second artboard and press cmd + v to Paste.
At the top of the artboard, enter a Width of 5.375 inches, then use the Align palette to center the frame on the artboard.
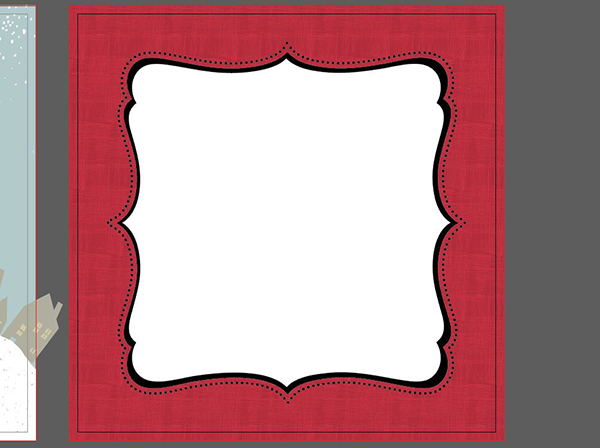
Hold Shift and click once on the white area of the frame to Deselect it. Open your Swatches palette. We’re going to use a gold color from the mouse’s sweater. With only the black sections of the frame still selected, select the darker gold swatch in the palette (with a CMYK build of 12/27/75/8).
In the Freebies folder, open District62_RetroChristmas. Select the holly element and press cmd + c to Copy, then cmd + w to Close the file.
In the main layout file, press cmd + v to Paste.
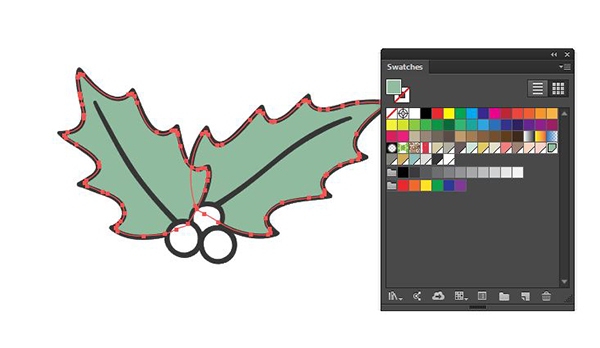
Grab your Group Selection tool, the white arrow with a plus sign available from the flyout menu on the Direct Selection tool. Click once on the white area of the left holly leaf, then hold Shift and also select the large white area on the right holly leaf.
In your Swatches palette, select the mint green (with a CMYK build of 40/6/39/8). This is also from the mouse graphic and was automatically added to your swatches palette when we pasted the mouse in earlier.
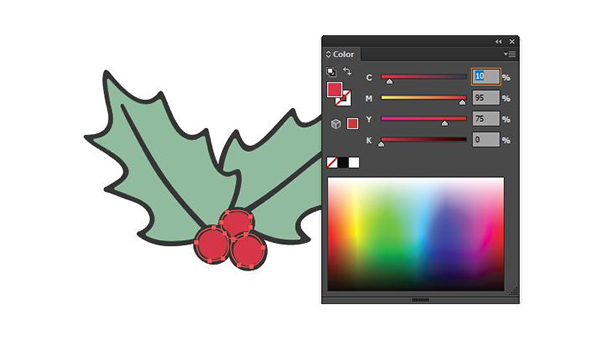
Now use your Group Selection tool to select the three white fill areas of the holly berries.
Open your Color palette. Click the CMYK icon below the tint percentage to convert to a CMYK build. Enter CMYK values of 10/95/75/0.
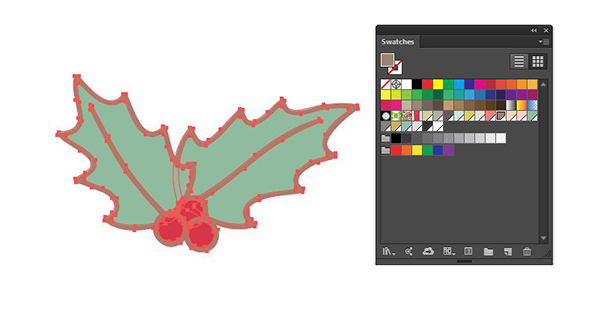
Use the Group Selection tool to select the outermost path of the holly leaf━the dark gray outline. Go to Select > Same > Fill Color. In the Swatches palette, select the medium brown color (from the mouse graphic) with a CMYK build of 0/24/30/43.
Switch to your main Selection tool (v). Select the entire holly element and drag it down until it covers the bottom point of the frame.

With the holly still selected, go to Object > Transform > Reflect. Choose Horizontal axis and press Copy. Position the copy at the center top of the frame.
freebies

Open your Layers palette and lock the Design Elements layer.
Step 3: Text
In the Layers palette, click the Create New Layer icon. Double click the name of the new layer and change it to Text.
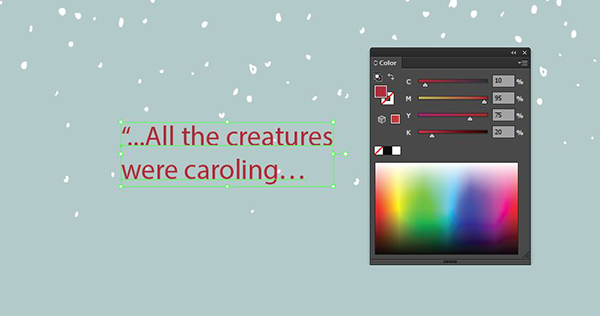
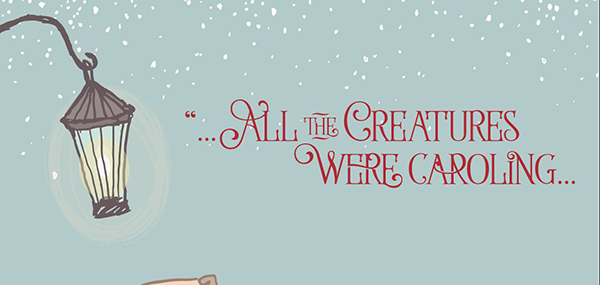
Select your Type tool (t). Click once at the top right of the first artboard and type:
“…All the creatureswere caroling…
In the Color palette, enter CMYK values of 10/95/75/20.
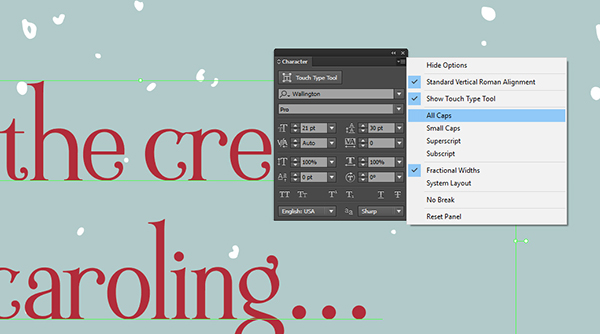
I’m going to use one of my favorite all-time fonts, Wallington Pro. It has Christmas-y feel and a ton of great alternates that give it a custom look.
Note: If you don’t have Wallington, you can substitute with a free decorative font like Santa’s Sleigh by Hypo Typo.
Open the Character palette (Window > Type > Character). Choose Wallington Pro and set the font size to 21 pt with Leading, the space between lines, at 30 pt. Click the arrow at the top right of the palette to access the flyout menu and choose All Caps.
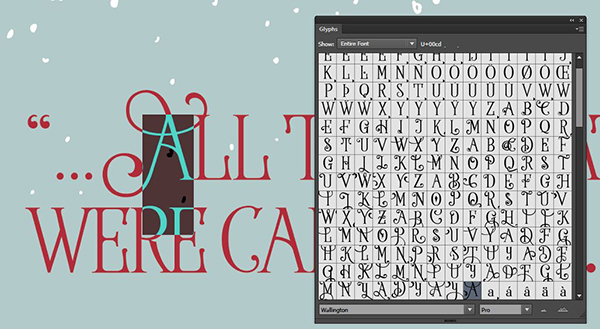
I’m not going to go into a ton of detail on the alternates, but I’ll show you the basic idea. If you’d like to see more, check out this previous tutorial where I go more in-depth.
Open your Glyphs palette (Window > Type > Glyphs). Select the A in “All” and then double click one of the more decorative alternate As in the Glyphs palette.
Next, select “the”. In the Glyphs palette, select one of the alternate catchwords.
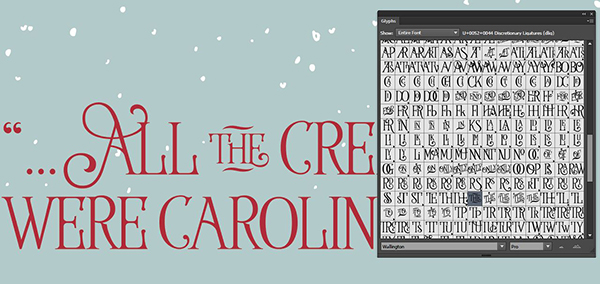
Continue to replace a few of the characters with more decorative alternates while maintaining a sense of balance.
Note: There are letter combination alternates available for some instances – like ER and AR.
Speaking of balance, our second line would look better if we move it over to the right, so add several spaces before “were” in the second line.
Switch to your main Selection tool. Hold opt, then click on the block of text and drag down to create a duplicate.
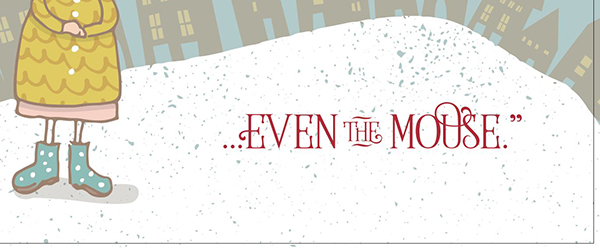
With your Type tool, select all of the text in the duplicate and replace it with:
…even the mouse.”
Again, we’ll replace some of the letters with alternates from the Glyphs palette, including the catchword for “the”.
Position at the bottom right toward the middle of the snow pile.
Switch to your main Selection tool. Hold opt, then click on either block of text and drag right to create a duplicate. Drag the duplicate to the second artboard.
With your Type tool, select all of the copy in the duplicate and replace it with:
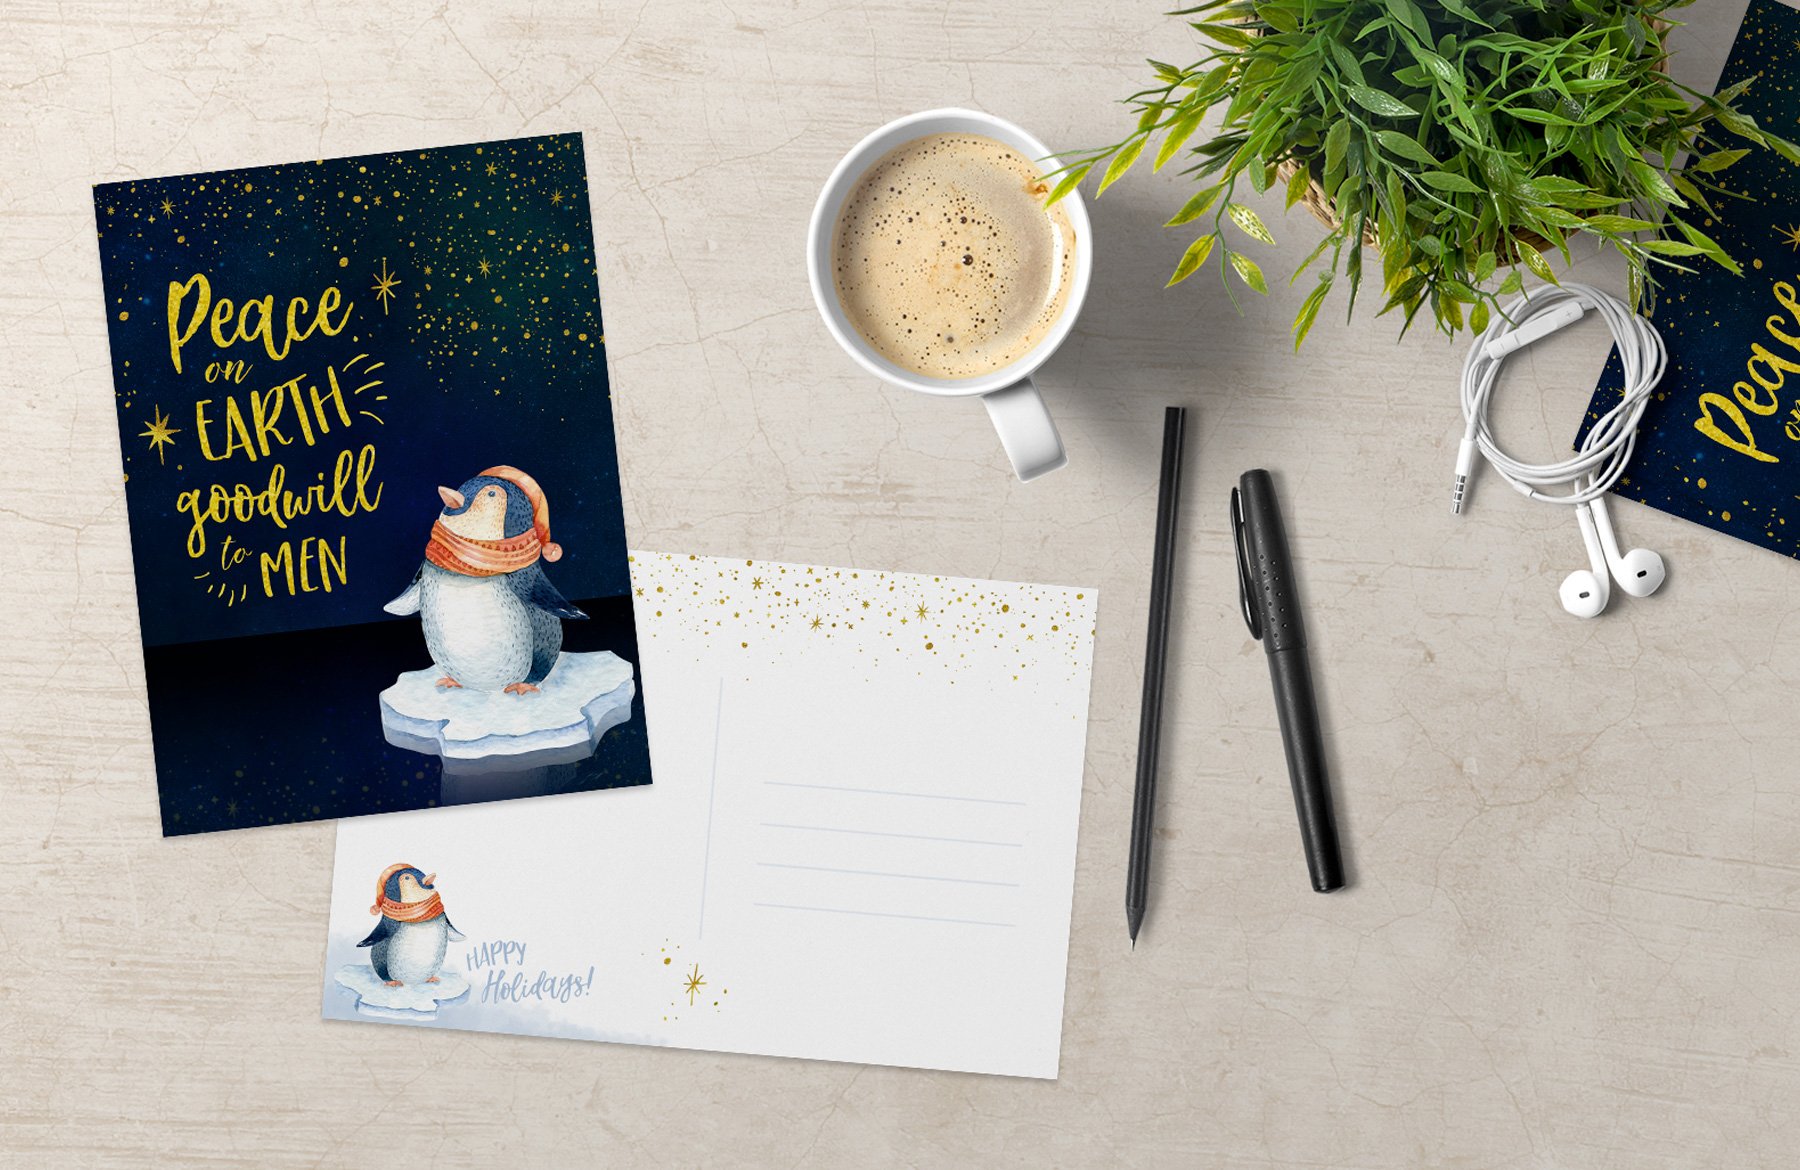
Happy Holidaysfrom our family to yours
Use your Type tool to select the first line, Happy Holidays. In the Character palette, increase the font size to 33 pt.
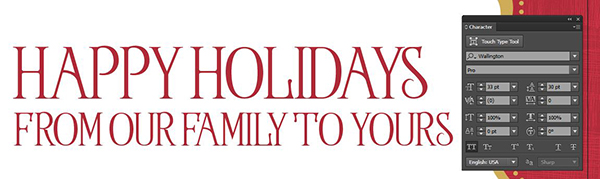
Now select the second line. Change the font size to 20 pt.
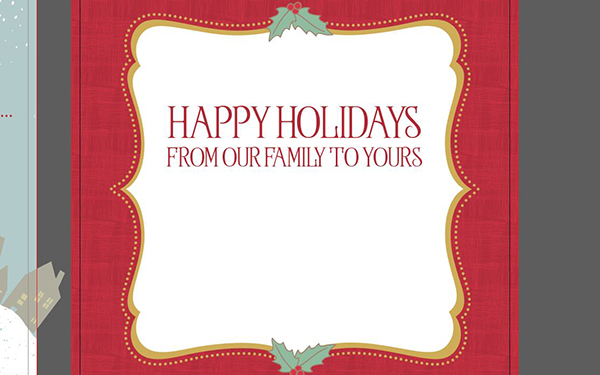
Switch to your main Selection tool. Open your Paragraph palette and select Align Center.
Position in the middle of the second artboard, more towards the top so there’s room to sign the card at the bottom.
For our last step, we’ll replace a few of the letters with alternates and catchwords using the Glyphs palette.
And that’s it! You’re ready to make your own custom holiday cards that fit into a standard 6.5” x 6.5” square envelope (available at stationery stores).
I hope you enjoyed getting a jumpstart on the holidays and learning some basic Illustrator techniques like masking and making patterns.
Remember that whether it’s your outcome for this tutorial or something new you’ve made, we’d love to see your designs on our Facebook page.
Please leave a comment if you have any questions or suggestions. I always look forward to hearing from you!
And there’s still time to check out The All-Purpose Vector Supply Kit to build a collection of invaluable resources for only $29.

Thank you for this wonderful tutorial. I bought the bundle and was searching for Lisa’s snow pile that was used in the first card but I can’t find it in any of the folders :( Please help. Of course, I can always download the freebie :) I am just afraid I might have missed downloading a folder in the bundle and missed all the goodies that are in it. Thanks a lot!
Hey Joy,
Thank you so much for your comment and lovely feedback!
I am so sorry that you are having trouble locating the snow, I have just popped you over an email to help you with this :)
That mouse! The most adorable mouse! I’m in love. Thanks for this tutorial.
Hey Eva,
Thank you so much for your lovely comment! It’s great to hear you are loving these freebie resources and we hope you enjoyed this tutorial as well :)
Thanks again, Eva! If you ever have any queries please do let me know. I’m here to help!
Awesome! I made my own version inspired of this tutorial! Thank you DC, I’m learning more and more <3
Hey Monika,
Thank you so much for your comment! It is fantastic to hear that you have made your own version from this tutorial! We would love to take a look if you ever wanted to share your work?
Thanks again, Monika! We’re so pleased that our tutorials have been able to assist you in learning some new tips and tricks :) If you ever have any questions or queries please do let me know. I’m here to help!
Hi Design Cuts,
Love the concept and images but becuause I don’t have Illustrator, will try to recreate in photoshop. Wish me luck and will post the result if successful.
Always, fantastic tutorials and thanks a mill for psting.
Sincerely JA
Hey John,
Thank you so much for your comment! We’re so pleased you like the look of this tutorial :) I hope it all goes smoothly for you recreating this in Photoshop but if you do need a hand at all, please do let me know as I’d love to help out!
Thanks again for your kind words, John :) The team & I really appreciate it!
Thanks John! The next one will be in Photoshop, so hopefully that will make it easier to follow :)
What paper did you print these on? I like the texture of it.
Hey Crucibelle,
Thank you kindly for getting in touch with your kind words :) I’m really sorry for any confusion! The last image is actually a digital mockup that Renee has incorporated the final design into. I’m more than happy to enquire what mockup was used here if you were interested in picking it up? Please do let know and I will happily arrange this for you!
Hi Crucibelle! I used a texture available in the Lisa Glanz Noel Christmas Collection that was part of the bundle. It did a lovely job of mimicking a laid textured paper. You should be able to find laid paper at your local stationer or office supply store (in the resume paper section).