WHAT WE’RE CREATING:
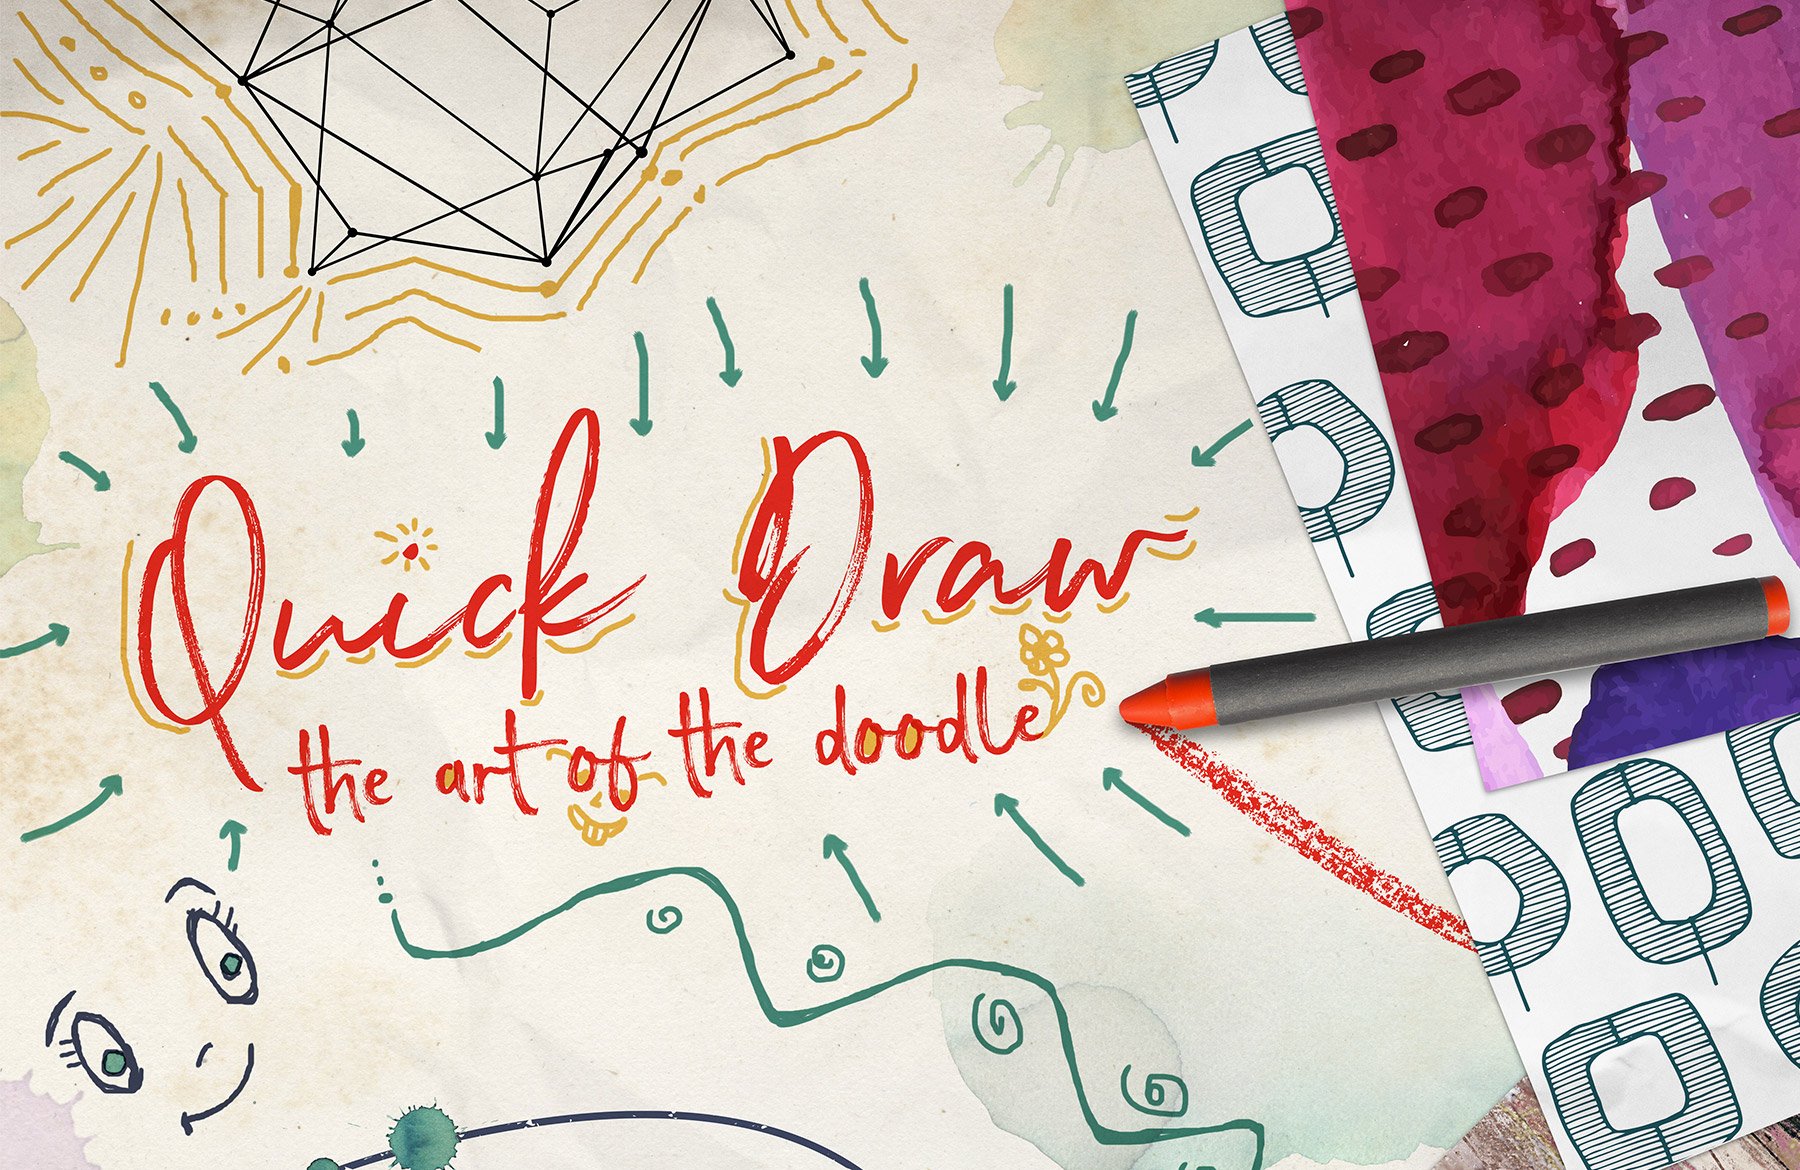
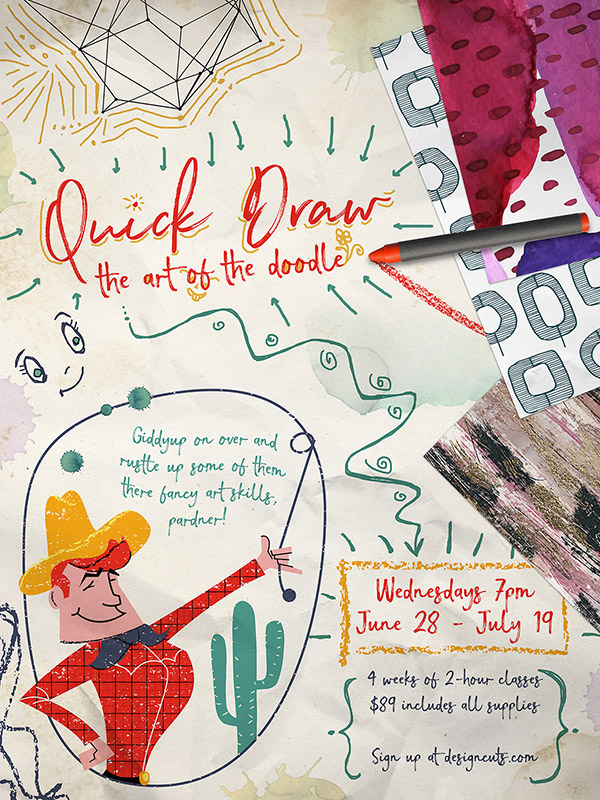
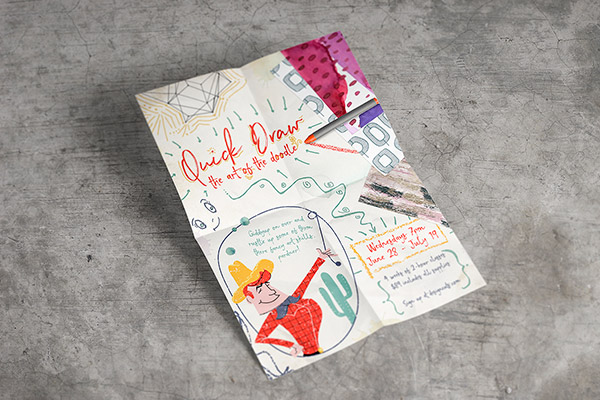
Hello designers! Renee here with a Photoshop tutorial showing you how to create a poster advertising an art class called Quick Draw – The Art of the Doodle. We’re going to have a blast scribbling, doodling, layering, staining and generally creating an attractive mess!
HAVE YOU SEEN OUR YOUTUBE CHANNEL?
Watch the video tutorial below and subscribe to our YouTube channel for regular updates direct to your inbox.
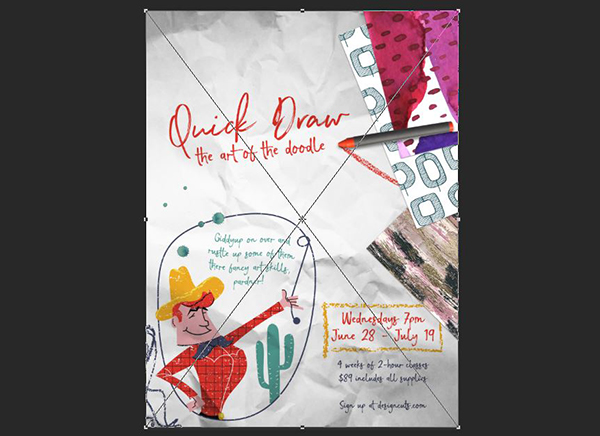
Here’s a look at what we’ll be creating:
Follow along with this tutorial: Download the freebie files
This huge freebie pack includes incredible resources from Feather & Sage Design Co, Julia Dreams, Micro Move, Pixel Buddha, Unember, Wings Art, You and I Graphics and Zeppelin Graphics.
The freebie pack is just a tiny taste of the resources available in The Comprehensive Texture and Patterns Collection for just $29 (that’s 99% off). With this bundle, we’ve listened to the Design Cuts community and have included all of your most requested items, from clean patterns to stunning painted textures.
Step 1: Background
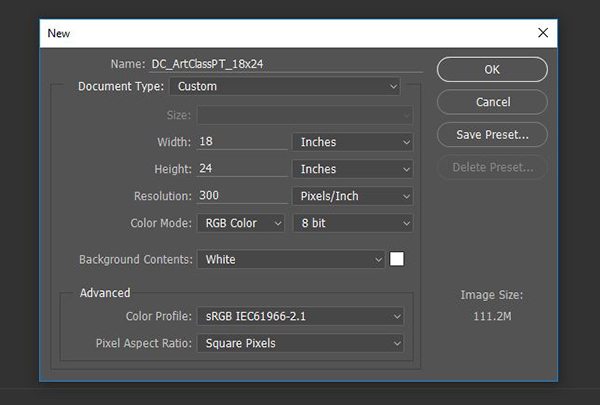
Open Photoshop and go to File > New. In the New Document dialog box, enter a width of 18 inches and a height of 24 inches. Set your Resolution to 300 ppi and your Color Mode to RGB.
Click OK to create the document.
Save your file.
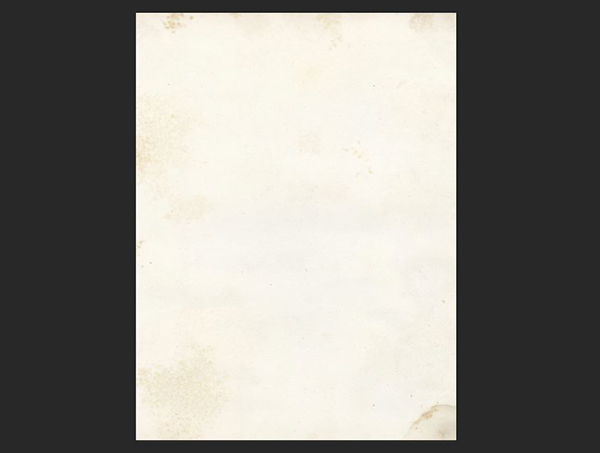
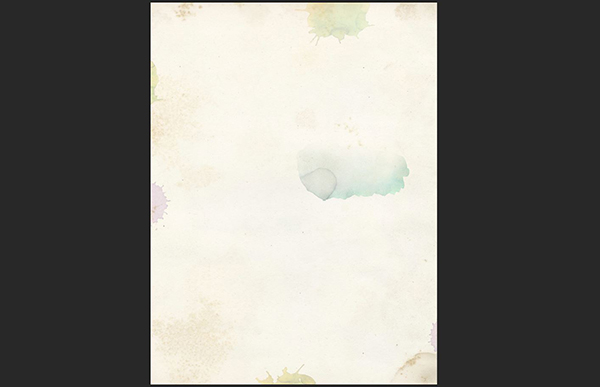
We’ll start with a background image. Go to File > Place Linked. Navigate to the Unember freebies folder and select Original 1. Press Place.
Use the corner handles to increase the size until it fills the entire artboard. Press enter when done.
Now we’ll add a few paint or ink stains.
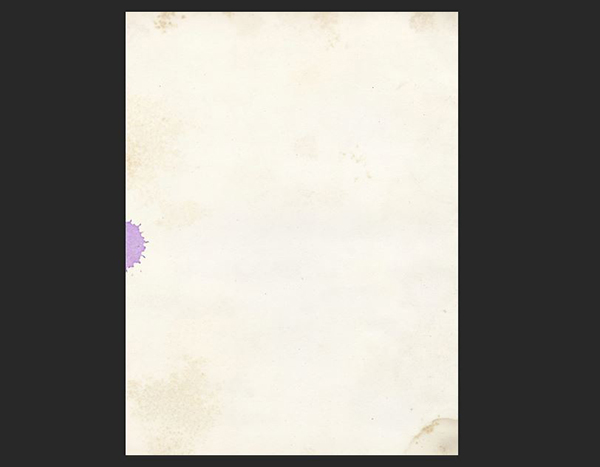
Go to File > Place Linked. Navigate to the Julia Dreams freebies folder. Select Simple Shape 12 and press Place.
At the top left of the artboard next to W: enter 500%, then click the link icon between W: (Width) and H: (Height) to maintain the aspect ratio. Press Enter.
Position the stain on the far left of the artboard, centered vertically.
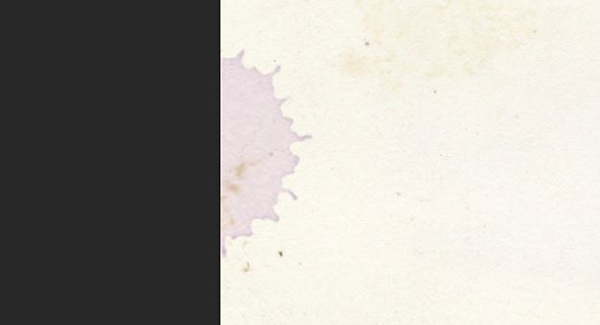
Open the Layers palette (Window > Layers). At the top of the palette, change the Blend Mode from Normal to Multiply. Next to Opacity, enter 30%.
In the Layers palette, select the Simple_Shape_12 layer and drag it down to the Create A New Layer icon at the bottom of the palette to duplicate it.
On the artboard, drag the duplicate stain to the bottom right side of the artboard so it’s just barely visible.
Go to File > Place Linked. In the Julia Dreams freebies folder, select Simple Shape 43 and press Place.
Position the stain on the far left of the artboard toward the top and mostly off the artboard. Press Enter.
At the top of the Layers palette, change the Blend Mode from Normal to Multiply. Next to Opacity, enter 30%.
In the Layers palette, select the Simple_Shape_43 layer and drag it down to the Create A New Layer icon at the bottom of the palette to duplicate it.
On the artboard, drag the duplicate stain to the bottom of the artboard so it’s only partially showing.
In the Layers palette, create another duplicate of Simple_Shape_43 by dragging it down to the Create A New Layer icon at the bottom of the palette.
Position this one at the top right of the artboard, a bit more visible.
At the top of the Layers palette, reduce the Opacity to 20%.
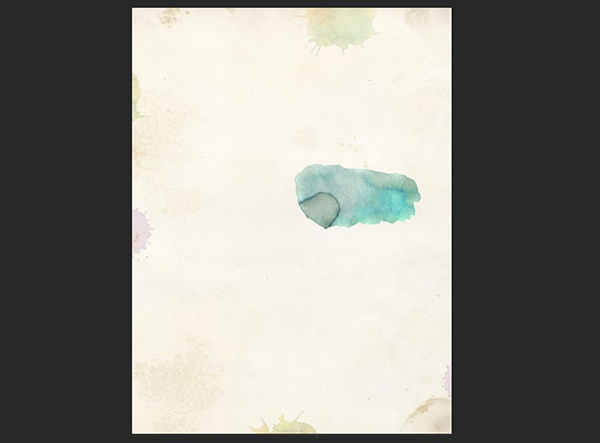
Go to File > Place Linked. In the Julia Dreams freebies folder, select Simple Shape 53 and press Place.
Position the stain in the middle right of the artboard, just above center, and press Enter.
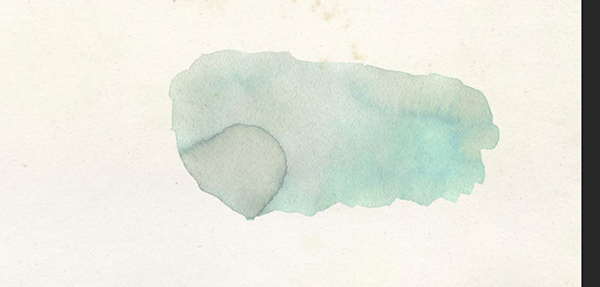
At the top of the Layers palette, change the Blend Mode to Multiply and the Opacity to 50%.
At the bottom of the Layers palette, click the Add Layer Mask icon.
Click on the layer mask thumbnail (the white rectangle) that appears on the layer in the Layers palette.
Select the Brush Tool (b). At the top left of the artboard, click the brush preview to open the Brush Preset Picker. Select the Soft Round brush.
To the right of the brush preview at the top of the artboard, change the Opacity to 20%.
Press d to set your Foreground Color to White and Background Color to Black. Press x to toggle so the Foreground Color is Black.
Anywhere we paint black on a layer mask will be hidden.
On your keyboard, press the right bracket key (]) several times until the size of your Brush has increased to about 500 pixels.
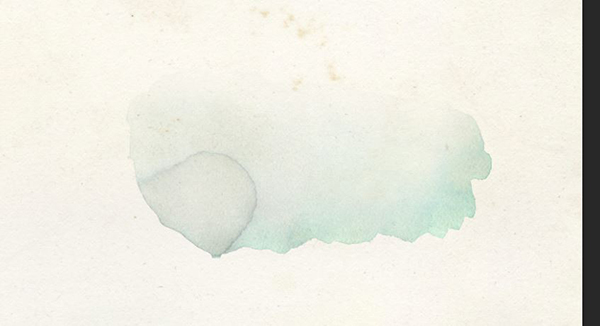
On the artboard, brush over the top section of the stain several times until it begins to blend with the paper.
Note: If you overdo it, just hit the x on the keyboard to toggle back to a white foreground color and brush over the area you want more visible. On a layer mask, white = visible and black = hidden.
In the Layers palette, select the top layer, Simple_Shape_53, then hold Shift and select the bottom layer, Original 1.
At the bottom of the palette, click the Create A New Group icon.
Double click the name of the group, Group 1, and rename it Background.
Step 2: The Cowboy
Click the Create A New Group icon again. Name the group Cowboy.
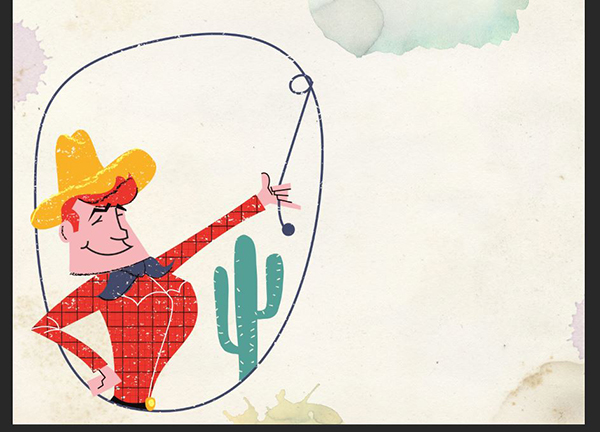
Go to File > Place Linked and navigate to Crayon Characters_Freebies in the Wings Art folder. Press Place.
At the top left of the artboard next to Width, enter 125%, then click the link icon between Width and Height. Press Enter.
Position the cowboy at the bottom left of the artboard.
In the Layers palette, drag the Crayon Characters_Freebies layer into the Cowboy group.
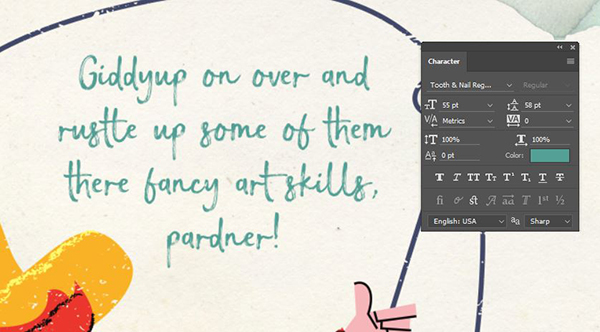
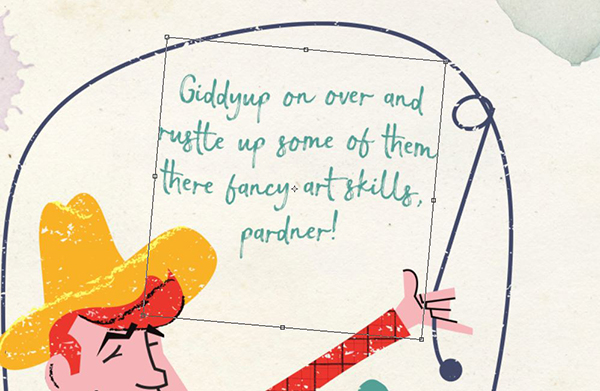
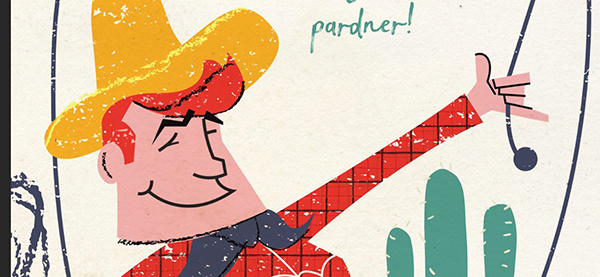
Let’s add some text inside the roped area. Select the Type Tool (t). Click once inside the rope at the top right and type:
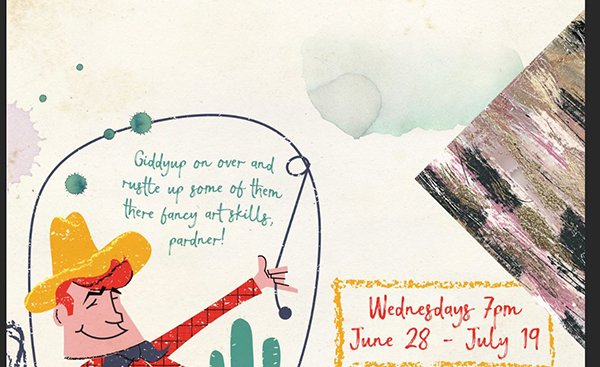
Giddyup on over and
rustle up some of them
there fancy art skills,
Pardner!
Select the Move Tool.
Open the Character palette (Window > Character). Set the font to Tooth and Nail by Set Sail Studios at 55 pt. Decrease the Leading, the space between lines, to 58 pt.
Click on the color thumbnail and in the Color Picker, use the eyedropper to sample the teal of the cactus on the cowboy illustration.
Lastly, open the Paragraph palette (Window > Paragraph) and select Center Align.
Note: If you don’t have Tooth and Nail, you can always substitute with another handwritten font.
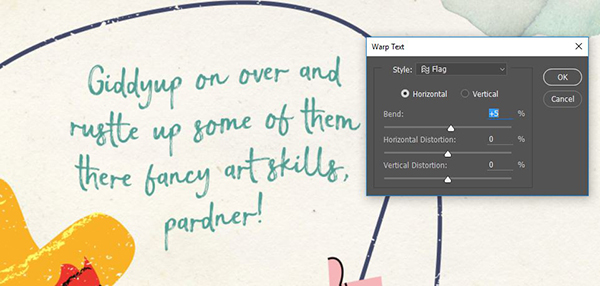
Go to Type > Warp Text.
Next to Style, choose Flag. Reduce the Bend to +5 and press OK.
Go to Edit > Transform > Rotate. On the artboard, use one of the corner handles to rotate the text to the right slightly – about 5 degrees. Press Enter.
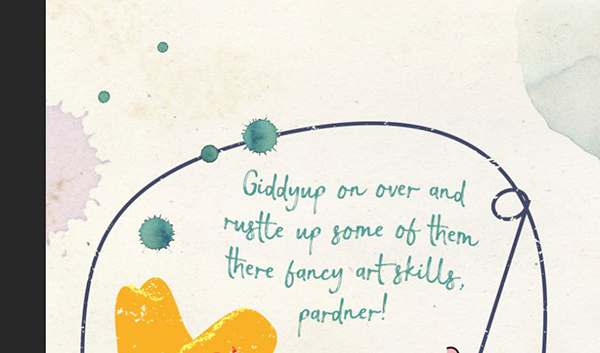
Go to File > Place Linked and navigate to SIMPLE_SHAPE_24 in the Julia Dreams freebies folder. Press Place.
Position so that the two paint drops that are closest together are on top of the rope from the cowboy illustration. Press Enter.
Let’s add a little scribble down in the corner behind the cowboy.
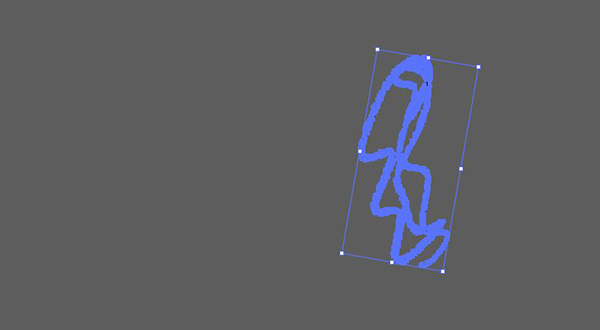
Go to the Freebies folder. Open the Wings Art folder, then double click on Collected Elements_Freebies to open it in Illustrator.
In Illustrator, select the main Selection Tool (v). Select the largest scribble shape and press Cmd + C to Copy it.
Go back into Photoshop and press Cmd + V to Paste. In the popup, select Smart Object and press OK.
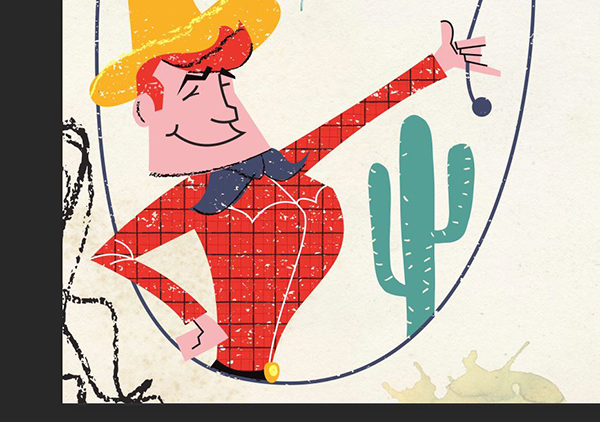
Go to Edit > Transform > Rotate and use the corner handle to rotate the scribble to the left about -10 degrees.
Position the scribble at the bottom left, mostly off the artboard, and press Enter.
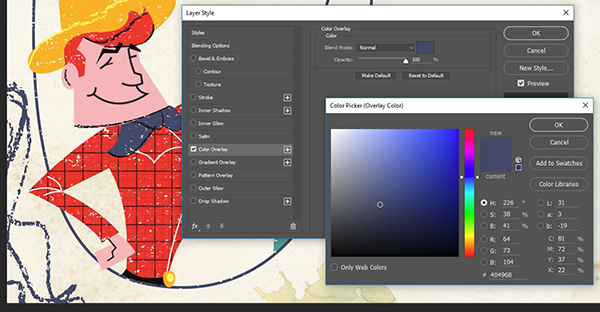
At the bottom of the Layers palette, click the FX icon and select Color Overlay.
For Blend Mode, choose Normal.
Click the Color thumbnail to bring up the Color Picker. In the Color Picker, use the eyedropper to sample the blue from the cowboy’s rope or bandana. Press Ok on the Color Picker, then press OK on the Layer Style popup.
In the Layers palette, click once on the Cowboy group to make the entire group active. At the top of the palette, change the Blend Mode from Pass Through to Multiply. This will allow us to see some of the paper texture through the illustrations.
Step 3: Class Details
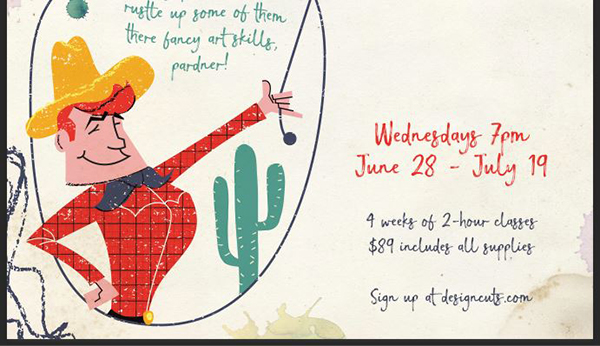
Let’s go ahead and add our class details in the space to the right of the cowboy.
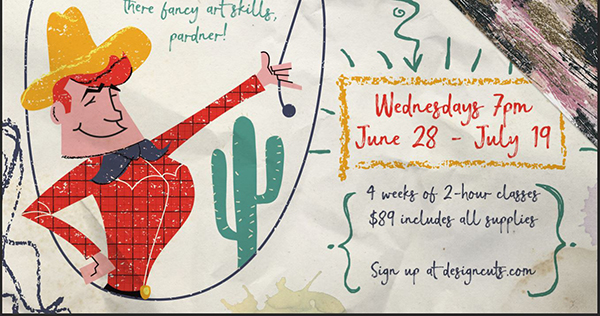
Select the Type Tool (t) and click once on the artboard to the right of the cowboy illustration. Type:
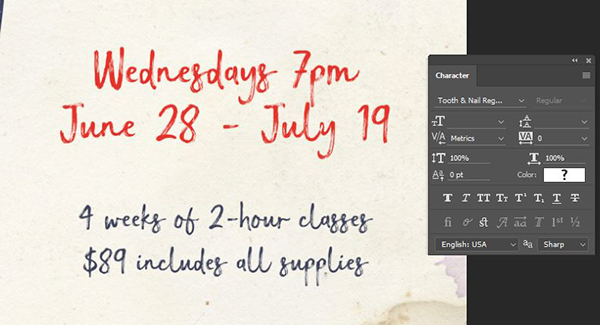
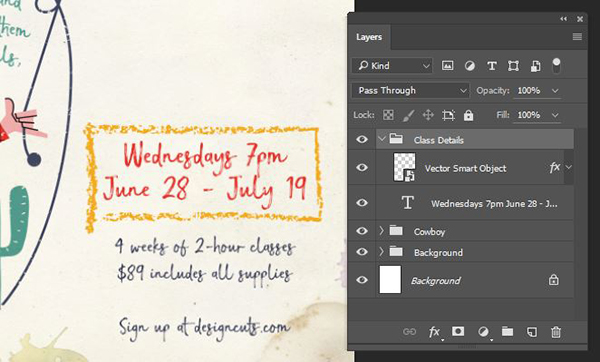
Wednesdays 7pm
June 28 – July 19
4 weeks of 2-hour classes
$89 includes all supplies
Sign up at designcuts.com
Switch to the Move Tool.
In the Character palette, set the font to Tooth and Nail Regular at 50 pt. Set the Leading to 56 pt. Select the Color thumbnail and use the eyedropper to sample the dark blue from the cowboy’s rope or bandana.
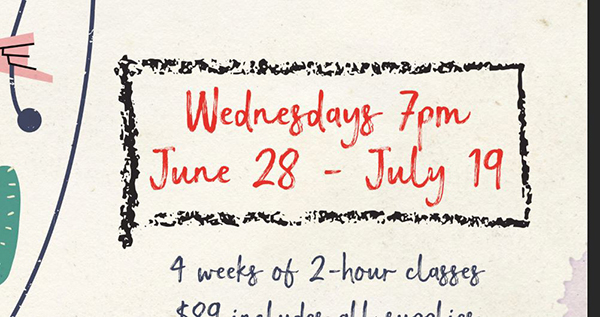
Select the Type Tool and highlight the first two lines of text – the day, time and dates.
In the Character palette, increase the font size to 75 pt and the Leading to 70 pt. Select the Color thumbnail and use the eyedropper to sample the red of the cowboy’s shirt or hair.
Now we’ll bring some extra attention to the first couple of lines by adding a doodle around them.
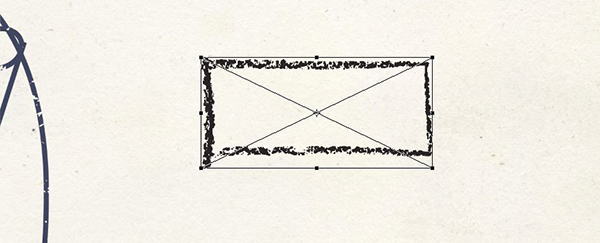
Go into Illustrator and select the rectangular box from the Wings Art Collected Elements_Freebies file. Press Cmd + C to Copy.
Go back into Photoshop and press Cmd + V to Paste. Select Smart Object and press OK.
Hold Shift and use the corner handle to rotate the rectangle to the left 90 degrees (one turn).
Position the rectangle over the red lines of text, then use the corner handles to increase the size and stretch the shape to fit comfortably around the text. Press Enter when done.
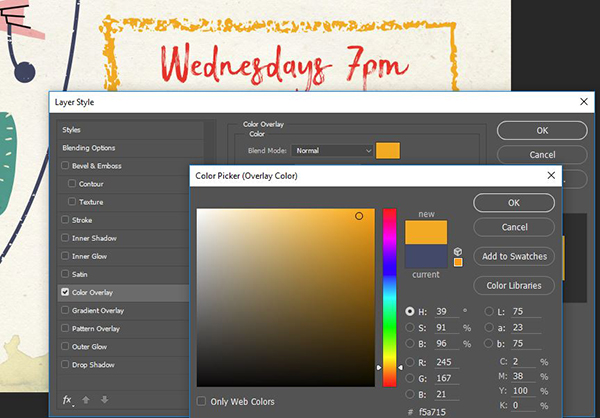
At the bottom of the Layers palette, click the FX icon and select Color Overlay.
We’ll keep the Blend Mode as Normal. Click the Color thumbnail and once the Color Picker opens, use the eyedropper to sample the darker yellow from the cowboy’s hat. Press OK on the Color Picker.
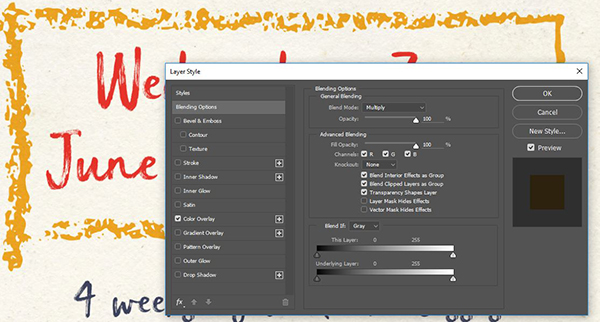
At the left side of the Layer Style popup, click the top option, Blend Options. Under Advanced Blending, turn on Blend Interior Effects as Group. Press OK.
In the Layers palette, hold Shift and select the class details text layer and the rectangle layer. At the bottom of the palette, click the Create A New Group icon. Rename the group Class Details.
At the top of the palette, change the Blend Mode for the Group from Pass Through to Multiply.
Step 4: Painted Papers and Crayon
Now we’ll add some interest to the right side of the poster by stacking up a few pieces of painted paper topped with the crayon that was presumably responsible for some of our scribbles.
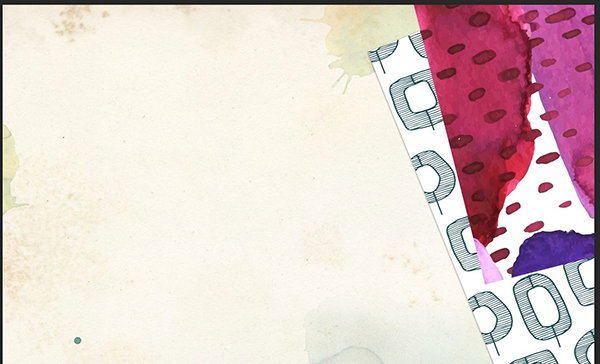
Go to File > Place Linked and navigate to the Feather & Sage Design Co freebies folder. Select Pattern-20 and press Place.
Hold Shift and use the corner handles to rotate the paper left 45 degrees. Position on the far right side of the artboard, overlapping the yellow rectangle. Press Enter.
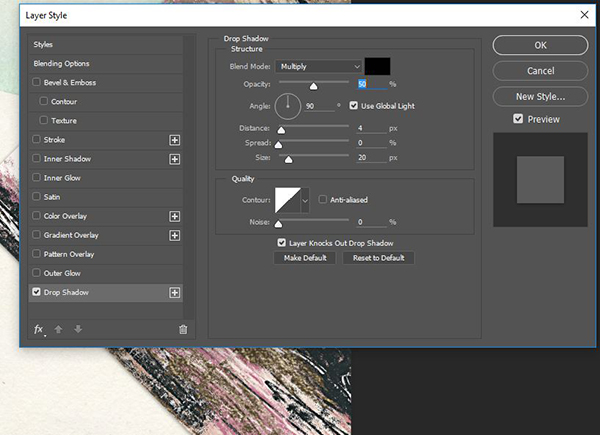
At the bottom of the Layers palette, click the FX icon and select Drop Shadow.
In the Layer Style popup, set the Blend Mode to Multiply, the Opacity to 50% and the Angle to 90 degrees. Set the Distance to 4 pixels, the Spread to 0 and the Size to 20 pixels, then press OK when you’re done.
In the Layers palette, click the Create A New Group icon. Rename the new group Painted Papers, then drag the Pattern-20 layer into the Painted Papers group.
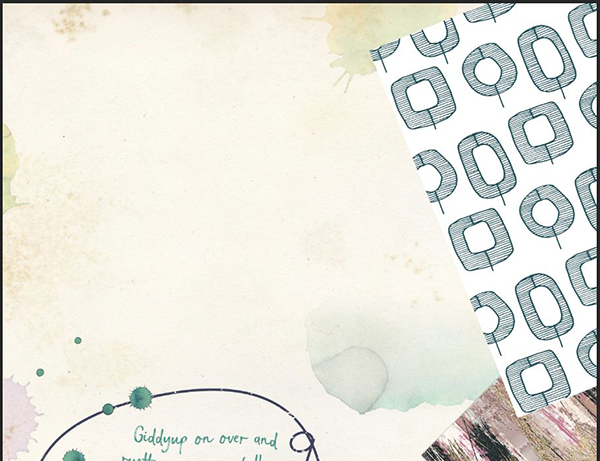
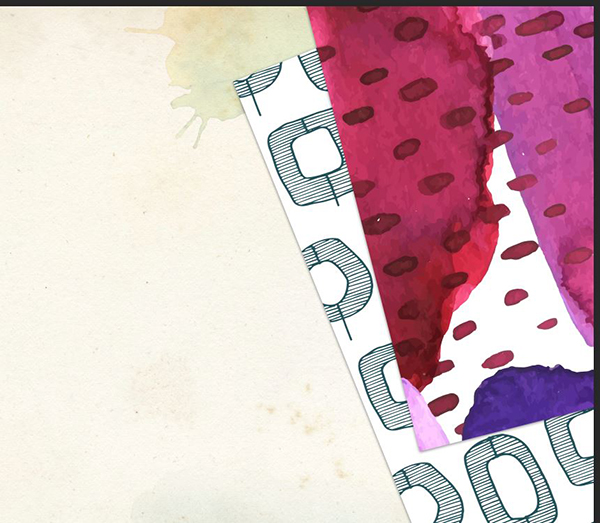
Go to File > Place Linked and navigate to the You and I Graphics freebies folder. Select forest-patterns-16 and press Place.
Use the corner handles to rotate the paper left 22 degrees. Position on the far right side of the artboard above Pattern-20. Press Enter.
Now we’ll copy the shadow effect from the first paper onto this one.
In the Layers palette, hold Option, then click on Effects under the Pattern-20 layer. Drag it up to the new forest-patterns-16 layer. This will duplicate it to the new layer and ensure a consistent shadow.
Let’s add one last patterned paper.
Go to File > Place Linked and navigate to the Pixel Buddha freebies folder. Select Pattern 17 and press Place.
Use the corner handles to rotate the paper left 15 degrees. Position on the top right corner of the artboard over forest-patterns-16. Press Enter.
In the Layers palette, hold Option, then click on Effects under the forest-patterns-16 layer. Drag it up to the new Pattern 17 layer.
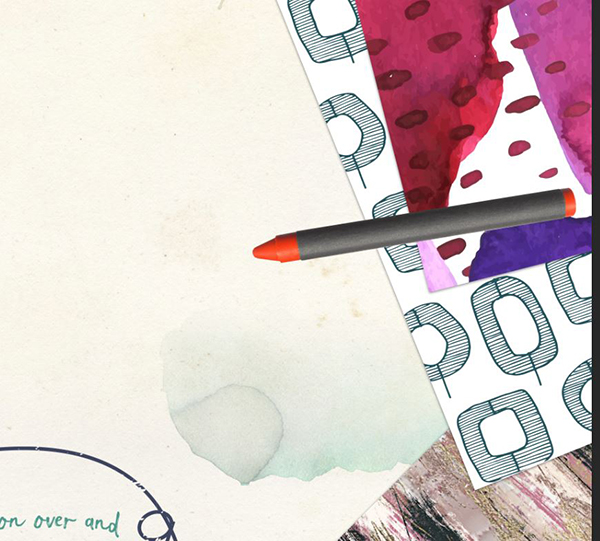
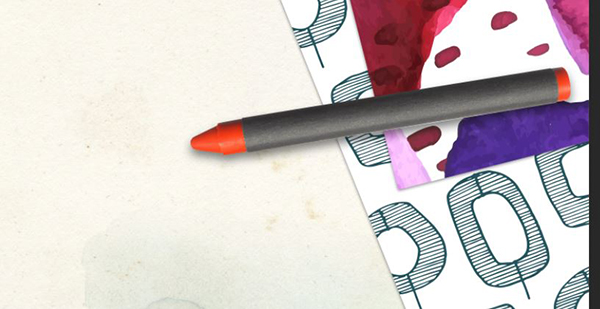
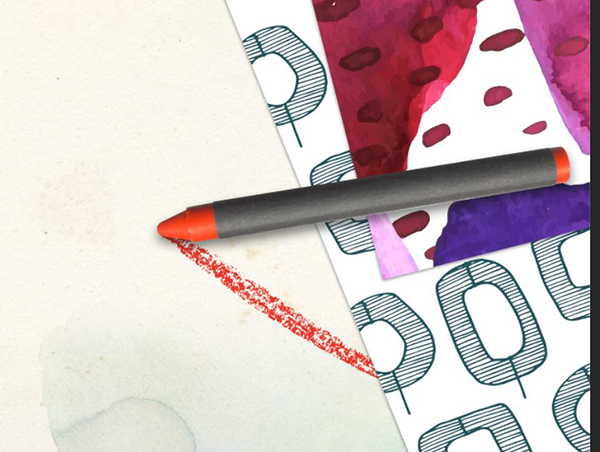
Now for the crayon. Go to File > Place Linked. Navigate to the Wings Art folder and select Wax Crayons-RedOnly. Press Place.
At the top left of the artboard, enter a Width of 190% and click the link icon between Width and Height to maintain aspect ratio. Enter an Angle of -100 degrees.
Position the crayon on top of the painted papers and press Enter.
In the Layers palette, hold Option, then click on Effects under the Pattern 17 layer. Drag it up to the Wax Crayons layer.
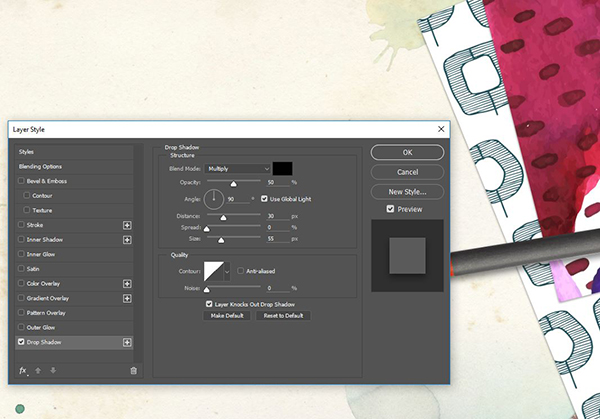
Double click Drop Shadow under Effects on the Wax Crayons layer to bring up the Layer Style popup. We’ll need to edit the crayon shadow since it would be a bit different than the shadow on a piece of paper.
In the Layer Style popup, increase the Distance to 30 px and the Size to 55 px. Click OK.
Lastly for this group, let’s add a little doodle mark under our crayon.
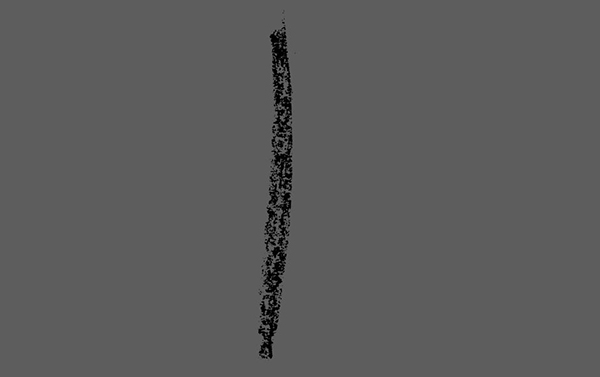
Go into the Wings Art Collected Elements file in Illustrator and select the crayon mark. Press Cmd + C to Copy it. You can now close this file by pressing Cmd + W.
In Photoshop, press Cmd + V to Paste. Select Smart Object and press OK.
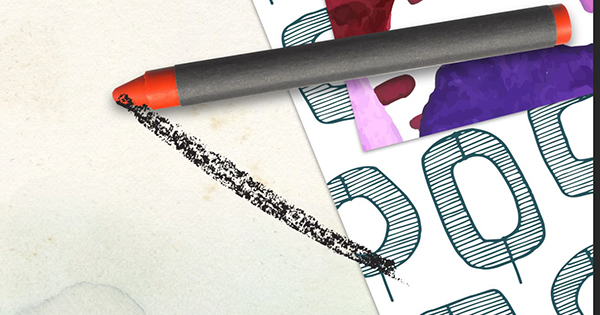
At the top of the artboard, enter a Width of 50% then click the link icon between Width and Height. Next to Angle, enter 120 degrees.
Position so the mark is flowing down and to the right from the tip of the crayon.
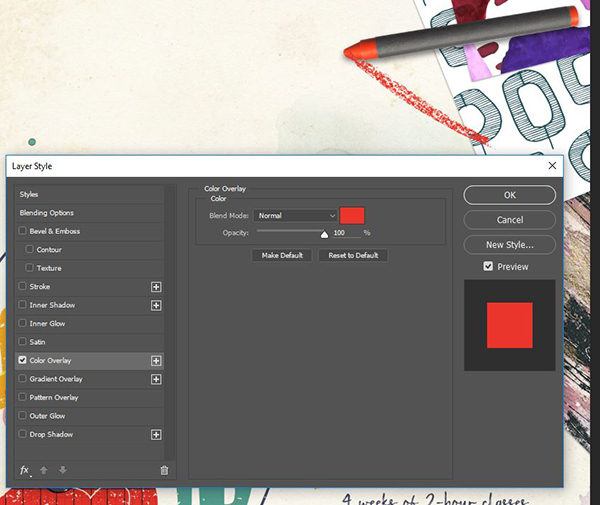
At the bottom of the Layers palette, click the FX icon and choose Color Overlay. Keep the Blend Mode as Normal. Click the Color thumbnail and when the Color Picker opens, use the eyedropper to sample the red of the cowboy’s hair or shirt.
At the left side of the Layer Style popup, click the top option, Blend Options. Under Advanced Blending, turn on Blend Interior Effects as Group. Press OK.
In the Layers palette, select the current red crayon mark layer and drag it down below the bottom painted paper layer, Pattern-20.
At the top of the Layers palette, change the Blend Mode from Normal to Multiply.
Step 5: Title
In the Layers palette, close the Painted Papers group by clicking the arrow to the left of the group name.
At the bottom of the palette, click the Create A New Group icon. Rename the new Group Class Title.
Select the Type Tool (t). Click once on the open area at the top left of the artboard and type:
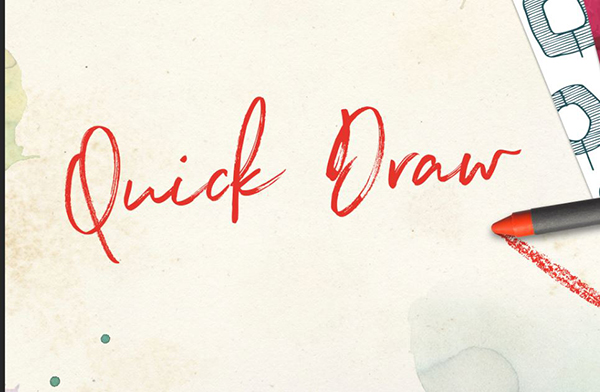
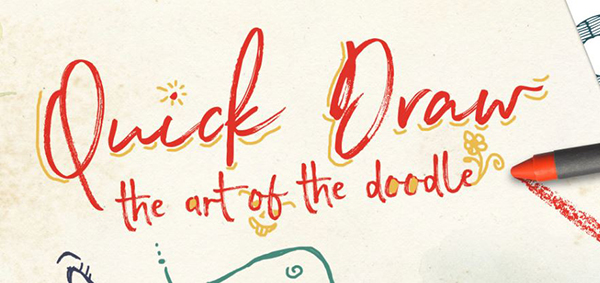
Quick Draw
Switch to the Move Tool.
In the Character palette, change the font to Northwell Regular by Set Sail Studios. Increase the font size to 215 pt. Click the Color thumbnail and in the Color Picker, use the eyedropper to sample the red from the cowboy’s shirt or hair.
Go to Edit > Transform > Rotate. On the artboard, use the corner handles to rotate the text to the left about 5 degrees. Position so the end of Draw fits between the tip of the crayon and the forest patterned paper. Press Enter.
Select the Type Tool. Click once on the artboard below Quick Draw and type:
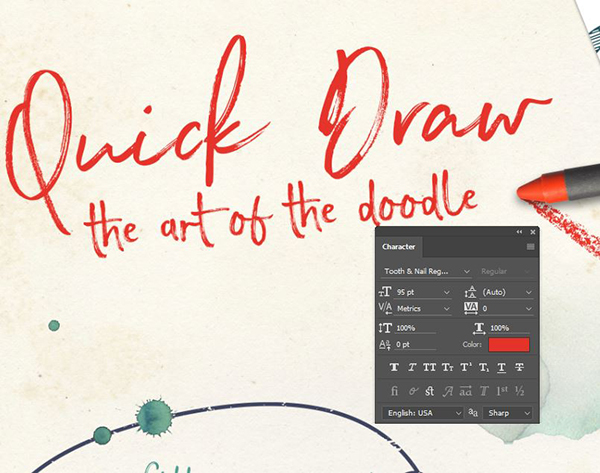
the art of the doodle
In the Character palette, change the font to Tooth and Nail regular at 95 pt.
Go to Edit > Transform > Rotate and rotate to the left again about 5 degrees.
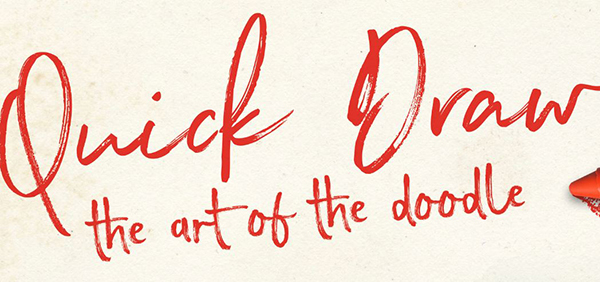
Position below Quick Draw and lining up with the end of the crayon. Press Enter.
In the Layers palette, select the Class Title group. At the top of the palette, change the Blend Mode from Pass Through to Multiply.
Step 6: Doodles
In the Layers palette, close the Class Title group by clicking the arrow to the left of the group name.
At the bottom of the palette, click the Create A New Group icon. Rename the new group Doodles.
In Finder or Explorer, navigate to the Micro Move freebies folder. Open Atomic-Particles-Black-12 in Photoshop.
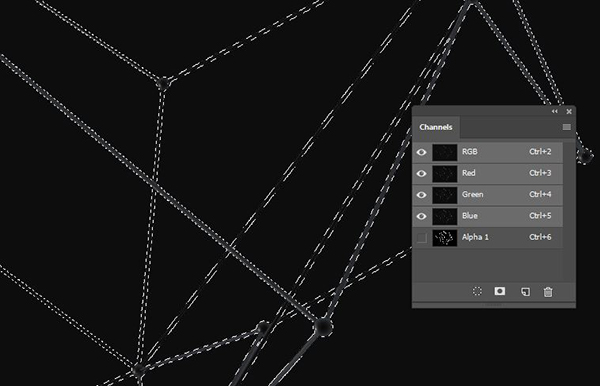
Open the Channels palette (Window > Channels). Hold Command and click the thumbnail on the Alpha 1 layer. This will create a selection around the shape on the artboard.
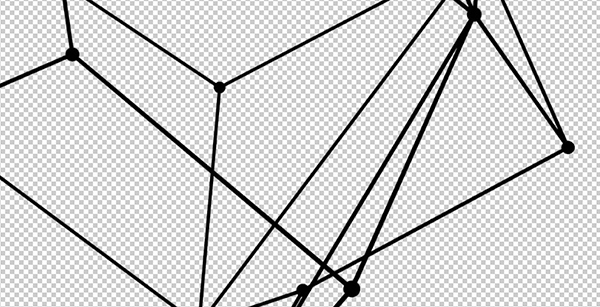
Go to the Layers palette. At the bottom of the Layers palette, click the Create A New Layer icon.
Press d to change your Foreground Color to Black. Press Opt + Backspace to Fill the selection with the Foreground Color, Black. Press Cmd + D to Deselect.
Note: In the image below, I’ve turned off the original Background layer so you can better see the new layer we’ve just created.
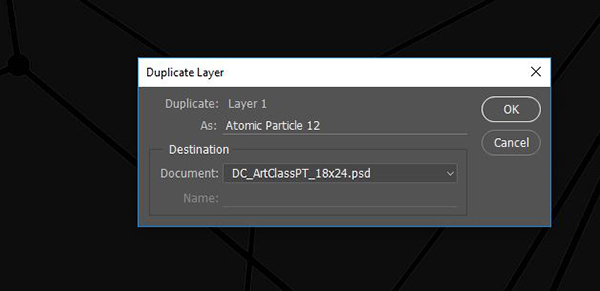
Go to Layer > Duplicate Layer.
In the popup dialog box, name the layer Atomic Particle 12 and for Document Destination, choose the main layout file. Press OK.
You can now close the Atomic-Particles-Black-12 file without saving OR save it as a psd if you want to go back to it later.
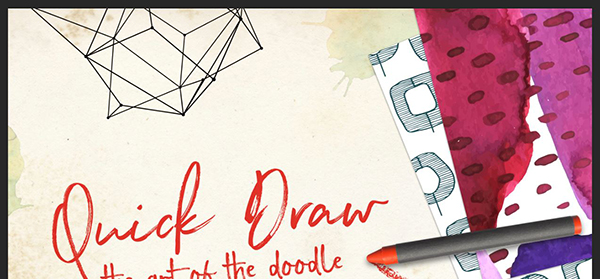
In the main layout file, position the atomic particle at the top left of the artboard.
The rest of our doodles will be very loose, hand drawn and completely unique.
Press i to select the Eyedropper Tool. Use it to sample the dark blue from the cowboy illustration.
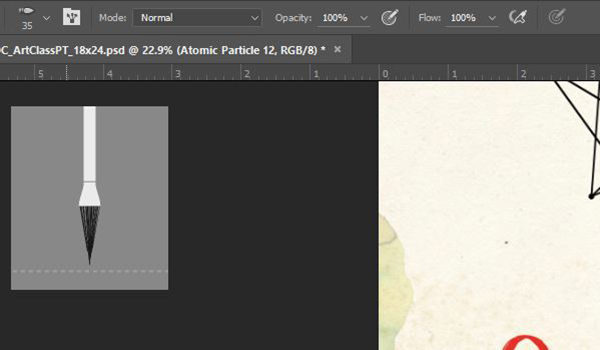
Now select the Brush Tool (b). At the top left of the artboard, click the brush thumbnail to access the Brush Preset Picker. In the brush list, select Round Point Stiff for the brush type. Next to Size, enter 35 px.
To the right of the brush thumbnail, make sure your Mode is set to Normal and both Opacity and Flow are 100%.
At the bottom of the Layers palette, click the Create A New Layer icon. Rename the layer Face.
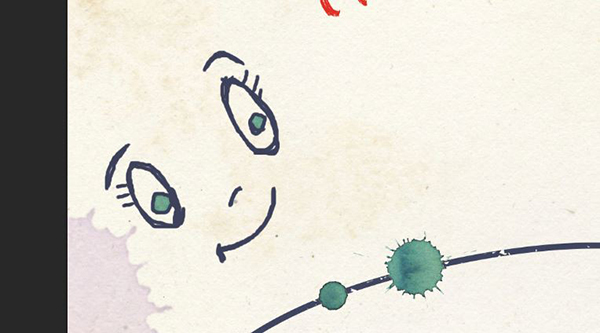
On the artboard, zoom in to the paint spatters above the cowboy illustration. Let’s add a little face using the two small spatters that are closest together as our eyeballs.
Honestly, there’s no special technique here which is kind of what makes this so much fun. We’re just going to doodle and there’s no bad outcome.
Select the Eyedropper Tool (i) again and sample the teal color from the cactus illustration.
In the Layers palette, click the Create A New Layer icon and name this one Big Arrow.
Switch back to the Brush Tool (b).
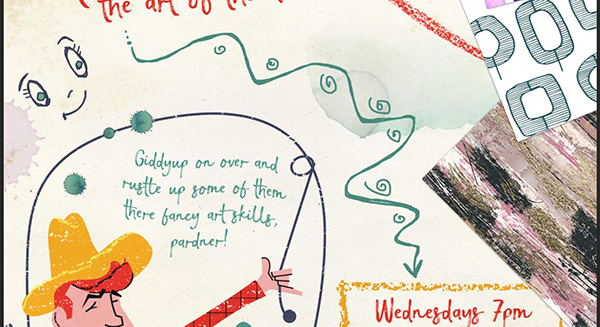
Draw a squiggly arrow shape from the title to the class details. I’m going to add some whimsical elements like spirals and dots. Don’t be afraid to retrace your lines either. The messy look is perfect for this style!
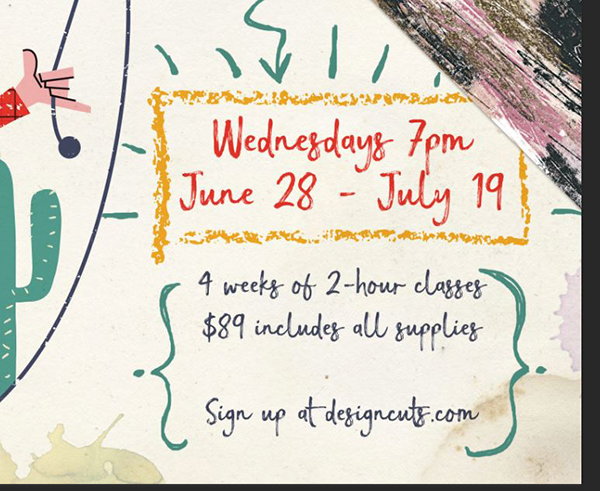
Now let’s add some doodles around the class details to bring attention to those. Don’t worry too much about overlapping the papers – we’ll drag this doodle group below the rest of the layers when we’re done.
If you do something you don’t like, don’t be afraid to either undo it with Ctrl + Z, go back several steps in the History palette (Windows > History) or select the Eraser (e) and erase anything unwanted.
Select the Eyedropper Tool (i) and sample the darker yellow from the cowboy’s hat.
In the Layers palette, click the Create A New Layer icon and name this one Title Doodles.
Switch back to the Brush Tool (b).
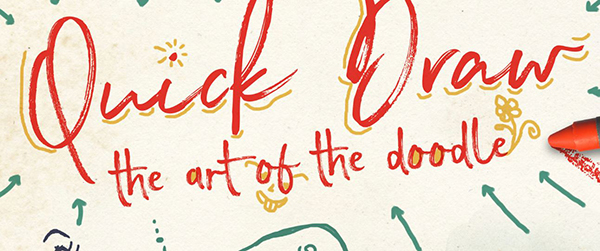
Draw some fun doodles around the title – I’m going to add some lines along the bottom edges of the letters, fill in some circles, and add a face and flower.
In the Layers palette, click the Create A New Layer icon and name this one Atomic Doodles.
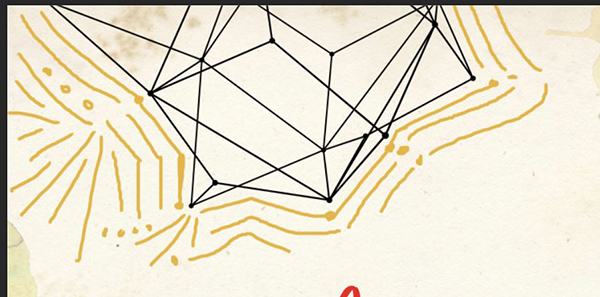
I’m going to draw rough line shapes around the atomic particle shape. Again, just have fun with it. How would you doodle in real life?
I think we’re just about done here. Zoom out (Cmd -) occasionally and make sure the piece has an overall balanced feel. I think we could use a little more teal at the top of this one.
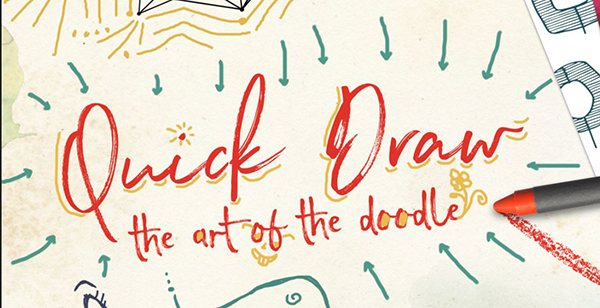
Create a new layer in Layers Palette and name it Title Arrows. Hit the right bracket key (]) on your keyboard a few times to increase the Brush size to 60 px. Draw some rough arrows pointing toward the title so it has a lot of attention on it.
In the Layers palette, close the Doodles group by clicking the arrow to the left of the group name. Drag the group down below the Cowboy group and above the Background group.
At the top of the Layers palette, change the Blend Mode to Multiply.
For our last step, let’s add a crumpled paper texture on top of everything.
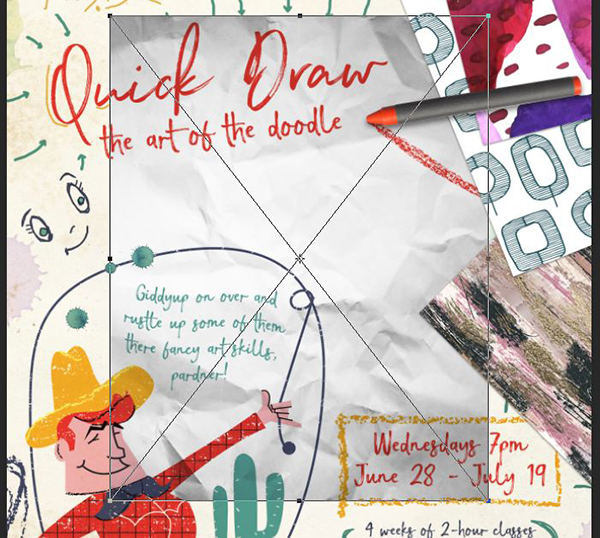
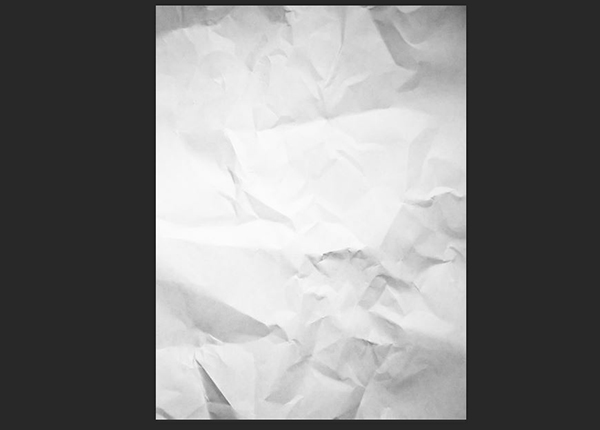
Go to File > Place Linked and navigate to Paper 29 in the Zeppelin Graphics freebies folder. Press Place.
Hold Shift and use the corner handles to rotate the image 90 degrees to the right.
Release Shift. Use the corner handles to increase the size of the paper until it fills the entire artboard. Press Enter when you’re done.
In the Layers palette, drag the Paper 29 layer up above all the other layers.
At the top of the Layers palette, change the Blend Mode from Normal to Multiply and reduce the Opacity to 50%.
Note: It’s important to note that if we had any of the crumpled texture directly affecting the red crayon, we’d want to pull it out of its group and drag it above the Paper 29 layer since it should appear to be a physical object sitting on top of the paper. Fortunately for us, there’s very little interaction, so we can get away with leaving the crayon in its current group.
And we’re done! We’ve created a fun, messy, doodled poster using tons of beautiful resources and Photoshop tools like the brush with easy-to-use techniques like layer styles and blending modes.
Remember that whether it’s your outcome for this tutorial or something new you’ve made, we’d love to see your designs on our Facebook page.
Please leave a comment if you have any questions or suggestions. I always look forward to hearing from you!
There’s still time to check out The Comprehensive Texture and Patterns Collection where you’ll discover every texture and pattern you could need in one curated collection for only $29.









I really enjoyed the tutorial. I appreciated your design more after watching it being created on the video. Do you sketch out your design on paper before you start on the computer?
Hey Annette,
Thanks so much for your comment, we’re really glad you enjoyed this one!
Yes, the freebies used in this tutorial are indeed hand-drawn :)
My question applies to the project as a whole. When you design a poster, do you create a paper and pencil sketch before going to the computer?
I would like to see more book cover tutorials and wedding invitations. Thanks.
Hey Annette,
I am so sorry for any confusion caused by this!
So it totally depends on the look you want to achieve- this particular bundle is using hand drawn elements and our tutorial writer Renee may well have drawn something up before putting the tutorial together to help with the direction of the piece. Other designers prefer to jump straight in and play around with all the elements in their design software, so it really is your personal preference :)
I always learn something new with your tutorials–thank you!!
Hey Joyce,
Oh that’s great news! We’re so glad to hear it and we hope that you have fun doing so :)
Loved this fun tutorial!
Hey Andrea,
Aww thanks so much, we’re so glad you enjoyed it :)
Thank you, this is a great!
Hey Andrea,
Thank you so much for your lovely comment and we are so pleased you liked this one :). Happy designing!
Beautiful tutorial! Thank you!
Aw thank you so much! We would love to see how you got on with the tutorial so please do feel free to share your finished work :)