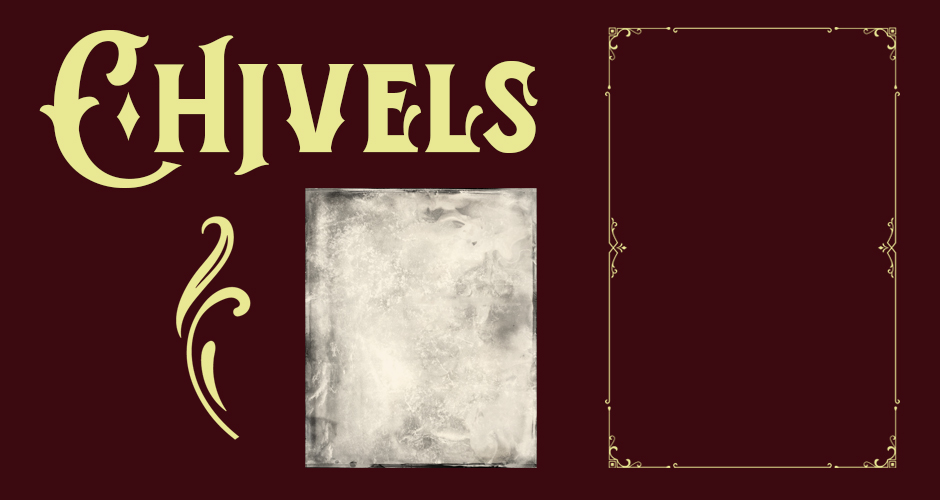
In this tutorial we will be creating an advertisement for Brasserie Cognac in Photoshop. To do this we will be making a label design using a sample of the beautiful ‘Chivels’ typeface from AF Studio, ornaments and decorative elements from Heybing Supply Co, and textured template from Photo Spirit all taken from The Creative’s Ultimate Vintage Collection. This all new collection contains a huge assortment of vintage design elements from artists such as Blue Line Design, Mr Vintage, Paper Farms, Tobias Saul, and many more! We will also be using a realistic looking bottle mockup that will be featured in the ad with our custom label design applied. The Creative’s Ultimate Vintage Collection has been lovingly crafted to make creating convincing and beautiful retro art easy! If you are all ready to begin then fire up Photoshop and let’s get started!
HAVE YOU SEEN OUR YOUTUBE CHANNEL?
Watch the video tutorial below and subscribe to our YouTube channel for regular updates direct to your inbox.
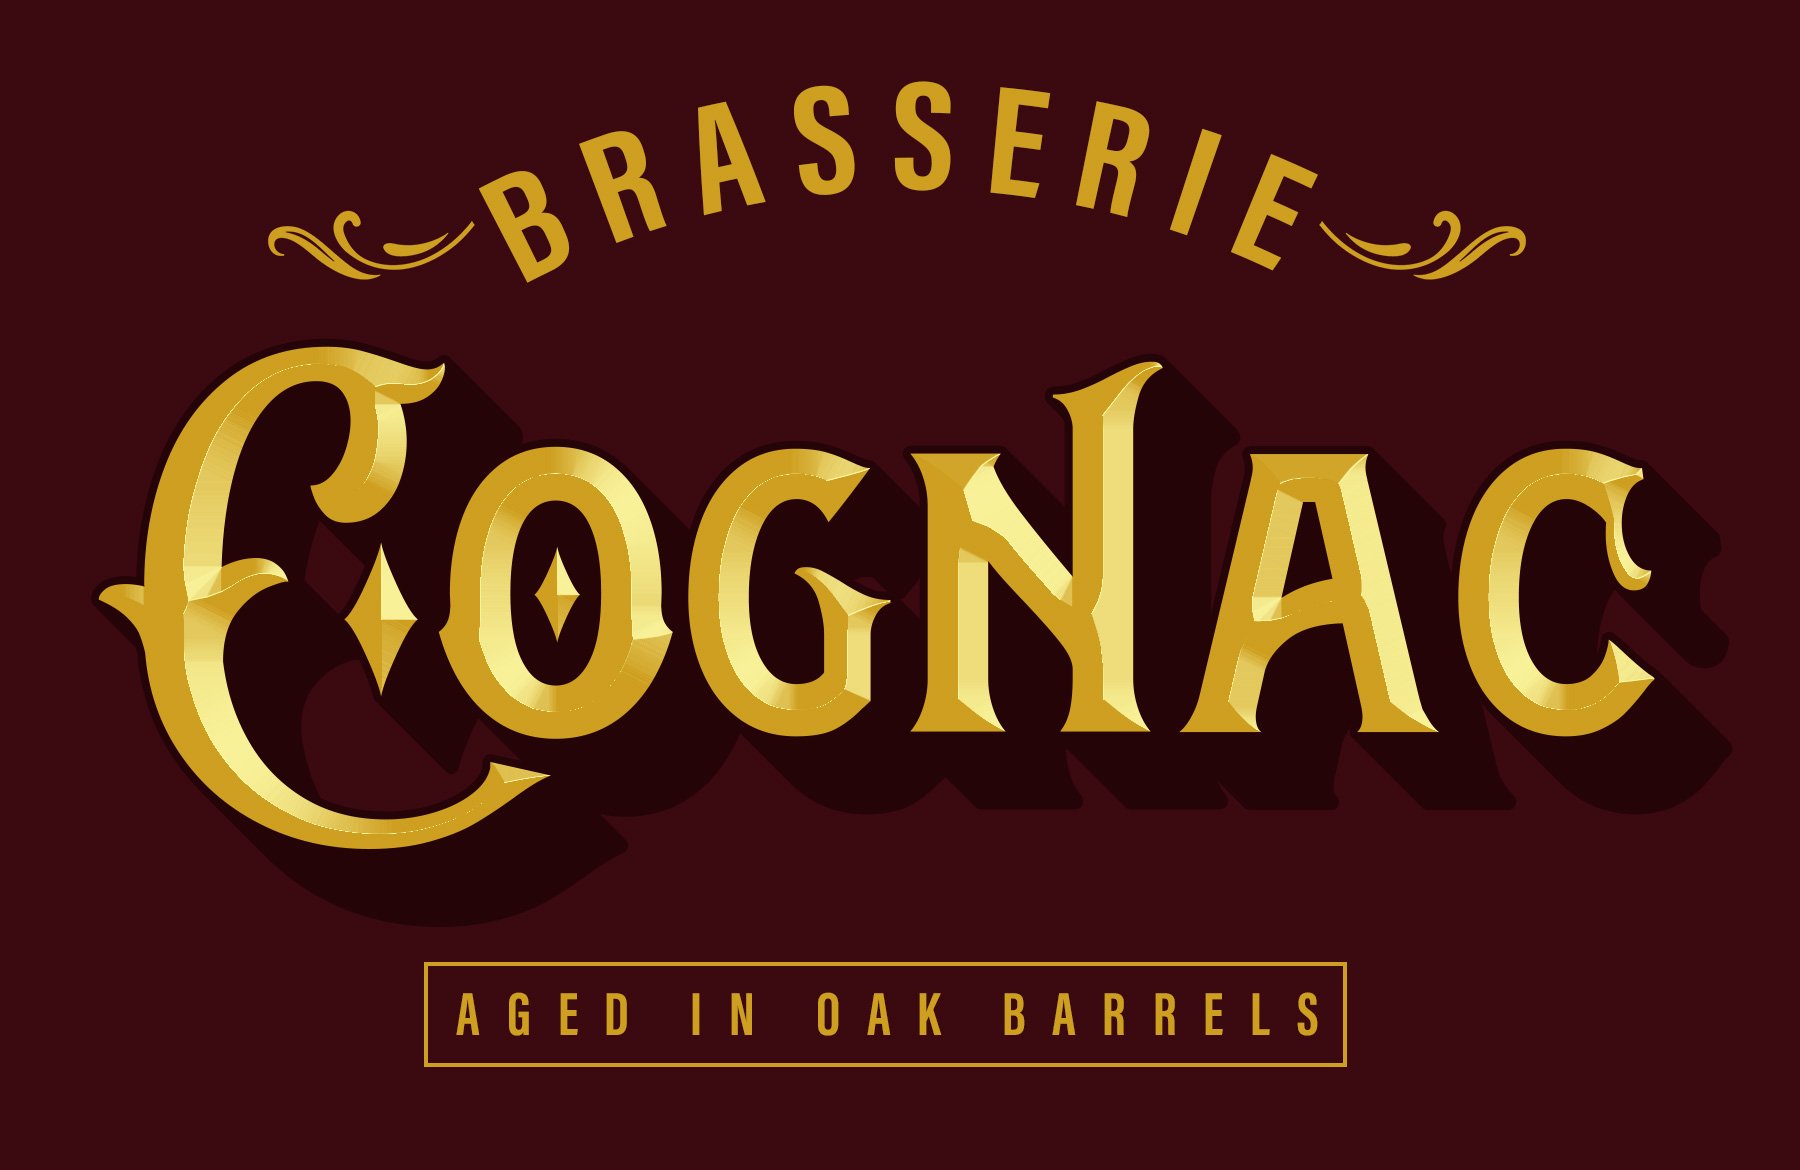
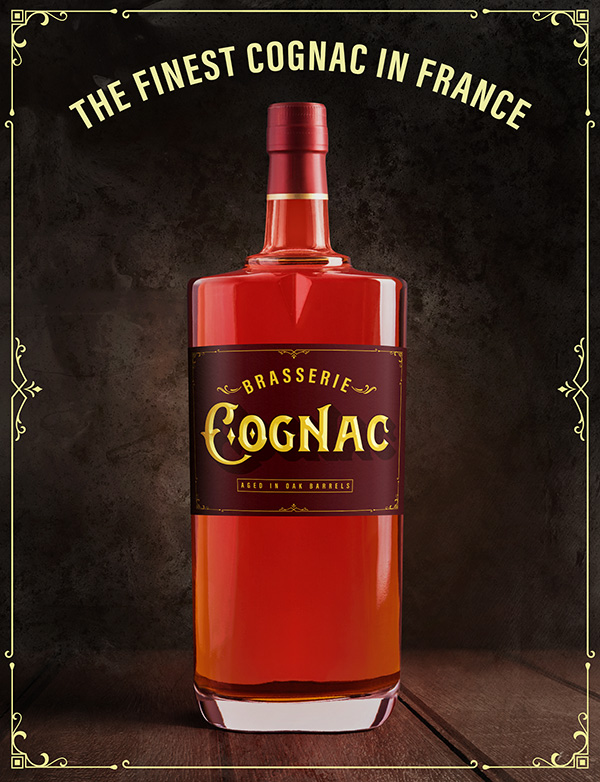
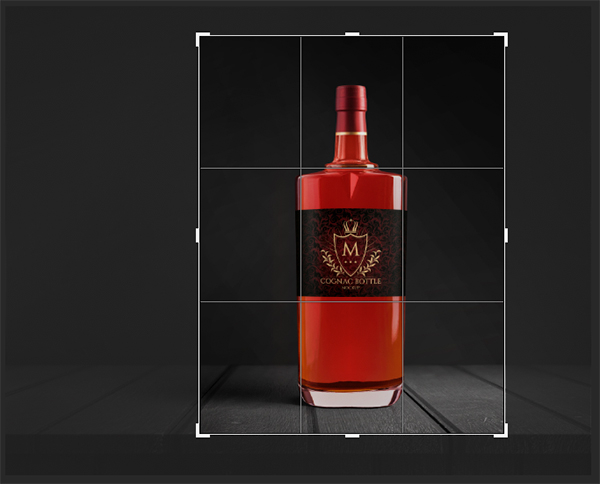
Here’s a look at what we’ll be creating:
Follow along with this tutorial: Download the freebie files
This freebie pack is just a small sample of what you can expect to find in The Creative’s Ultimate Vintage Collection for just $29 (that’s 99% off). This is the ultimate library of hand-crafted vintage resources for all your retro design needs!
Step 1: Brasserie Cognac Advertisement
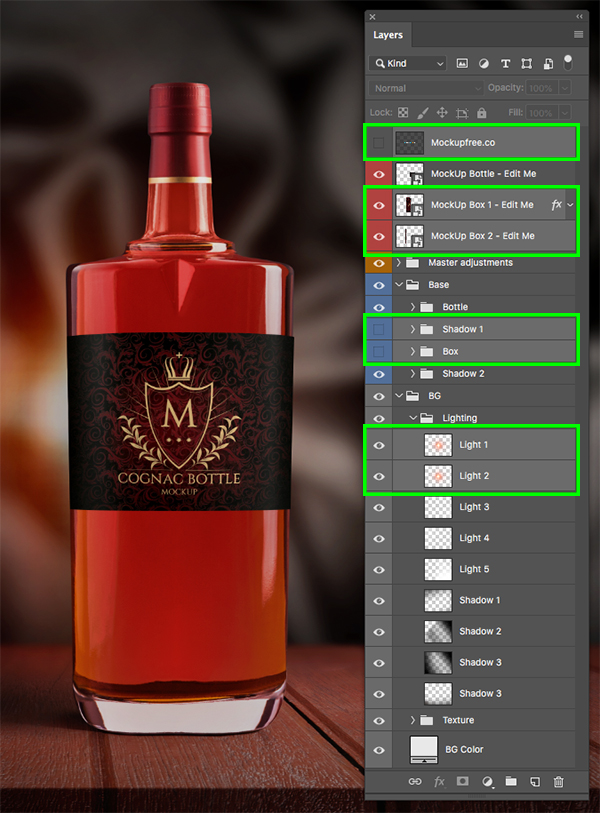
To begin, you will need to download this Cognac/Whiskey Bottle Mockup from Mockupfree.co. Once you’ve downloaded the file, open ‘MockUp_1.psd’ in Photoshop. After opening the file, expand the ‘Base’ folder along with the ‘BG > Lighting’ folder to reveal their contents. From here, hold the Command key and select the following layers and delete them:
Step 2: B&W Background
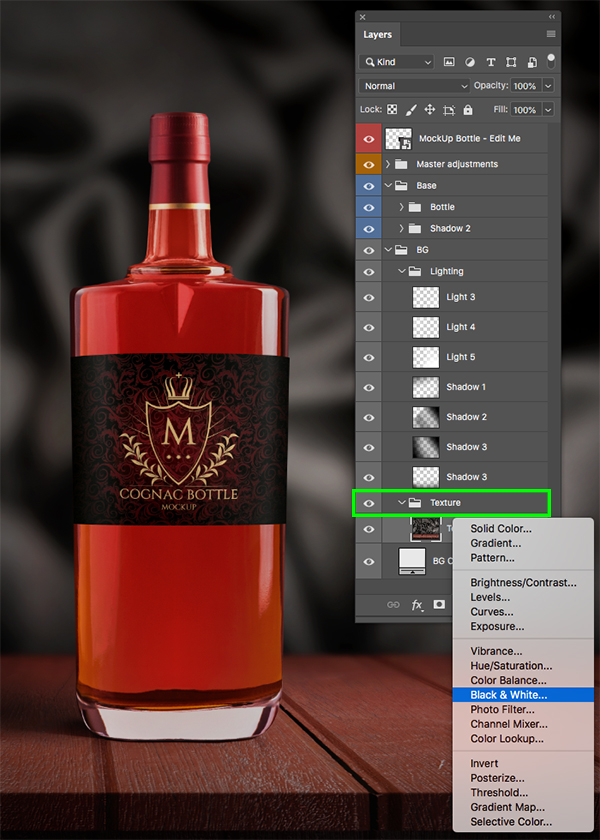
Now that we have removed the extraneous layers, let’s move down to the ‘BG > Texture’ folder and select the main texture image inside. Hold the Alt/Option key and click on the Adjustment Layer icon at the bottom of the Layers Palette and choose ‘Black & White…’ from the list.
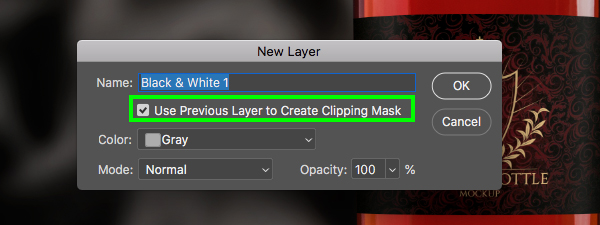
Check off the option that says ‘Use Previous Layer to Create Clipping Mask’ and then click ‘OK’ to continue.
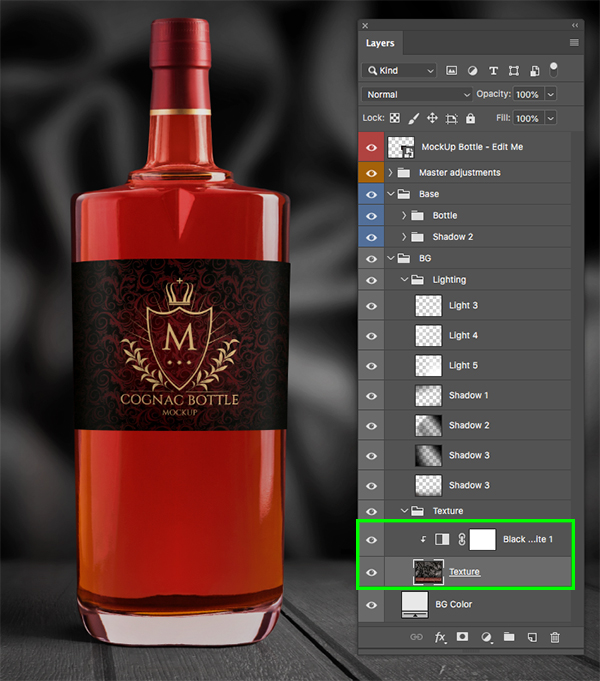
Your background should now be all black and white and you will see the Clipping Mask applied so that the Adjustment Layer only affects the main ‘Texture’ layer that it’s attached to.
Step 3: Feathered Selection
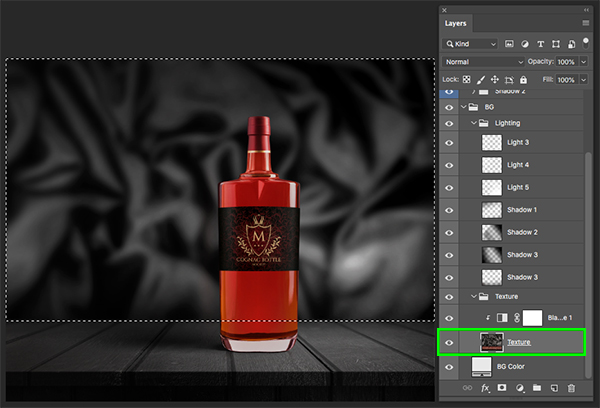
Press ‘M’ on the keyboard to switch to the Rectangular Marquee Tool and in the top toolbar, change the ‘Feather’ selection to ‘5 px’ as shown below:

Click and drag a large rectangular selection around the entire top portion of the image with the bottom edge running just along the top of the wooden table like this:
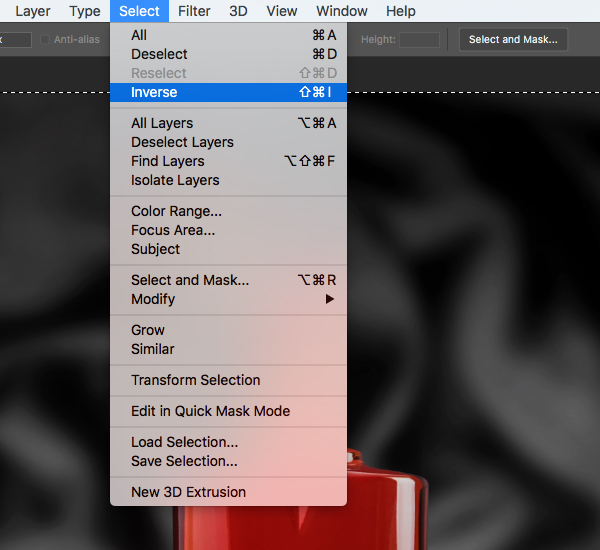
With your selection active and the ‘Texture’ layer still selected, go to the Select menu and choose ‘Inverse’ from the dropdown menu.
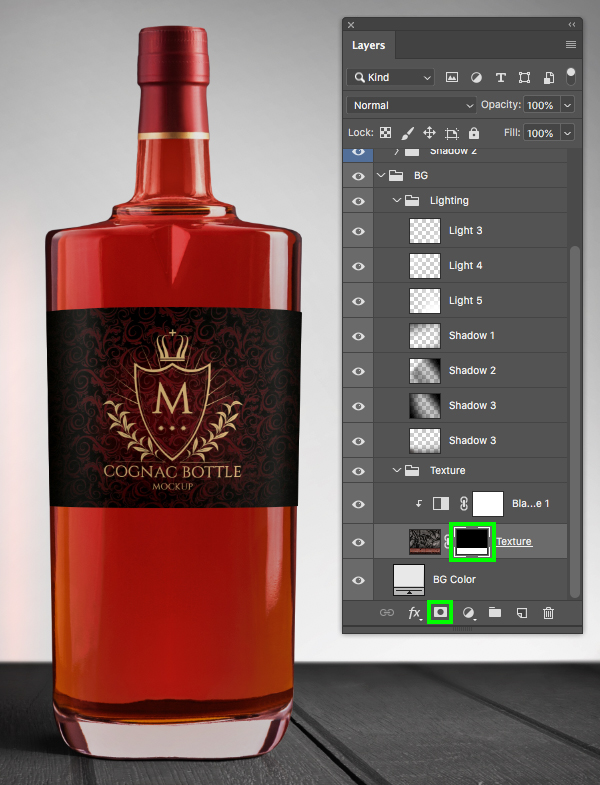
Click the Add Layer Mask icon from the bottom of the Layers Palette to mask out the entire top portion of the background image.
Step 4: Darkening The Background
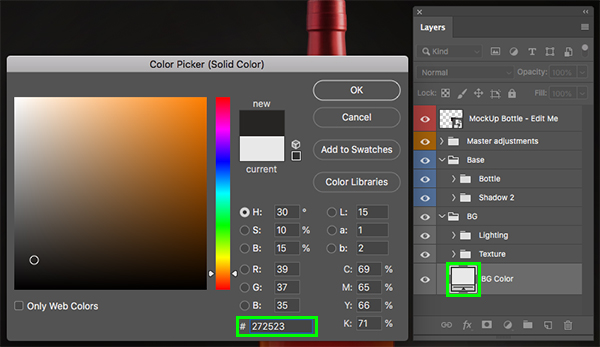
Double click on the ‘BG Color’ thumbnail and change the fill from solid white to ‘#272523’ and then press ‘OK’ or ‘Return’ on the keyboard to proceed.
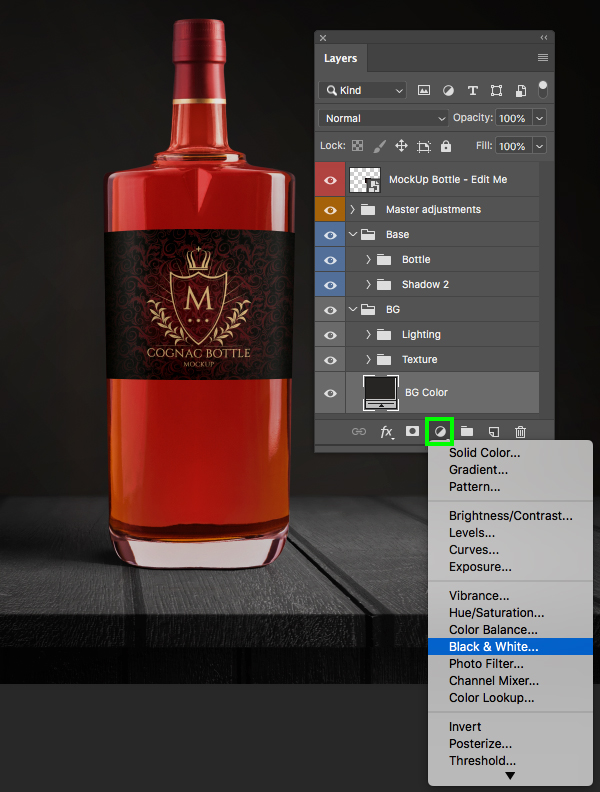
With the ‘BG Color’ layer still selected, click on the Adjustment Layer icon at the bottom and choose ‘Black & White…’ from the menu.
Step 5: Cropping The Image
Press ‘C’ on the keyboard to switch to the Crop Tool and then crop your image in the following way before pressing ‘Return’ on the keyboard to apply the changes.
Step 6: Wet Plate
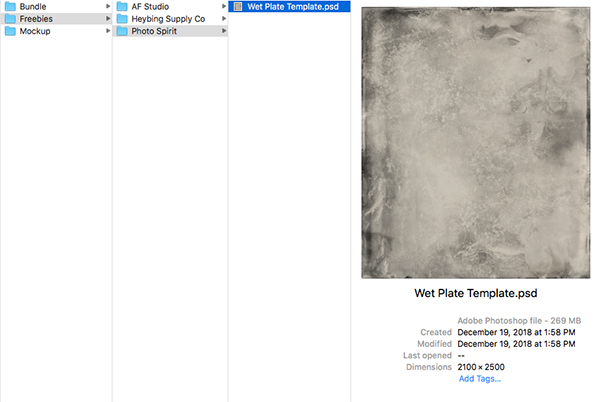
Next, go to the freebies folder for this tutorial and locate the ‘Wet Plate Template.psd’ file inside of the ‘Photo Spirit’ subfolder and open it in Photoshop.
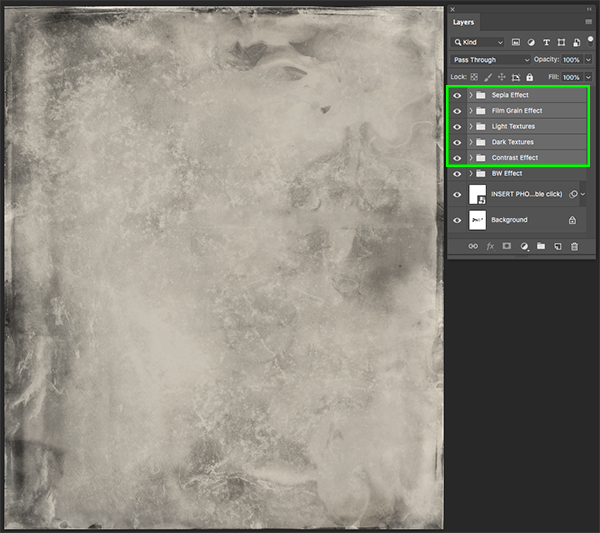
From here, select the top ‘Sepia Effect’ layer, hold the Shift Key and then select the ‘Contrast Effect’ layer so you have both of those folders and all of the folders in between selected at the same time.
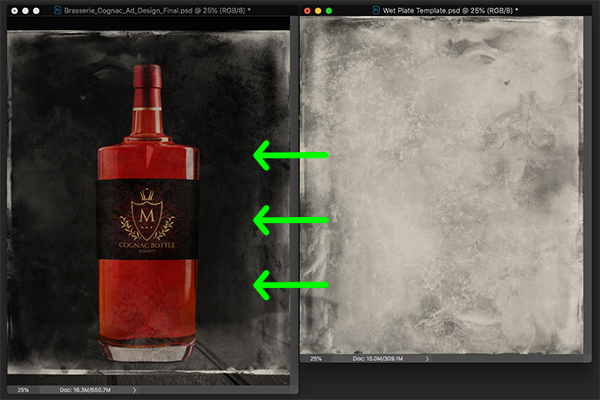
Hold the Command/Ctrl+Shift keys and then click and drag all of these folders over into the mockup PSD as shown here:
After dropping the folders into the mockup, press Command/Ctrl+G to place them into a folder and rename it ‘WET PLATE’. From there, press Command/Ctrl+T to do a Free Transform and then scale the entire ‘WET PLATE’ folder up while holding Alt/Option+Shift on the keyboard to extend it a bit beyond the canvas before pressing ‘Return’ on the keyboard to apply the changes.
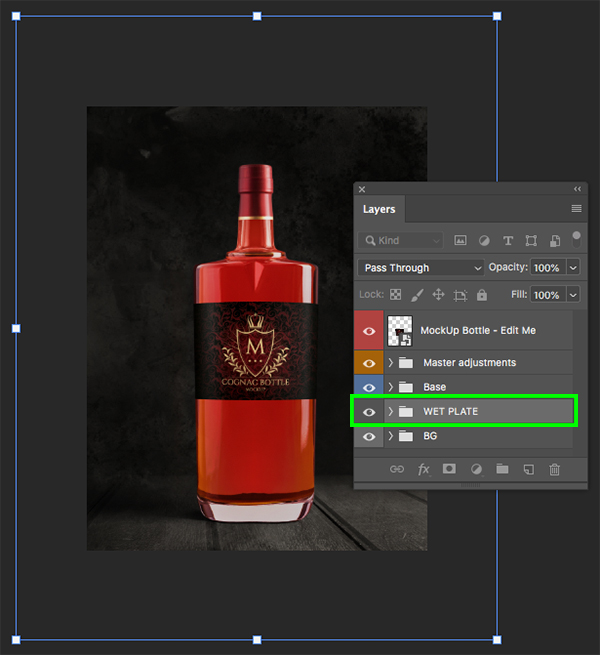
Step 7: Backlight
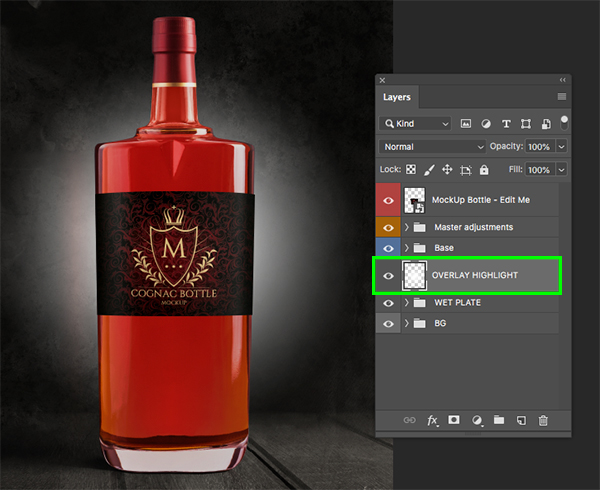
Press ‘G’ on the keyboard to switch to the Gradient Tool and then in the top toolbar select a white Radial Gradient that fades from solid to transparent as shown in the image below:

Create a new layer just above the ‘WET PLATE’ folder and then click and drag outwards from the center of the canvas to create a large white gradient. Let’s double click on the layer name here and rename it ‘OVERLAY HIGHLIGHT’ as well.
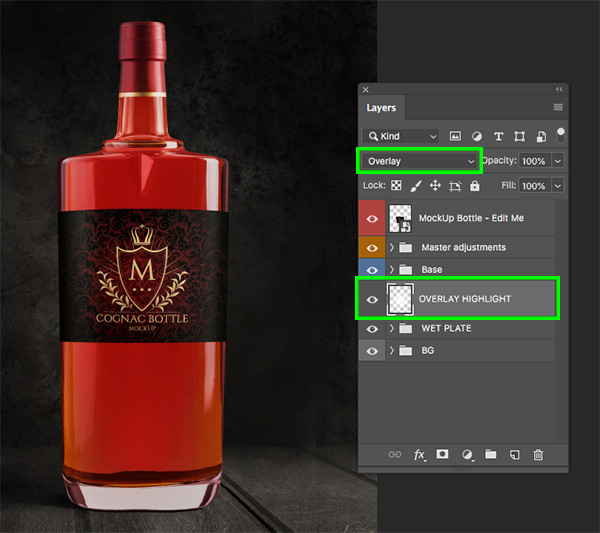
Change the Blending Mode of the layer from ‘Normal’ to ‘Overlay’.
Step 8: New Mockup Group
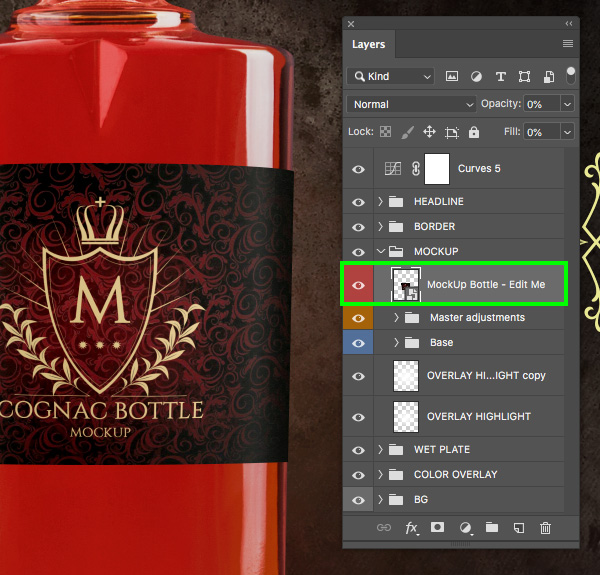
Select the very top ‘MockUp Bottle – Edit Me’ layer and then hold the Shift Key and select the ‘OVERLAY HIGHLIGHT’ layer that we just created.
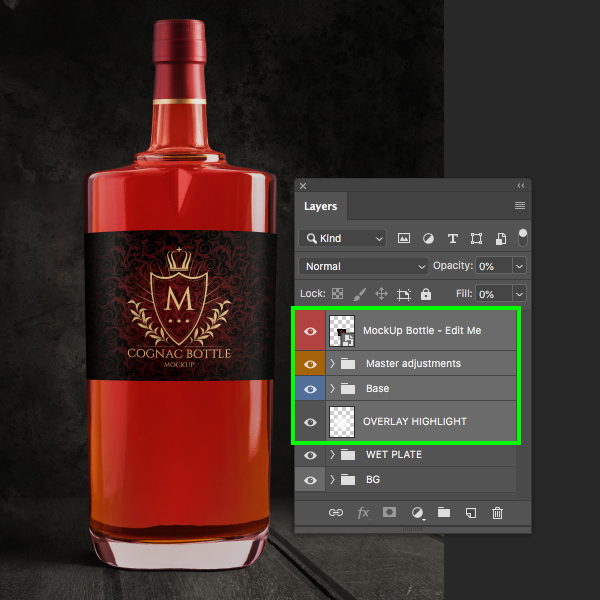
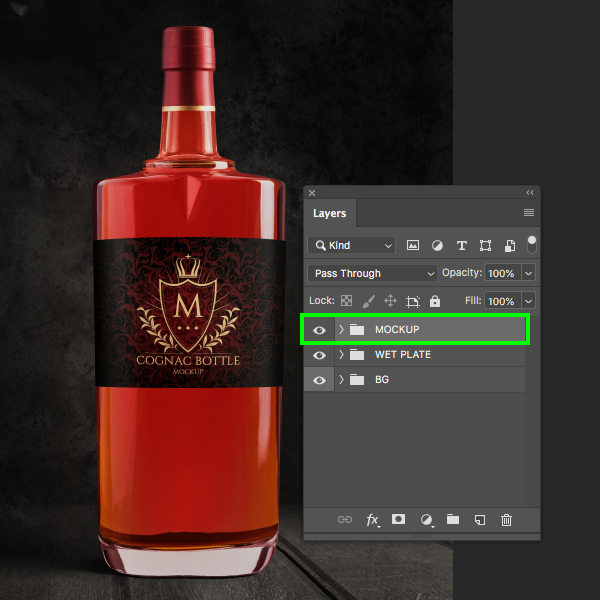
With all of your layers and folders still selected, press Command/Ctrl+G to place them into a new folder and double click on the folder name to rename it ‘MOCKUP’.
Step 9: Tinted Background
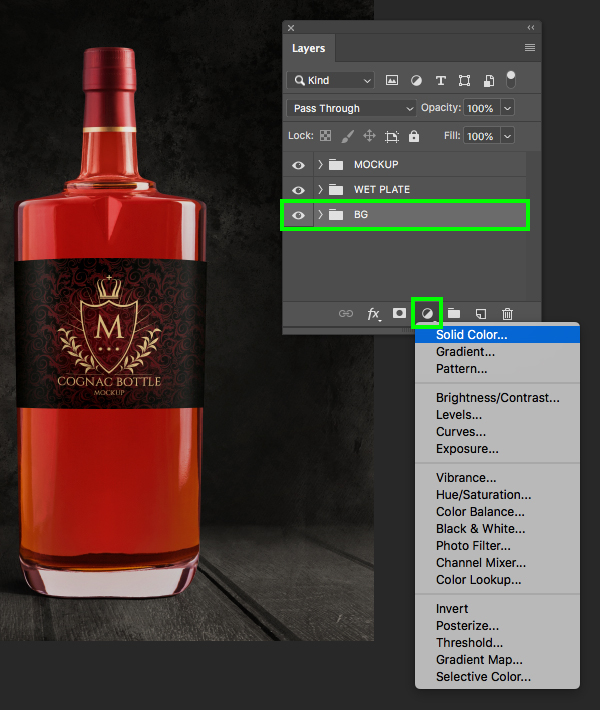
Let’s give our plain black and white background a tint by selecting the ‘BG’ folder at the bottom of the Layers Palette and then clicking on the Adjustment Layer icon where we want to choose ‘Solid Color…’ from the dropdown.
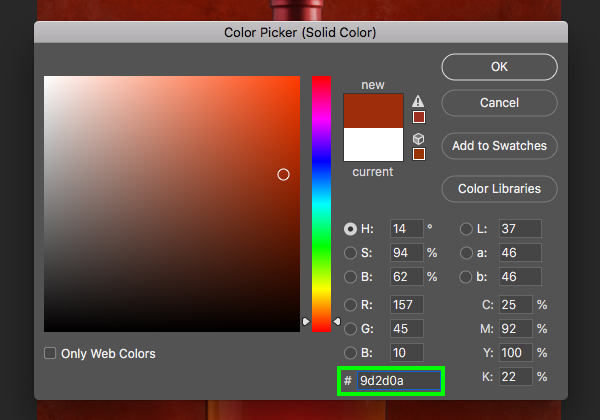
Use the hex value ‘#9D2D0A’ and then press ‘Return’ or click ‘OK’ to continue.
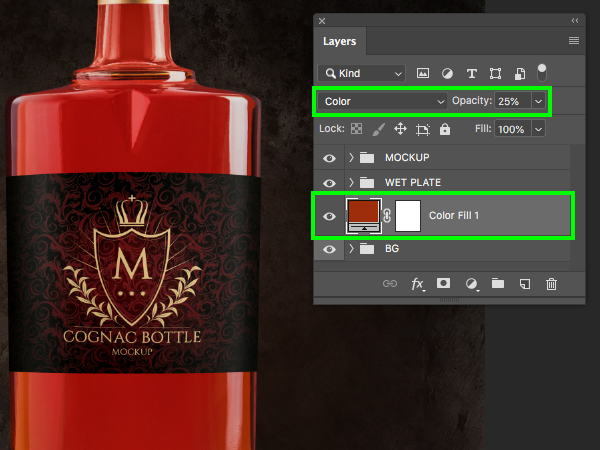
Next, change the Blending Mode of the Solid Color Adjustment Layer to ‘Color’ and reduce the ‘Opacity’ to about ‘25%’ as shown in the image below:
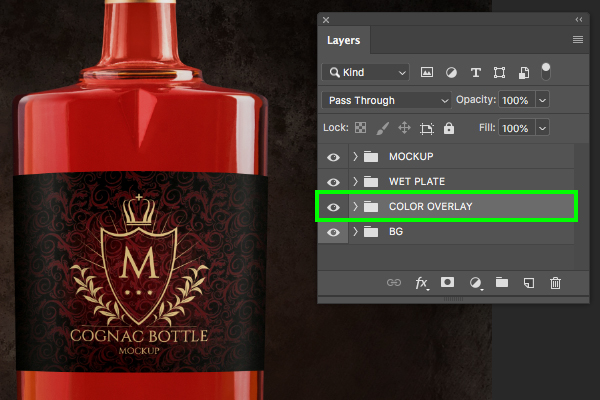
With the Adjustment Layer still selected, press Command/Ctrl+G to put it into a folder of it’s own and rename it ‘COLOR OVERLAY’ as shown here:
Step 10: Extra Backlight
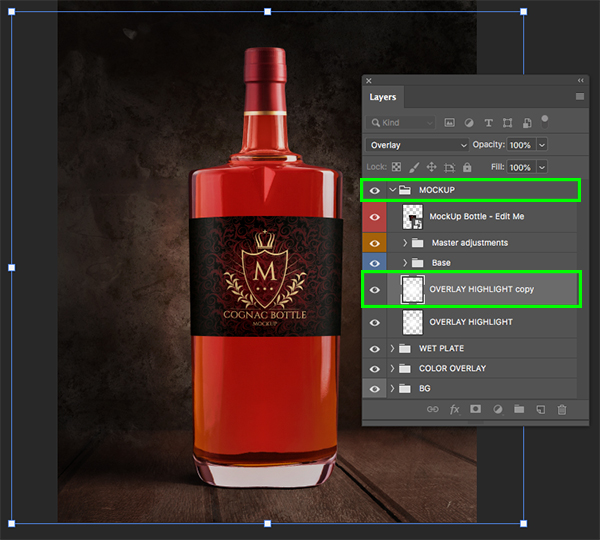
Let’s give our backlight an extra boost by going into the ‘MOCKUP’ folder and then selecting the ‘OVERLAY HIGHLIGHT’ layer. Press Command/Ctrl+J to duplicate the layer and then apply a Free Transform (Command/Ctrl+T) and scale the highlight up from the center by dragging outwards from any of the four corners of the bounding box while holding Alt/Option+Shift on the keyboard. Once you have done that, press ‘Return’ to apply the changes.
Step 11: Color Reflections
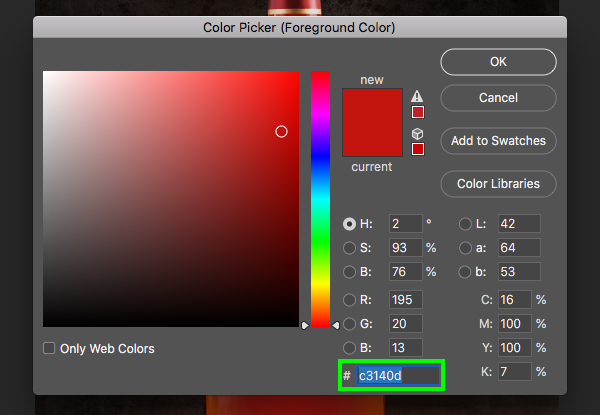
Change your foreground color to ‘#C3140D’ and then press ‘OK’ to continue.
Press ‘G’ to once again select the Gradient Tool and use the same solid to transparent Radial Gradient that we used earlier. This time, however, you should have your bright reddish orange color selected instead of white.

Click and drag outwards from the center of the canvas to create your gradient and then scale it down a bit if needed and place it around the bottom of the bottle as shown here:
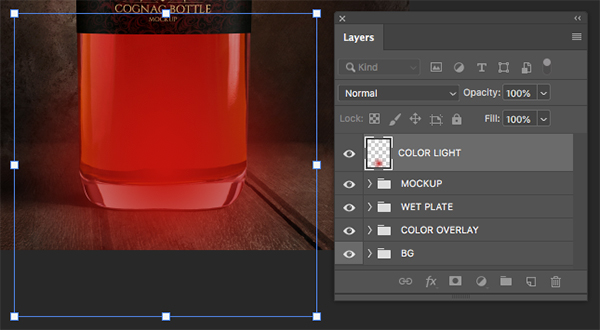
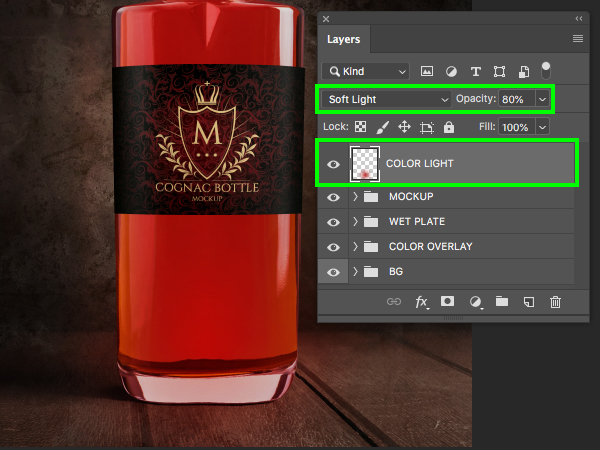
Next, let’s change the Blend Mode from ‘Normal’ to ‘Soft Light’ and drop the ‘Opacity’ down to ‘80%’. Once you have done that, double click on the layer name and rename it ‘COLOR LIGHT’.
Step 12: Color Reflection Mask
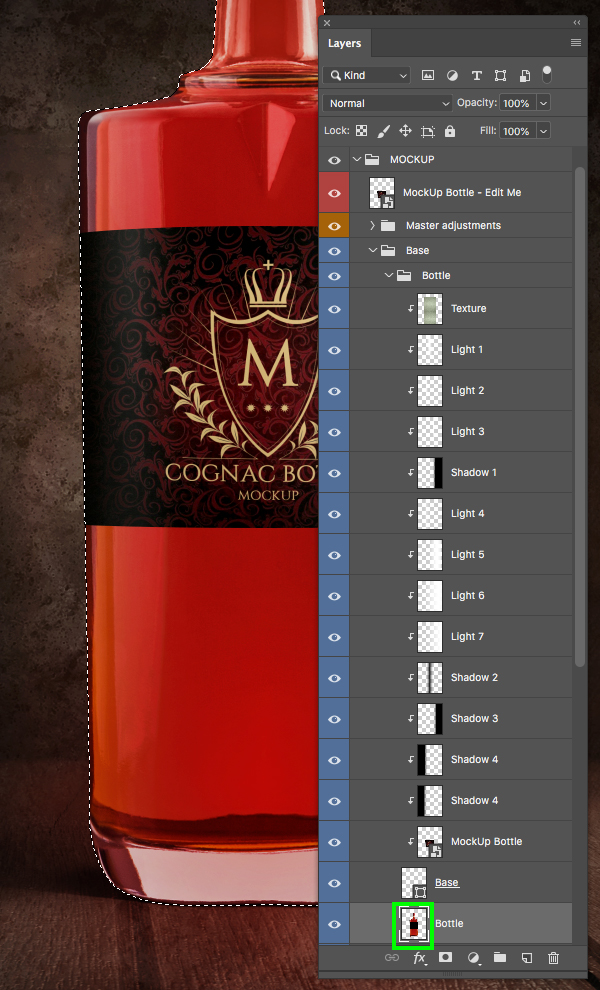
With your ‘COLOR LIGHT’ layer selected, expand the contents of the ‘MOCKUP’ folder and then go down even further into the ‘Base > Bottle’ folder and locate the main ‘Bottle’ layer all the way down. Once you have located the layer, hold the Command/Ctrl key and click on the layer thumbnail icon to activate a selection around the shape of the bottle.
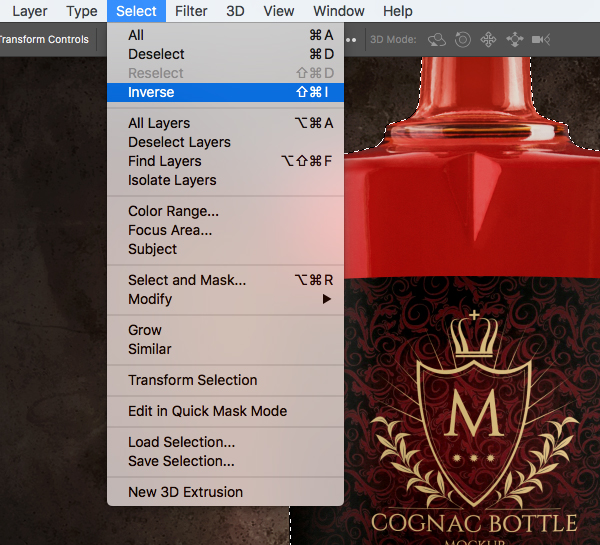
With your selection active, go to the Select menu and choose ‘Inverse’ to invert the selection.
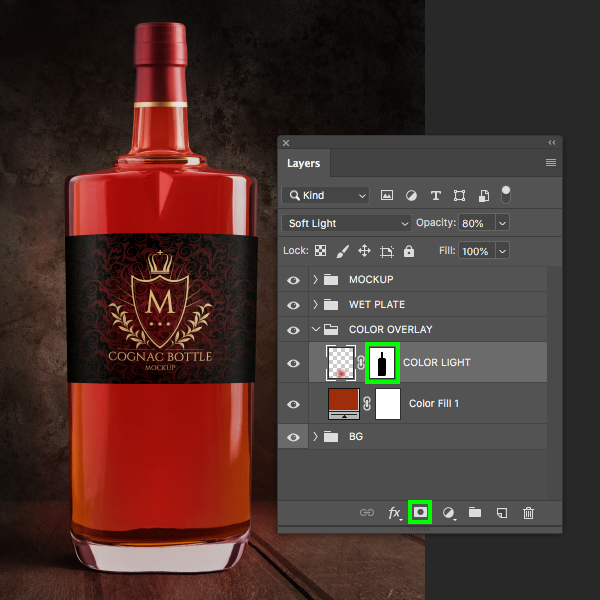
From here, click on the Add Layer Mask icon at the bottom of the Layers Palette to apply an inverted Layer Mask to the ‘COLOR LIGHT’ layer. This will add a nice bit of color to the table top to add some realism to the bottle. You should now have something like this:
Step 13: Curves Adjustment
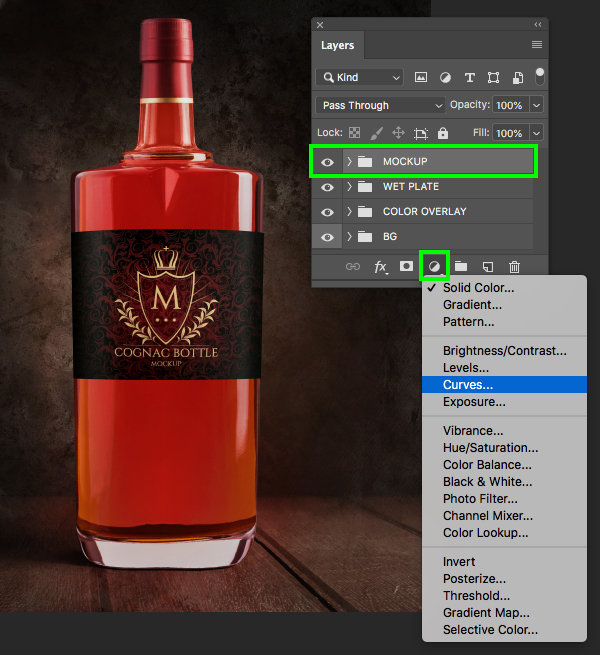
Select the top ‘MOCKUP’ folder in the Layers Palette and then click on the Adjustment Layer icon at the bottom before choosing ‘Curves…’ from the dropdown menu that appears.
Add a point in the center of the grid where the ‘Input’ is set to ‘114’ and the ‘Output’ is set to ‘142’. Doing this will brighten up the image overall while adding a bit more contrast. Once you have done that, reduce the ‘Opacity’ of the Adjustment Layer down to ‘50%’.

Step 14: Decorative Border
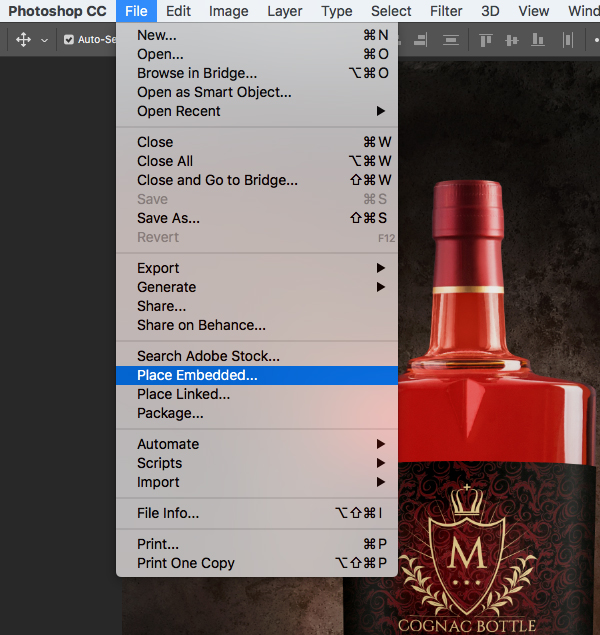
Go to the File menu and choose ‘Place Embedded…’ from the list.
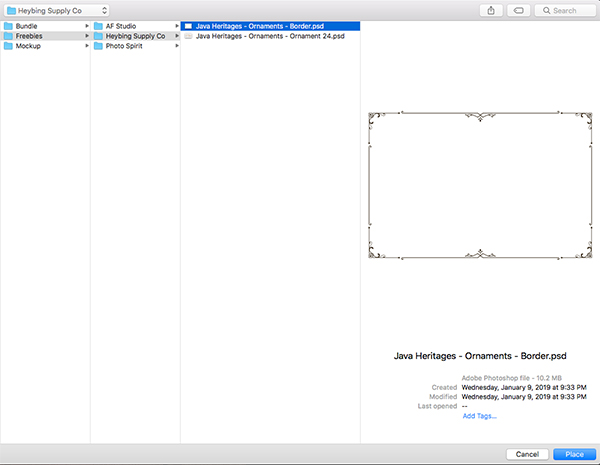
Navigate to the ‘Java Heritages – Ornaments – Border.psd’ file from Heybing Supply Co and then choose ‘Place’ to bring it into the document.
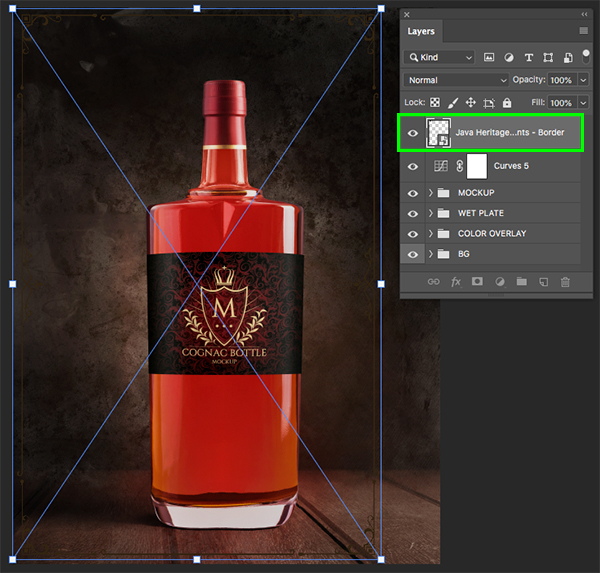
Hold the Shift key and drag outwards until the frame fits nicely vertically – it won’t be the right width but we will fix that in a moment. Once you have placed the border, press ‘Return’ to apply the transformation.
Step 15: Border Color
Double click on the border graphic and apply a ‘Color Overlay’ in the Layer Style panel.

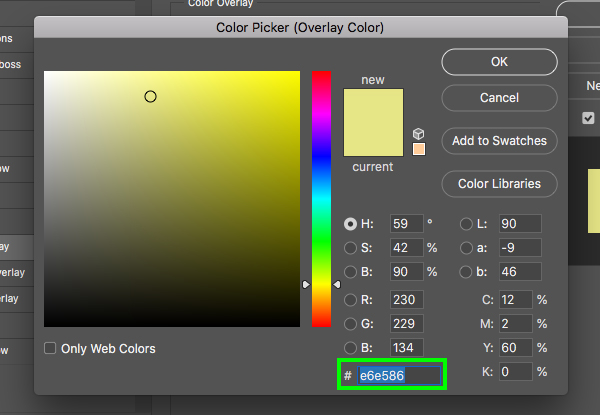
For the fill color, let’s use the hex value ‘#E6E586’ and then press ‘OK’.
Step 16: Merging The Borders
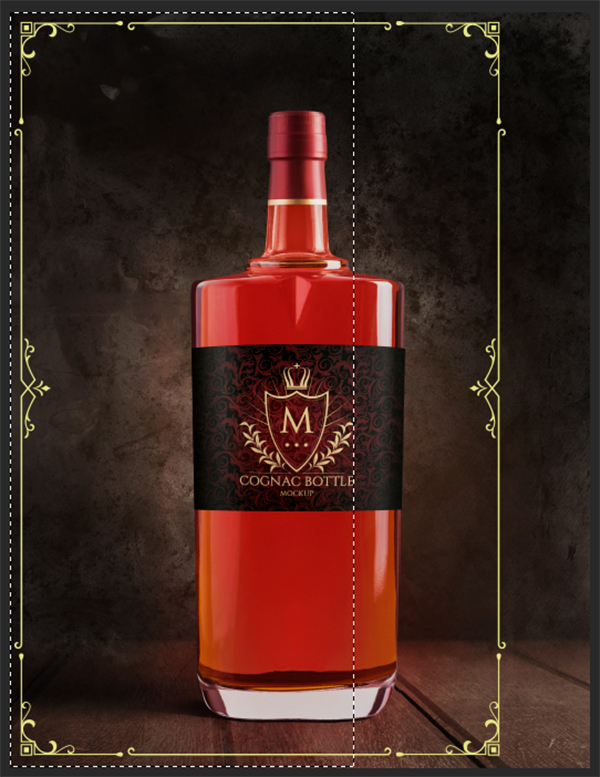
Next, press ‘M’ to grab the Rectangular Marquee Tool and click and drag to make a selection around the left portion of the frame. For this, try to grab a little bit extra from the right side of the border as well, going past the center point as shown below:
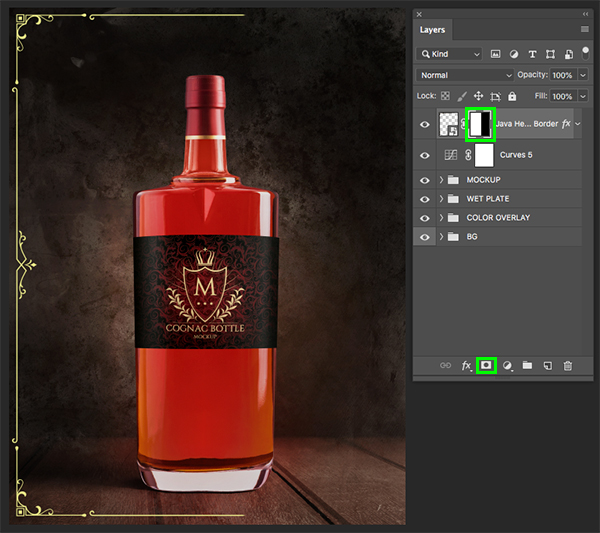
With your selection still active, click on the Add Layer Mask icon at the bottom of the Layers Palette to mask out the right portion of the border so you end up with something like this:
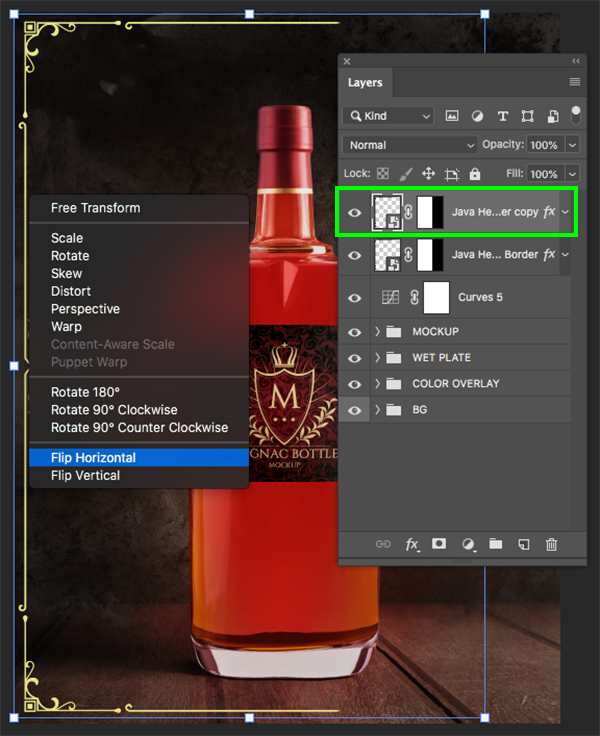
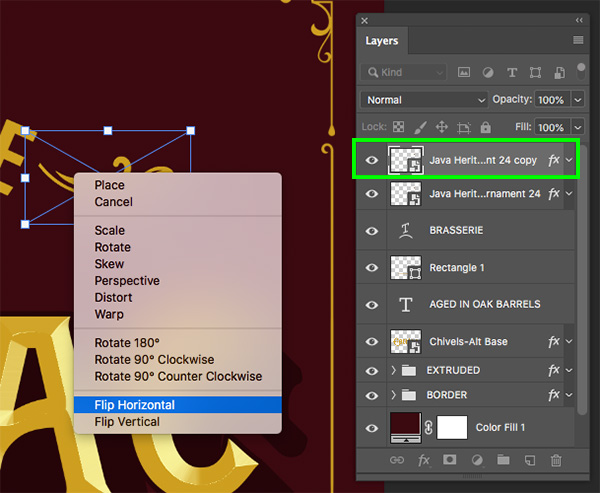
Select the masked border layer and press Command/Ctrl+J to duplicate it and then press Command/Ctrl+T to initiate a Free Transform. From here, hold the Control key and click anywhere on the duplicate border layer to reveal a dropdown menu where we want to select the ‘Flip Horizontal’ option.
After flipping the border horizontally to mirror the original layer, hold the Shift key and slide it over to the opposite side so that the border now covers the entire perimeter of the image. Once you have done that, select the top copy, hold the Shift key and then select the bottom copy so that both copies are selected simultaneously.
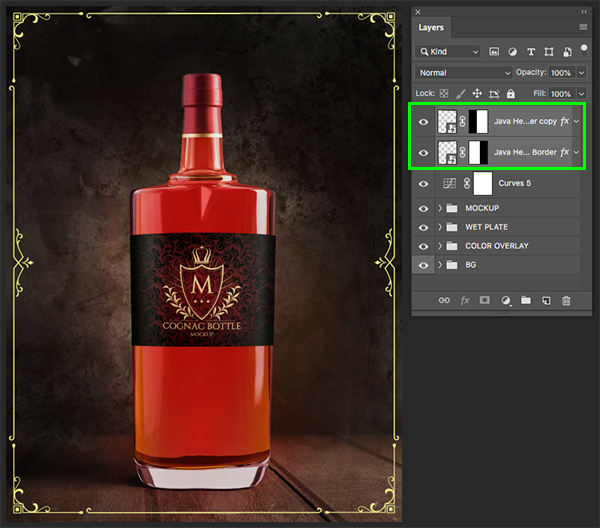
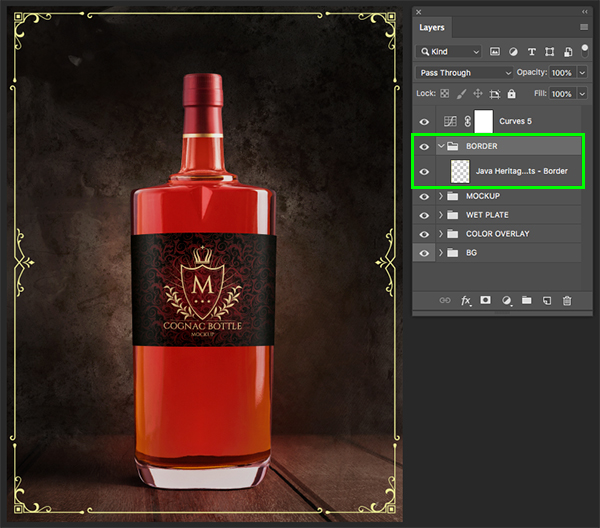
With both border layers still selected, press Command/Ctrl+E to merge them together, and then Command/Ctrl+G to place them into a new folder which we will call ‘BORDER’ as shown here:
Step 17: Adding The Headline
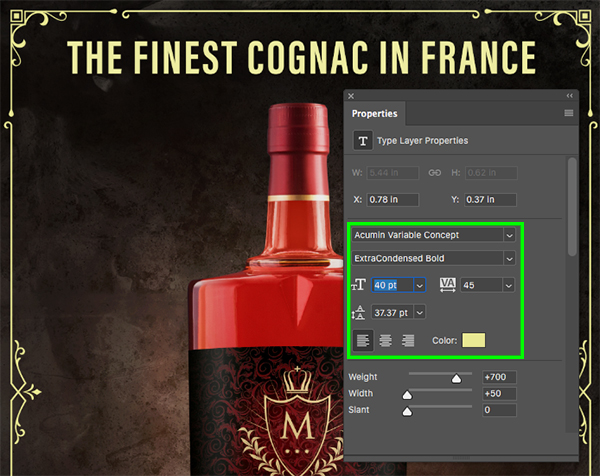
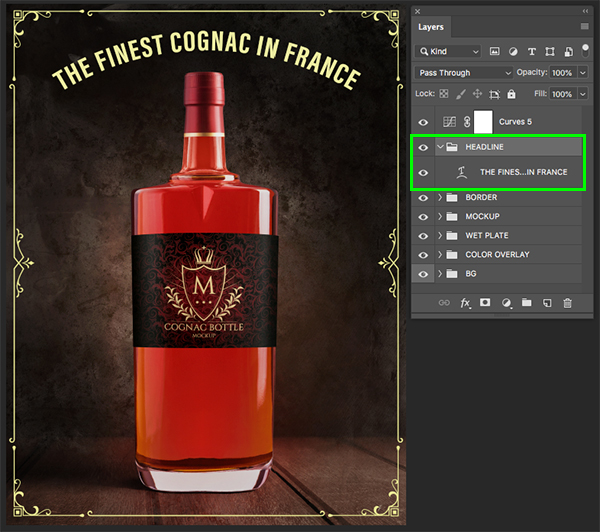
Add a new layer and then press ‘T’ to switch to the Type Tool. From here, type out the phrase ‘THE FINEST COGNAC IN FRANCE’ in all uppercase. For this you can use any bold, condensed typeface, but I am using ‘Acumin Variable Concept’ in the ‘Extra Bold Condensed’ style at about ’36’ to ’40’ points in size. Let’s also adjust the tracking and set it to ’45’ to give the letters a bit of breathing room. For the fill color, use the same color that we used for our border earlier on – ‘#E6E586’. After typing out the phrase, place it at the top and in the center of the design as shown below:
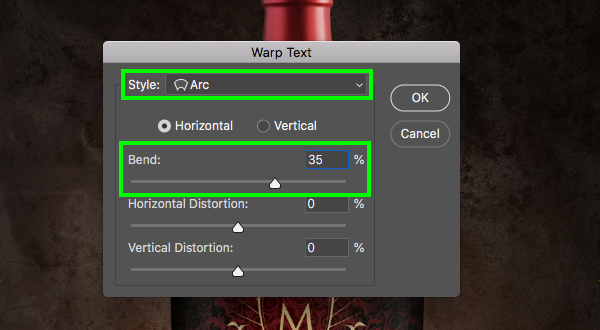
Click two or three times inside of the text box to highlight the copy and then click on the ‘Create warped text’ icon from the top toolbar.
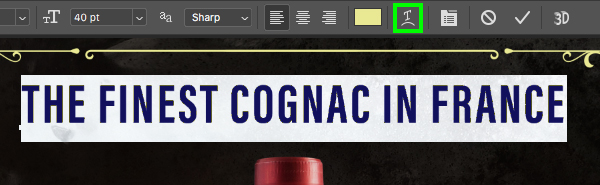
Once you are prompted with the Warp Text dialog box, change the ‘Style’ to ‘Arc’ and then create a horizontal bend to ‘35%’ before pressing ‘Return’ or click ‘OK’ to proceed. This will create a nice arc for our headline that will hug the top of the bottle.
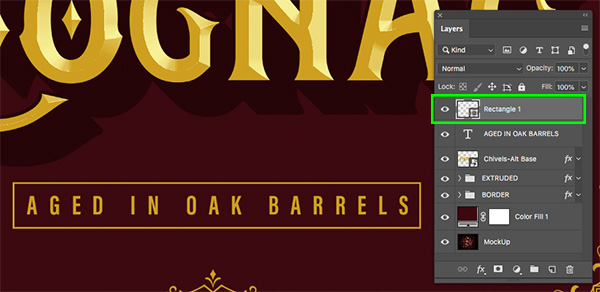
Now let’s select the text layer and press Command/Ctrl+G to put it into a folder and double click the ‘Group 1’ text to rename the folder ‘HEADLINE’. We have now set up the main portion of our ad and customized the mockup for our needs. At this point we can begin working on creating our custom label for the bottle!
Step 18: Creating The Custom Label
Expand the contents of the ‘MOCKUP’ folder and double click on the ‘MockUp Bottle – Edit Me’ layer highlighted in red to go inside of the Smart Object.
Once inside of the label design, click on the Adjustment Layer icon at the bottom of the Layers Palette and choose ‘Solid Color…’ from the menu.
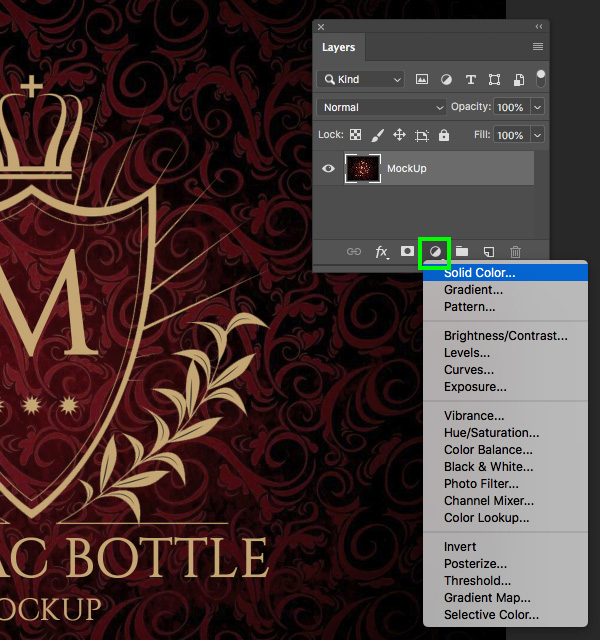
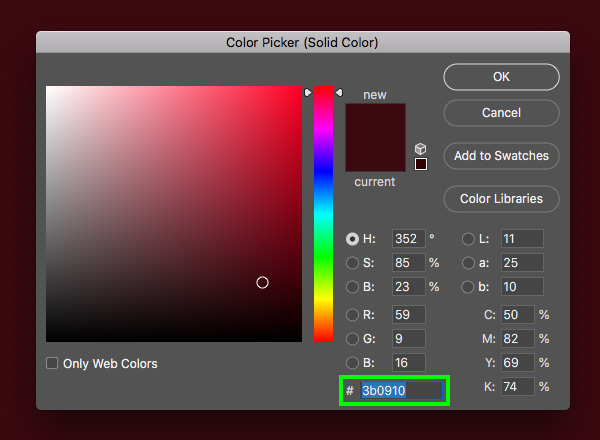
For the fill color, enter the hex value ‘#3B0910’ and then press ‘Return’ or click ‘OK’ to continue.
Step 19: Border Color
Move the window/tab to the side so that you can see the main mockup PSD file. Let’s click and drag the ‘BORDER’ from the main mockup over into the label design. Once you have brought the border over, press Command/Ctrl+T to do a Free Transform, and then hold the Control key, click on the border and choose ‘Rotate 90º Clockwise’ to rotate the border. From here you may need to resize it a bit so that it fits nicely across the label as shown below:

Double click on the ‘BORDER’ folder to open the Layer Style dialog box and check off the ‘Color Overlay’ option.
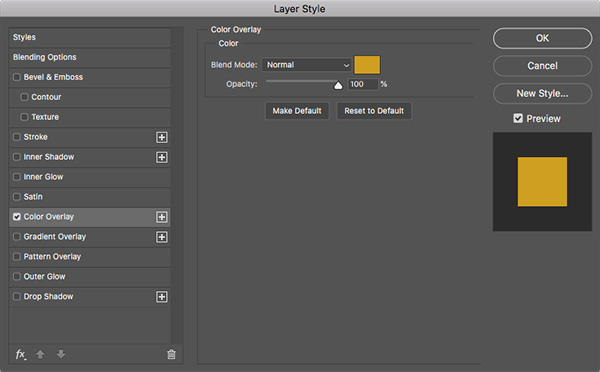
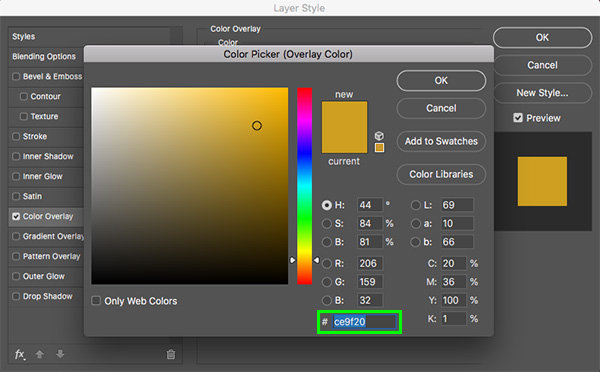
For the fill color, let’s use the hex value ‘#CE9F20’ and then click ‘OK’ twice to apply the changes and close out of both dialog boxes.
Step 20: Cognac
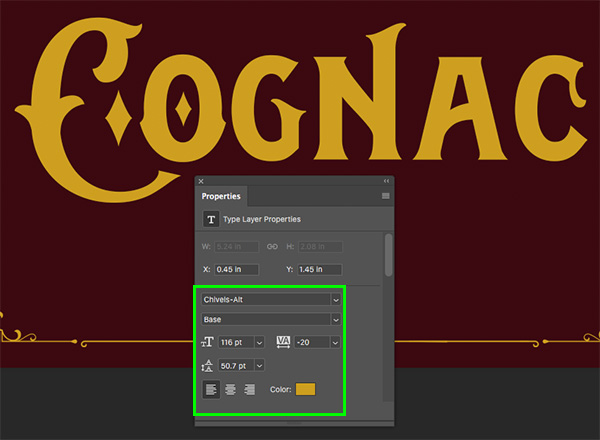
Create a new layer and type out the word ‘Cognac’ using the ‘Chivels-Alt’ in the ‘Base’ style from the freebies folder for this tutorial. This typeface is just one of several styles from AF Studio. Here I have also made the text about ‘116 pt’ with a tracking setting of ‘-20’. For the fill color, use the same ‘#CE9F20’ from the previous step.
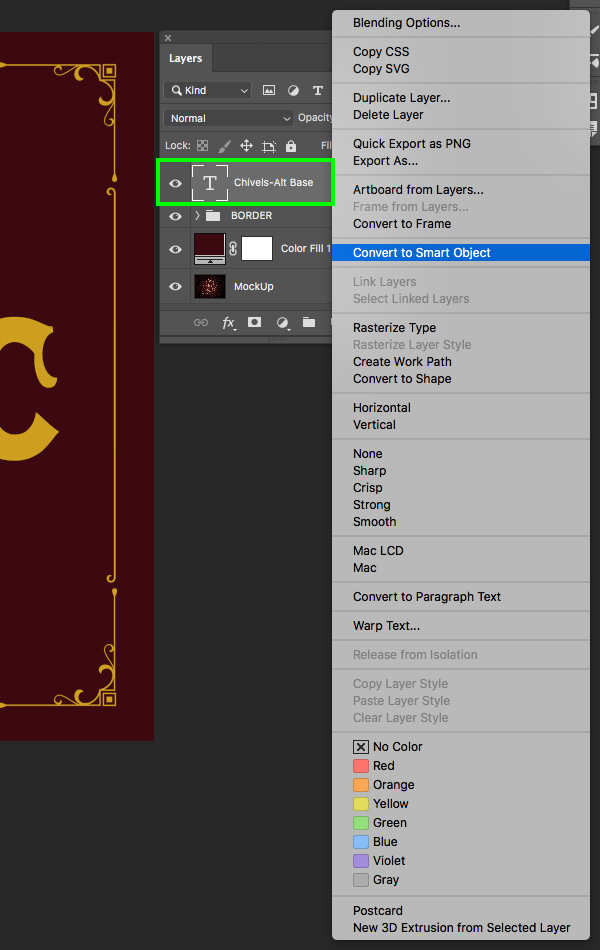
Next, hold the Control key and click on the text layer to reveal a dropdown list. From this list, choose the ‘Convert to Smart Object’ option to convert the text.
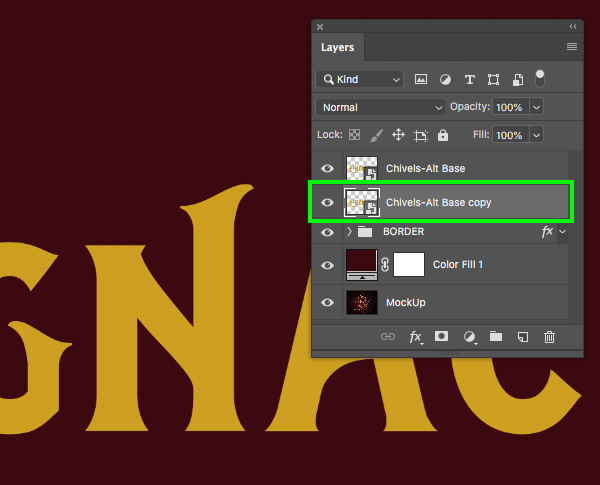
From here, select the Smart Object layer and press Command/Ctrl+J to duplicate it, and then move it below the original copy.
Step 21: Cognac Styles
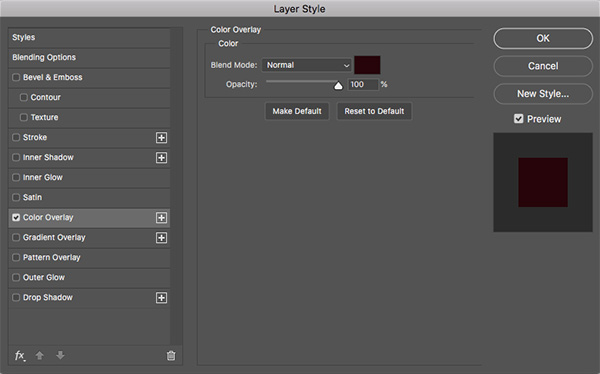
Double click on the duplicate copy of the Cognac Smart Object layer to bring up the Layer Style panel, and then check off the ‘Color Overlay’ option.
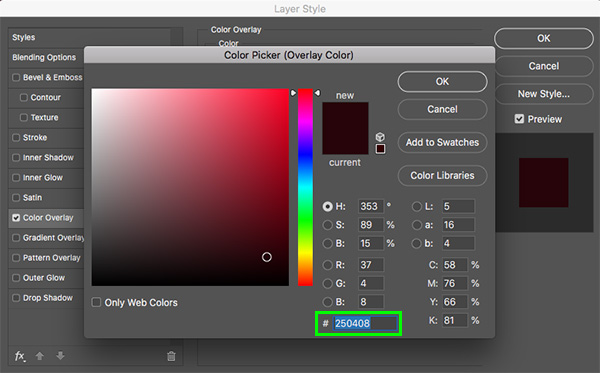
For the fill color, let’s use the hex value ‘#250408’ and then click ‘OK’ to continue.
Step 22: Extrude Action
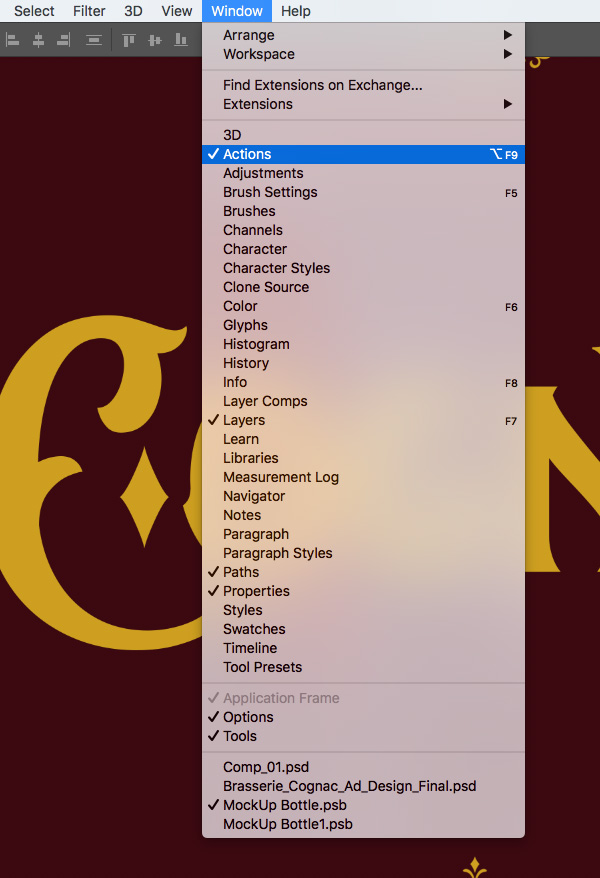
Go to the Window menu and choose ‘Actions’ to open the Actions panel.
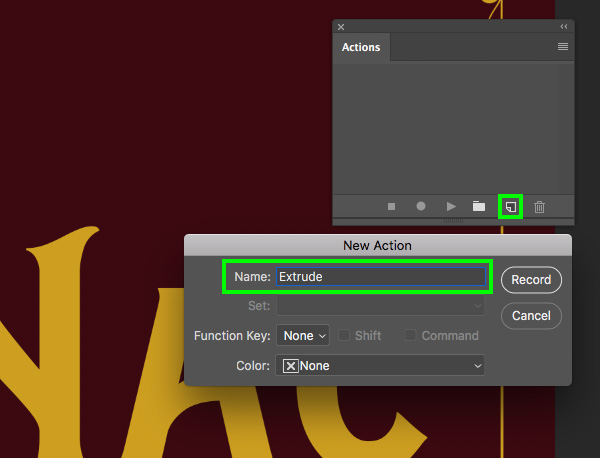
Click on the ‘New Action’ icon at the bottom of the panel and then enter a name for your action – here I am using the name ‘Extrude’. Once you have done that, click on the ‘Record’ button.
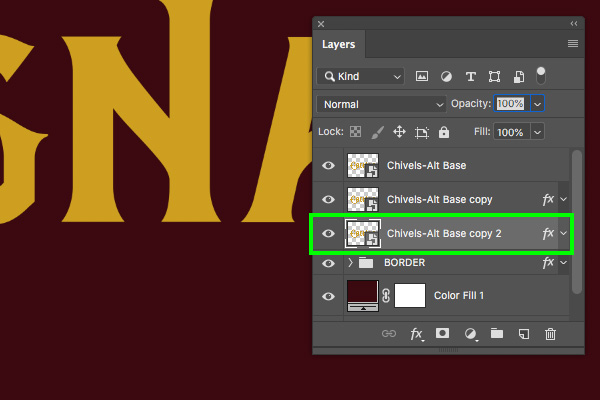
All we are going to do here is select the duplicate Cognac Smart Object layer that we applied a dark red Layer Style to and duplicate it by pressing Command/Ctrl+J. After that, press Command/Ctrl and the left bracket on the keyboard to move the new copy below the previous copy. After that, tap the down arrow once and the right arrow once. From here, click on the stop button in the Actions panel.
We can now select our most recent copy of the dark red Cognac Smart Object layer and then press the play button in the Actions panel. Do this about 34 times until you have a stack of layers. Each time you press play you will notice that it creates a longer drop shadow effect that adds a bit of depth to our text.
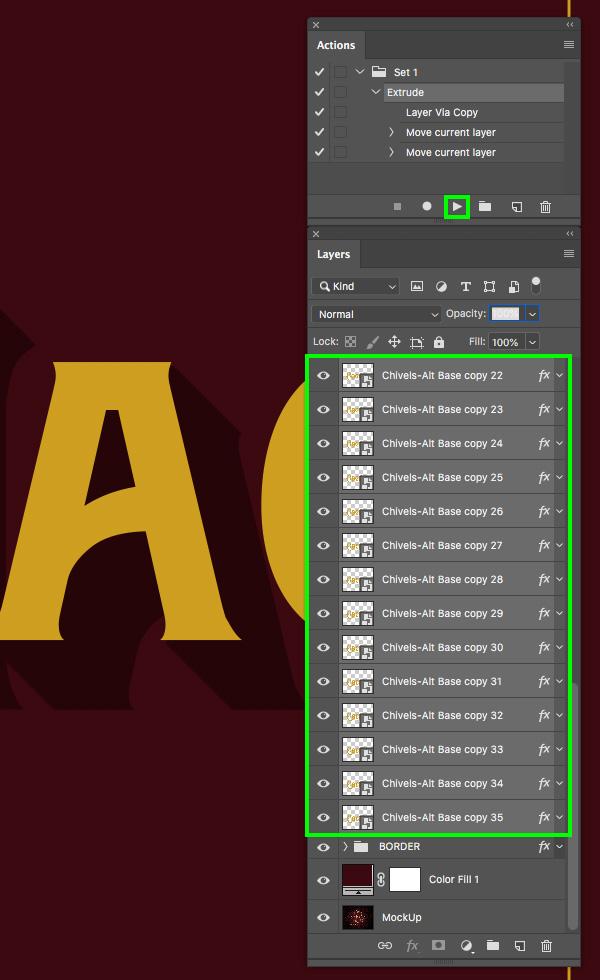
After creating all of the extruded copies, select the first copy in the Layers Palette, hold the Shift key, scroll down, and then select the last copy. Once all of the copies are selected at the same time, press Command/Ctrl+G to place them into a folder and double click on the ‘Group 1’ text to rename the folder ‘EXTRUDED’ as shown below:
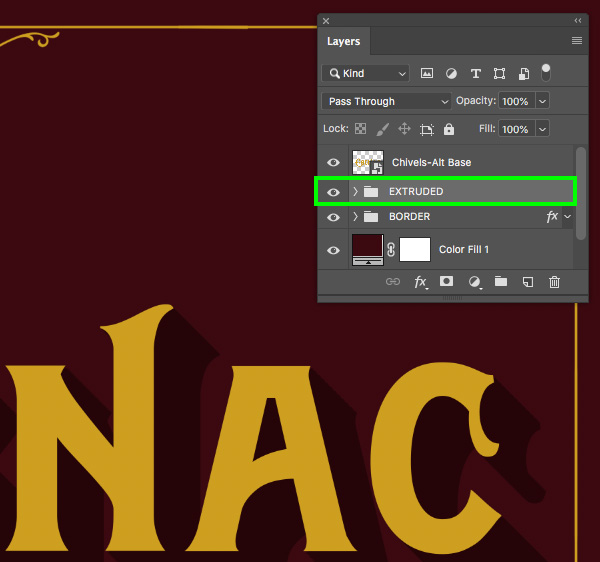
Step 23: Extra Outline
After placing all of the dark red Smart Objects into the ‘EXTRUDED’ folder, double click on the folder to open the Layer Style panel and then check off the ‘Stroke’ option. From here, let’s create a stroke with a ‘Size’ of ‘8 px’ set to a ‘Position’ of ‘Outside’ and then click on the ‘Color’ swatch to change the stroke color.
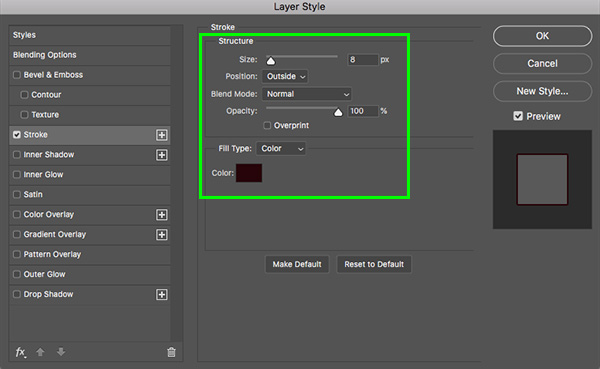
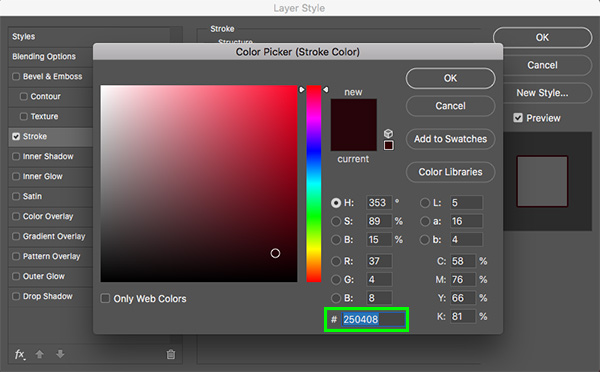
Let’s now change the fill color to ‘#250408’ so that it matches the color of the shadows. Once you have done that, press ‘Return’ or click ‘OK’ twice to apply the changes and close out of both panels.
Step 24: Bevel & Emboss
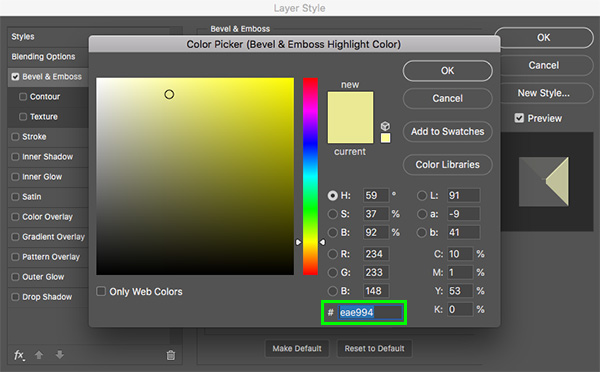
Next, double click on the main Cognac Smart Object layer that should be filled with our gold color to open the Layer Style panel for this layer. From here, check off the ‘Bevel & Emboss’ option and apply the following settings:
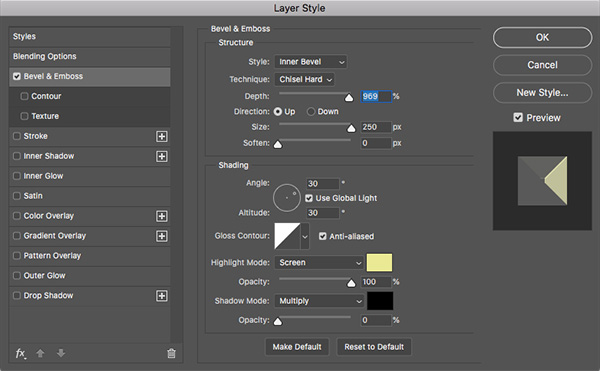
For the ‘Highlight Mode’ color on the bottom, use the hex value ‘#EAE994’ and then click ‘OK’ to close out and continue.
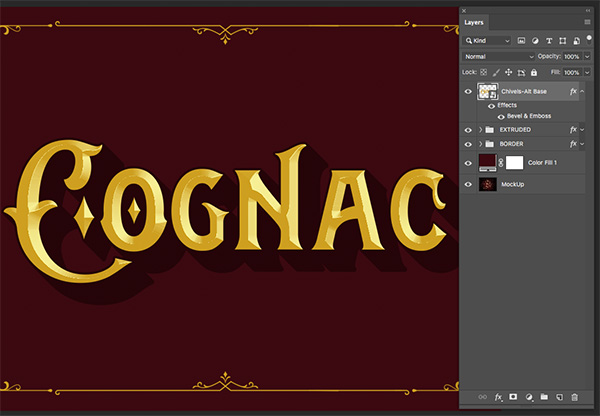
As you can see, between the text effects and the custom action we have created some pretty snazzy looking text! Your label should now look like this:
Step 25: Subhead
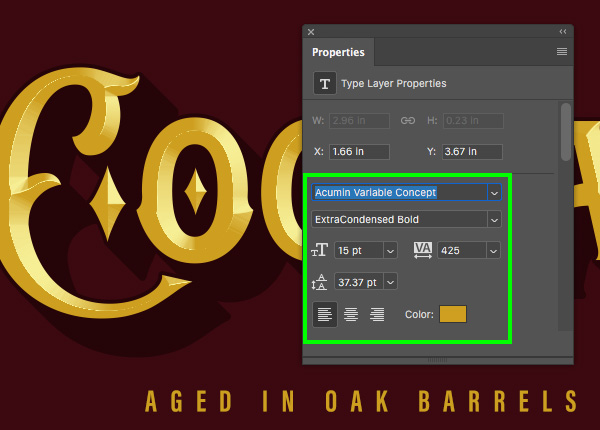
Create a new layer and use the Type Tool (T) to type out the words ‘AGED IN OAK BARRELS’ using the same bold condensed font from earlier – ‘Acumin Variable Concept’. This time I will make the size of the text ’15 pt’ with a tracking setting of ‘425’ to spread the letters out quite a bit. Let’s also use the same gold fill color from before for consistency – ‘#CE9F20’.
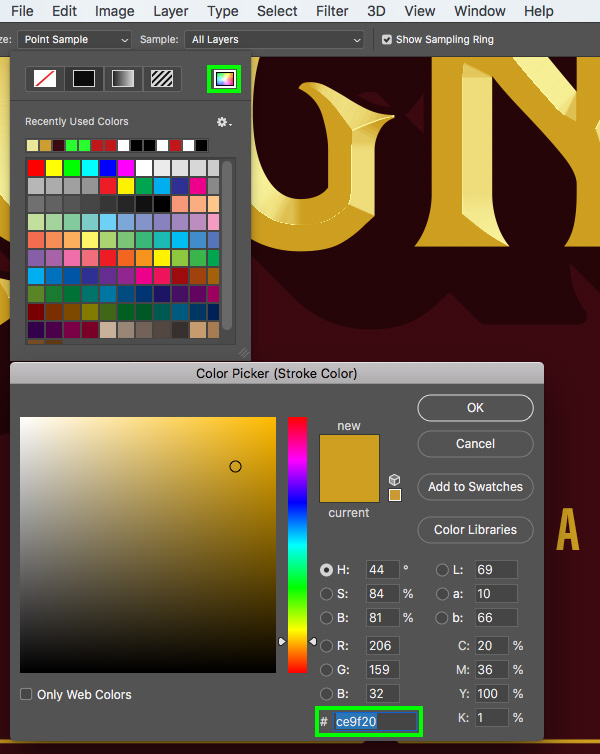
Press ‘U’ on the keyboard to switch to the Rectangle Tool and then set the ‘Stroke’ to ‘4 px’ and click on the color swatch for the stroke.

Once you see the swatches, click on the rainbow colored icon in the upper right. From here, enter the hex value ‘#CE9F20’ and then click ‘OK’ to continue.
From here, click and drag out a rectangle around the ‘AGED IN OAK BARRELS’ text so you wind up with something like this:
Step 26: Brasserie
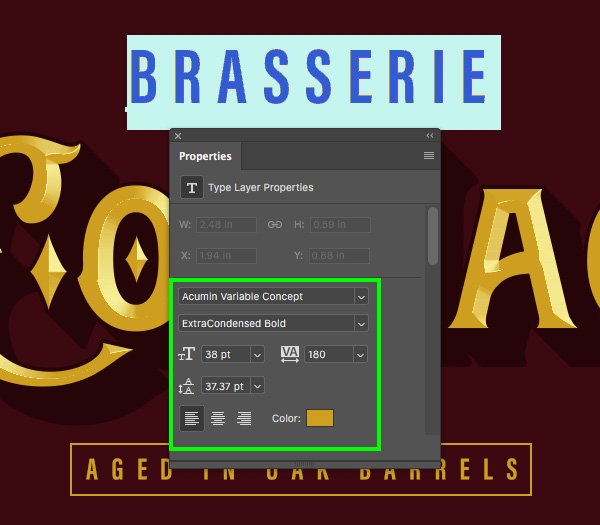
Create a new layer and use the Type Tool (T) once again to type out ‘BRASSERIE’ above the ‘Cognac’ text. Let’s use the same bold condensed typeface and fill color, but change the size to ’38 pt’ and the tracking to ‘180’ as shown here:
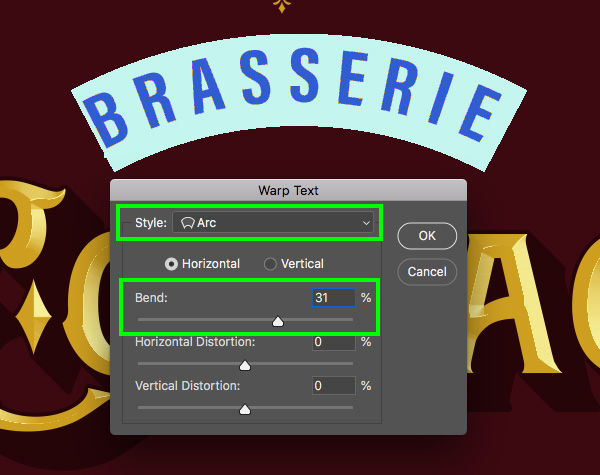
Click inside of the text box to highlight the text and then click on the ‘Create warped text’ icon from the top toolbar to bring up the dialog box. From here, set the ‘Style’ to ‘Arc’ and then apply a horizontal bend of ‘31%’ before pressing ‘Return’ or clicking ‘OK’ to apply the change. Your text will now arc over the ‘Cognac’ text and match the main headline from the ad.
Step 27: Decorative Ornaments
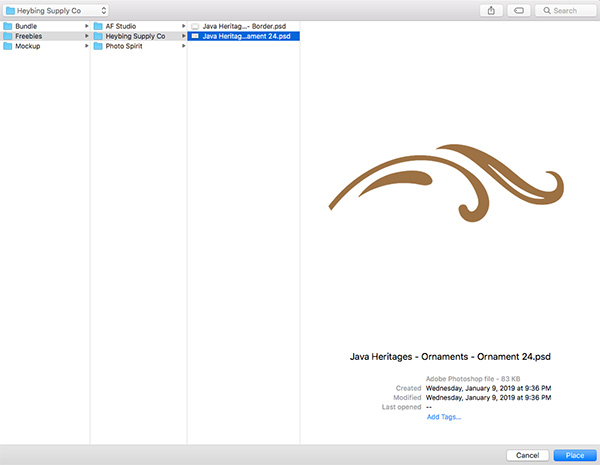
Next, go to the File menu and choose ‘Place Embedded…’ as shown below:
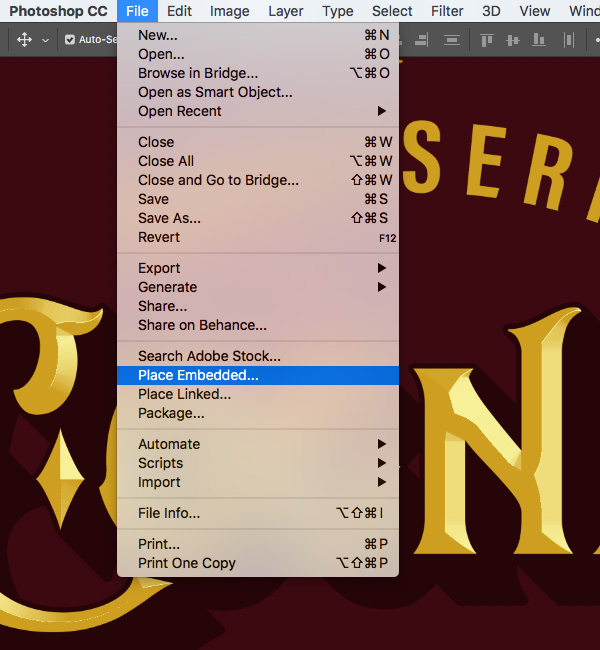
Navigate to the ‘Java Heritages – Ornaments – Ornament 24.psd’ file from Heybing Supply Co in the freebies folder and then choose ‘Place’ from the lower right.
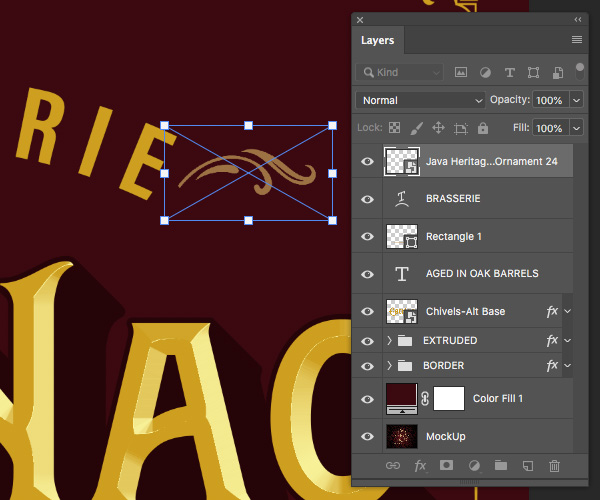
Scale the ornament down by dragging inwards from the upper right corner of the bounding box while holding the Shift key and place it to the right of the ‘BRASSERIE’ text.
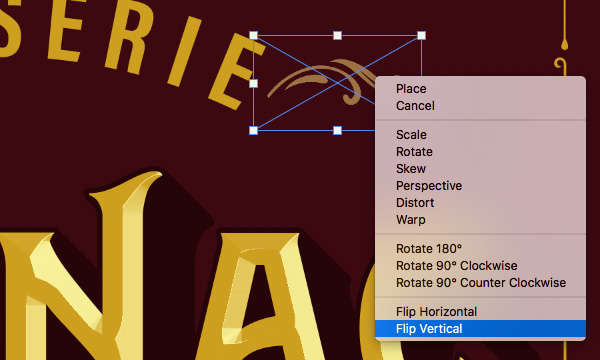
Hold the Control key and click on the ornament and then choose ‘Flip Vertical’ from the dropdown to flip it.
Step 28: Ornament Color
After applying the transformation, double click on the ornament layer to bring up the Layer Style panel and check off the ‘Color Overlay’ option.
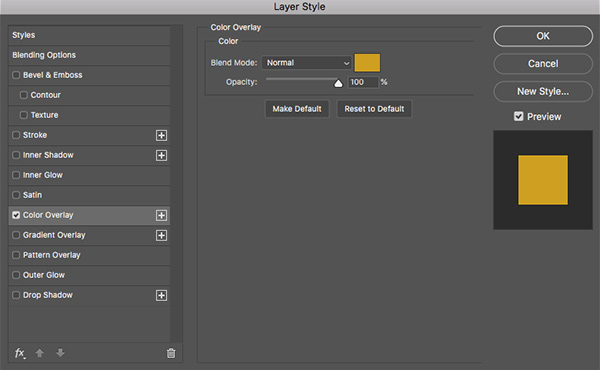
For the fill color we will once again use the hex value ‘#CE9F20’ and then click ‘OK’ twice to apply the changes and close out.

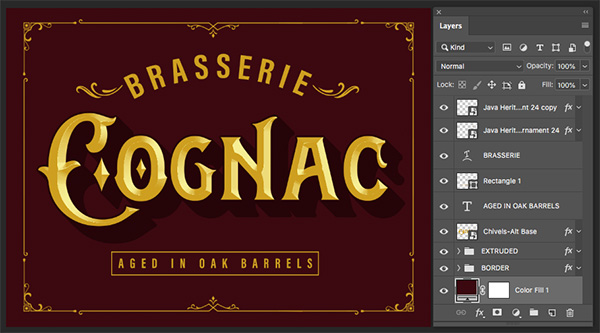
Select the ornament layer and duplicate it by pressing Command/Ctrl+J. After that, press Command/Ctrl+T and then hold the Control key and click on the shape before choosing ‘Flip Horizontal’ to flip the ornament the other way.
Hold the Shift key and slide the new copy over to the opposite side so that there is an ornament on both sides of the ‘BRASSERIE’ text. Our label design is now complete! Let’s save the Smart Object by pressing Command/Ctrl+S and then once it has finished saving press Command/Ctrl+W to close the window and return to the main file.
Step 29: Finishing Touch
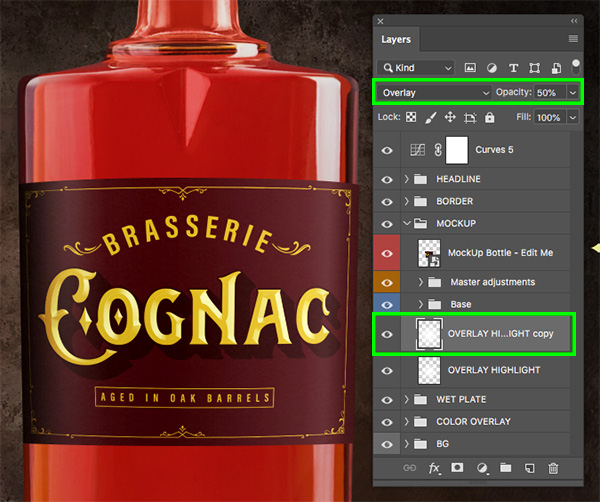
Once you are back in the main mockup file, go into the ‘MOCKUP’ folder and locate the top copy of the ‘OVERLAY HIGHLIGHT’ and press the number ‘5’ on the keyboard to drop the opacity of the layer down to ‘50%’ so that the backlight is a bit less intense.
We have now completed our Brasserie Cognac Advertisement! To create our ad we’ve used a small handful of vintage elements including one of several styles of the ‘Chivels’ typeface from AF Studio along with some decorative flourishes and a border from Heybing Supply Co, a worn texture template from Photo Spirit, and a free cognac/whiskey bottle mockup. The resources we have used today are just a small sample of the stunning array of tools and graphics that will give your projects an authentic feel in minutes!
Remember that whether it’s your outcome for this tutorial or something new you’ve made, we’d love to see your designs on our Facebook page.
Please leave a comment if you have any questions or suggestions. I always look forward to hearing from you!
There’s still time to check out The Creative’s Ultimate Vintage Collection featuring retro fonts, beautifully preserved illustrations, vintage papers, effects, textures, and so much more all for an unbeatable price of $29!
I love all of your tutorials! The only time I got tripped up in this one is when I went looking for the Chivels-Alt font (in the tutorial text it says “Chisels-Alt”- typos happen!). The only font included in the download for the tutorial is Chivels-Base. I have the The Creative’s Ultimate Vintage Collection (amazing btw!) so I was able to find and use the alt font, but maybe clarify in the text that the Chivels-Alt font is not in the free download just to avoid confusion about why it doesn’t look the same :) Thanks!
Hey Karina,
Wow thank you so much for your lovely comment- it is awesome to hear you are loving our tutorials and we would love to see any of your finished results if you were keen to share!
Thank you so much for flagging this with me and I have corrected the typo now in the tutorial write up- we really appreciate you letting us know so as to avoid any confusion for anyone else- whew you are a star :) I am just looking into the inclusion of Chivel Base over Alt and once I confirm with the team, I will get this changed out as well- thanks Karina!