WHAT WE’RE CREATING:
Hey Design Cutters!
Today I’m going to show you just how easy it is you add awesome texture effects to your photos using Photoshop. You can also use these effects in similar software such as Paintshop Pro. This doesn’t have to be something that intimidates you, and really there’s just a few steps to get started.
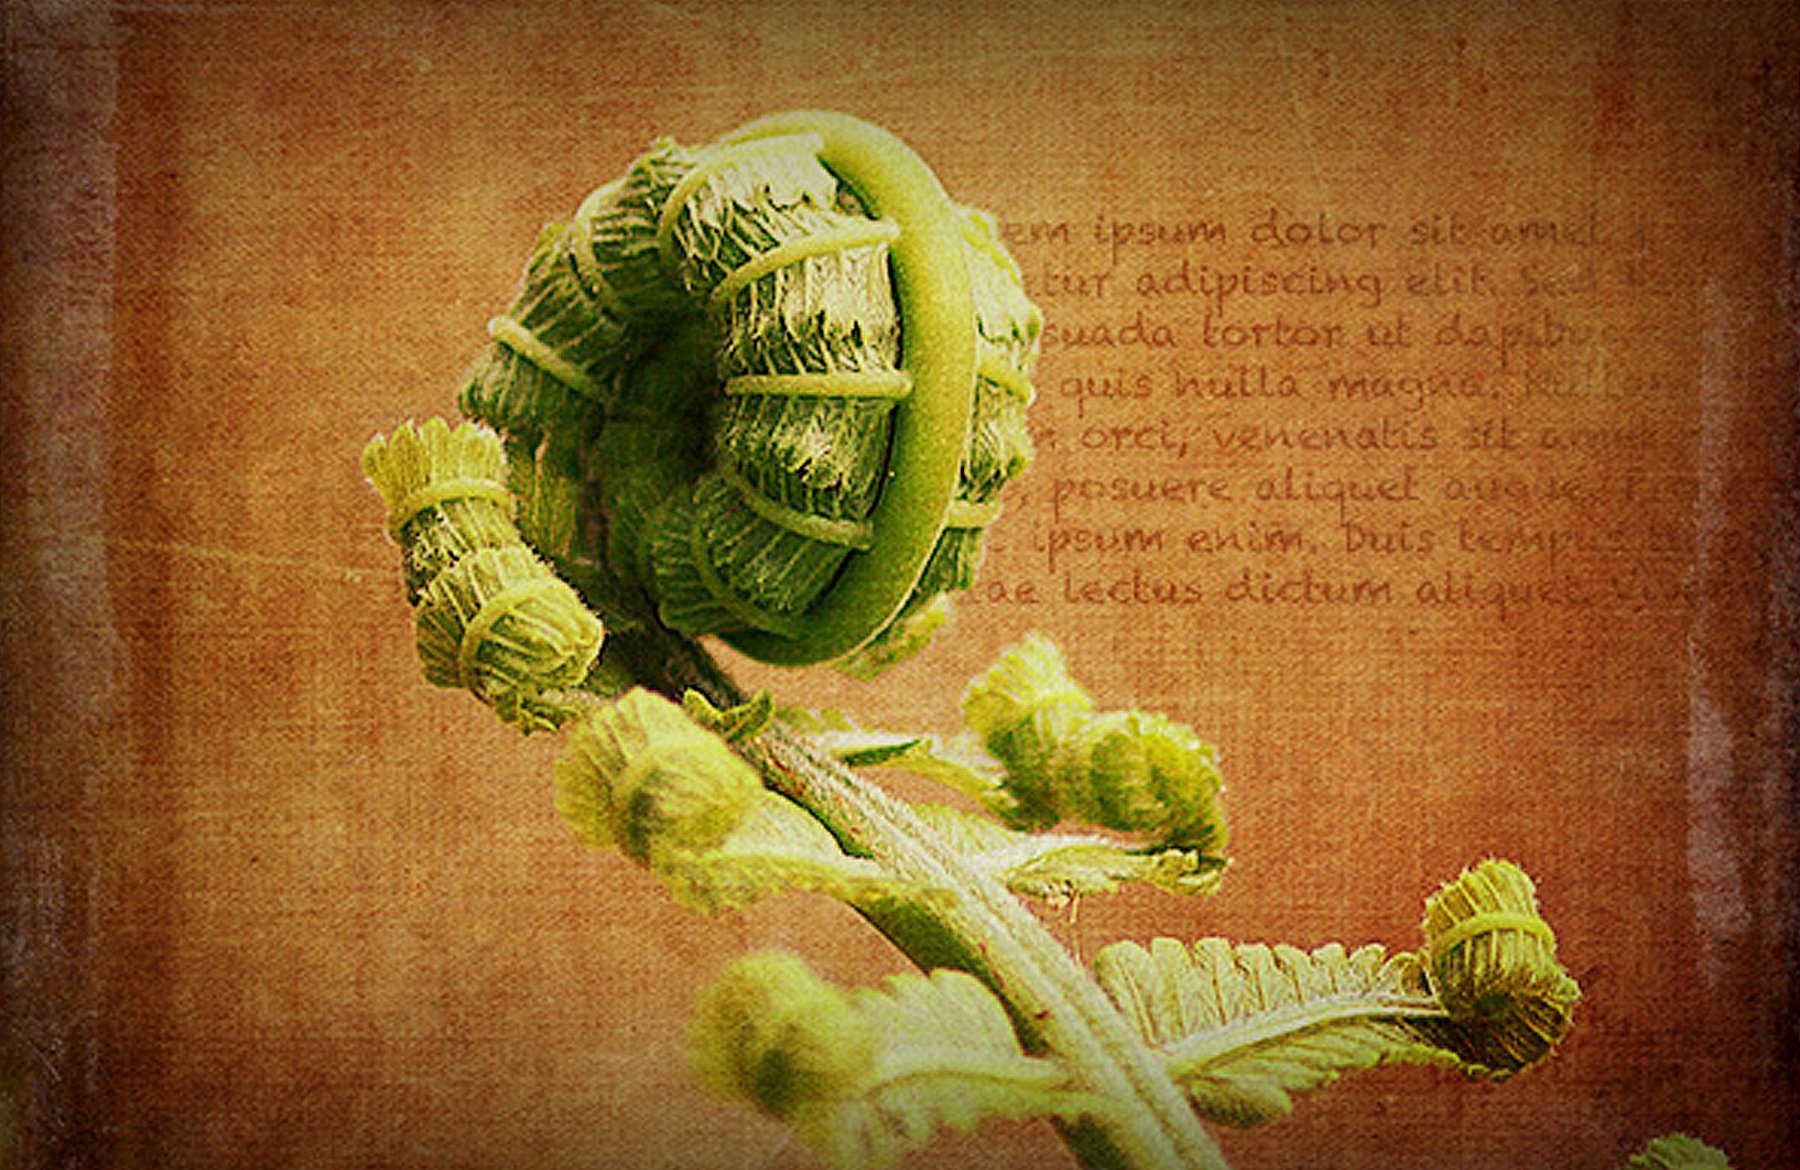
Today you’ll learn how to convert a regular photo of a fern, into a rich, warmly textured, beautiful outcome.
Let’s get started!

Follow along with this tutorial: Download the freebies
Today we have a fantastic freebie pack of textures for you guys to enjoy. This is a 5 texture sampler pack taken from our current deal: 2 Lil Owls’ Ultimate Texture Collection – 215 Textures + Bonuses Bundle (91% Off).

Step 1:
Start by downloading this awesome free photo of a fern.
Of course we definitely recommend applying textures over your own photo work. However, whilst textures can elevate virtually any photo, we find they work best with:
- A limited colour palette
- A simpler composition (simpler photos seem to work even better than busier ones)
- Subjects that already have some kind of texture to them. Applying textures will accentuate this.

Step 2:
Download the awesome free texture pack using the form at the top of this page. This gives you 5 amazing free textures, as a nice sample from this week’s awesome deal 2 Lil Owls’ Ultimate Texture Collection – 215 Textures + Bonuses Bundle (91% Off).
Paste in the Confetti 09 texture:

Now change this texture’s layer blend mode from ‘normal’ to ‘overlay’:

Step 3:
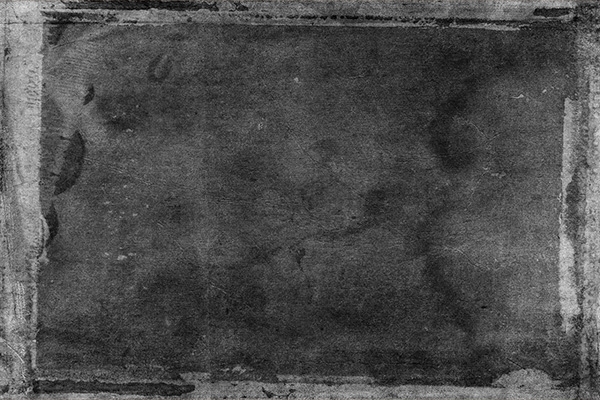
Now paste in your Distressed 2 texture.
Take a moment to appreciate just how beautiful it is! Seriously, we’ve been geeking out over how awesome these textures are all week. We love the distressed, grungy effect Denise has achieved with these designs.

Now change this new texture layer’s blend mode from ‘normal’ to ‘overlay’. Also reduce the layer opacity to 15%:

Step 4:
Now paste in your Distressed 20 texture.
Again, look for lovely details and markings that you think will add nice layers of detail to your photo:

Now change this layer’s blend mode to ‘overlay’ and reduce the opacity to 20%:

Step 5:
Paste in the ‘Jewel Chalks 1’ texture.

Change this texture layer’s blend mode to ‘overlay’ and reduce it’s opacity to 35%

Step 6:
Paste in the ‘Heritage 6’ texture onto a new layer:

Change this layer to ‘multiply’ blend mode, and reduce it’s opacity to 50%:

Step 7:
Great job making it this far! Hopefully you can see how easy it is to integrate these textures into your photography work.
It’s important to bear in mind that you can alter how you integrate textures into your work. In this case, you’ll notice that I used warm, orange-toned textures in this example, as they complimented the neutral background colour and green of the fern. Adding these textures brought the photo to life, and gave it plenty of light and colour.
I could have used colder green/blue textures to alter the atmosphere of this photo in a different way.
You’ll also notice that in most cases I changed the texture layer’s blend mode to ‘overlay’. It can be equally effective to use other blend modes such as ‘hard light’, ‘multiply’, ‘saturation’ etc etc… The important thing is to try multiple blend modes and opacities and see what looks best. Experiment, and have fun with your new textures!
Step 8: Grunging It Up!
If you want to take your composition to a grungy new level, you can apply some more custom effects.
Paste in your ‘Distressed 2’ texture a second time, onto a new top layer.
Desaturate this image (image>adjustments>desaturate).
Now change this layer’s blend mode to ‘screen’ and reduce it’s opacity to 60%:

Apply a level adjustment layer, and add a clipping mask (layer>apply clipping mask) to ensure that your adjustments only effect your underlying desaturated texture layer.
Levels Settings: 80, .50, 240

Step 9:
Now choose a rough looking font and apply some text, partially overlapping your fern. Use black as your text colour:

Change your text layer’s blend mode to ‘overlay’ and reduce it’s opacity to 60%:

Now apply a layer mask to your text layer. Use a soft black paintbrush and mask off the right side of the text, blending it smoothly into your background.
Then mask off the parts of text overlapping your fern, which will give the impression of the text emerging from behind it:

Step 10:
Finally, we’re going to add a vignette effect to draw the eye towards the center of our canvas more.
Create a new top layer called ‘vignette’.
Then fill this layer with any colour that you want. In your layer’s palette reduce the layer’s fill opacity to 0%, but keep the main layer opacity at 100%.
Then apply an inner glow blending option to give the vignette effect (settings below):

Here’s your final design:

Don’t forget to check out this week’s deal, before it expires forever:
2 Lil Owls’ Ultimate Texture Collection – 215 Textures + Bonuses Bundle (91% Off).


Thank you for the lovely textures. I’ve only ever used one texture at a time. I shall enjoy practising layering several textures following this tutorial with the photos of the plants in my garden.
This is a terrific tutorial… it helped me to see how to use the textures using the tones and shades that are in the original image. I love tutorials and please continue to offer them. The textures are terrific also! Thanks!!
Thank you so much for the kind words, Amanda! I’m glad to hear you’re loving the textures and tutorials. We’re planning to add a video tutorial to all our future deals as of now, so I hope this will help you wit your designs.
YAY! Finally got to do this tutorial & get it finished! Mine looks a little different than yours, but pretty close :D This tutorial helped immensely!!! Thank You! ☺
Excellent, it’s great to see the tutorial archive is proving helpful! :D We’d love to see your version!