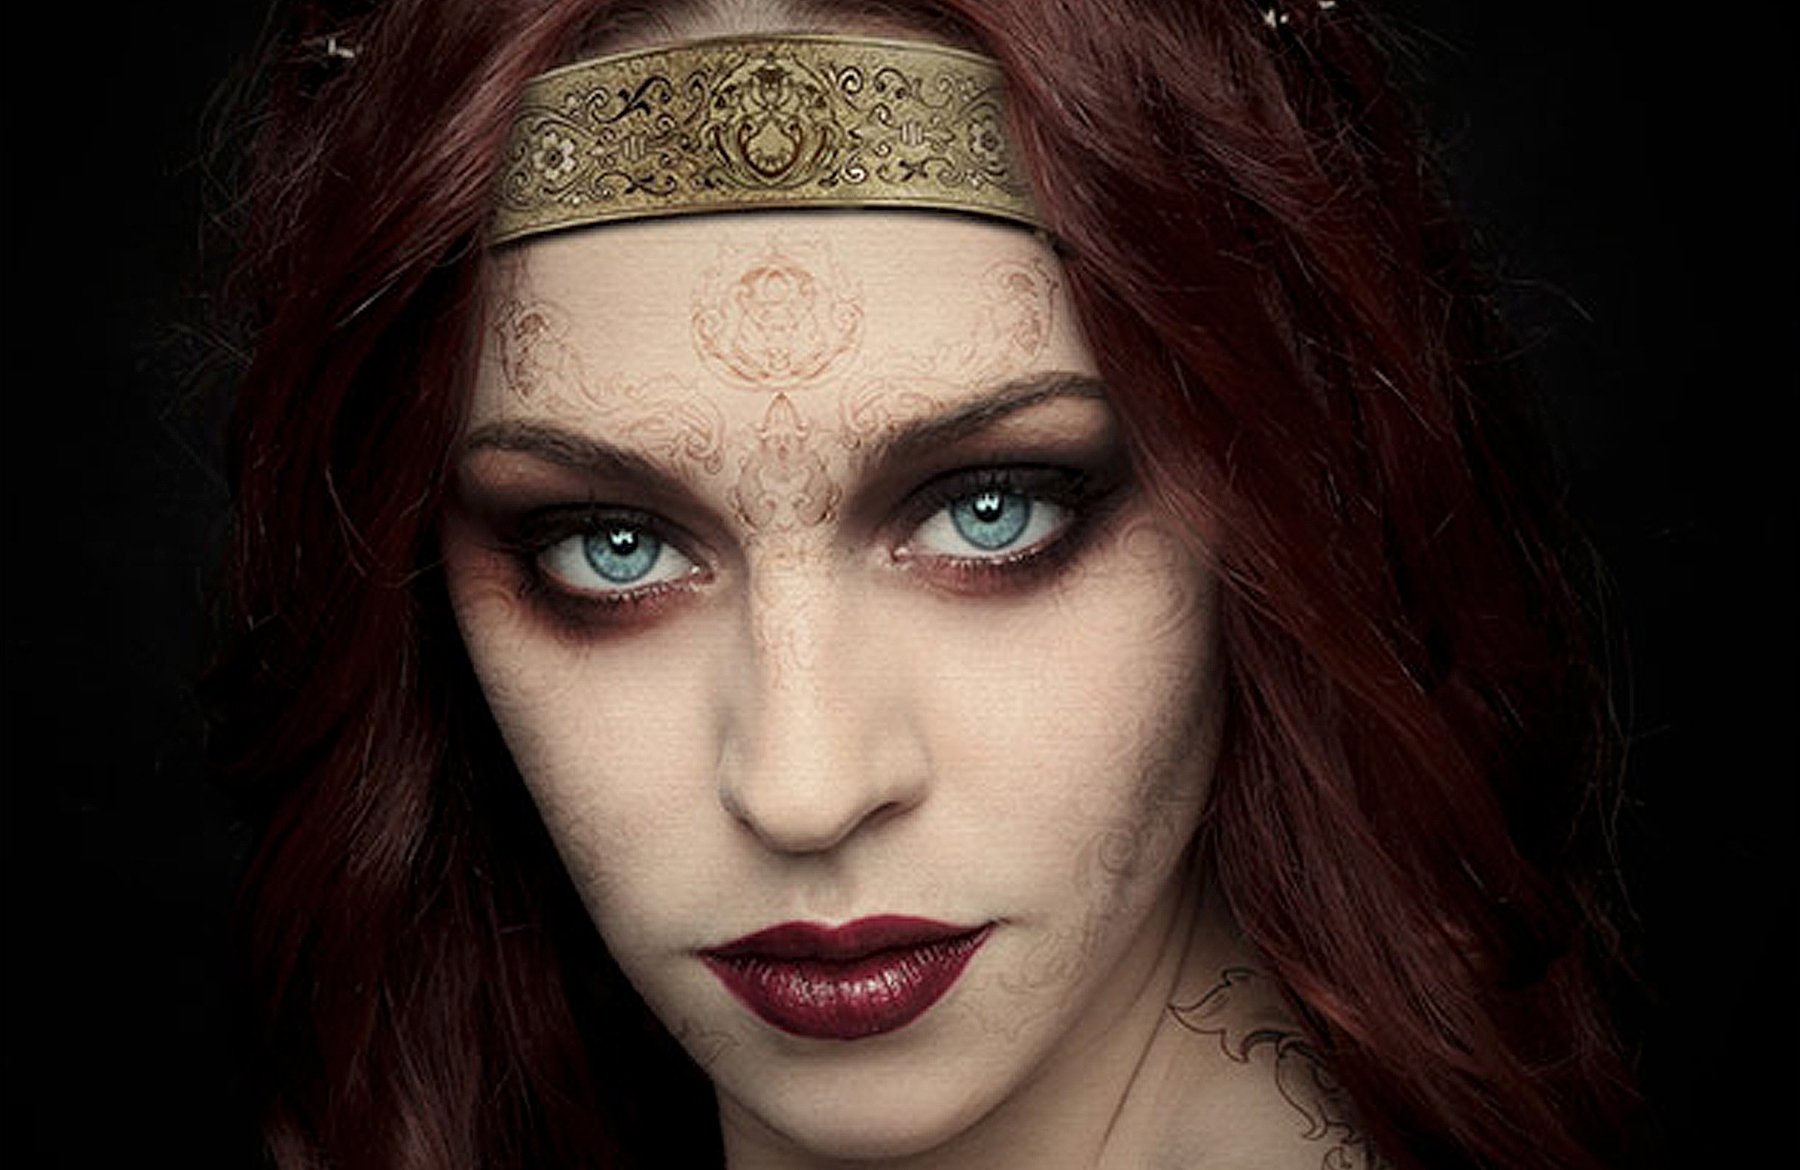
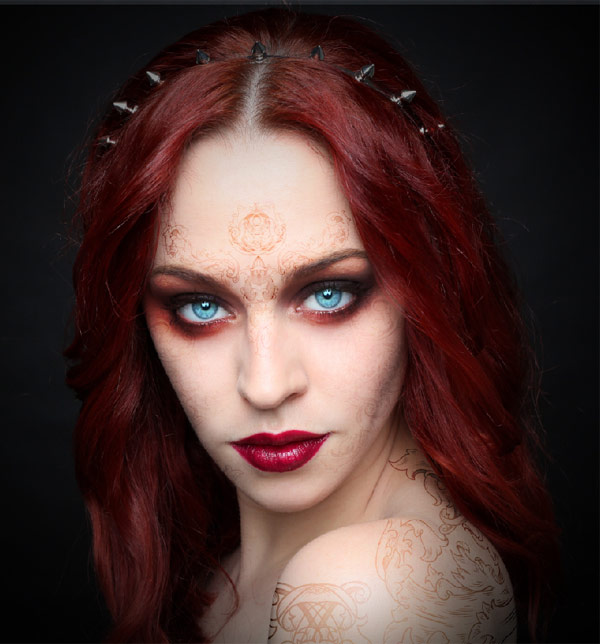
WHAT WE’RE CREATING:
In today’s tutorial you’ll be learning how to use some of the great resources available as part of our current deal:
1 Year’s Membership at SpoonGraphics (950+ Design Items) Just $7
We’ll be using the Illustrated Ornamental Vectors pack to turn a regular image of a woman into an intense, tribal queen composition. There’s a ton of great techniques to learn in this lesson, and if you’ve already grabbed this week’s deal, this is the perfect chance to put your new library of items to good use.
Let’s get started!
Step 1
Create a new canvas in Photoshop and import this image of the model on to the working area:
Model Image – faestock
Step 2
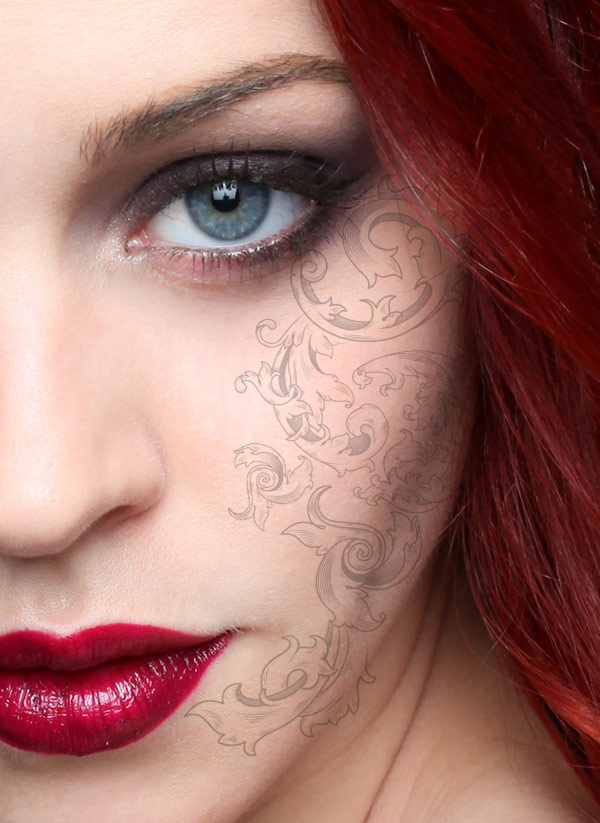
In this step we are going to create a tattoo along the jawline using the vectors pack taken from this week’s deal:
1 Year’s Membership at SpoonGraphics (950+ Design Items) Just $7
1) Open the vectors in illustrator. To identify each design identically, we have numbered each design by which it will be represented in the rest of the tut. Then select the design 1, then open the layers pallet and hide the color gradient of the vector. (We will be doing this for the rest of the tutorial, as we only need the line design of the vector.).
3) Now import the vector design on to the working canvas in Photoshop and place it as shown.
4) Now similarly using the designs “3,4,5,6” complete the jawline design as shown.
5) Now merge all the vector layers into a single layer. Then set the blending mode of the layer to Overlay and reduce the Opacity of the layer to 25%.
6) Duplicate the design and flip it horizontally. Then move it towards the right jaw and place it as shown. Erase the design overlapping on the hair and neck.
Step 3
In this design we are going to create a design pattern above the eyebrows.
1) Import the vector “4” on to the working canvas and place the vector over both eyebrows as shown.
2) Now import the vector “6” and place it by the previously placed vector as shown.
3) Then duplicate the vector6 and place it on the other eyebrow.
Step 4
In this step we will be creating a new vector design using the vector1 for the forehead center design.
1) Import the vector1 on to the working canvas and place it on the forehead as shown and set its blending mode to Overlay.
2) Now duplicate the vector1 layer and flip it horizontally in the same place and be amazed with the amazing new design.
Step 5
In this step we will work in detail on creating a custom design using the vector 3.
1) Import the vector 3 design on to Photoshop. Then duplicate it and flip the layer horizontally to create a new shape.
2) Now by using the Eraser tool (E) erase the unwanted design extending at the bottom as shown.
3) Now flip the design vertically. Then erase the unwanted lines within the design as shown, to make the design look clean and precise.
4) Now place the design at the glabella as shown and set its blending mode to Overlay.
5) Now by using the designs 3 and 4 complete the nose tattoo.
Step 6
In this step we are going to create the back and neck tattoo.
1) Import the vector 7 and place it on the back and transform it as shown on the back using the Move Tool (V).
2) Then set the blending mode of the back tattoo layer to overlay.
3) Now place the vector 4 on the neck as shown. Then erase the unwanted design overlapping on the hair.
Step 7
In this step we will be creating the shoulder tattoo using the vector 4.
1) Import the vector 4 on to the working canvas and place it on the shoulder as shown.
2) Now duplicate the vector4 layer and flip it horizontally to form a new design.
3) Merge the vector layers and set the blending mode to Overlay and erase the design past the shoulder.
Step 8
In this step we are going to make the eyes glow.
1) Create a new layer above the model layer and paint sky blue over the eyes as shown.
2) Then set the blending mode of the layer to Overlay. This will popup the eyes and makes them look magical.
Step 9
In this step we are going to perform a small makeover on the eyes of the model to make them look more dramatic.
1) Paint the color #591c1b around the eyes as shown. (Use digital pen tablet to get better result.).
2) Now set the blending mode to overlay to blend with the skin.
Step 10
In this step we are going to color correct the whole scene to blend together.
1) Create a new layer on the top of the layer pallet and paint the black bokeh along the corners of the scene.
2) Now create a Hue/Saturation adjustment layer at the top of layers pallet and set the Saturation level to -51.
3) Now by using the Exposure adjustment layer set the Gamma correction level to 0.82.
Step 11
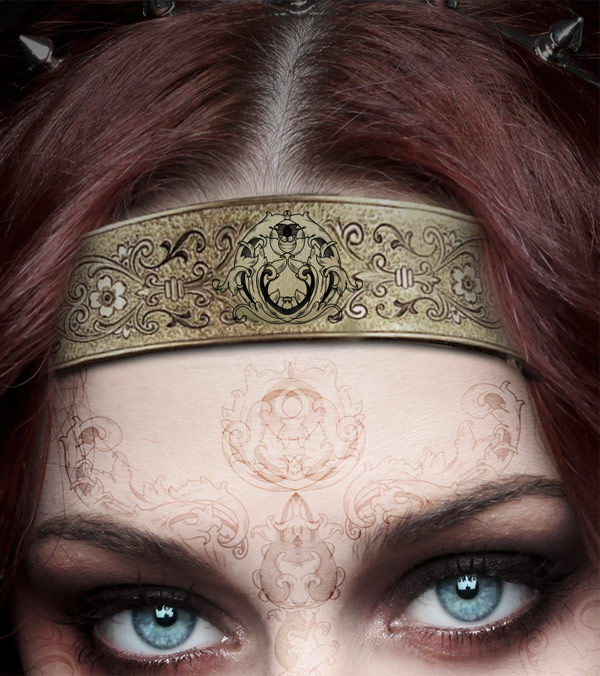
In this step we are going to create a gold headband on the model.
1) Import the image of the gold band and place it on the forehead as shown. Then by using the eraser tool erase the unwanted part of the headband overlapping the hair.
Headband – lilystox
2) Now create a Curves adjustment layer to the headband and set the RGB curves as shown.
3) Now create a shadow layer under the headband and add a Gaussian blur of Radius 4.7px.
4) Now by using the Move tool (V) transform the headband to make it look rounded to fit perfectly with the forehead of the model.
Step 12
In this step we are going to cover the center design of the headband using a gold texture.
1) Place the gold texture on the center design of the headband as shown.
Gold Texture – sxc.hu
2) Now by using the curves adjustment layer set the RGB curves of the texture as shown.
Step 13
In this step we are going to create a custom shape for the headband center design.
1) Place the vector 6 on the headband as shown at the center.
2) Now duplicate the vector and flip it horizontally to form our new center design.
3) Merge both the vector layers into a single layer and then duplicate the layer and set their blending mode to Overlay.
4) Now group the layers into a single folder and add an Exposure adjustment layer to the folder and set the Gamma correction level to 0.65.
Step 14
In this step we are going to add texture to the scene.
1) Place the image of the old paper texture on the top of layers pallet and set the blending mode to overlay.
Old Paper 1 – sxc.hu
2) Then similarly add another old paper texture to the scene add set its blending mode to Multiply and reduce its Opacity to 39%.
Old Paper 2 – sxc.hu
AND WE’RE DONE
You can view your final outcome below. We hope that you enjoyed this tutorial and would love to hear your feedback on the techniques and outcome.
If you haven’t checked it out yet, be sure to take a look at this week’s deal. The vector pack you’ve just worked with is just a TINY sample of over 950 items available to SpoonGraphics members. You can see the full membership benefits here:
1 Year’s Membership at SpoonGraphics (950+ Design Items) Just $7
Be sure to grab it while you still can though, as the deal will expire in a few days time.
