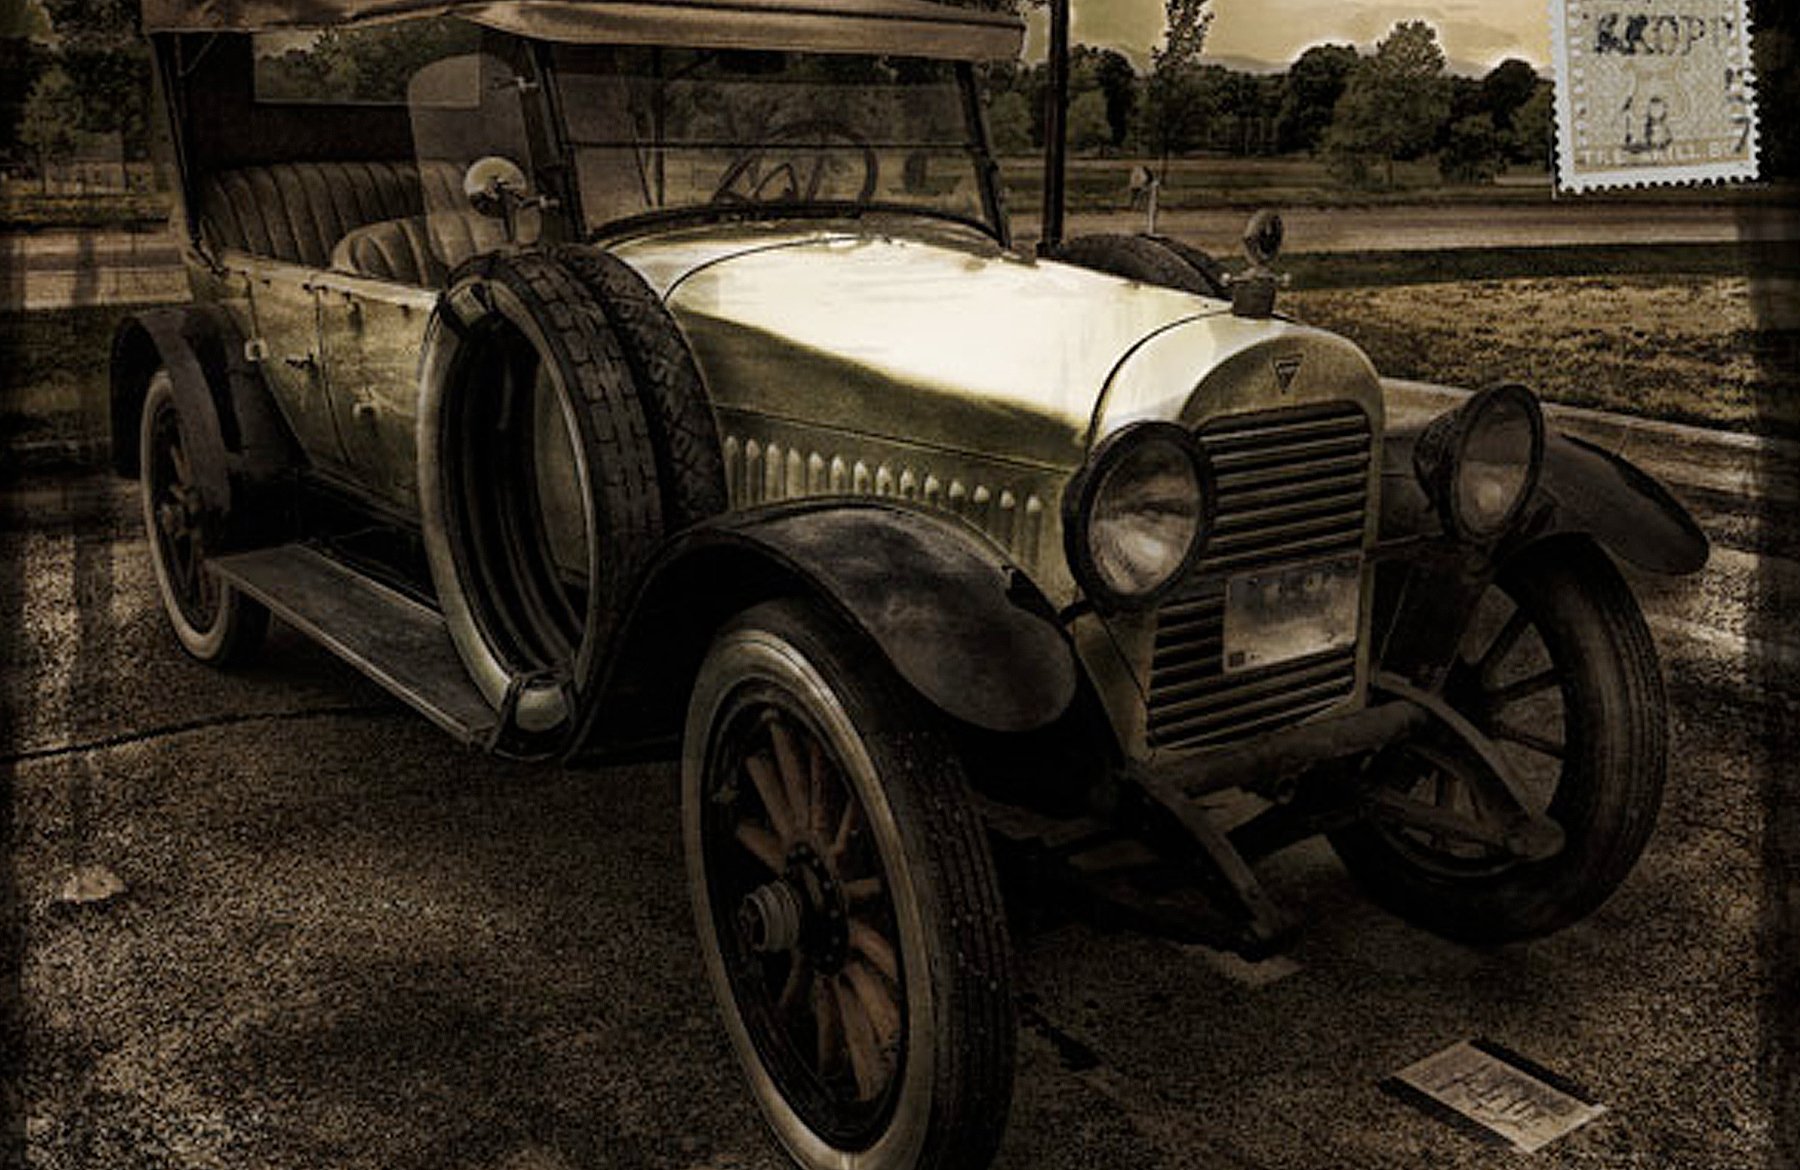
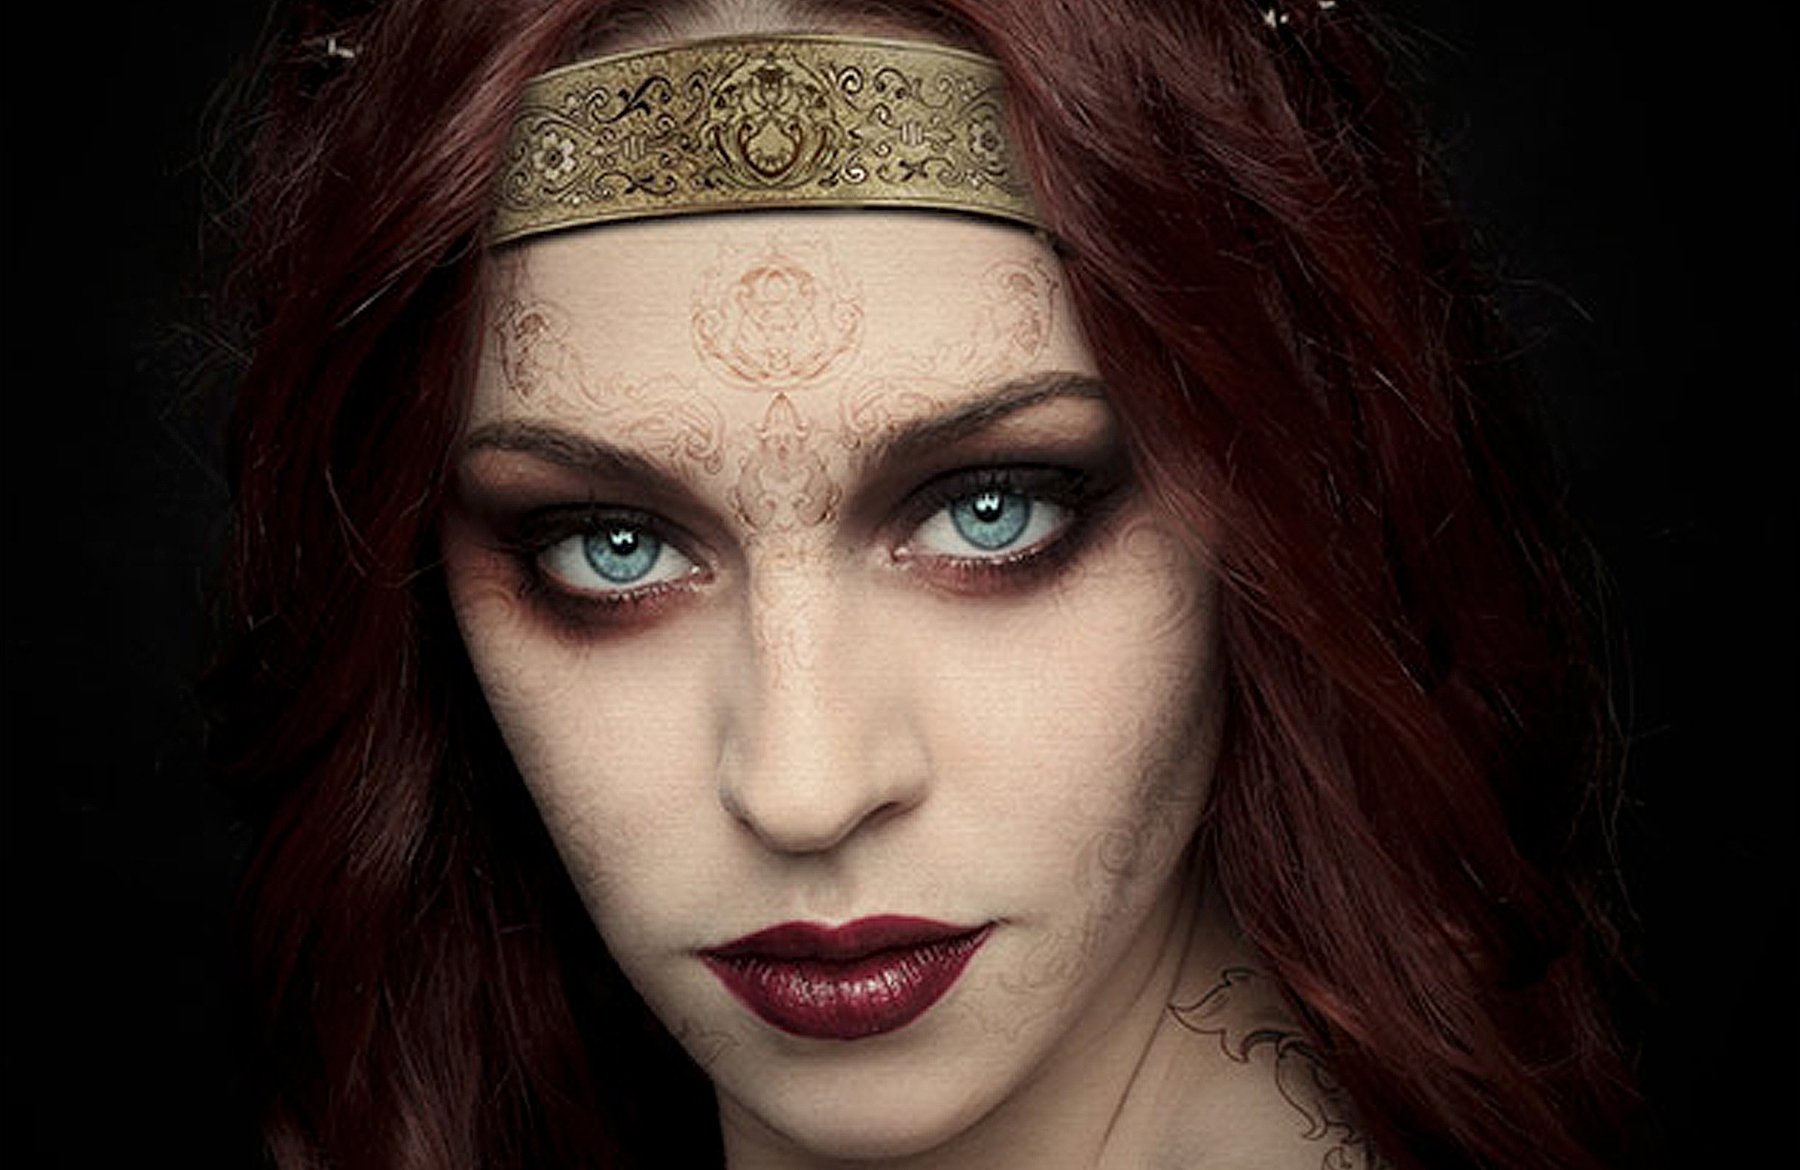
WHAT WE’RE CREATING:
In this tutorial I’ll show you how to convert your regular photos into an authentic vintage outcome. We’ll look at a variety of aging effects, from texture application, to the necessary adjustments you’ll need to age your photos in a realistic way.
Let’s get started
Follow along with this tutorial: Download the freebies
This tutorial is accompanied by a fantastic freebie pack, taken from this week’s deal, offering you a 1 year membership at SpoonGraphics for just $7.
To give you a sample of the 950+ items on offer, we’re giving away a free high-res ink brush set.
Step 1:
Start by downloading this lovely image of a vintage car:
This will be our base photo.
Now download the free high-res ink brush set using the form at the top of this page. You’ll need these brushes throughout the tutorial.
Step 2:
To start giving this image a more aged feel, we need to apply a couple of adjustment layers.
Start with a photo filter adjustment layer, using the following settings:
Photo Filter Adjustment Layer Settings:
Filter: Sepia
Density: 100%
Preserve Luminosity: Yes
Then apply a Hue/Saturation Adjustment Layer:
Hue/Saturation Adjustment Layer Settings:
Hue: 0
Saturation: -30
Lightness: 0
Step 3:
Let’s start to mess up the image to give a more dated effect.
Create a new layer called ‘noise’ and fill your canvas with black.
Then go to filter>noise>add noise.
Noise Filter Settings:
Amount: 20%
Distribution: Uniform
Monochromatic: Yes
Then set this layer’s blend mode to ‘screen’. This will hide the black parts of your noise layer, and just give a subtle noise effect over your original photo:
Step 4:
Now, we’ll add a filter that isn’t often used by designers; the dust & scratches filter.
Duplicate your original photo layer and move this to the top of all your layers in your layers palette.
Go to image>adjustments>desaturate.
Apply a smart filter to this layer, so we can edit it non-destructively. Then go to filter>noise>dust and scratches. Use the following settings:
Dust & Scratches Filter Settings:
Radius: 50 px
Threshold: 50 levels
Now reduce this layer’s opacity to 70% and change it’s blend mode to ‘multiply’:
Duplicate your current dust and scratches layer. Then edit the filter, which we’re able to do as it was applied as a smart filter.
Reduce the ‘radius’ to 10 pixels, and keep the threshold at 50 levels.
Then change the layer blend mode from ‘multiply’ to ‘overlay’ and reduce the opacity from 70% to 20%.
Step 5:
Download today’s freebie, which is a fantastic high-res Ink Brush Set, taken from our current SpoonGraphics 1 Year Membership deal.
You can download the freebie using the form near the top of this page.
Sample a color from the image you’re working with. I sampled a nice brown/cream color (af9478).
Then apply a variety of the brushes over your canvas using large brushes from the set, at around 75% opacity.
Reduce this layer’s opacity to 50% and change it’s blend mode to ‘multiply’.
Step 6:
Create a new layer called ‘border’.
Open up your brushes panel and select one of the 10 ink brushes available in your freebie pack.
On the ‘brush tip shape’ settings area, you’ll see two black dots on each side of the brush cross hair (shown in the red circle).
If you drag these inwards, you can make your selected brush more narrow.
This is just what we want, as we’ll be creating a narrow border effect around our image:
Ensure that your selected narrow brush is black, and then paint in a border effect around the edges of your canvas.
Keep changing the angle of your brush as necessary to fit to the edges of this canvas area.
Then change this layer’s blend mode to ‘multiply’ and the opacity to 80%.
Step 7:
Create a new layer with a ‘multiply’ blend mode and around 15% opacity.
Apply a couple more markings using the ink brush set. Use a brown color to give a dirty effect:
Step 8:
We need to rough up our image a little more as it feels too clean currently. Bringing out the shadows more will obscure some parts of the image and make it look more worn, old and dirty.
Start by applying a black/white adjustment layer (use the default settings).
Set this layer’s blend mode to ‘linear light’ and reduce it’s opacity to 30%.
Then apply an Exposure Adjustment Layer, settings below:
Exposure Adjustment Layer Settings:
Exposure: -1.00
Offset: 0.0000
Gamma Correction: 1.00
Layer blend mode: Overlay
Layer opacity: 15%
Here’s the result:
Step 9:
Download this Worn Paper Texture Image and paste it into your canvas.
Desaturate the texture and resize it as so:
Now change this layer’s blend mode to ‘soft light’:
Step 10:
Download this great old stamp image. Extract it and paste it into the top right of your canvas:
Reduce the saturation of this layer using a hue/saturation adjustment:
AND WE’RE DONE
I really hope that you enjoyed this short tutorial. This vintage effect can be applied to almost any photo, and is really versatile. Have fun with it, and enjoy your freebies pack.


