In this design tutorial I will be walking you through the process of creating a clean and minimal logo design that we will then place onto some packaging for our raw food bar. From there we will build out a scene using various objects and elements from the latest design bundle. Let’s jump right into it!
HAVE YOU SEEN OUR YOUTUBE CHANNEL?
Watch the video tutorial below and subscribe to our YouTube channel for regular updates direct to your inbox.
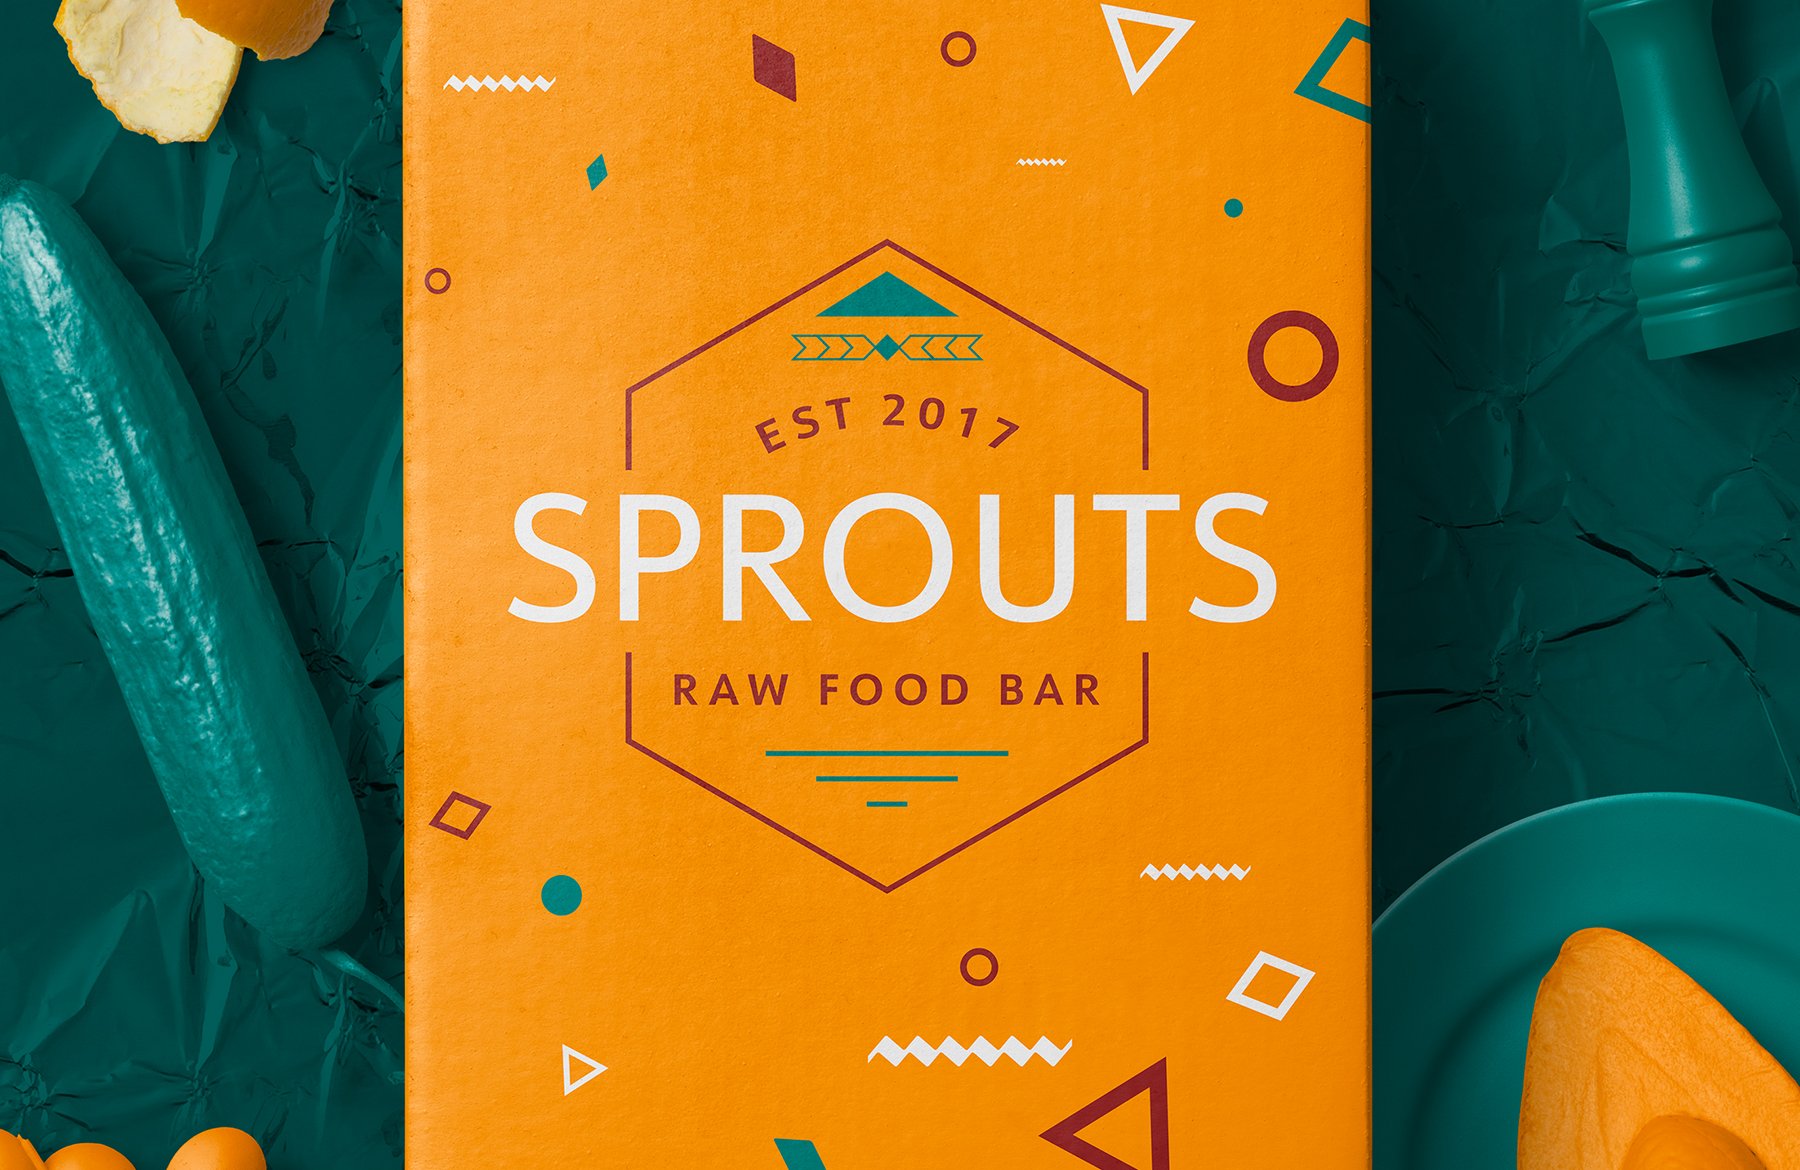
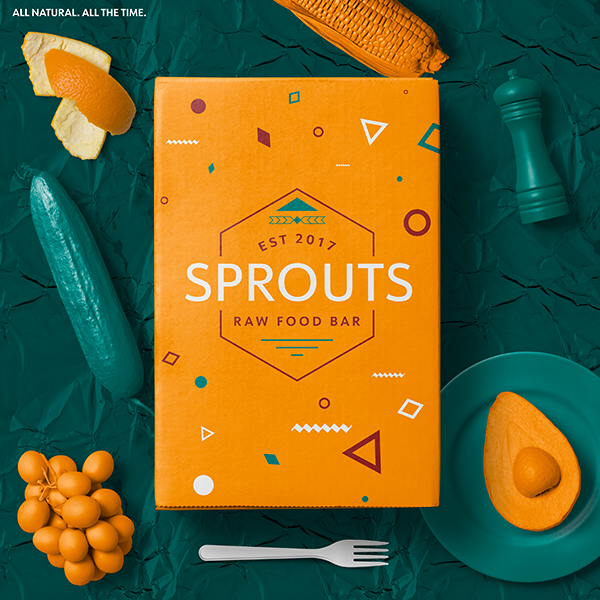
Here’s a look at what we’ll be creating:
Follow along with this tutorial: Download the freebie files
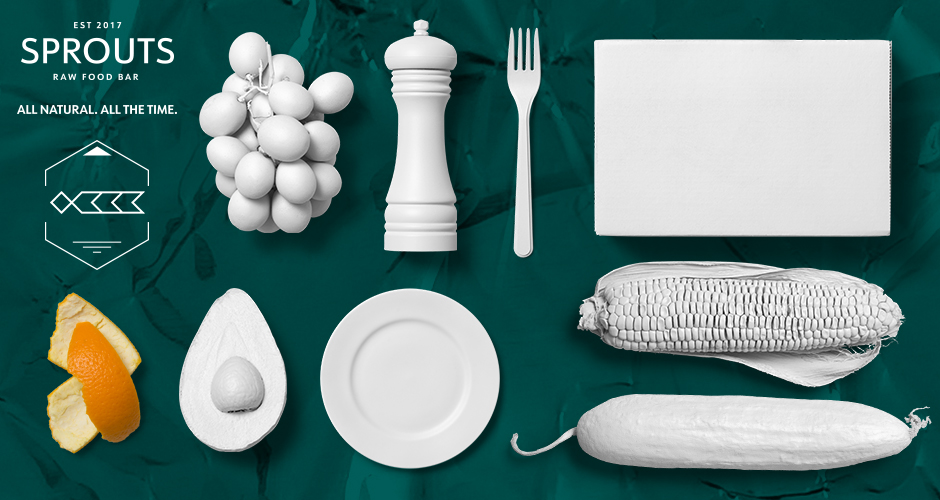
This freebie pack includes some amazing design resources from Mockup Zone, URW++, and Zeppelin Graphics!
The freebie pack is just a tiny taste of the resources available in The Modern Designer’s Professional Toolkit for just $29 (that’s 99% off). This bundle contains incredible, innovative mockups, a HUGE font family, infographics, stock photos, illustrations, logo kits, flyer templates, and more.
Step 1: Sprouts Raw Food Bar
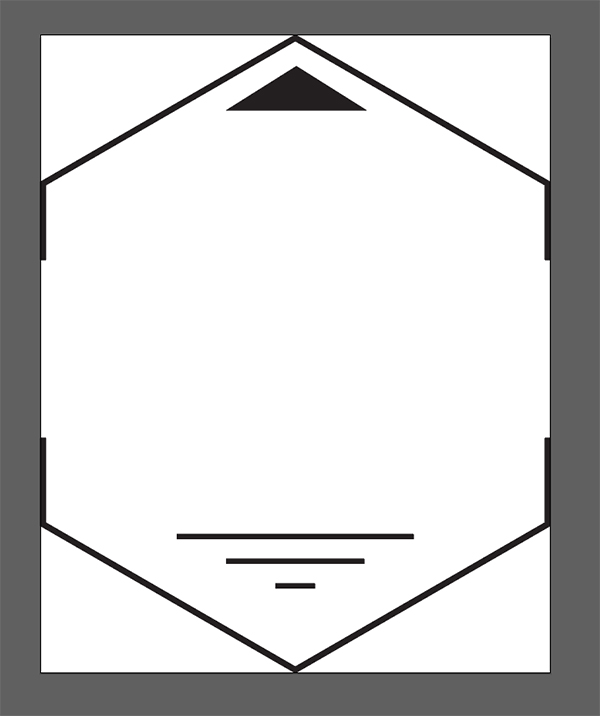
To start things off we will begin by opening the ‘Logo_Shape_CC.eps’ file from the freebies folder in Adobe Illustrator. If you are using an older version of Illustrator go ahead and open that version instead.
Next, open the ‘Logo_Text_CC.eps’ file in Illustrator, press Command/Ctrl+A to ‘Select All’ and then press Command/Ctrl+C to copy it.
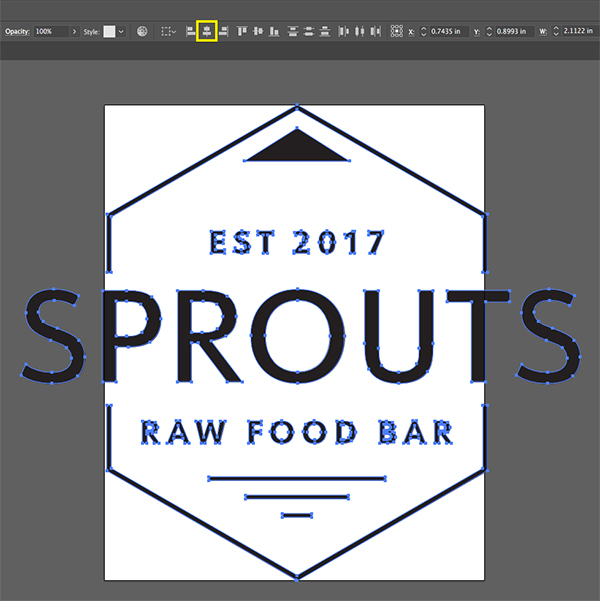
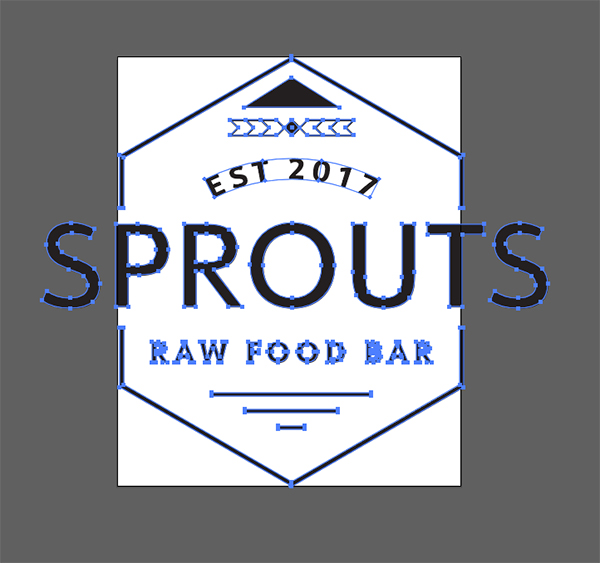
Return to the logo shape file and press Command/Ctrl+V to paste your logo text into the document. Press ‘V’ on the keyboard to grab your Move Tool and position the logo roughly in the center of the shape. Try to position the text so there is an even amount of space above and below the word ‘Sprouts’ and then click and drag your cursor around the entire shape and text all together. Alternatively you could also press Command/Ctrl+A to ‘Select All’ once again. After doing that, select the ‘Horizontal Align Center’ icon from the top toolbar as indicated by the yellow box in the image below and then you may have to tap the text slightly over towards the left or right just to center everything visually if it looks like the text is sticking out more on one side than the other. Your logo should now look something like this:
Step 2: Text Warp
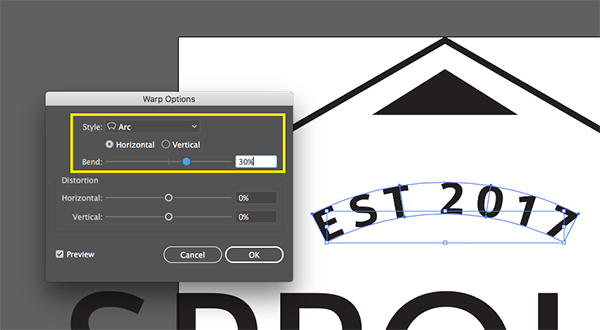
Grab your Move Tool once again and click and drag around the ‘EST 2017’ text in the logo. From there, go to the Object Menu and choose ‘Envelope Distort > Make with Warp…’ as shown below:

When the ‘Warp Options’ box appears, select ‘Style’ and choose the ‘Arc’ option from the top of the dropdown menu. For the ‘Bend’ make sure that it is set to ‘Horizontal’ with a value of about ’30%’ as shown here:
Step 3: Geometric Shapes
Open the ‘Elements_editable_paths_CC.eps’ file from the freebies folder for this tutorial. Again, if you have a previous version of Illustrator (CS4-CS6) then use that file instead.
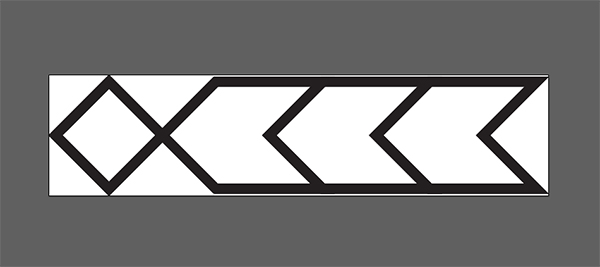
Select the shape and copy it by pressing Command/Ctrl+C and then return to your main logo file and paste it by pressing Command/Ctrl+V on the keyboard. Hold the Shift Key and drag inwards from any of the four corners of the bounding box to scale the shape down and position it just below and to the right of the black triangle shape in the logo container as shown here:

After positioning the shape, select it, copy it, and then press Command/Ctrl+F to paste a copy directly on top of the original. From here, go to the Object Menu and choose ‘Transform > Reflect’ as shown here:
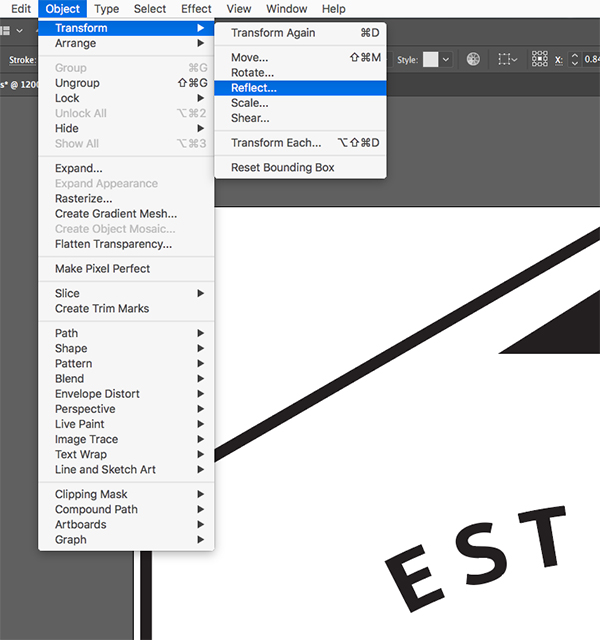
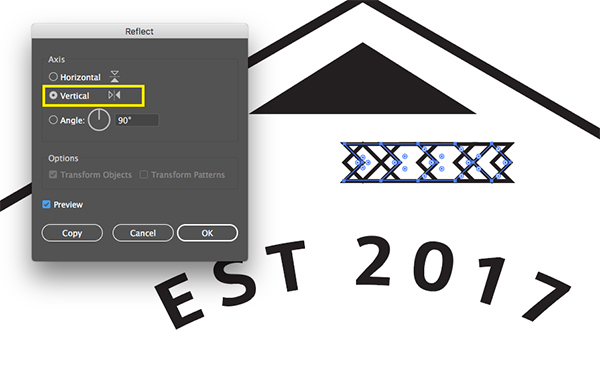
Once the ‘Reflect’ dialog box appears, make sure to select ‘Vertical’ and then press ‘OK’ to apply the changes.
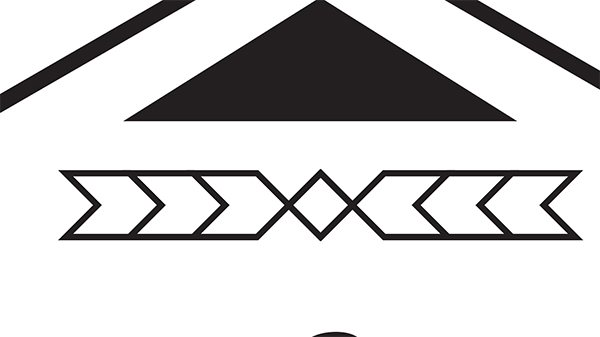
Tap the new, reflected copy over towards the left and hold the Shift Key while dragging the shape to position it so that the two diamond shapes overlap. The result should now look like this:
Step 4: Finishing the Logo
Press the letter ‘M’ on the keyboard to get your Rectangle Tool and then drag out a square by holding the Shift Key while dragging the cursor. Make sure you have a solid black fill color and no stroke on the shape so that it looks like this:
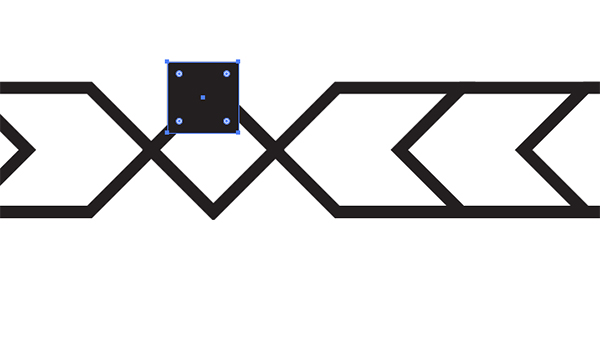
Click on the black square shape with your Move Tool (V) and then hold the Shift Key and rotate the square 90º to turn it into a diamond shape. After that, position the shape and resize if necessary so that it fills in the diamond shape between our two geometric arrow shapes creating this:
At this point the logo is complete so we will go ahead and save this file as either an Ai or an EPS file – mine is just called ‘Sprouts_Logo.eps’ but feel free to use any name you would like.
Step 5: Jumping Into Photoshop
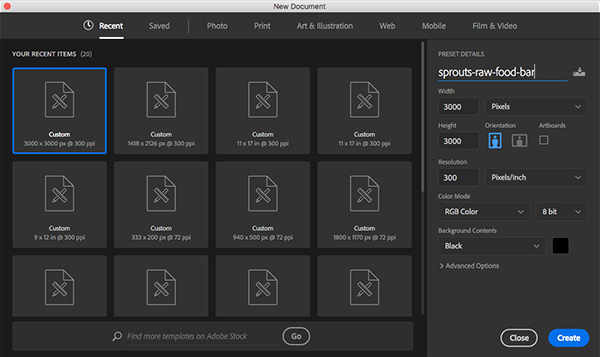
We will now fire up Photoshop and create a New Document that is 3000×3000 pixels in size with a resolution of 300 pixels per inch and we can leave the ‘Color Mode’ set to ‘RGB’ and the ‘Background Contents’ set to ‘Black’ before giving our file the name ‘sprouts-raw-food-bar’. After setting up the file go ahead and click ‘Create’ to make the document.
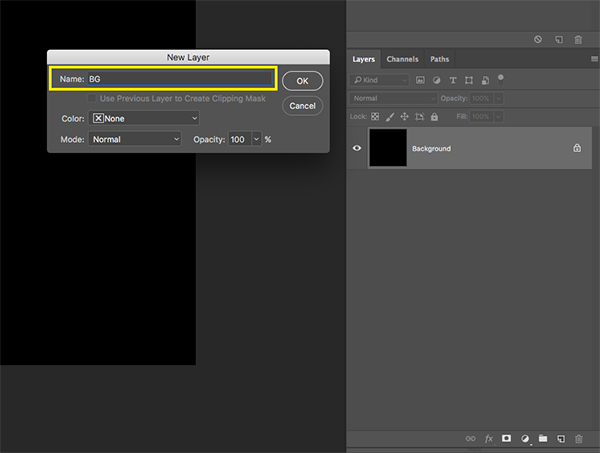
Once our document is set up, double click on the locked ‘Background’ layer and you will be prompted with a ‘New Layer’ dialog box asking you to enter a name for the layer. Here we will enter a name of ‘BG’ before pressing ‘OK’ to apply the changes.
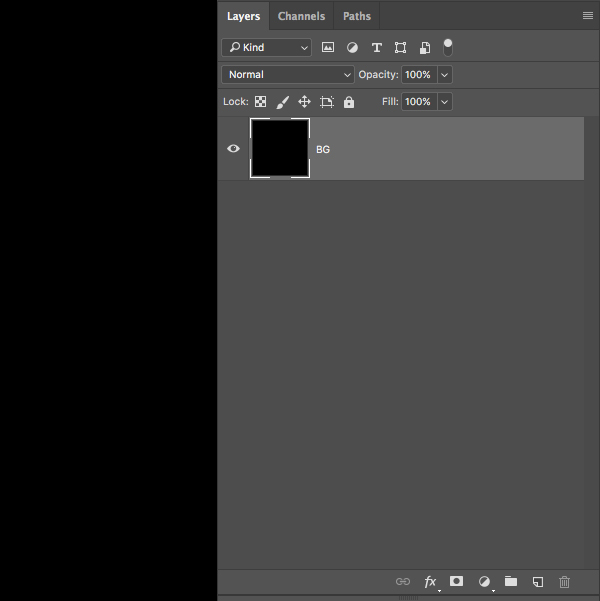
Our document will now have one unlocked layer filled with solid black and the name ‘BG’ as shown below:
Step 6: Stylin’ and Profilin’
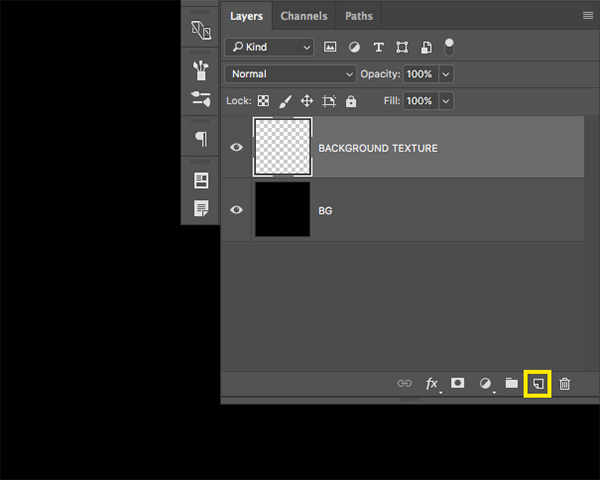
Click on the ‘Create a new layer’ icon found at the bottom of the Layers Palette and rename the layer ‘Background Texture’ as shown here:
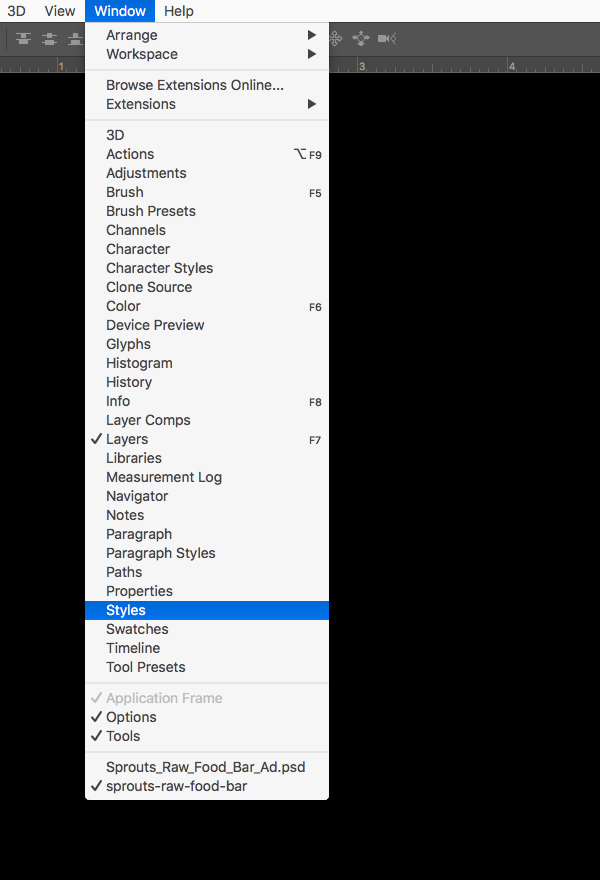
Go to the Window Menu and choose ‘Styles’ from the dropdown menu.
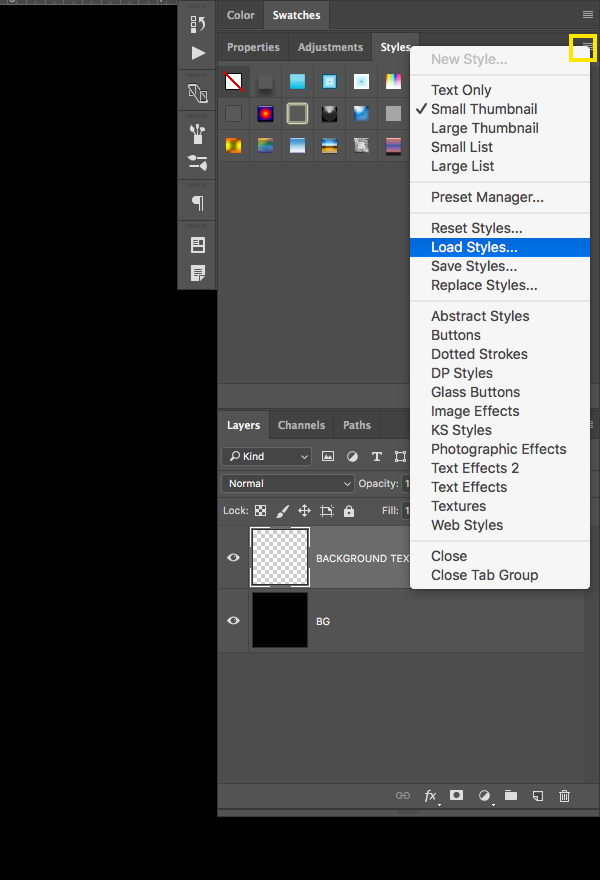
You should now see the ‘Styles’ panel on the right, above your Layers Palette. Click on the hamburger menu that looks like three stacked lines in the upper right corner of the panel and then choose ‘Load Styles…’ from the list as shown below:
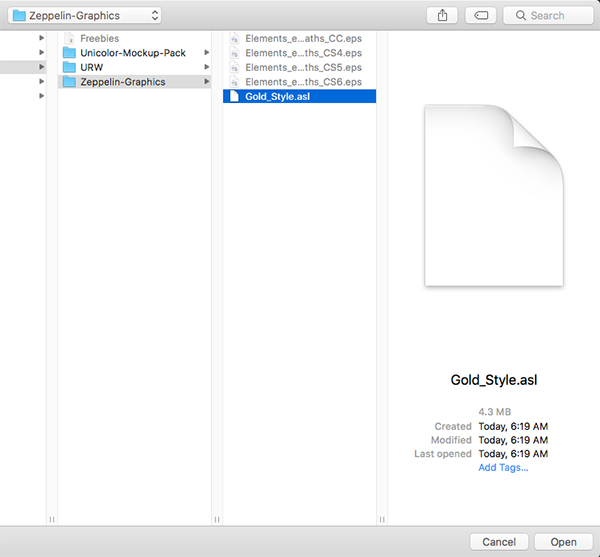
Next, navigate to the ‘Gold_Style.asl’ file in the freebies folder for the tutorial to load the style.
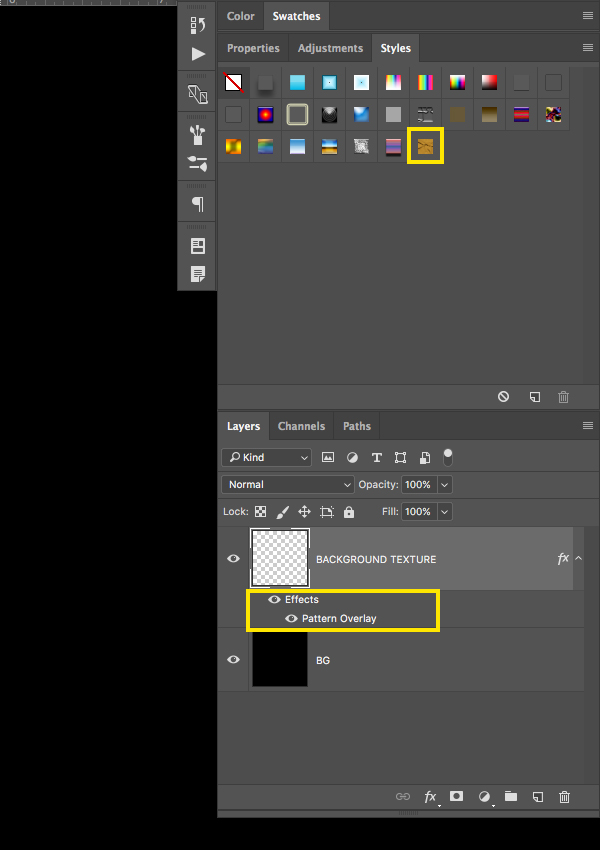
You should now see that the style has been added in the panel, so with our ‘Background Texture’ layer selected, click on the gold style icon in the Style panel. Once you do that you should see a few ‘Effects’ have been added to the layer.
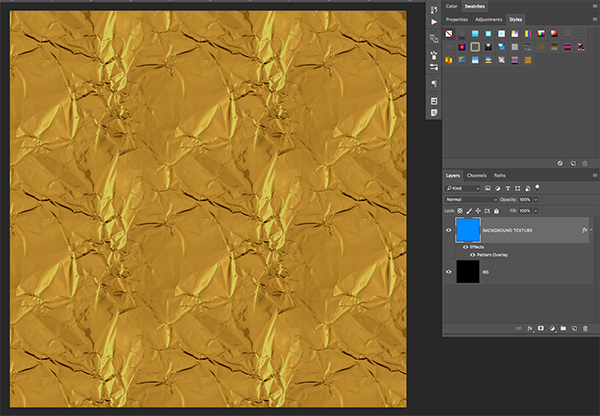
You may not see any changes yet because our layer is currently empty, so to fix this simply press Alt/Option+Delete on the keyboard to fill your layer with a color (it can be any color as long as there is something to fill the layer). After you have done that you should now see the style in your workspace.
Step 7: Blue Foil
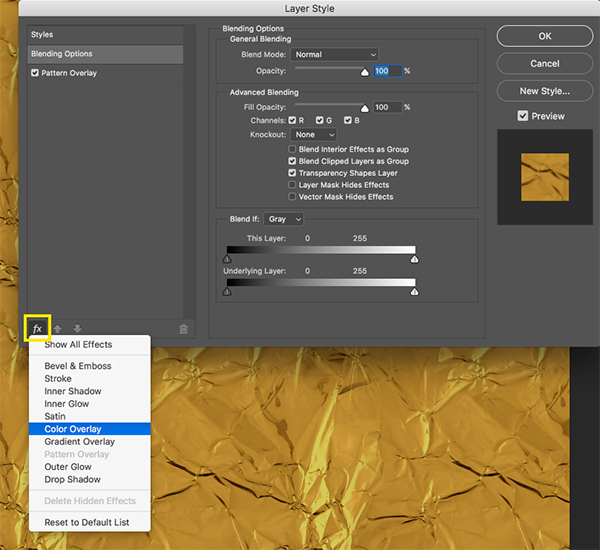
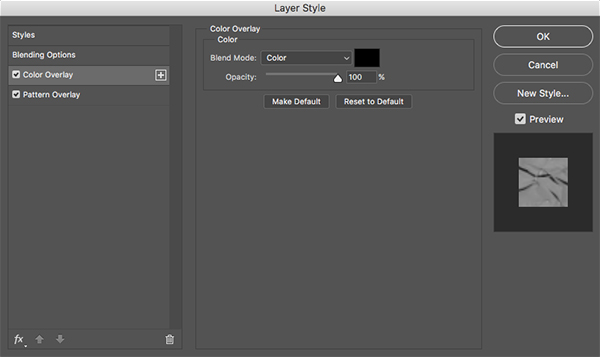
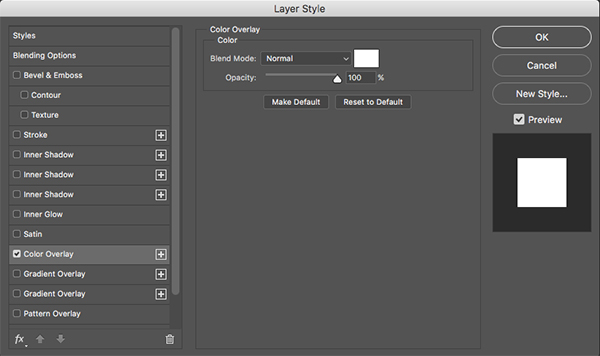
Double click on the ‘Background Texture’ layer to bring up the Layer Style dialog box and then click on the small ‘FX’ icon in the bottom left corner of the panel. From the list that appears, choose the option that says ‘Color Overlay’ to add the effect.
For the fill color we want to use solid black (#000000) and then press ‘OK’ to apply the color and close out of the panel. Next, change the Blend Mode of the effect to ‘Color’ as shown below:
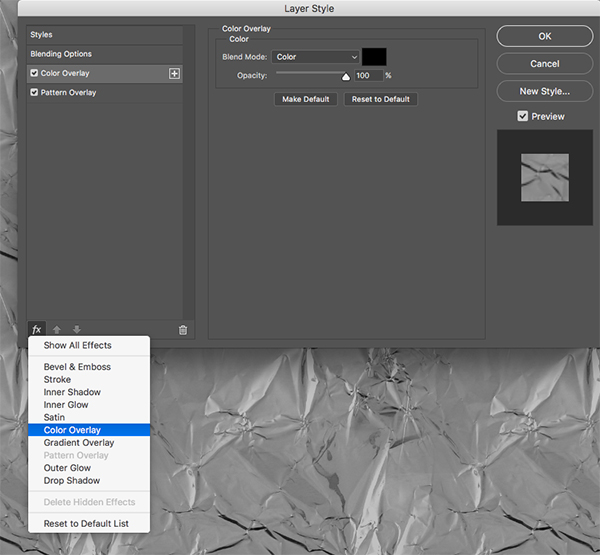
Return to the ‘FX’ icon in the bottom left corner and apply a second ‘Color Overlay’ effect to the panel.
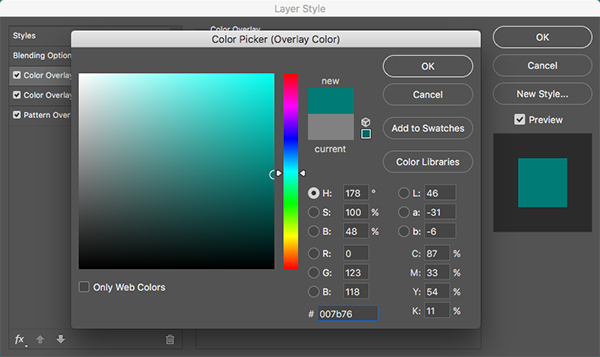
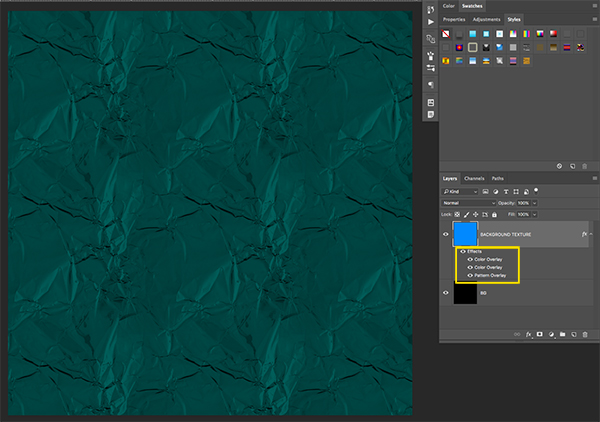
This time for the fill color we will use a hex value of ‘#007B76’ as shown here:
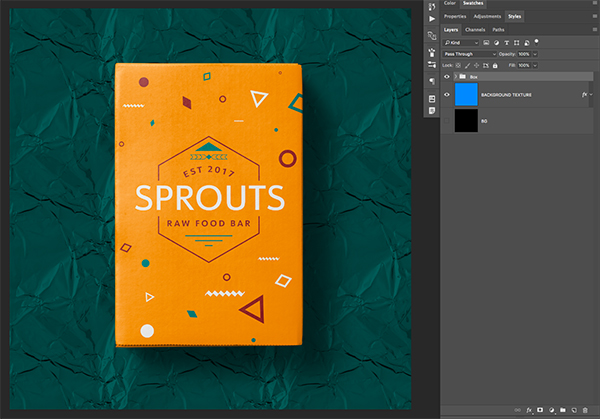
Press ‘OK’ to apply the color change and then switch the Blend Mode of this effect to ‘Multiply’ as shown in the image below:
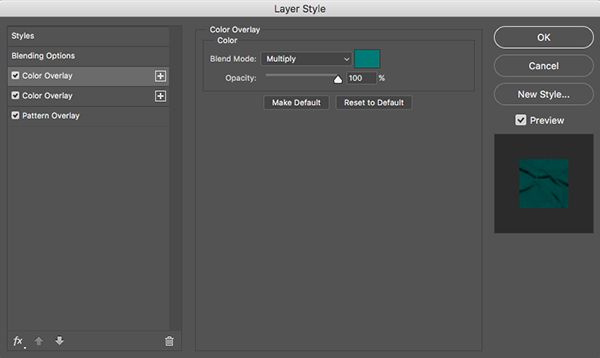
Press ‘OK’ once again to close out of the Layer Style dialog box and you will now see the two instances of the ‘Color Overlay’ have been added to the layer in the Layers Palette. Your ‘Background Texture’ layer should now look like this:
Step 8: Flipping the Box
Open up the ‘Box.psd’ file from the freebies folder for the tutorial.
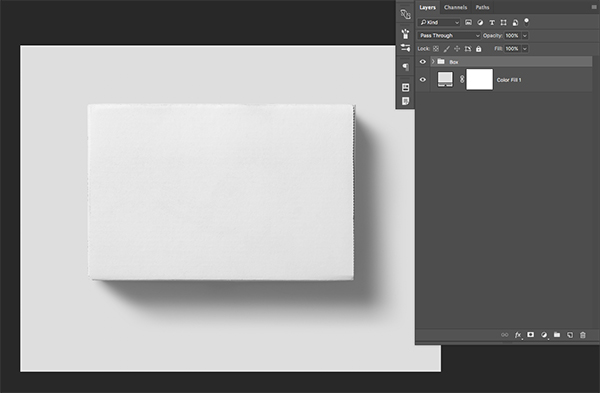
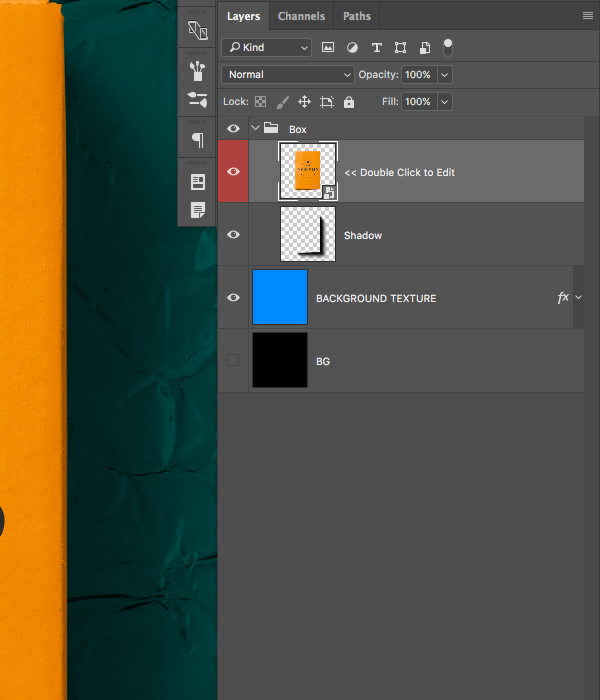
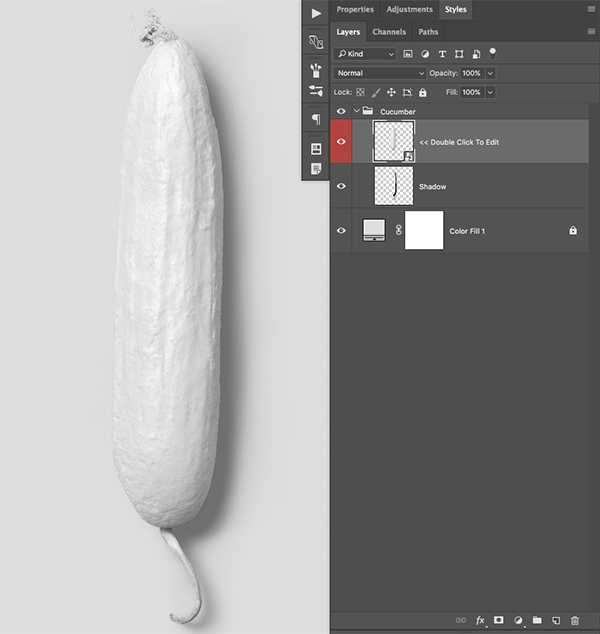
Next, click the small arrow next to the ‘Box’ folder in the PSD to expand the contents and double click on the red layer that says ‘Double Click to Edit’ as shown below:

Once you are inside of the new window you should just see the box by itself on a transparent background like this:
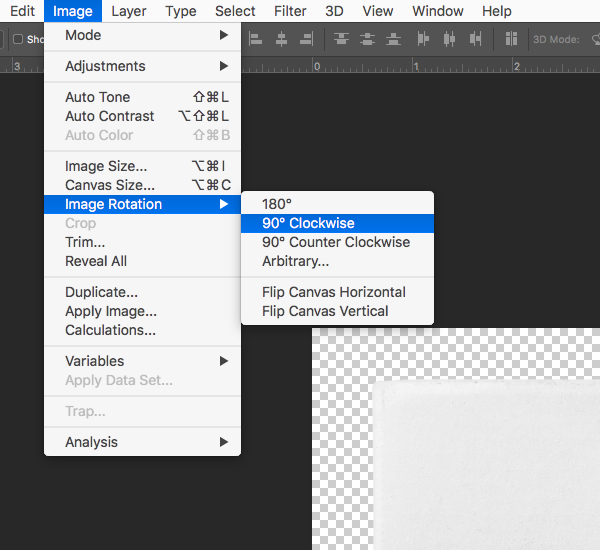
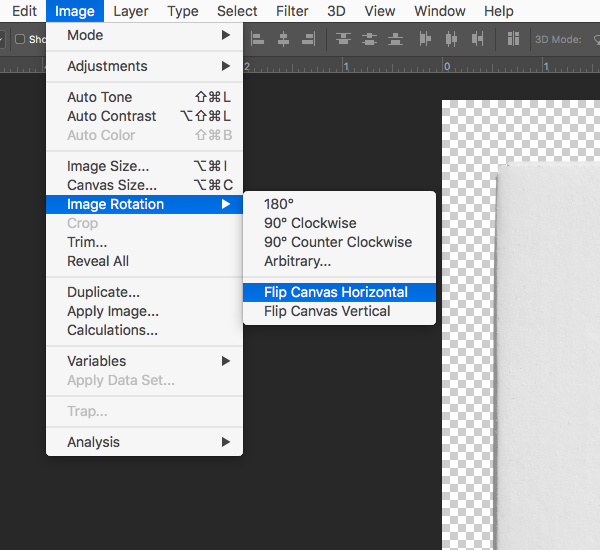
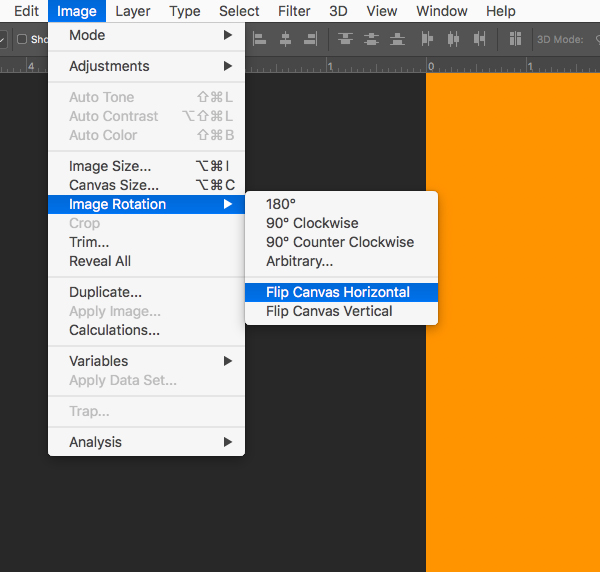
Next, go to the Image Menu and choose ‘Image Rotation > 90º’ like this:
After rotating the image, return to the Image Menu and this time choose ‘Image Rotation > Flip Horizontal’ as shown below:
Step 9: Box in a Box
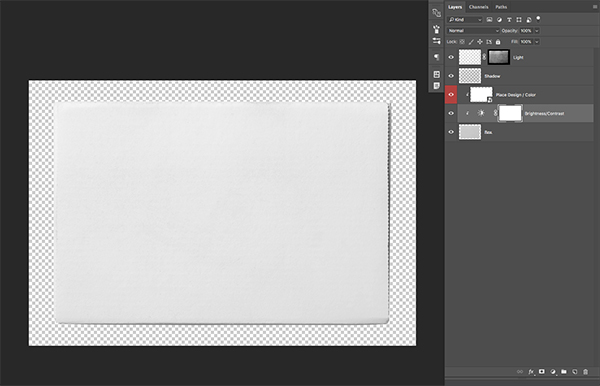
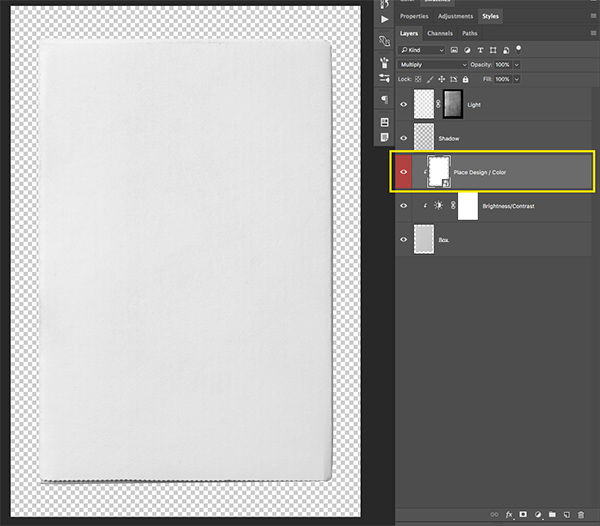
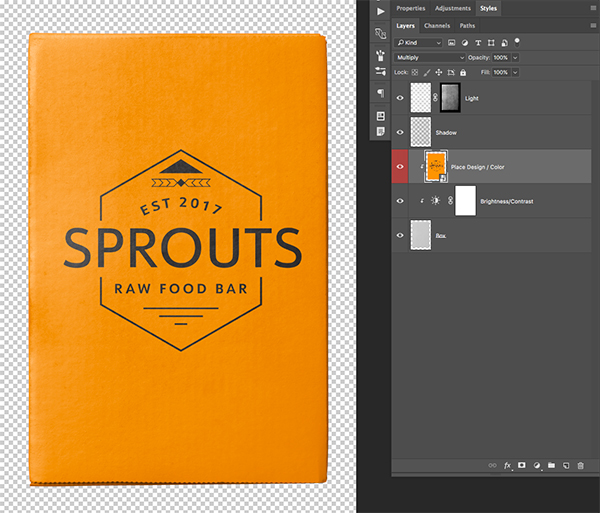
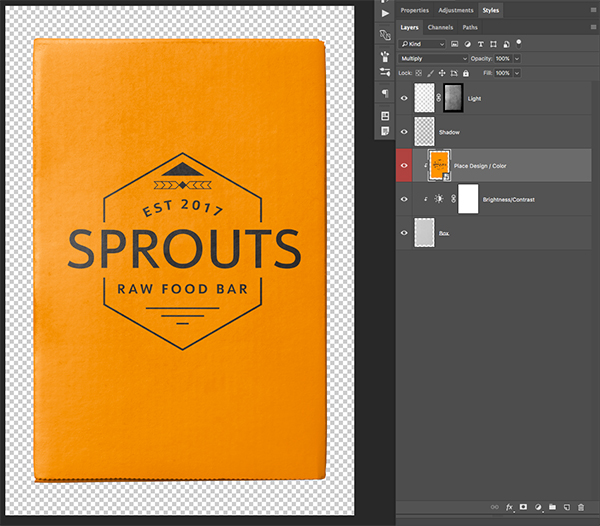
Now that we have flipped the box upright, double click on the highlighted layer here that says ‘Place Design / Color’ as shown below:
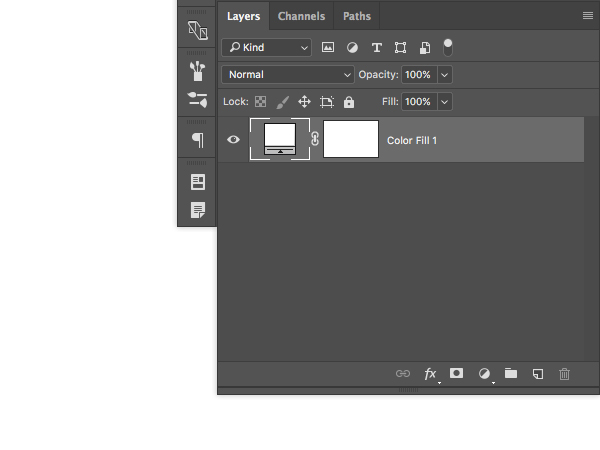
Double clicking will bring you inside of yet another nested layer, this time it will only contain a ‘Color Fill 1’ layer as shown here:
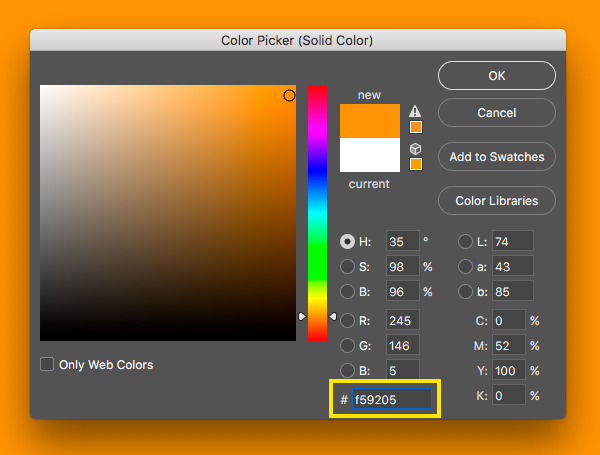
Double click on the color swatch and enter a new fill color using the hex value ‘#F59205’ as shown here:
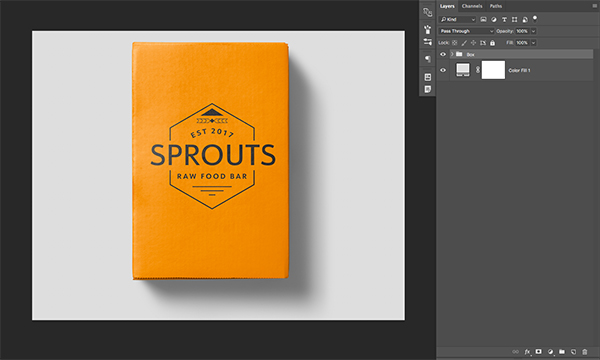
Next, go to the Image Menu and choose ‘Image Rotation > 90º’ as shown here:
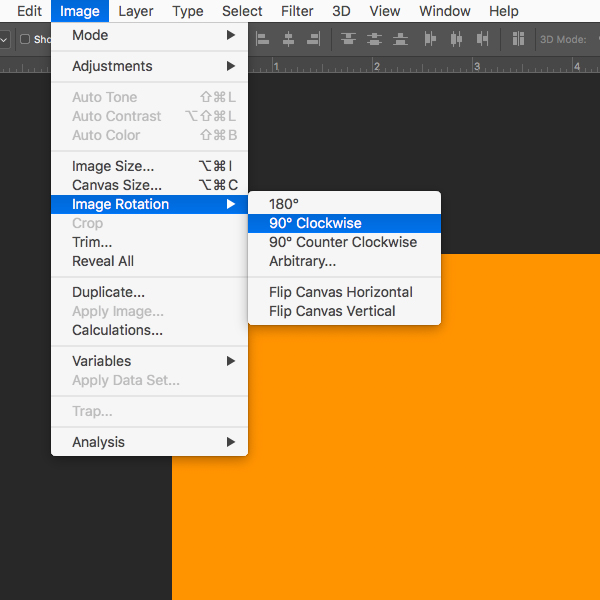
After rotating the image, return to the Image Menu and this time choose ‘Image Rotation > Flip Horizontal’ as shown below:
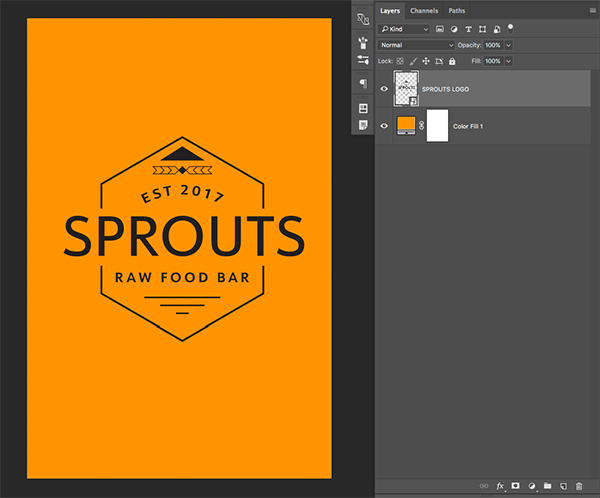
Step 10: Placing the Logo
Return to Adobe Illustrator and open your logo file.
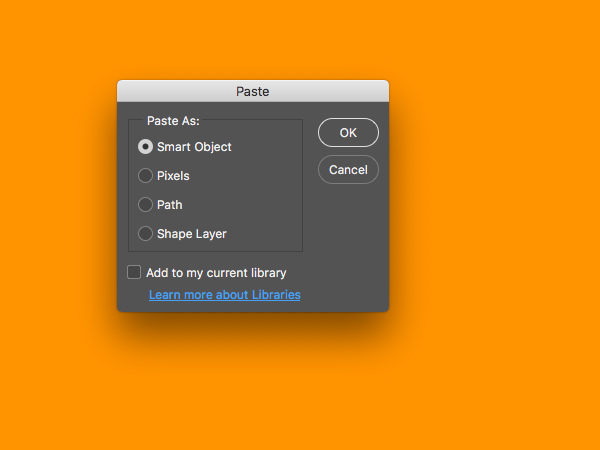
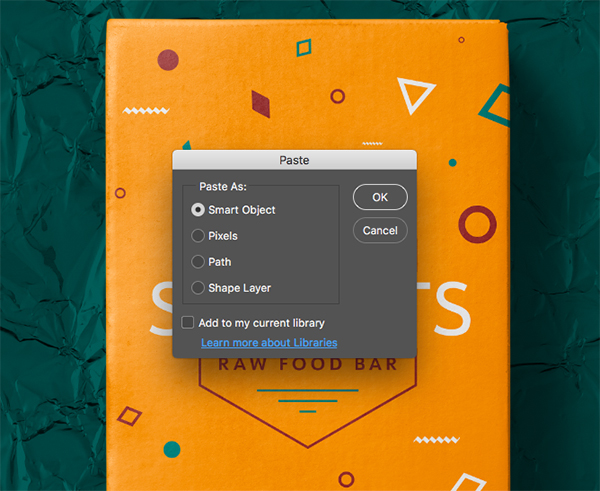
Select the logo or press Command/Ctrl+A to Select All and then copy it by pressing Command/Ctrl+C. Return to Photoshop and press Command/Ctrl+V and paste the layer as a Smart Object as shown in the image below:
Hold the Alt/Option+Shift keys and drag outwards to scale the logo up from the center and place it roughly in the center of the canvas. Once you are happy with the size and placement of your logo press Command/Ctrl+S to save the file, and then Command/Ctrl+W to close out of the tab.
Step 11: Right Side Up
After saving the previous changes and closing the tab you should now see the previous document with your design and color applied, BUT it looks like our design has been flipped a few too many times.
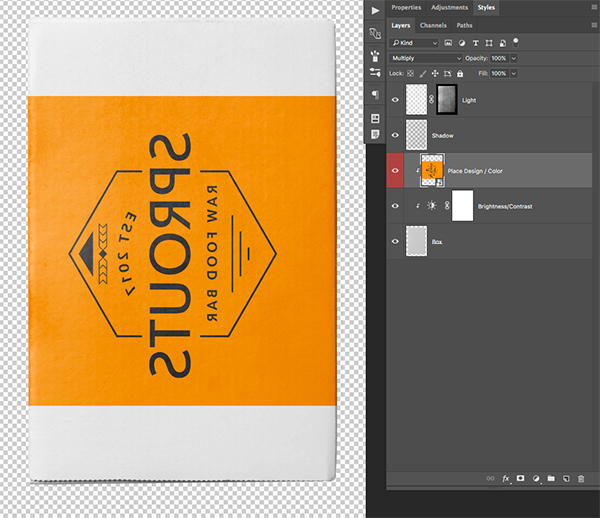
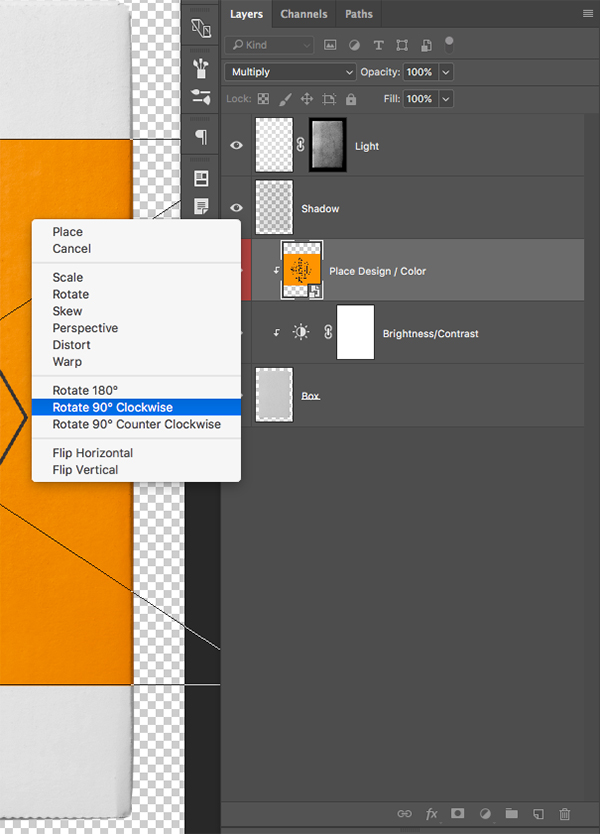
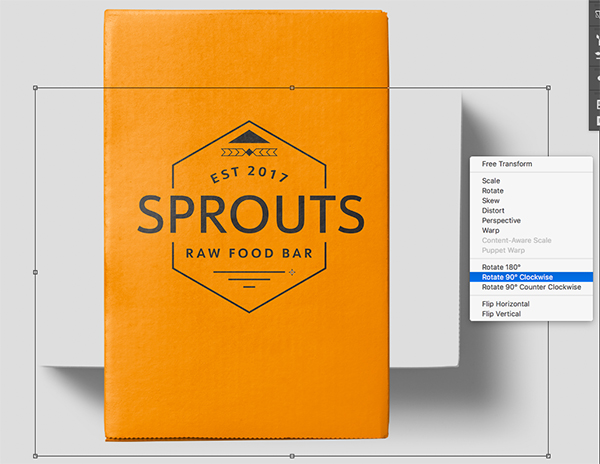
Select the ‘Place Design / Color’ Smart Object layer and press Command/Ctrl+T to initiate a Free Transform. Hold the Control Key and click on the bounding box to reveal a dropdown menu. From the menu we want to choose ‘Rotate 90º Clockwise’ as shown here:
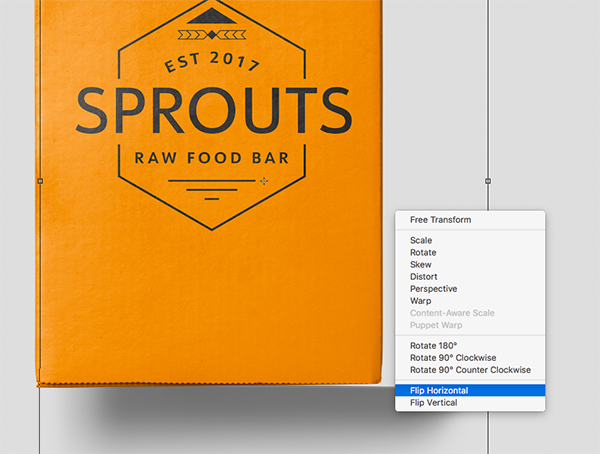
Hold Control and click on the image once again, and this time choose ‘Flip Horizontal’ to flip the logo and then press ‘Enter’ on the keyboard to apply the changes.
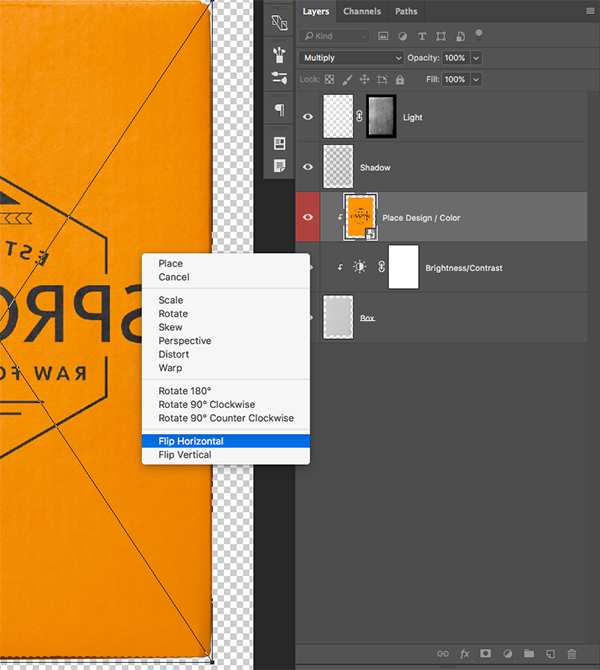
Now that we have rotated and flipped the Smart Object the logo should be appearing correctly.
Step 12: Placing the Box
Before moving on, press Command/Ctrl+S to save this part of the document and then Command/Ctrl+W to close out of the tab. You should now be back in your main ‘Box.psd’ document. Even though our logo and box are both appearing right side up and reading correctly, we now need to make an adjustment to the shadow layer by repeating the same steps as before. Select the shadow and press Command/Ctrl+T and then hold the Control Key and click on the canvas to reveal the dropdown menu. From the list that appears we will want to select the ‘Rotate 90º Clockwise’ option as shown here:
Hold the Control Key and click once again to bring up the same menu, this time choosing the ‘Flip Horizontal’ option and then press the ‘Enter’ key to apply the transformation. You may need to tap the shadow layer up once or twice using the up arrow on your keyboard to get it placed directly behind the box.
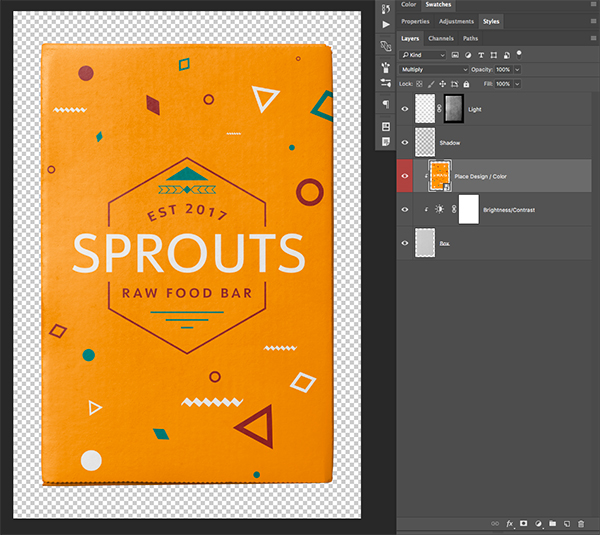
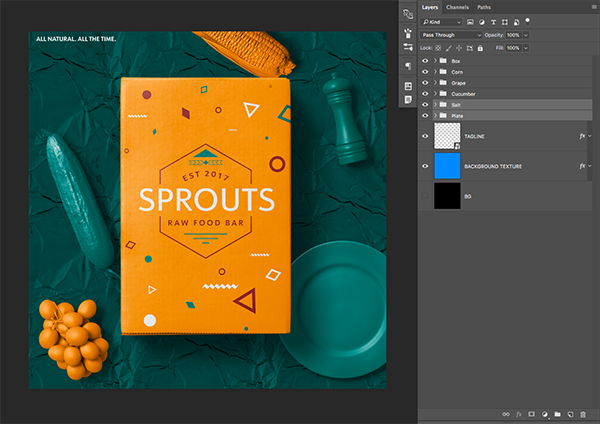
After making these adjustments your box packaging should now look like this:
We will now grab the entire ‘Box’ folder and drag it into our main Photoshop document. Drag and drop the folder while holding the Shift Key to drop it into the center of the canvas. Press Command/Ctrl+T to initiate a Free Transform and then drag outwards from any of the four corners of the bounding box while holding the Alt/Option+Shift keys to scale the package up from the center outwards. Use the image below as reference for the size and placement of your box:

Step 13: Back in the Box
Now that we have the size and placement of our box set and we know that our logo is placed properly, we will now go back inside of the nested file to make some changes. Double click on the ‘Double Click to Edit’ layer once again as shown here:
Now we will double click on the ‘Place Design / Color’ layer to go inside of that Smart Object.
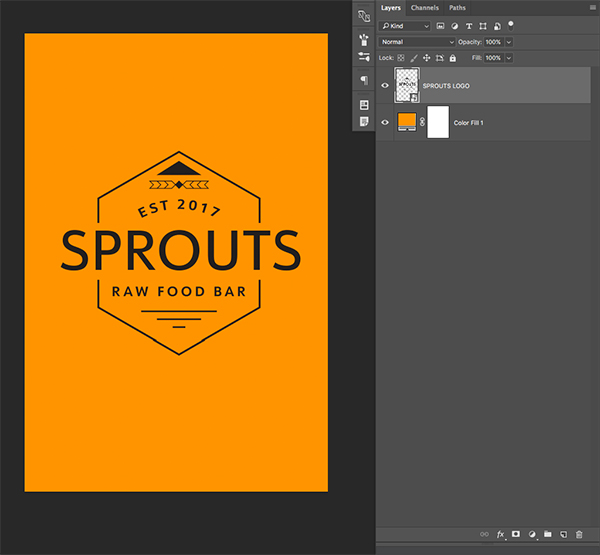
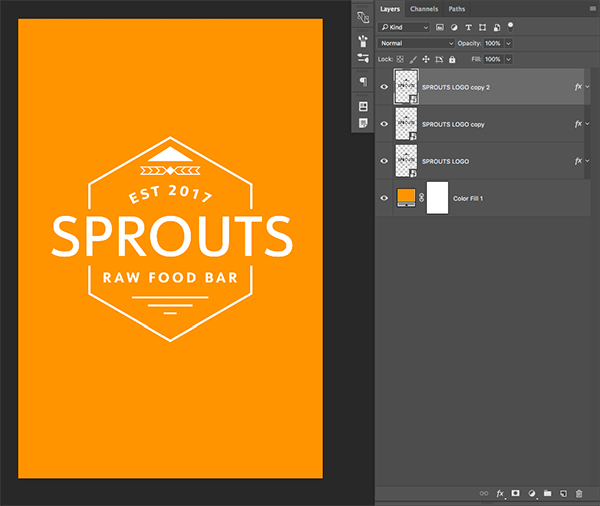
At this point we should be inside of the nested layer showing us a document that contains only the black ’Sprouts’ logo and the ‘Color Fill 1’ layer.
Step 14: Logo Changes
Double click on the ‘Sprouts’ logo layer to bring up the Layer Style Dialog Box and check off the ‘Color Overlay’ option and apply a solid white fill.
Press ‘OK’ two times to apply the changes and close out of both windows. You should now see that your logo has been changed to a solid white color. From here, let’s go ahead and make two copies of the logo Smart Object by selecting the layer and then pressing Command/Ctrl+J two times.
Double click on the top copy and apply a ‘Color Overlay’ layer using a solid fill color with the hex value of ‘#237770’ and then press ‘OK’ twice to apply the changes and close out of both dialog boxes.
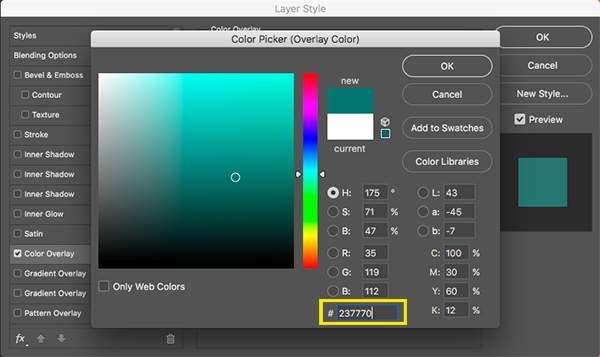
Double click on the middle copy to once again bring up the Layer Style Dialog Box, and this time apply a ‘Color Overlay’ using a hex value of ‘#7D1C1C’ for the fill color. From here, press ‘OK’ twice to once again close out of both dialog boxes and apply the changes.

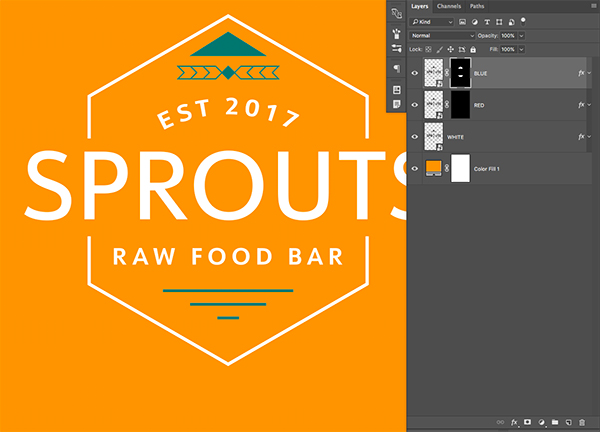
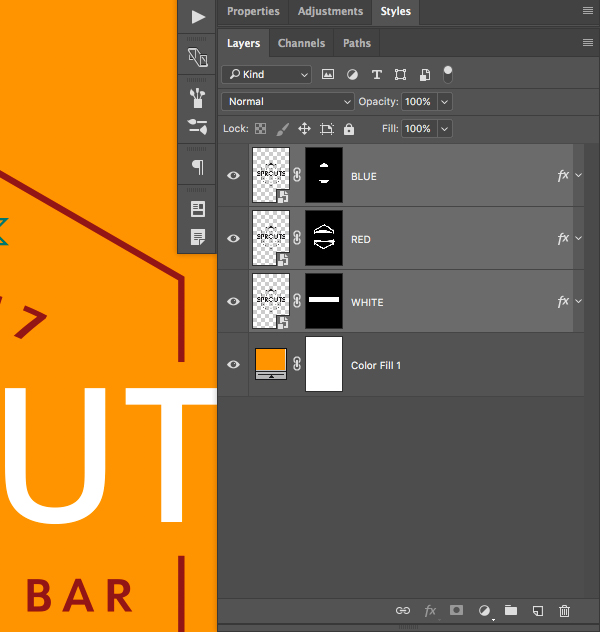
I have relabeled each of the three layers based on the color overlay that has been applied to each one. You should now have a blue copy on top, the red copy in the middle, and your white copy below that.
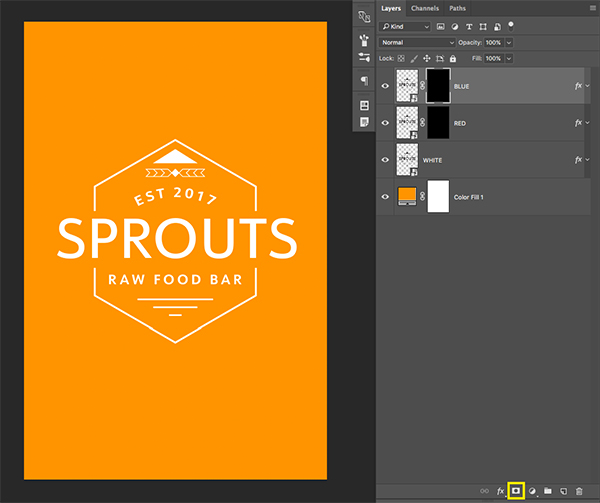
Step 15: Logo Masks
Select the top ‘Blue’ layer and then click on the ‘Add Layer Mask’ icon at the bottom of the Layers Palette while holding the Alt/Option Key. Doing this will apply an inverted mask which automatically hides everything. After that, apply another inverted mask to the ‘Red’ layer below so that you only see the third, white copy of the logo like this:
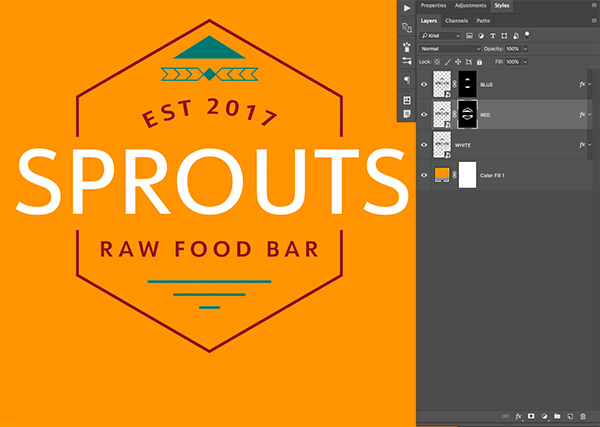
Press ‘B’ on the keyboard to switch to your Brush Tool and then press the letter ‘D’ on the keyboard to switch to your default colors. Press the ‘X’ key to toggle back and forth between the default colors so that the foreground color is solid white. From there, make sure that your top ‘Blue’ layer is the active layer in your Layers Palette and then use the brush to go over the three horizontal lines, the geometric arrow shapes, and the triangle. Doing this should change each of those three shapes to blue, revealing only the parts that we brush over with white.
Select the ‘Red’ layer below and use the same white brush to go over all of the other parts of the logo except for the main ‘Sprouts’ text.
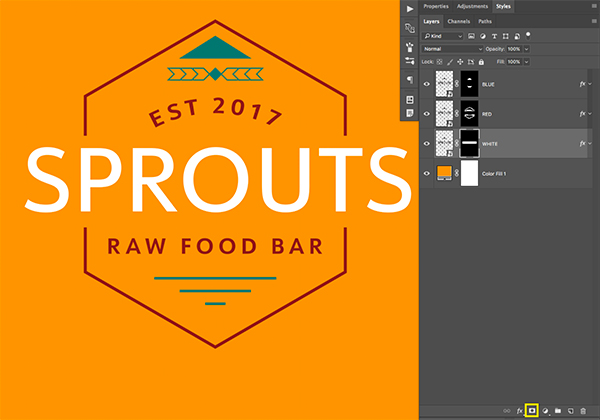
Next, select the ‘White’ copy of the logo in the Layers Palette and then press ‘M’ on the keyboard to get your Rectangular Marquee Tool and click and drag a rectangular selection around the words ‘Sprouts’ as shown here:
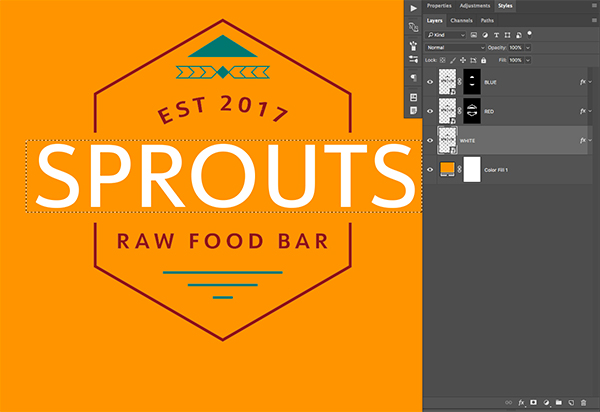
While your selection is still active, click on the ‘Add Layer Mask’ icon at the bottom of the Layers Palette. Doing this will ensure that the only area that we are still seeing white is on the word ‘Sprouts’ as shown below:
Step 16: Logo Folder
Select the top ‘Blue’ layer and then hold the Shift Key and select the ‘White’ logo layer so all three copies of the logo are selected simultaneously in your Layers Palette.
With all three layers selected, click on the ‘Group Folder’ icon at the bottom of the Layers Palette to place all three copies of the logo into a new folder. Double click on the folder name to rename it and call the layer ‘Logo’ as shown here:

Step 17: Shapes on Shapes on Shapes
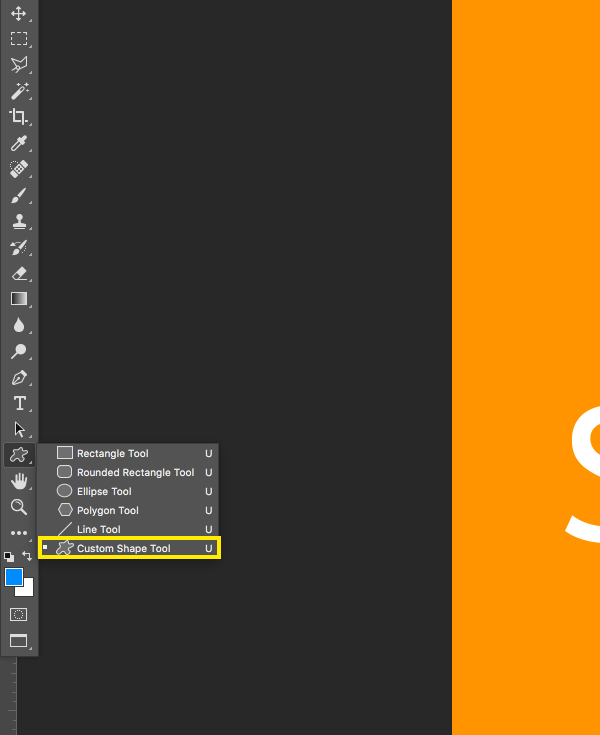
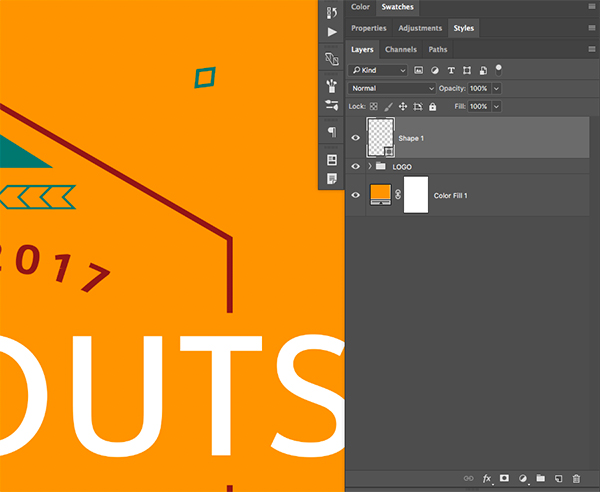
Press ‘U’ on the keyboard to switch to your Shape Tool. You will notice over in your toolbar to the left that the tool has a few more options available so we want to click and hold on this tool in order to reveal a few more options. You should see the panel pop out from the toolbar and we can now select the bottom ‘Custom Shape Tool’ option.
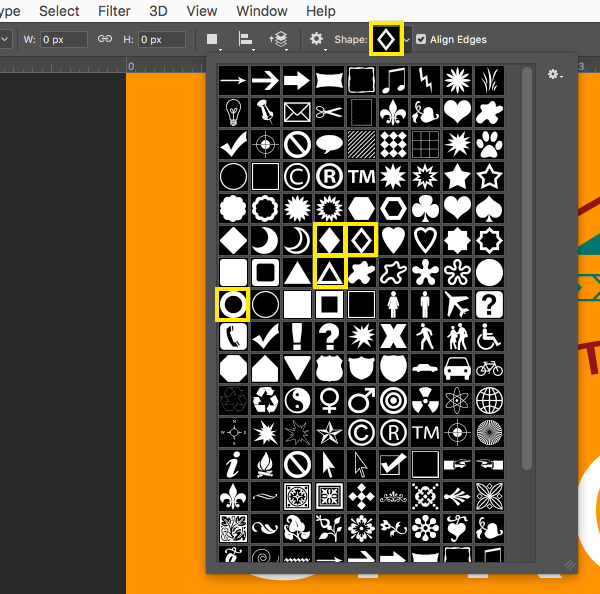
Along the top toolbar in your document you should now see a few options for the tool. One of these options is the active shape, where you can click just to the right to reveal a dropdown menu of available shapes. Here you can choose from the default presets or you can load additional shapes from the library. We are interested in using a few of these highlighted geometric shapes to start, and we can add more after. First, select the diamond outline shape as shown in the toolbar.
Hold the Shift Key and click and drag a small diamond shape onto your canvas area.
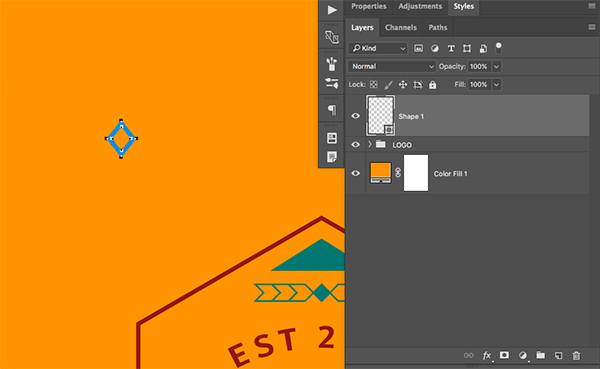
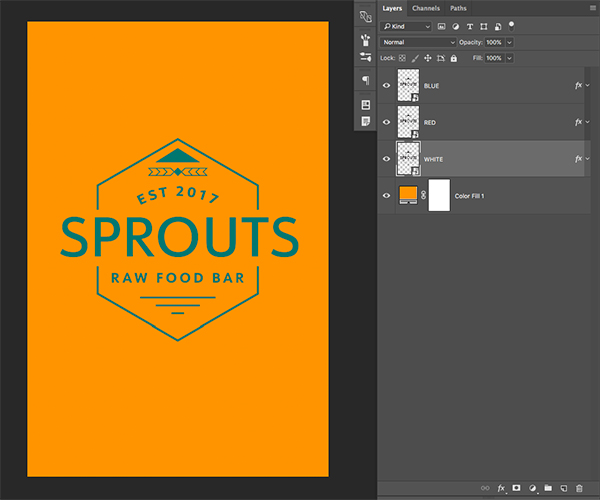
Click on the ‘Fill’ color in the top toolbar. From here you can click on the color spectrum icon (highlighted in yellow in the image below) in order to change the fill color. After clicking on the color spectrum icon you can either use the Eyedropper Tool to sample a color from your canvas area, or you can enter a color value manually. For this first shape let’s use our teal color – #237770 as shown below:

After changing the color, press Command/Ctrl+T to apply a Free Transform and move the shape around, rotate it, or hold the Shift Key to scale it either up and down to place it randomly on the background.
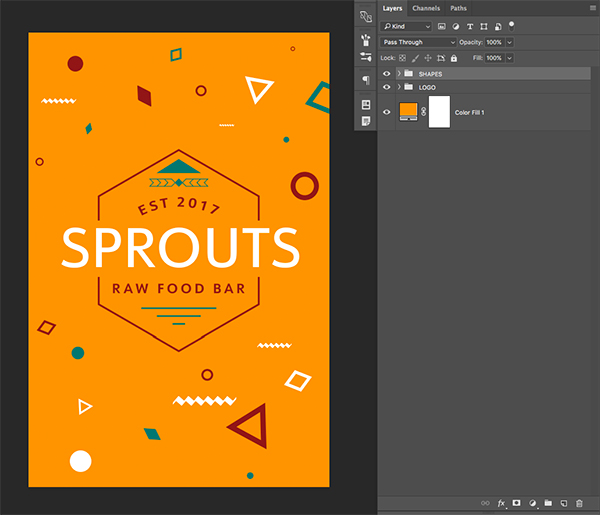
Repeat this process to add a handful of additional custom shapes to the background and use fill colors from the logo and scatter the shapes around randomly. Once you have built up a nice variety of shapes, select the very top shape in your Layers Palette, hold the Shift Key and then select your bottom shape before pressing Command/Ctrl+G to place them all into a folder and rename the folder ‘Shapes’ to keep them all contained and organized. After placing more shapes into my design here is what we have:
Once you are happy with the size, placement, and variety of your shapes, press Command/Ctrl+S to save the document, and then Command/Ctrl+W to close out of the tab. You should now be brought back to this scene:
From here go ahead and save once again before also closing out of this tab. You should now be brought back into your main document where you can view the updated mock in your main Photoshop file.
Step 18: Tagline Time
Open the ‘Tagline_CC.eps’ file from the freebies folder in Illustrator. Press Command/Ctrl+A to Select All and then copy the tagline by pressing Command/Ctrl+C on the keyboard.

Return to Photoshop and press Command/Ctrl+V to paste the tagline as a Smart Object.
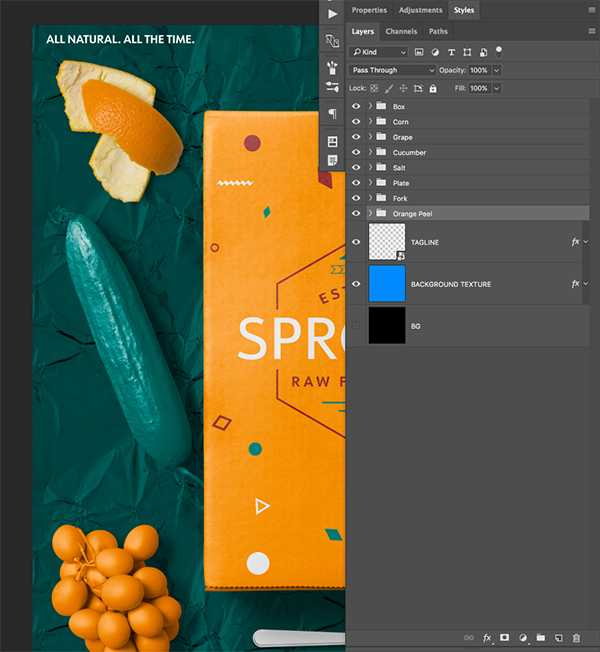
Place the tagline in the upper left corner of the document and double click the Smart Object layer to rename it to ‘Tagline’ as shown below:
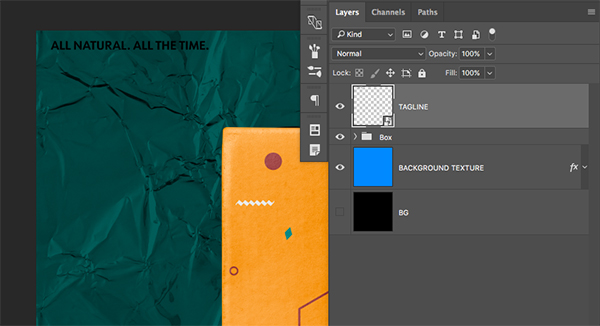
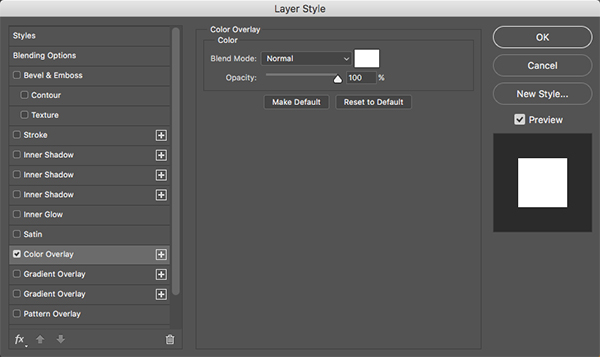
Next, double click on the ‘Tagline’ layer to bring up the Layer Style box and check off the ‘Color Overlay’ option before applying a solid white fill. Once you have done that press ‘OK’ to close out of the dialog boxes and apply the changes.
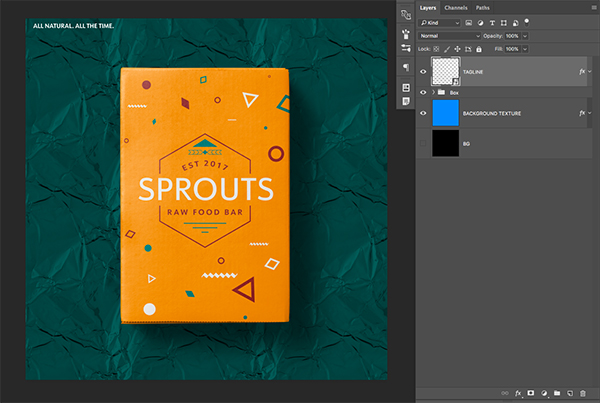
Your image should now look like this:
Step 19: Corn Huskin’
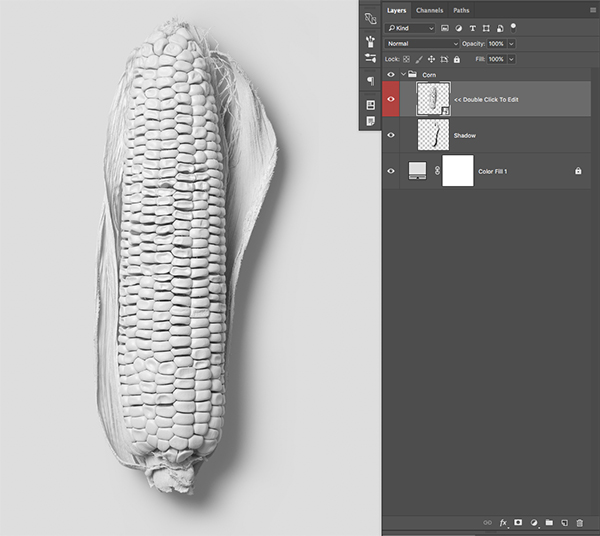
Open the ‘Corn.psd’ from the freebies folder. Like we did with our box mockup, expand the folder and then double click on the red ‘Double Click to Edit’ layer as shown below:
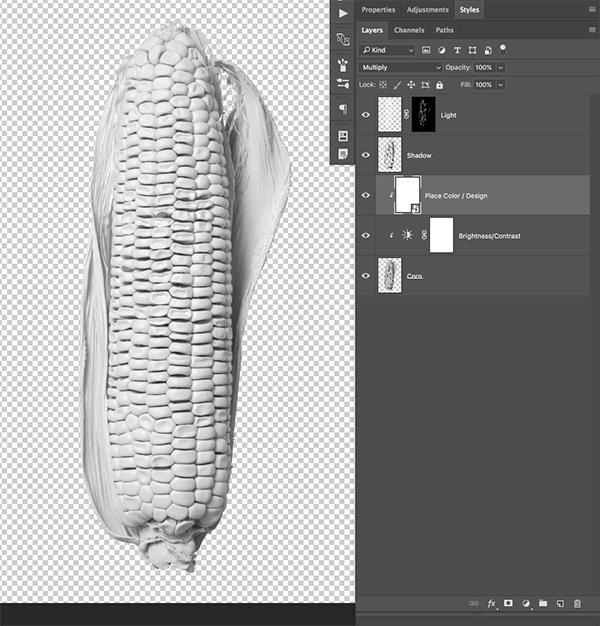
In the next window, double click on the ‘Place Color / Design’ Smart Object.
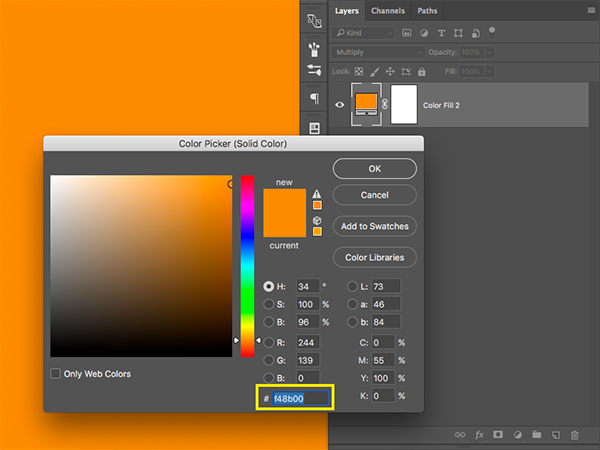
In the next window, click on the ‘Color Fill 1’ layer and change the color to have the hex value ‘#F48B00’ and then press Command/Ctrl+S to save the changes and Command/Ctrl+W to close the window. Repeat this in the next window as well until you are back in the main ‘Corn.psd’ file. You should now see the orange piece of corn.
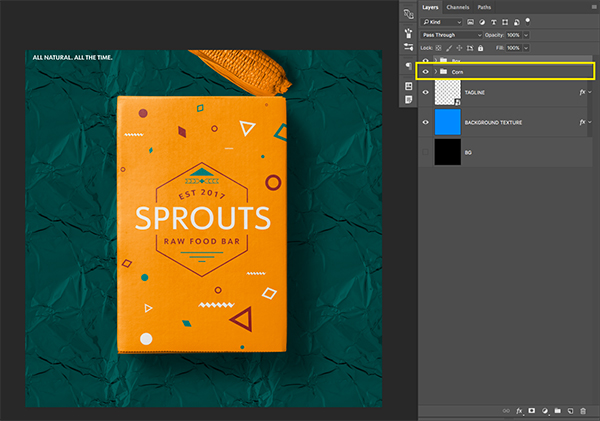
From here, click and drag the whole ‘Corn’ folder into your main document and place it below the ‘Box’ folder so it looks like it is slightly overlapping but behind the box. Just like we did with the geometric shapes we will want to rotate and scatter a few of these colored objects around our main branded package.
We will now open the ‘Grapes.psd’ file and repeat the exact same steps, only this time we will want to place the orange colored grapes in the lower left part of the design as shown below:
Step 20: Teal Cucumbers
Open the ‘Cucumber.psd’ file from the freebies folder in Photoshop. Once again double click on the red Smart Object layer labeled ‘Double Click to Edit’ as seen here:
In the next window, double click on the ‘Place Color / Design’ Smart Object.
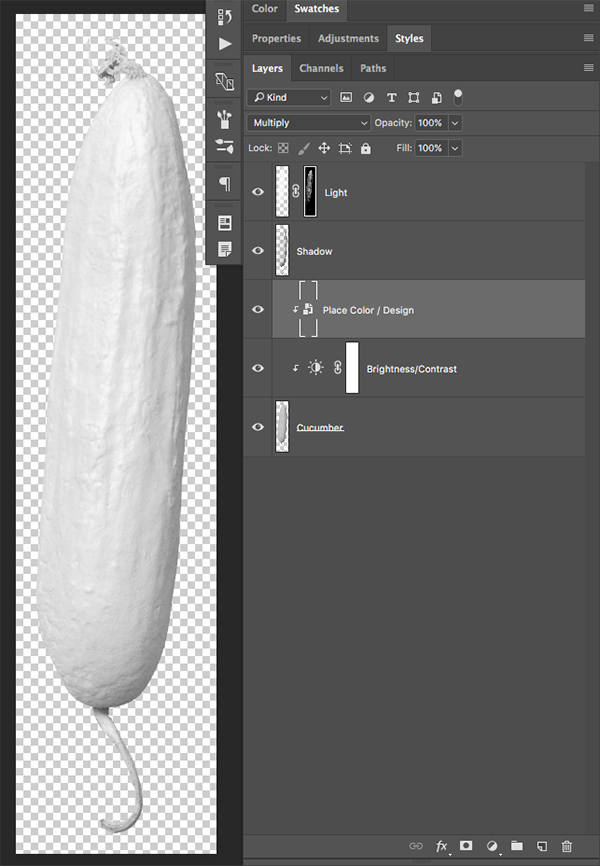
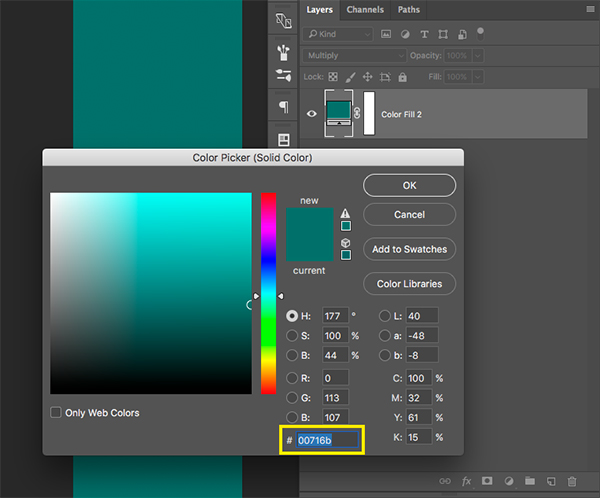
Click on the ‘Color Fill 1’ layer and enter a hex value of ‘#00716B’ and then press ‘OK’ to apply the changes. Save the document and close out two times until you are back in the main ‘Cucumber.psd’ file.
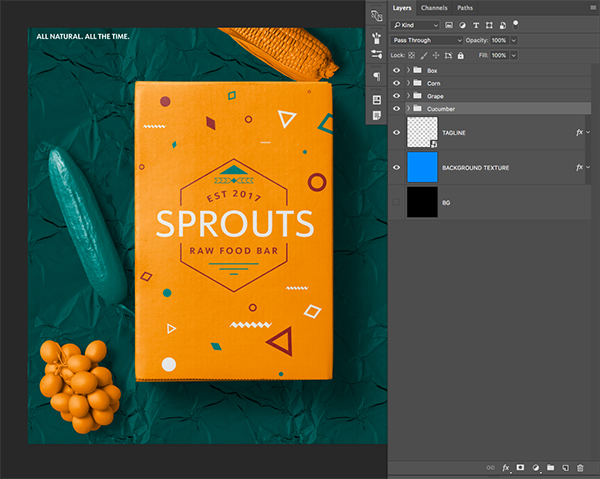
Grab the whole ‘Cucumber’ folder and drag it into your main document. Use the image below for reference for the size and placement of the cucumber. Make sure that the object is also below the ‘Box’ folder in the Layers Palette. Your image should now look something like this:
Repeat this step for both the ‘Plate.psd’ as well as the ‘Pepper.psd’ files applying the same color fill and dragging them both into your main document below the ‘Box’ folder.
Step 21: Fork it Over
Open the ‘Fork.psd’ file from the freebies folder.
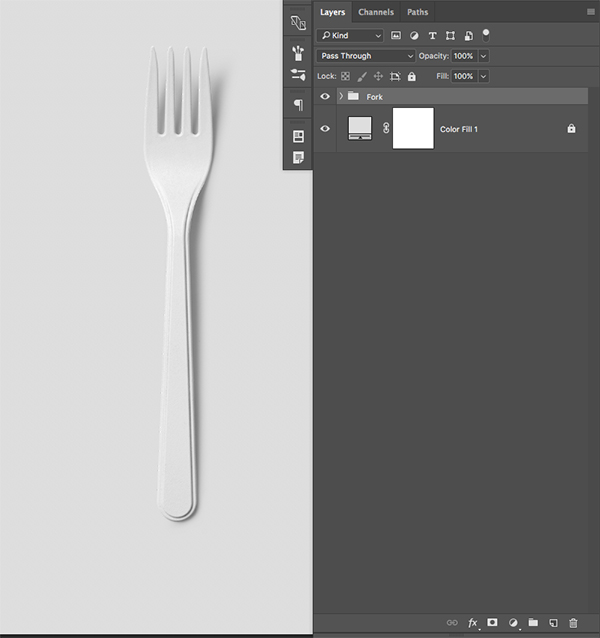
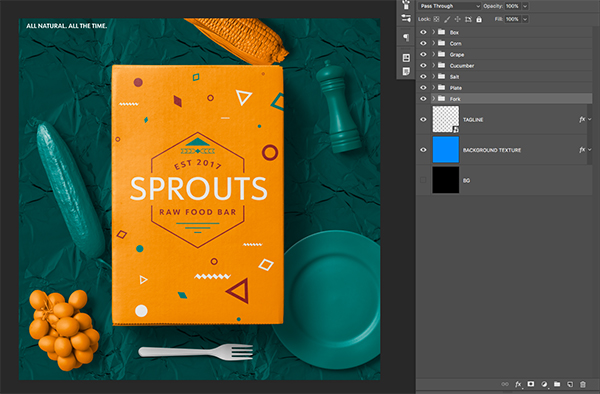
From here we will drag the normal, white version of the fork over into our main document. Place the fork below the branded box and press Command/Ctrl+T to do a Free Transform and then rotate the fork 90º clockwise so it creates a line as shown here:
Step 22: Orange Peeling
Open the ‘Orange_Peel.psd’ file from the freebies folder.
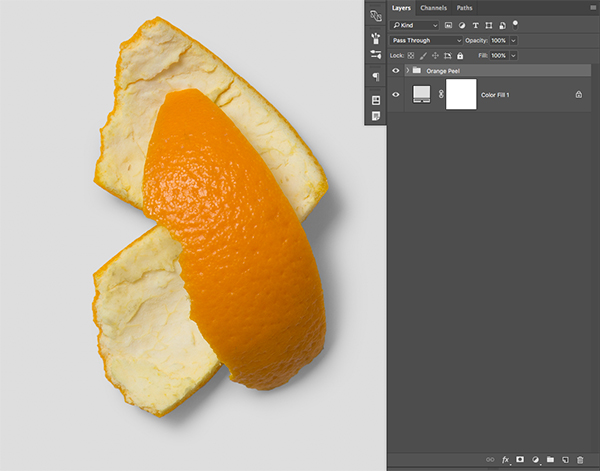
From here we will drag the normal, full color version of the orange peel into our document and place it to the left of the branded box and towards the top as shown below:
Step 23: Avocado’s for All!
Open the ‘Avocode.psd’ file from the freebies folder.
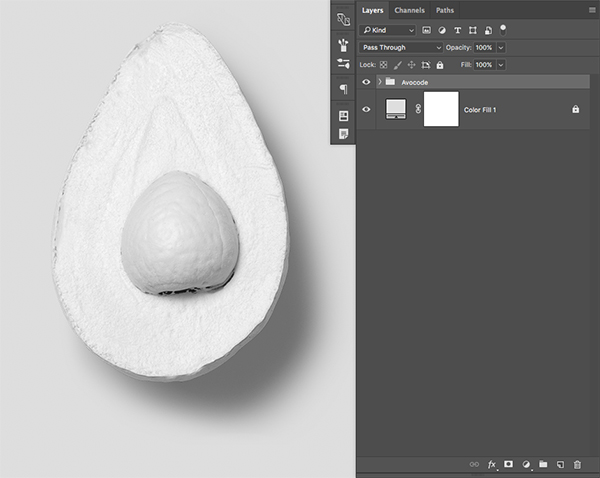
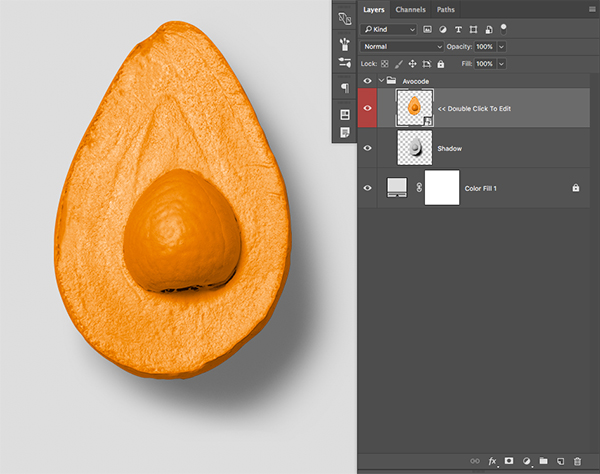
Once you are inside of the nested Smart Object layers use the same orange fill color (#F48B00) to change the avocado to match the same orange color we have used for both the corn and the grapes. After that, save and close out of the tabs until you are back in the main PSD file.
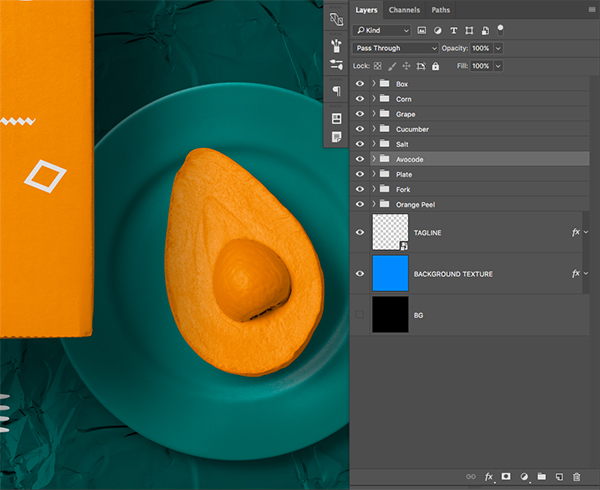
From here, grab the whole ‘Avocode’ folder and drag it into your main Photoshop file. We will now place this folder above the ‘Plate’ folder layer so it appears as though the avocado is sitting on the plate as shown here:
Step 24: The Main Course
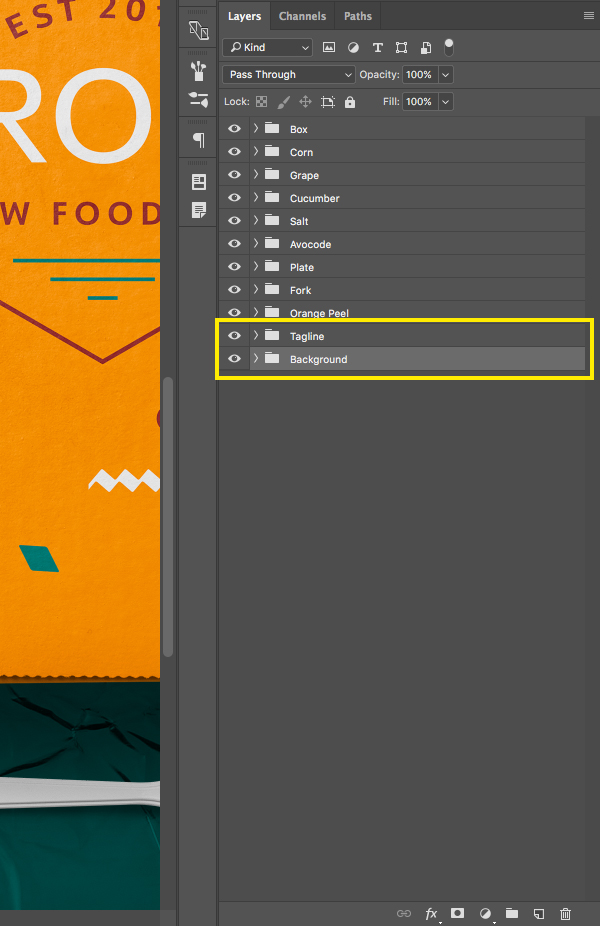
As a finishing touch, just to keep things organized, I have selected the ‘Tagline’ and the background layers and put them each into their own folders by first selecting the layers and then pressing Command/Ctrl+G and renaming the folders accordingly. Doing this will keep things very clean and make it very easy to find any layer in the file in case you want to make any more changes.
Our Sprouts Raw Food Bar design is now complete and all of our layers and objects are nicely organized in our Photoshop file! I hope that you have enjoyed this tutorial and found some useful tips along the way. As you can see there is so much that you can do with this amazing bundle that will help you step up the professionalism of any branding project you may have. In addition to these assets remember that there is so much more for you to take advantage of in the full bundle including Powerpoint and Keynote templates, flyer templates, logo kits and more!
Remember that whether it’s your outcome for this tutorial or something new you’ve made, we’d love to see your designs on our Facebook page.
Please leave a comment if you have any questions or suggestions. I always look forward to hearing from you!
There’s still time to check out The Modern Designer’s Professional Toolkit where you’ll discover thousands more quality resources and tools to add some design magic to your projects, all for just $29.
Another awesome tutorial! Thank you!
Thank you so much Andrea!