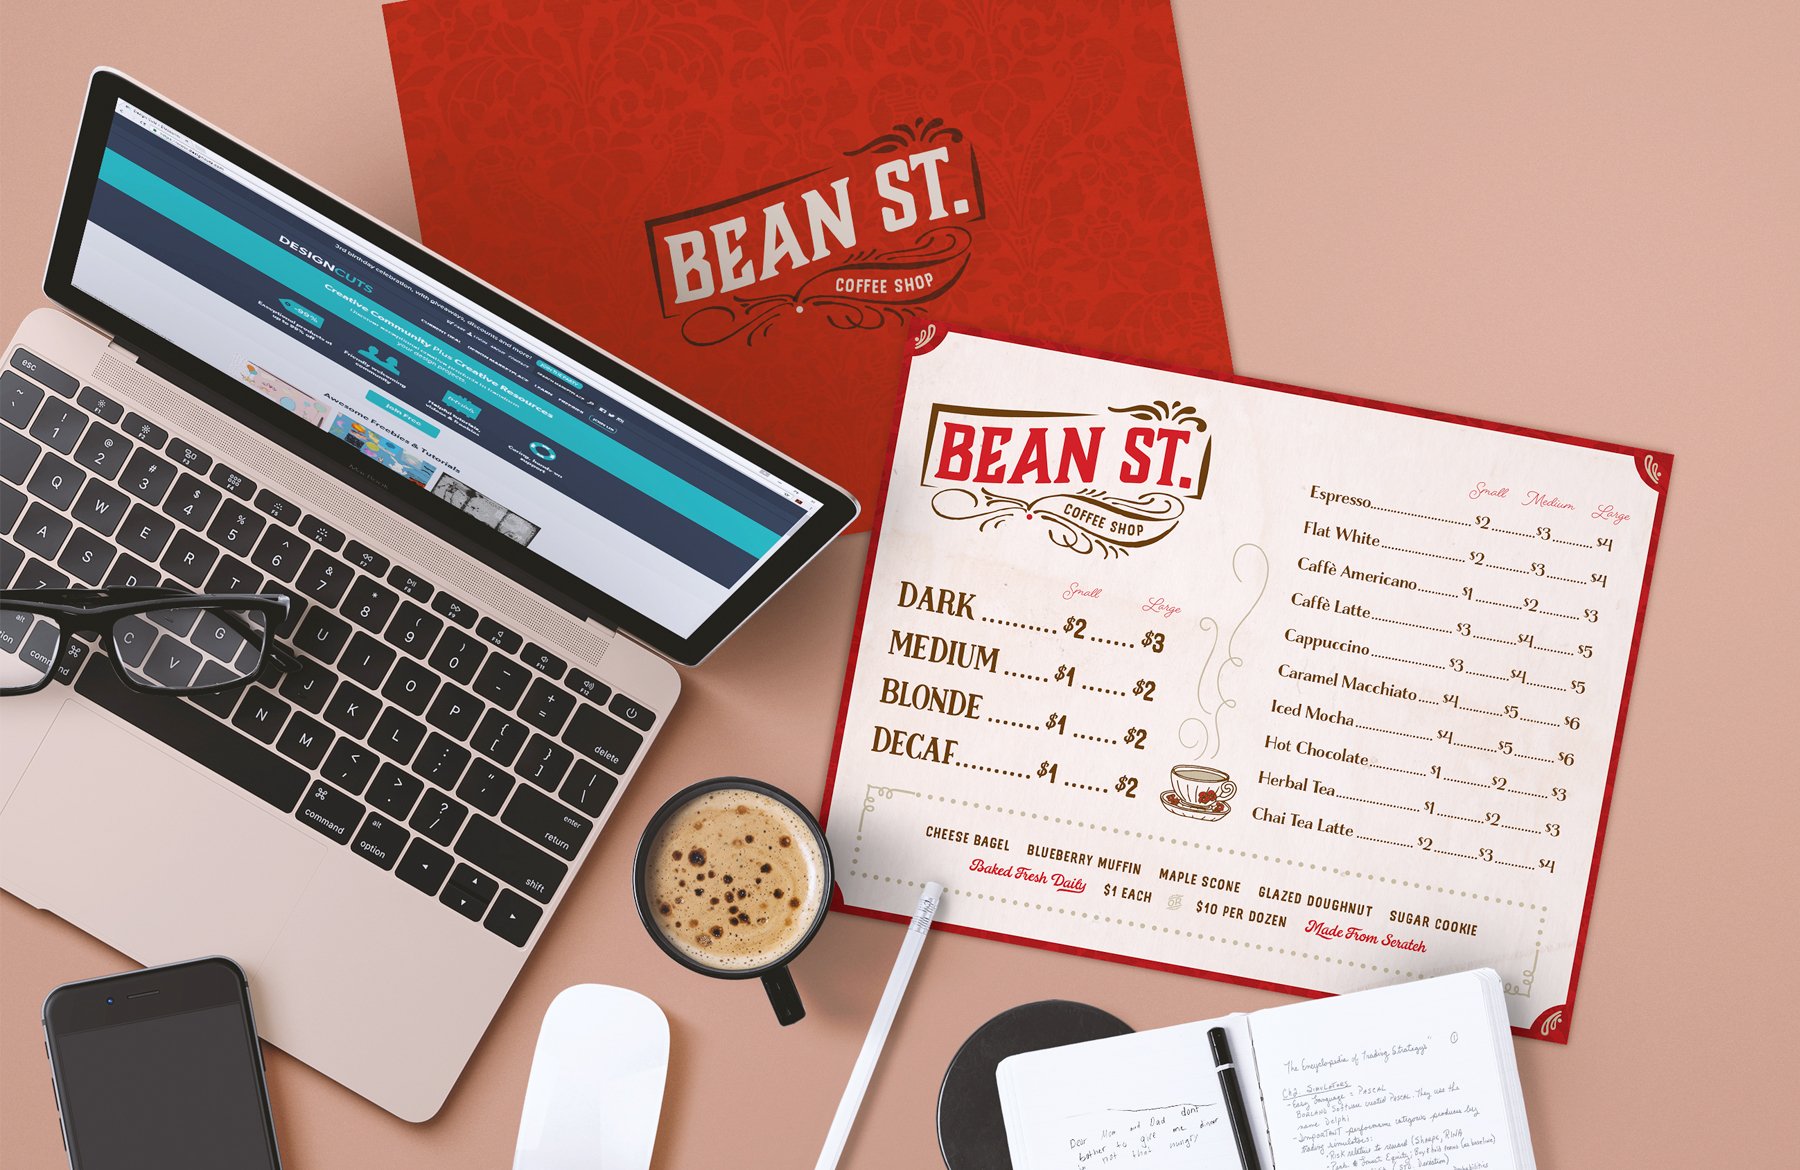
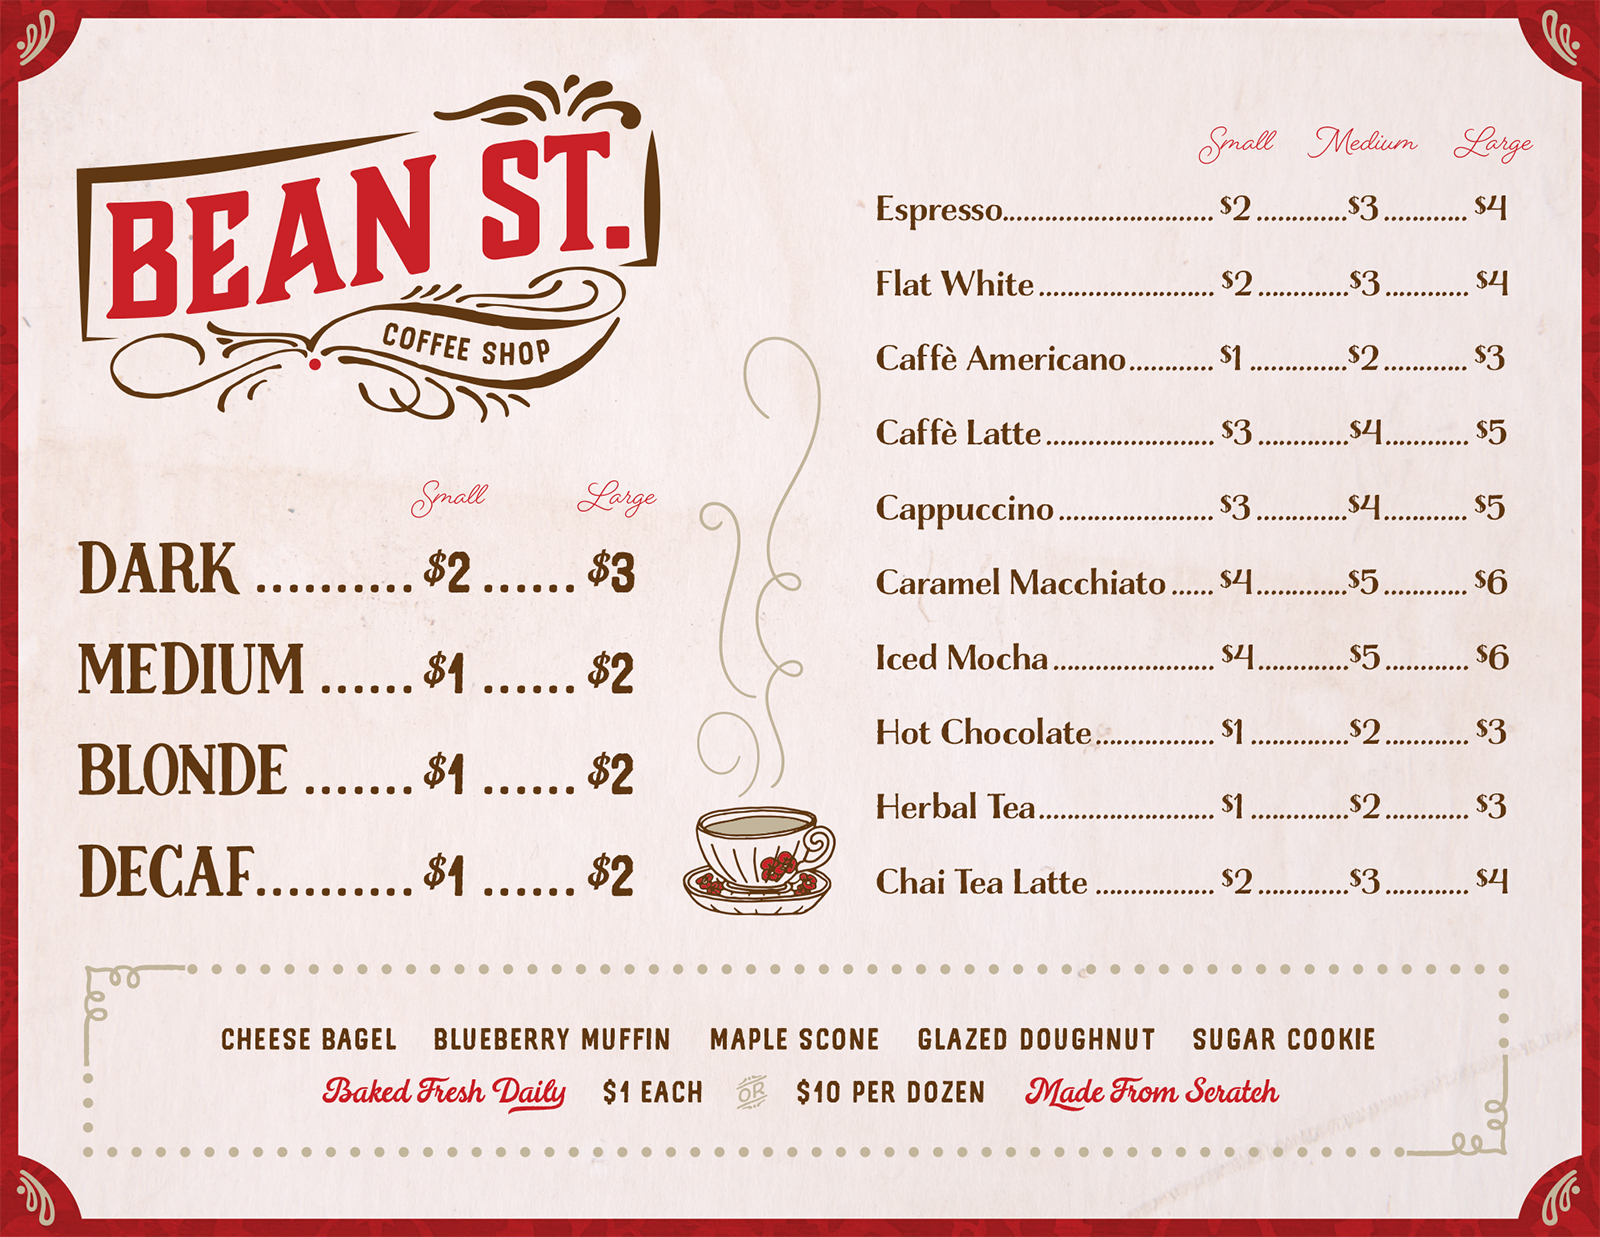
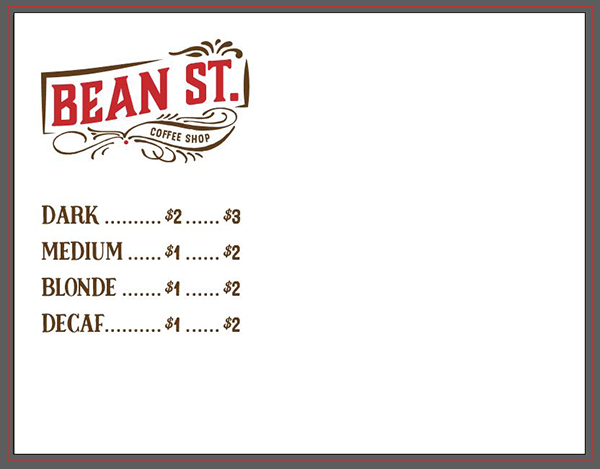
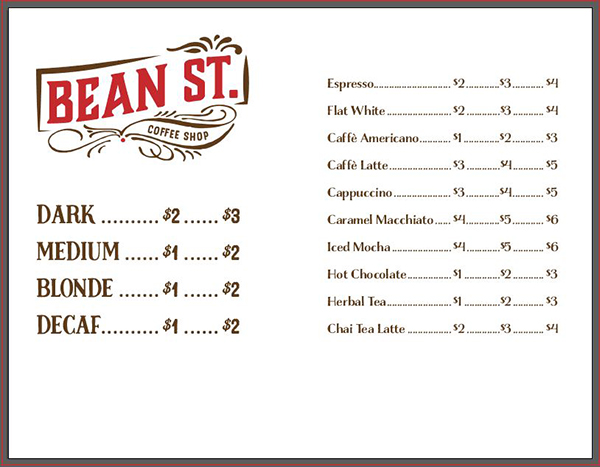
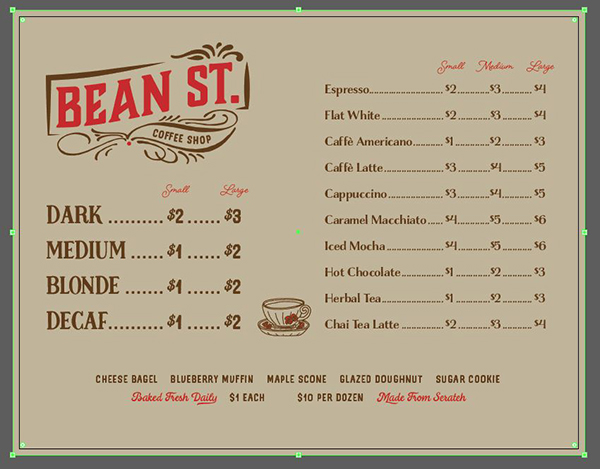
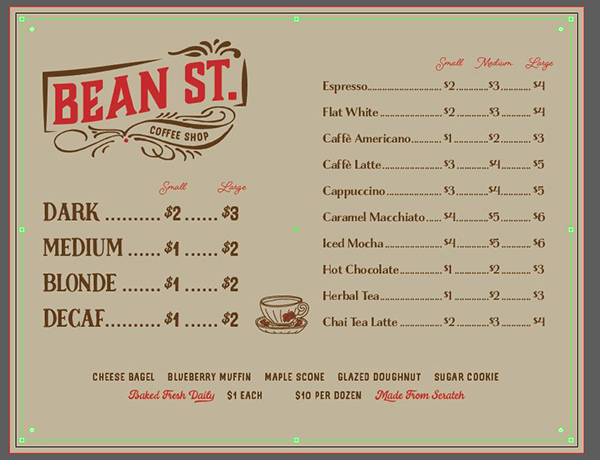
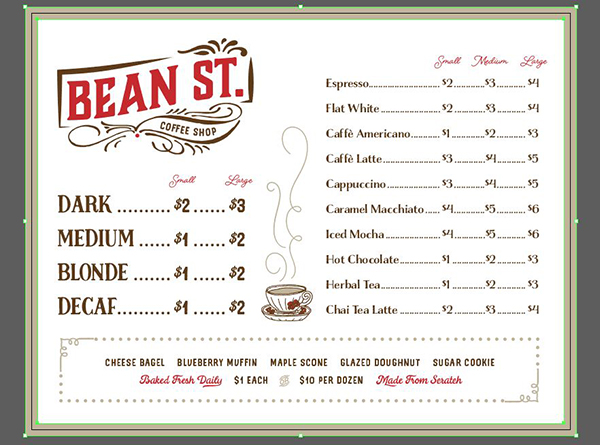
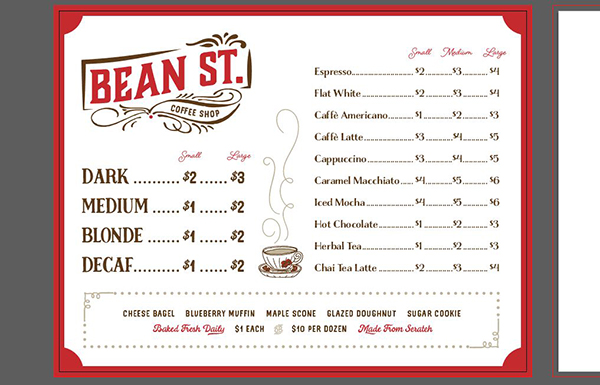
WHAT WE’RE CREATING:
Hello Design Cutters! Renee here with an Illustrator tutorial for a vintage coffee shop menu. We’ll be using text effects and ornaments to make a logo, tabs with dotted leaders for a clean menu layout plus stroke styles, clipping paths and textures.
HAVE YOU SEEN OUR NEW YOUTUBE CHANNEL?
Watch the video tutorial below and subscribe to our new YouTube channel for regular updates direct to your inbox.
Here’s a look at what we’ll be creating:
Follow along with this tutorial: Download the freebie files
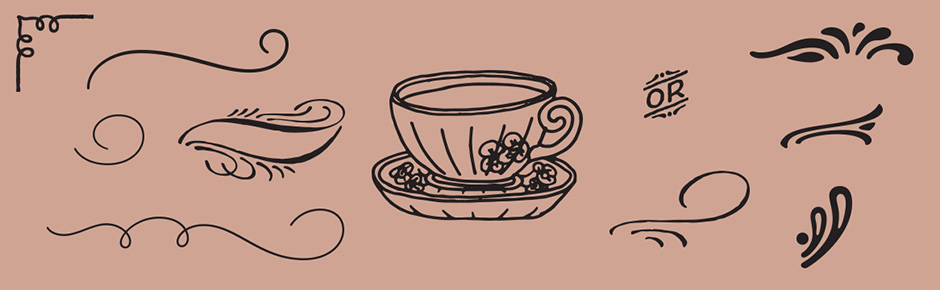
This freebie pack includes ornaments and illustrations courtesy of Ian Barnard with Emma Lindley and Laura Worthington.
This freebie pack is just a small sample of the fonts, frames, ornaments and bonus illustrations available in 20 Superior Quality, Versatile Font Families for just $29 (that’s an unbelievable 99% off). This fantastic collection is overflowing with expertly crafted, premium font families.
Prep
We’re also going to be using two textures available from previous freebie packs. We’ll use a grungy paper texture from the Grungy Paper and Card Textures sample pack and a damask texture from the Fine Art, Damask and Paper Textures freebie pack.
Step 1: Logo
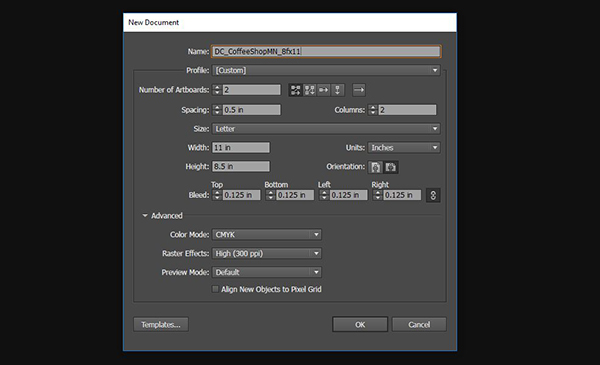
Open Illustrator and go to File > New. The New Document dialog box will open. Under Number of Artboards, enter 2. Next to Columns, enter 2. For size, choose Letter (or enter a width of 11 inches and a height of 8.5 inches). Under Bleed, make sure the link icon on the far right is selected (to apply our input to all four sides) and enter a Top bleed of .125 inches.
Click OK to create the two page document.
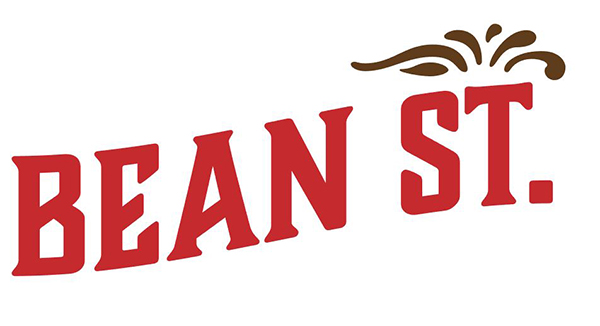
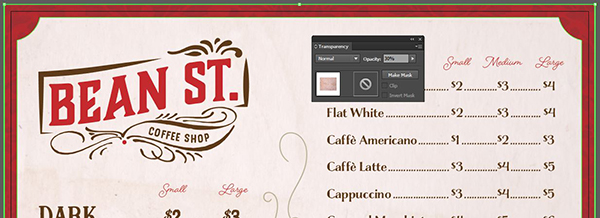
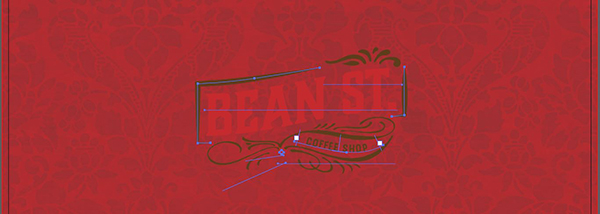
Let’s start by creating a logo for the Bean St. Coffee Shop.
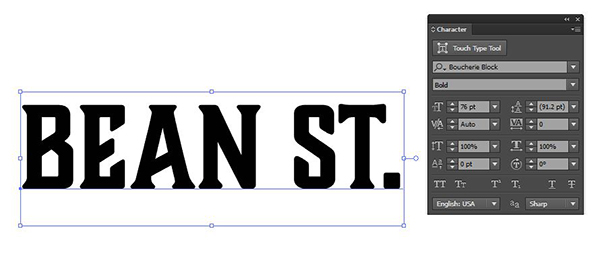
Select your Type tool (t). Click once on the left artboard and type: bean st.
Open your Character palette (Window > Type > Character). Set the font to Boucherie Block Bold at 76 pt.
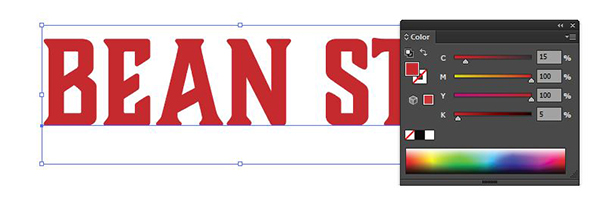
Switch to your Selection tool (v), then open your Color palette (Window > Color). Enter CMYK values of 15/100/100/5.
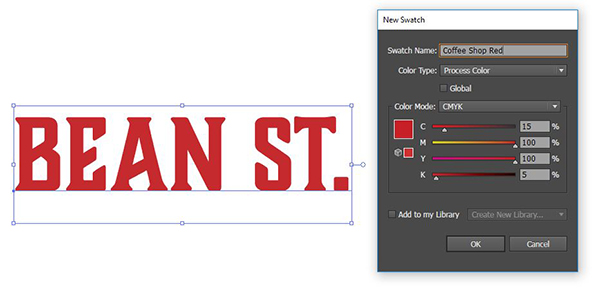
Open the Swatches palette (Window > Swatches). Click on the New Swatch icon at the bottom of the palette. In the popup box, name the swatch Coffee Shop Red and press OK. We’ll use this color several more times in our design.
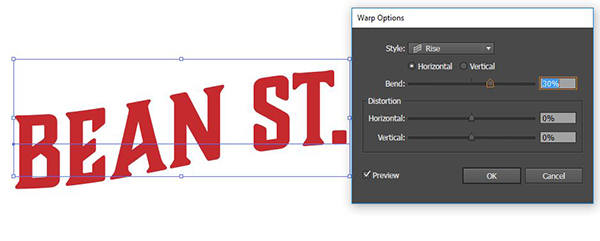
Go to Effect > Warp > Rise. In the dialog box, enter a Horizontal Bend of 30% and press OK.
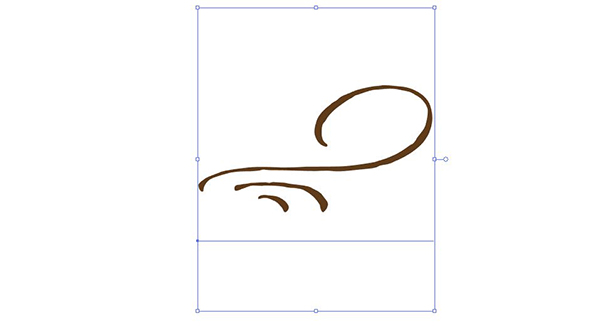
Now we’ll combine several ornaments to create the shape of our logo. Select your Type tool, click once on the artboard and type a lowercase w.
Switch to the Selection tool. In the Character palette, change the font to Boucherie Ornaments at 102 pt.
In the Swatches palette, select the existing dark brown swatch that has a CMYK build of 40/70/100/50.
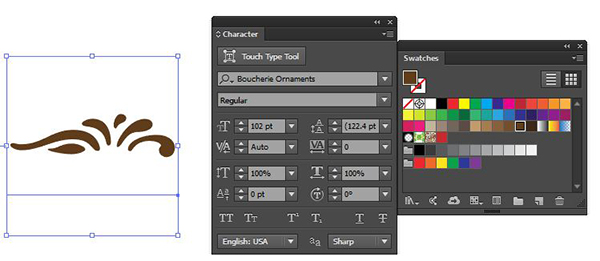
Position just above the St.
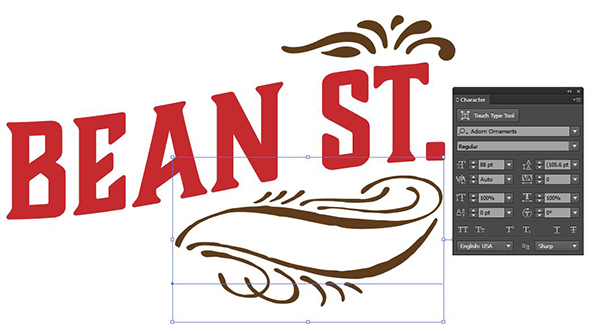
Next, use your Type tool to type a lowercase h. Switch to the Selection tool. Change the font to Adorn Ornaments at 88 pt. In the Swatches palette, set the Fill color to the same dark brown.
Position under Bean St., aligned with the right side.
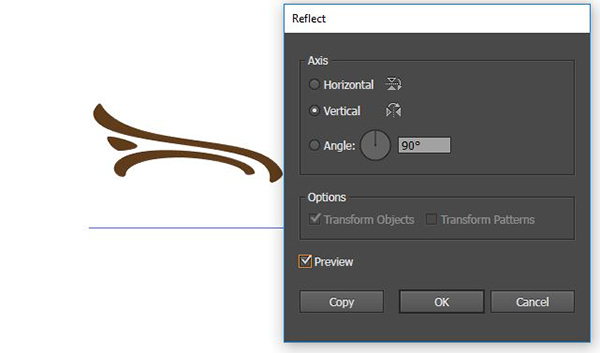
Use the Type tool and type Q. Switch to your Selection tool. In the Character palette, change the font to Boucherie Ornaments at 52 pt. In the Swatches palette, change the Fill color to dark brown.

Go to Object > Transform > Reflect. Select Vertical and press OK.
Now go to Object > Transform Rotate. In the popup dialog box, enter a rotation of 8 degrees and press OK.
Position the ornament so it’s connecting to the left side of the banner ornament, just below Bean St.
Use the Type tool and type lowercase w. Switch to your Selection tool. In the Character palette, change the font to Boucherie Ornaments at 52 pt. In the Swatches palette, change the Fill color to dark brown.
Again, go to Object > Transform > Reflect. Select Vertical and press OK.
Now go to Object > Transform Rotate. In the popup dialog box, enter a rotation of 24 degrees and press OK.
Position just under the last ornament and aligned with the left side of Bean.

Select your Ellipse tool (L). Click just below the area where the three ornaments meet (under the A). Hold Shift and drag out a small circle – about .08 inches in diameter.
In the Swatches palette, change the color to Coffee Shop Red.

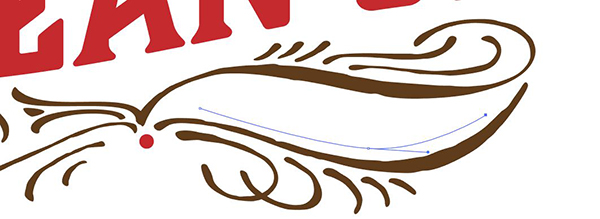
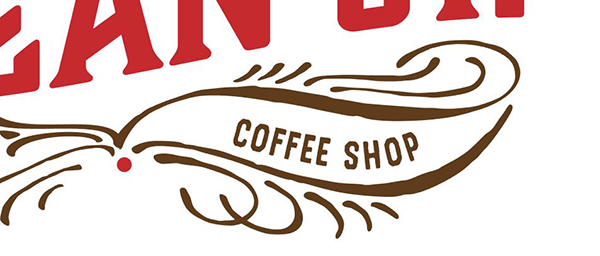
Select your Pen tool (p). Inside the banner ornament, we’ll create a curved line for additional text.
In your Swatches palette, change your Fill color to None.
Click once at the inside bottom left of the banner area to create your first point. Click again about halfway across the bottom edge of the inside banner, but this time hold and drag to the right to create a curved point. Lastly, click once at the inside right of the banner area to complete the line.
In the Toolbar, click and hold on the Type tool icon to access the flyout menu. Choose the Type on a Path tool.
Click once at the left side of the path we’ve just created and type: COFFEE SHOP.
By default, the font will be the same as the last one we used, so you probably won’t be able to see anything until we change it to a smaller size.
In the Character palette, change the font to Legend Sans Serif Regular at 16.5 pt.
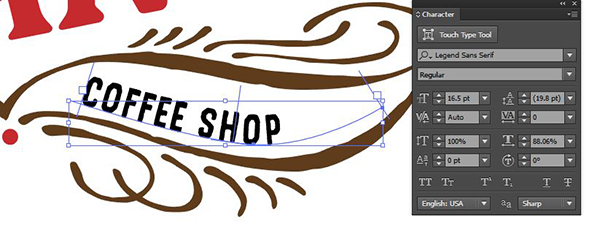
Open your Paragraph palette (Window > Type > Paragraph) and select Align Center.
In the Swatches palette, change the Fill color to dark brown.
At this point, we’re just going to have to play with the placement a little. To move the points of the path, select the Direct Selection tool (a). Click on any points that you want to adjust and move as needed.

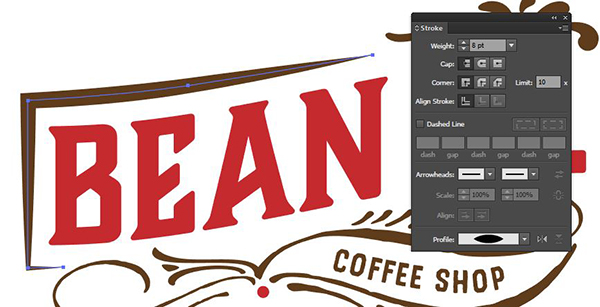
The last step on the logo is to add some framing around Bean St.
Select your Pen tool. Click once above the top of the N to start the path. The second point will be curved. Click above the right side of the E and drag to the left to create a curve. Click once above the top left of the B, then hold Shift (to create a straight line) and click at the bottom of the B. Finally, click just to the right of the last point.
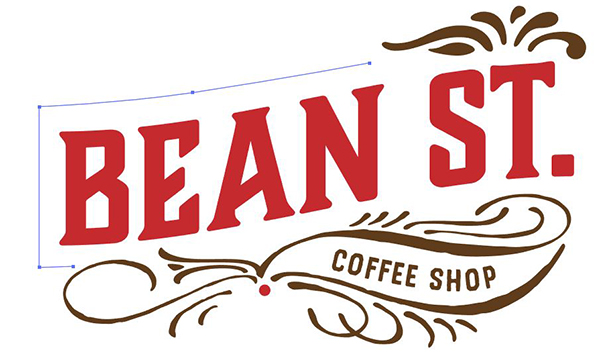
In the Swatches palette, change the Stroke color to dark brown.
Open the Stroke palette (Window > Stroke). Change the Weight to 8 pt. Next to Profile, select Width Profile 1.
And now we’ll create a smaller framing element on the right side.
With your Pen tool, click once at the top right of St. Hold Shift to create a straight line and click to the right of the period in St. For the last point, click below the bottom of the point and angled down just a touch.
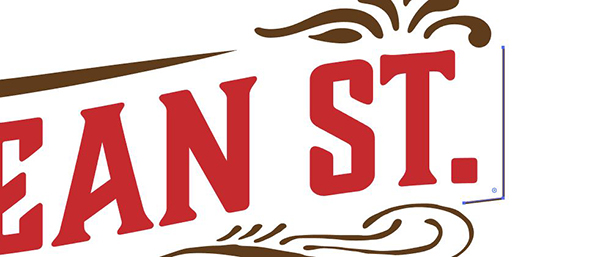
Then apply the same attributes as before in the Stroke palette – Weight of 8 pt and Width Profile 1.
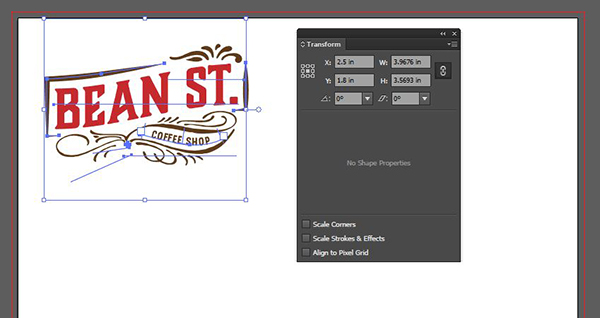
Press cmd + a to Select All, then press cmd + g to Group everything in the logo together.
Position in the top left corner of the first artboard. To get it in the exact same spot I have it, open your Transform palette (Window > Transform). Make sure the middle square is filled on the icon on the far left – this sets the Reference Point as the middle of the logo. Enter an X Value of 2.5 inches and a Y Value of 1.8 inches.
Step 2: Menu Items
Now we’ll start laying out our menu items.
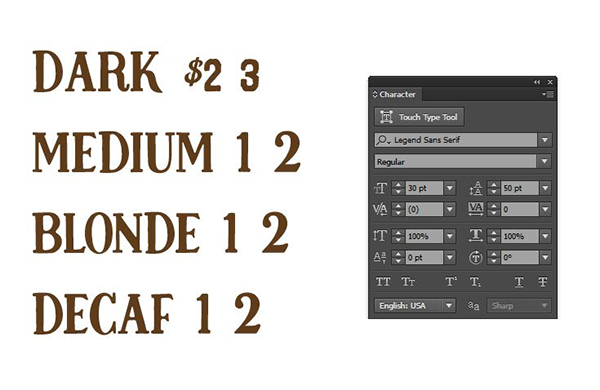
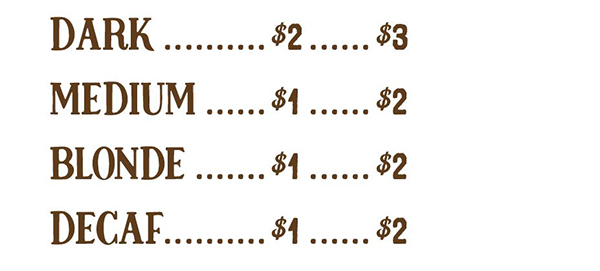
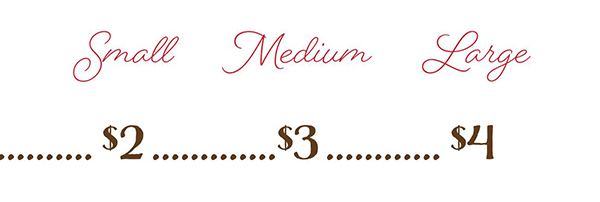
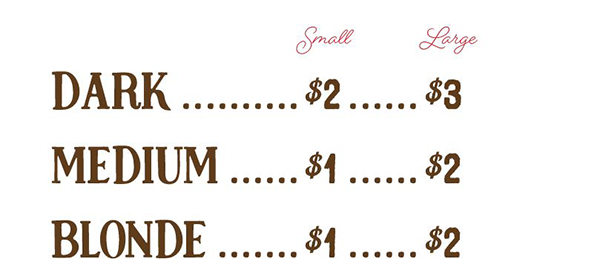
Select your Type tool. Click once on the artboard and type:
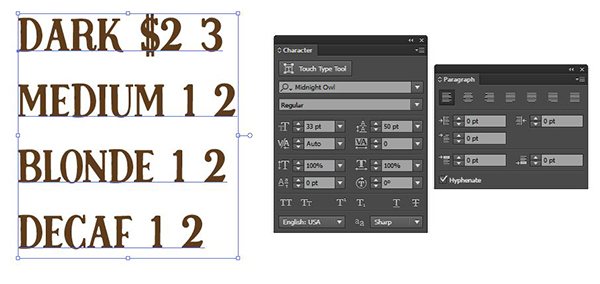
Dark $2 3Medium 1 2Blonde 1 2Decaf 1 2
Note: There’s a single tab between Dark and $2 and between $2 and 3 on the first line only.
In the Swatch palette, set the Fill color to dark brown. In the Character palette, set the font to Midnight Owl Regular at 33 pt. Set the Leading, the space between lines, to 50 pt. In the Paragraph palette, select Align Left.
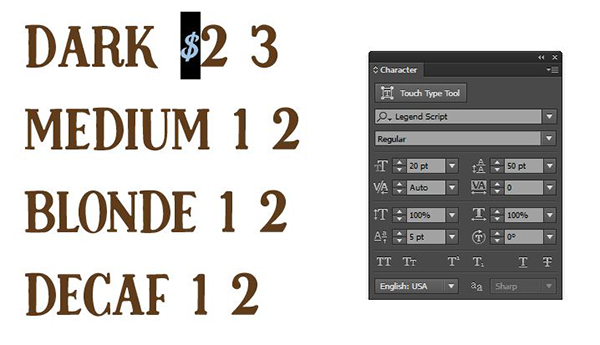
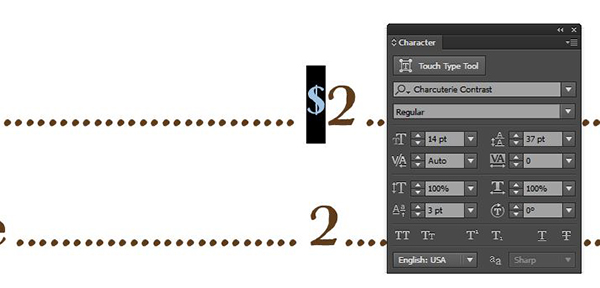
Use your Type tool to select the dollar sign. Change the font to Legend Script Regular at 20 pt. Increase the Baseline Shift (the distance from the baseline) to 5 pt.
Now select the 2 and 3 in the first line. Change the font to Legend Sans Serif at 30 pt.
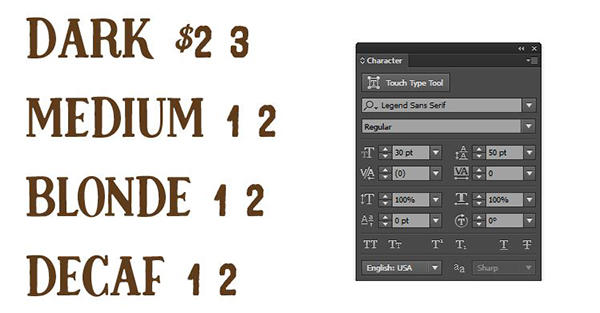
Use your Type tool to select the 1 and 2 after Medium. Switch to the Eyedropper tool and sample the 2 or 3 from the top line. Do this with the 4 remaining prices.
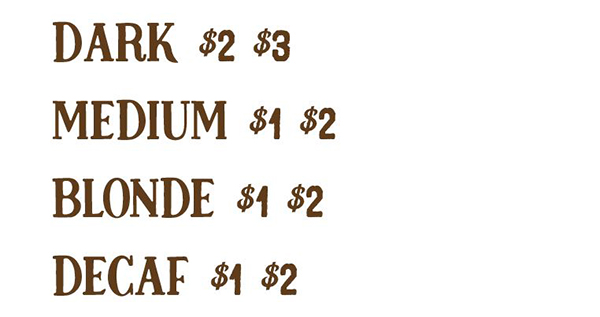
Now use the Type tool to select the dollar sign. Press cmd + c to Copy. Click once in front of the 3 and press cmd + v to Paste. Do this in front of each price.
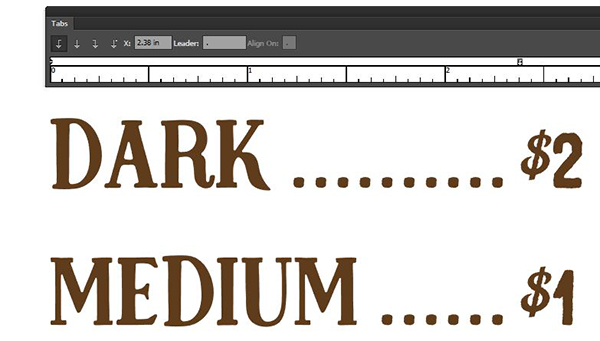
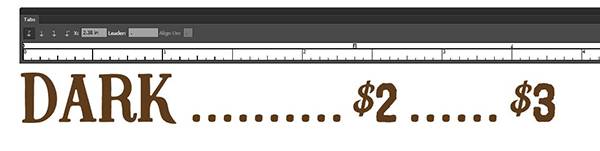
Next, we’ll set our tabs and add some leader dots.
Go to Window > Type > Tabs.
Click the first icon, Left-Justified Tab. Click once in the ruler area of the Tabs palette at about 2 ⅜ (or 2.375) inches. In the box next to Leader, type a single period.

Use your Type tool to select the dotted line between Dark and $2. In the Character palette, change the font to Legend Sans Serif at 30 pt.
With it still selected, press cmd + c to Copy. Select the space between Medium and $2. Press cmd + v to Paste.
Select the space between Blonde and $1 and press cmd + v to Paste, then select the space between Decaf and $1 and Paste.
Now we’ll set our second tab.
On the Tabs palette, select the Left-Justified Tab icon and click once on the ruler at about 3 ½ (3.5) inches. Use your Type tool to select the tabbed space between $2 and $3 on the first line and press cmd + v to Paste the same style we used on the first leader.
Select the spaces between the first and second prices of each item and press cmd + v to Paste. This will paste the tab with the correct font style.
Position this text block so that it’s below and aligned with the left side of the logo.
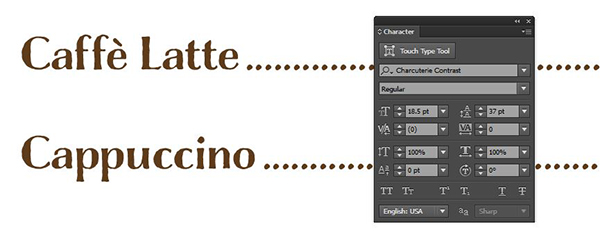
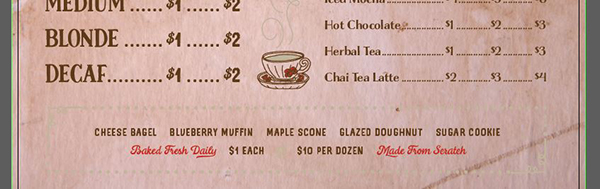
Select your Type tool and click once at the top of the artboard, right of the logo. Type:
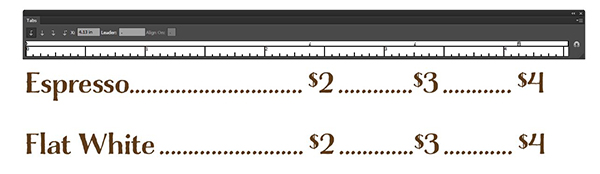
Espresso $2 3 4 Flat White 2 3 4 Caffè Americano 1 2 3 Caffè Latte 3 4 5 Cappuccino 3 4 5 Caramel Macchiato 4 5 6 Iced Mocha 4 5 6 Hot Chocolate 1 2 3 Herbal Tea 1 2 3 Chai Tea Latte 2 3 4
In the Swatches palette, set the Fill color to dark brown. In the Character palette, change the font to Charcuterie Contrast at 18.5 pt with Leading of 37 pt.
Select the dollar sign and decrease the font size to 14 pt. Set the Baseline Shift to 3 pt.
With the dollar sign still selected, press cmd + c to Copy. Use cmd + v to Paste it in front of each of the other numbers in the text block.
In the Tab palette, select the Left-Justified Tab icon. Click on the second tab in the ruler area and in the X Value box, change the location to 3.25 inches.
Click on the ruler at about 4 ⅛ (4.125) inches to add a third tab.
Position this text box at the top right of the artboard.
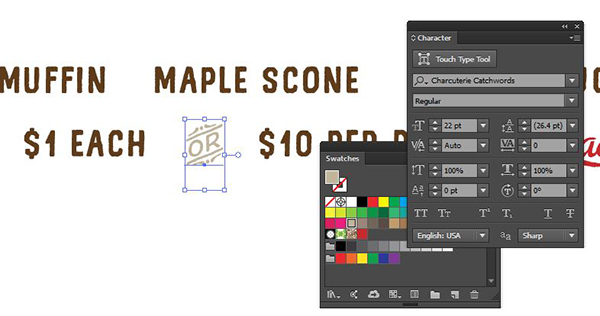
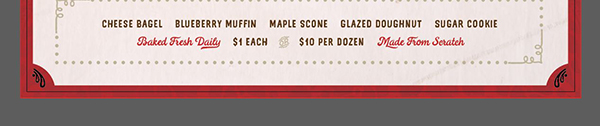
Select your Type tool and click once at the bottom middle of the artboard. Type:
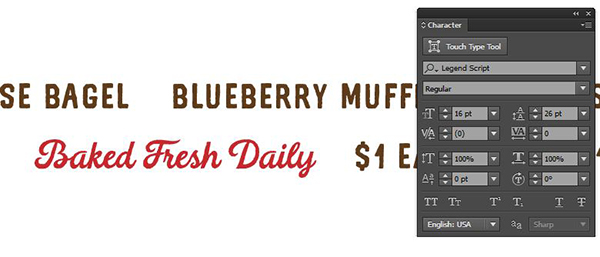
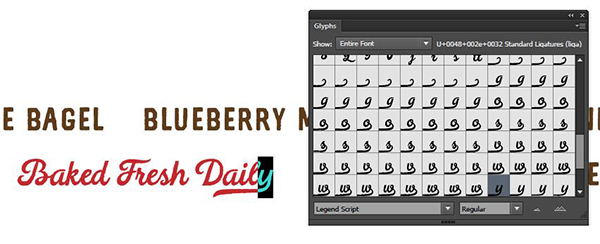
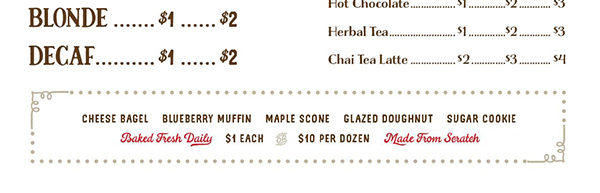
cheese bagel blueberry muffin maple scone glazed doughnut sugar cookieBaked Fresh Daily $1 each $10 per dozen Made From Scratch
Note: I’m using 4 spaces between each item and 10 spaces between the two prices in the second line.
In the Swatches palette, change the Fill color to dark brown. In the Character palette, change the font to Legend Sans Serif at 16 pt with Leading of 26 pt. In the Paragraph palette, select Align Center.

With your Type tool, select Baked Fresh Daily. In the Swatches palette, change the color to Coffee Shop Red. In the Character palette, change the font to Legend Script.
Open the Glyphs palette (Window > Type > Glyphs). With the Type tool, select the y at the end of Daily. In the Glyphs palette, double click the first alternate y.
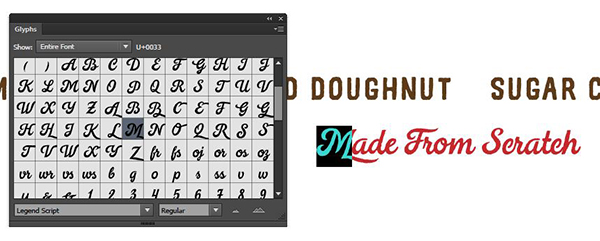
Now select Made From Scratch. Switch to the Eyedropper tool in the toolbar and sample the style of Baked Fresh Daily.

Select the M in Made. In the Glyphs palette, double click the alternate capital M.
Switch over to your Selection tool. In the Align palette (Window > Align), click the Horizontal Align Center icon.
Note: If nothing happens when you click the align icon, you may need to change your Align To settings. Click on the arrow just below Align To at the bottom right of the Align palette and select Align to Artboard.

Now we’ll just need to label our coffee pricing with sizes. Click once above the first price for Espresso. Type: Small.
In the Swatches palette, change the Fill color to Coffee Shop Red. In the Character palette, change the font to Beloved Script at 17 pt.
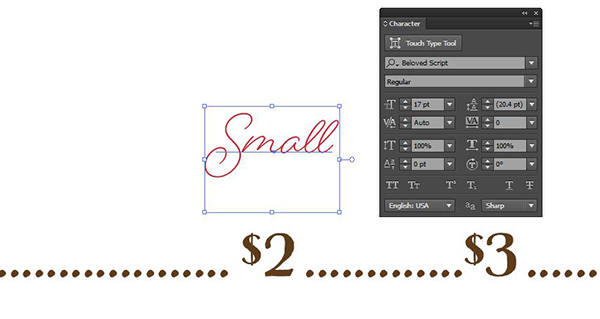
With your Selection tool, hold opt + shift, then click on Small and drag it to the right to create a copy along a horizontal axis. Release above the second price.
Use your Type tool to select the copy and replace it with Medium.
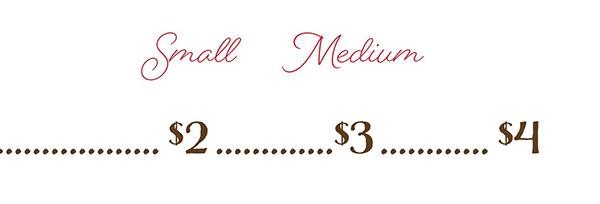
With your Selection tool, hold opt + shift, then click on Medium and drag it to the right. Release above the third price.
Use your Type tool to select the copy and replace it with Large.
Use your Selection tool to select Small and Large. Press cmd + c to Copy, then cmd + v to Paste. Drag the new copies above the prices on the left for Dark, Medium, etc.
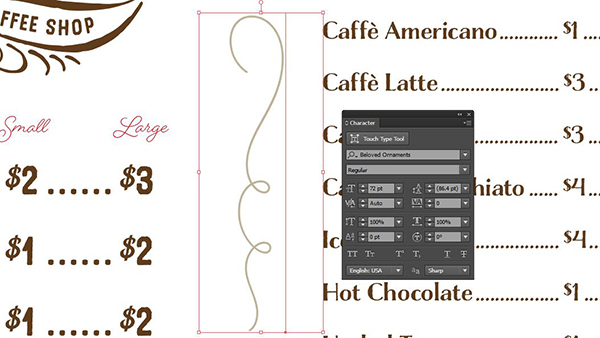
For our last bit of copy, select the Type tool and type an uppercase O. In the Character palette, change the font to Charcuterie Catchwords at 22 pt.
In the Swatches palette, select the default lightest brown color, a CMYK build of 25/25/40/0.
Position the catchword ‘or’ between the pricing of the bakery items.
Step 3: Decoration
In the Layers palette (Window > Layers), double click the name of Layer 1 and change it to Text. Now lock this layer by clicking the space between the eye icon and the layer name.
At the bottom of the Layers palette, click the Create New Layer icon. Double click the layer name and change it to Decoration.
Select your Type tool. Click once on the artboard below Decaf and type an uppercase M.
In the Swatches palette, change the color to the same light brown we used for the catchword. In the Character palette, change the font to Adorn Frames at 50 pt.
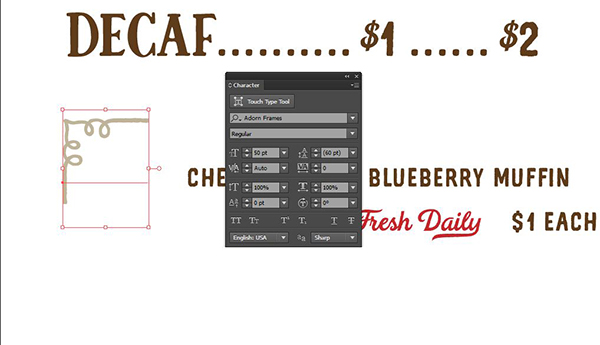
Select your Pen tool (p). Click once just to the right of the top line of the ornament, then hold Shift and click again about 9 inches to the right of the original point.

Continue to hold Shift and click again about .5 inches below the last point.

In the Swatches palette, change the Stroke color to light brown.
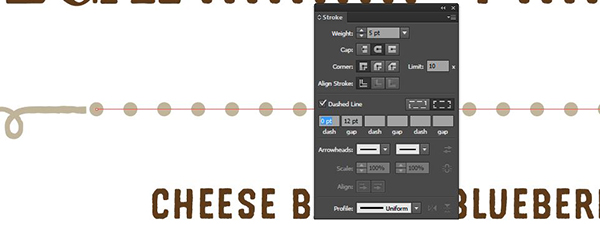
Now I’ll show you the secret to making easy dotted lines in Illustrator. Open the Strokes palette and set the Weight to 5 pt. Next to Cap, choose the middle icon for Round Cap (this must be round cap for this to work). Click the box next to Dashed Line. In the first Dash box, enter 0. In the second box, Gap, enter 12 pt.
And like magic, we have a dotted line!
Use your Selection tool to select both the corner ornament and the dotted line. Press cmd + g to Group.
Go to Object > Transform > Rotate. In the popup dialog box, enter 180 degrees and press Copy.
Drag the copy down until it forms a rectangle around the bakery section.

Select both groups that form the rectangle and press cmd + g to Group them together.
In your Align palette, select Horizontal Align Center, then use the arrow keys on your keyboard to vertically center the rectangle with the bakery items.
In the Freebies folder, open DC_IanBarnard_MoneyPenny. Select the coffee cup and press cmd + c to Copy. Close the file, then press cmd + v to Paste the cup onto the main layout.
In the Swatches palette, change the Fill color to dark brown.
At the top middle/right of the artboard, make sure the link icon between Width and Height is turned on. Next to Height, enter .75 inches and press Enter.
Position the cup between the two price lists, just a touch lower than the bottom of each.

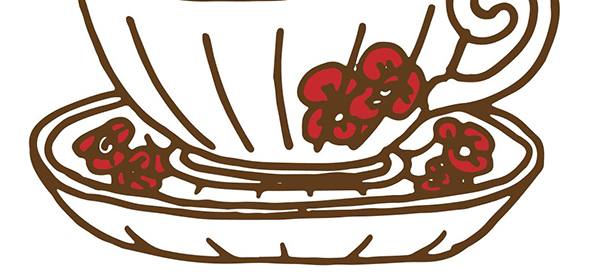
We’ll make the cup a little fancier by coloring the flowers red and adding some coffee.
Zoom in very close to the coffee cup. Select your Group Selection tool – the white arrow with a plus sign that’s available on the Selection tool flyout menu.
Use the Group Selection tool while holding Shift to select the paths along the insides of the flower shapes. Make sure to click on the individual paths and not the fill areas.

Press cmd + c to Copy. Click off the coffee cup. Press cmd + f to Paste in Place. Now press cmd + g to Group the petals together.
In the Swatches palette, change the Fill color to Coffee Shop Red.
Use your Group Selection tool to select the innermost path where the coffee would be.
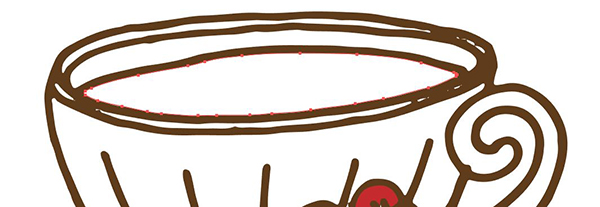
Press cmd + c to Copy. Click off the coffee cup. Press cmd + f to Paste in Place.
In the Swatches palette, change the Fill color to light brown.

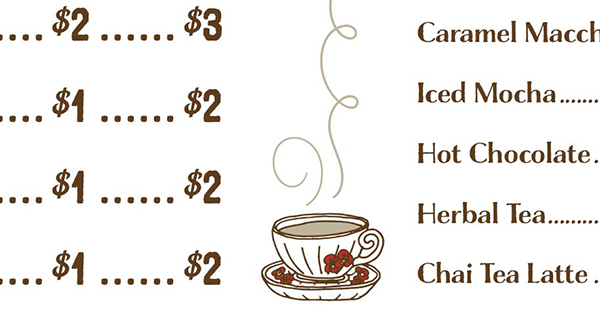
Let’s add some steam coming from our coffee.
Select the Type tool. Click once on the artboard and type a zero 0. Switch to the Selection tool.
In the Swatches palette, change the Fill color to light brown. In the Character palette, change the font to Beloved Ornaments at 72 pt.
Hover over the corner handle until you see the double sided rotation arrow. Hold shift and rotate 90 degrees to the left.
Position above and just to the right side of the coffee cup.
Select the Type tool, click on the artboard and type the number 6. Switch to the Selection tool.
In the Swatches palette, change the Fill color to light brown. In the Character palette, change the font Size to 55 pt.
Hold Shift and rotate the ornament 90 degrees to the left. Position just to the lower left of the last ornament.
Switch back to your Type tool. Type a lowercase h. Switch to the Selection tool.
In the Swatches palette, change the Fill color to light brown. In the Character palette, change the font Size to 70 pt.
Hold Shift and rotate the ornament 90 degrees to the left. Position above the last ornament.

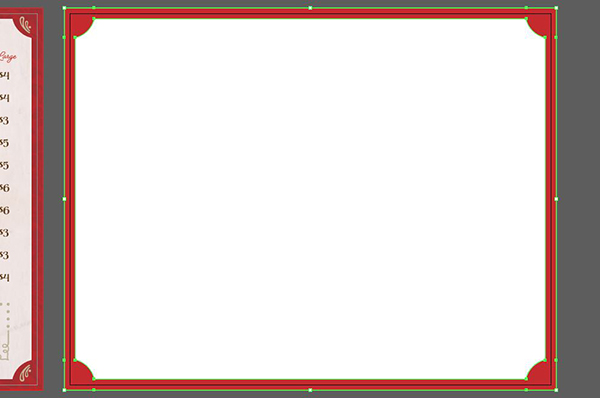
Step 4: Frame and Background
In the Layers palette, lock the Decoration layer. Click the Create New Layer icon. Double click the name of the new layer and change it to Background. Drag this layer below the other two layers.
Select your Rectangle tool (m). Click once on the artboard. In the popup, enter a Width of 11.25 inches and a Height of 8.75 inches. Click OK.
In the Align palette, click the icons for Horizontal Align Center and Vertical Align Center.
With your Rectangle tool, click again on the artboard. In the popup, enter a Width of 10.75 inches and a Height of 8.25 inches. Click OK.
In the Align palette, click the icons for Horizontal Align Center and Vertical Align Center.
Switch to your Selection tool. Hold Shift and click on each of the rectangles to select both. Open your Pathfinder palette (Window > Pathfinder). Under Shape Modes, choose the second icon for Minus Front.
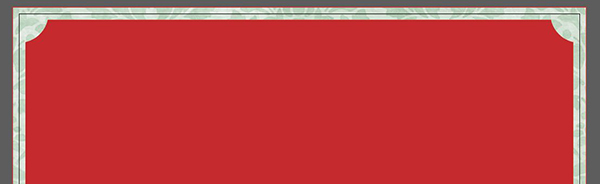
Select your Ellipse tool (L). Hold down Opt and Shift, then click on the top left corner of the artboard and pull outward to create a circle centered on the corner. Make it about 1.15 inches in diameter.

Go ahead and change the Fill color to Coffee Shop Red.
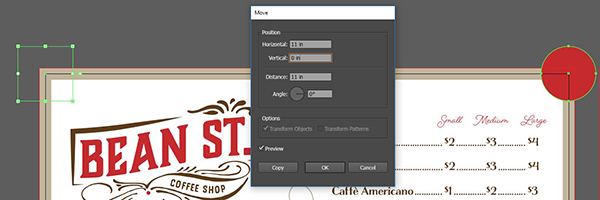
Go to Object > Transform > Move. In the popup, enter a Horizontal Position of 11 inches and Vertical Position of 0, then hit Copy.
Use your Selection tool while holding down Shift to select both red circles.
Go to Object > Transform > Move. This time, enter a Horizontal Position of 0 and a Vertical Position of 8.5 inches, then press Copy.

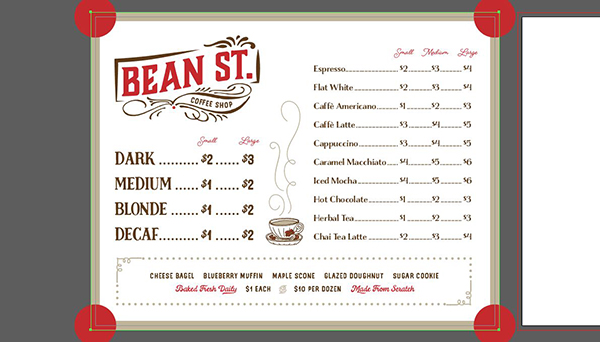
Select all four red circles. Press cmd + 8 to create a Compound Path.
With your Group Selection tool (white arrow with plus sign), select the outermost rectangle path.
Press cmd + c to Copy, then click an empty space of the artboard to deselect the original. Press cmd + f to Paste in Place.
Switch to your regular Selection tool (v) and select both the new rectangle and the four red circles.
In your Pathfinder palette under Shape Modes, select Intersect.
Press cmd + a to select everything on this layer. In the Pathfinder palette under Shape Modes, select Unite.
In the Swatches palette, change the Fill color to Coffee Shop Red.
Press cmd + c to Copy the red frame. We’ll use this in a few minutes.
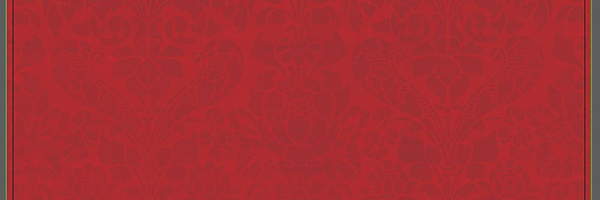
Go to File > Place. Navigate to the Mint Damask file from the free Fine Art, Damask and Paper Textures, and World Map Vectors Set. Press Place.
Click once on the artboard to place the image. In the Align palette, select Horizontal Align Center and Vertical Align Center.
Now press cmd + shift + [ (left bracket) to send the damask image behind the red frame.
Press cmd + a to Select All. With both the frame and image selected, press cmd + 7 to create a Clipping Mask.
Note: The top item will always become the clipping mask.
Press cmd + f to Paste the red frame in place.
Open the Transparency palette (Window > Transparency) and for the Blending Mode, choose Multiply.
Go to File > Place. Navigate to the Paper and Cardboard_062 file from the free 100 Grungy Paper and Card Textures – Sample Pack. Press Place, then click once on the artboard to place the image.
In the Align palette, select the icons for Horizontal Align Center and Vertical Align Center.

Select your Rectangle tool. Click once on the artboard and enter a Width of 11.25 inches and a Height of 8.75 inches, then click OK. Align it on the artboard vertically and horizontally using the Align palette.
With your Selection tool, hold Shift and select both the red rectangle and the paper texture. Press cmd + 7 to create a Clipping Mask.
Press cmd + shift + [ to send the paper texture to the very back.
In the Transparency palette, change the Opacity to 30%.
Select your Type tool and click once on the artboard. Type a lowercase v.
In the Character palette, change the font to Boucherie Ornaments at 52 pt.
Position in the top left corner of the red frame.
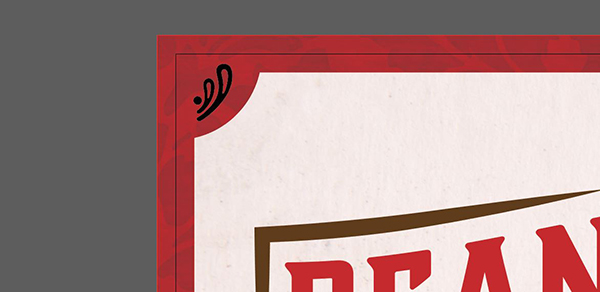
Go to Object > Transform > Reflect. In the popup, choose Vertical Axis and press Copy. Hold Shift and drag the copy to the same relative position in the top right corner.

Select both the top left and top right ornaments. Go to Object > Transform Reflect. This time, choose Horizontal Axis and press Copy. Hold Shift and drag the copies down to the bottom corners.
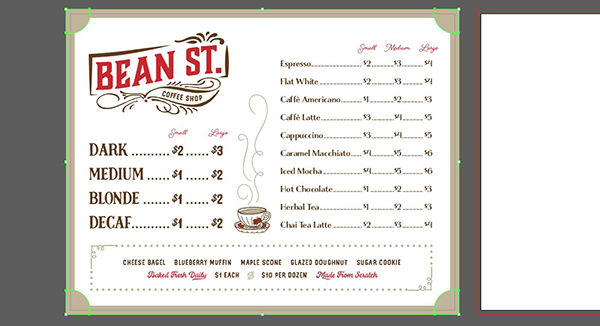
Select all four ornaments. Press cmd + g to Group them together. In the Swatches palette, change the Fill color light brown.

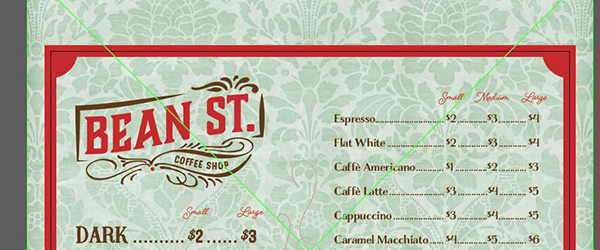
Step 5: Menu Back
We’ll give our menu a fairly simple back using the red damask.
On the first artboard, use your Selection tool to select the top layer of the red frame (remember – it’s made of a red multiplied layer and the mint damask image layer).
Press cmd + c to Copy, then press cmd + 2 to Lock that piece.
Click on the second artboard to make it active. Press cmd + f to Paste in Place.
Use your Group Selection tool to select the inside path of the frame. Press delete. You should be left with a solid red rectangle that covers the entire second artboard.
Return to the first artboard. Use your regular Selection tool to select the frame again. Press cmd + c to Copy. We locked the red layer, so this will actually be copying the damask pattern.
Click on the second artboard and press cmd + f to Paste in Place.
Use your Group Selection tool to select the inside path of the frame. Press delete. You will be left with a solid mint damask rectangle. To send it behind the red multiplied rectangle, select it and press cmd + [.
Now we’ll just add our logo.
In the Layers palette, lock the Background layer and unlock the Text layer.
On the first artboard, use your Selection tool to select the logo group. Press cmd + c to Copy, then click on the second artboard and press cmd + v to Paste.
In the Align palette, select Horizontal Align Center and Vertical Align Center.
Go to Object > Transform > Scale and enter a Uniform Scale of 120%, then press OK.
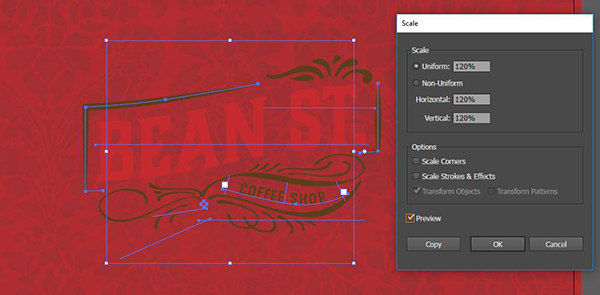
Use your Group Selection tool to select only the Bean St. text, Coffee Shop text and the little red circle at the bottom left of the logo. In the Swatches palette, change the Fill color to light brown.
The dark brown looks a little green on top of this red, so for our last step we’ll darken the brown.
Use your regular Selection tool to select the logo. Switch to your Group Selection tool. Hold Shift and click on Bean St., Coffee Shop and the circle we just changed to light brown to Deselect them.
In your Transparency palette, change the Blending Mode to Multiply.

And that’s it! We have a vintage coffee shop menu utilizing key Illustrator techniques like clipping masks and shape modes plus a few bonuses like setting tabs and creating dotted lines.

Remember that whether it’s your outcome for this tutorial or something new you’ve made, we’d love to see your designs on our Facebook page.
Please leave a comment if you have any questions or suggestions. We always look forward to hearing from you!
And there’s still time to check out 20 Superior Quality, Versatile Font Families to get an excellent collection of hand made elements for only $29.


Did I miss something? Where do we get the fonts for this tutorial? Or are they not included in the free files?
Hey Tory,
Thank you for your comment, I’m really sorry for any confusion caused but I’m afraid the fonts used in this tutorial are not available as part of the freebie pack and are being used here only as examples of how they can be applied to your work.
I apologise for any inconvenience caused, Tory, but please do let me know if there were any fonts in this tutorial you were looking to work with and I will happily point you in the right direction to pick them up separately!
I don’t know what I am doing wrong.. but every time I use the pen it makes it into a shape filled of color, not just a line. Also, when I try to make the tiny circle in the beginning red, it changes everything red… any suggestions?
Hey Stacy,
Thank you for your comment, I’m sorry to hear you’re having some trouble with this – rest assured, I am on the case! I’ve sent you an email to get some more information from you and to help get you back up and running!
I hope it helps, Stacy! If you have any other queries please do let me know and please don’t hesitate to contact me should you have any other questions. I’m here to help!
Hi – I’m on a PC with windows 10. I have Adobe CC – the latest version. Can’t seem to locate Boucherie Block Bold or the glyphs. Not showing up in typekit.
I LOVE that there are written out step by step instructions…I have a hard time following along with a video.
I love Design Cuts and have found some awesome designs – Now i’m teaching myself Ai. Thanks for everything!
Hey Vonda,
Thank you for your kind words! We’re so pleased you are enjoying this tutorial :) I am so sorry for any confusion caused but I’m afraid that Boucherie Block Bold is not featured in this freebie – it is being used only as an example on how to work with your fonts and apply them to a wider design.
I apologise for any inconvenience caused, Vonda, but please do let me know if you have any questions or queries when working with Illustrator! I’m always here and happy to help!
Very Nice!
Thank you very much! :) We hope you enjoy this tutorial!
The design is nice. Clean, simple, and elegant.
Your “instructor” should say that she, in this case, is working on a Mac, and inform those that are working on a PC that when she says “Use command…” that they should instead use “control…” I would also inform the potential users what version of the program she is using, and make sure that they have the fonts used in the document already loaded on their computer.
Maybe start teaching listeners/students to use the keyboard shortcuts when possible. This fosters better knowledge of the program and their computer.
Just thoughts from the cheap seats.
Hey Brian,
Thank you so much for getting in touch with your feedback, the team & I really appreciate you taking the time :) I love this idea and we can certainly pass this along to our tutorial creator Renee to include more information on the shortcuts used as I certainly know how much of a timesaver they can be!
Thank you again for your suggestion, Brian! If you did have any more feedback on how we can improve please do not hesitate to let me know. It would be great to hear from you :)