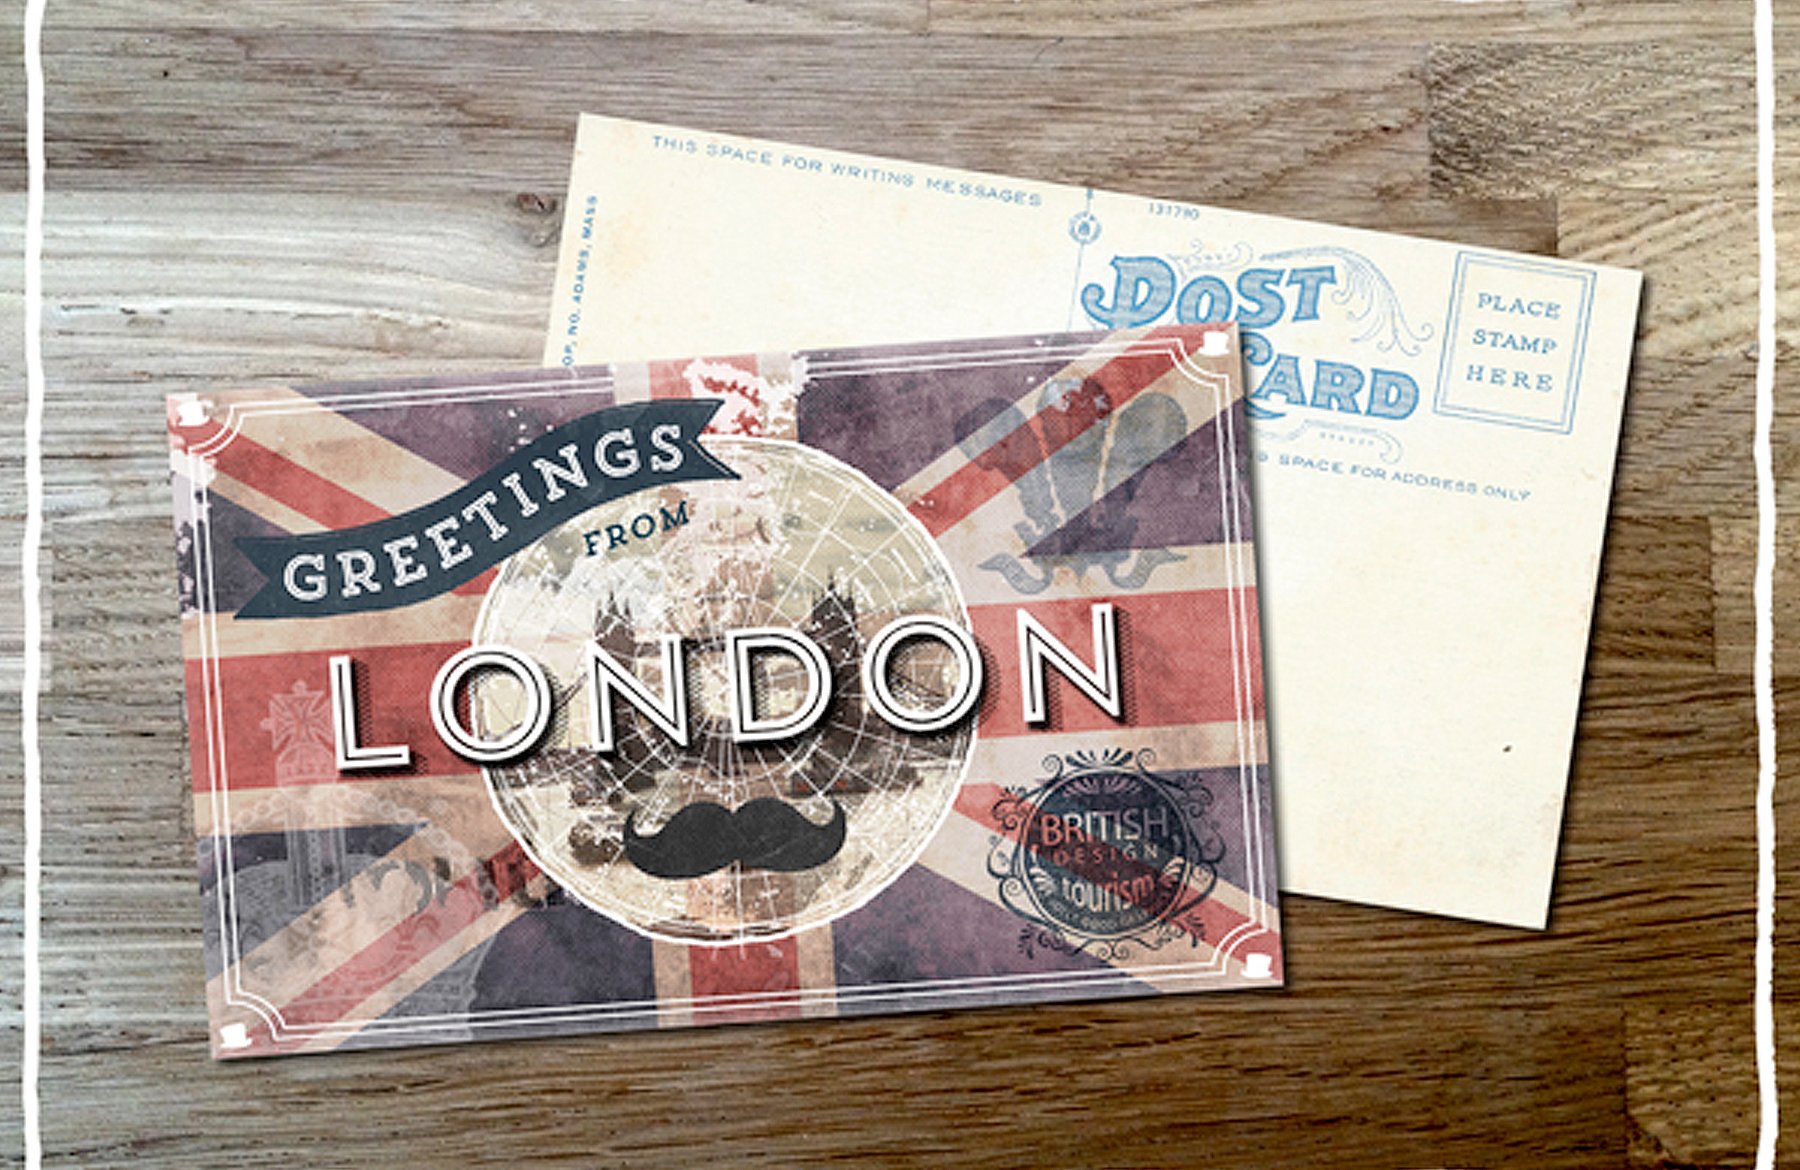
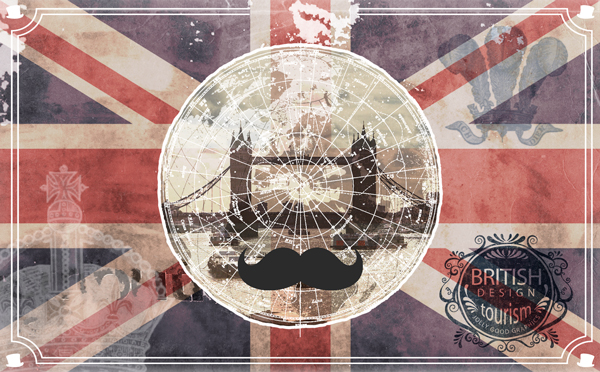
WHAT WE’RE CREATING:
In today’s tutorial, you’ll learn how to create a vintage London themed postcard design. We’ll be using a wide range of resources and techniques in this tutorial, so you should learn a lot about vintage style design.
Hopefully by the end of today’s lesson you’ll be able to create your own cool postcard design, featuring your home city.

Follow along with this tutorial: Download the freebies
This tutorial is accompanied by a fantastic freebie pack, taken from this week’s deal, offering you over 1000 vintage/retro design resources for just $29.
To give you a sample of the vintage goodies, we’re giving away 5 wonderful vintage postcards, courtesy of 2 Lil Owls. Enter your email below to download the free postcards pack, as well as the Photoshop source file for this tutorial, so you can follow along easily.
Step 1:
Create a new Photoshop document at 1694px x 1050px. This matches the dimensions of the vintage postcards we’ll be using later, so that everything fits nicely!
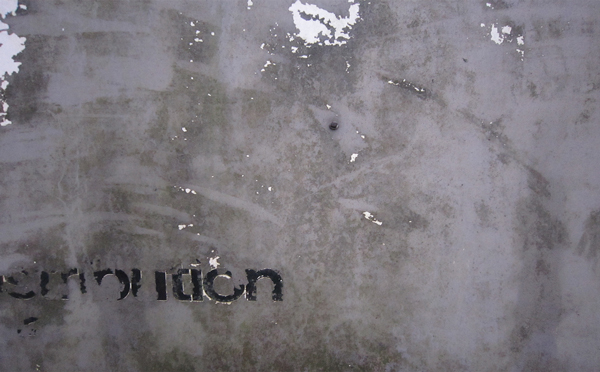
We’re diving straight in with a texture from the current vintage bundle for this tutorial. From your download page, go to Ian-Barnard > texture-armoury > Backgrounds and select background-05.jpg
Paste this onto your canvas, scaling to fit.
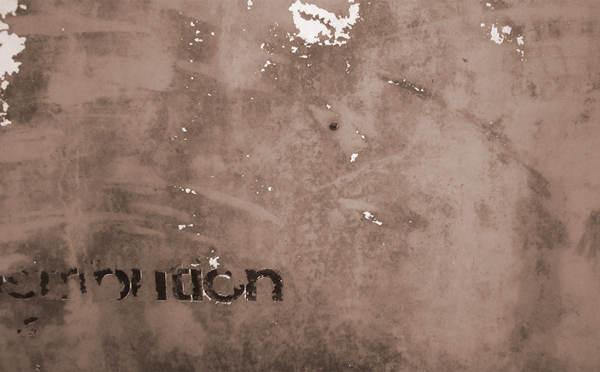
Create a new Hue/Saturation adjustment layer with the following settings:
Hue/Saturation
Colorize: selected
Hue: 25
Saturation: 15
Lightness: 0
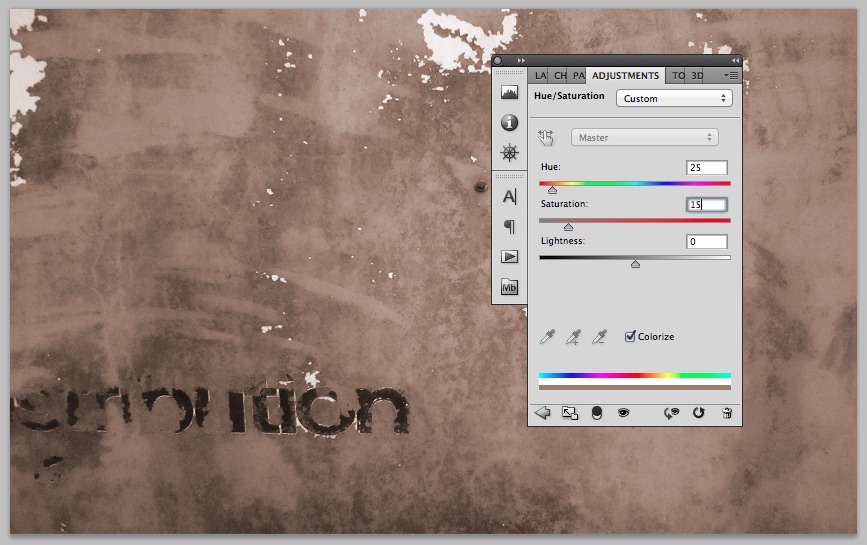
Whilst pressing ‘alt’ on your keyboard, hover your cursor between the two layers. You’ll see the cursor change to two overlapping circles, then click. This means the adjustment only affects the layer directly below it.
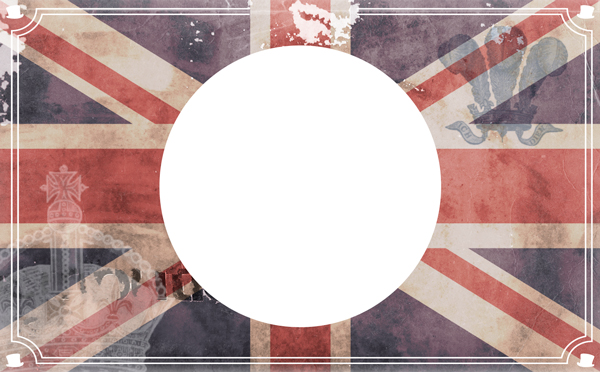
Step 2:
Download a simple image of the Union Jack. We’ve got this one via Wikipedia:
(Download the 2000px version for the best quality)
Scale to fit your canvas, then set the blend mode to Overlay and Opacity to 50%
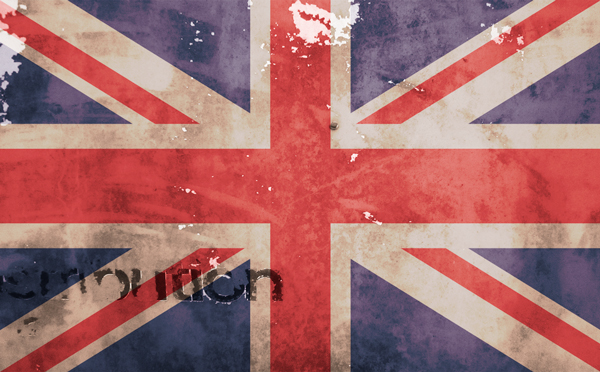
Create a new Hue/Saturation adjustment layer. Leave all the settings as default apart from the Saturation which we’ll reduce to -40:

As before, hold down ‘alt’ on your keyboard and click between the two layers to limit the adjustment effect to just the flag.

Step 3:
Let’s add our first screen effect. From the latest bundle folder, go to Cruzine-1 > flyerphotooverlays1 > screentextures and select screentexture24.jpg.
Rotate and scale to fit:

Then change the blend mode to Screen:

To keep things tidy, create a new group called ‘Background’ to place all the layers so far in.
Step 4:
We’ll add the border next so we’re aware of the framing for the rest of the design needs to work within.
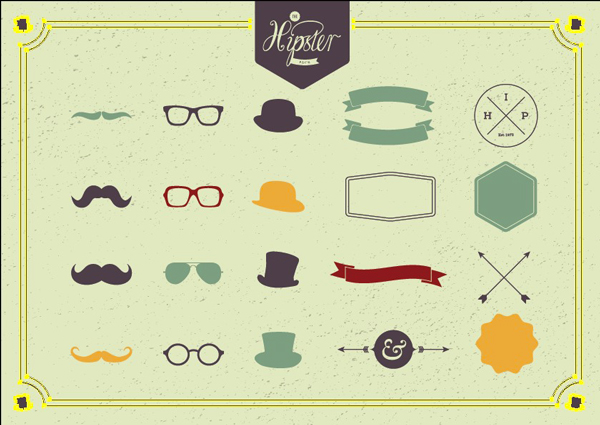
From the bundle folder go to Ian-Barnard > The-Hipster-Pack > Set 1. Open up the .ai file in Illustrator and select just the border:
Copy and paste it onto your photoshop canvas, scaling to fit and making sure it’s all centered.
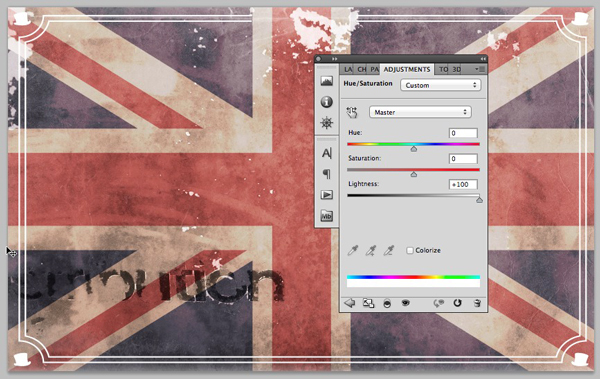
Create a new Hue/Saturation adjustment layer and apply it just to the border using the same technique as before. Leave all the settings as default apart from the Lightness, which we’ll take up to +100.
Rename the layer ‘Border’ and lock to keep it at the top for the rest of the tutorial.

Step 5:
From the bundle, install the 2 Lil Owls Vintage ephemera brushes.
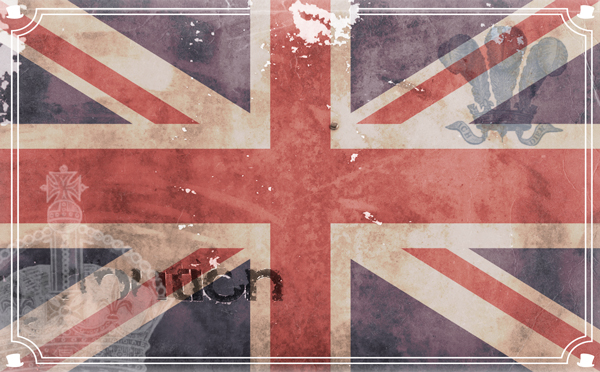
Create a new layer called ‘Crown 1’. Select the ‘Heraldic crown’ brush, setting the size to 650px and colour to white. Apply it to the centre of the canvas so nothing gets cropped.

Reposition so the crown sits towards the bottom left corner and reduce the layer Opacity to 70%

Create a new layer called ‘Crown 2’ and set the blend mode to Multiply. Select the Plume of The Price of Wales brush, setting the size to 370px and colour to #465e81.
Apply it towards the top right of the canvas like in the image below. We can reposition later if needed.
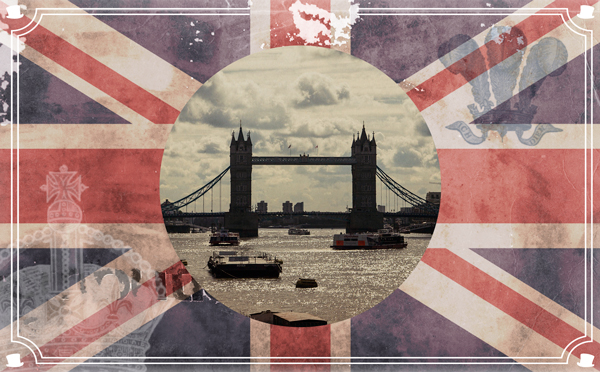
Step 6:
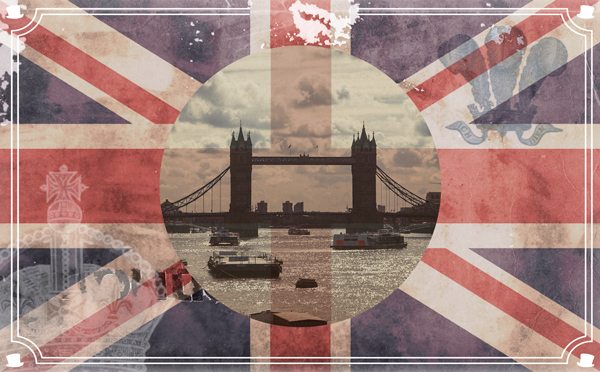
We’re now going to set the scene! Create a new group called ‘Circle’ to keep the layers for the upcoming steps.
Draw a circle and align in centrally to your canvas:
For this tutorial, we’ve used this photo of London Bridge by AlexVan, but you can choose any image that represents London for you :)
Paste the image on to your canvas and reduce the Opacity to 90%:

From your bundle, go to Cruzine-1 > flyerphotooverlays1 > textures and select texture25. Paste it onto your canvas and transform to fit the height:

Change the blend mode to Soft Light. Duplicate the layer and set the blend mode to Multiply and reduce the Opacity to 50%.
Select the photo plus two texture layers and right-click to create a clipping mask. With the layers still selected, reposition the image so that it’s framed nicely.
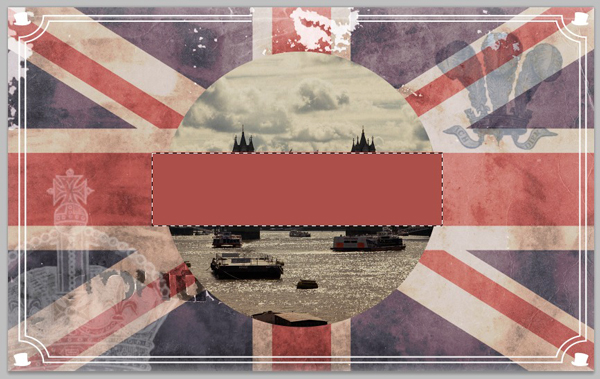
Step 7:
On a new layer, use the rectangular marquee tool to draw a rectangle the same height as the horizontal red strip of the flag and fill with the colour #97504b:
Duplicate the layer and transform so it matches the width of the vertical red strip of the flag. Merge the layers and name it ‘Cross’.
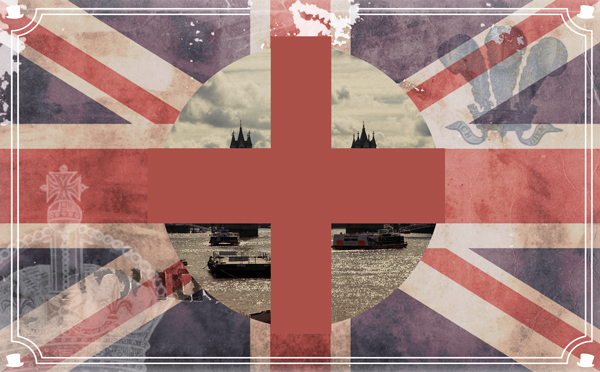
Set the blend mode to Multiply and reduce the Opacity to 30%. Then right-click the layer to create a clipping mask.
Step 8:
We’re now going to use some of the awesome Maps and Charts graphics included in the vintage bundle to give a travel vibe.
From the bundle folder, go to Offset-Designs-1 > MAPS_CHARTS. Paste map 21.eps on to your canvas and resize to fit the central circle:
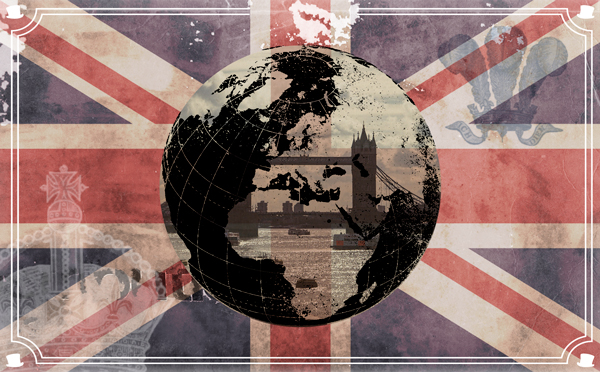
Inverse the layer so the map goes white. Set the blend mode to Overlay and reduce the Opacity to 70%.
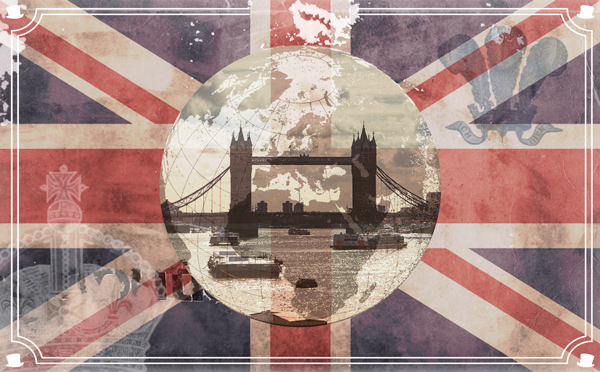
Again from the MAPS_CHARTS folder, paste chart 30.eps on to your canvas. Scale to fit centrally in the circle and inverse the layer to make it white.

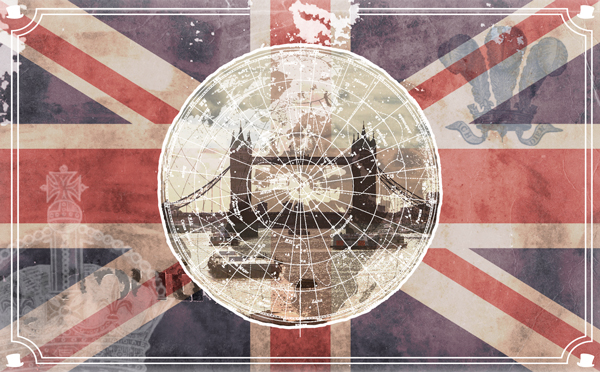
From the bundle folder go to Ghostly-Pixels > BadgeShapes-byGhostlyPixels > Thin_Outline.
Paste Circle.eps onto your canvas and scale so it creates a nice outline around the central images. Inverse to make it white.
Step 9:
From The Hipster Pack Set 1 we used earlier, select the rather impressive moustache on the fourth row. Paste it on to your Photoshop canvas towards the bottom of the circle then using the Fill tool, change the colour to #2e2e2e

Step 10:
From the bundle folder go to Make-Media-Co > Totally-Texture-Creation-Kit and open CreativeMarket_TotallyTextureCreationKit_badges_CS4.ai in Illustrator.
We’ll be editing the following badge:
Edit the text to reflect a travel-related theme. We’ve gone for ‘British Design Tourism – Jolly Good Graphics’ ;)

Paste this on to your Photoshop canvas and scale down so it sits neatly in the lower right corner. Set the blend mode to Multiply.

Create a new Hue/Saturation adjustment layer and use the alt + click method so that it only affects the badge. Then apply the following settings:
Hue/Saturation
Colorize: selected
Hue: 216
Saturation: 25
Lightness: 0

Step 11:
From the bundle folder, go to Ian-Barnard > texture-armoury > Textures – PNG > Canvas. Paste canvas-2.png on to your Photoshop canvas and transform to fit.
Set the blend mode to Soft Light and reduce the opacity to 70%

Step 12:
Now let’s add a friendly message! From the bundle folder, go to Cruzine-1 > 890handwrittenshapes > 120vs4
Open the 120vs4.ai file in Illustrator. We’ll be using the ribbon shape marked below in black:
To make it easier to work with, copy and paste the shape into a new Illustrator document and change the fill colour to #293743.
Draw a line that echoes the ribbon shape, which we’ll use as our type path.
Select a font of your choice and type “Greetings” with the text aligned to centre. We’ve used Trend Hand Made Five, from a previous bundle.
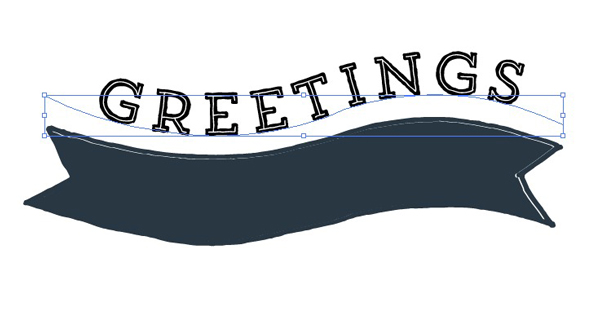
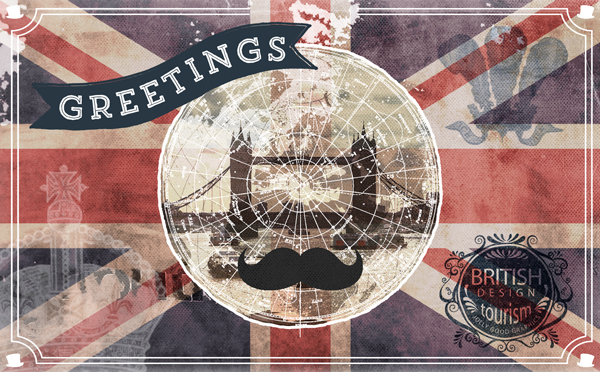
Change the font colour to white and place inside the ribbon, then copy and paste on to your Photoshop canvas.
Transform so it looks similar to the image below:
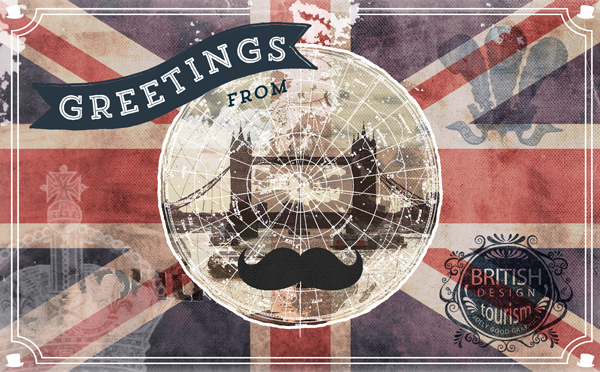
Back in Photoshop, type ‘From’ using a font of your choice with he text colour #293743.
Transform so it sits at an angle below the banner:
Using another font of your choice (we’ve used Trend Five), set the colour to white and type ‘LONDON’ and apply a strong drop-shadow to make it pop out from the background.
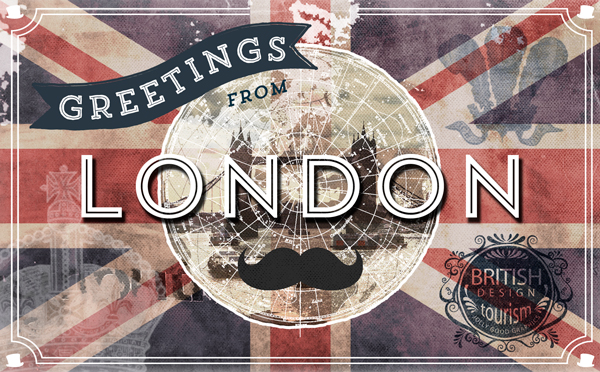
If you have the Trend set of fonts, you can take this effect further by selecting Trend Three (colour #2e2e2e), retyping the text on a new layer and setting the blend mode to Multiply and Opacity to 80%. Reposition so it sits nicely within the horizontal strip of the flag.

Step 13:
From the bundle folder go to Cruzine-1 > flyerphotooverlays1 > screentextures and select screentexture26.jpg.
Paste in on to your canvas and scale to fit.
Finally, change the blend mode to Screen.

You can finish the tutorial here, or if you’re a hardcore Design Cutter and want to create a front/back mock-up using some more of the resources in this bundle – read on!
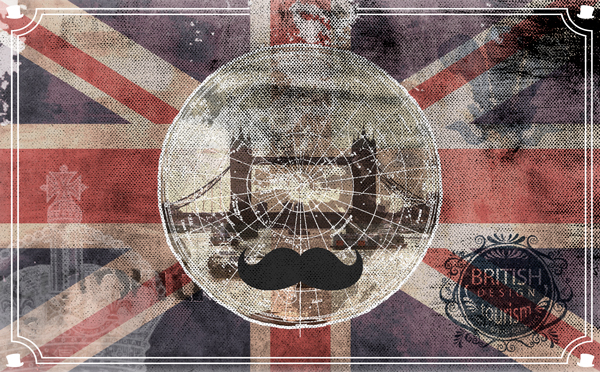
Step 14:
Open a new A4 Photoshop document (2480px x 3508px)
Go to Ian-Barnard > texture-armoury > Backgrounds and paste background-31.jpg on to the canvas, scaling to fit.

Go to Ghostly-Pixels > BadgeShapes-byGhostlyPixels > Thin_Outline and paste the Rectangle.eps on to your canvas, again scaling to fit.
Use the Fill tool to change the colour to white.

From the 2 Lil Owls Vintage Postcards, select a design of your choice and paste it on to your canvas. We’ve gone for Vintage Postcard 1-3.jpg and added a basic drop shadow effect.

Save the postcard design we just created as a JPEG and paste on to the canvas, applying the same drop shadow effect.
You can then rotate and arrange the two layers so they look casually stacked on top of each other, then scale to fit.
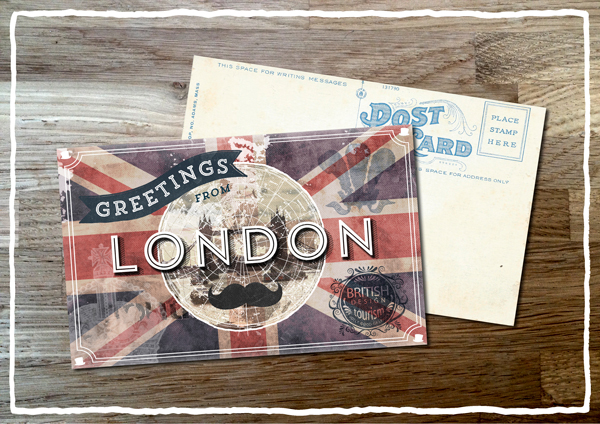
And we’re done!
I hope you had fun with this tutorial and that it’s given you some ideas on how to use the extensive resources from this bundle. Since we’re such an international community, maybe we can see some postcards you’ve created for your hometown? :)
Remember, there’s only a few days left to get our huge vintage/retro bundle for just $29. This bundle is packed full of value, with best-selling items from a range of top vintage design shops.
Click here to get the Ultimate Vintage/Retro Design Bundle Now – 91% Off
Be the first to comment