WHAT WE’RE CREATING:
In today’s tutorial you’ll learn how to create a dark and gritty poster in Photoshop.
No happy little Christmas elves here! We’re going to grunge it up and create a badass biker design.
You’ll learn a ton of useful techniques, including texture application, working with textures and creating cool text effects.
Let’s get started!
Step 1:
Open up Photoshop. Create a new document (1200X1600px, 300DPI resolution).
Fill your background layer with #231e1e.
This tutorial will be using several vectors from our current deal, offering you 400+ extended license vectors for 95% off. If you haven’t checked it out yet, it’s expiring soon, and the price will go back up from $20 to $450.

Download this beautiful stained paper texture from Lost and Taken:
Paste it into your canvas and resize it to fit your composition:

Now desaturate this texture layer, and set it’s blend mode to ‘overlay’.

Step 2:
It’s time to start using our new vectors. If you haven’t grabbed our current vector deal yet then we can’t recommend it enough. You can get over 400 extended license, high quality vectors for a massive 95% saving.
T-Short Factory Professional Vector Collection (Extended License) – 95% Off.
It’s expiring very soon though, so be sure to grab it while you still can.
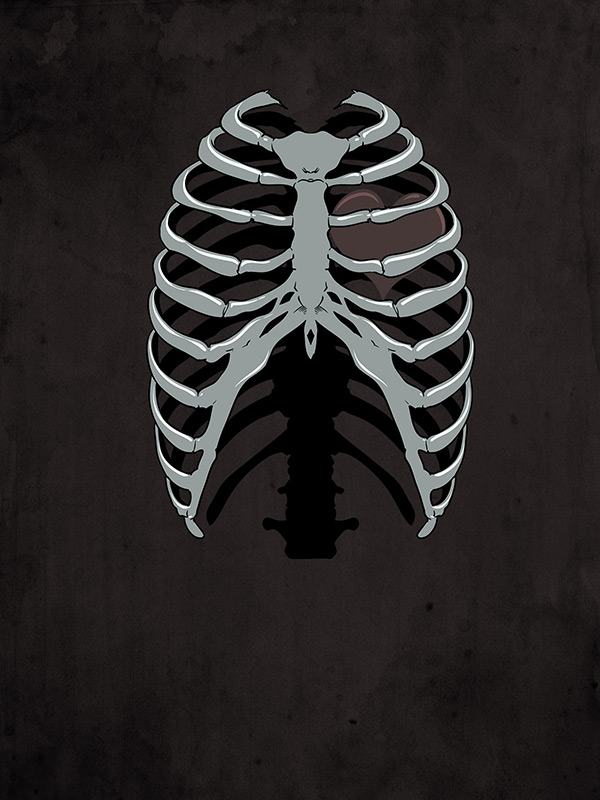
Start by accessing one of the skeleton vector packs. Paste in the following vector:

Apply a color overlay blending option in order to blend this element better:
Color Overlay Setting:
Blend Mode: Color
Color: #576361
Opacity: 80%

Here’s the result:
Step 3:
Paste in several more vectors, taken from the skeletons and decorative flourishes packs:

Now reduce the opacities of these various layers until you have a nicely balanced background:

Step 4:
Start adding some basic lighting to your poster.
Create a new layer (blend mode: ‘overlay’) called ‘highlight’ and use a large, soft white paintbrush to apply light to the center.
Then create a new layer called ‘vignette’ and apply soft black shadowing around the edges/corners of your poster:

Step 5:
Download this splatter brush set:
and apply the splatters using a black paintbrush on a new layer.

Reduce this layer’s opacity to 10%, for a nice subtle grungy effect:

Step 6:
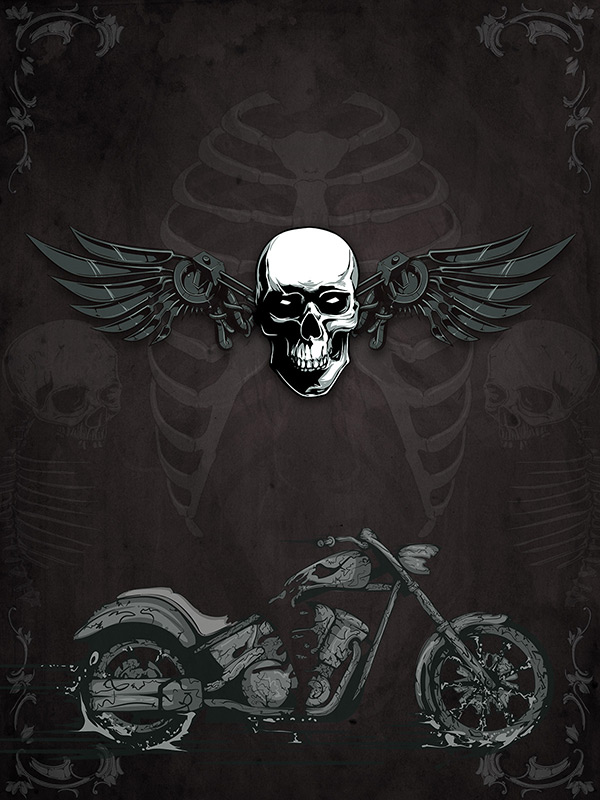
Paste in the steampunk style wings from one of the wings vector packs from the current vector deal:

Apply a levels adjustment layer to give the wings slightly more contrast. Also apply a basic drop shadow:

Step 7:
Paste in further vectors, positioning them like this, and applying drop shadows as necessary:
Step 8:
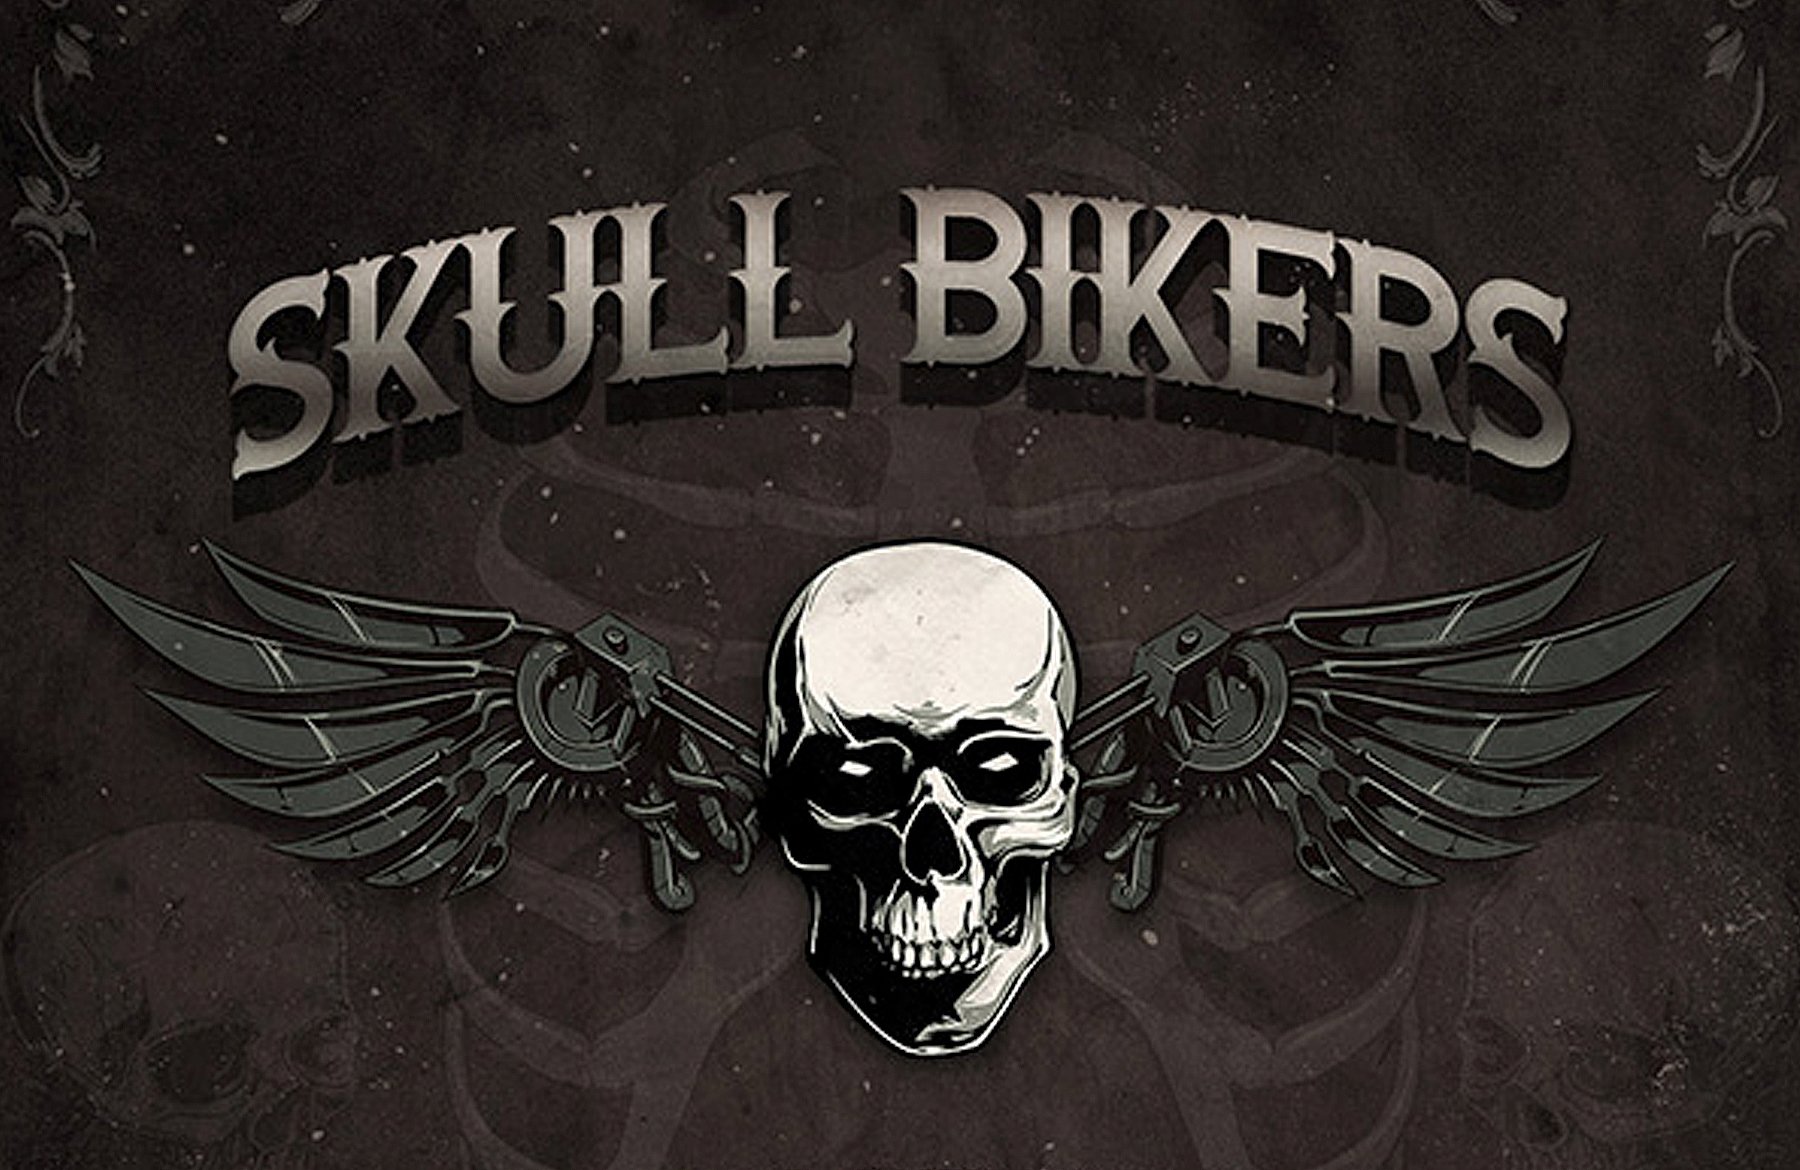
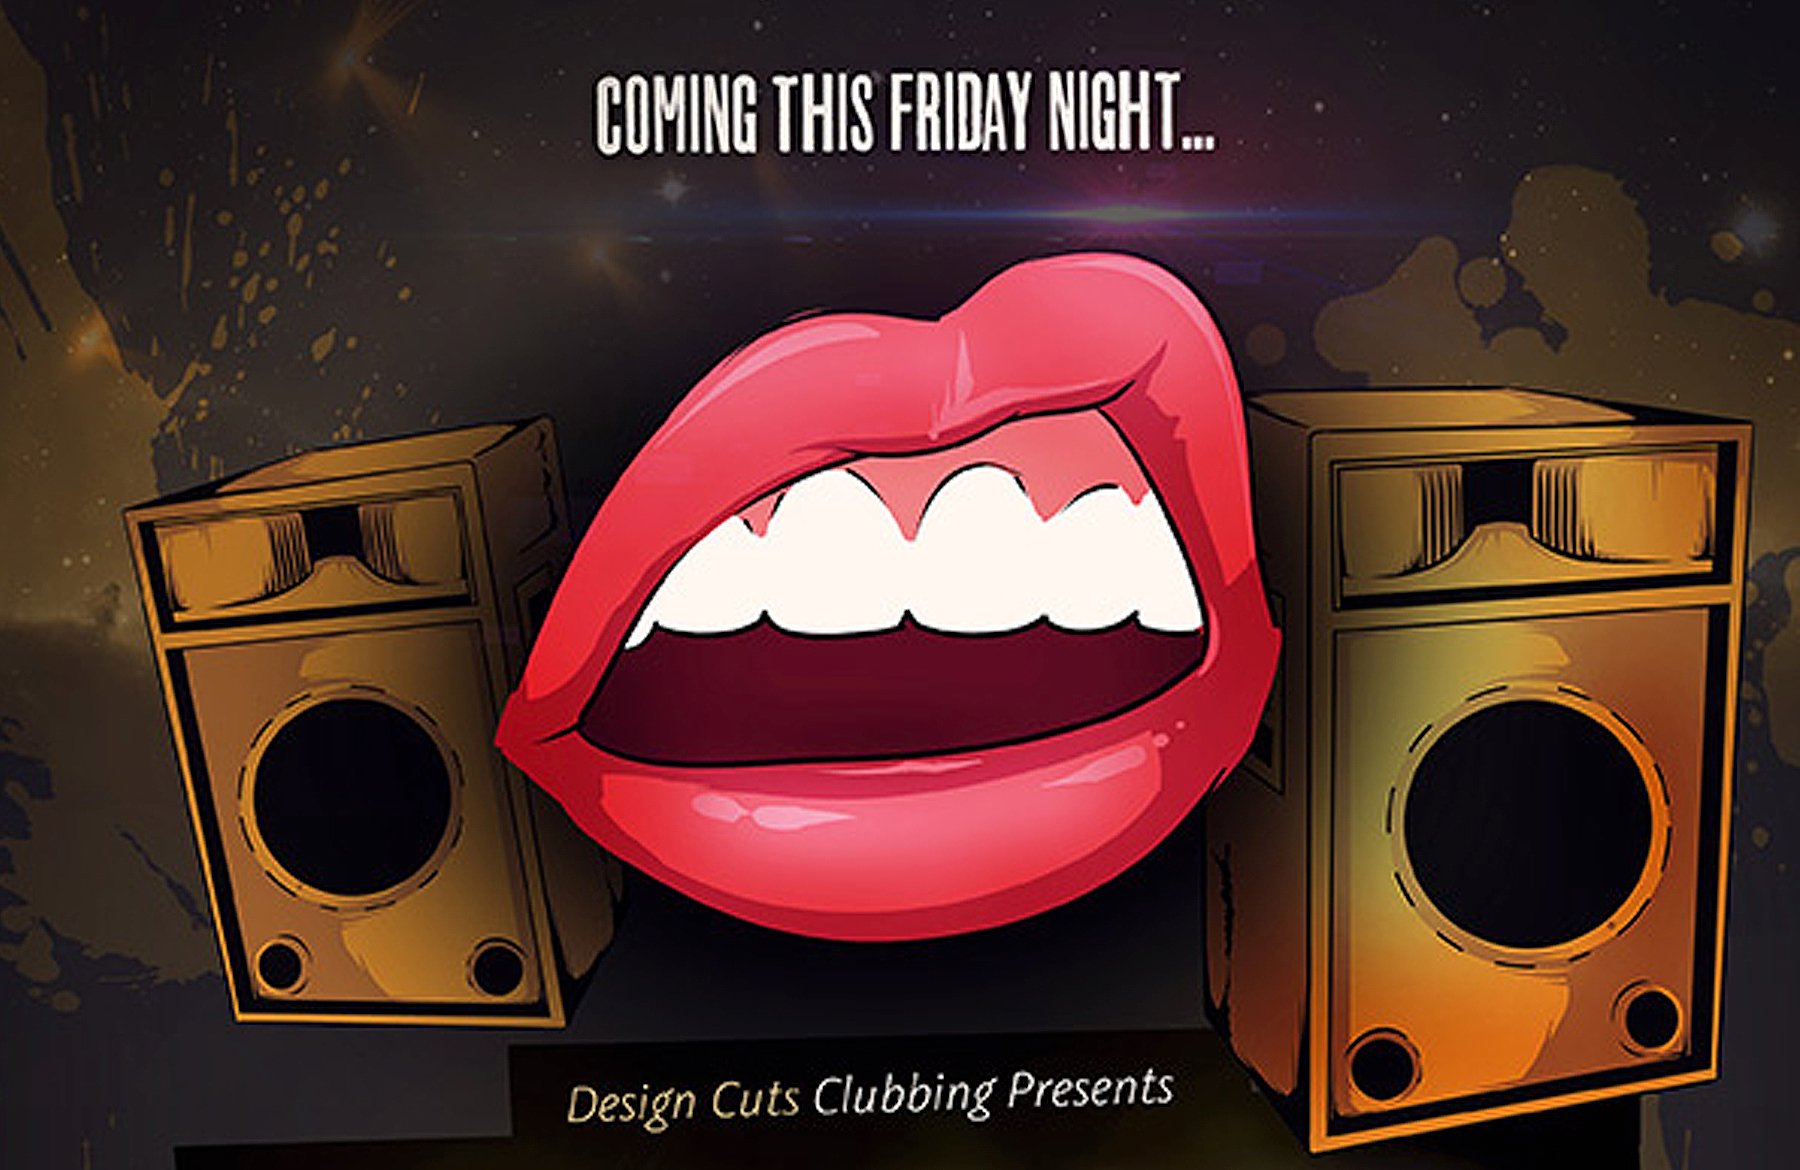
Apply some text to the top of your post.
I used the awesome font Rooters, which is part of our next deal (an awesome font bundle).
Select the ‘warp text’ function in your tool options bar. Choose the settings shown below:

Apply the following blending options to your text layer:

Here’s the result:

Now apply a 3D style drop shadow. To achieve this effect, copy your text layer (moving the duplicate beneath the original). Hide the blending options, and make your text black. Then move it down 1px. Continually duplicate these black text layers, moving each duplicate down 1px. This will layer up a staggered drop shadow effect like this:

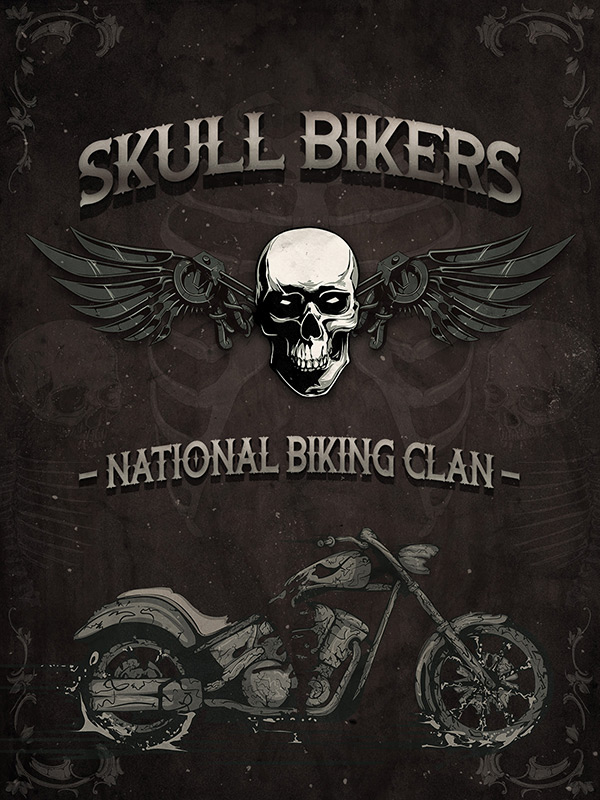
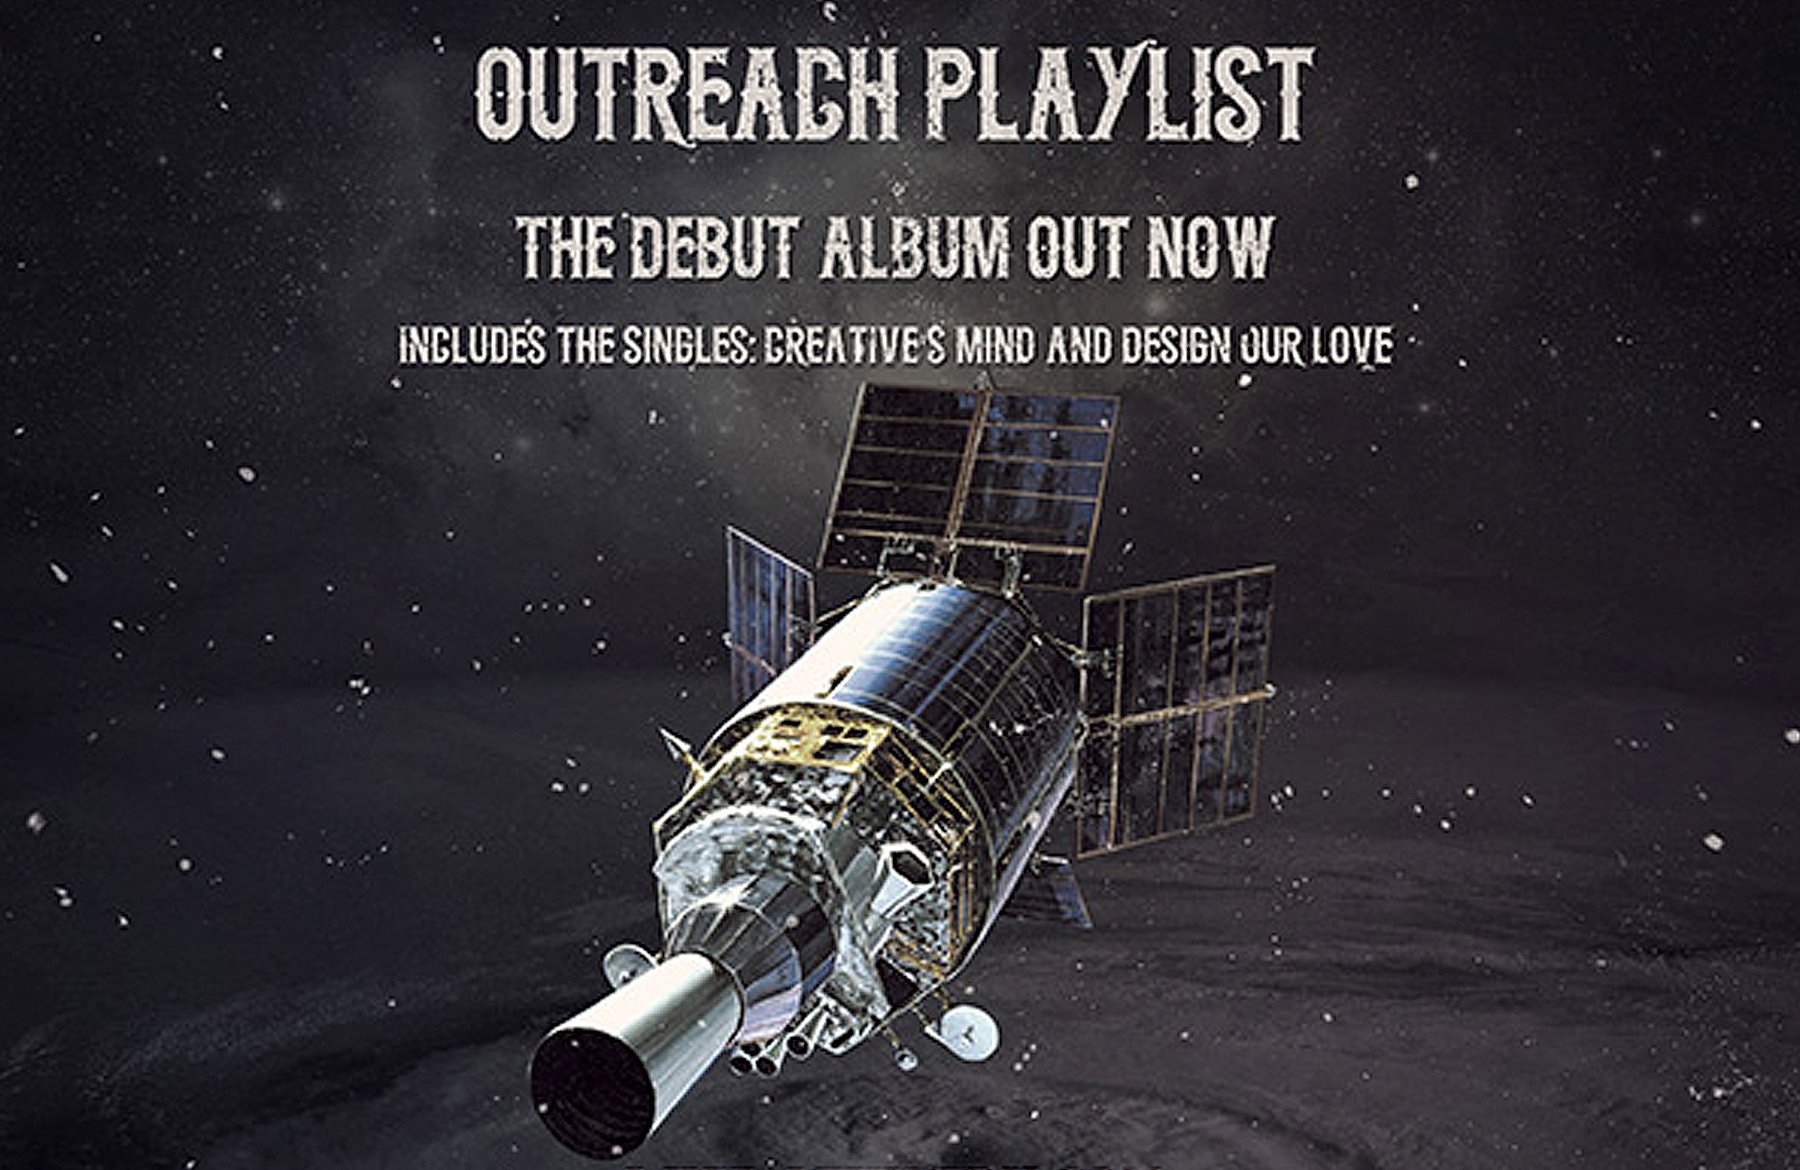
Repeat these steps to add another line of text halfway up your poster:

Step 9:
Download these amazing noise textures, from our buddy Chris Spooner:
Free Gritty, Grainy Noise Textures
Start by pasting one into your canvas, positioning it like so:

Set the blend mode on this layer to ‘screen’, which will hide the black background and just leave the noise effect visible.
Then apply several more of the noise textures, and adjust the opacities until you’re happy with the result:

Step 10:
Download some more Lost and Taken paper textures:
Layer these up, and play around with opacity and blend modes. I varied between multiply and overlay blend modes, and around 10-15% opacity.

Step 11:
Create a new layer called ‘noise’.
Fill the layer with black. Then go to filter>convert for smart filters.
Then go to filter > noise > add noise.
Noise Settings:
Amount: 30%
Distribution: Uniform
Monochromatic: Checked

Apply a layer mask, and use the splatter brush you already should have downloaded to mask off areas of this noise layer:

Now reduce this layer’s opacity to 20% and change it’s blend mode to ‘screen’. This will give a subtle noise overlay effect to make your poster look more gritty and grungy:
AND WE’RE DONE
I really hope that you enjoyed this tutorial. Have fun with it, and please comment and let us see your outcomes.
Be the first to comment