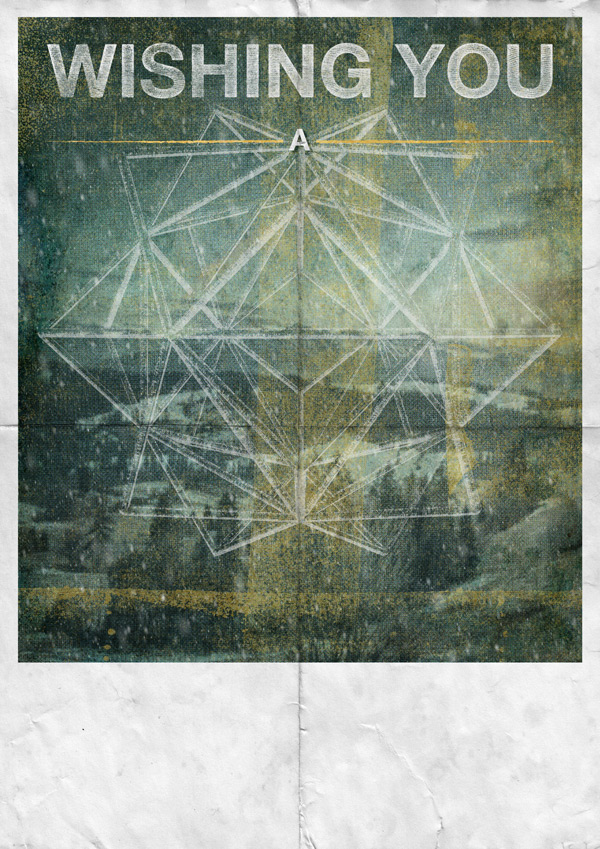
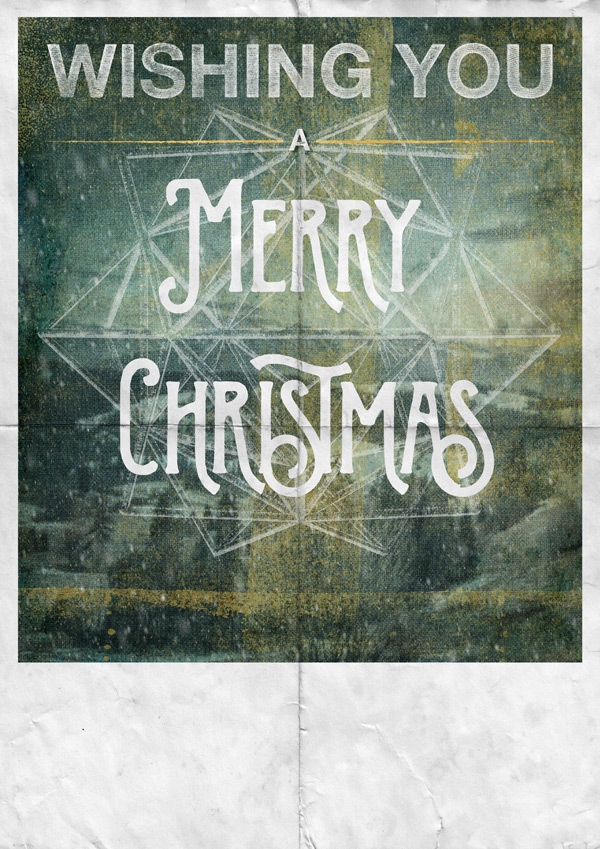
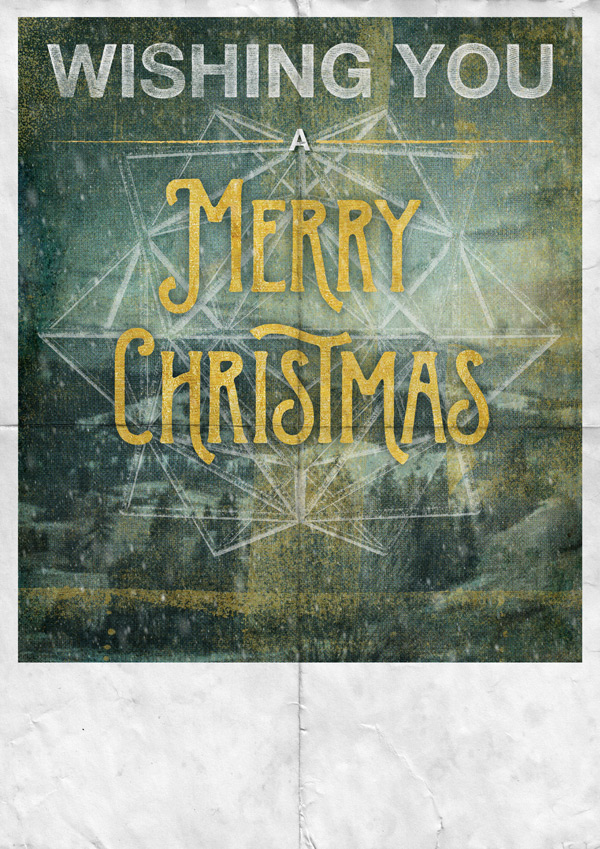
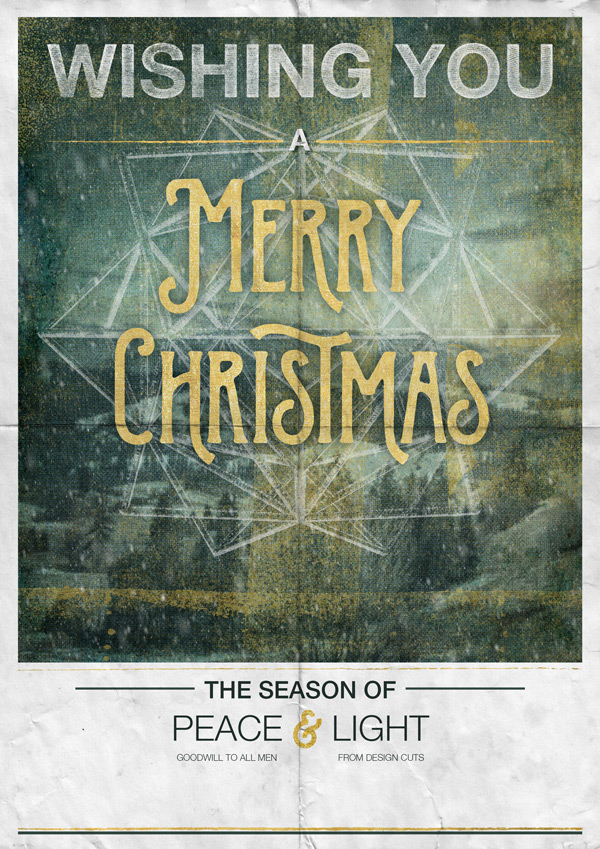
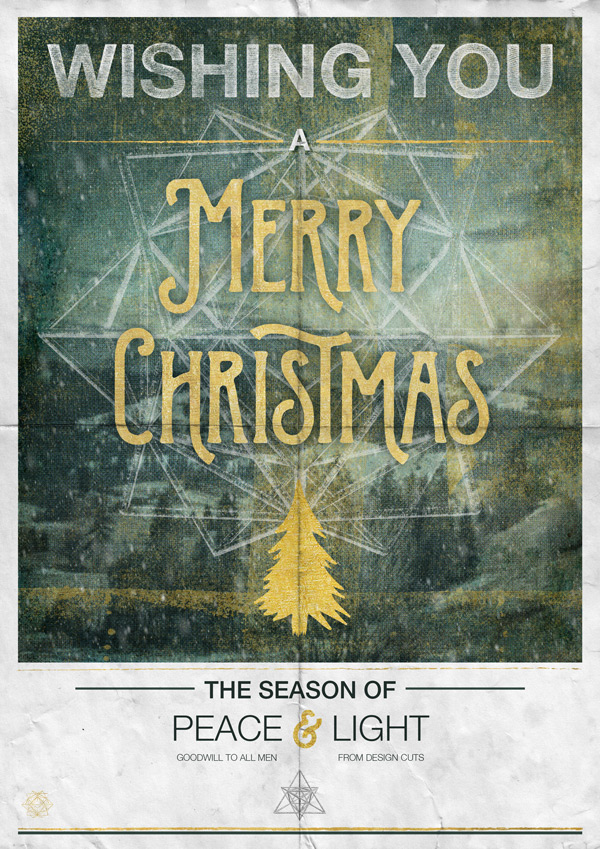
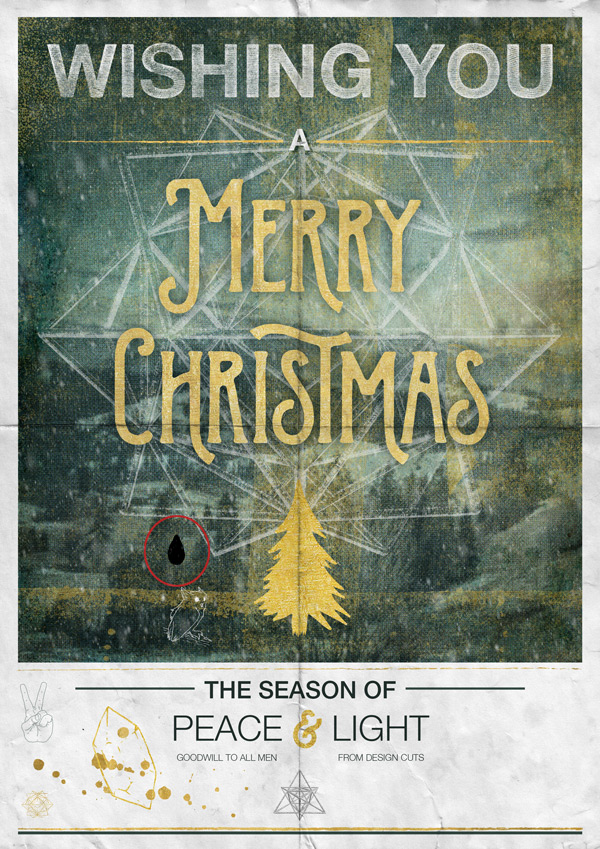
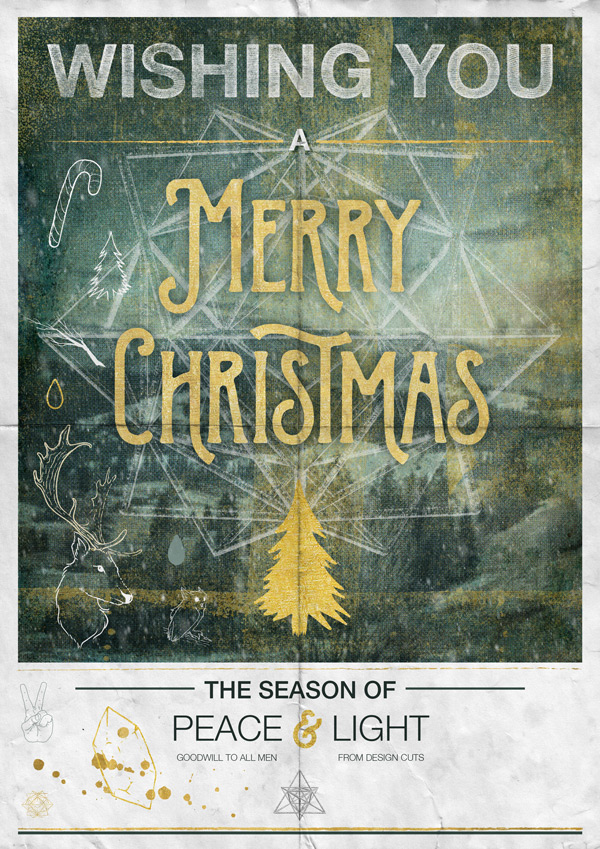
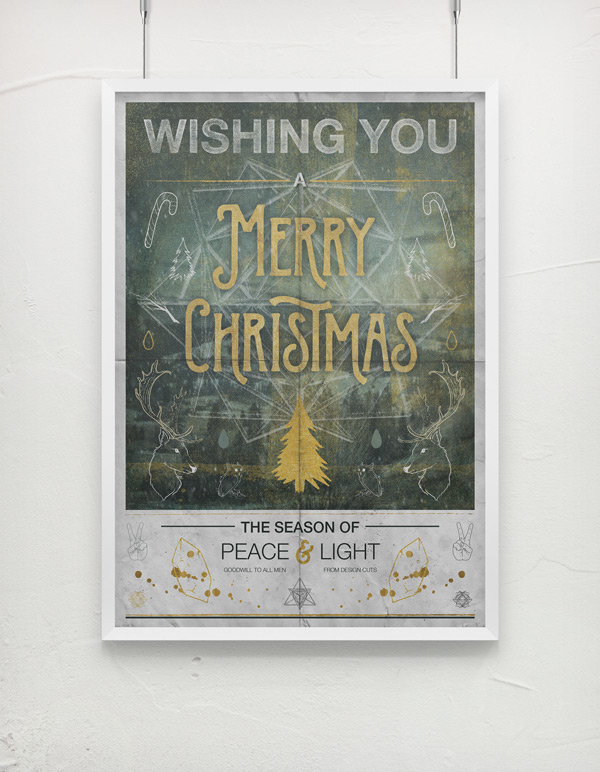
WHAT WE’RE CREATING:
Ho ho ho Design Cutters!
Jo here, and today we’ve got a real treat thanks to the huge variety of resources available in the current bundle – I do love these “all in one” type deals. :)
We’ll be fitting in as many different types of resources as possible in to this tutorial including textures, screens, vectors, fonts and actions to create this festive poster. Hopefully it’ll feel as though Christmas really has come early this year!
Quick note: In this tutorial, the term “clipping” or “clipped layer” is used a few times. This means that the layer is only visible/applies to the layer directly below it. You can very quickly do this by holding ‘Alt’ down on your keyboard and clicking between the two layers. Here’s a quick demonstration.
Ok, let’s get straight in!

Follow along with this tutorial: Download the freebie + source file
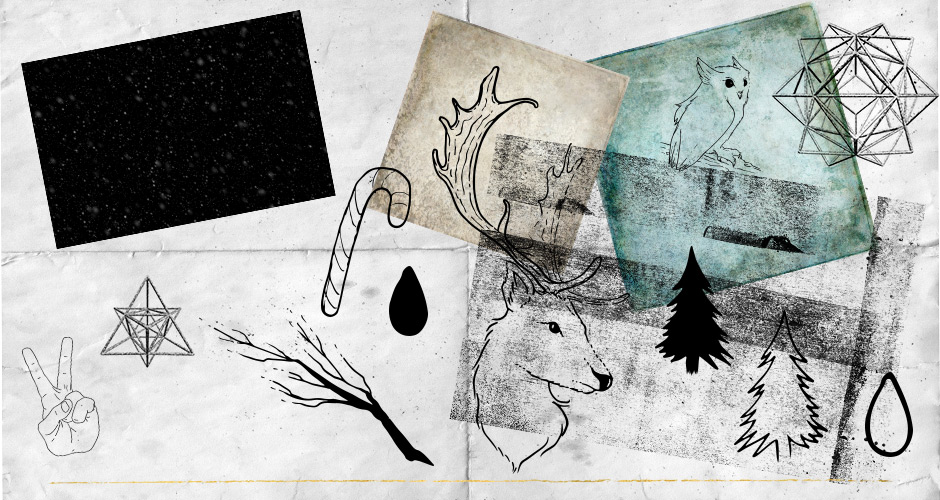
As always, we have another great freebie for you to enjoy.
Just as the bundle has a variety of resources, this week’s freebie includes various elements from textures to vectors thanks to our designers’ generosity. We hope you’ll have fun with this great little selection!
Remember, this freebie is just a tiny sample taken from this mega bundle: The Incredible All in One Design Bundle at just $29 (a fantastic 94% Off). This bundle brings you a vast selection of popular design resources, that will have an instant impact upon your regular creative work. These beautiful items combine quality, variety and one of our biggest discounts yet!
Enter your email below to download the freebie, so you can follow along with this tutorial easily.
Step 1:
Open up a new (A4) 2480px x 3508px Photoshop document.
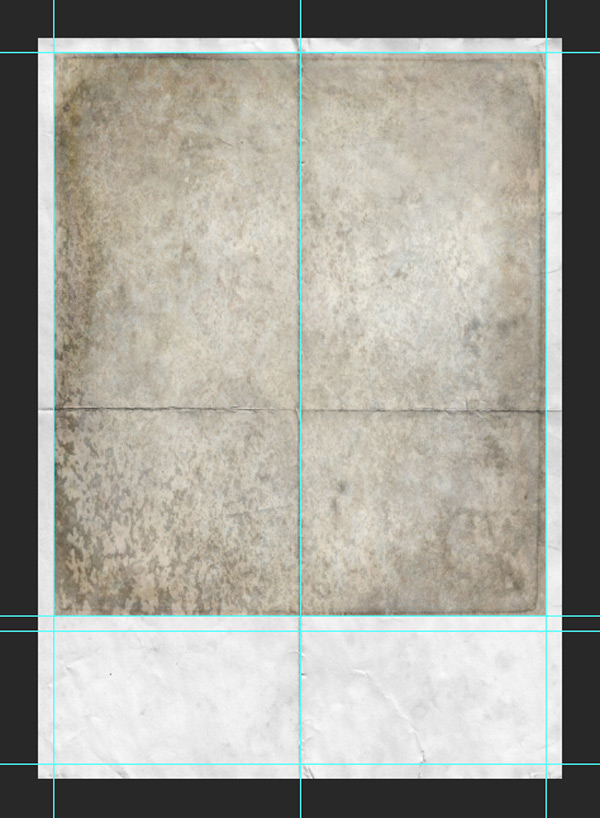
Next, we’ll set up some guides that’ll help us throughout the design process. To set the guides up at specific points, in the main menu bar go to View > New Guide and set up the following guides:
Vertical: 3%, 50%, 97%
Horizontal: 2%, 78%, 80%, 98%
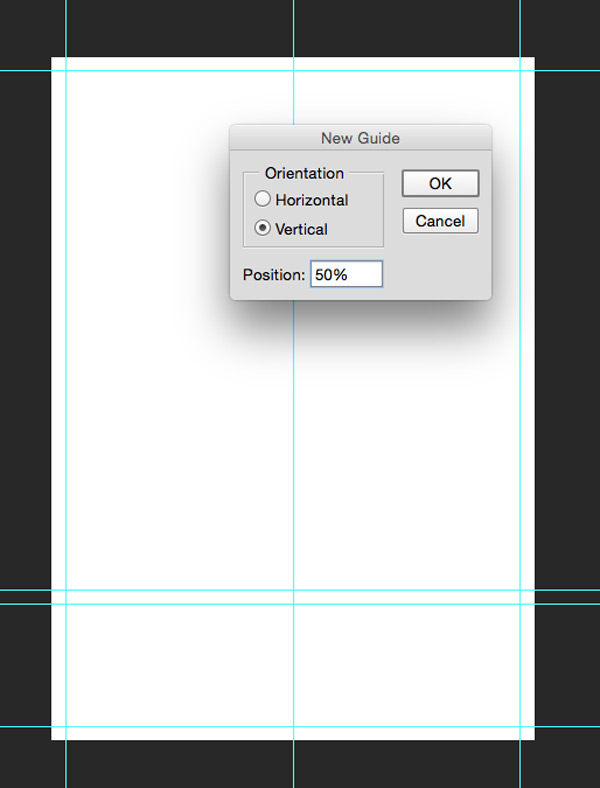
Now our canvas is all set up, we can get creating!
Step 2:
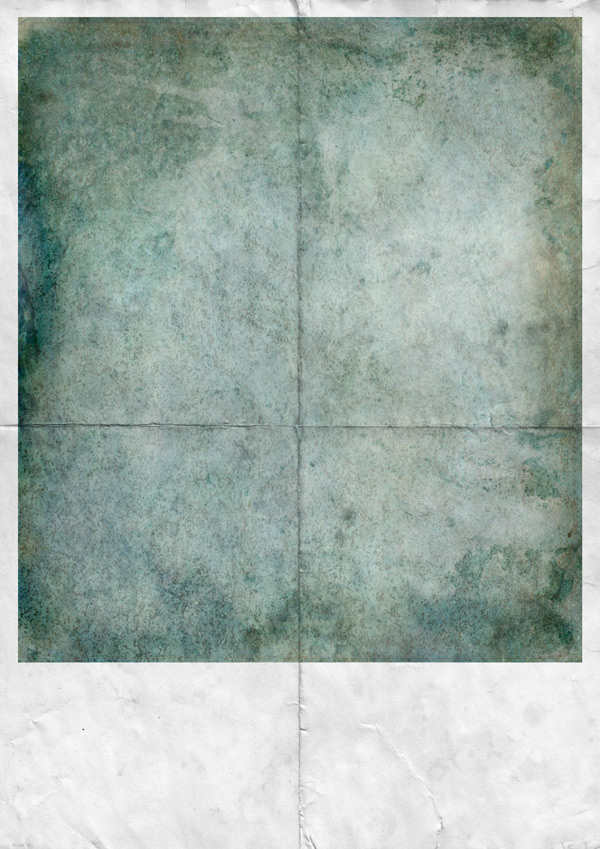
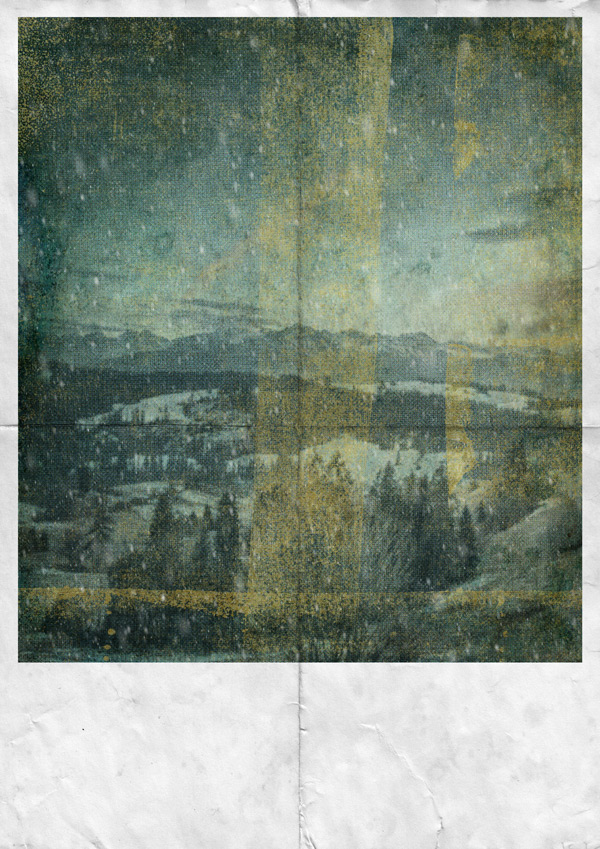
We’re going to start by grabbing a file from one of the action-based resources (which is also included in the freebies): all-in-one-vintage-design-co-1 > PosterPress > PosterPress – Textures > Paper Folds > paper-folds-03.png.
The great thing about many of the actions-based resources is that they still include many elements that can be used individually, which can used on all kinds of work without having to use the main actions themselves.
For instance, we’re using this great folded texture paper (paper-folds-03.png), which has been scaled to fit:
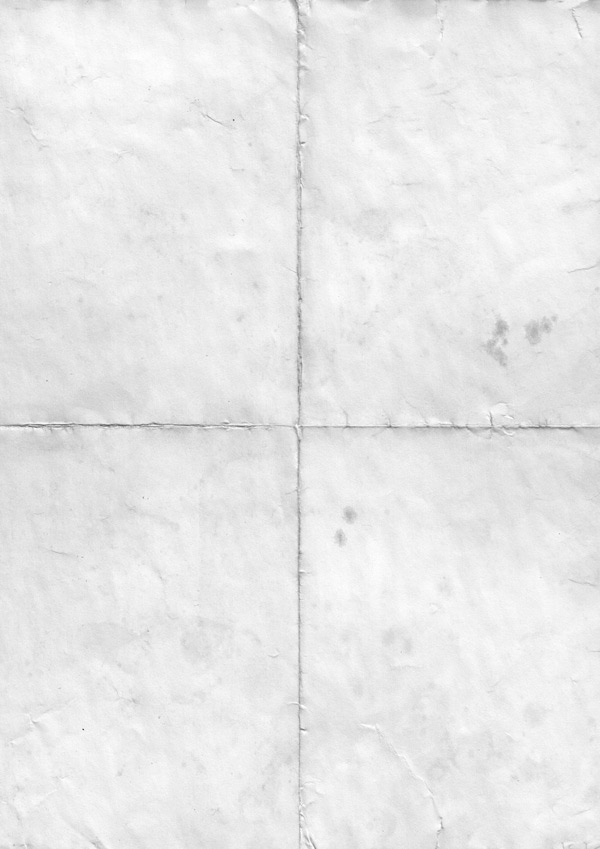
Set the blend mode to Multiply and lock the layer to the top, so that the paper effect applies to the entire design we’ll be creating below it.
Step 3:
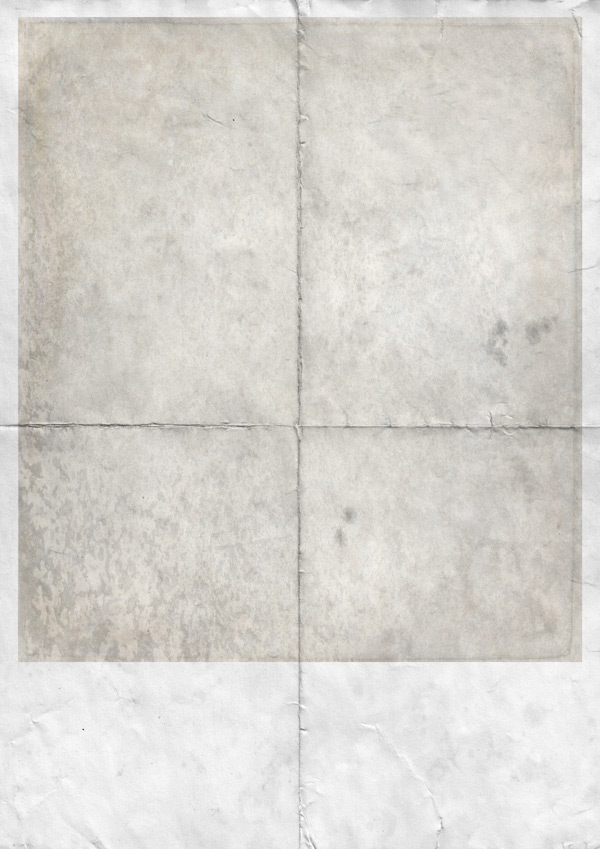
We’re going to build up some textures for our main image background, and we’ll start with all-in-one-2-lil-owls > Mercury Glass > 2LO Mercury Glass 16.jpg, which is also included in the freebies:

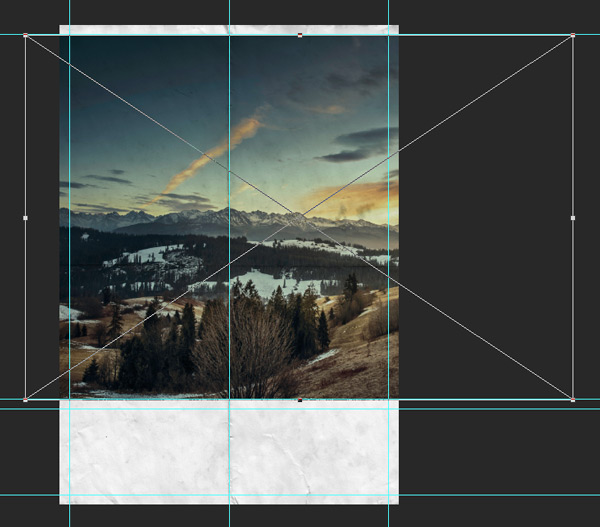
Paste on to your canvas, scaling so that it fits within the top guides we set up:
Reduce the Opacity to 50% for a softer effect:
From the freebies, paste 2LO Mercury Glass 16.jpg on to the canvas. Scale so that it just goes over the guides for the main part of the image:
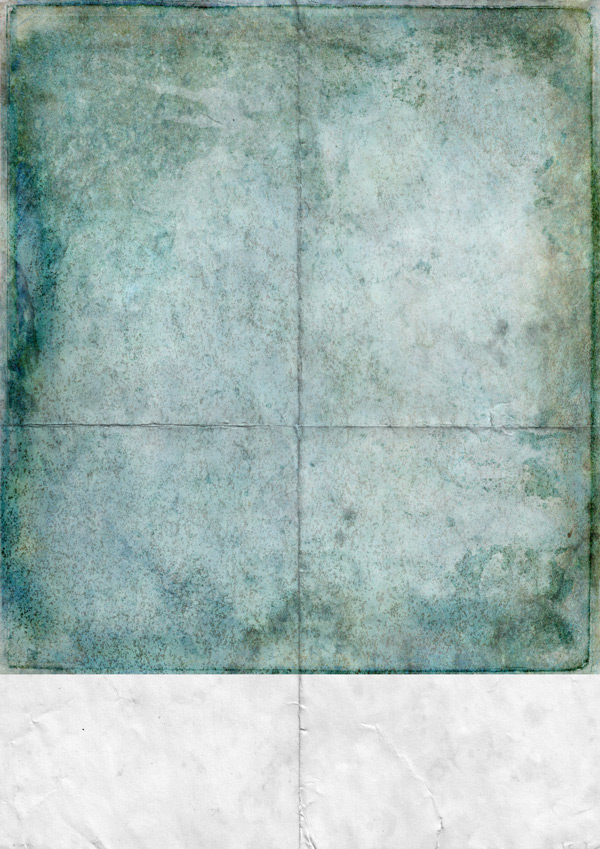
We still want to keep our borders though, which we’ll enable by creating a Layer Mask. For the mask, make sure black is set as the foreground colour and use the Rectangular Marquee Tool to draw a rectangle that matches the guides. Invert the selection by pressing Shift + Cmnd/Cntrl + I on your keyboard:
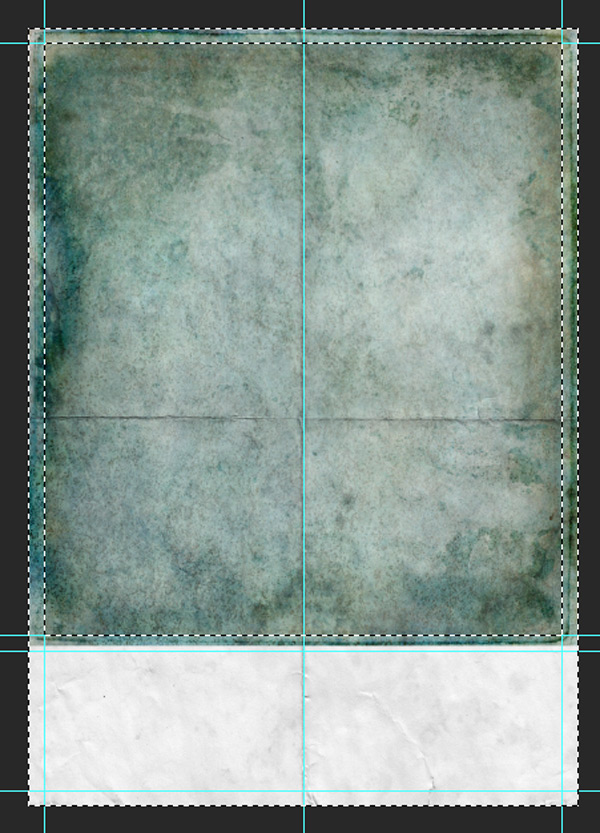
Hit Alt + Delete to fill the selection with black and create the mask. Set the layer blend mode to Multiply to complete the step:
Step 4:
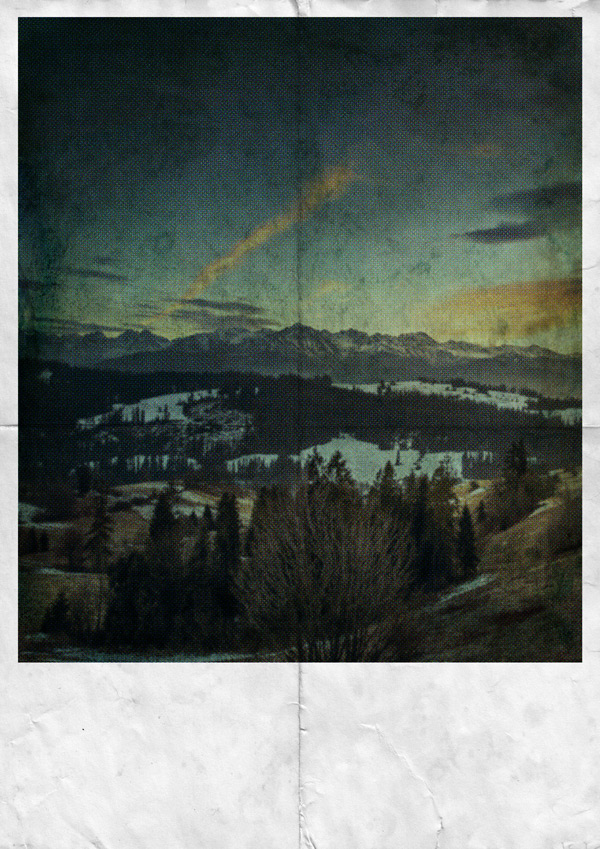
We’re going to add some imagery to our background using this stunning photo from Unsplash:
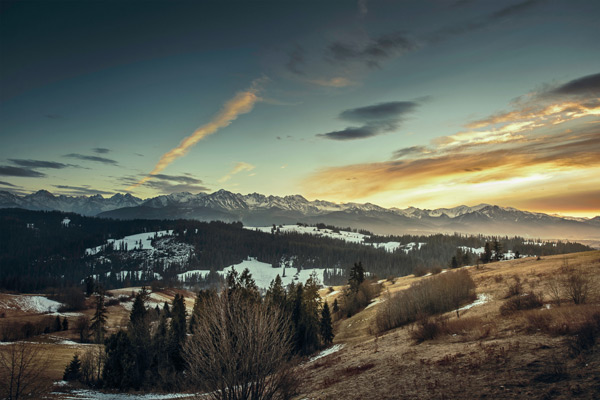
Paste on to your canvas so that it sits within the guides and so that most of the trees will be visible:
Switch the blend mode to Multiply, then create a Layer Mask the same way we did for the 2 Little Owls texture in the previous step, so that we bring back the borders on our canvas:
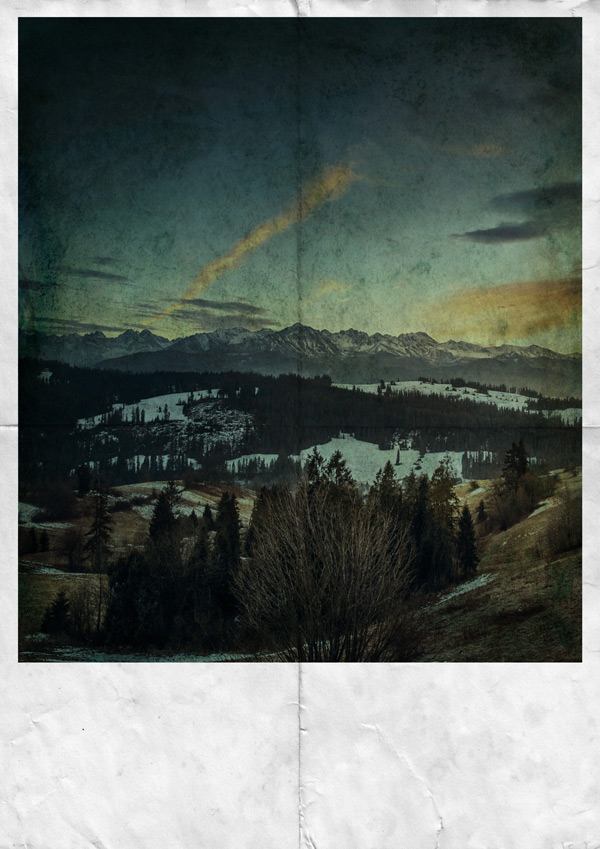
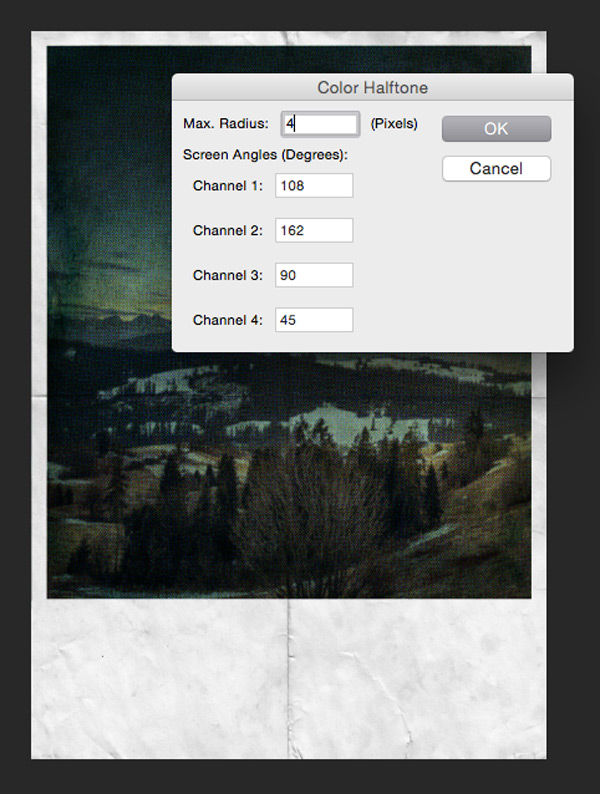
Now we’re going to add a little more texture and interest by adding a halftone filter. From the main menu bar go to Filter > Pixelate > Color Halftone and set the Max Radius as ‘4’ in the popup box that appears:
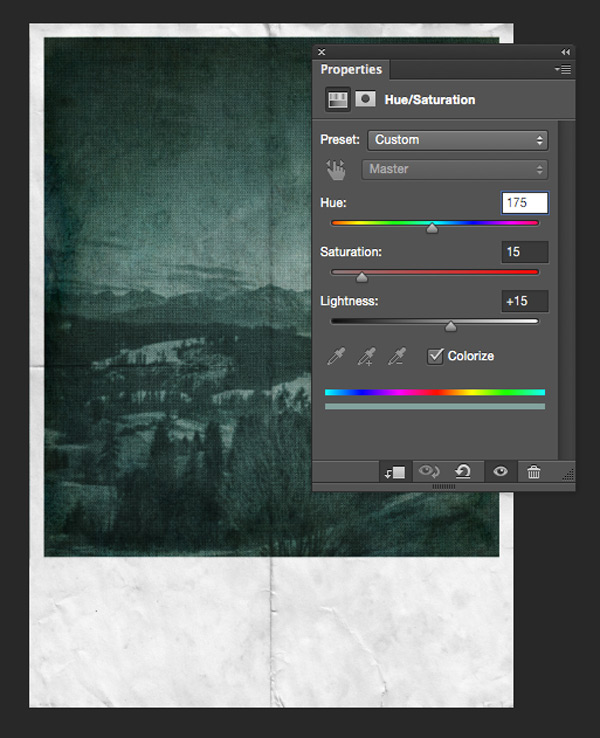
The pixelated creates a nice printed feel, but the colours are a tad overpowering. We’ll fix this by creating a clipped hue/saturation Adjustment Layer with the following settings:
Hue/Saturation Settings:
Colourize: On
Hue: 175
Saturation: 15
Lightness: +15
Once you’ve applied the settings, change the blend mode of the Adjustment Layer to Screen. This brings back a touch of the colour and creates a much lighter effect:
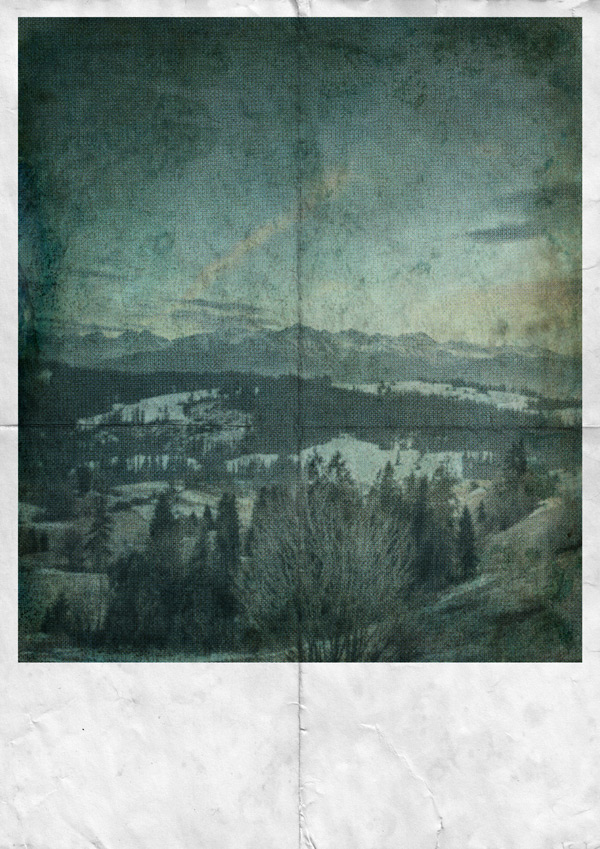
Step 5:
We’re going to finish off our background image using all-in-one-vintage-design-co-1 > PosterPress > PosterPress – Textures > Ink > Ink3.png :
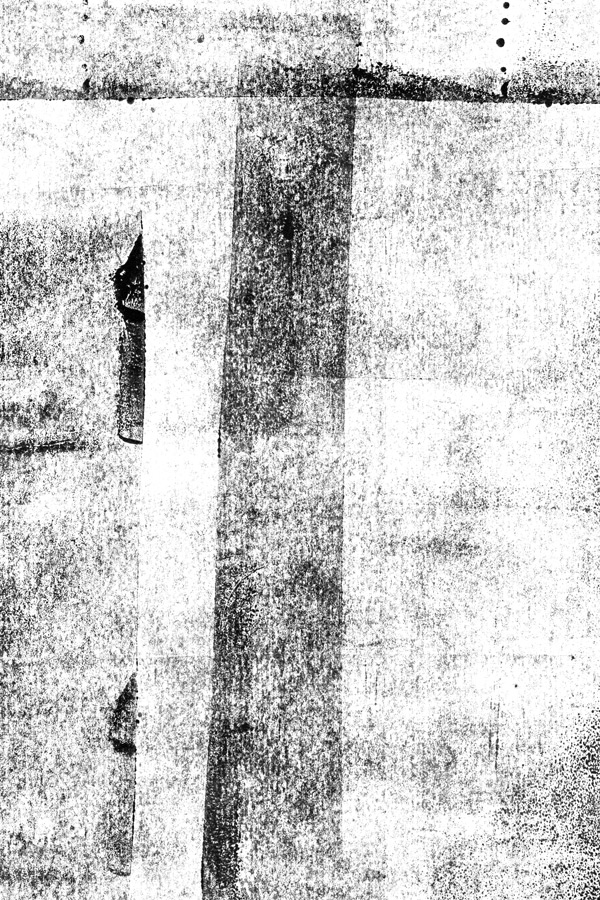
Paste on to your canvas, scaling so that it fits within our image guides then reduce the Opacity to 55%:

It’s a rather un-festive black at the moment, so we’ll brighten it up using a gold texture borrowed from all-in-one-summit-avenue > Gold-Shapes > 23_ribbon.png.
Place on to your canvas, scaling so that the gold covers our image area:
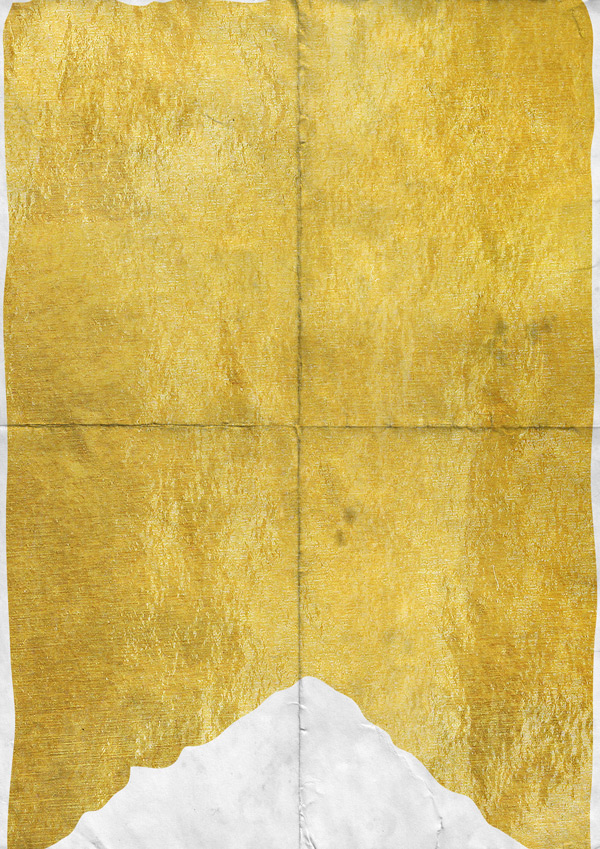
That’s probably a bit too much gold, even for christmas, so we’ll tone it down for the right effect by clipping it to our Ink layer below:
We’ve now got a nice, rolled gold ink effect – the balance we were after between the ink looking too dark and the gold potentially blinding us! :p
Place all the layers (apart from the top paper layer) in to a group folder called “Background” so we can find it easily and keep things tidy.
Step 6:
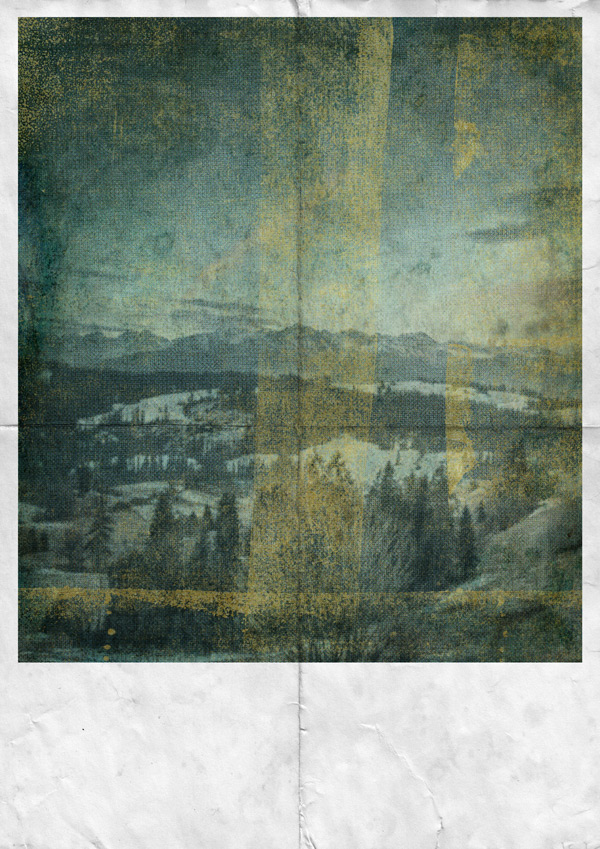
Before we move on to adding the smaller individual elements, we’re going to apply a snowy screen texture to our design. Personally, I like to apply screen textures towards the start just so you can get a better idea of how the image and colours will look as you’re designing.
From the freebies, grab the 2LO It’s snowing 3.jpg file and paste on to your canvas, scaling to fit within our image guides:
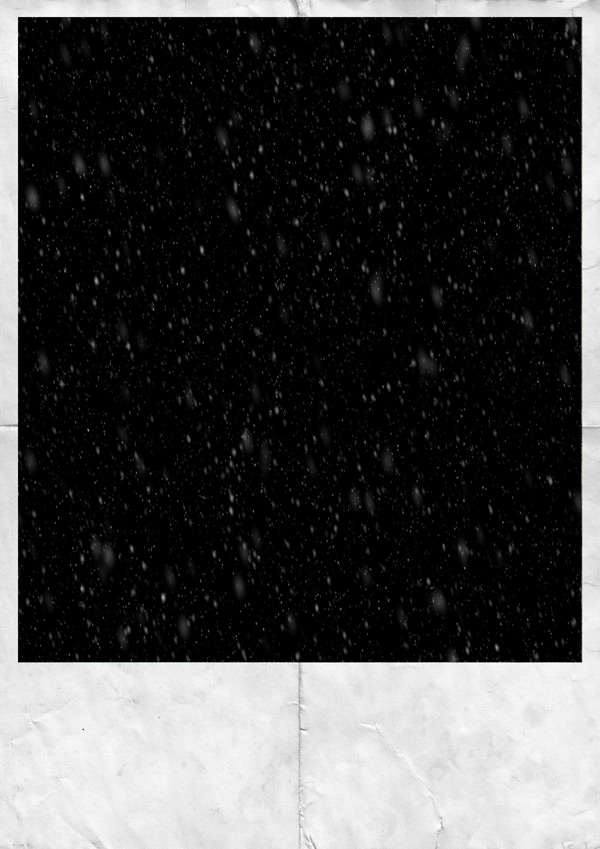
Then, simply change the blend mode to Screen and we’ve created a winter wonderland!
We want this snowy effect to cover our main image, so make sure the layer is locked at the top, just below the paper texture. All our other layers will then sit below it.
Step 7:
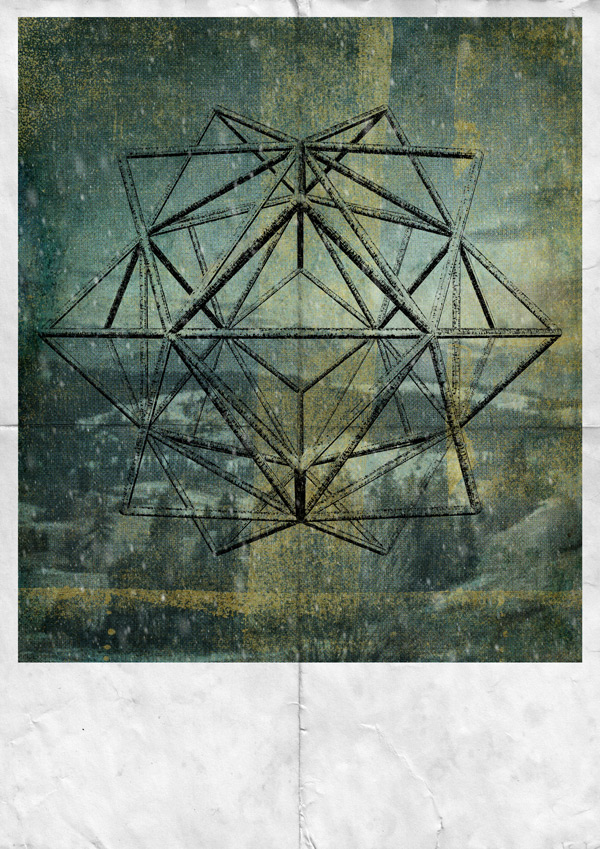
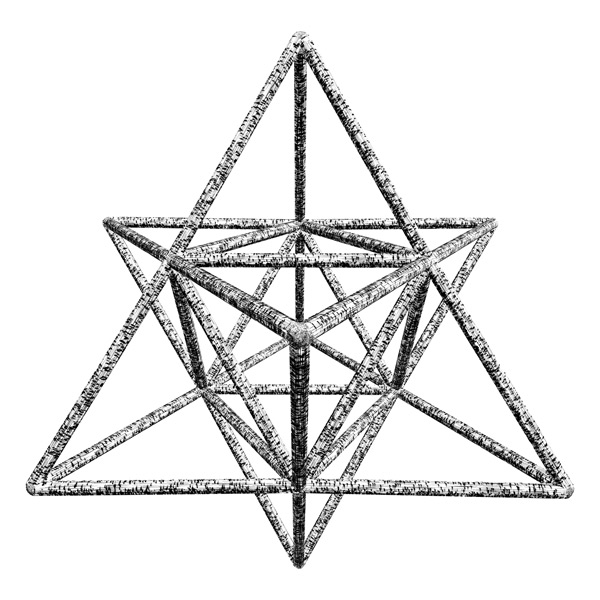
We’ll add a little more interest to our backdrop with an abstract star shape from all-in-one-rule-by-art-2 > RuleByArt_Geometric_Polygons > symmetrical > 05.png, which you’ll also find in the freebies:
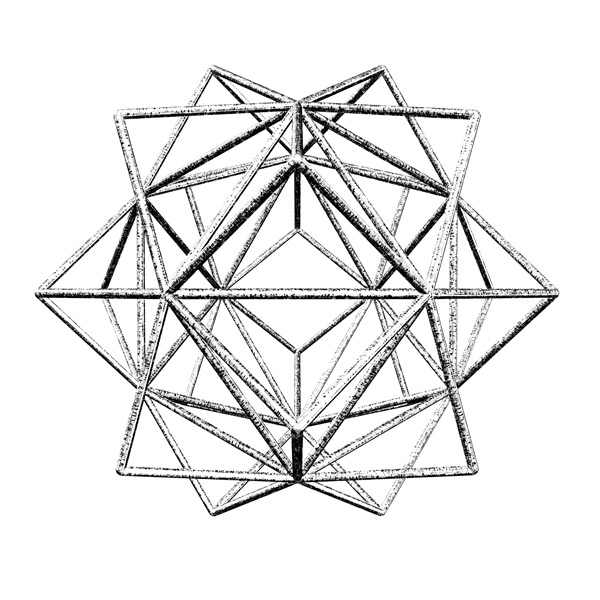
Paste this on to your canvas so that it sits centrally within our image guides:
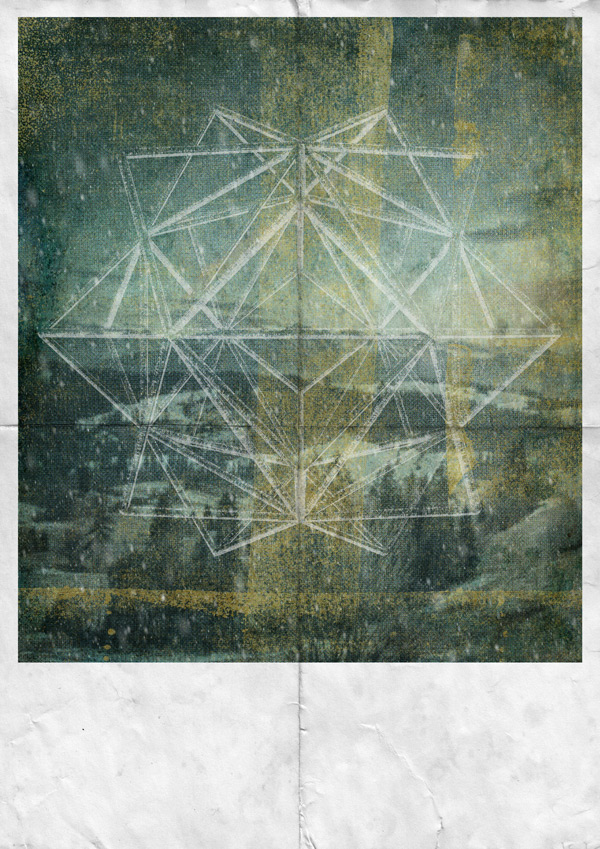
Create a clipped hue/saturation Adjustment Layer. Make sure the ‘colorize’ box is selected, then bring the lightness all the way up to 100 to make the image white:

Once the adjustments have been made, go back to the image layer and reduce the Opacity to 55% and change the blend mode to Screen:
Step 8:
We’ll start off the next steps by adding some text to our poster. For the first part, we’ll create some text with a woodblock effect using all-in-one-vintage-design-co-2 > WoodBlock > WoodBlock-PSD > WoodBlock-Landscape.psd.
Firstly, we’ll need to open up WoodBlock-Landscape.psd:

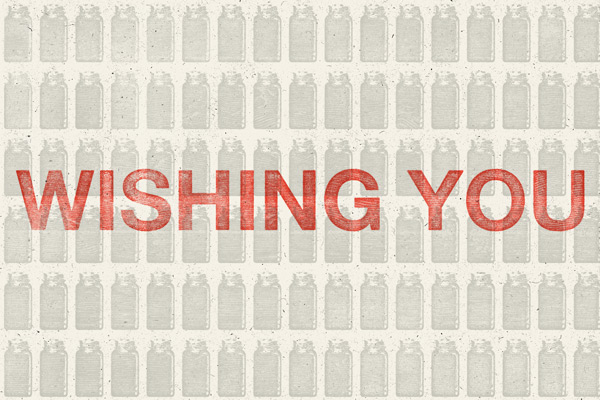
Double click on the top layer (highlighted green) where it says to change your image. This will open up a new editing window:
Hide or delete the existing image layer, and create a new one. Using a simple sans-serif font such as Helvetica Neue Bold, type “WISHING YOU” in uppercase:

Save the file, then go back to the original woodblock .psd to see the changes:
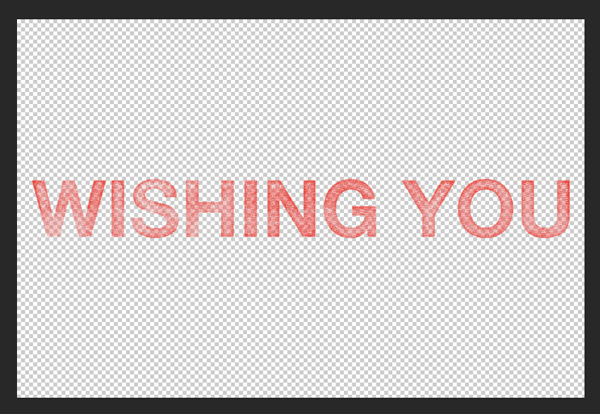
We want to import the text as a transparent PNG on to our working canvas, so we’ll need to make a few changes here first before we can save the file.
Firstly, hide all the background folders: Image Background, Textures and Background.
Then on the Color Adjustment Layer change the colour to white:
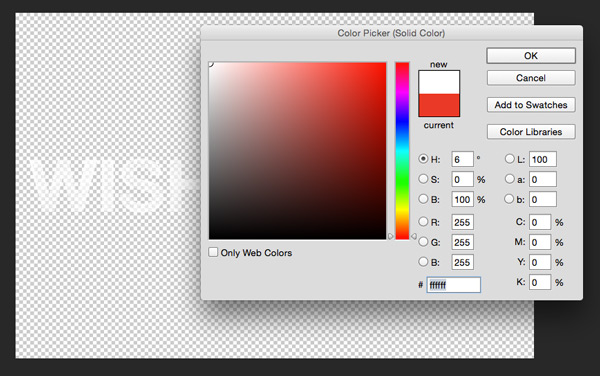
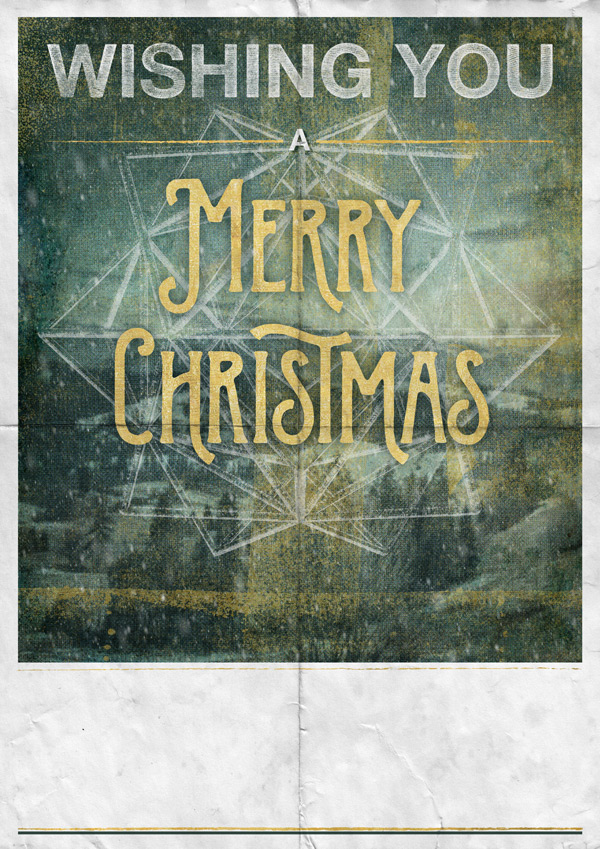
Save the file as a transparent png to your desktop (or anywhere you can find it quickly). Going back to our original image, paste the PNG we just saved on to our canvas. Scale and position so that it sits towards the top of the image, similar to below:

Step 9:
We’ll continue adding text to the poster using the same font. This time type an uppercase “A” on a new layer in white, at around 30pt size. Position so that it sits centrally slightly below the “WISHING YOU” text:

Duplicate the layer and change the text colour to black. We’ll use this to create a shadow effect to help the text stand out. Move the layer to below the original, white “A”, use the arrow keys to nudge down and right slightly and change the blend mode to Soft Light:


To add some accent either side of the text, we’ll paste all-in-one-summit-avenue > Gold-Shapes > 6_gold-line.png on to our canvas so that it sits centrally over the “A” and transforming so that it matches the width of the top text:

Use a Layer Mask to hide the part of the line that goes over the “A” and leave a bit of space either side:
Step 10:
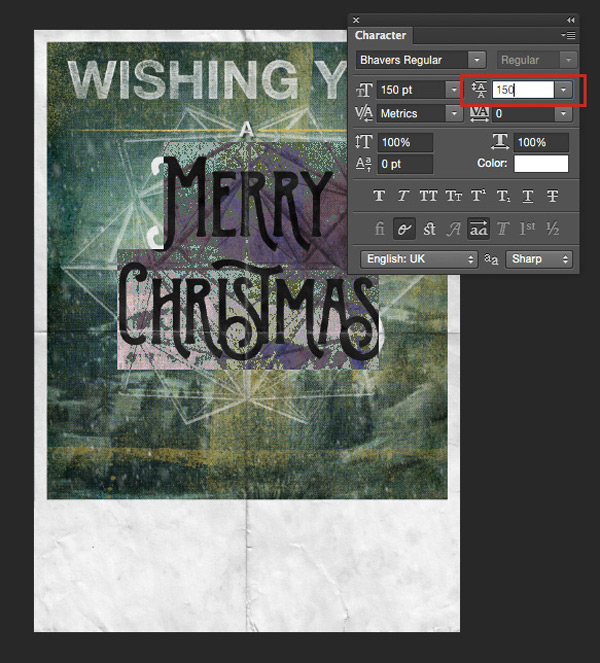
For our “Merry Christmas” text, we’ll be using the Bhavers font from the bundle, which you can find here: all-in-one-ilham-herry > Bhavers > Bhavers Typeface > Bhavers Typeface.otf. If you haven’t done so already, install the font.
Set the font size to about 150pt and type “Merry Christmas”:
We’ll go in to Photoshop’s Character panel to make a few tweaks to get the text looking just as we want.
First, we’ll reduce the Leading, which is the space between the lines of text. Change this number to 150, or the same as the text size to reduce the gap:
In this example, the text has Stylistic Alternates turned on for all the letters, which as you can see makes things a little cluttered!
Highlighting individual letters, turn off the Stylistic Alternates to get a more balanced design:

This leaves the text looking much better:
To help the text stand out a little more, we’ll add a simple drop shadow with the following settings:
Drop Shadow Settings:
Blend Mode: Multiply (default)
Colour: 19393A
Angle: 120 (default)
Distance: 0
Spread: 0
Size: 65
Step 11:
Now our text is set up, we’re going to add a gold effect to it so that it ties in nicely with the rest of the design, as well as add a bit of festive sparkle.
Going back to our “Background” group, duplicate the gold ribbon layer we used to apply the gold effect to the ink. We’re going to do exactly the same for our text. Move the duplicate layer to above the text, then clip it to the text layer below:
The gold’s a little bright as it is, so well tone it down a bit by creating a clipped hue/saturation Adjustment Layer with the following settings:
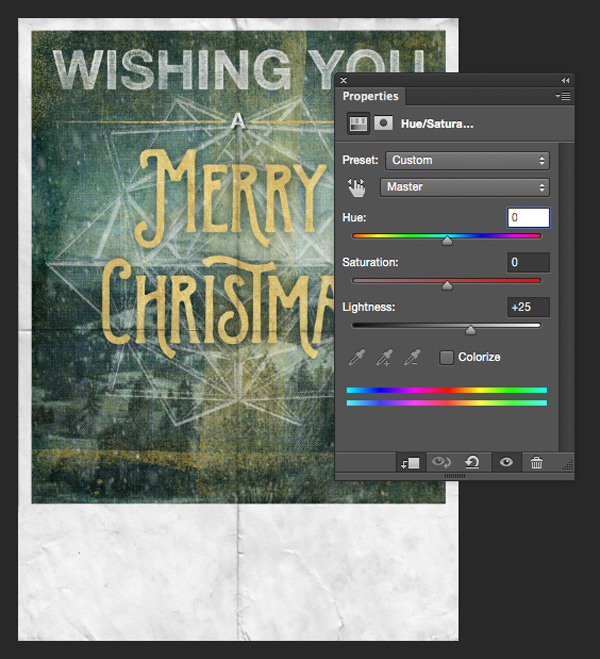
Hue/Saturation Settings:
Colourize: Off
Hue: 0
Saturation: 0
Lightness: +25
Step 12:
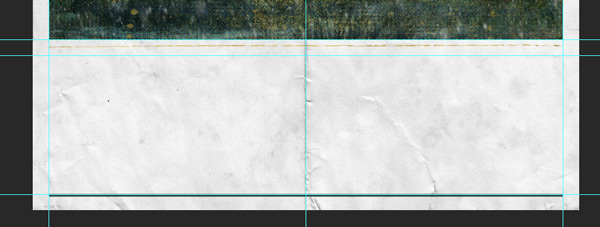
We’ll move on to the lower part of our design now adding a few accent lines. Firstly from the freebies grab the 4_gold-line.png file and paste it on to our canvas so that it sits slightly below the main image:

Selecting #31453E as the foreground colour, use the Rectangular Marquee Tool to draw a long thin rectangle on a new layer (use the guides to help), then hit “Alt + Delete” to fill with the foreground colour:

Duplicate the 6_gold-line.png layer we used previously for either side of the “A” text and place slightly above the line we’ve just drawn. Use the Transform tool to stretch it wider so that the thinner part of the line goes off the canvas:
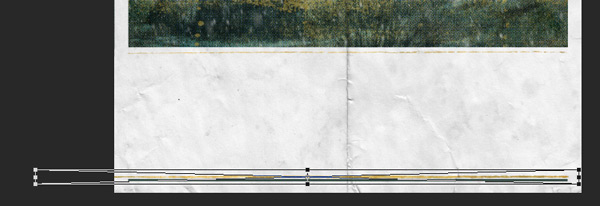
Use a Layer Mask to hide the part of the line that extends beyond our guides:
Step 13:
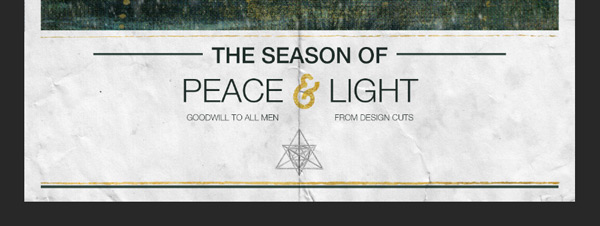
We’re now ready to add a christmassy message to the bottom of our design. :)
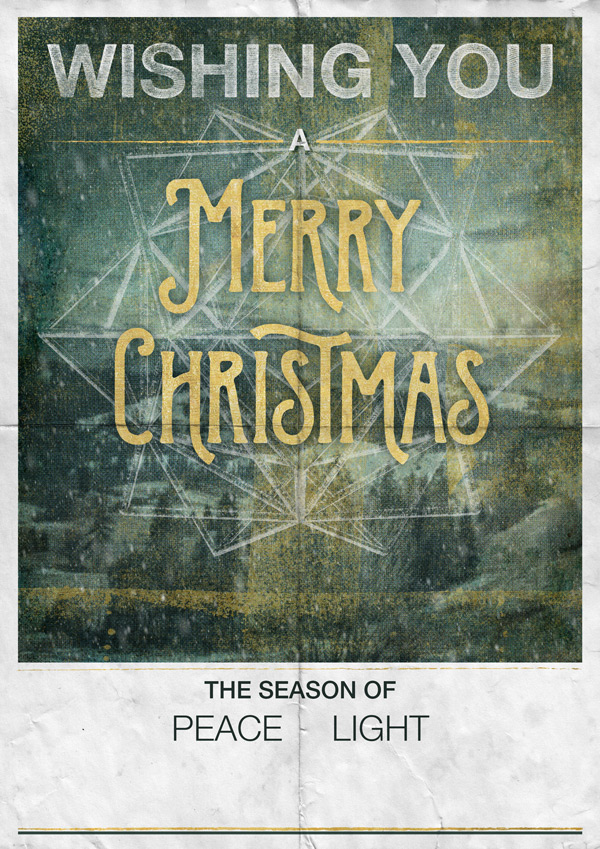
Using a simple sans-serif font with a selection of weights (Helvetica Neue is used in this tutorial) type in uppercase “THE SEASON OF PEACE LIGHT” making sure you leave five spaces between the “LIGHT” and “PEACE”. This is because we’re going to position an ampersand in there later so that it makes sense.
Change the colour of the font to #22312E, make sure the text is set to justify centrally and set the font sizes and weights to the following:
“THE SEASON OF”: Size 24pt, Weight Medium
“PEACE LIGHT”: Size 35pt, Weight Light
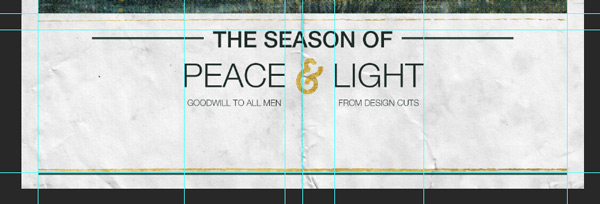
Use the Rectangular Marquee Tool to draw a long thin rectangle one side of the “THE SEASON OF” text, using the same technique and colour as we did for creating the line at the base. Position it centrally to the height of the text, then duplicate the layer and drag to the other side whilst holding down the “Shift” key to lock it’s position:

Now we need to fill that gap between “PEACE” and “LIGHT”!
Setting the font size to about 47pt and using Bhavers as the font, type “&” on a new layer and position it so that it sits nicely inbetween the middle of the two words:

We’ll use the 23_ribbon image that’s been used for all our gold clipped textures so far. Create a new duplicate of this layer and clip to the ampersand text. You may want to move it around a bit to find a slightly darker area so that it shows up better on the light background. Near the upper left corner is a good tip. ;)

To finish off the text in this section, set the font size to a small 9pt and use a Light weight setting. Check the font colour is still #22312E, then type the following in uppercase on a new layer each:
“GOODWILL TO ALL MEN”
“FROM DESIGN CUTS” (feel free to replace with your own name here!)
Position so that they sit centrally under the words “PEACE” and “LIGHT” – you can set up some new guides here to help you:
Step 14:
The vast majority of the vectors used in this design, which we’ll start adding shortly, are duplicated as a mirror image so we’ll set them up on one side then group them together to copy and reflect.
However, we have a couple of rebel graphics that sit centrally on their own outside of the group! We’ll get these two set up before moving on to the others.
First is the all-in-one-rule-by-art-2 > RuleByArt_Geometric_Polygons > symmetrical > 08.png file which you can find in the freebies:
Paste this on to our canvas, reducing the Opacity to 60%. Scale down so that it sits nicely under the text and make sure it’s aligned centrally:

For the next graphic we need to open up all-in-one-milka > Sable-Kit-2-hand-drawn-collection > Sable Kit vol. 2.psd or use the sample selection available in the freebie. Find ‘Shape 94’ which should be the solid christmas tree shape, and copy and paste on to our working canvas.
Position centrally and scale so that it fits in the space below the “Merry Christmas” text in the image:
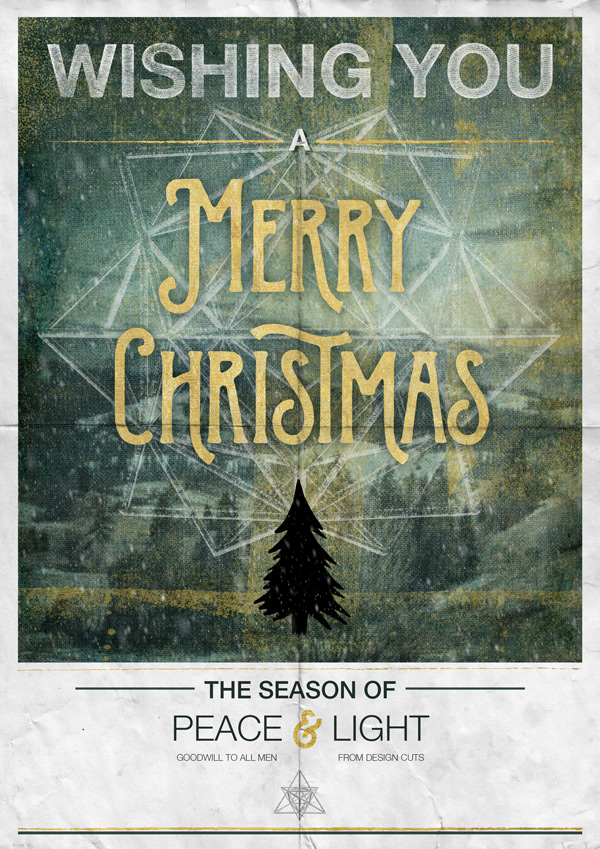
Use the same technique we have been throughout the tutorial to apply a clipped gold texture:

Step 15:
We’re now ready to make a start on the mirror-image vectors, working from the bottom up.
First, duplicate the 05.png polygon which we used in the centre of the image, returning the blend mode to Normal and Opacity back up to 100%. Then, scale it down and sit it in the lower left corner of the image, similar to below:

Use the same technique as throughout the tutorial to apply a clipped gold effect to the layer:
Next, copy and paste the following file on to our canvas: all-in-one-summit-avenue > Gold-Shapes > 20_splats.png . Scale and position to fit the space around the text, similar to the image below:

From either the main Sable psd or the freebie selection, copy and paste Shape_8 which is the large crystal, on to the canvas. Scale and rotate slightly so that it fits the space better:
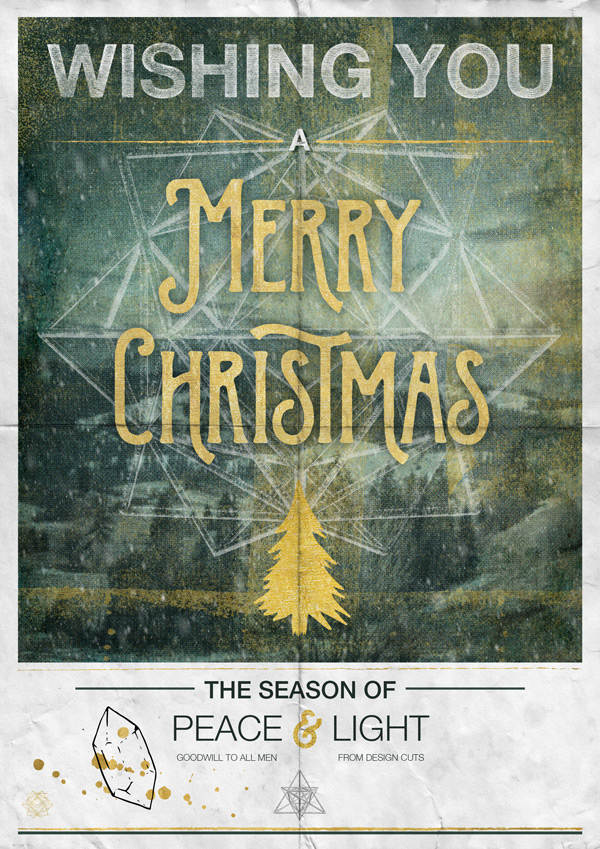
Apply a gold effect using a clipped layer:

Finally for the bottom section, from the freebie pack copy and paste Peace-Hand-byGhostlyPixels.png on to your canvas, scaling and positioning so that it’s similar to the image below:
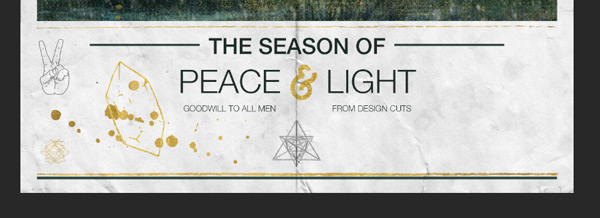
We’ll give this a blue/gray hue by creating a clipped solid colour Adjustment Layer, setting the colour to #748886:


Step 16:
We’ll now start to work on the main part of the image. This’ll use the resources from the Sable .psd in the main bundle, and/or those available in the freebie sample.
We’ll start with this cute little fella’:
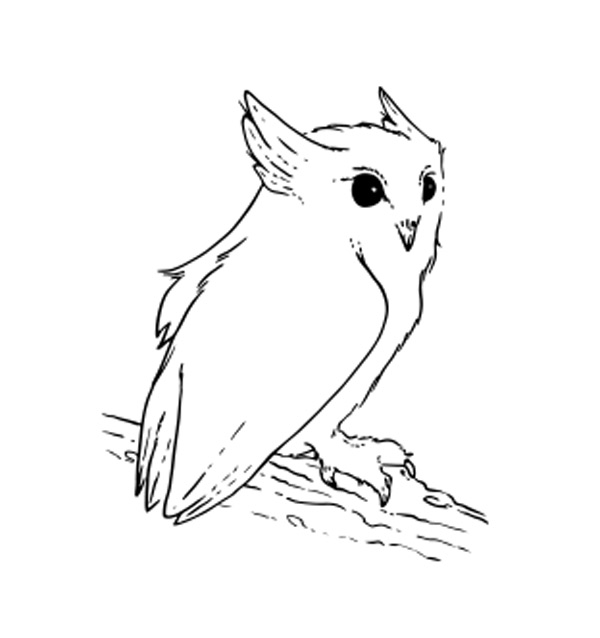
The owl is ‘Shape_90’ in the Sable set, which we’ll copy and paste on to our canvas, scaling and position so that it sits similarly to below and creating a clipped hue/saturation Adjustment Layer where the Lightness is pushed all the way up to +100:

As this is a little difficult to see, duplicate the layer and Adjustment Layer to make it more defined:

Next up is ‘Shape_133’ which is the solid droplet. Scale and position so that it sits similarly to below:
We’ll change the colour using a hue/saturation Adjustment Layer with the following settings:
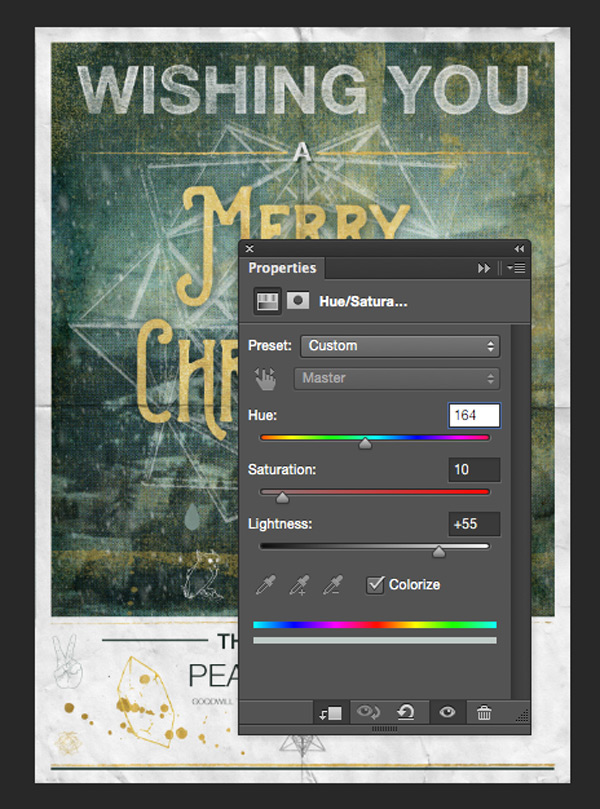
Hue/Saturation Settings:
Colourize: On
Hue: 164
Saturation: 10
Lightness: +55
Step 17:
Next up is this handsome deer head, which is ‘Shape_121’:
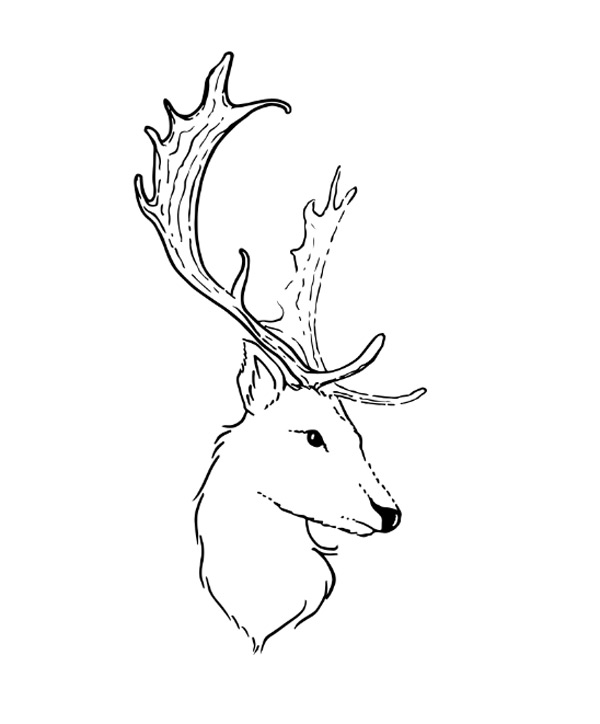
Copy and paste on to our canvas so that it’s in a similar position to the image below, and like with the owl earlier, create a clipped hue/saturation Adjustment Layer to shift the colour to white:
Above that, create another clipped layer to apply a gold effect:

On the gold clipped layer we’ve just created, add a Layer Mask. Using a medium sized, solid, round brush, mask the head of the deer so that the gold only shows on the antlers:
This looks good, but we want to tone the gold down a little bit. Still on the Layer Mask, select #676767 as the brush colour and carefully go over the antlers – this will make the gold effect much subtler. This is what the Layer Mask should look a bit like:
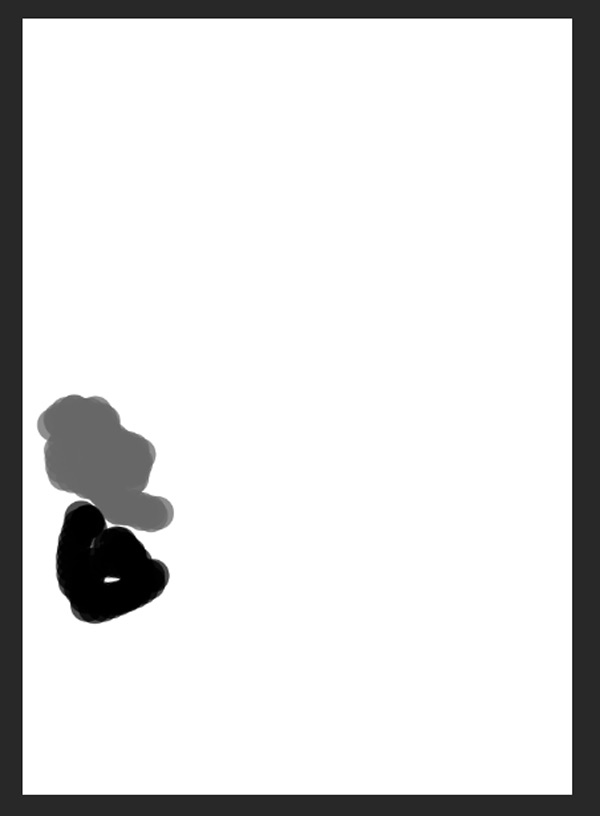
And what it looks like on the image:

Step 18:
Continue to add some wintery, decorative vectors to the design using the clipping technique to add hue/saturation Adjustment Layers to lighten the images and to apply gold effects.
Here’s a quick rundown of the remaining vectors used in this example:
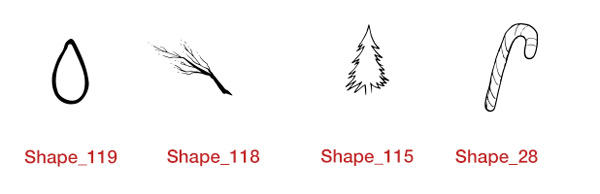
Outline Droplet: Shape_119
Branch: Shape_118
Outline Tree: Shape_115
Candy Cane: Shape_28
Once the left side is complete, put all those vectors in to a folder called “Vectors: LEFT”.
Step 19:
Duplicate the group and rename the folder “Vectors: RIGHT” to save any confusion. :)
With the group folder selected, from the main menu select Edit > Transform > Flip Horizontal to create a mirror image of all our graphics. Then, whilst holding ‘Shift’ on your keyboard, drag the group across to the right so that it mirrors the left side:

Step 20:
We’ll now work on a couple of finishing touches.
We’re going to add a subtle golden glow to the image with a ‘ring of light’ which fits the theme nicely. Go to all-in-one-summit-avenue > Gold-Shapes > 15_gold-circle-outline.png and paste the file on to our canvas:
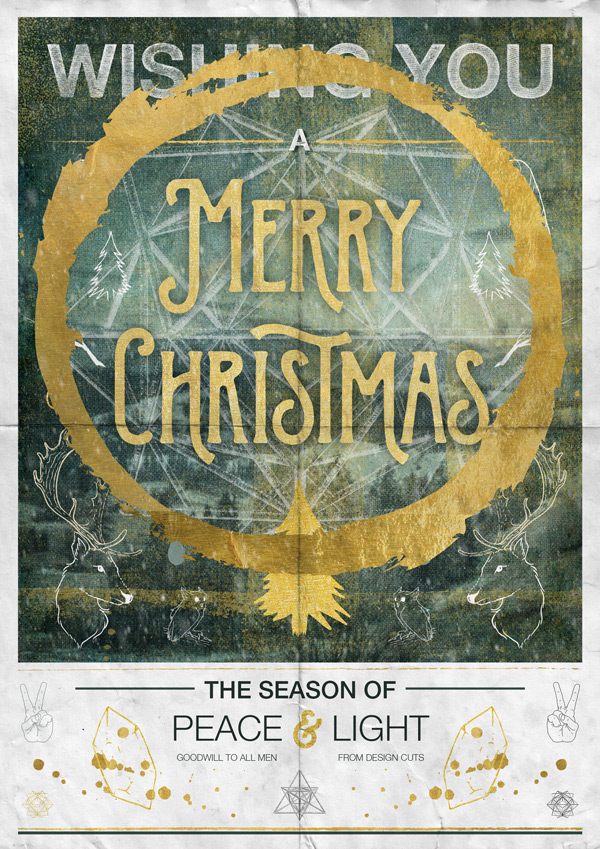
Change the blend mode to Soft Light and reduce the Opacity way down to 20% for the subtler effect we’re after:

From the freebie pack, find the halftone-04 file (which is part of the PosterPress Textures):

Paste it on to your canvas, rotating and scaling to fit:

We’ll tone this down by changing the blend mode to Multiply and reducing the Opacity to 30%:
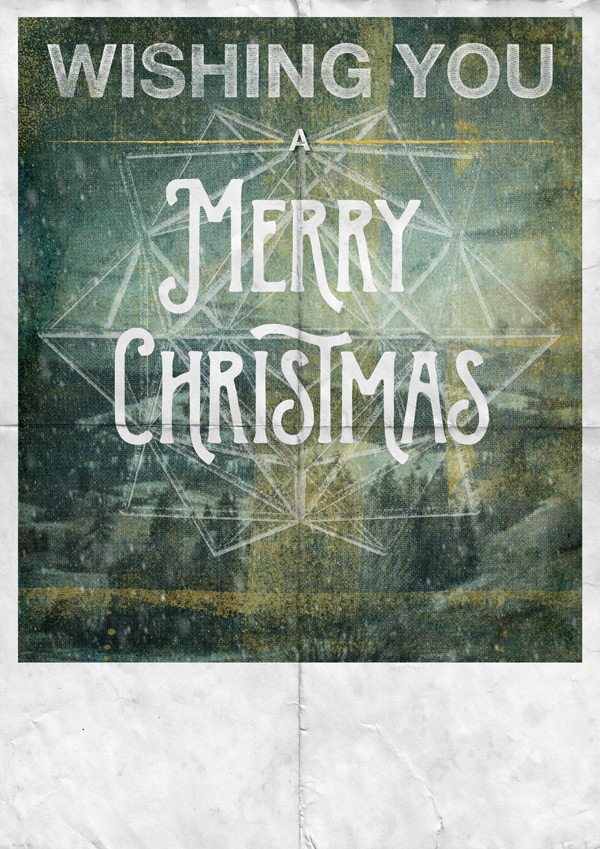
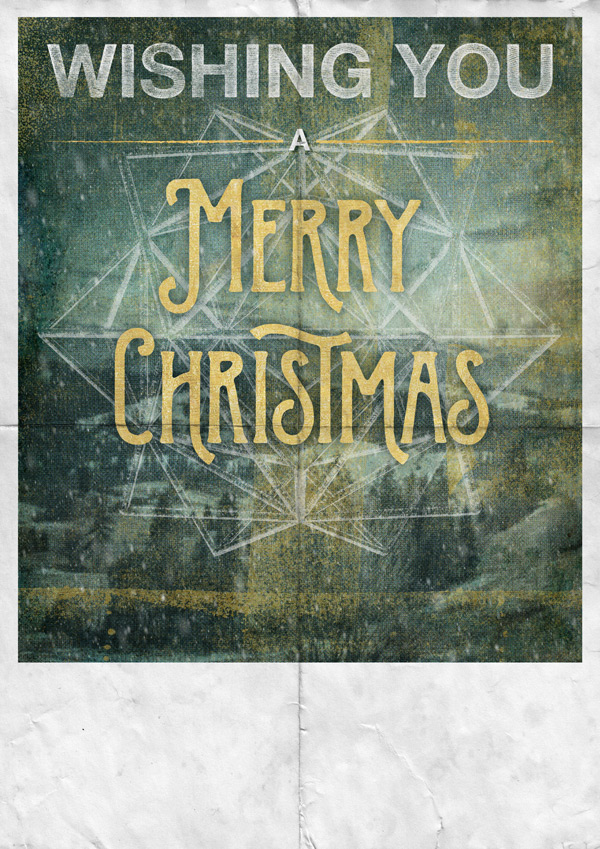
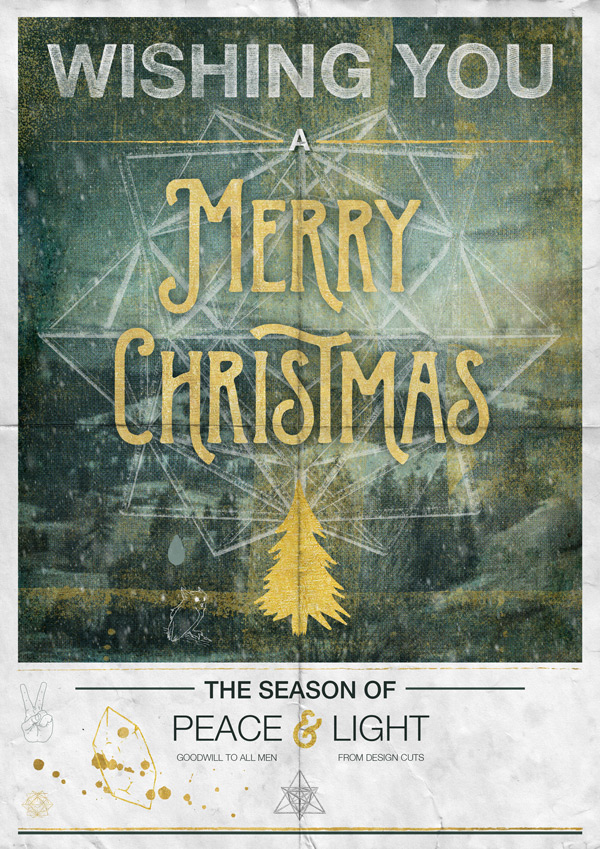
And we’re done!


I really hope you enjoyed doing this tutorial, and that it helped provide some inspiration on how you can really get stuck in to the resources available in this bundle. At the very least, I hope it’s getting you feeling a little festive! :)
Remember to share your designs on the Facebook page too, as we love seeing your own take on these tutorials and how you’re using the resources, as well as helping to inspire other members of the Design Cuts community.
Hopefully this tutorial showed you just some of the ways you can use the incredible variety of different design resources available in this bundle, and got to know them a little better. Remember, you can get this great bundle for a huge 94% off this week! Grab it below, while you still can:
I’ve been following along but ran into a glitch looking for the 2LO It’s Snowing texture in the freebies. Am I just not looking in the correct place or just not seeing it?
I did the same thing, 2LO It’s Snowing texture is not there. I looked in all the file folders.
Sorry Larry. It seems we overlooked the snow texture by 2 Lil Owls. We’ve updated the freebie pack now, and I’m gonna crop you an email with the missing file as well now.
I’m so sorry Joanne. It looks like we’ve missed that one. I’ve emailed you with the snow texture now, so you won’t have to download the whole pack again.
Thank you Tina. there is so much content in this tutorial that I thought maybe I had just missed seeing that particular texture. Thanks for adding it in.
No problem at all, Joanne. :) I hope you enjoyed the tutorial.
Trying the tutorial and can not find this image in the downloads
all-in-one-summit-avenue > Gold-Shapes > 23_ribbon.png.
Since I am somewhat new to this type of work some screenshots of the layers panel would be helpful.
Hey David,
We’re still waiting for Summit Avenue to approve we can use the gold ribbon in this freebie pack. As soon as we have it I’ll update the freebie, and will email you the missing file.
At least on a Mac, you can create a PDF File by trying to print the file (command-P) then selecting the “PDF” button at the lower right hand corner, and pulling down to the “Save as PDF” in the submenu that pops up.
That’s a great idea Brian! Thanks so much for your suggestion. :)
Hi,
Nice tut. One question though, I’m not finding the 2LO It’s snowing 3.jpeg image in the freebie for this tutorial. Is it in a different freebie package?
Cheers
Hey Susan,
My apologies about that. I’ve just added the missing file to the freebie pack. Let me email you the snow texture, so you don’t have to re-download the whole bundle again.
I’ve been meaning to ask this question for some time now, is there anyway of making these tutorials available for download?
I really like the resourceful tutorials, one can always learn something new or a new approach to a technique, but I find it a hindrance to follow along while online, would be much more comfortable having the file on one’s desktop!
Hi Jerry
I am a huge fan of your work.
When I come across an interesting tutorial, I convert it to a PDF and save it. Then I have the file available without being online.
I downloaded the PDF converter for free from the net and it is one of my favourite tools.
Hope this helps.
Thanks so much for the great suggestion, Ali. I’m going to look into this further as well now, to see what other simple ways there are for converting the tutorial pages into PDFs.
We’ve been looking into finding an easy way to turn our tutorials into PDF documents, but it all seems to be rather tricky, and very very time consuming. But we’ve had some great suggestions by community members on how to turn the website into a PDF document.