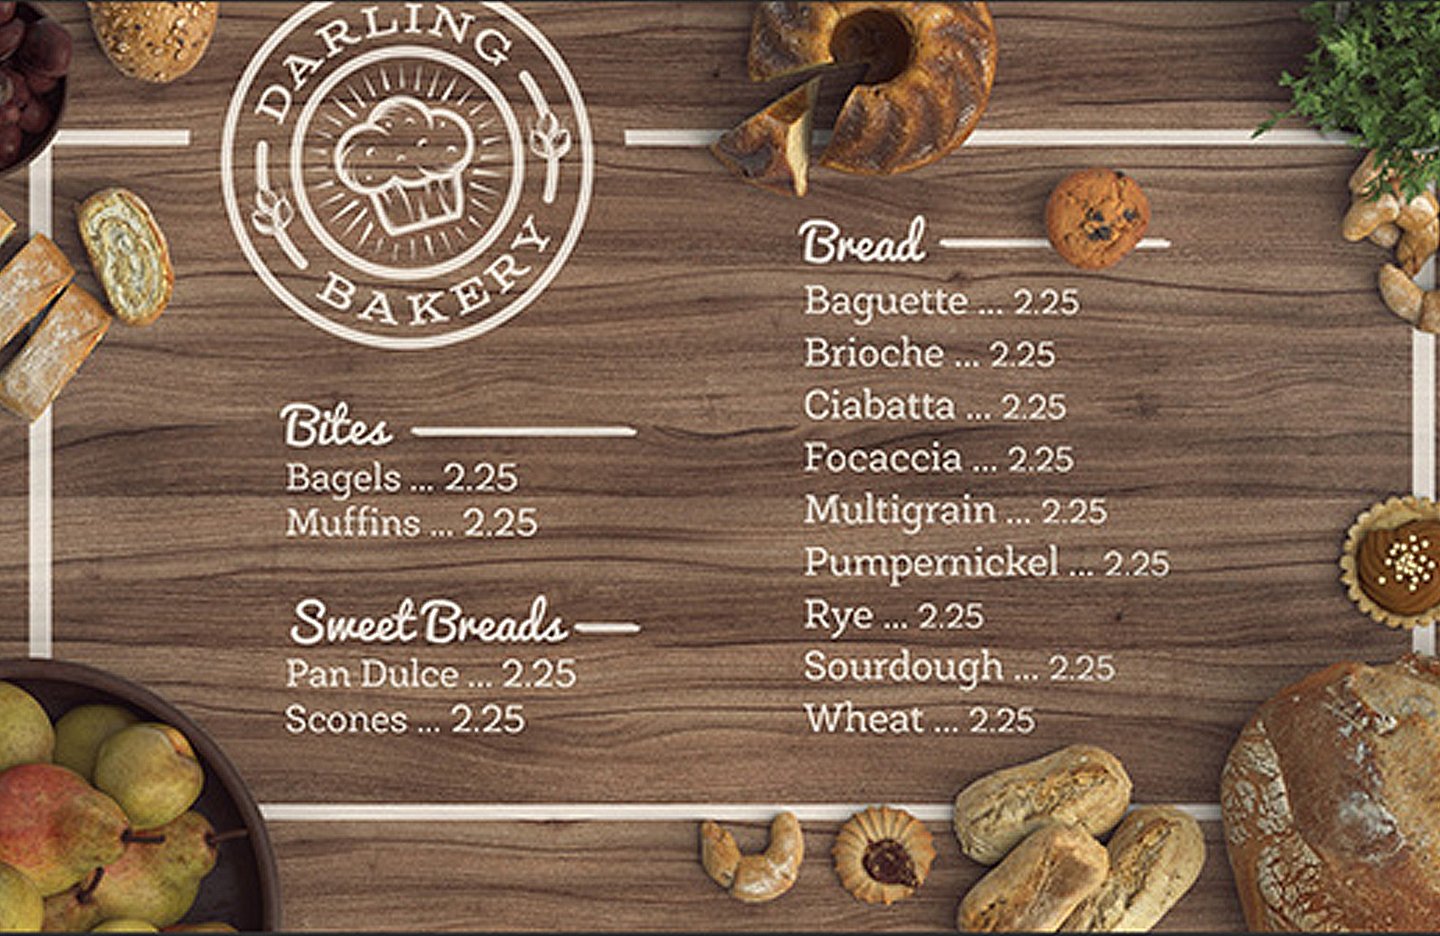
WHAT WE’RE CREATING:
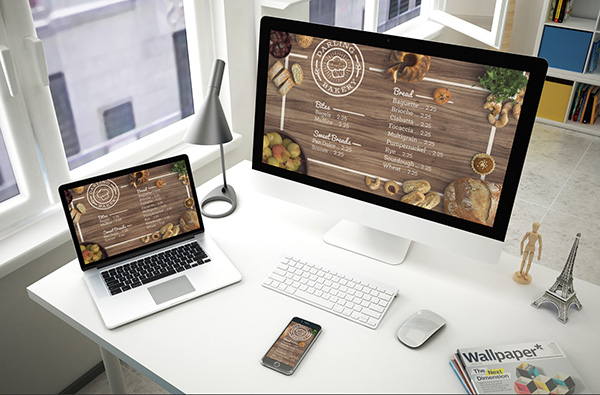
Hello Design Cutters! Renee here with a tasty bakery menu tutorial and loads of freebies including photos, texture, mockup templates and vectors! We’ll be using these delicious freebies to create a Photoshop-based bakery menu with an Illustrator-based logo, then we’ll place the menu onto a computer, tablet, phone and sign mock-ups.
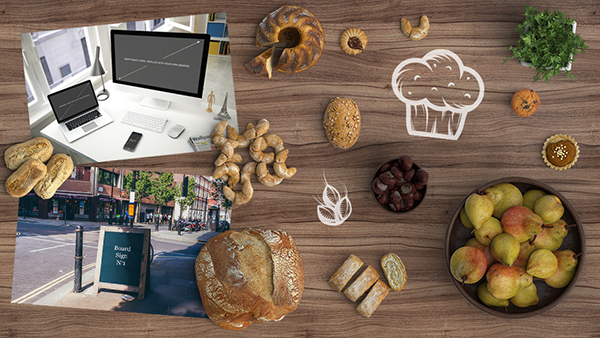
Follow along with this tutorial: Download the freebies
This week’s freebie pack includes a ton of scene creator images from Queaql, a sign mockup from Made by Vadim, an iMac scene mockup from Smarty Bundles and a muffin and grain illustration from yours truly.
This freebie pack is a small sample of the resources available in The Most Extensive MockUp Templates Bundle OF ALL TIME (ever!) for just $29 (that’s 94% off). This incredible bundle has everything you need to create world-class, professional presentations without even breaking a sweat.
TECHNICAL NOTES
We’ll be doing most of our work in Photoshop as we arrange photos of various bakery items on a wood background. We will also pop into Illustrator to create a vector logo and our copy.
In general, best practice is to use Photoshop for raster images and Illustrator for vector images, then combine those elements onto a central layout in InDesign where you also add your body copy. For our purposes, we aren’t going to delve into InDesign, but let us know if you’re interested in seeing InDesign tutorials in the future!
CREATIVE BRIEF
Our imaginary client has asked us to develop a logo for their local bakery. They will be displaying this logo on a digital menu board, their website and on a sandwich board sign outside the bakery.
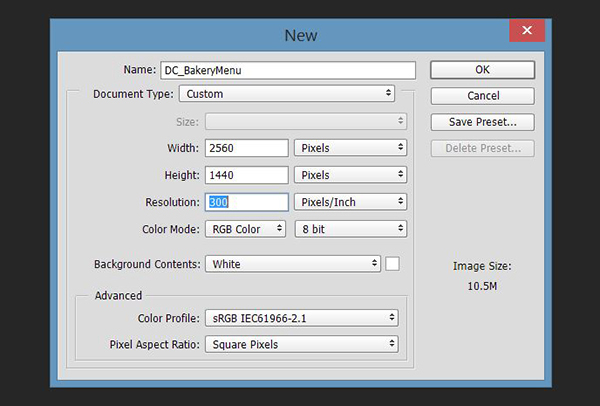
The client has given us a digital menu board size of 2560 pixels x 1440 pixels. Although digital signage generally displays at a resolution of 72 ppi (pixels per inch), we’ll build our menu file at the larger 300 ppi so we can more easily manipulate details and use elements for print work later if needed.
Step 1: Photo Elements
Open Photoshop and go to File > New. In the New Document dialog box, enter a width of 2560 pixels and a height of 1440 pixels. To select pixels, click on the dropdown box next to Units.
As mentioned in the brief section, we’ll use a resolution of 300 ppi. Digital displays use RGB. Click on the box next to color mode to change it to RGB. Click OK to create the document.
Save your file.
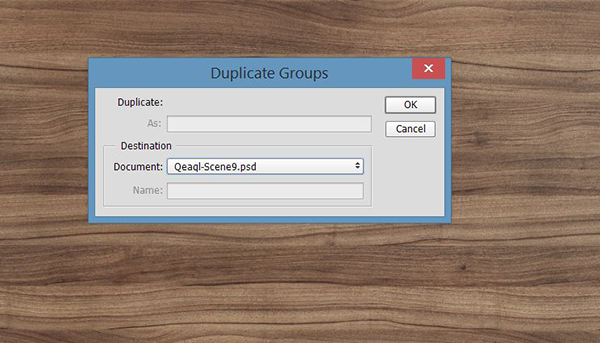
In the freebies folder, open Qeaql-Scene9.psd. Select all three groups in the file (hold shift to select multiple groups). With all three selected, go to Layer > Duplicate Groups. In the pop-up dialog box, click on the file name next to Document and select your new layout file (in my case, it’s named DC_BakeryMenu).
You can now close the Queql file.
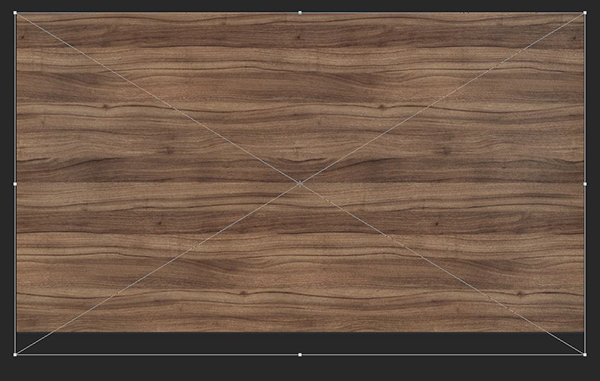
In your layout file, click on the arrow to the left of the folder called Background to open it and view the layers. Select the layer named Background Texture, then go to Edit > Free Transform.
Use the handles in the corner to reduce the size to about the same width as the artboard. Hold shift while resizing to maintain aspect ratio. Press enter.
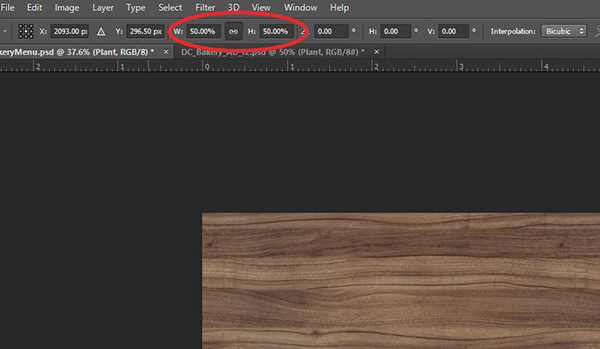
Now open the folder called Objects Here and click on the Plant group. The file we duplicated this from was larger than our layout, so you won’t be able to see the plant just yet – it’s off the artboard to the right. Go to Edit > Transform > Scale. Now you should be able to see the edges of the selected group. You may need to zoom out to see it. To do that, press cmd/ctrl and -. To zoom in, press cmd/ctrl and +.
At the top of your artboard, you will see your width and height for the selected item. Next to W:, enter 50%. Make sure to click the link icon to the right of the width to maintain aspect ratio – this will apply the same percentage reduction to the height as we’ve entered for the width. Press enter to complete the transformation.
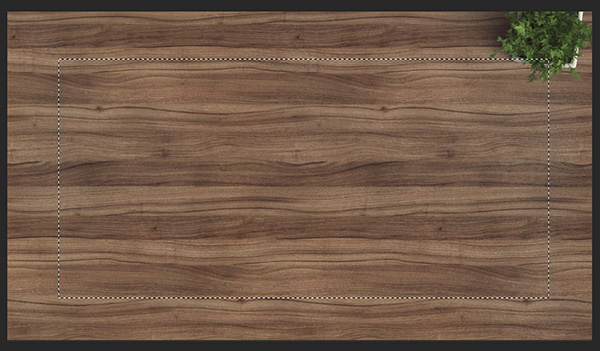
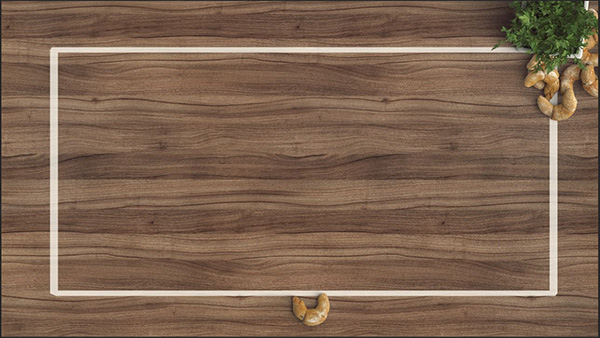
Use your Move tool (v) to drag the plant to the top right of the artboard.

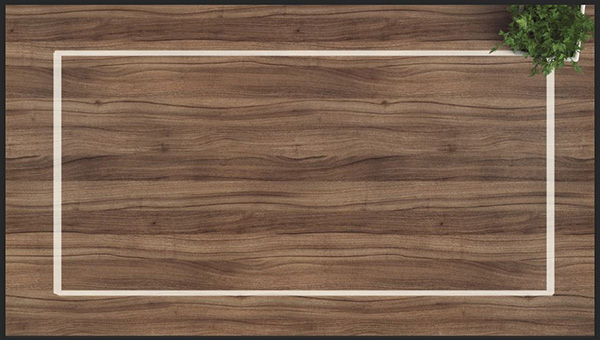
Now we’re going to create a border around the edges of our menu. Create a new group by clicking on the folder icon at the bottom of your Layers palette. Double click on the name, Group 1, to change it to Menu Elements. Drag this new group below the group called Objects Here.
Click on the document icon at the bottom of the Layers palette to create a new layer within the Menu Elements folder. Double click the layer name and change it to Border.
Select your Rectangular Marquee tool (m) and draw a rectangle, centered, a bit smaller than the artboard.
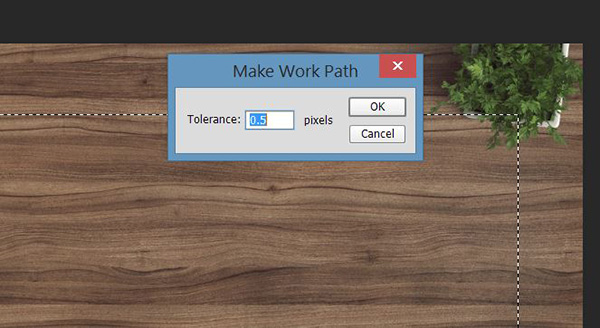
Right click (or ctrl + click with a single button mouse) on the selection on the artboard and choose Make Work Path. Leave the default tolerance setting of 0.5 pixels and click OK.
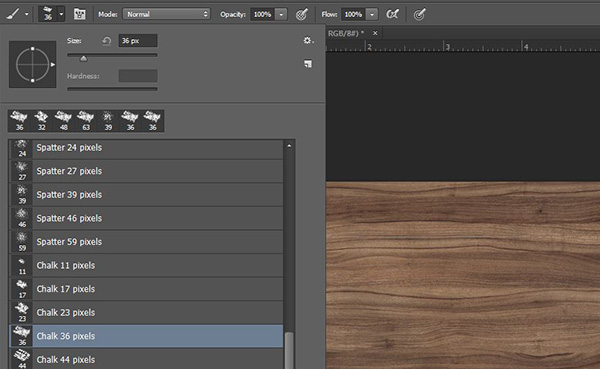
Now we’ll define the brush we want to use to stroke our path. Select the Brush tool (b). Open the Brush preset picker by clicking on the arrow to the right of the current brush preview above the artboard.
In the Brush presets, click the gear icon to open the settings and choose Large List. This allows us to see the preset brush names. Select Chalk 36 pixels.
Lastly for our brush set-up, make your foreground color white by pressing x.
Open your Paths palette (Window > Paths). Right click on Work Path and select Stroke Path. In the dialog box, select Brush for the Tool and turn on Simulate Pressure.

Click OK. Click on an empty area in your Paths palette to hide the work path.
At the top of your Layers palette, change the Opacity for the Border layer to 75%.
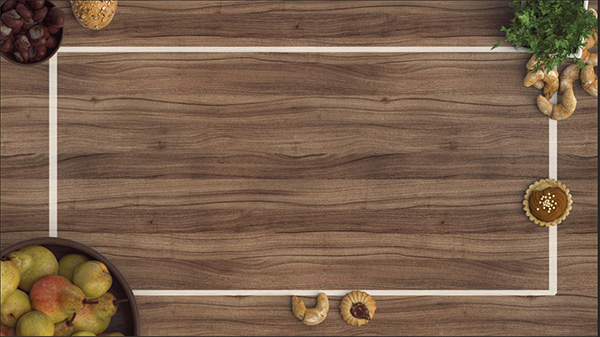
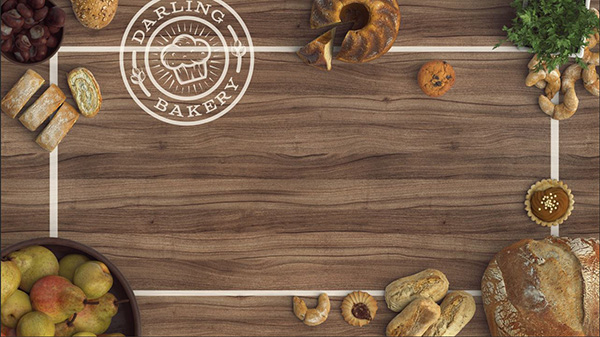
Now we’re going to add in the rest of our bakery items. We’ll place all of them in the Objects Here layer.
For each, we’ll open the corresponding freebie PSD file, select the group with the bakery item in it, then duplicate that group to our layout file. In our layout file, we’ll reduce the size by 50% and put it in position. Let’s walk through the first one.
In the freebies folder, open Bakery2.psd. In your Layers palette, select the group (called Bakery 1 – 2). Go to Layer > Duplicate Group. In the pop-up dialog box, choose your layout file next to Document.
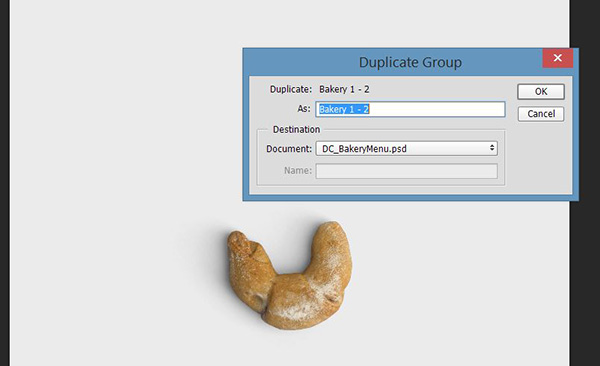
Click OK, then close Bakery2 and return to your layout. In your Layers palette, drag the new group, Bakery 1 – 2, into the Objects Here group.
Go to Edit > Transform > Scale. Just like we did earlier with the plant, change the width to 50% in the toolbar above the layout. Click the link icon next to the width to maintain aspect ratio, then press enter.
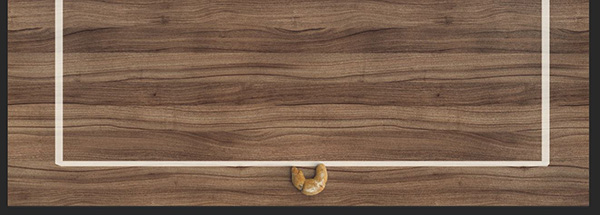
Position the croissant at the bottom middle of the layout, just barely overlapping the border.
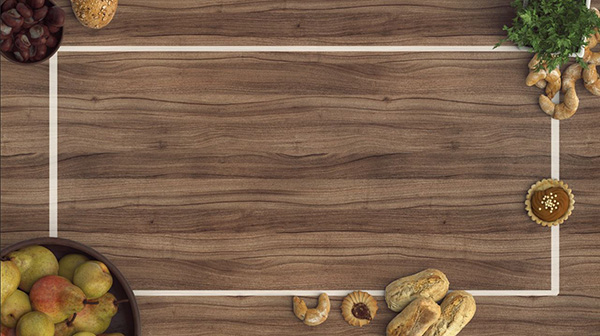
Now we’ll repeat this process with the remaining bakery items.
Bakery 4 – drag this group below the Plant group in your Layers palette:
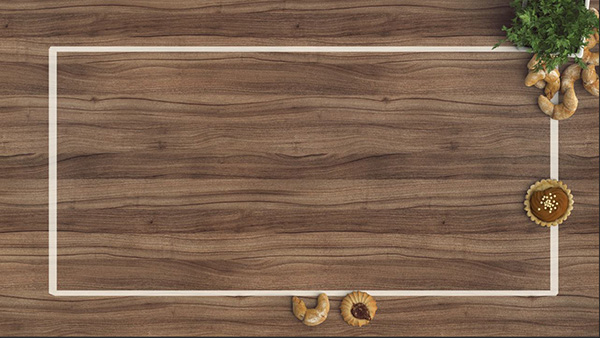
Bakery 27:

Bakery 37:
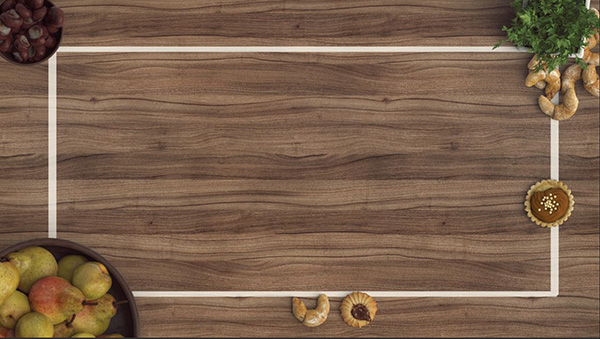
Bowl Chestnuts:

Bowl Pears:
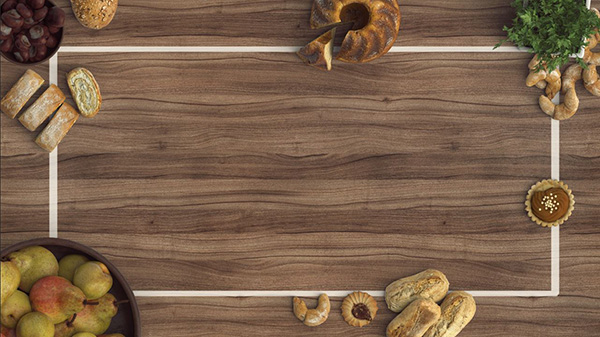
Bread 10:
Bread 13
Cake 1:
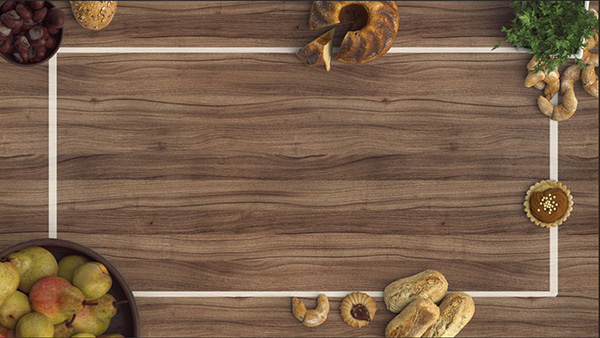
Cake 6:
Muffin 2:
And finally, Sourdough Bread 1:

Step 2: Logo
Open Illustrator and go to File > New. In the dialog box, enter a width and height of 10 inches and hit OK. I prefer to work on a large artboard like this when creating logos so I can really get into the details and have more flexibility with various options (strokes, effects, font size, etc).

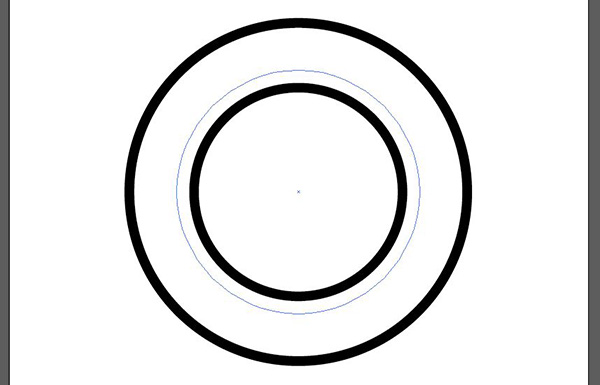
Select your Ellipse tool (L) and click once on the artboard to bring up the dialog box. In the dialog box, enter a width and height of 6 inches. Click OK.
Open your Align palette (Window > Align). Under Align Objects, select the second icon, Horizontal Align Center, and the fifth icon, Vertical Align Center.

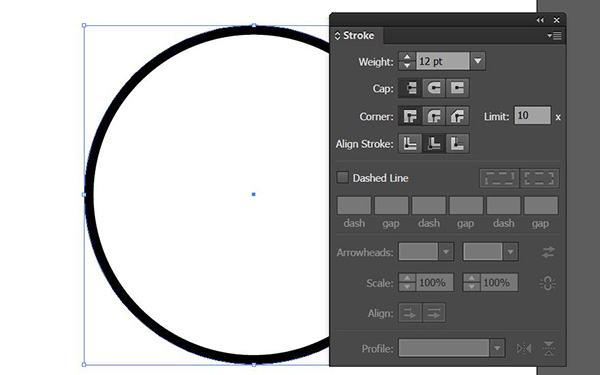
Open your Stroke palette (Window > Stroke). Change the Weight to 12 pt and next to Align Stroke, choose the middle icon, Align Stroke to Inside.
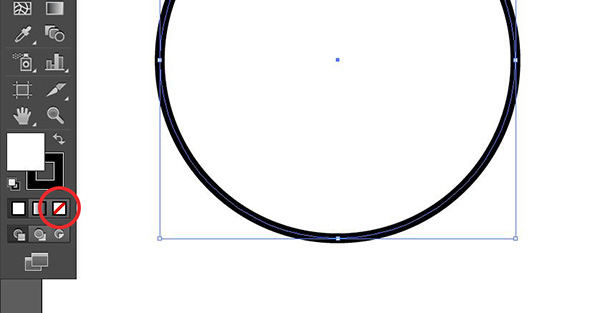
Next, we’ll change the foreground color to None by clicking on the white square icon with a diagonal red line through it in your toolbar.
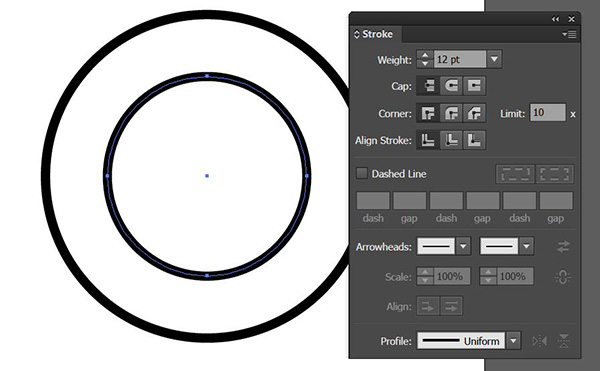
With your Ellipse tool still selected, click on the artboard again. In the dialog box, enter a width and height of 3.6 inches.
Open the Align palette and select Horizontal Align Center and Vertical Align Center.
Change the foreground color to none. Then, open your Stroke palette and change the weight to 12 pt. For this circle, we’ll leave the Align Stroke set to Align Stroke to Center.
Next we’ll add our bakery name on circular paths between the two lines.
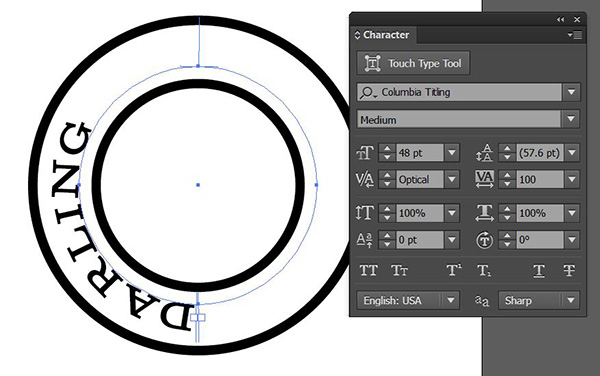
With your Ellipse tool, click on the artboard and in the dialog box, enter a width and height of about 4.2 inches. Again, use your Align palette to align the circle vertically and horizontally.
In your toolbar, click and hold down the Type tool icon until the flyout menu appears. Choose the Type on a Path tool. With this tool selected, click once at the middle bottom of the circle we just created to turn it into a text path.
Type the word Darling. Open your Character palette (Window > Type > Character). Choose a wide slab font like Columbia Titling Medium. Increase the font size until it fits evenly between the 2 circles, about 48 pt for this font. I also want to spread the letters out a little, so I’m changing the Tracking to 100.
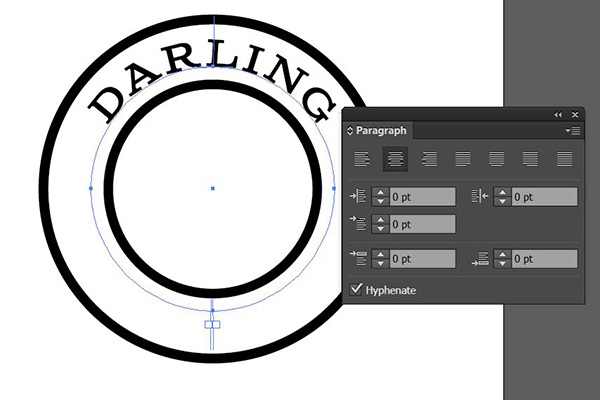
Now open your Paragraph palette (Window > Type > Paragraph) and choose Align Center.
Click again to create a new circle, this time at 5.2 inches. Align center in your Align palette. Select your Type on a Path tool and click once at the top middle of the circle. Type Bakery.
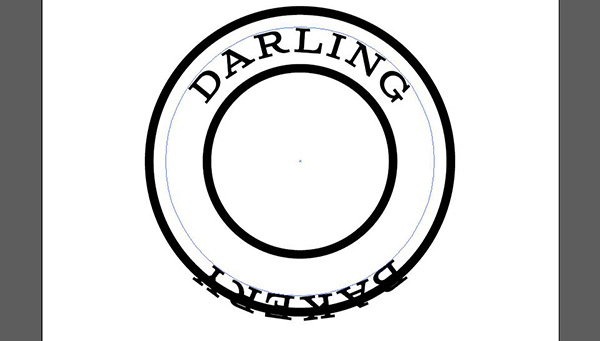
You’ll notice that it appears on the outside of the circle, just like Darling, but we need it on the inside. Select your Group Selection tool, the white arrow with a plus sign found in the flyout menu of the Direct Selection tool (a).
Notice the blue line in the middle of Bakery.

With your Group Selection tool, click on the blue line and drag upward until the text moves into the inside of the circle path.

Now we’ll make one last circle. Select your Ellipse tool and click on the artboard. In the dialog box, enter 4.7 inches for width and height and click OK. In your Align palette, align both vertically and horizontally to the center.
In your toolbar, click the double sided arrow next to the foreground color to change switch the foreground and stroke colors. The foreground will become none and the stroke will be black.

Open your Stroke palette and change the Weight to 12 pt.
Now we want to cut the circle down to a segment on each side that doesn’t interfere with the words. We’re going to utilize our handy Align and Pathfinder options to ensure precise results.
Start by selecting your Rectangle tool (m) and drawing a rectangle around the area we want to keep. Mine is about 2 inches high. Make sure it extends far past the edges of the circle on the left and right sides.
The color isn’t important, but I’ve made it bright magenta so it’s easier to see. I’ve also centered it using the Align palette, then followed up by visually aligning it vertically between Darling and Bakery.
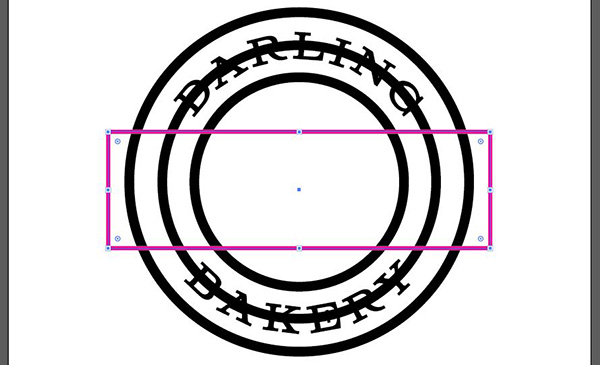
Use your Selection tool (v) to select both the rectangle and the middle circle. Open your Pathfinder palette (Window > Pathfinder) and under Shape Modes, select Intersect, the third icon.

Now we’ll just need to get rid of the extra lines above and below. Select your Direct Selection tool (a) and click anywhere on the artboard to deselect the whole shape. Then click on the top line segment. Press Backspace or Delete.
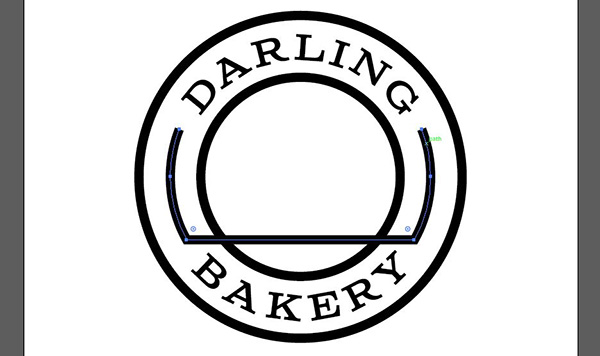
Repeat for the bottom line. Click on the artboard to deselect, then select the bottom line and press delete or backspace.
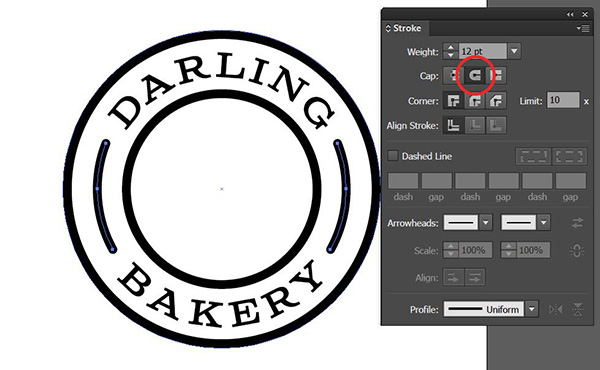
In your Stroke palette next to Cap, choose Round Cap to give our line segments nice rounded ends.
In the freebies folder, find freebies.ai and open it. Select the trio of grains and copy them (cmd/ctrl + c), then paste them onto the logo layout (cmd/ctrl + v).
Use your Align palette to vertically center the grains on the logo layout, then use your Selection tool to drag the grains over the line segment on the left. Holding down shift while dragging will make sure you stay on the center axis.

Now we’ll need to delete part of the line segment behind the grains so the line doesn’t show through.
Start by selecting the line segments and going to Object > Path > Outline Stroke. This changes the line into a shape.
Select your Group Selection tool (the white arrow with a plus sign) and click on the very outside path of the grains.

Press cmd/ctrl + c to copy the outside path of the grains. Click anywhere on the board to deselect. Then, press cmd/ctrl + shift + v to Paste in Place.

With the pasted grain shape still selected, hold shift and also select the line segment behind it. With both selected, open your Pathfinder palette and choose Minus Front, the second icon, under Shape Modes.

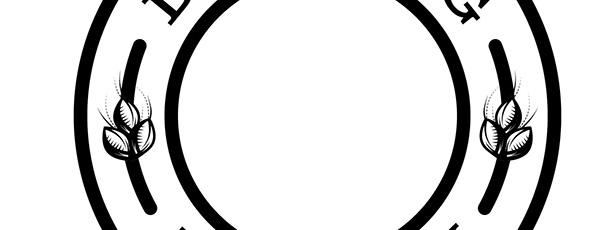
We’ll duplicate this to the right side, using the right segment as a guide. Select the left line segments and the grain. Go to Object > Transform > Reflect. In the dialog box, select Vertical and click Copy
Group the new copy together by pressing cmd/ctrl + g. Then use your Selection tool, while holding down shift, to drag the group to the right until it’s directly on top of the existing line segment on the right side.
Lastly, we’ll need to delete the original right line segment. Lock the current selection by pressing cmd/ctrl + 2. This will allow you to select the line below and delete it. To unlock the group, go to Object > Unlock All.
Open freebies.ai and copy the starburst, then paste it into the logo file. Use the Align palette to Horizontal Align Center and Vertical Align Center.
Then, copy the muffin illustration from the freebies.ai file and repeat the center alignment process in your Align palette.
We’ll need to remove some of the starburst behind the muffin (like we did with the grains) to be able to see it properly. Select your Direct Selection tool and click on the outermost path of the muffin illustration.

Press cmd/ctrl + c to copy the path, then cmd/ctrl + shift + c to paste in place.
Open your Stroke palette and add a 20 pt stroke to the muffin.
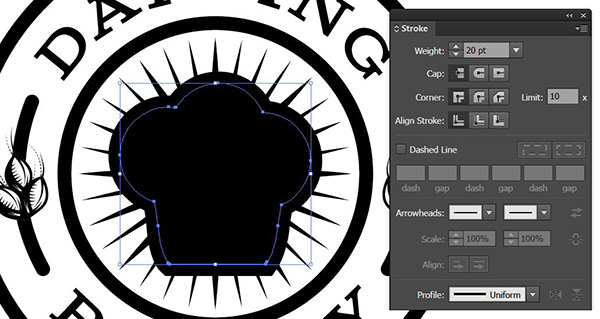
With the shape still selected, go to Object > Path > Outline Stroke. Then open your Pathfinder palette and select Unite, the first icon, under Shape Modes. This unites the three paths into one.
Use your Selection tool while holding shift to select both the new shape and the starburst. In your Pathfinder palette, click Minus Front.
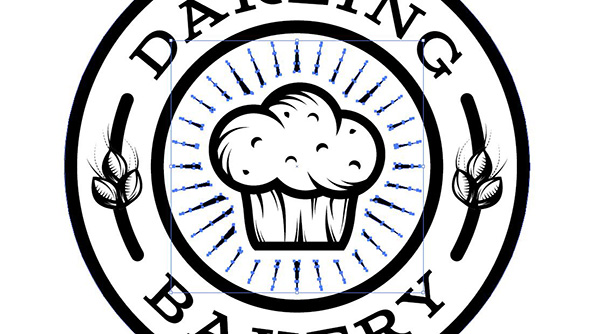
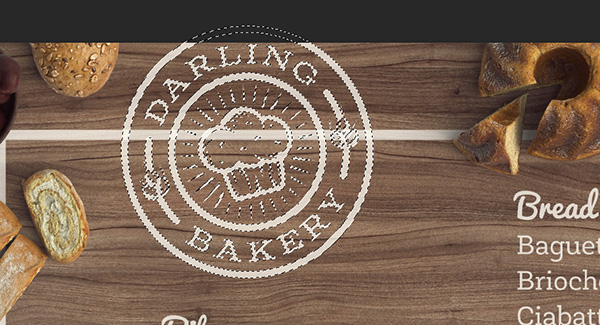
And that’s it for our logo! Save your file! Press cmd/ctrl + a to Select All. Then open Photoshop and press cmd/ctrl + v to paste onto the menu layout. Reduce the size to about 30% and give it a jaunty angle by rotating it a bit to the left – about -15 degrees. Position in the top left of the menu layout, just peeking off the edge.
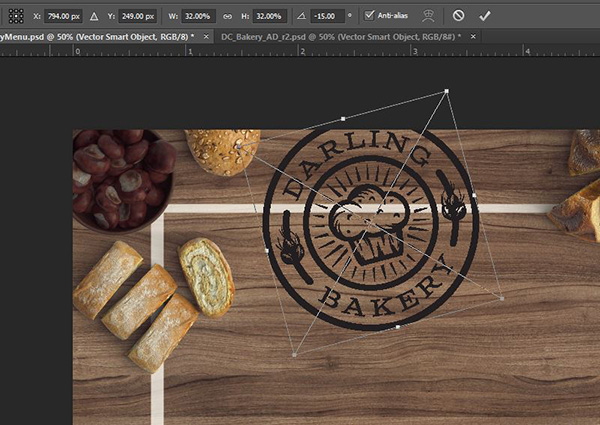
For our last step on our logo, still in Photoshop with the logo layer selected, click on the fx icon on the bottom of the layers palette and choose Color Overlay. In the dialog box, click the color swatch next to the Blend Mode and select White. Click OK.
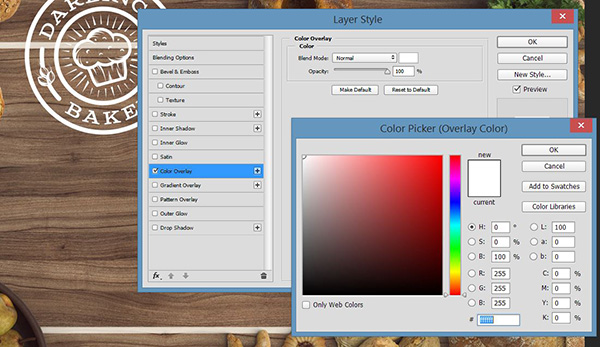
At the top of your Layers palette, change the Opacity to 75%. Drag the logo layer into the Menu Elements folder.
You can close your logo file in Illustrator at any point now. You can technically do it as soon as you copy the logo, but I generally like to make sure it pastes into the Photoshop file without any issues before I close it in Illustrator.
Note: Quitting Illustrator before pasting the logo into Photoshop will result in the loss of the copied info!
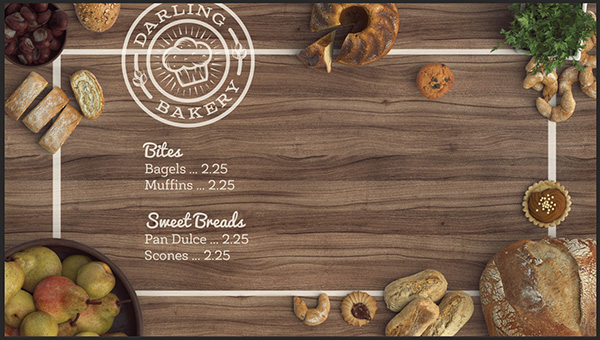
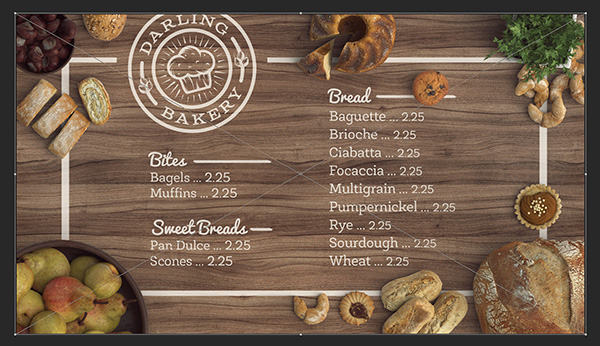
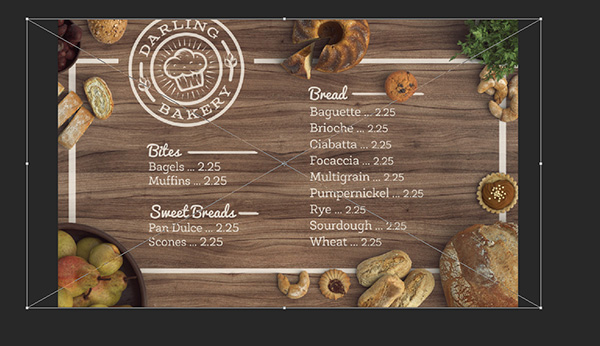
Step 3: Menu
Generally speaking, it’s best not to lay copy out in Photoshop. Since we’re creating a digital piece though, I’m going to go ahead and keep the copy in Photoshop. It will save some extra steps if prices and items change later, plus it could easily be converted to vector (copy/paste!) if needed for larger print items.
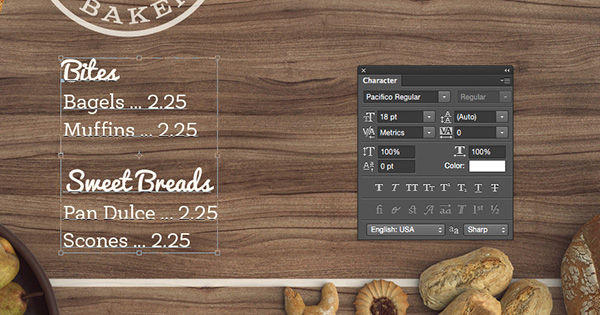
We’ll create 2 columns of items. To start, copy the list of items below. Select your Type tool (t) and click once on the artboard, then press cmd/ctrl + v to paste the copy.
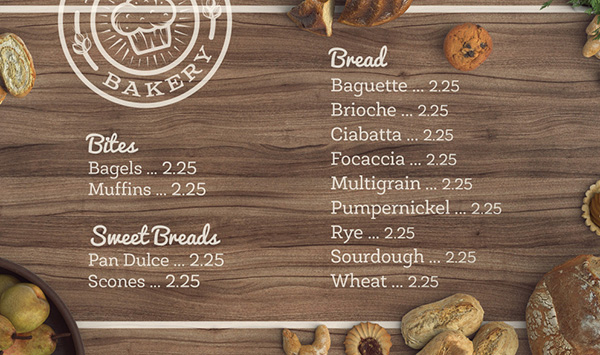
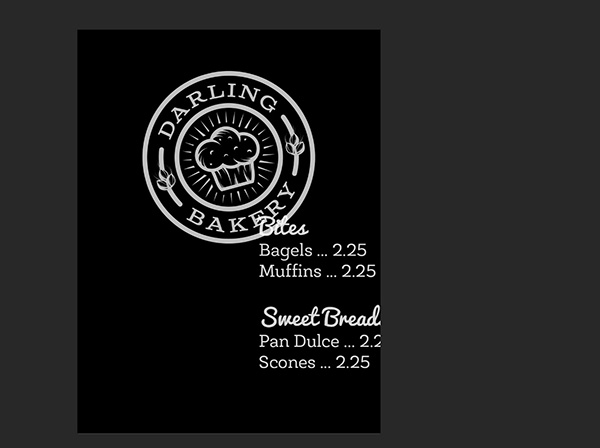
Bites
Bagels … 2.25
Muffins … 2.25
Sweet Breads
Pan Dulce … 2.25
Scones … 2.25
To set the section titles apart from the items, I’m going to put them in a slightly larger, different font. In this case, I’m using Pacifico Regular at 18 pt for the section titles and Newslab Regular at 14 pt for the items and prices.
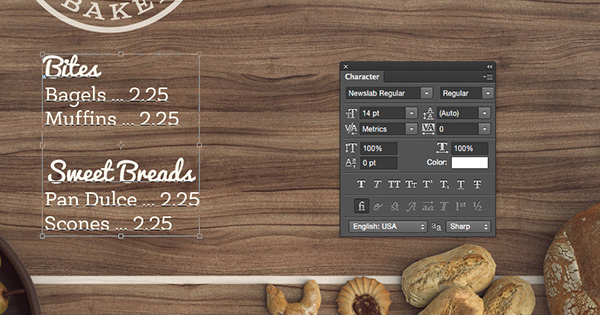
Position the copy on the left part of the layout under the menu. In your Layers palette, change the Opacity to 75%, then drag the layer into the Menu Elements folder.
Using your Selection tool, copy the text layer by holding down opt/alt while clicking on the copy and dragging to the right. Alternatively, you could also open your Layers palette and drag the existing copy layer down to the New Layer icon, then drag the new copy to the right.
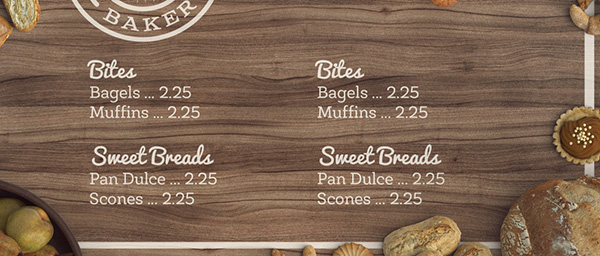
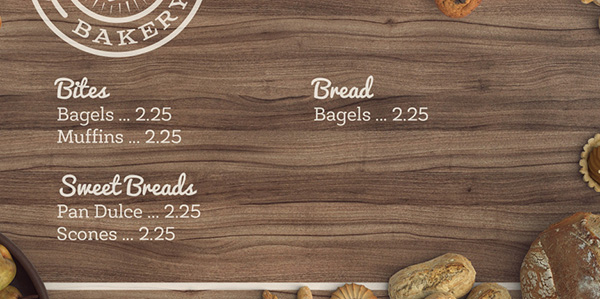
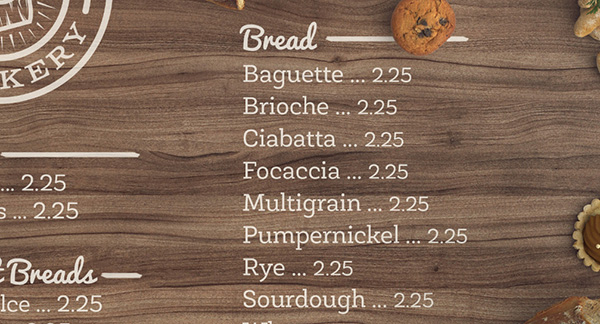
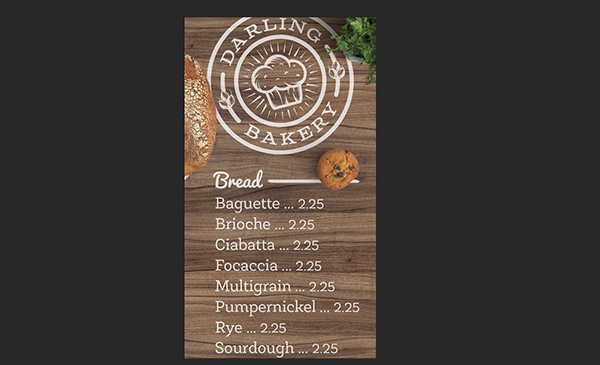
Use your Type tool and change the word Bites to Bread. Delete all of the copy after Bagels.
Copy the following text:
Baguette … 2.25
Brioche … 2.25
Ciabatta … 2.25
Focaccia … 2.25
Multigrain … 2.25
Pumpernickel … 2.25
Rye … 2.25
Sourdough … 2.25
Wheat … 2.25
Use your Text tool to select the Bagel line, then paste the new copy by pressing cmd/ctrl + v.
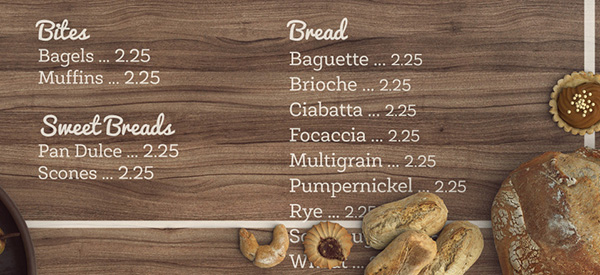
To finish the menu item section out, use your Selection tool to drag the Bread section on the right up until the last line is even with the last line of the copy on the left side.
In your Layers palette, create a new layer in the Menu Elements group by clicking the Create a New Layer icon at the bottom of the palette. Double click on the layer name and change the name to Bites Line.
Select your Brush tool (b). It should still have the same settings we used earlier on our border (Chalk 36 pixel). Press the [ key (left bracket) 3 or 4 times to reduce the brush size until it is about 20 pixels.
Starting just to the right of Bites, draw a line by clicking and dragging to the right while holding down shift (for a straight line).
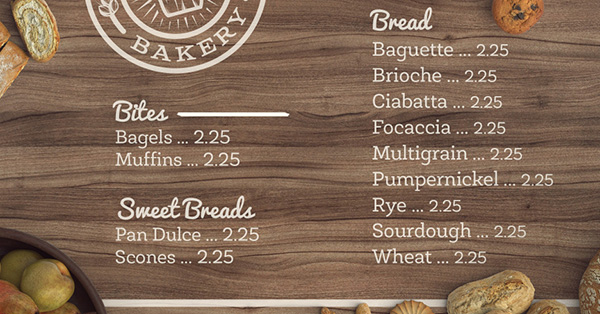
Set the Opacity of this layer to 75%.
Now we’ll repeat the same process to add a line next to Sweet Breads and Breads.
Click the New Layer icon. Name the new layer Sweet Breads Line. Use your Brush tool and draw a straight line from the right of Sweet Breads to about the same place that the first line ends. Change the layer Opacity to 75%.
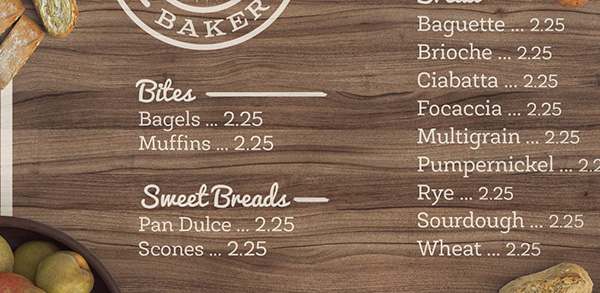
Create one more new layer and name it Breads Line. Use the Brush tool again to draw a line starting just to the right of Breads. Change the layer Opacity to 75%.
One last thing to complete our menu layout. I’m sure you’ve noticed the line that runs right behind the logo. We’ll mask that out and give the logo some breathing room.
Hold down cmd/ctrl and in your Layers palette, click the thumbnail on the logo layer. This will create a selection around the logo.
Go to Select > Modify > Expand. In the pop-up dialog box, enter 50 pixels.
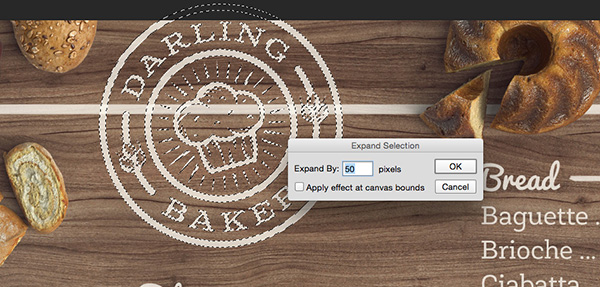
Click OK.

With that area selected, go to Select > Inverse. This creates a selection around the areas of the border we want to keep visible.
In your Layers palette, select the Border layer. Now click on the Add Layer Mask icon at the bottom of the Layers palette (the rectangle with a circle in it).
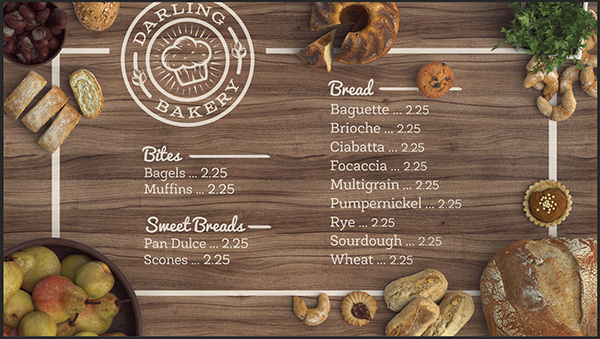
And our digital menu is complete!
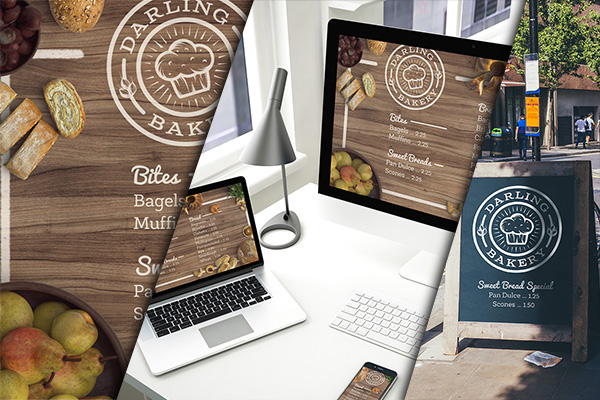
Now we could leave it at this. But come on – this is a killer mock-up bundle! Let’s make this into an amazing presentation.
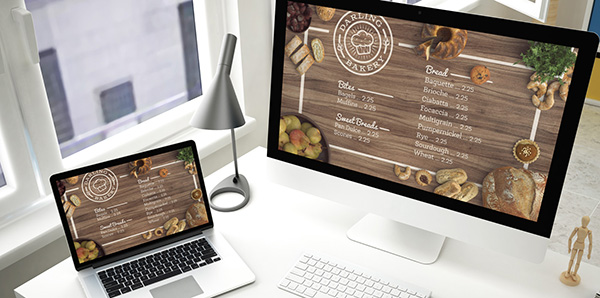
Step 4: Presentation Mockups
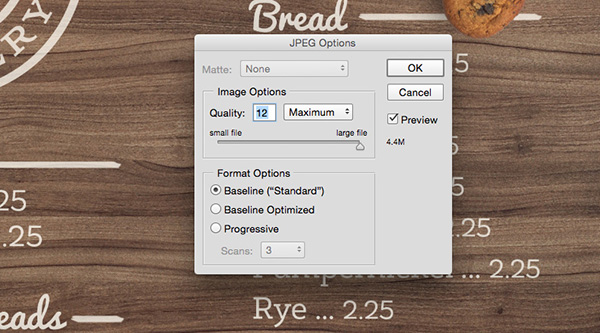
Let’s start by saving a JPG of our menu layout. WIth the menu layout open, go to File > Save As. Choose jpg for the format and click Save.

In the popup dialog box, change the Quality to Maximum (either by clicking on the dropdown menu or sliding the slider all the way to the right) and click OK.
In the freebies folder, find and open Comp_Mockup_02.psd.
In the Layers palette, double click on the thumbnail for the layer named Computer_Screen. This will open Computer_Screen.psb.
Delete the layer named DELETE THIS. Surprise, right?
Go to File > Place Linked and navigate to the jpg you just saved of the menu layout. Select it and click Place.
Drag the corner handles out while holding shift to size the placed file to the fill the artboard, then press Enter to complete the transformation.
Now just save this file (cmd/ctrl + s) and close it (cmd/ctrl + w). It has auto-magically show up exactly where we need it on the computer screen!
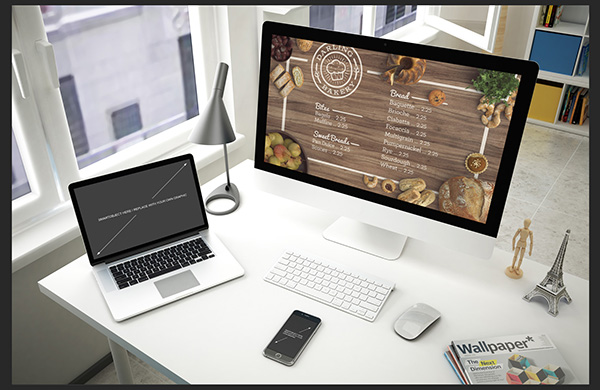
Repeat for the Laptop_Screen layer. Double click on the thumbnail to open Laptop_Screen.psb. When it opens, delete the DELETE THIS layer. Go to File > Place Linked and navigate to the menu jpg. Click Place.
The dimensions are a little different for the laptop screen, so it won’t be a perfect fit. However, we’re smart guys and we gave our border a lot of extra room on the sides, so it should still fit well enough to account for the change in screen size.
Click Enter to complete the transformation, then save the file and close it.
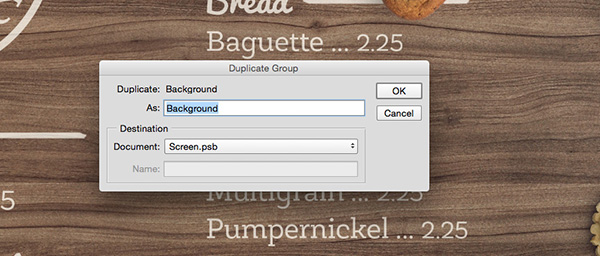
We’ll do something slightly different for the phone screen. Double click the layer thumbnail for Phone_Screen to open Screen.psb. Delete the DELETE THIS layer.
Mobile site layouts are usually adjusted to allow for maximum readability on small phone screens. So, we’re going to create something just for the phone screen.
Open your original menu layout PSD file. Select the Background group and go to Layer > Duplicate Group. In the pop-up dialog, choose Screen.psb. Then press OK.
Select the Effects group. Go to Layer > Duplicate Group and select Screen.psb again. Click OK.
Click on the arrow next to Menu Elements to view the layers in the group. Select the logo layer, the text layer with the main bread list and the Breads Line layer (hold cmd/ctrl down while clicking on layer names to select multiples). Go to Layer > Duplicate Layer. Choose Screen.psb and click OK.
Lastly, we’ll want some of our bakery items. Open the Objects Here layer. Select Plant, Sourdough bread and Muffin 1 – 2. Go to Layer > Duplicate Layer and choose Screen.psb then click OK.
In Screen.psb, you won’t be able to see much just yet. Most of the items are off the artboard area.
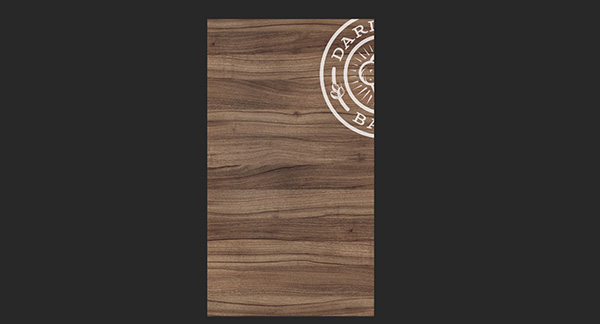
Select the logo layer and drag it to the left until it’s centered on the top of the screen.
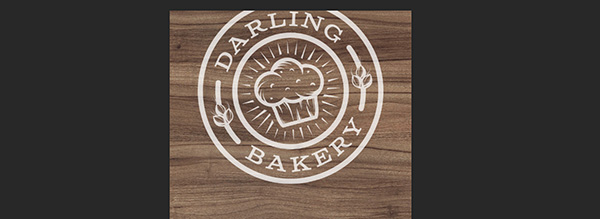
Now select the Bread text layer and the Breads Line layer. Click and drag to the left anywhere on your artboard until the text comes into view. Center it on the screen below the logo.
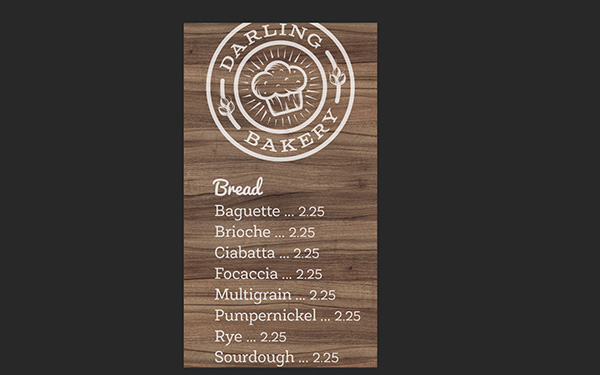
Now we’ll position our bakery items. You can either select the layer and use your Selection tool to drag them to the left onto the artboard OR you can go to Edit > Transform to see the edges of the selection and move it from there.
I’m going to place the plant in the top right, the sourdough bread along the left and the muffin slightly over the line next to Bread.
Press cmd/ctrl + s to save the file, then cmd/ctrl + w to close it. You’ll see the filled phone screen on Comp_Mockup_02.
That completes the computer mock-up. Now let’s create a sign that will stand on the sidewalk outside the bakery.
In the freebies folder, open UK-Edition59.psd. Delete the layer named Remove Me!
Double click on the thumbnail for the layer named Replace with your design. This opens Rectangle 1.psb. Delete the text layer named Board Sign NO1.
Now go to your menu layout file. In the Layers palette, open Menu Elements and select the logo layer and the text layer beginning with Bites. Go to Layer > Duplicate Layers and select Rectangle 1.psb in the pop-up dialog.
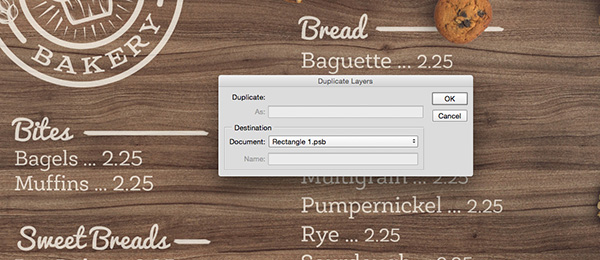
Close your menu layout file and go to Rectangle 1.psb. Our logo and text is there, but very hard to see for placement due to the transparent background. So I’m going to create a temporary fill layer.
At the bottom of the Layers palette, click the Create New Layer icon. Select the new layer and press cmd/ctrl + delete/backspace to fill the layer with black. In the Layers palette, drag the black layer below the other two layers. Now we can see what we’re doing!
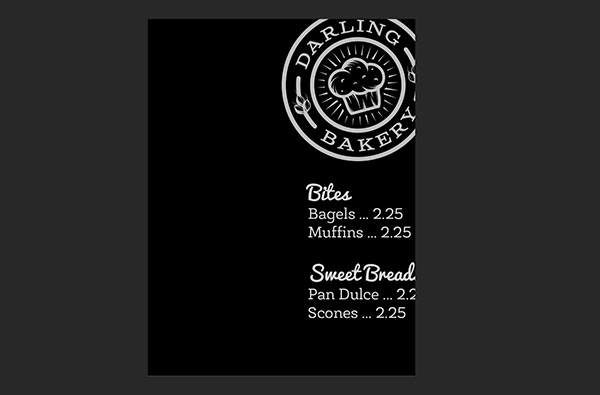
Select the logo layer. Use your Selection tool to center it on the top half of the artboard.
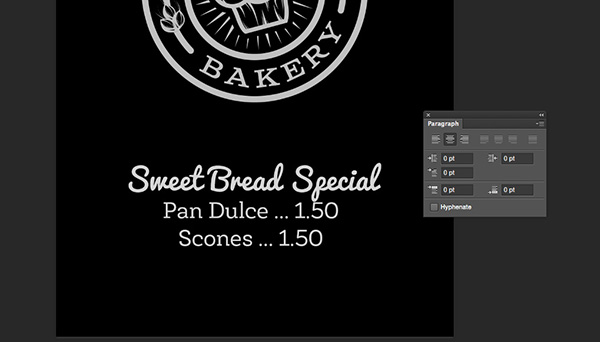
Now select the text layer. Use your Type tool to select and delete the Bites section – leaving just the Sweet Breads section. Use the Type tool to click after Sweet Breads and add the word Special.
Change the price of Pan Dulce to 1.25 and the price of Scones to 1.50.
Lastly, open your Paragraph palette and choose Center Text, then position the text block in the middle of the artboard.
Now we just need to delete the temporary black layer and save the file, then close it.
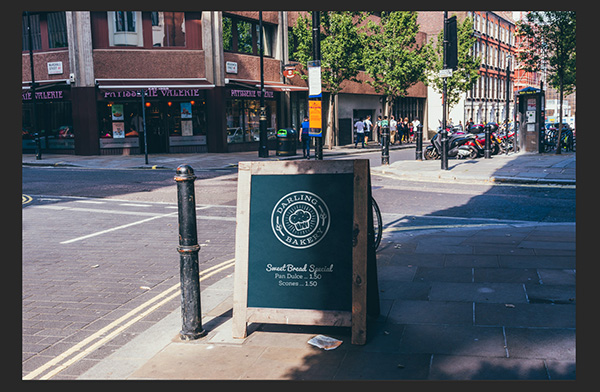
And that’s it! We have a digital menu board, a computer mockup and a sign mockup. Easy peasy!
We are so professional!
Remember that whether it’s your outcome for this tutorial or something new you’ve made, we’d love to see your designs on our Facebook page too.
Please leave a comment if you have any questions or suggestions. As always, I look forward to hearing from you!
There’s still plenty of time to get The Most Extensive MockUp Templates Bundle of All Time and showcase your designs in style.
Clean and simple. Very nice minimalist design. Thought this would be worth a read when I noticed it on Facebook. I wasn’t disappointed.
Great job!
Hey Joe,
Thank you so much for getting in touch with your awesome comment, it’s great to hear that this tutorial didn’t disappoint you! :)
Nice way to extend the identity across devices and applications.
Thank you for your kind words, Simon! It is massively appreciated.
I really like the written tutorials because I just scroll quickly until I see a bit I’d like to read and don’t have to wait for someone to demonstrate the bits I do day in day out!
Thanks Helen,
That is so great to hear that you enjoy the tutorials and rest assured we will still keep the written tutorial alongside our new video option :).
Yes, I agree. This is much more economic, in terms of time and convenience. I like written tutorials too.
It’s great to hear that you enjoy the written tutorials as well, Melanie! If you did have any suggestions on how we could improve on them please do let me know, I would love to hear from you :)
Very cool tutorial :) (agreed, I would like video tutorials too, but this is good too :))
Thanks Mari!
I am so pleased that you liked this one and I really hope you are enjoying the new tutorial layouts :)
Hi guys, bought the mock up pack and it’s great. Are you guys considering videotutorials aswell? Going trough all this text takes a while and I feel like a video is much faster and just easier to follow.
Thanks
Hey Sven,
I hope you have gotten tonnes of use out of the mock ups and please do share anything you create with us!
I hope you have had a chance to check out some of our new video tutorials? I would love to hear your feedback on them :).