WHAT WE’RE CREATING:
Hey Design Cutters!
Simon here, and today I have not one, but two tutorials lined up for you. There were just so many awesome fonts available in the current bundle that I got a little carried away, and designed two poster concepts.
The good news is that I’m going to break down the techniques to create both of these for you, and today you should learn plenty of new design tips and be able to put your new fonts to excellent use.
FUN WITH FONTS
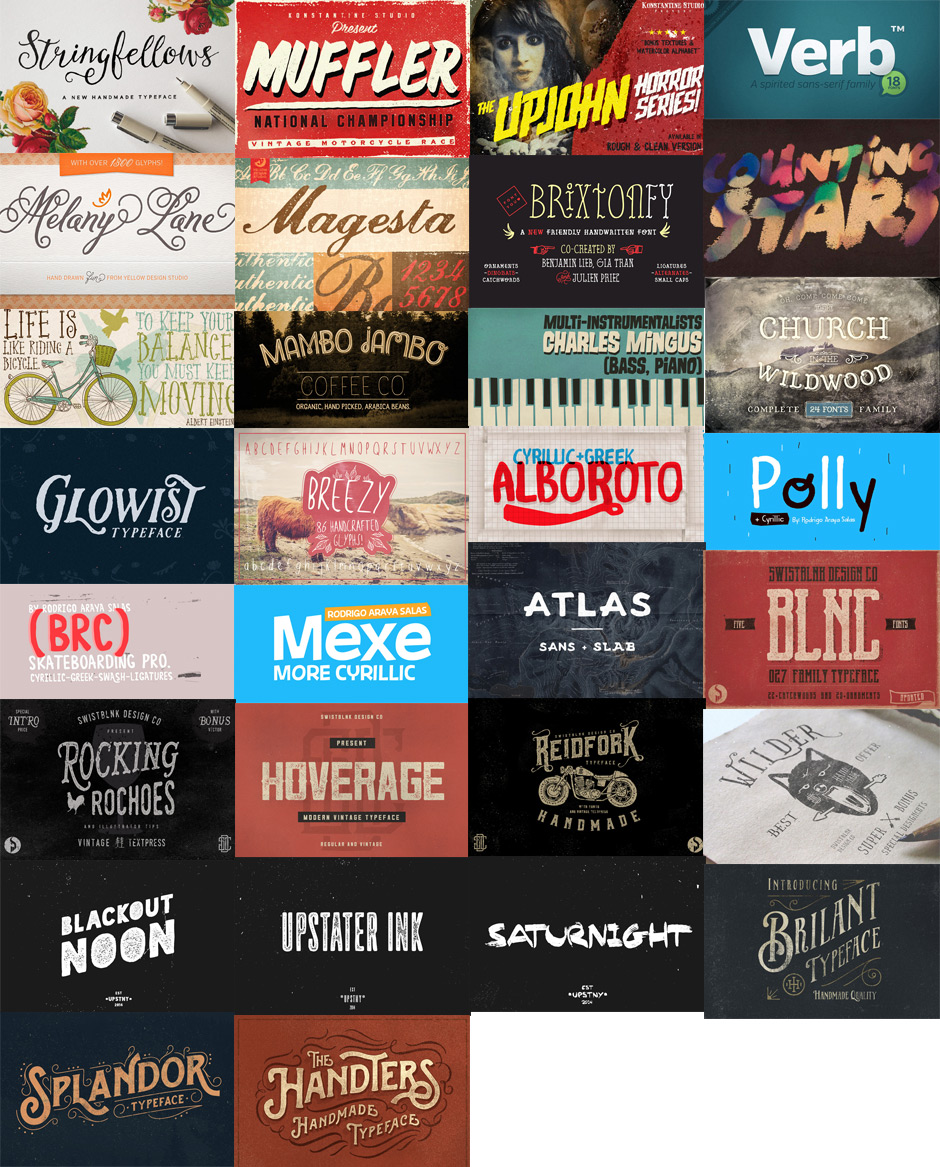
I’ve been having a great time working with all the fonts in the current bundle. I mean, come on, thirty typefaces, along with a bunch of extra vector elements, textures, and more? And I’m not even talking about the extended license, or the web fonts.
As a designer, during my design education, I’ve been hammered the rule of three into my brain. That is, never use more than three typefaces per pieces, or else you’re going to have a bad time.
Now, in design, there’s never an absolute way to do things. There are cases where using more than three typefaces will work. But as a rule of thumb, it’s a pretty good one to stick to.
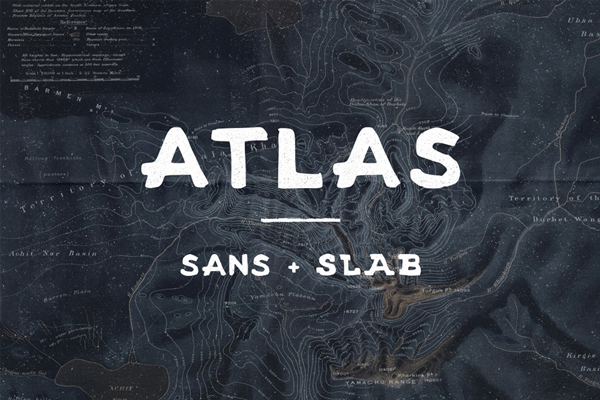
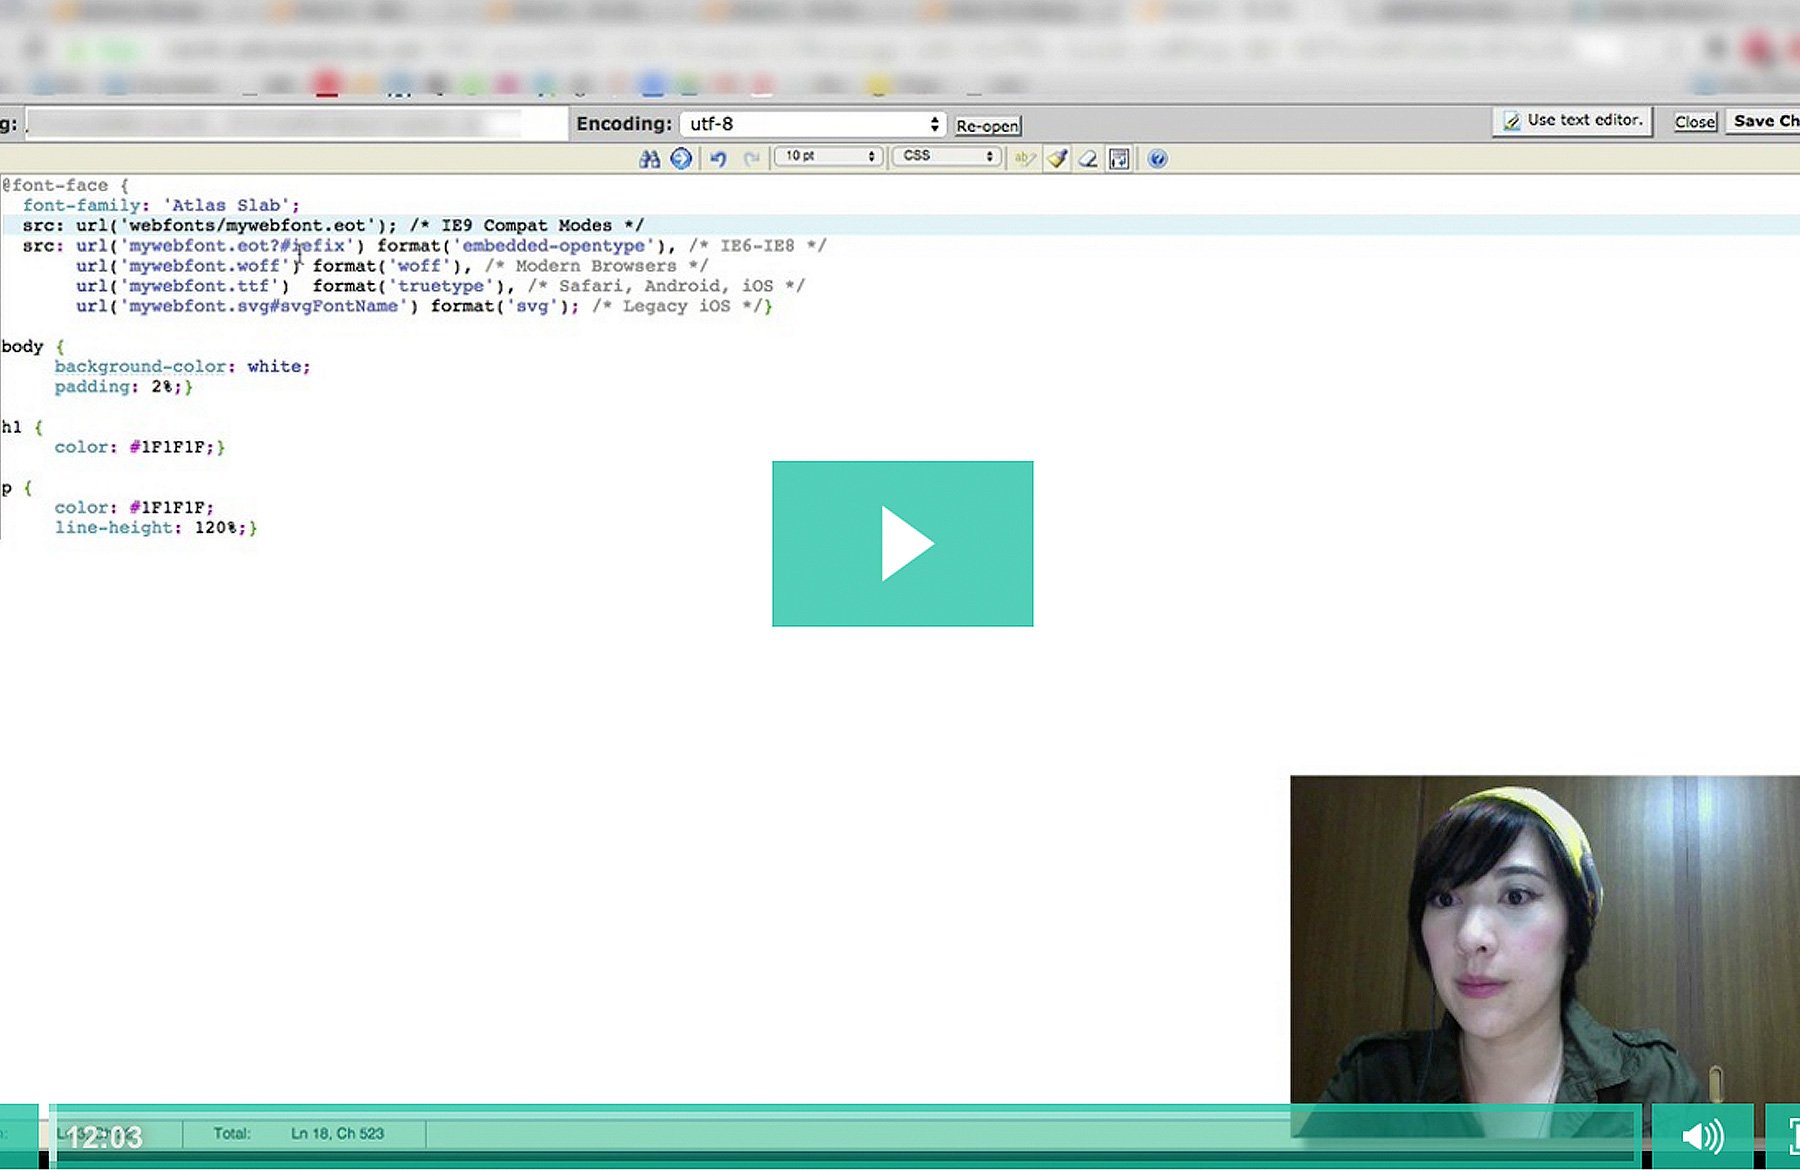
With that in mind, I decided to do two pieces. The first one leverages Atlas, Melany Lane, and Verb.
I love Atlas’ imagery of maps. The letter forms are strong, well defined, and yet with a few quirks here and there to give them personality.
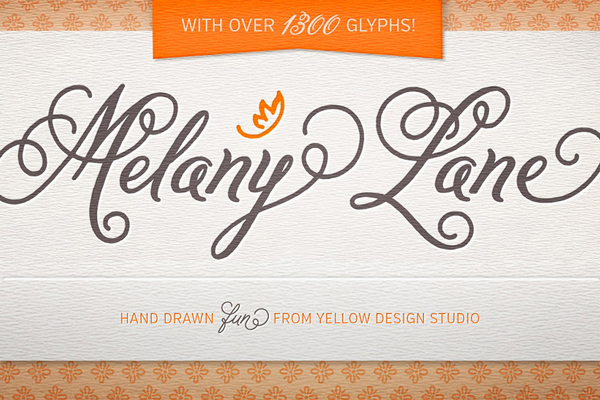
Melany Lane is simply beautiful, extensive (1,300+ glyphs, 364 ligatures, regular and bold!), and a delight to use.
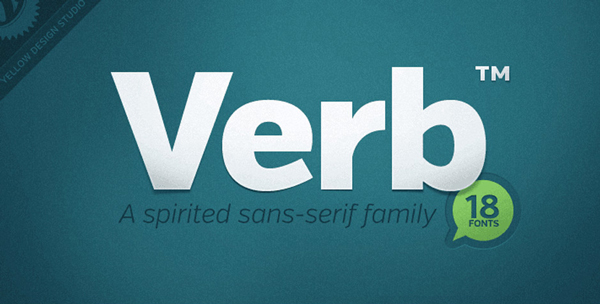
Verb is this beautiful sans-serif. It’s very readable, and feature great ligatures.
The second piece came together as soon as I saw Upjohn.
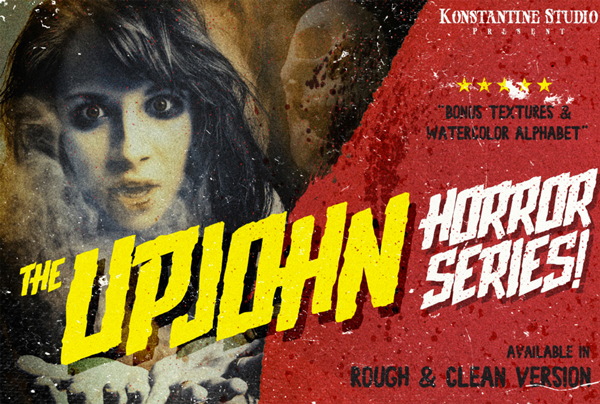
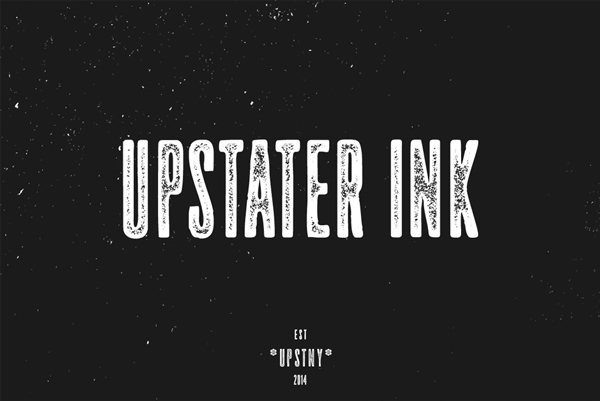
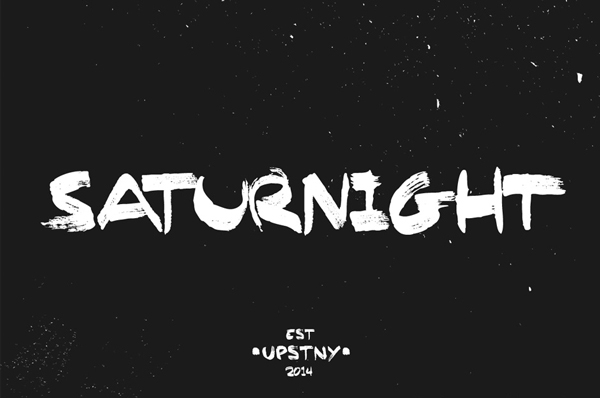
Halloween is soon upon us, so an horror-themed piece was just a thing I wanted to do anyways. We’ll prepare a poster for a scary, upcoming movie production. We’ll also make use of Upstarter Ink and Saturnight, to complete the picture.
In order to put the pieces together, we’ll also grab a few free resources here and there: textures, vector assets, old illustrations, stock imagery.
Ready? Then let’s get started!
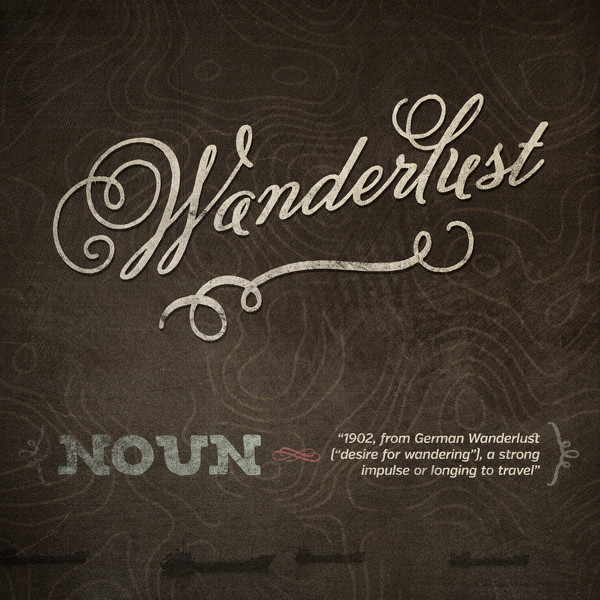
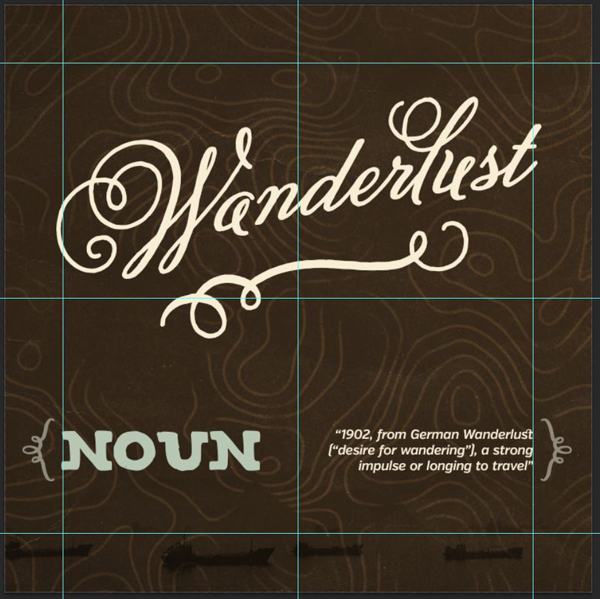
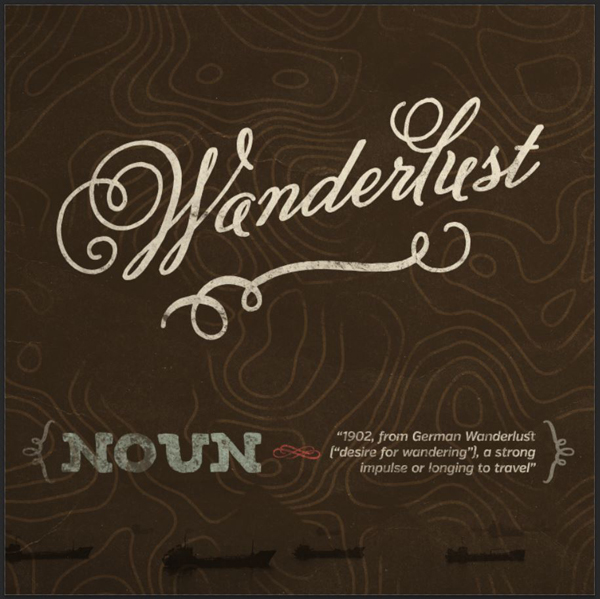
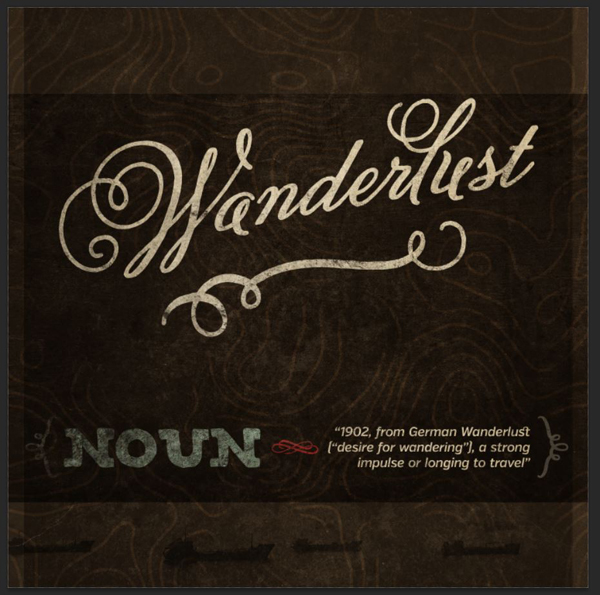
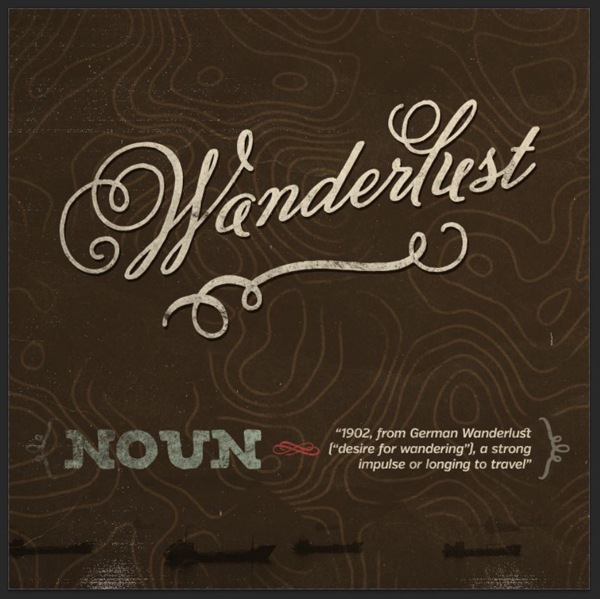
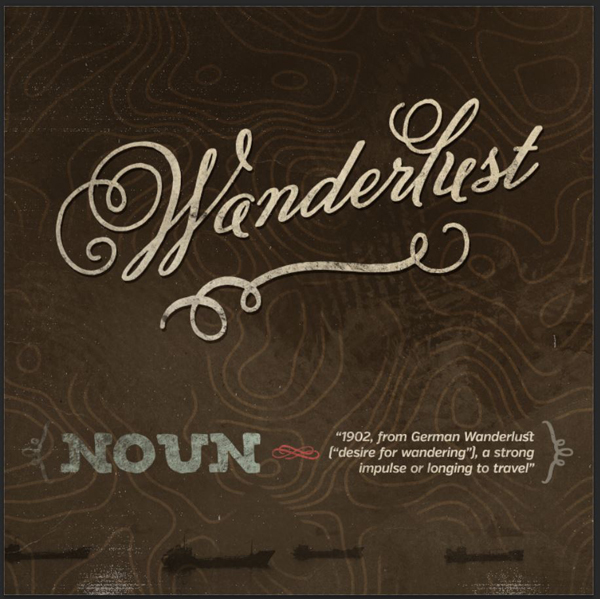
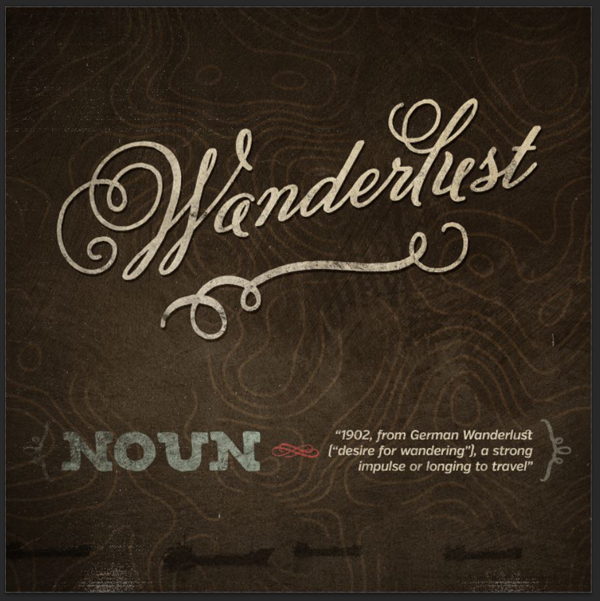
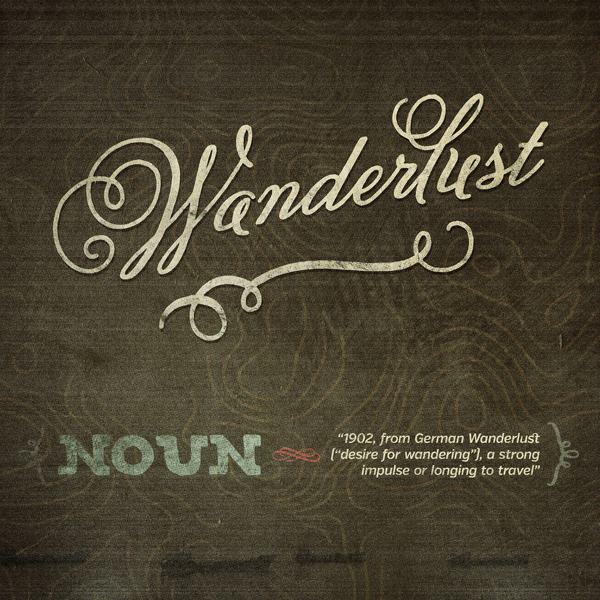
THE FIRST PIECE: WANDERLUST
STEP 1: CONCEPT EXPLANATION AND RESOURCES GATHERING
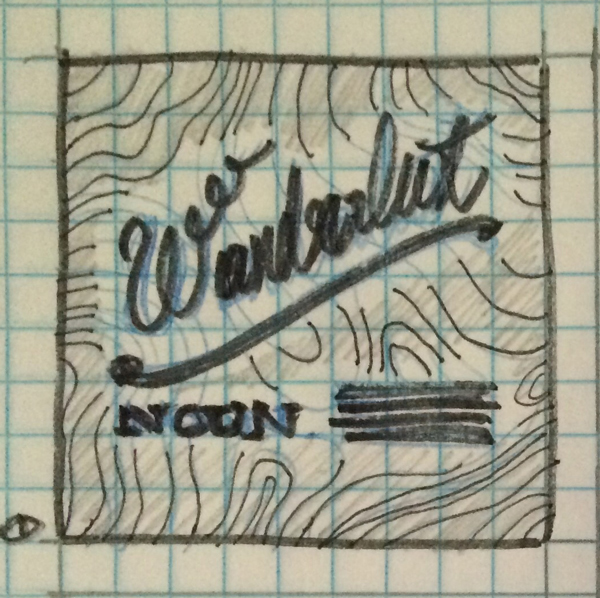
The story behind this one is simple, really. The assets used for Atlas are beautiful, with their map overlays. The idea of maps got me to think about travels, which in turn got me to think about Wanderlust. After looking closely at Atlas, Melany Lane, and Verb, here’s the sketch I came up with:
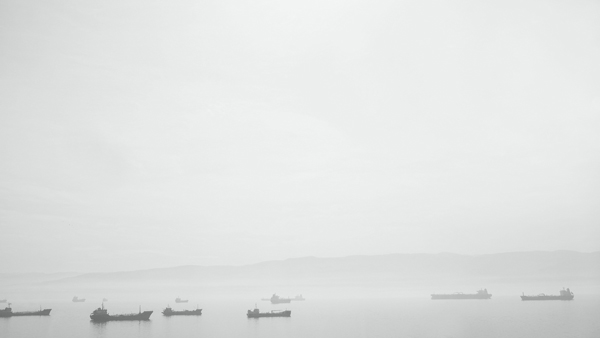
From there, I knew I needed a cool image to start from, if possible travel related. I looked through Unsplash, and found the beauty below.
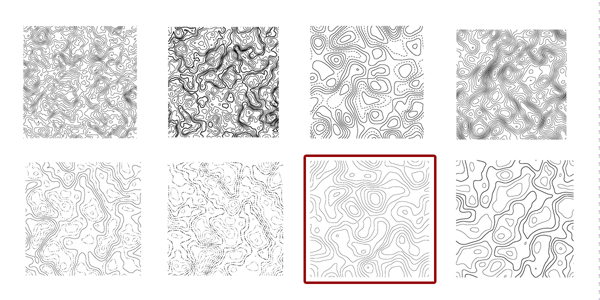
I also knew I wanted some map-like patterns in the background. Luckily for me, our good buddy Chris Spooner wrote a tutorial on how to generate these, and also released a freebie of some he created.

I used his freebie for sake of speed, but the tutorial is really simple. It makes use of the blending tool to achieve the effect. Give it a whirl if you want a truly custom result.

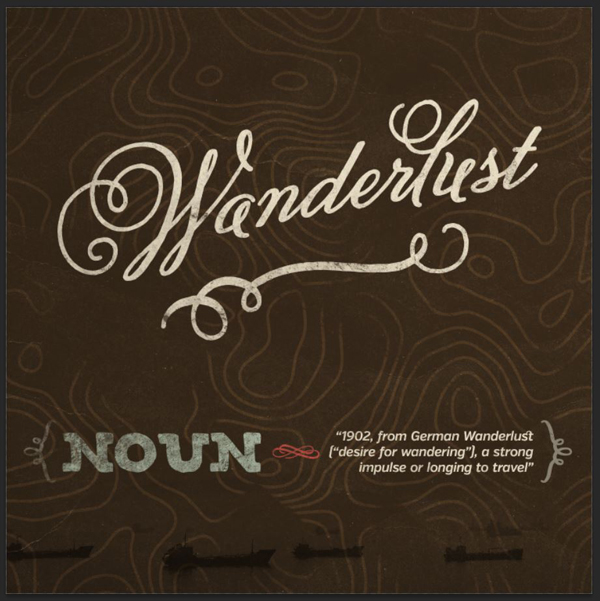
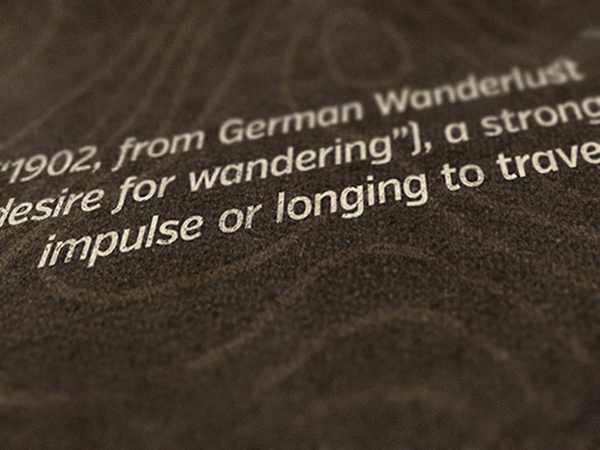
I also needed a proper definition of Wanderlust for the copy on my piece. I found a good one on the Wiktionary:
“1902, from German Wanderlust (“desire for wandering”), a strong impulse or longing to travel.”
Finally, I wanted to have a solid color palette at hand. A little bit of experimentation and research on old maps made me settle for this palette, found via COLOURLovers.

With all of these resources at hand, we’re finally ready to go.
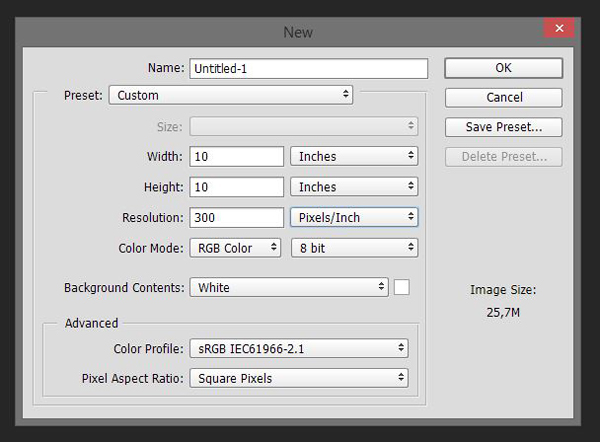
STEP 2: DOCUMENT SETUP
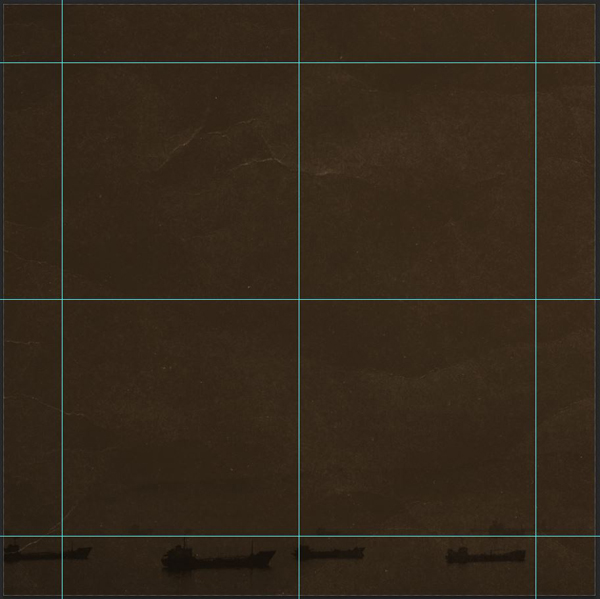
I decided to work on a 10″x10″ @ 300 dpi canvas.
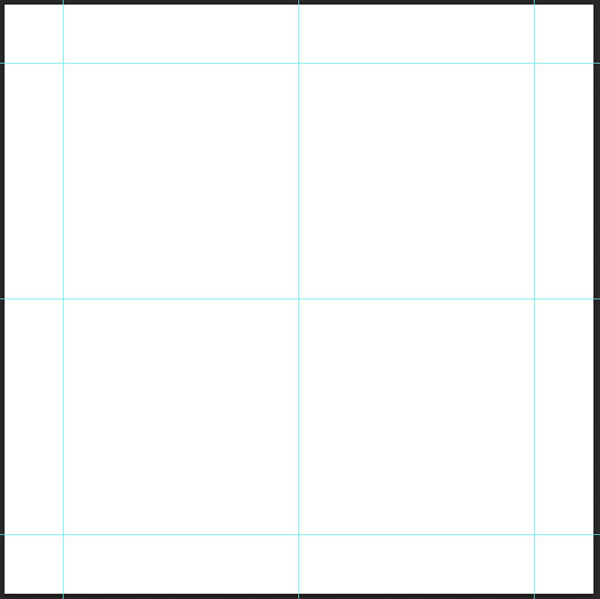
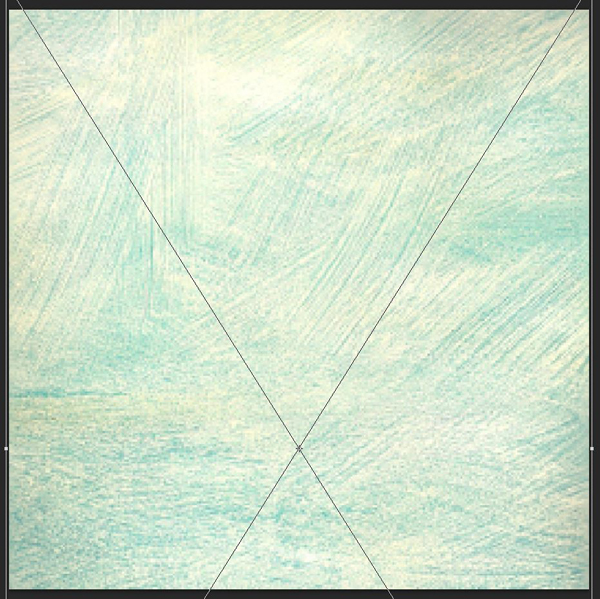
I also added a few guides. They are at the 1″, 5″, and 9″ mark, both vertically and horizontally.
STEP 3: BACKGROUND
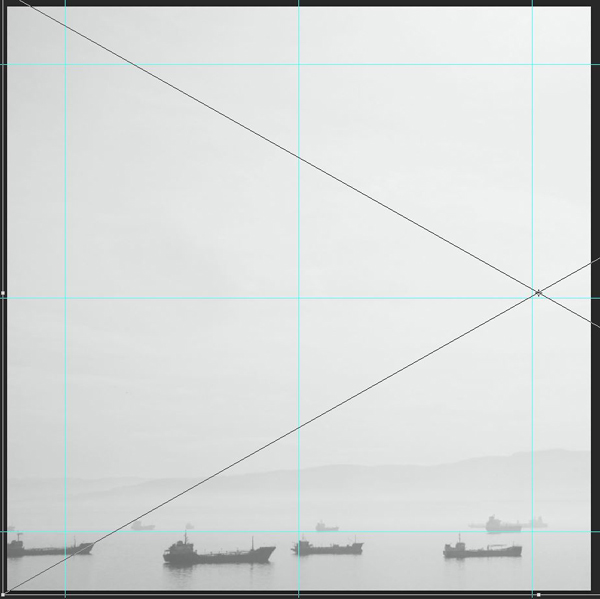
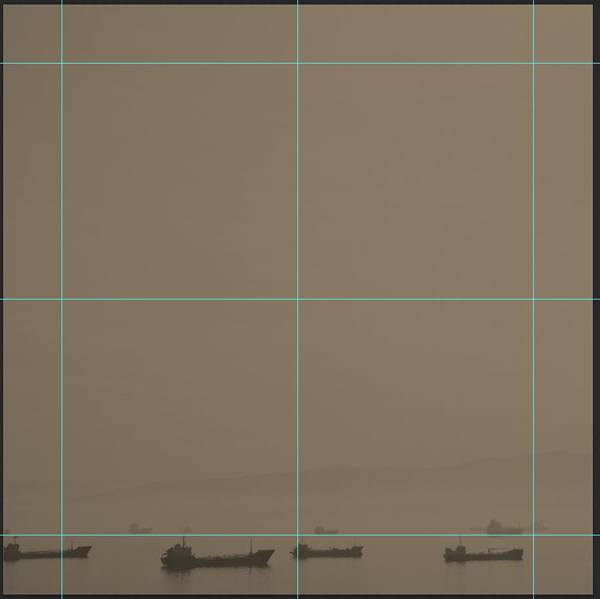
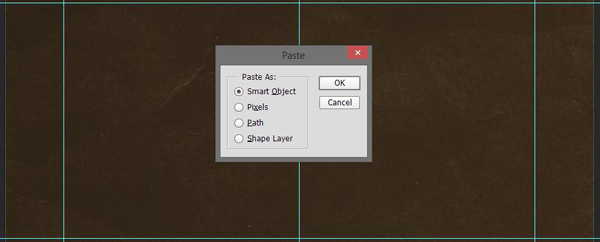
Our first step is to place the background image in our canvas. It’s pretty straight forward. Place it as a smart object to retain maximum flexibility.
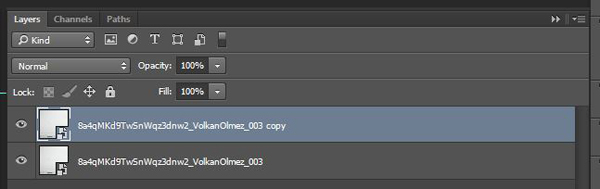
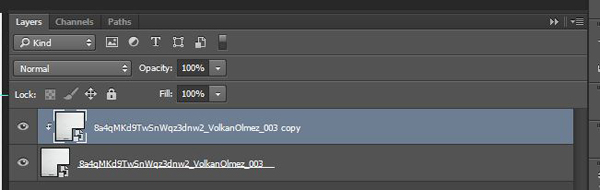
Next, proceed to duplicate the image layer, and clip it (CTRL/CMD+ALT/OPTION+G) to the original one.
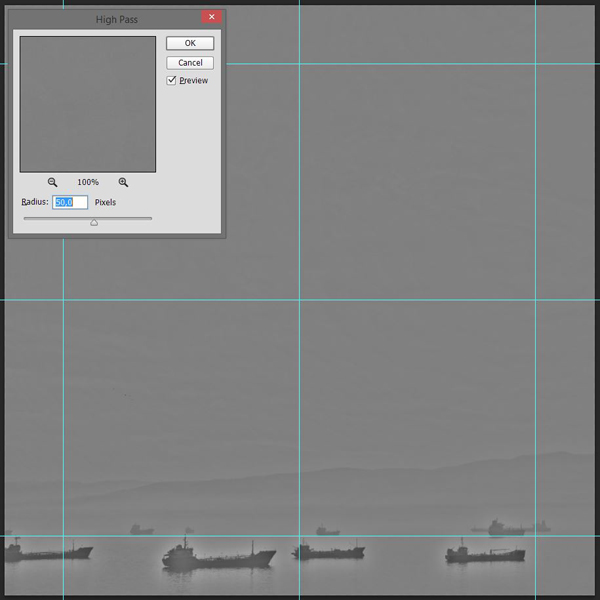
From there, we’re going to sharpen the piece and enhance its contrast by using the high pass filter. We used that technique before. Make sure your top layer is selected. Then go to Filter > Other > High pass. I’m using a 50 pixels radius.
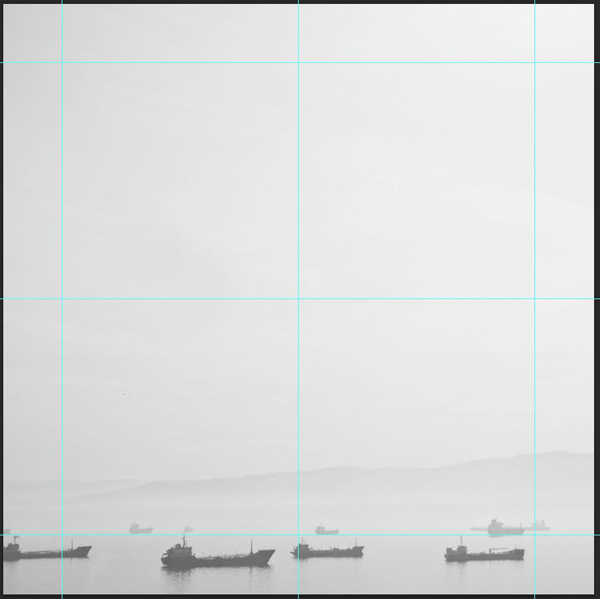
After that, simply change the layer’s blending mode to Soft light @ 50% opacity, and we have a sharpened layer.
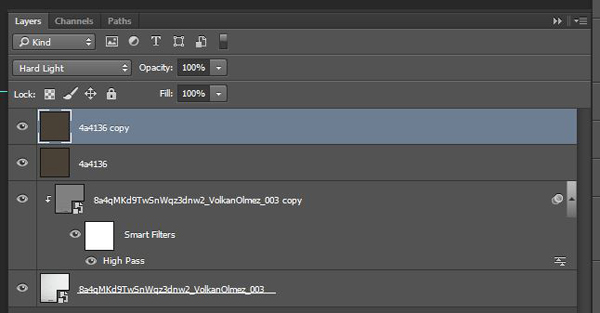
Create a new layer filled with our palette’s rich dark brown (#4a4136). Change its blending mode to Hard light @ 100% opacity.
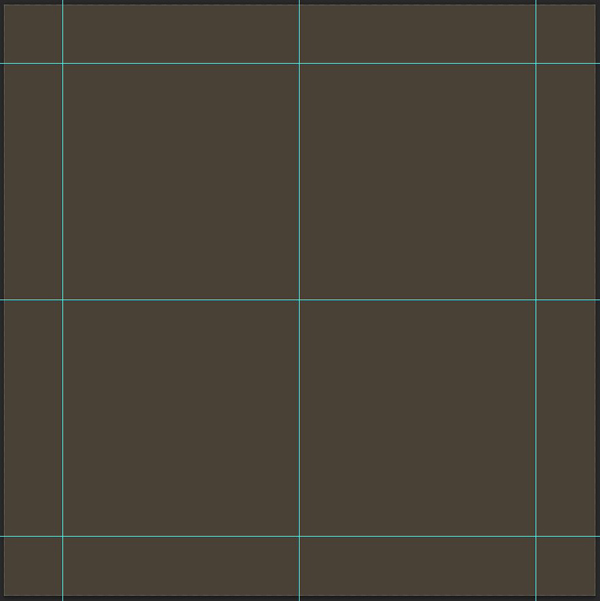
This technique allows us to color the image to the hue we want. The only issue we have for now is that the color isn’t “deep” enough. To solve this, simply duplicate the color layer.
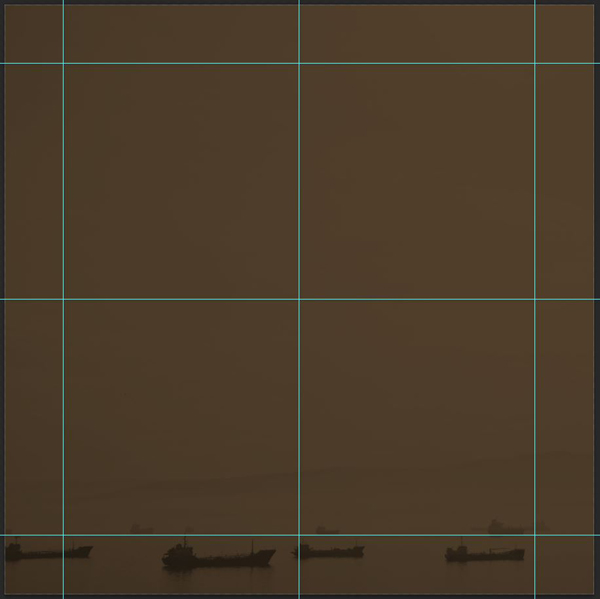
I kept the same opacity, but you could decide to lower it if you feel that it’s too strong to your taste.
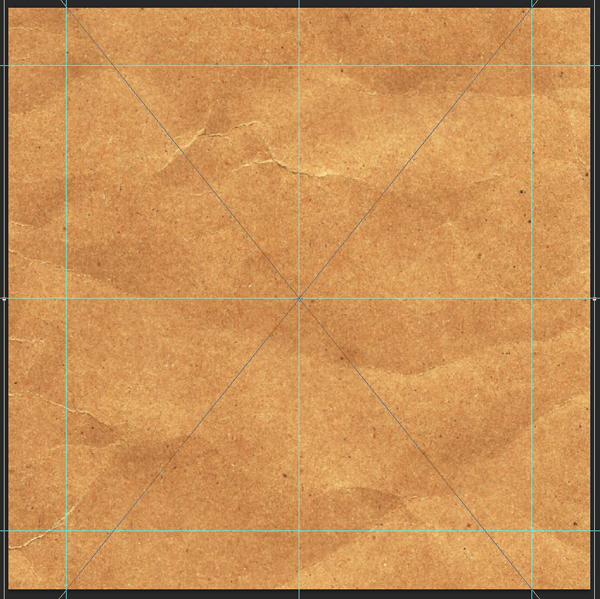
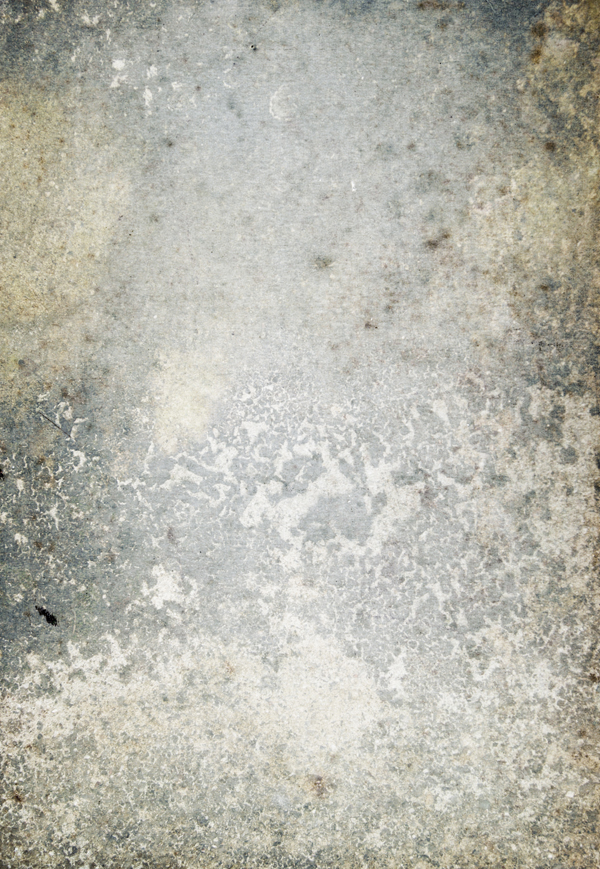
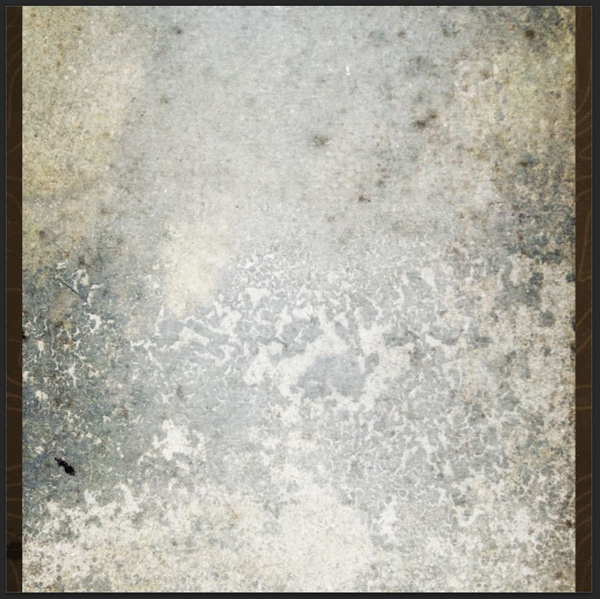
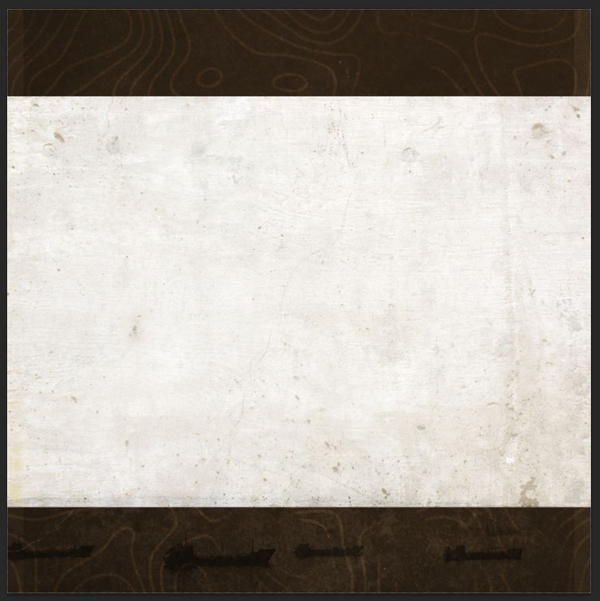
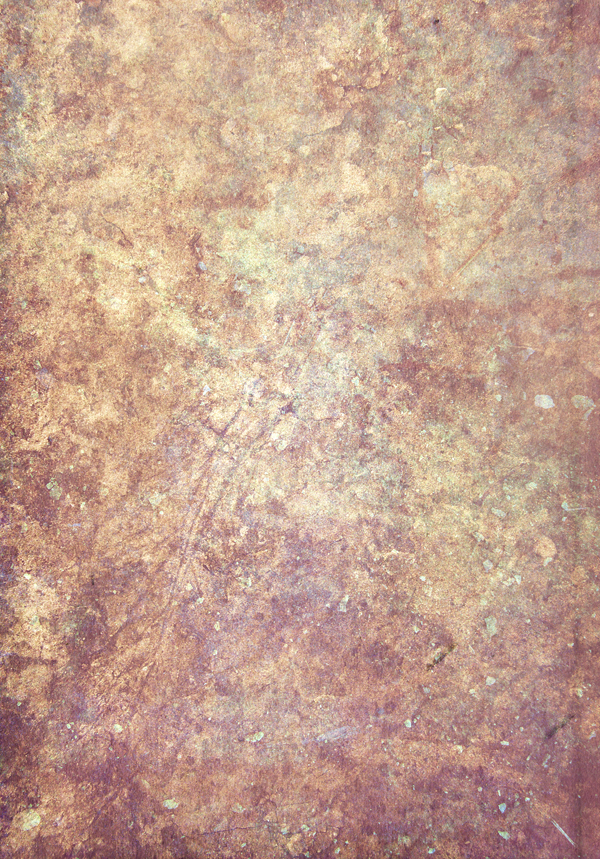
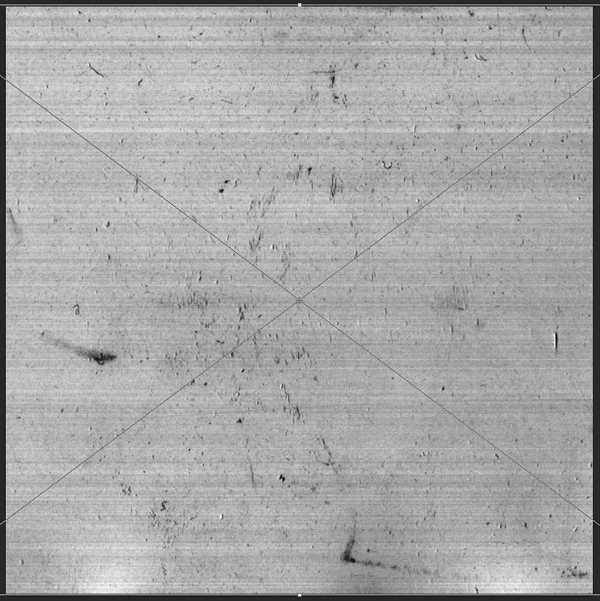
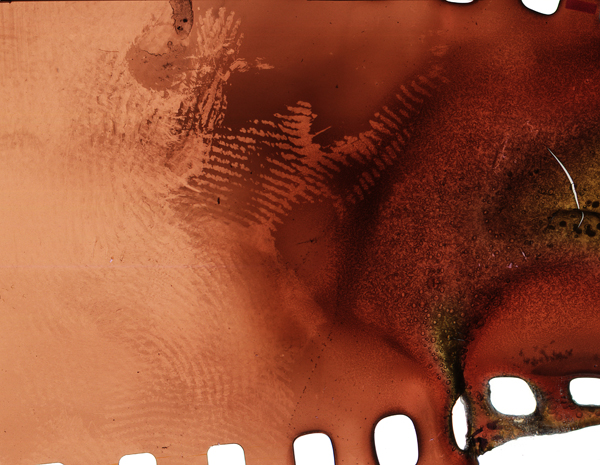
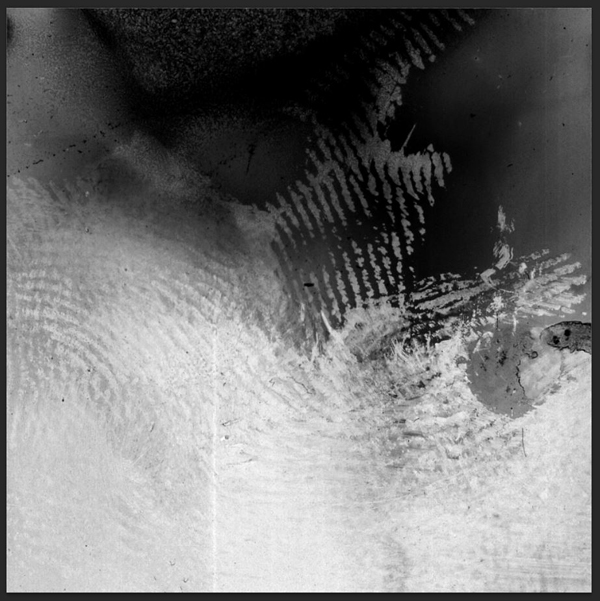
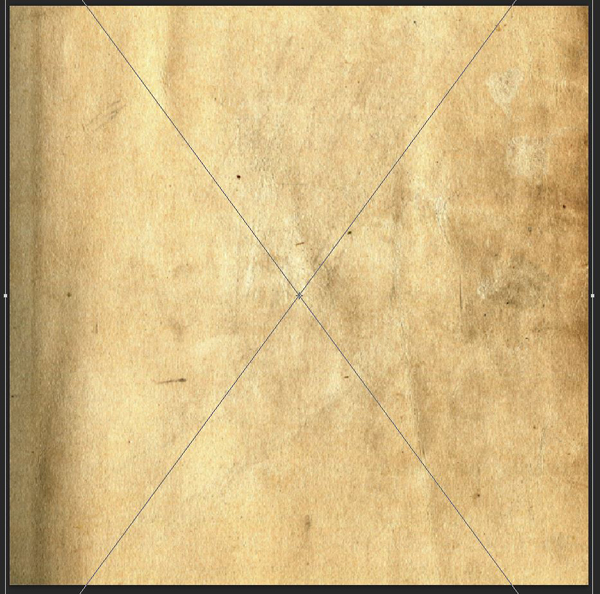
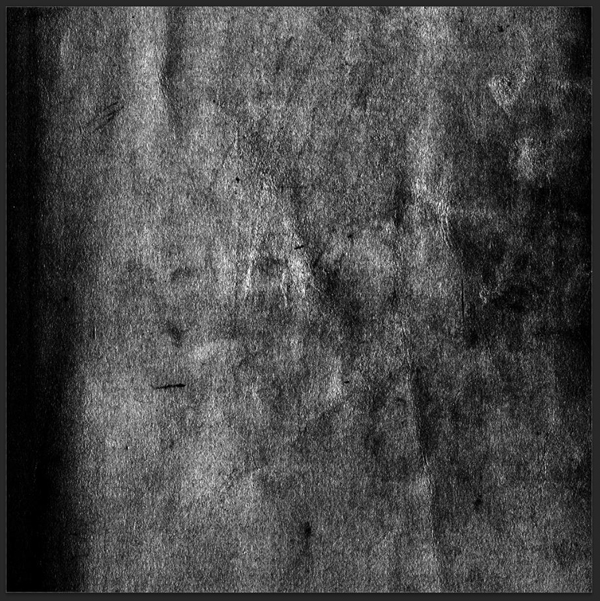
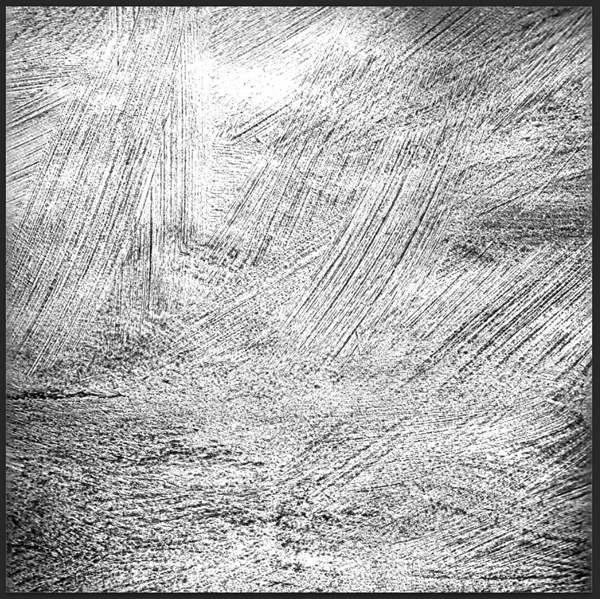
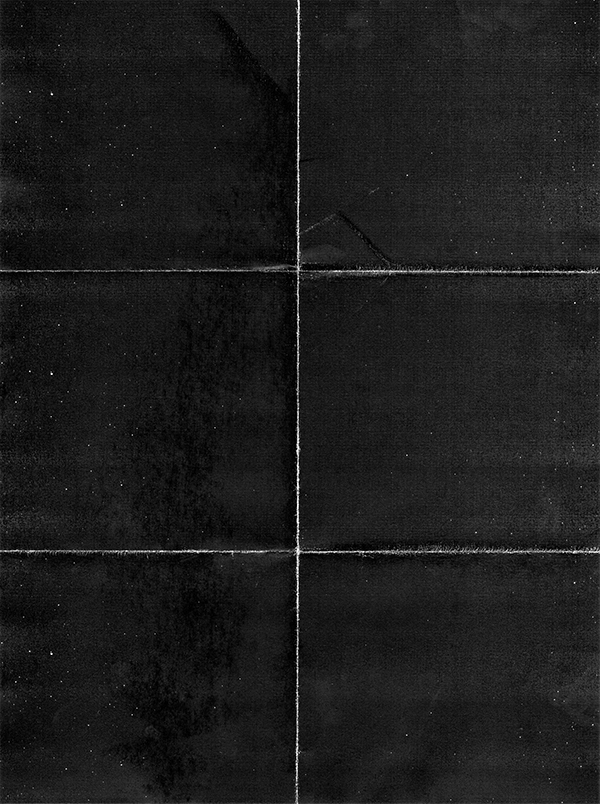
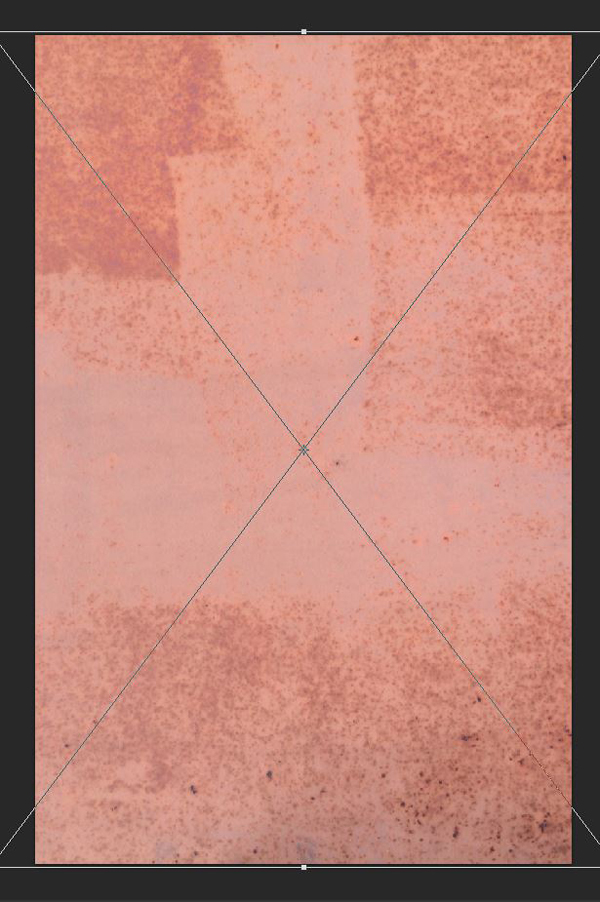
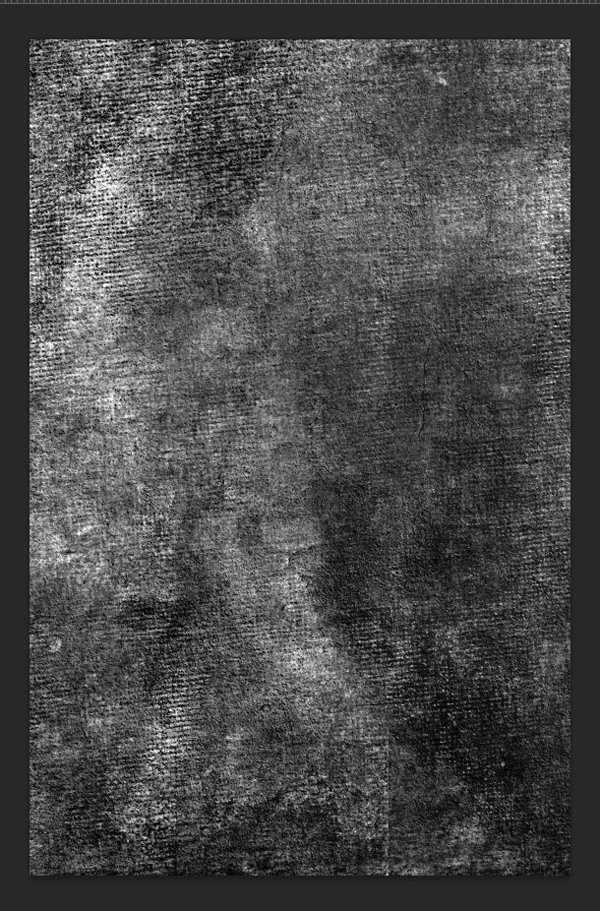
Next, let’s add a bit of paper grain to the background. I’m gifting you a texture from my personal vault, because it felt so right to use with the piece. It was generated from one of this sheets of very heavy paper, that got slightly creased. Save it by following this link.
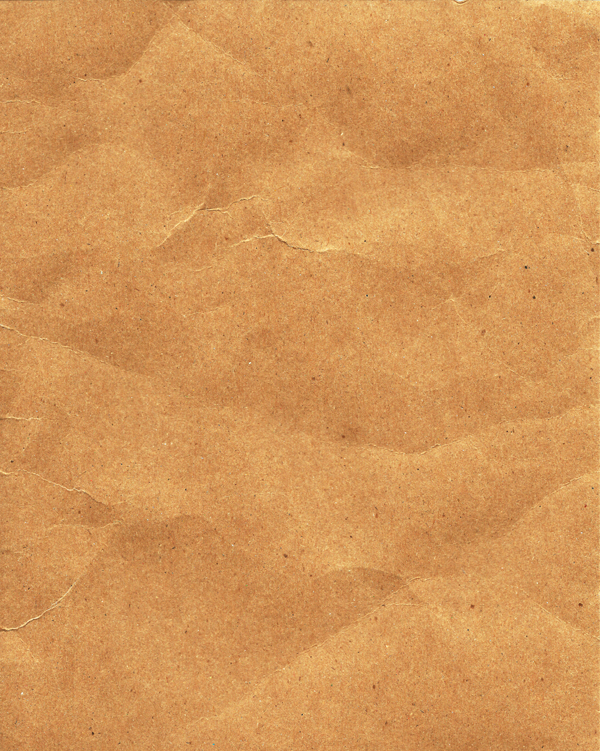
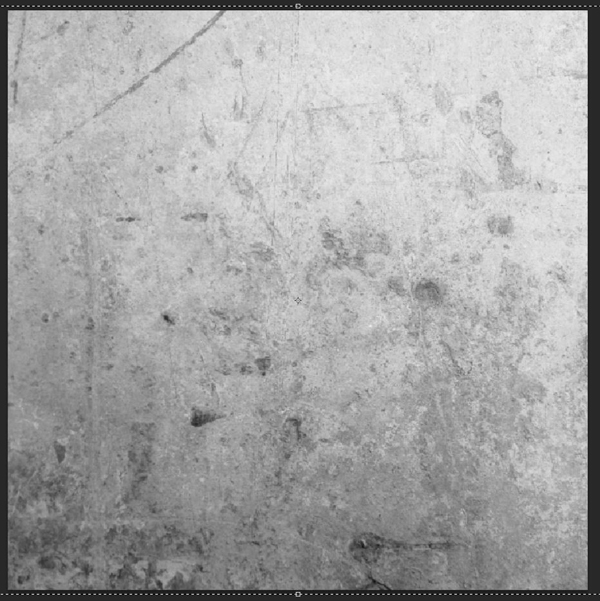
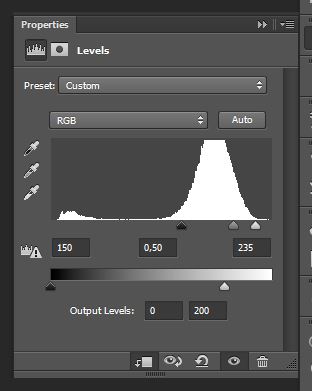
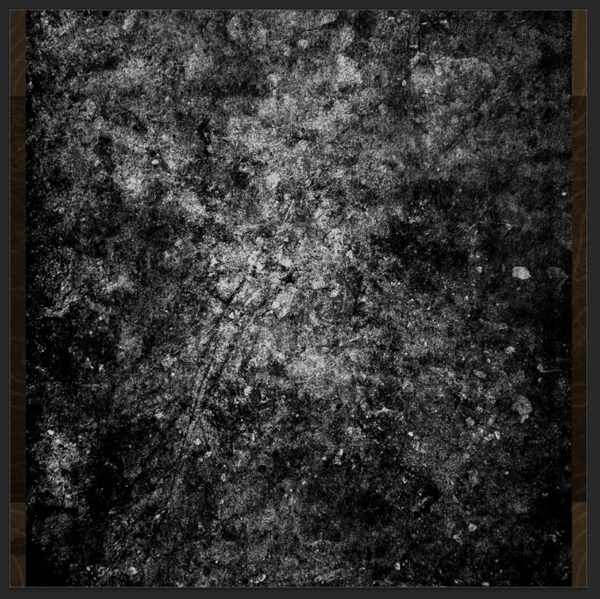
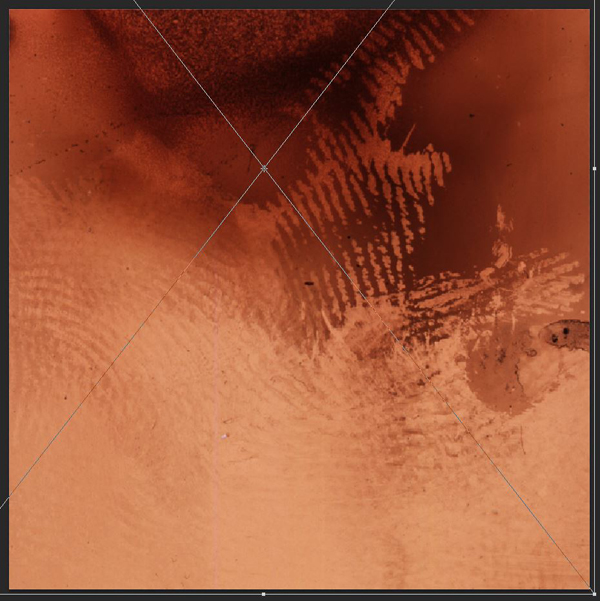
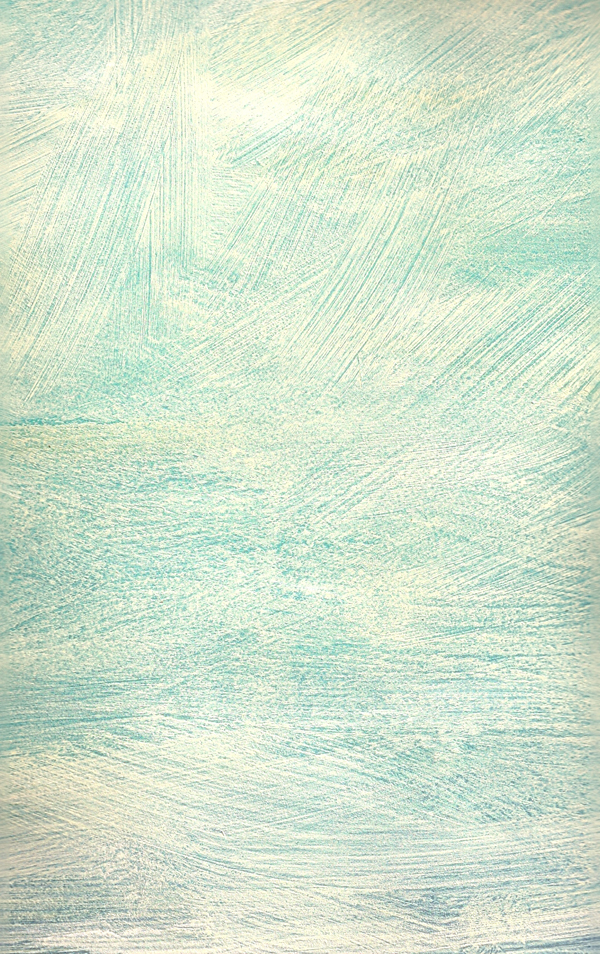
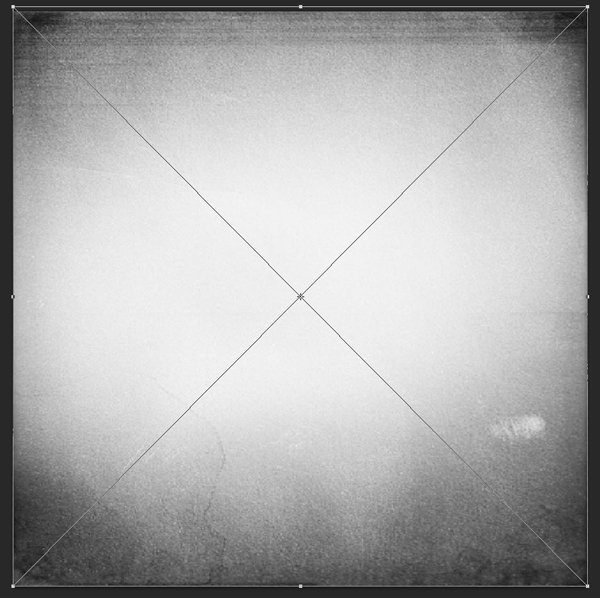
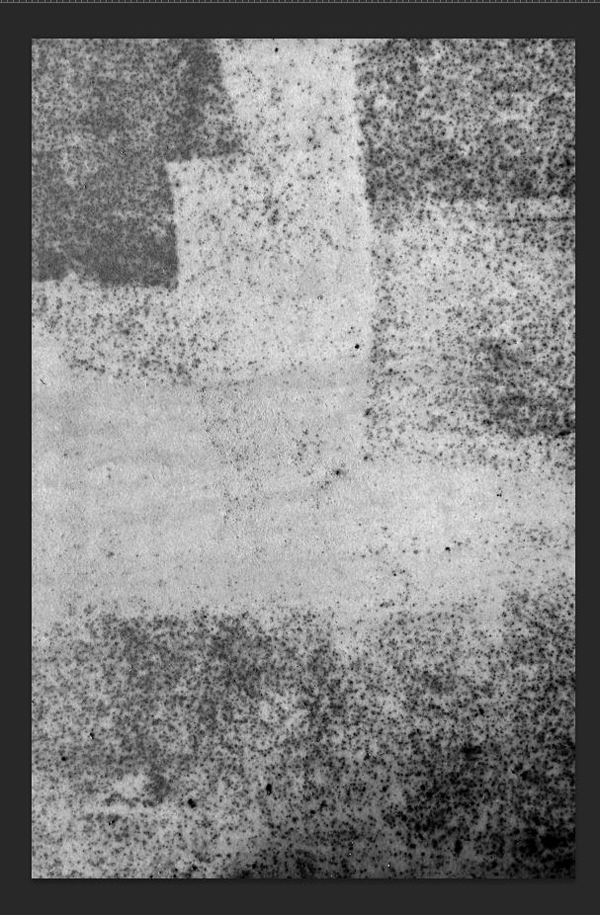
Place the texture in your file, and sharpen it (Filter > Sharpen > Sharpen). Next, desaturate it with a clipped hue/saturation adjustment layer.
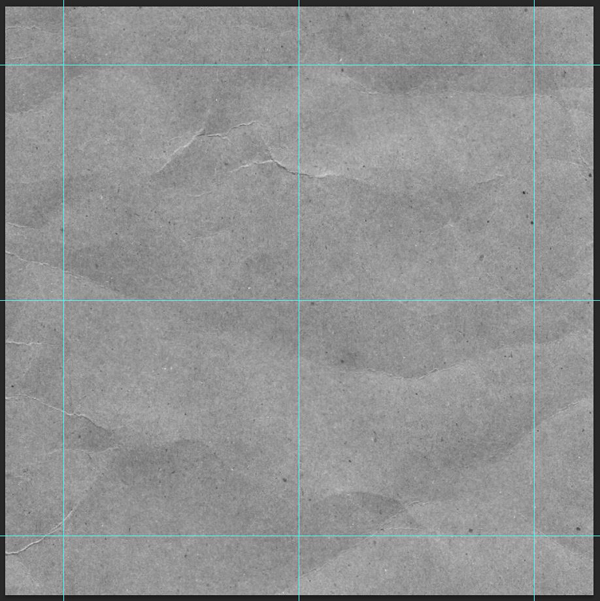
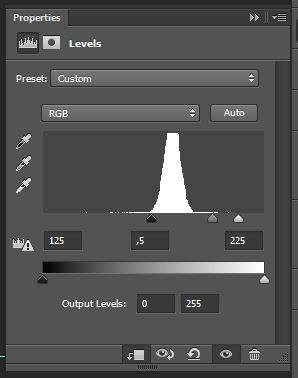
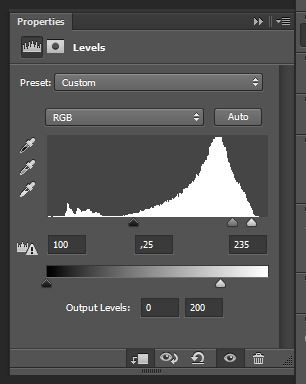
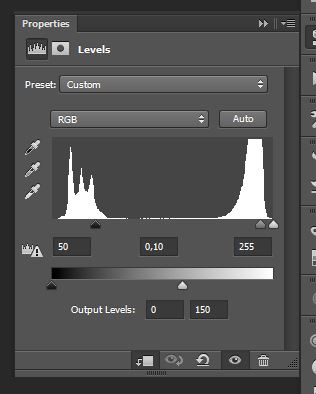
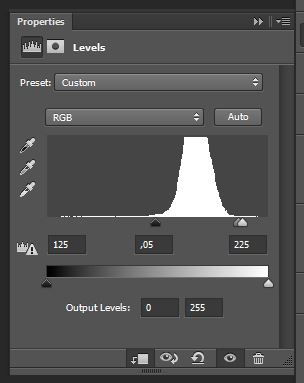
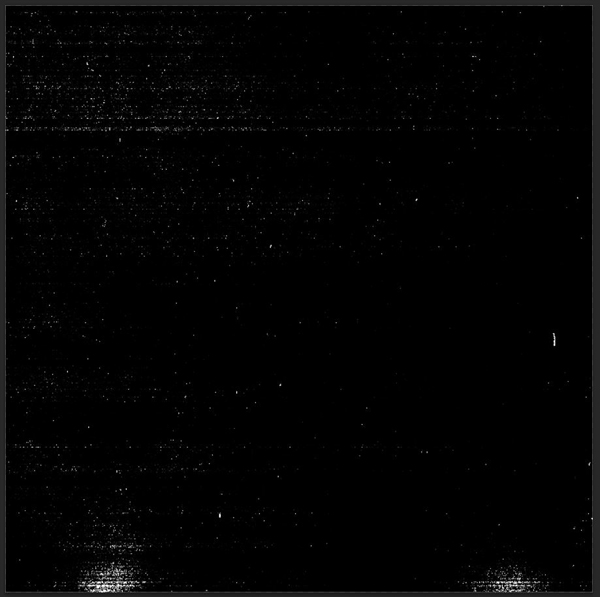
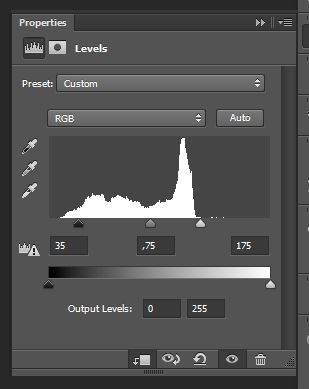
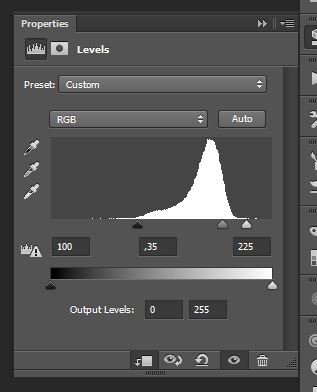
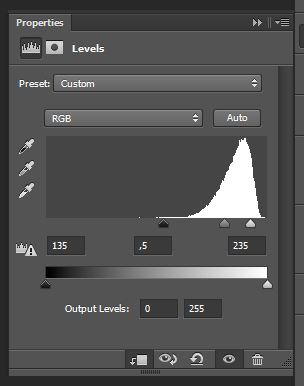
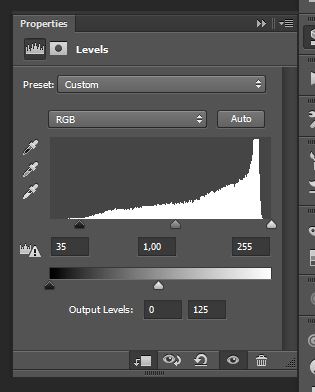
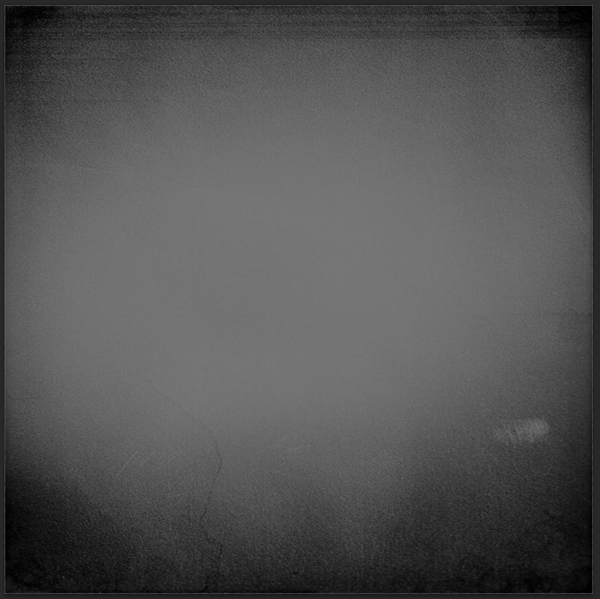
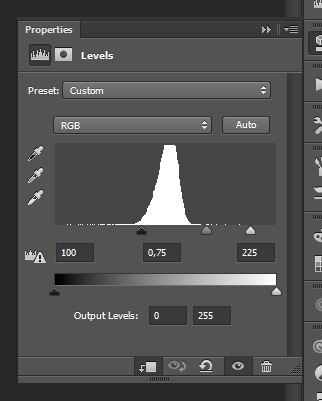
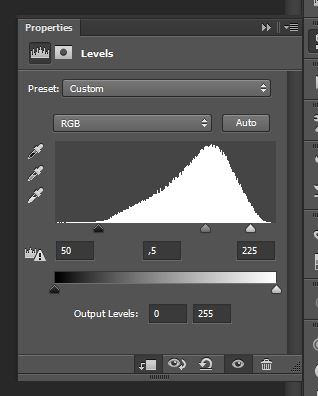
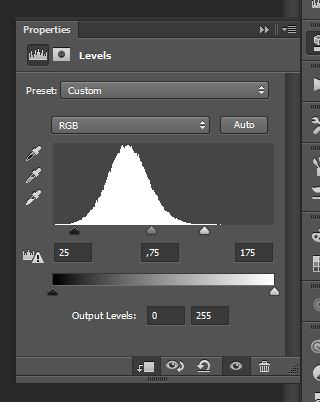
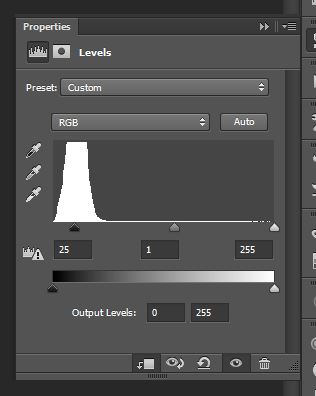
From there, use a clipped levels adjustment layer to boost the texture’s contrast, and bring its grain and artifacts out.
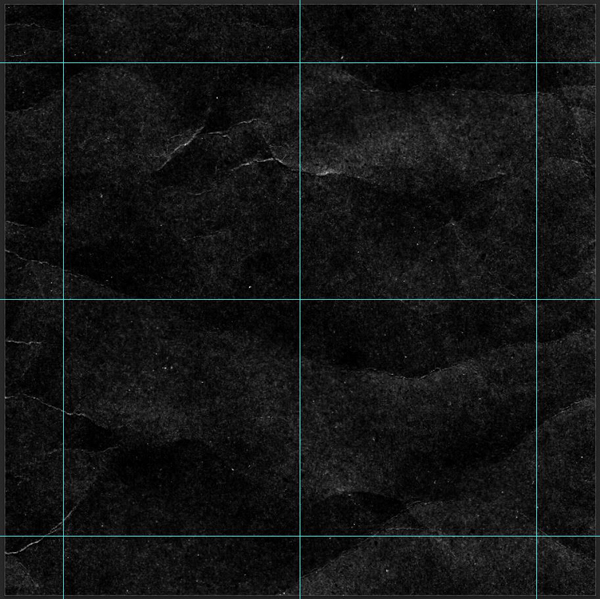
Using adjustment layers to manipulate the textures allows us to stick to a non-destructive workflow. We explored that technique in details when working on the Fall piece of a few weeks back. We’ll be following the same workflow with textures for the rest of the tutorial.
Next, change the blending mode of the texture to Soft light @ 50% opacity.
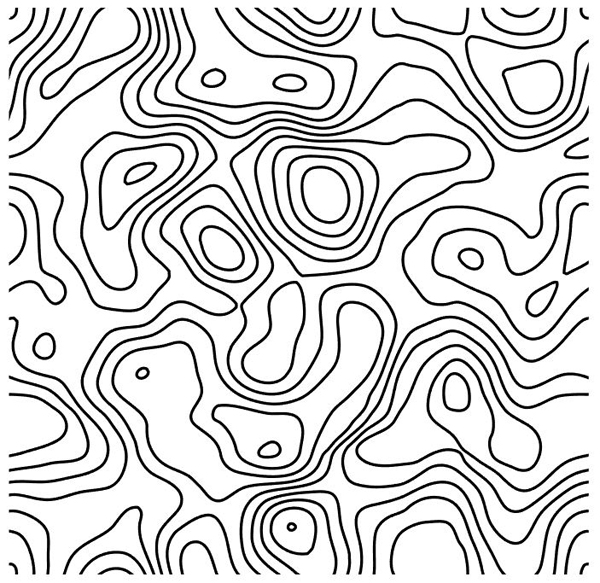
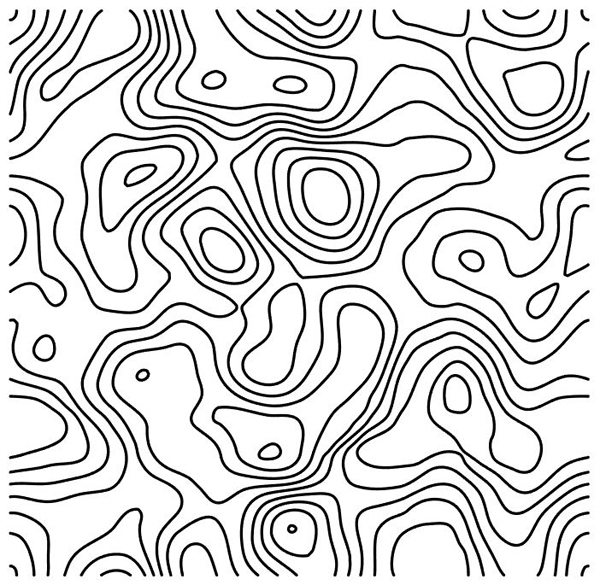
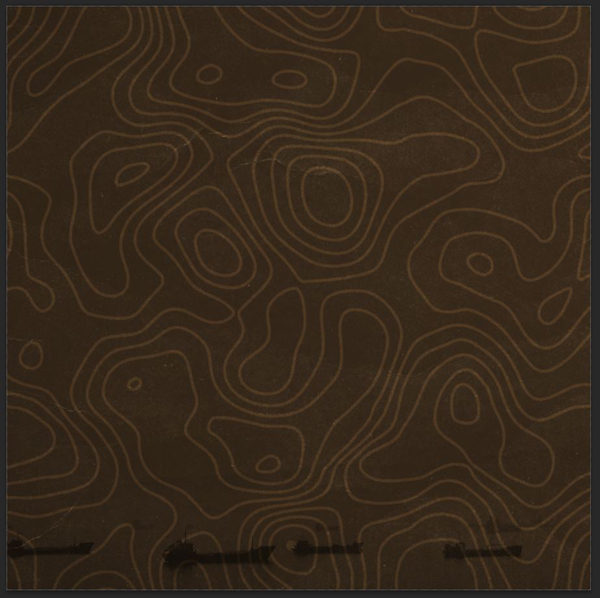
Finally, it’s time to bring Chris’ map pattern into the piece. You have the choice between vector versions (AI and EPS formats), patterns, and transparent PNGs. I used the vector version, as I can find it more flexible. Open one of the files in Illustrator. I’ll be using the highlighted pattern.
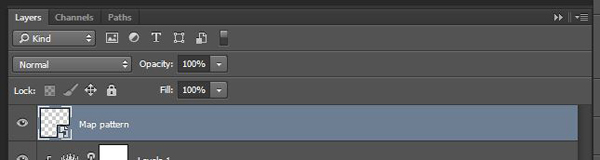
Simply copy and paste the vector element from Illustrator to Photoshop. Remember to keep it as a smart object, as there’s a bit more editing that needs to be done to it.
Make sure the pattern covers the whole piece.
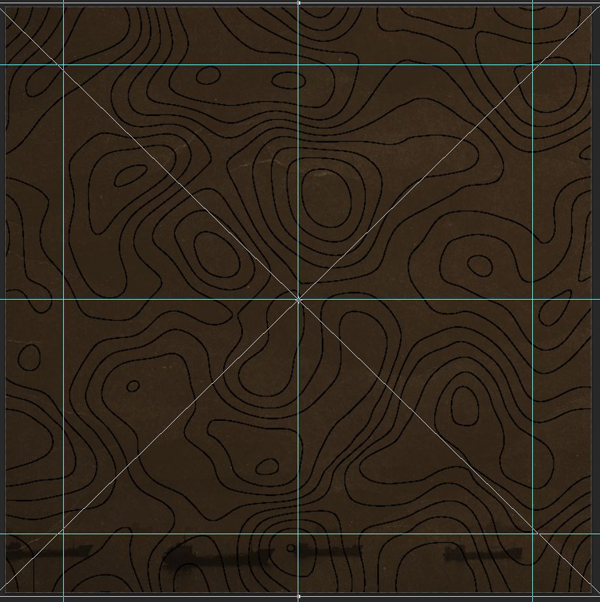
From here, we notice two things. One, the pattern is too thin compared to the scale of the piece (this is due to the scale of the base vector element). Two, we need to change its color.
Both are easy to solve. Double click on the pattern layer thumbnail to open the vector in Illustrator.
You’ll have to zoom in quite a lot.

Select the pattern, and give it a stroke to thicken it. Due to the scale issue, a value of 0.125 pt for the stroke will be plenty. Make sure to give the stroke the round corners and caps to make everything look smoother.
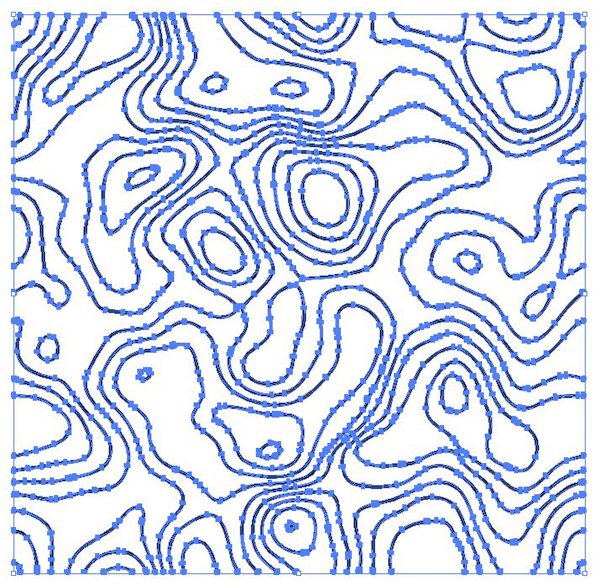
From there, select the pattern again, and go to Object > Expand. We’re going to turn everything back to a shape.
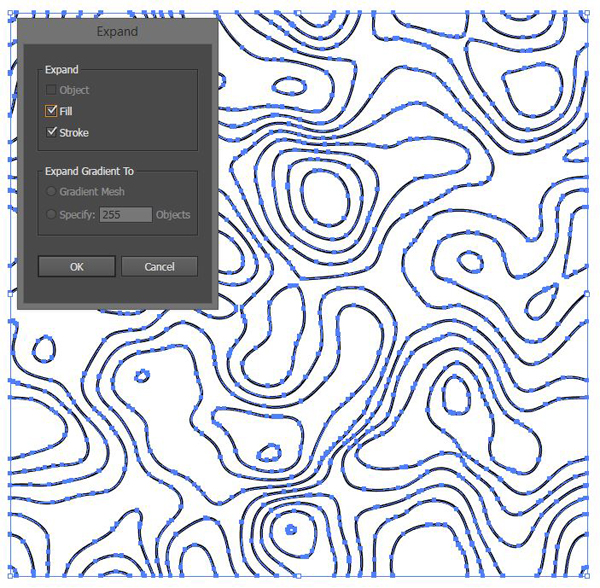
Finally, change the pattern’s color to our palette’s medium brown (#918a7a).
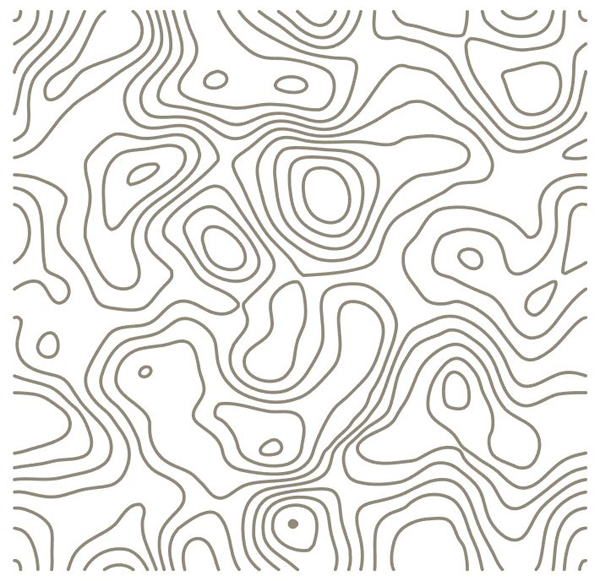
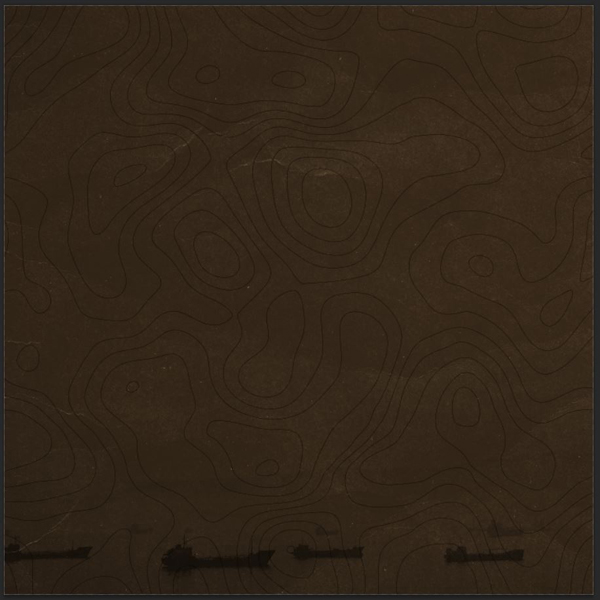
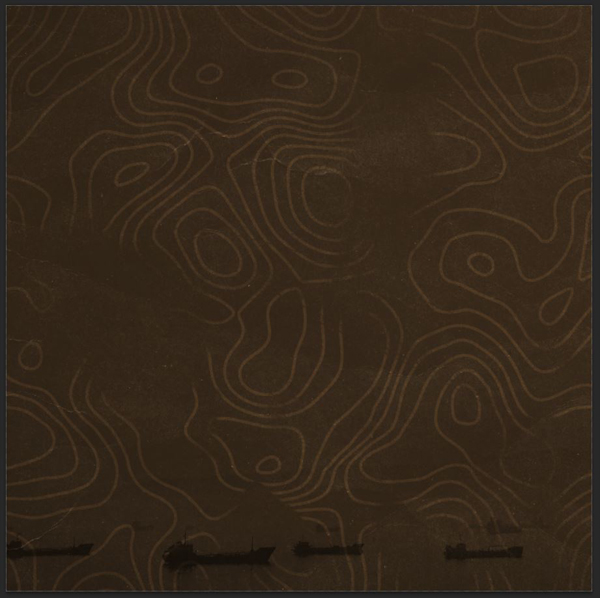
Once you’re done, save your changes, and head back to Photoshop to admire the result.
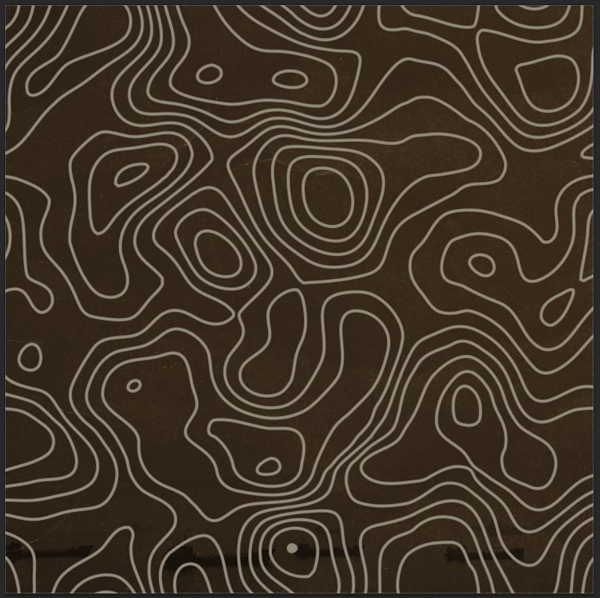
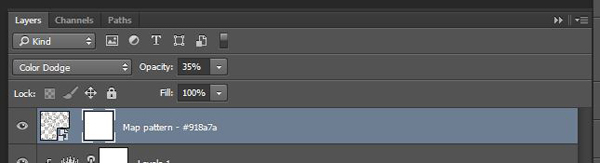
Since the pattern is obviously too strong at the moment, change its blending mode to Color dodge @ 35% opacity.
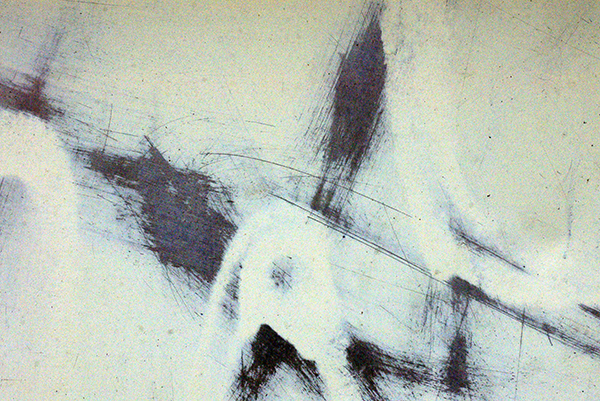
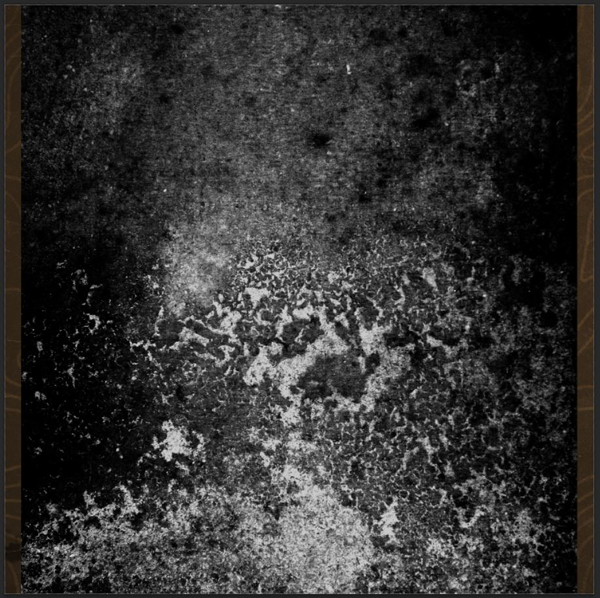
The result is much better, but the pattern is still to present. The solution? Let’s grunge it out! I’m using the High resolution dirty textures by FanExtra from the DC Freebie section, but any grunge texture will do.
I selected Dirty3.jpg for my piece.
Attach a layer mask to the map pattern. Make sure it’s unlinked (click the little chain-link icon between the layer thumbnail and the mask thumbnail), so you’ll be able to move the mask content independently from the layer’s content.
Once the mask is created, access its content by ALT/OPTION+CLICKING its thumbnail, and paste the texture in it. Make sure it covers the whole area.
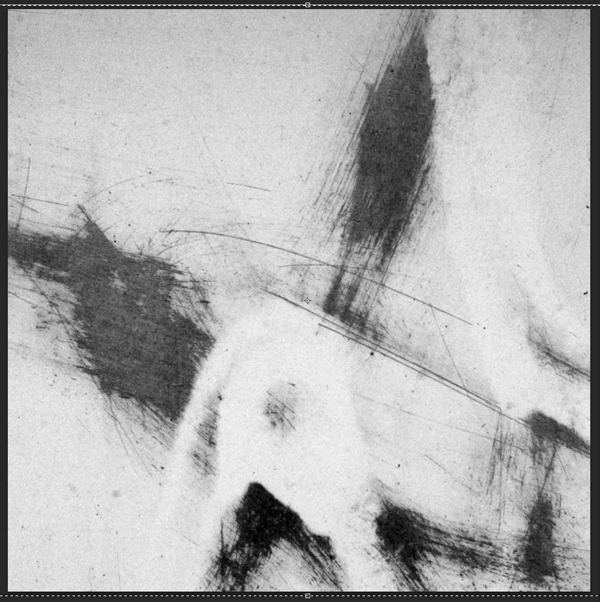
Sharpen the texture (Filter > Sharpen > Sharpen), and use levels to enhance it.
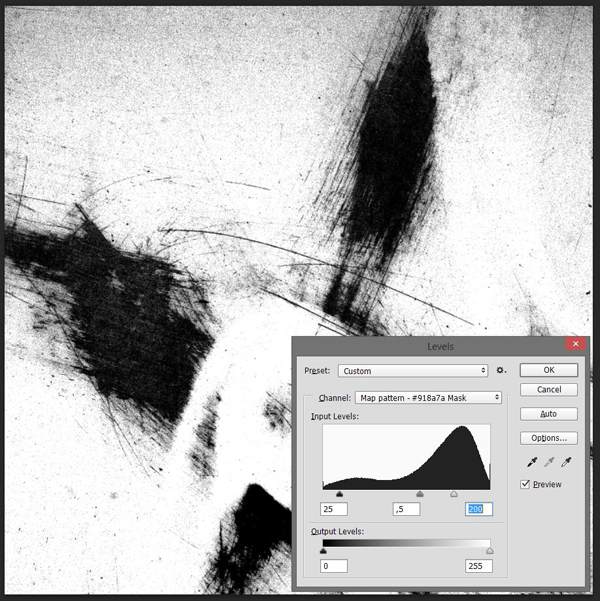
Click on the layer’s thumbnail to admire the result.

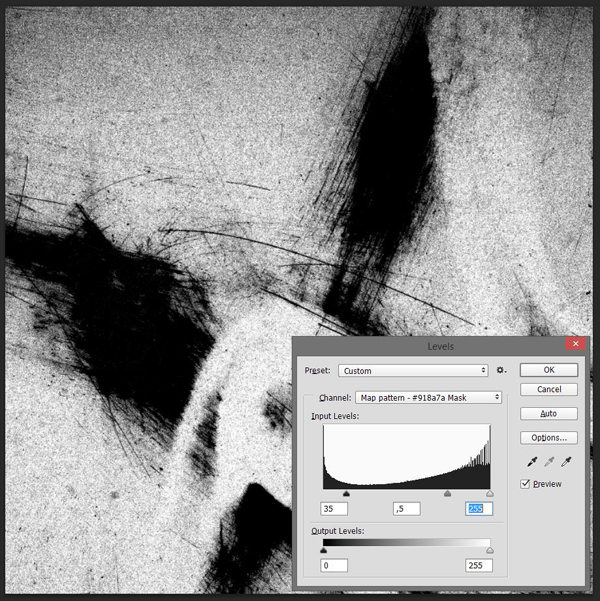
I think that the pattern is still a bit strong, so I’m going to further tweak the levels of the mask.
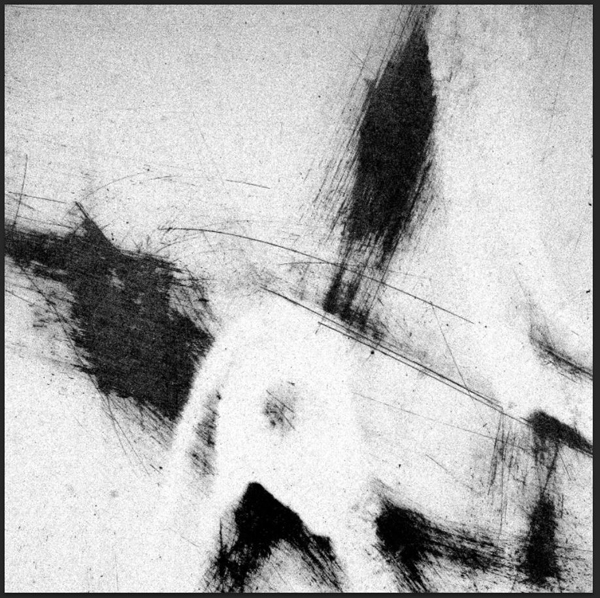
The result is much more subtle, which fits my goal better.
Last but not least, it’s time for a little bit of house cleaning. I’ve created a dedicated layer group for my background elements.

STEP 4: TYPE!
It’s finally time to start playing with that delicious type.
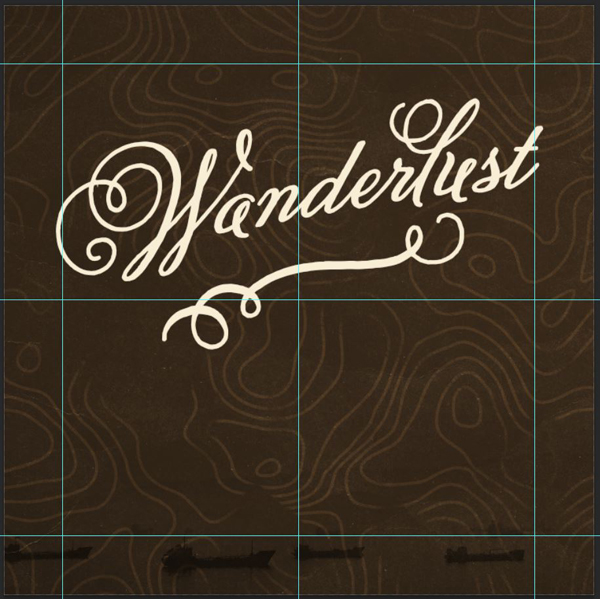
The first element we’ll be creating is the “Wanderlust” title, set in Melany Lane Bold. I’m using a size of 144 pts for now, and the color of the type is the light tan of our palette (#f8eed5).

Use the Character panel to select the ligatures, alternate letters, and other open type features you want.
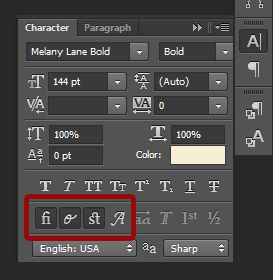
I’ve started by selecting the swash option on the W.

Same on the lowercase “a.”
The next letter to receive the swashes treatment is the “l.”

Same for the “u.” The “st” style is obtained by turning all add-ons off, except for the standard ligatures.

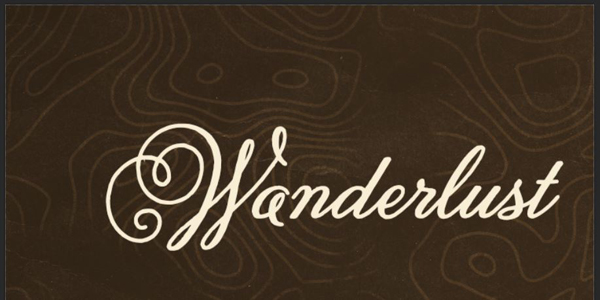
Now, make sure that the type object’s alignment is centered, and aligned to the middle of your canvas.
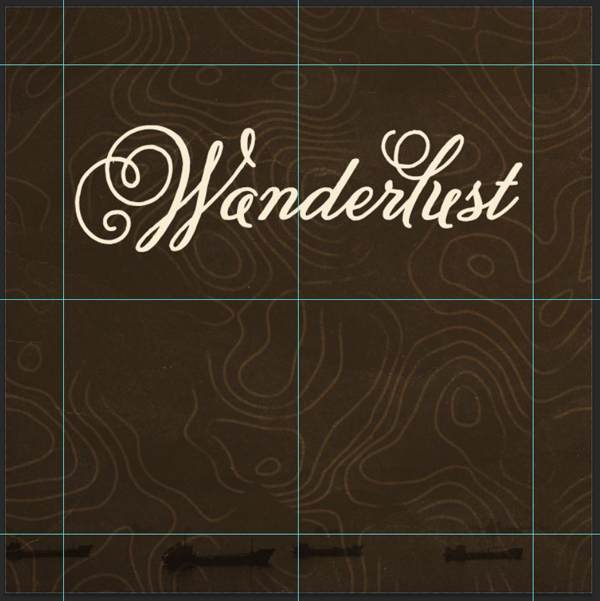
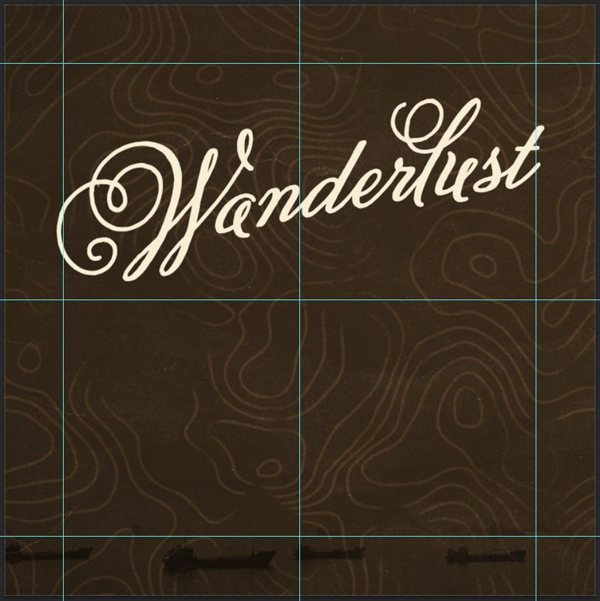
We’re going to give the type a little warp effect. Go to Type > Warp text, and select the Rise option.

Once the warp effect is applied, increase the type size to bring it to around 8″ wide. I used 156 points tall.
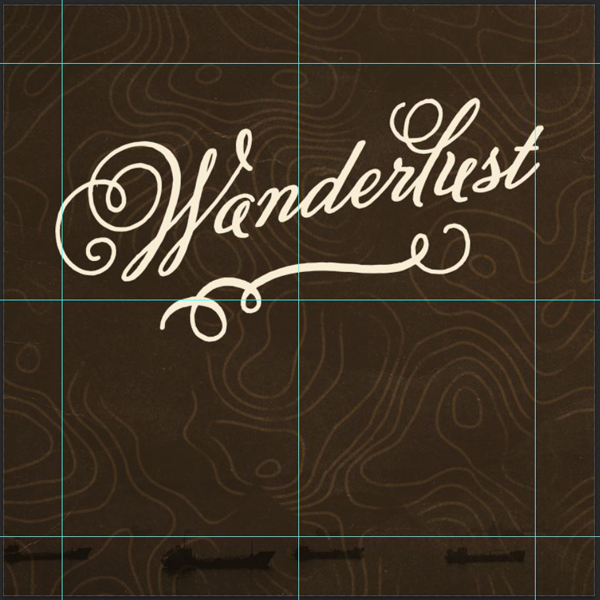
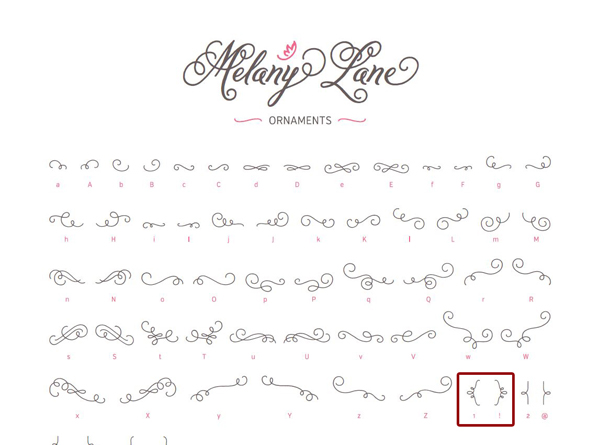
We are now going to dive into Melany Lane Ornaments Bold. My goal is to add one of the many available flourishes under “Wanderlust.” Luckily for us, Yellow Design Studio provided an handy PDF chart to see which ones are available (see in the \yellow-design-studio\Melany Lane\YDS Melany Lane Complete\YDS Melany Lane Ornaments\ folder). The one I’m interested in corresponds to the letter “y.”
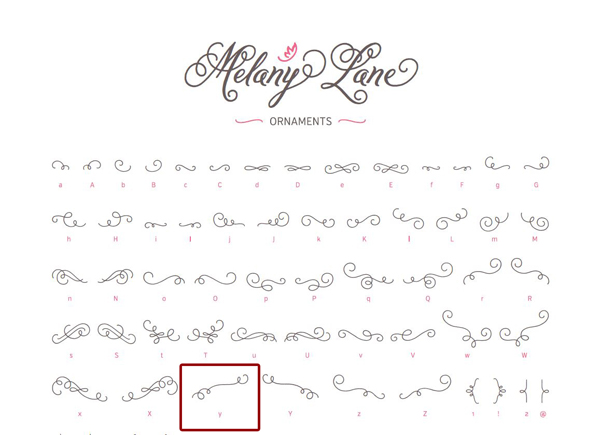
Simply type the ornament in the same size as your type object, and place as desired.
I slightly rotated it, in order to be visually more aligned with the type object’s rising line (around 4.5°).
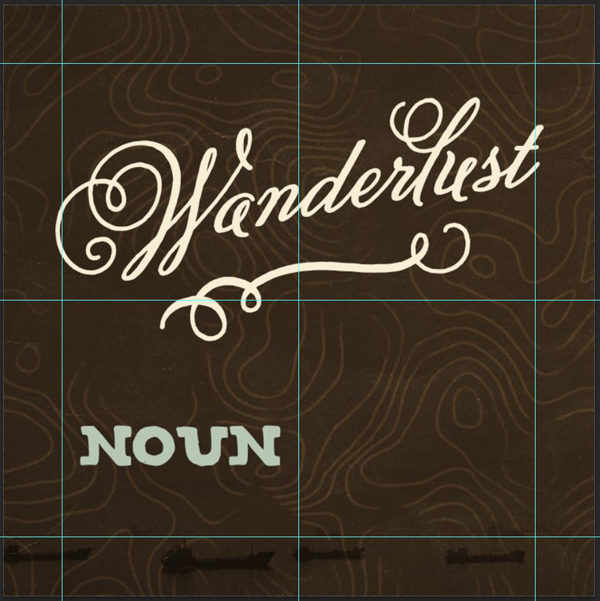
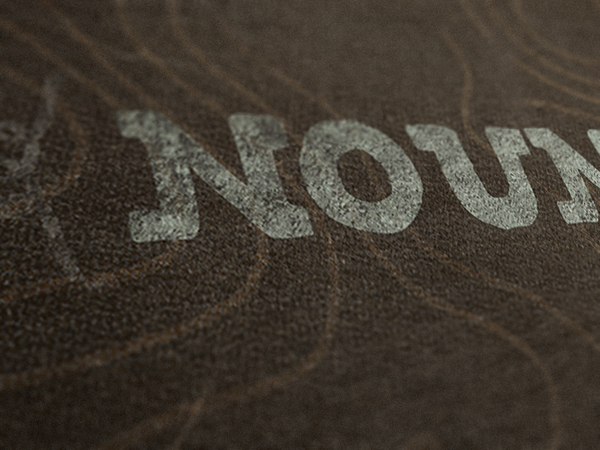
The second piece of type we need to put in place is the word “Noun” from the definition. This is is set in Atlas Slab Medium that’s 84 points tall. We’ll be using the seafoam green from our palette for it (#b7c7b3).
Next is the definition itself. Here’s the text I’m using:
“1902, from German Wanderlust (“desire for wandering”), a strong impulse or longing to travel.”
I’m using Verb semibold italic at 16 points, in the same color than Wanderlust (#f8eed5). My block of text is right-aligned, since the definition is on the right side of the piece. 16 points was the size to use in order to match the heigh of the definition text block to the height of the word “noun.”
Note the use of the fancy ligature on the “st” of “wanderlust.”

We’re going to enclose the definition elements in some of the beautiful brackets that are part of the ornaments for Melany Lane. They hide behind “1” and “!”
I’ve sized mine at 72 points, and they’re colored in the muted brown from our palette (#918a7a).
To complete the ornaments, we’ll be adding this little guy.
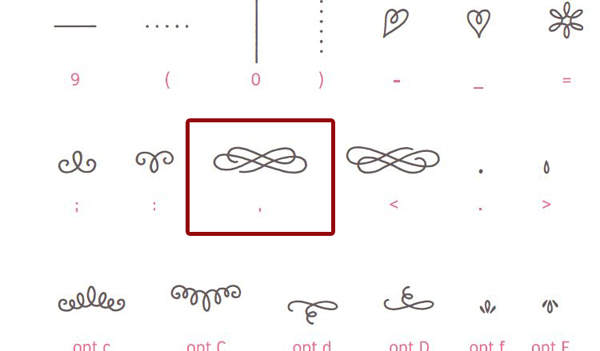
I made it sitting between the “noun” and the definition block. It’s sized at 36 points, and is colored in the red from our palette (#d7534c).

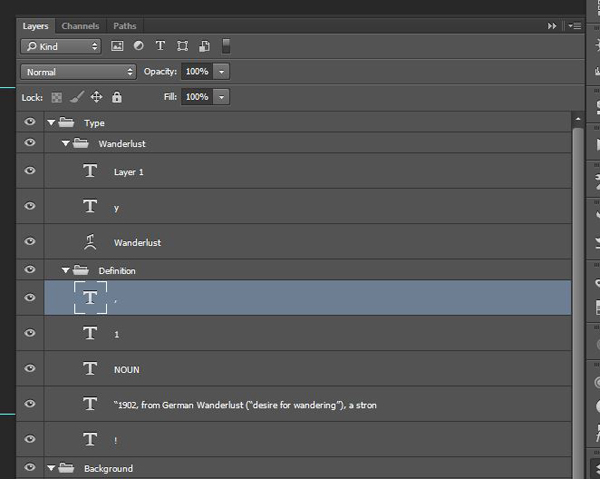
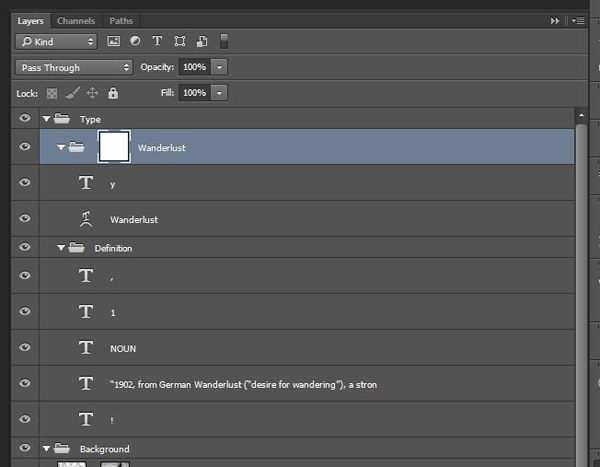
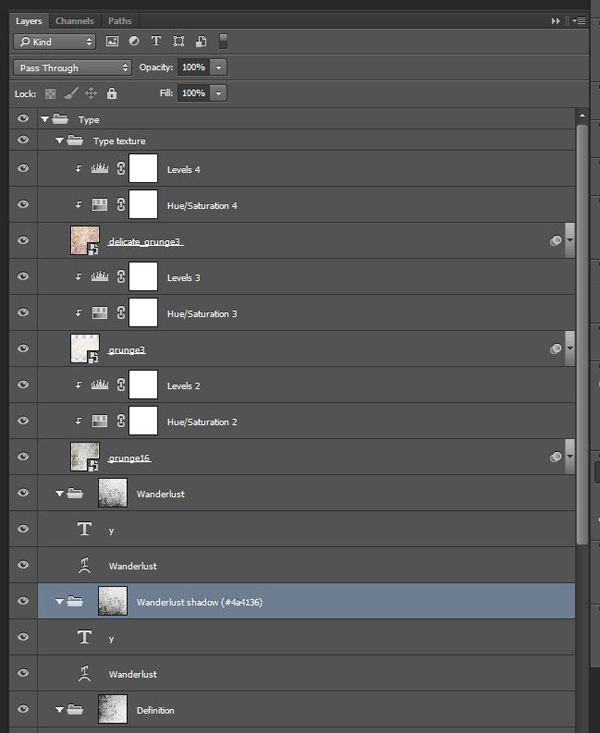
Since we’re done creating type elements, now is a good time to organize them better. I created a general Type layer group, and sub-groups for the definition and the title.
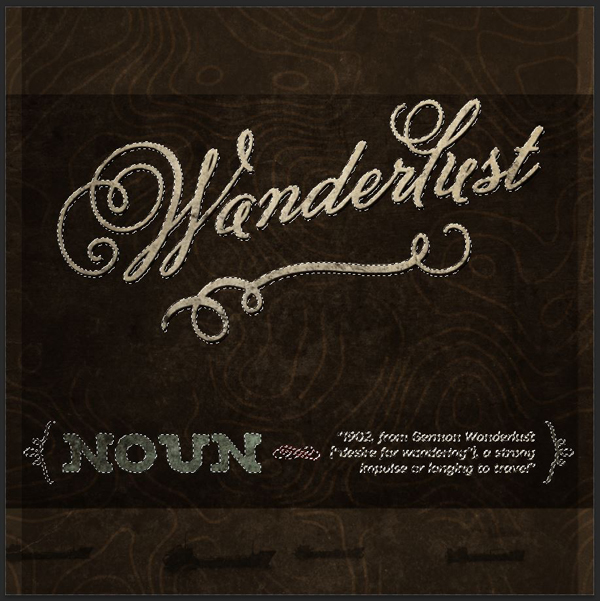
STEP 5: LET’S WEATHER AND TEXTURE THE TYPE A BIT
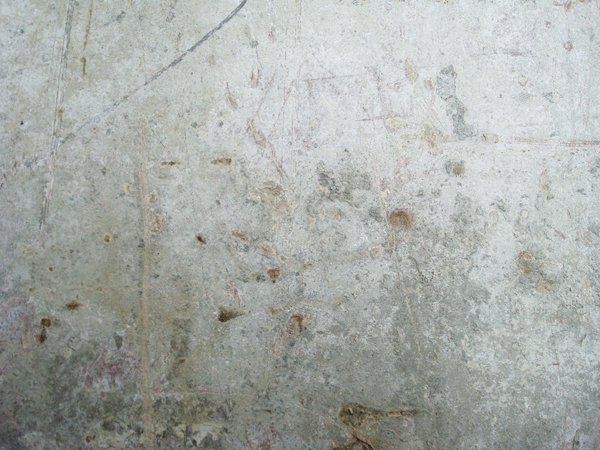
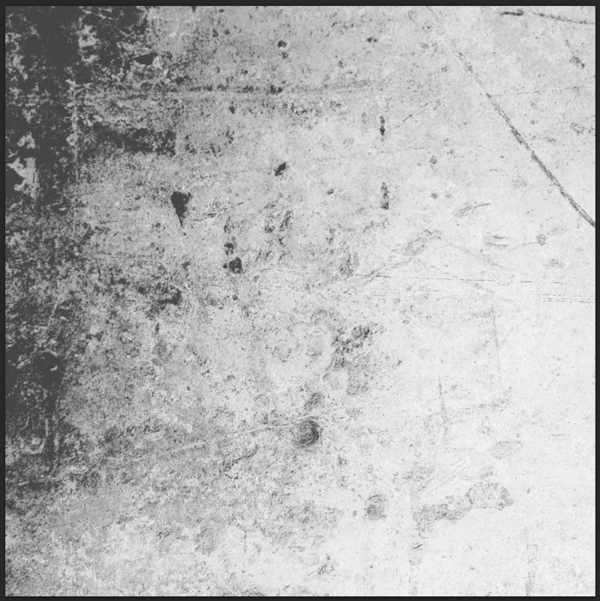
The first thing we’re going to do, is to use a soft cement texture to weather the various type groups. The one I’ve used is from this sweet, old set of free NYC concrete textures by FudgeGraphics.
I’m using ny_concrete_1.JPG (if you don’t want to download the full set, this is the high resolution version – you know what to do).
In the same way we distressed the map pattern earlier, paste the texture in a layer mask attached to the Wanderlust layer group.


Add the same layer mask content to the definition group. You can either copy and paste the layer mask, or drag it from one group to the other while holding CTRL/CMD+ALT/OPTION.

The effect is too strong. To soften that, simply rotate or move the layer mask’s content until satisfaction. I rotated mine 90° clockwise.
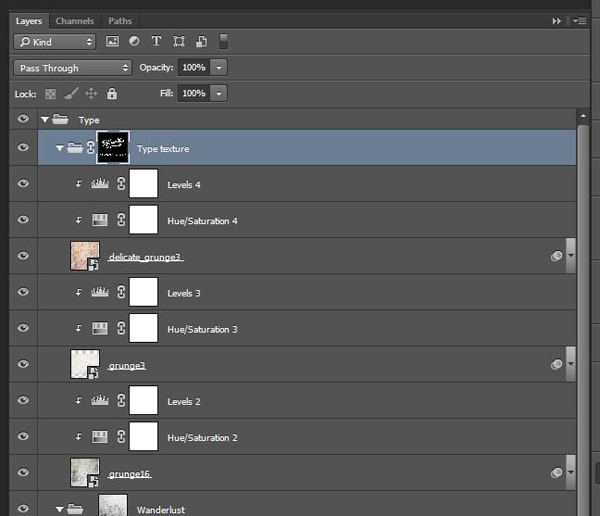
From there, let’s add a few texture layers that will only affect the type. We’ll apply them first, and add a restrictive layer mask afterwards.
The textures are coming from Lost and Taken’s 18 essential grunge textures pack.
I’m starting with #16 (high resolution, etc.).
Blending mode: Soft light @ 25% opacity.
The next texture is #3 from the same pack (high resolution, etc.).

Blending mode: Soft light @ 75% opacity.

The next texture comes from Lost and Taken’s 5 delicate grunge textures pack.
We’ll be using #3.

Blending mode: Soft light @ 25% opacity.
Before we make sure these textures only apply to the type elements, let’s add a quick shadow behind Wanderlust and its ornament.
There’s a quick way to do this: we’re going to duplicate the Wanderlust layer group.
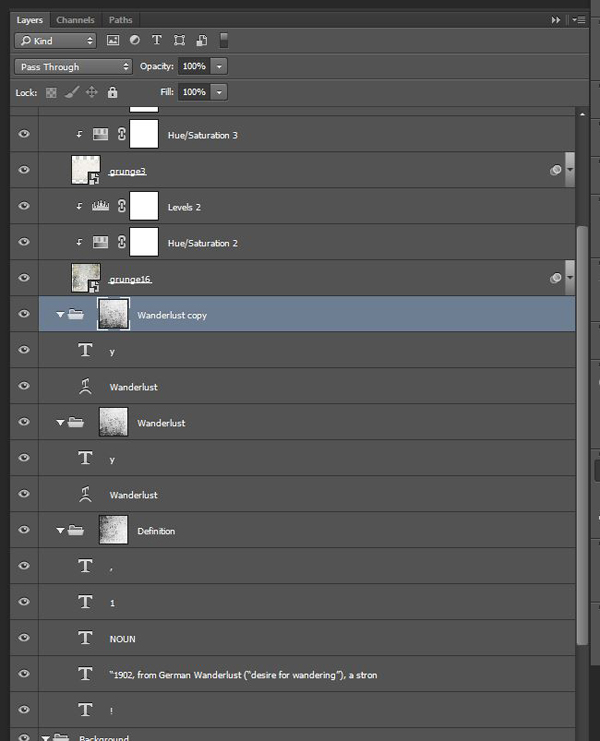
From there, rename the groups so you what is what.
Change the color of the shadow type elements to our dark brown (#4a4136), and offset them lightly with the arrow keys on your keyboard.
Delete the shadow layer group’s layer mask.
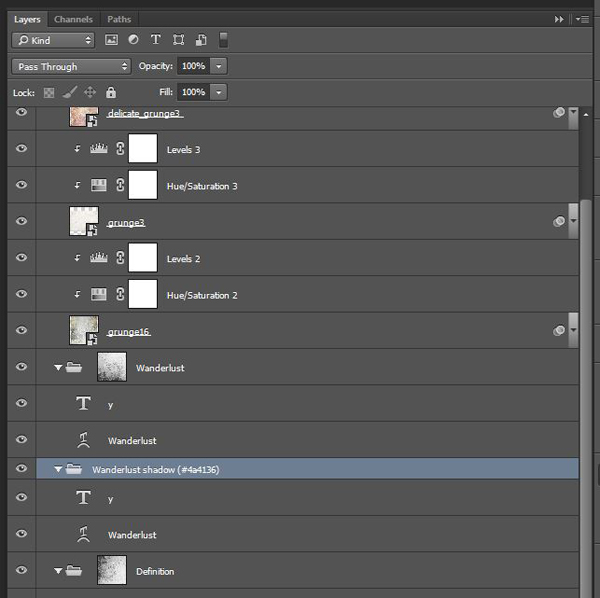
Finally, change the blending mode of both elements in the shadow layer group to Overlay @ 75% opacity.
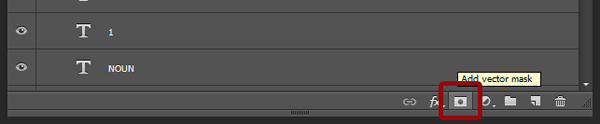
Now, let’s go back to masking the textures so they only apply to the text. Load the text elements as a selection by using CTRL/CMD+CLICK on them.
From there, simply highlight the layer group in which you put all the textures, and click on the add a layer mask button. It will automatically reveal only the selection that was active.

The texture is a bit strong on the definition part.

To fix this, simply lower the opacity of the type texture layer group to 35%.

STEP 6: GLOBAL TEXTURES AND FINE TUNING
This is the last straight before the finish. We’re going to add a few more textures to the piece to tie everything together.
First is one of Lost and Taken’s digital noise textures. I’m using #2.

Blending mode: Screen @ 35% opacity.
The next texture is from Valleys in the Vinyl’s burnt film textures. I’m using #12.
Blending mode: Soft light @ 35% opacity.
The next texture is from Valley in the Vinyl’s vintage paper texture pack. I’m using #01.

Blending mode: Soft light @ 25% opacity.

Next is a brush stroke texture, found on Flickr. It was made by Chank Diesel.
Blending mode: Soft light @ 15% opacity.

The last texture is this amazing photocopy texture that gives the best vignette effect I know of.
I place this one to fit my canvas, regardless of if distorts its proportions.
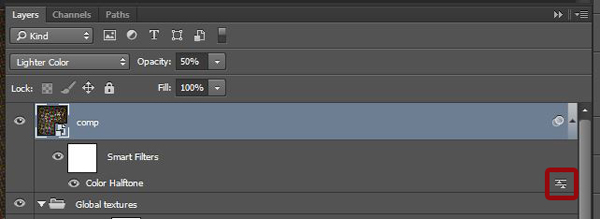
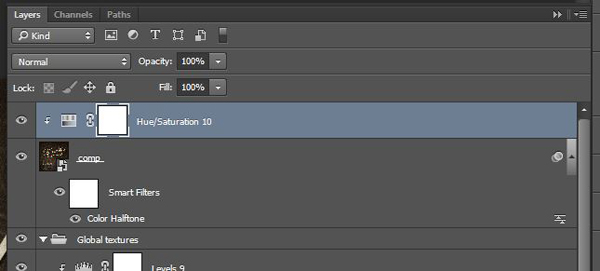
Finally, we’re going to add a halftone effect to our piece. Start by creating a merged copy of all the visible layers (CTRL/CMD+ALT/OPTION+SHIFT+E). It’ll create a new layer at the top of your layer stack. I renamed it “comp.”
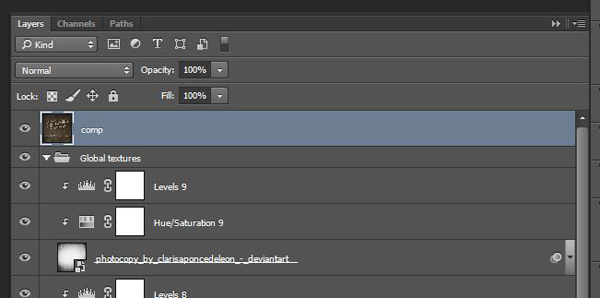
Convert the layer to a smart object (Filter > Convert for smart filters on Photoshop CC).
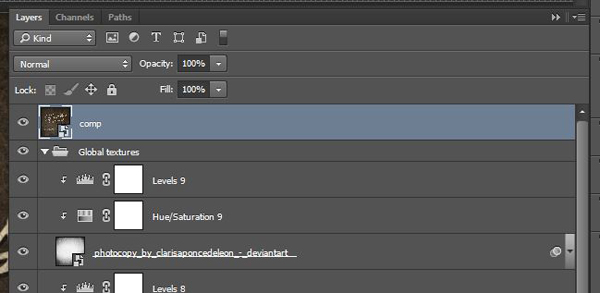
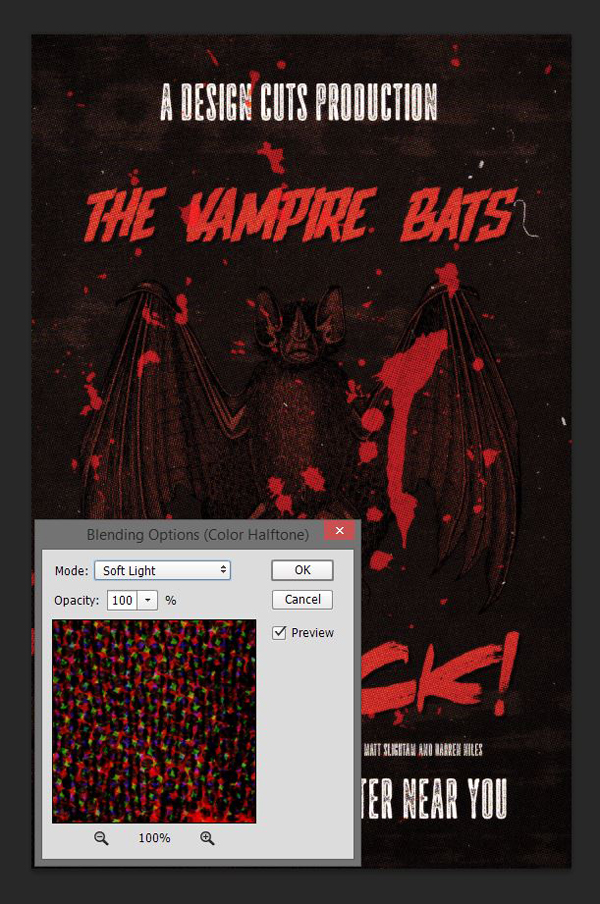
Go to Filter > Pixelate > Color halftone.
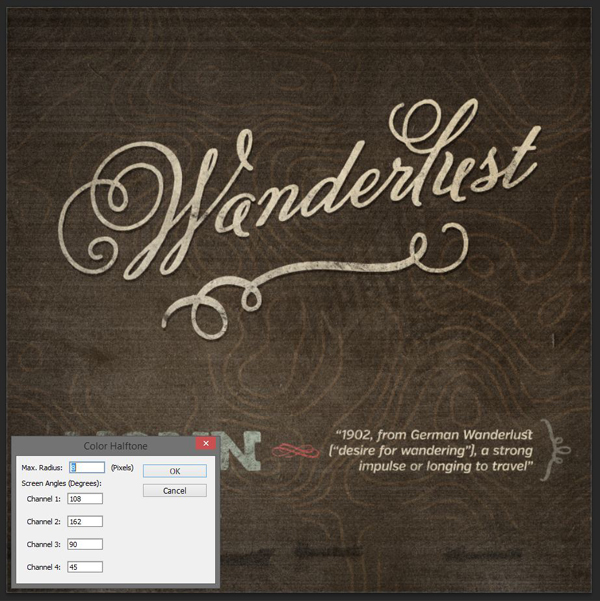
Change the layer’s blending mode to Lighter color @ 50% opacity.
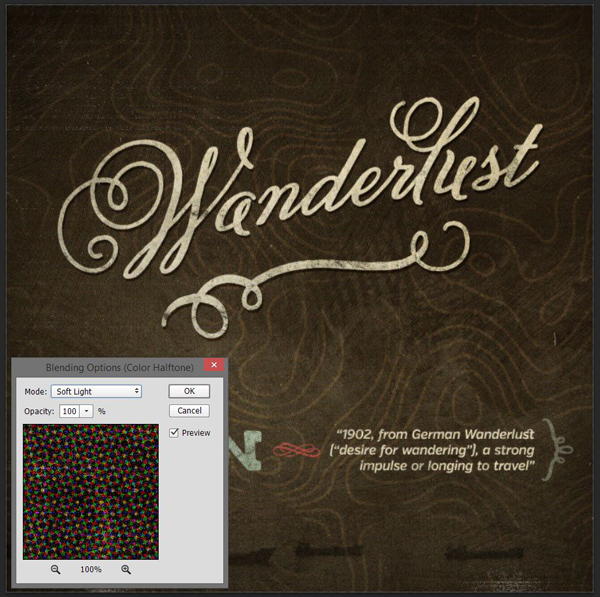
Next, proceed to change the effect’s blending mode to Soft light @ 100% opacity.
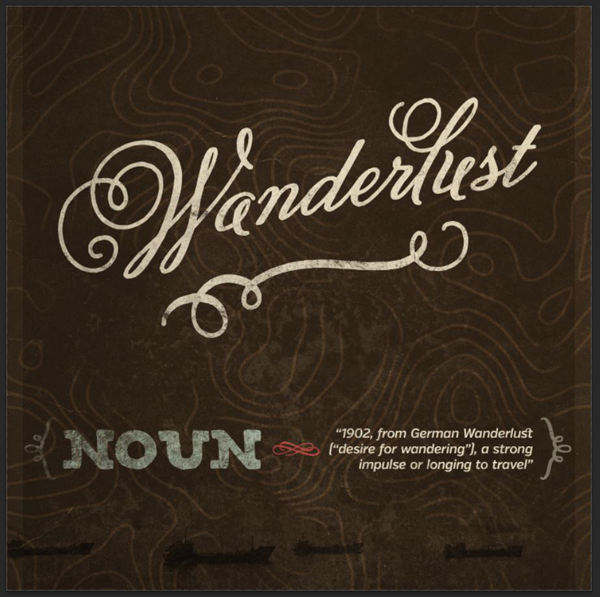
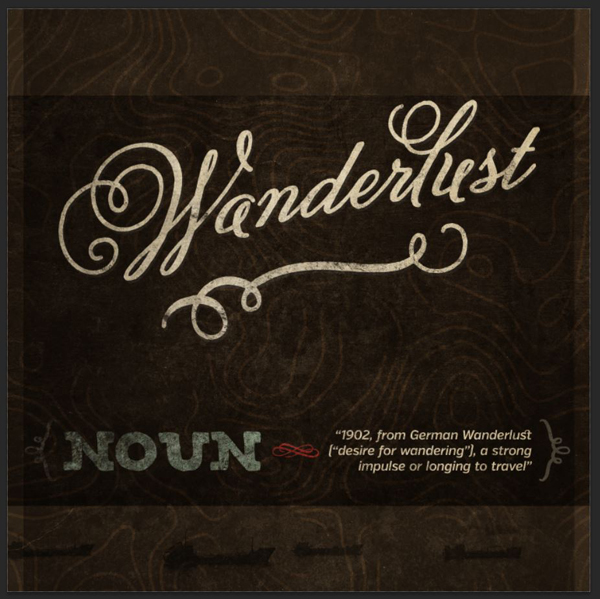
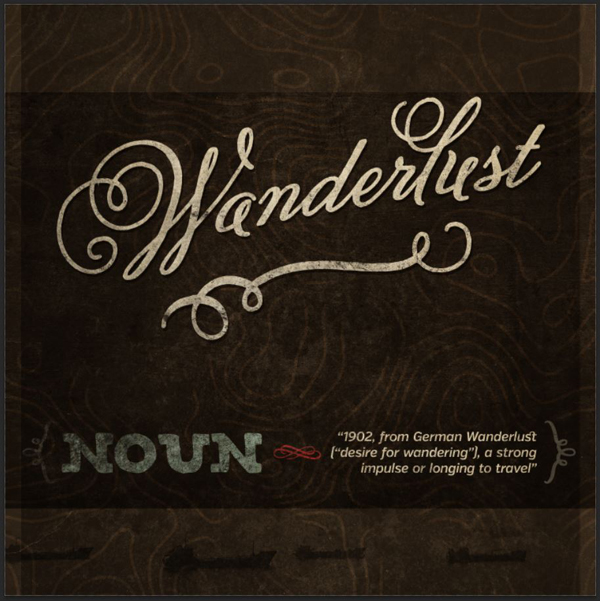
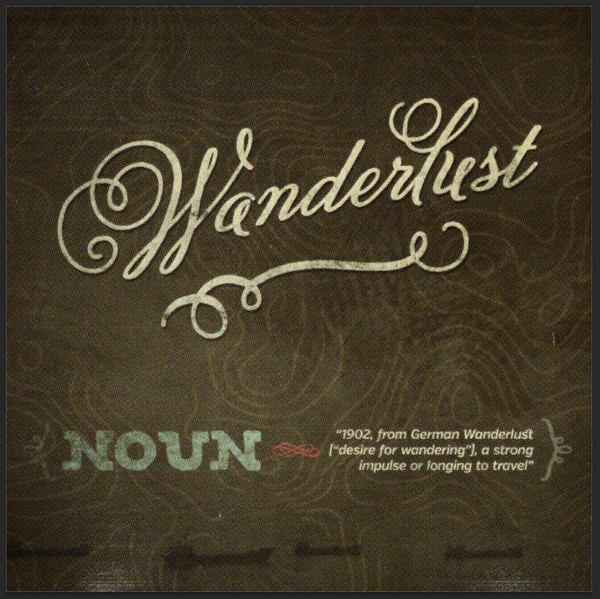
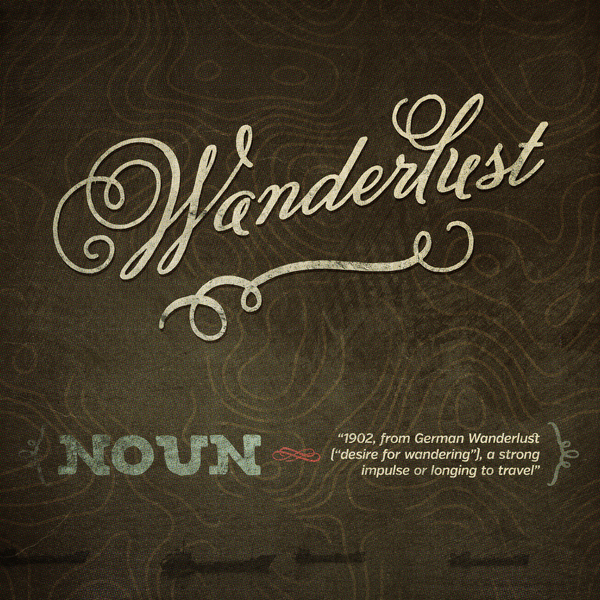
And our first piece is completed.

There is however an issue. For me, the noise texture create a severe banding when saving to JPG.
In order to fix the problem, I simply turned the noise texture layer off. It gives me this result, which I’m much happier with. Note: I think the issue comes from the very strong levels I’ve applied to that texture – Photoshop might be struggling to go that extreme?
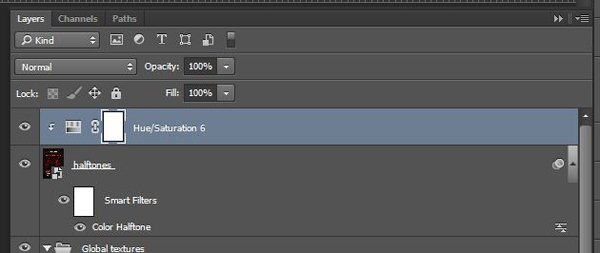
The final touch would be to clip a hue/saturation adjustment layer to the halftones, in order to remove some of the green hues that are overbearing in the piece. The saturation has been turned to -100.
And now, our piece is finished.

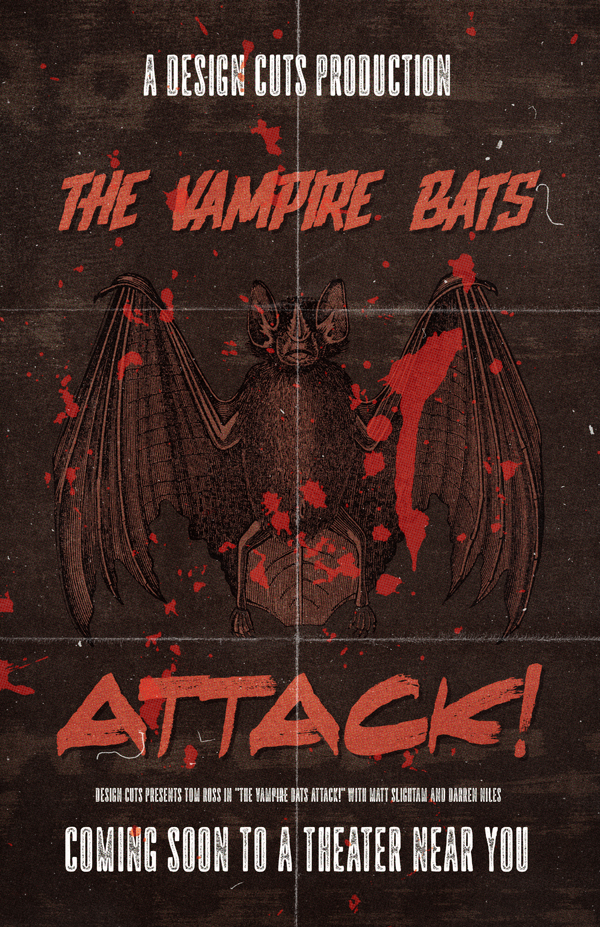
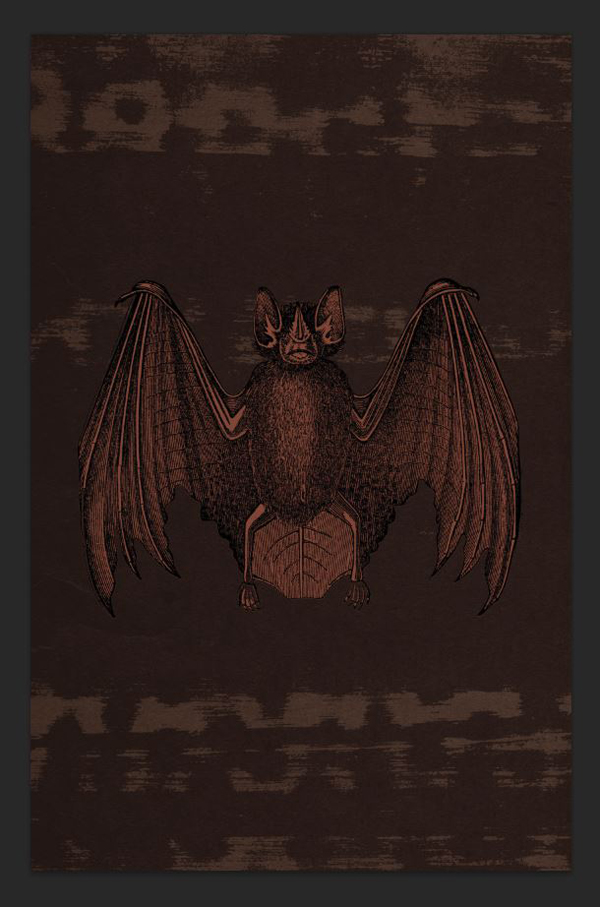
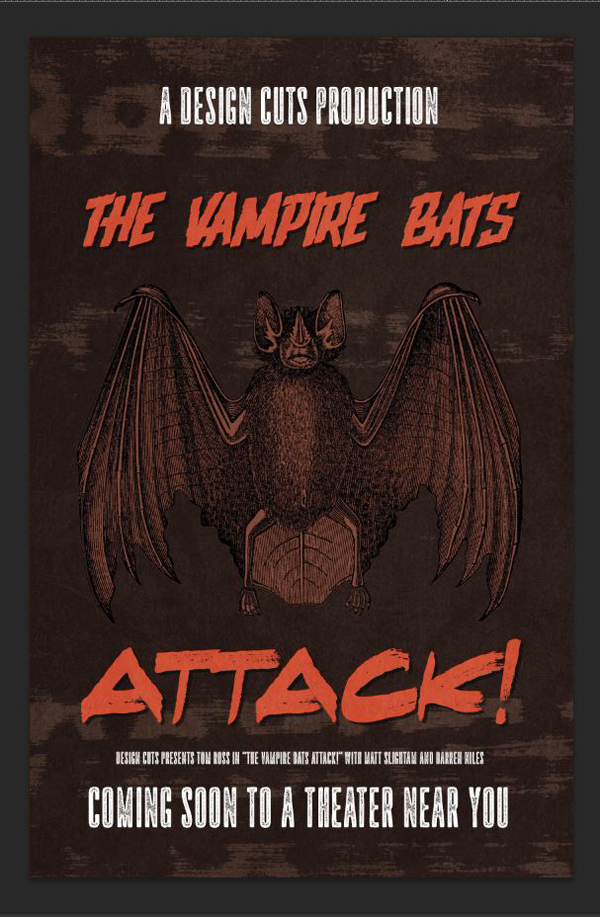
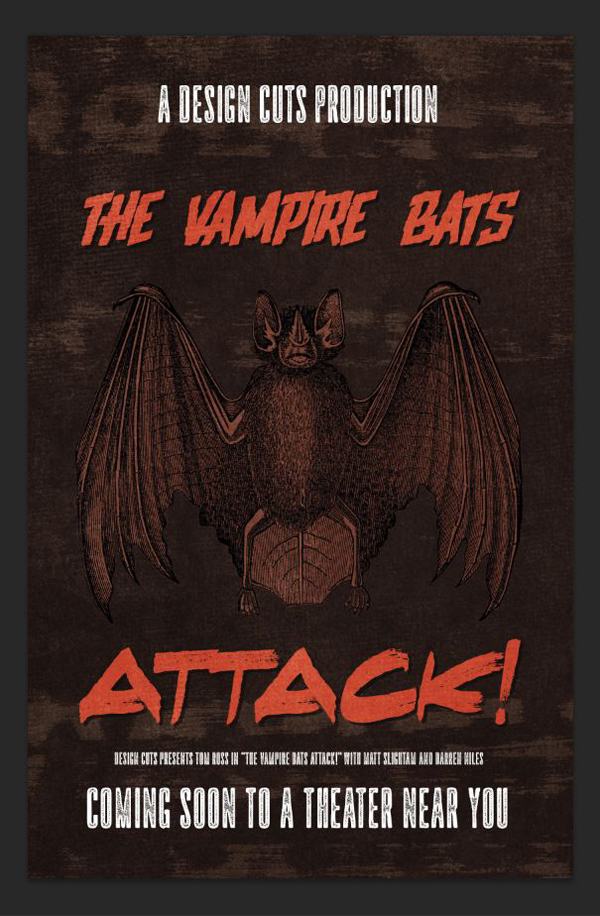
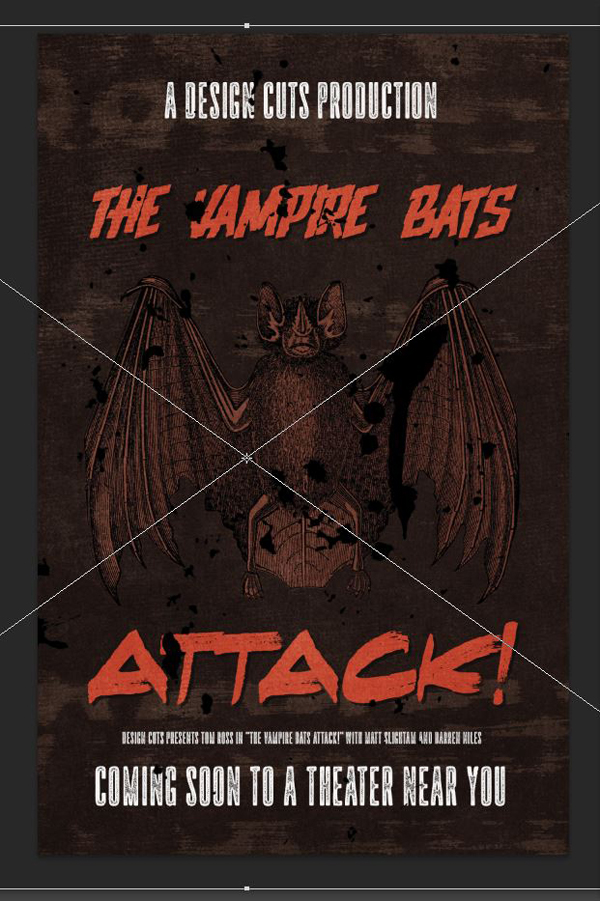
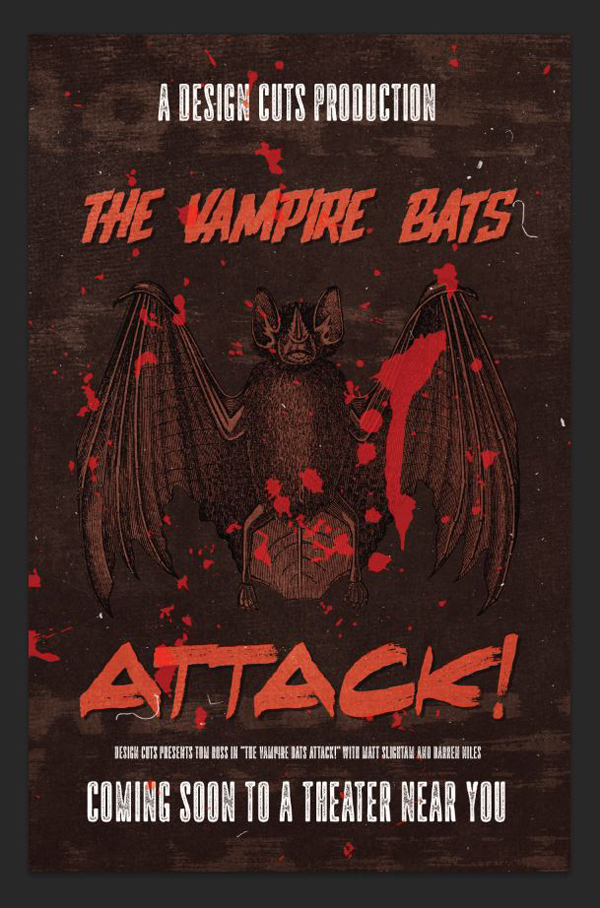
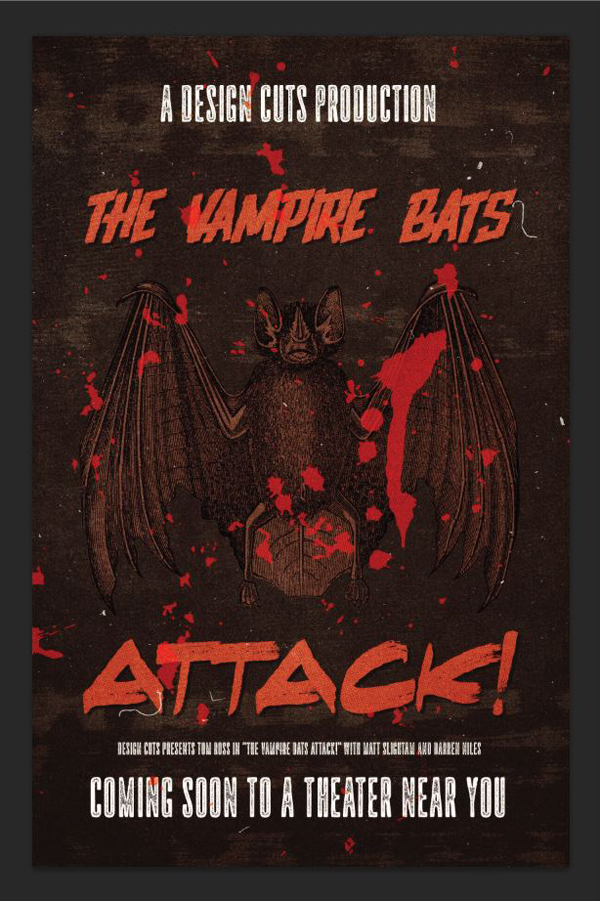
THE SECOND PIECE: THE VAMPIRE BATS ATTACK!
A BIT OF BACKGROUND INFORMATION AND ASSETS GATHERING
Well, for this second piece, I promise that things will be a bit different and will go faster. As I wrote earlier, this piece is inspired by the countless low-budget horror movie posters from days past, and by the great typeface Upjohn.
You’ll need a few assets to complete the tutorial. They are free, or were featured in a past bundle. I’ll link you to the free ones, and will indicate were you can get the paying products.
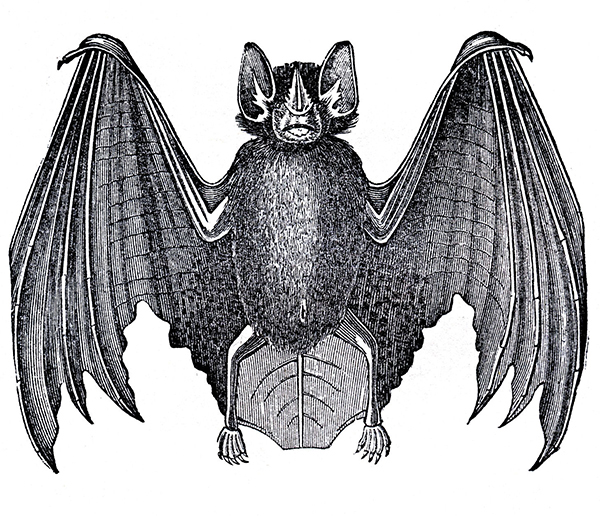
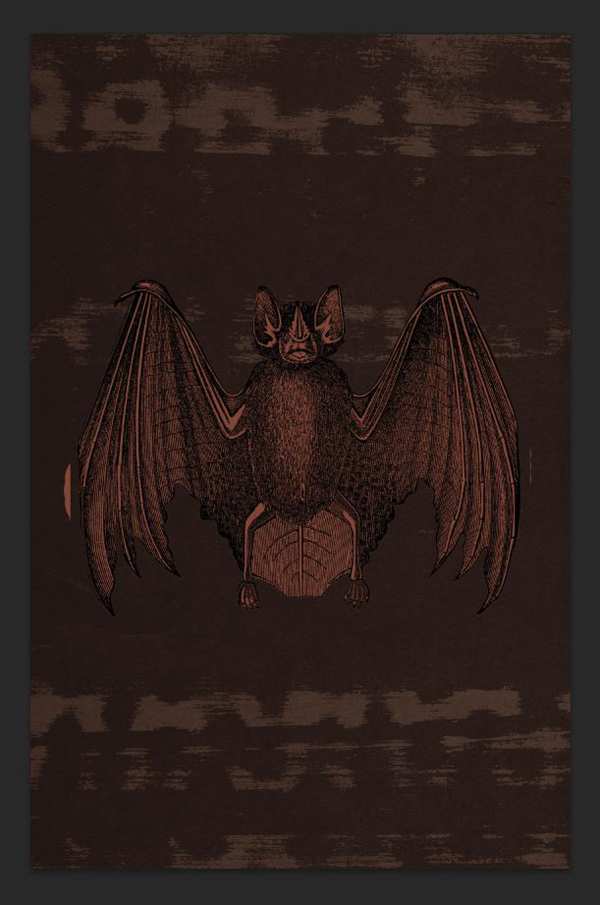
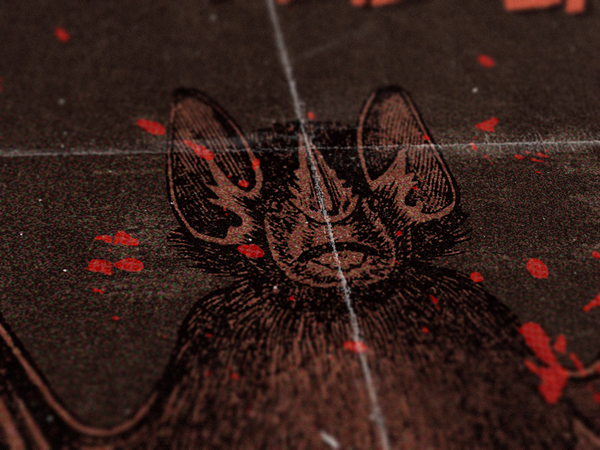
The main asset is this great bat engraving, courtesy of the Graphics Fairy.
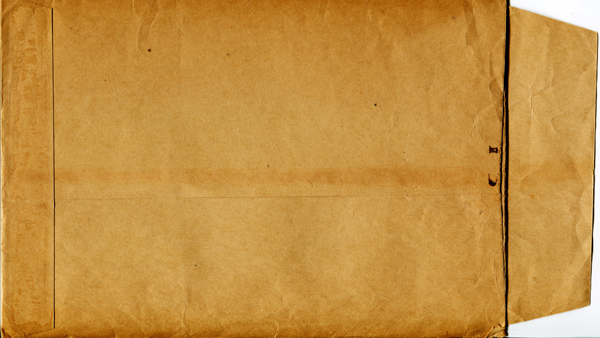
Valleys in the Vinyl’s antique envelope texture
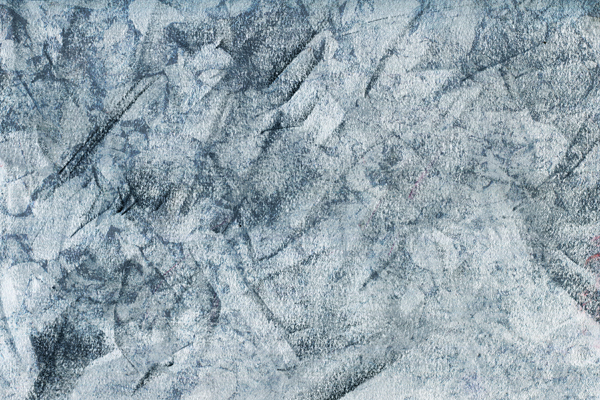
Lost and Taken’s remixed chalk and pastel textures, #7
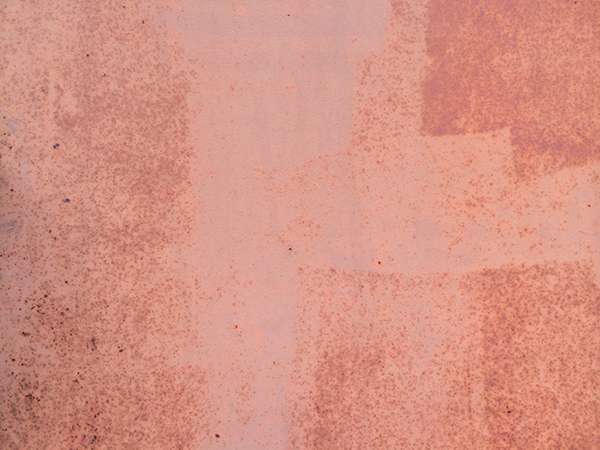
The Shop’s rusted red door texture pack, #9 (in a previous bundle)
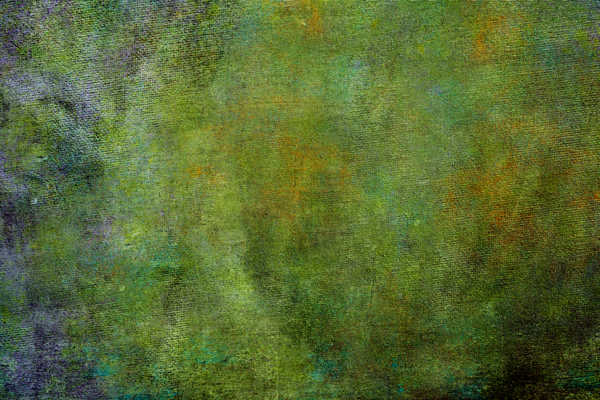
StarNet blog’s painter’s effect texture pack, #4
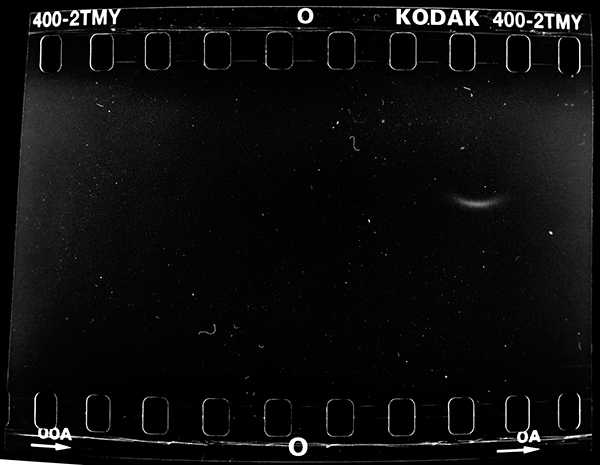
A dusty film texture, by JakezDaniel on DeviantArt
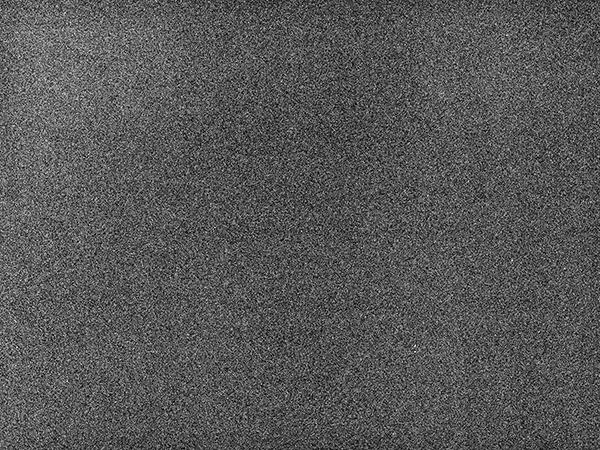
A coarse film grain texture, by JakezDaniel on DeviantArt
The Shop’s folded paper textures volume 01, #2 (in a previous bundle)
There are a few other things, but either you already have them from the previous tutorial, or they are included in the bundle. Let’s get started!
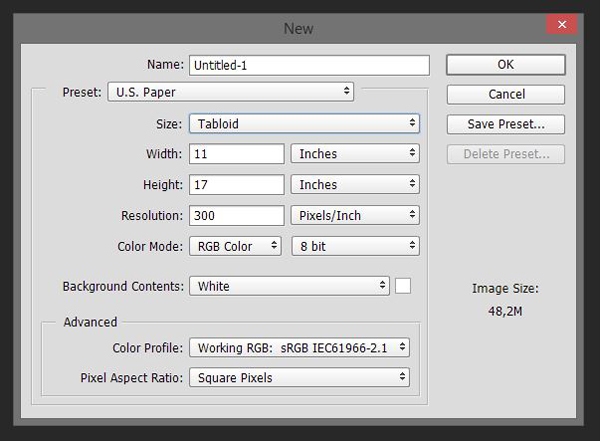
STEP 1: DOCUMENT SETUP
I’m working on a 11″x17″ @300 dpi document.
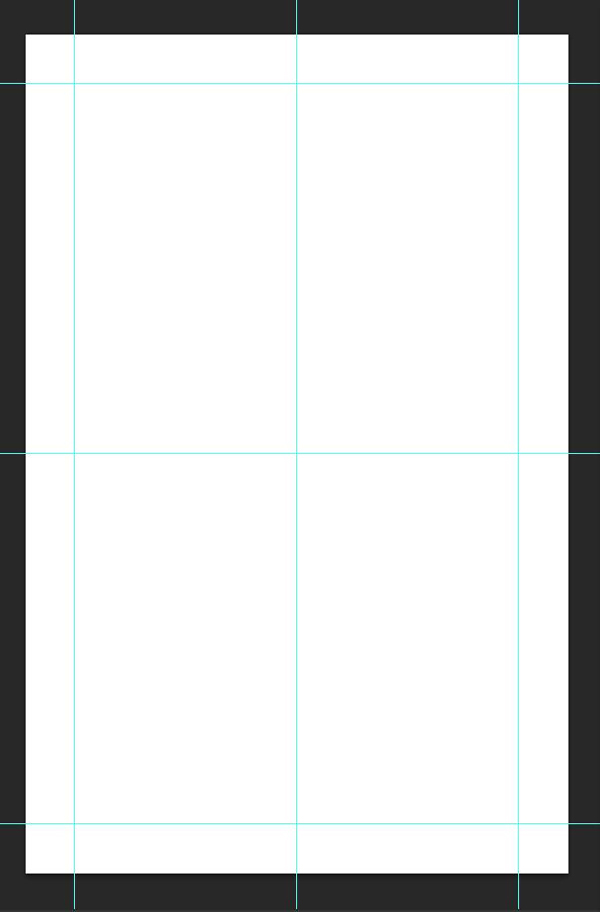
I have guides at 1″ of each edges, as well as to indicate the middle of the piece.
STEP 2: COLORS
In a similar process as for our first piece, I looked through potential color palettes, and explored a bit. This color palette from COLOURLovers sold me though.

From there, it’s time to actually put things together.
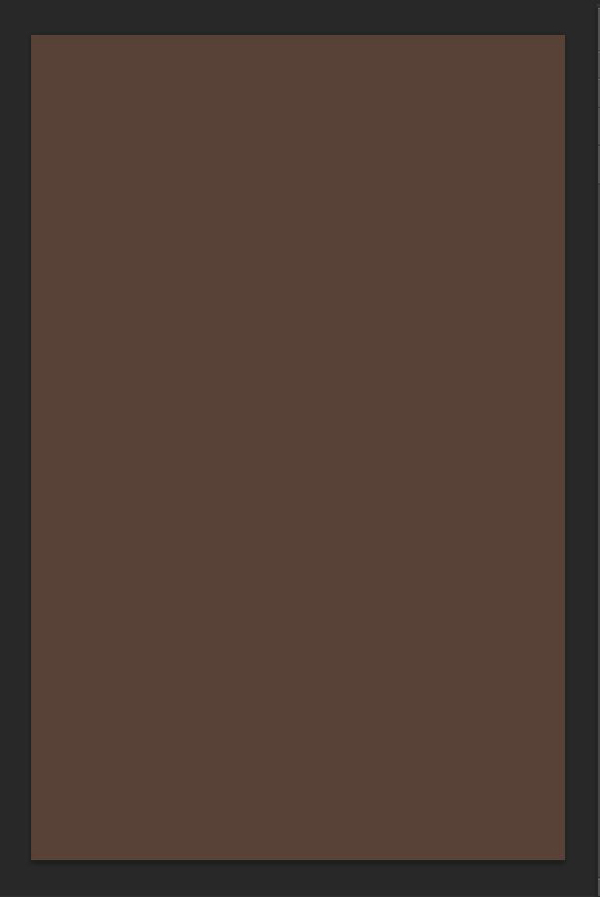
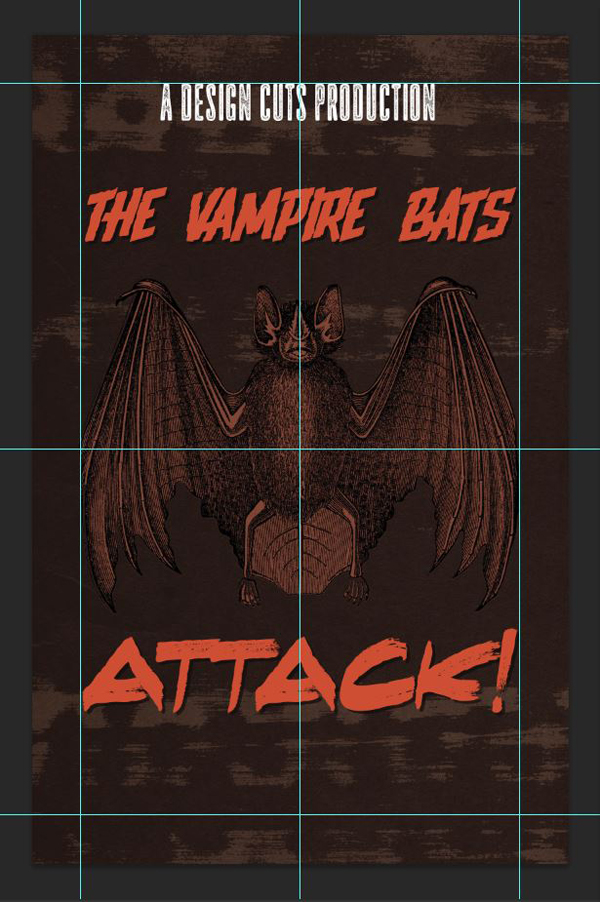
STEP 3: THE BACKGROUND
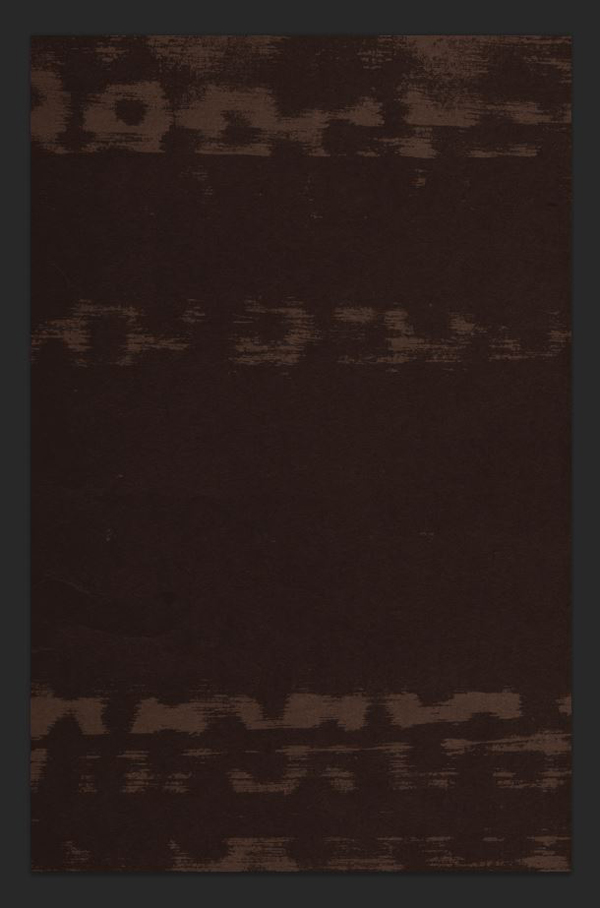
Let’s start by filling the background layer of our canvas with our warm red gray (#584136).
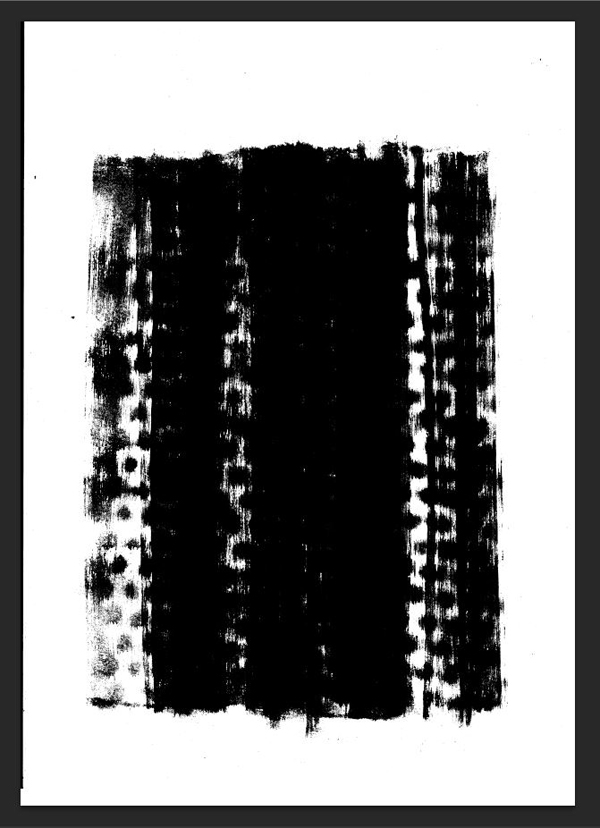
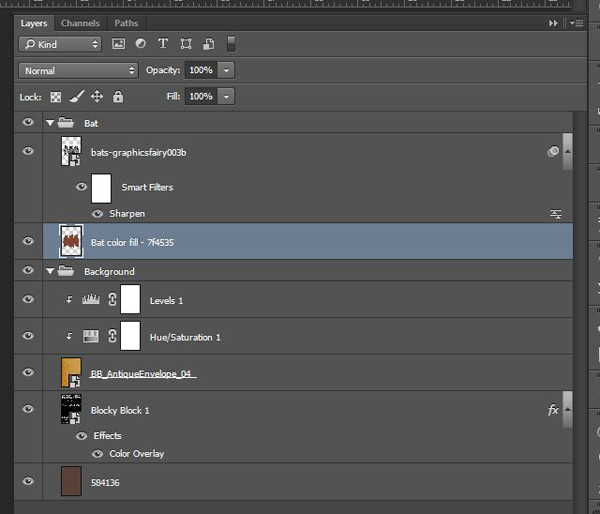
Then, let’s make use of some of the bonus material provided with Upjohn. Locate the file TexturePacks.psd in \konstantine-studio\UPJON Typeface (Plus Bonus). It’s a series of nice textures and ink splashes. We’ll use a few of these throughout the piece.
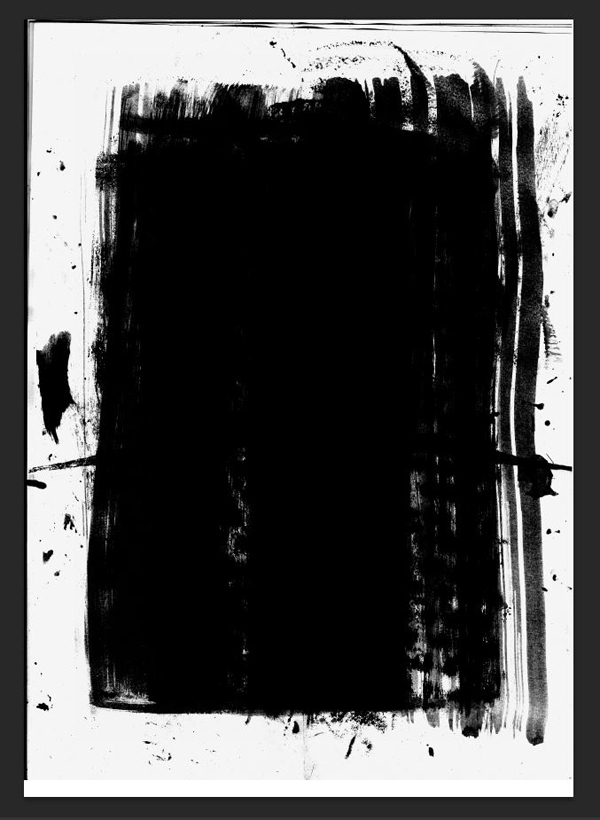
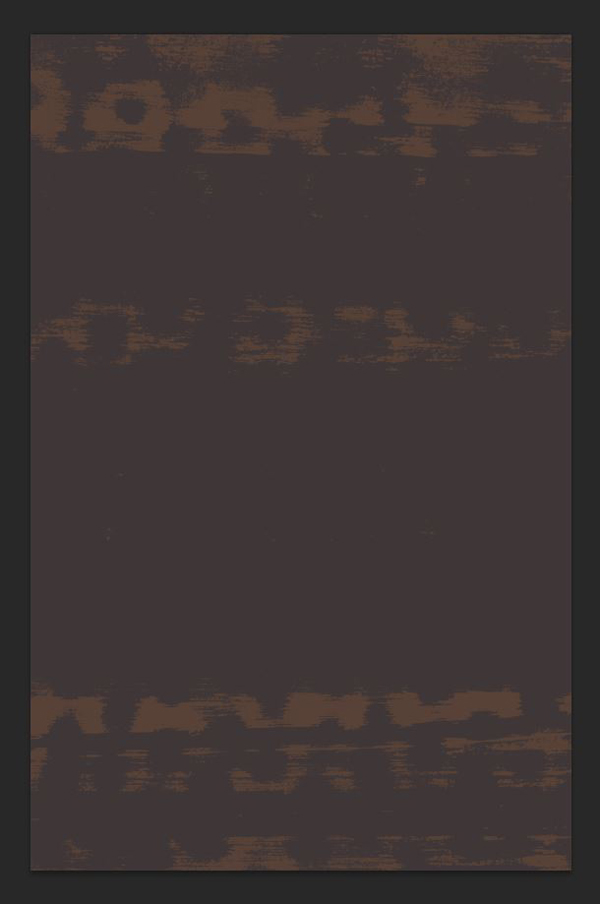
Turn the layers off or on until you have only Blocky Block 1 showing. That’s the one we’ll be using to add some punch to our background.
Drag it into your canvas. Make sure to convert it to a smart object before resizing it. Place it so it covers at lot of your canvas, while leaving some of the background to show through. I rotated it, too.

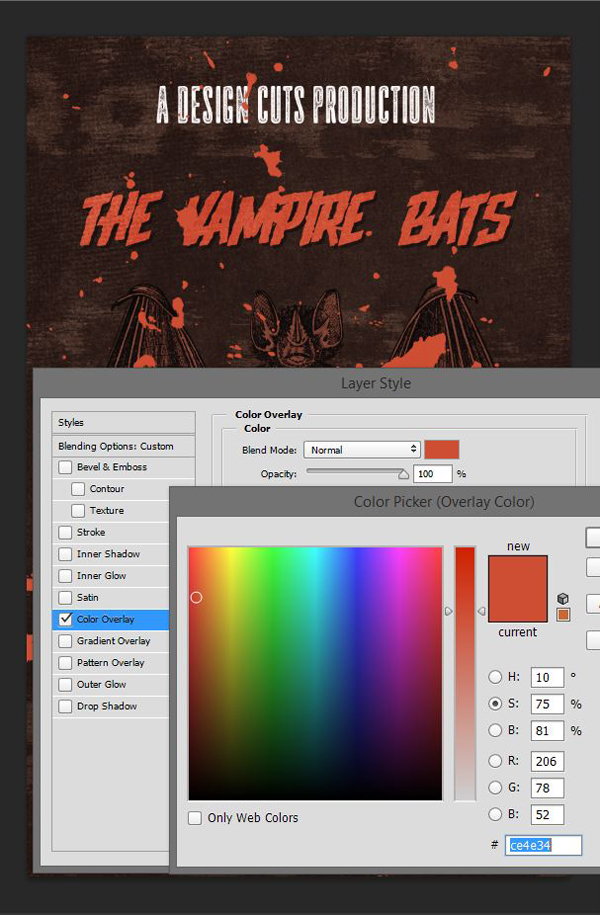
Next, we’ll be using some of the more advanced layer blending option to achieve a blending mode on a color overlay.
Start by giving our ink splash a color overlay of the dark, cold gray (#3e3637).
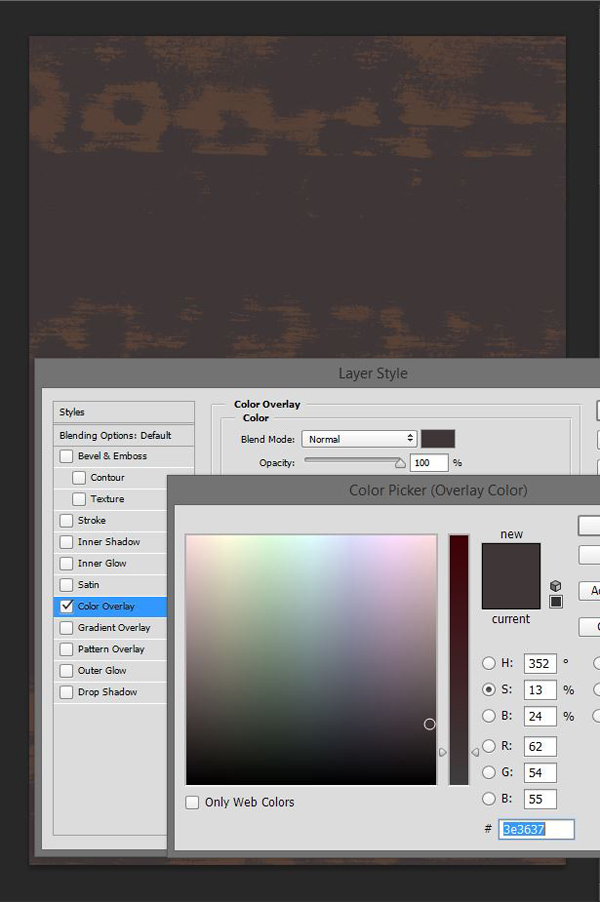
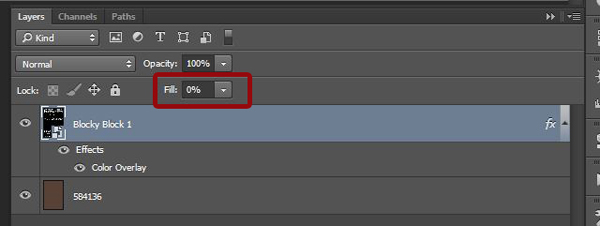
Proceed then to lower the layer’s fill to 0%. This will make the black pixels of the actual ink splash disappear, leaving only the color overlay visible.
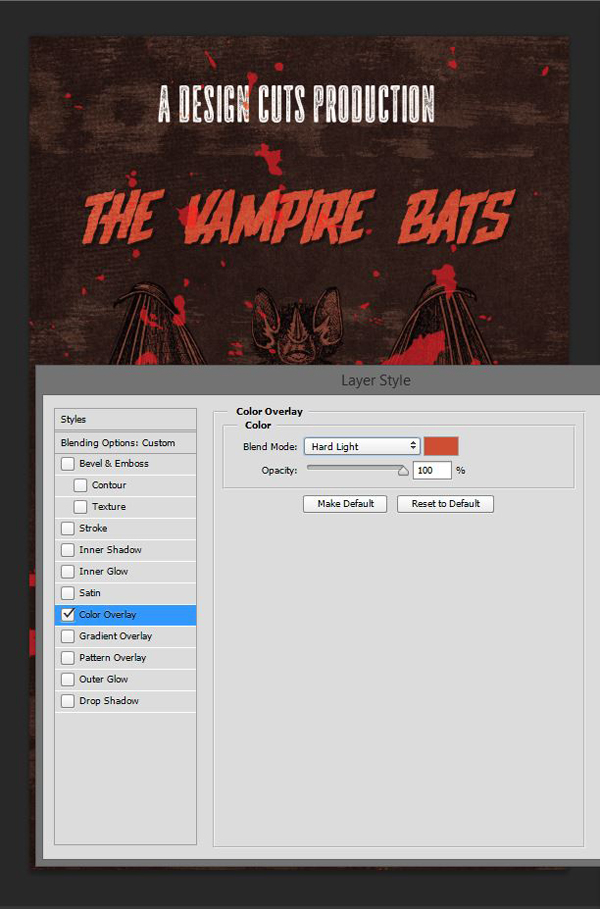
From there, proceed to go back to the color overlay options. We’ll now be able to assign a blending mode to that color block.
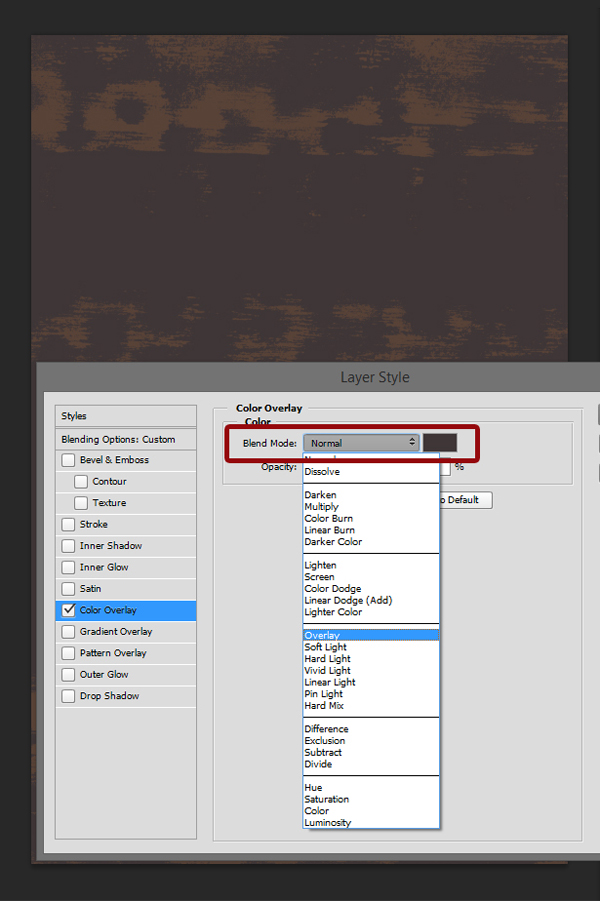
Change the blending mode to Soft light @ 75% opacity.
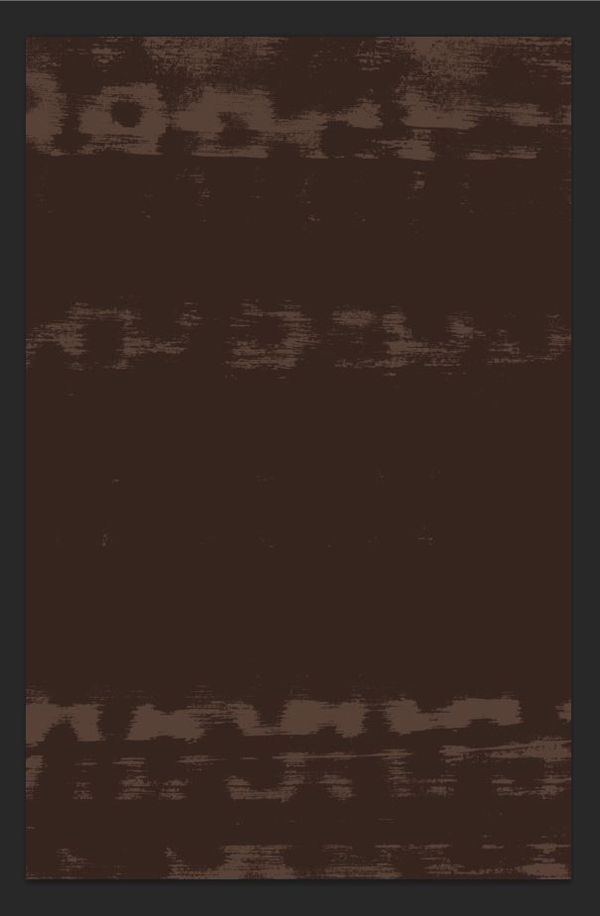
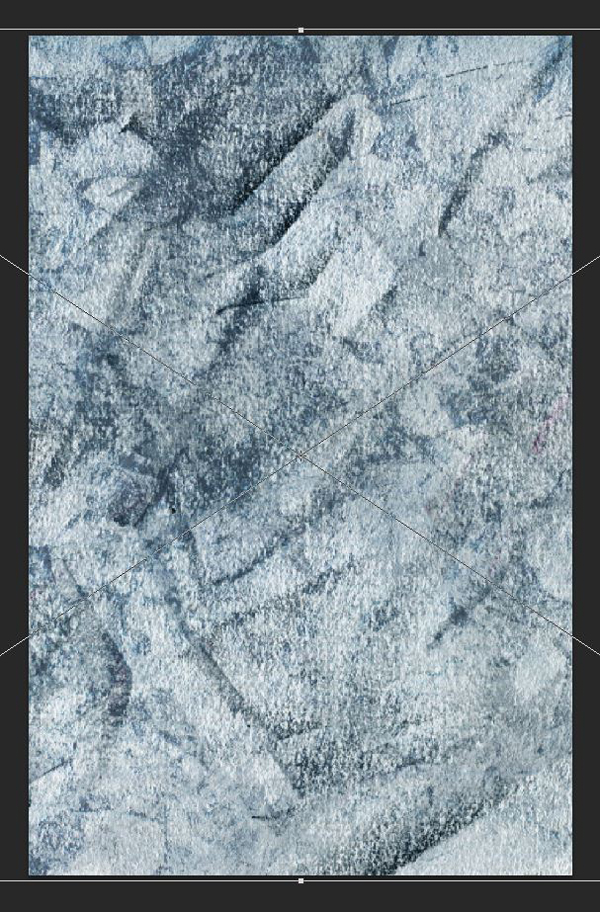
Next, let’s add a hair of paper grain into the mix. This is where our antique envelope texture comes into play. Remember to use a non-destructive workflow, with adjustment layers!
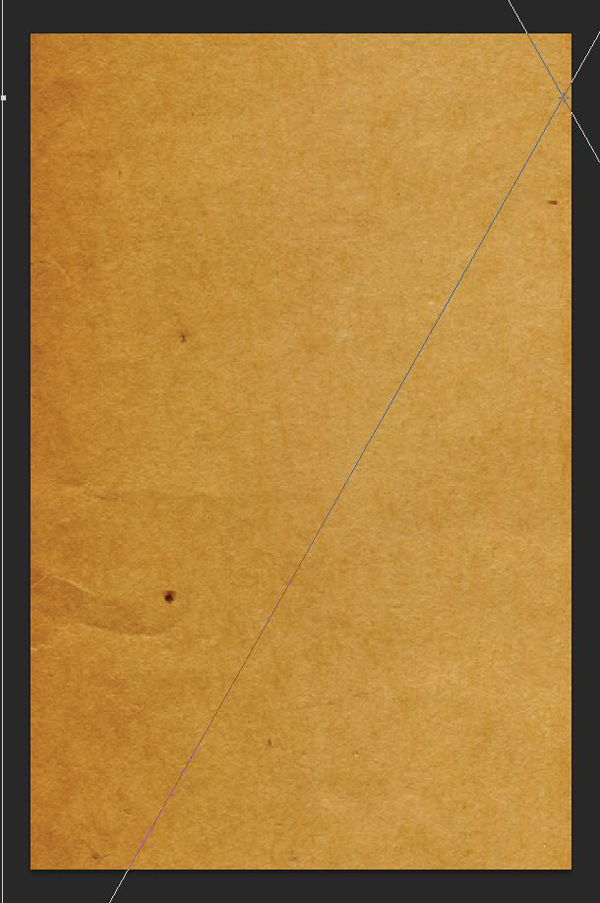

Blending mode: Soft light @ 50% opacity.
Our background is ready.
STEP 4: THE BAT
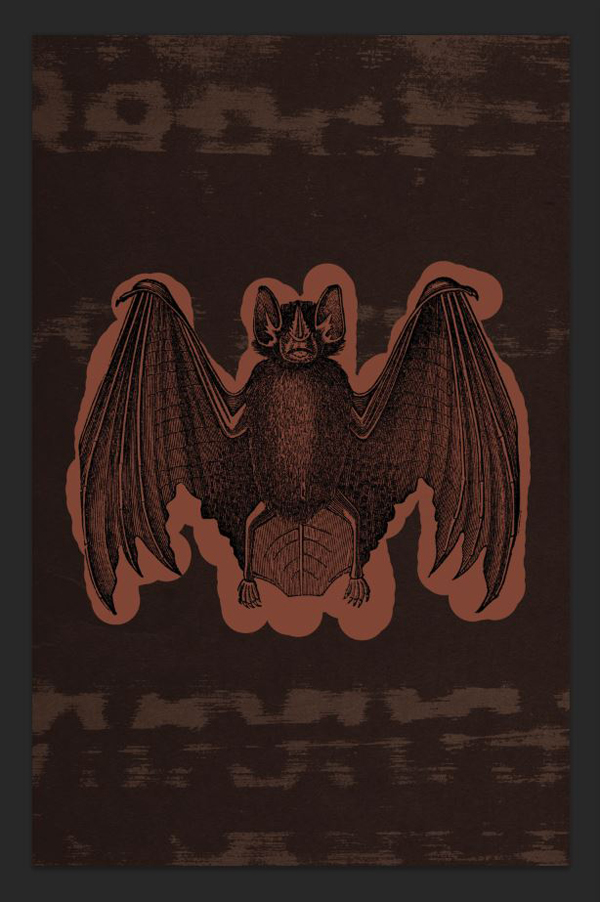
It’s now time to bring in the bat! Bring it in as a smart object, at roughly the center of your piece. Its wings should extend to the inner guides we placed at the beginning.
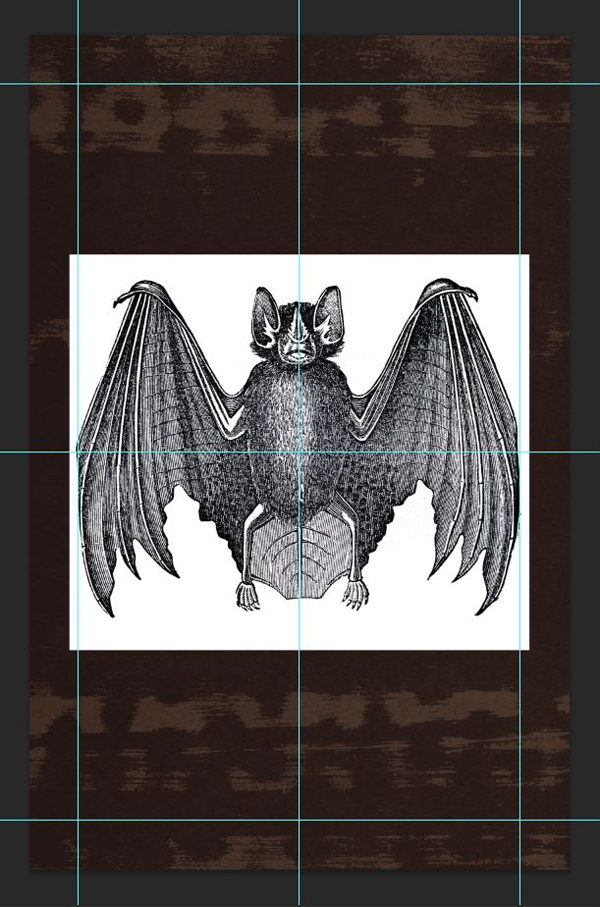
The bat is on a white background. This looks awfully out of place. Change the bat’s blending mode to Multiply @ 100% opacity.
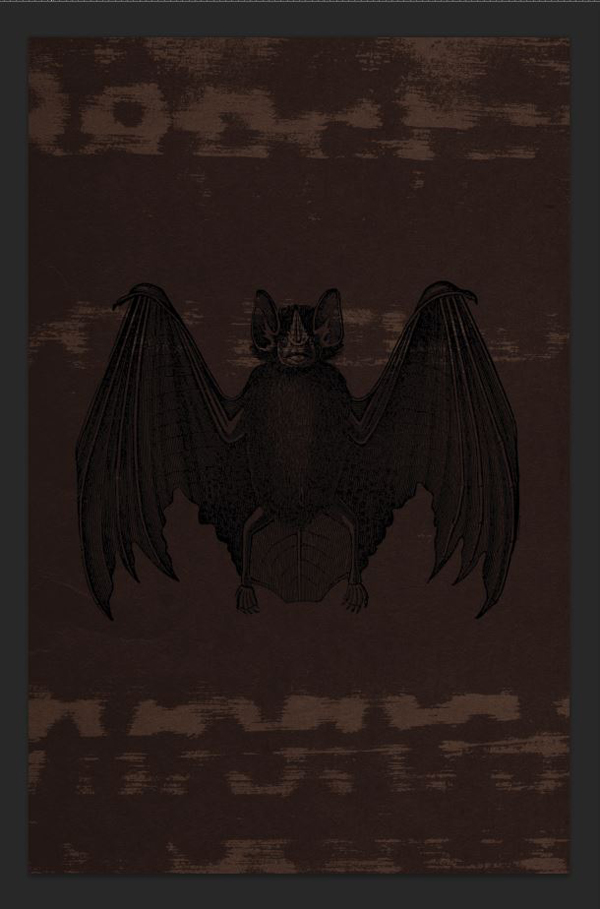
In order for the bat to not get lost in the piece, we’re going to give it a lighter background. Create a new layer under the bat, and start roughly painting a color fill for the bat on it. We’ll be using the darkest of the three reds of our palette for that (#7f4535). Don’t be afraid to use a big brush to quickly cover the surface. We’ll refine the edges in a second.
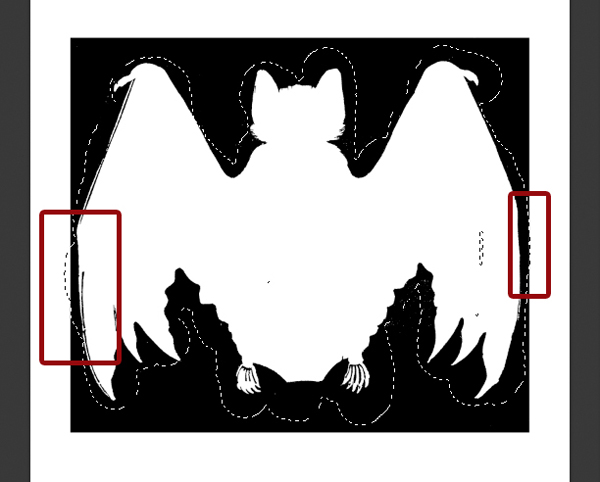
Next, take your magic wand tool (W). You can fine tune your tolerance and other settings, but the primordial one that needs to be checked is “contiguous.”

With the bat layer highlighted, click slightly outside of the illustration to select where the white surrounding background should show.
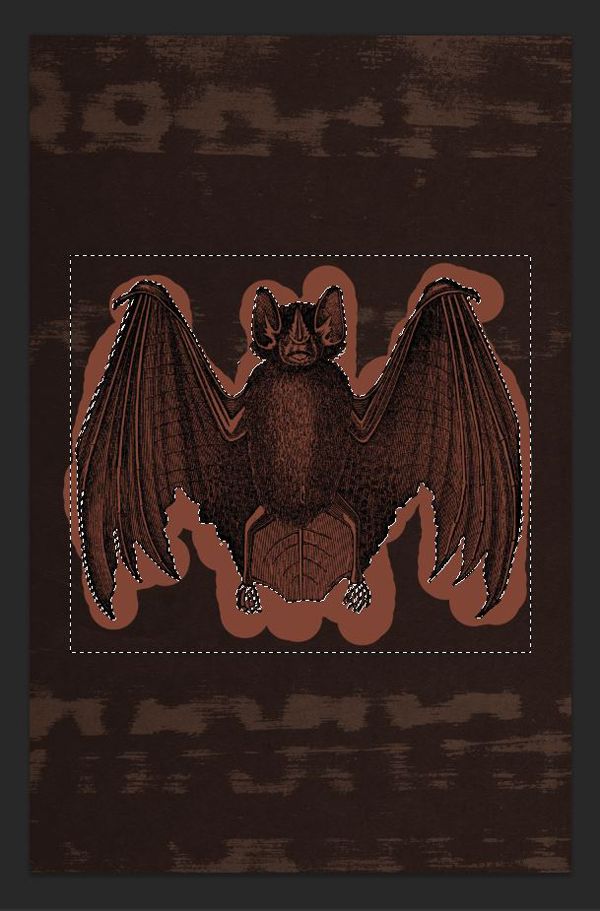
Next, invert the selection (CTRL/CMD+SHIFT+I). Select the bat background layer, and add a layer mask to it. It will automatically reveal only the active selection.
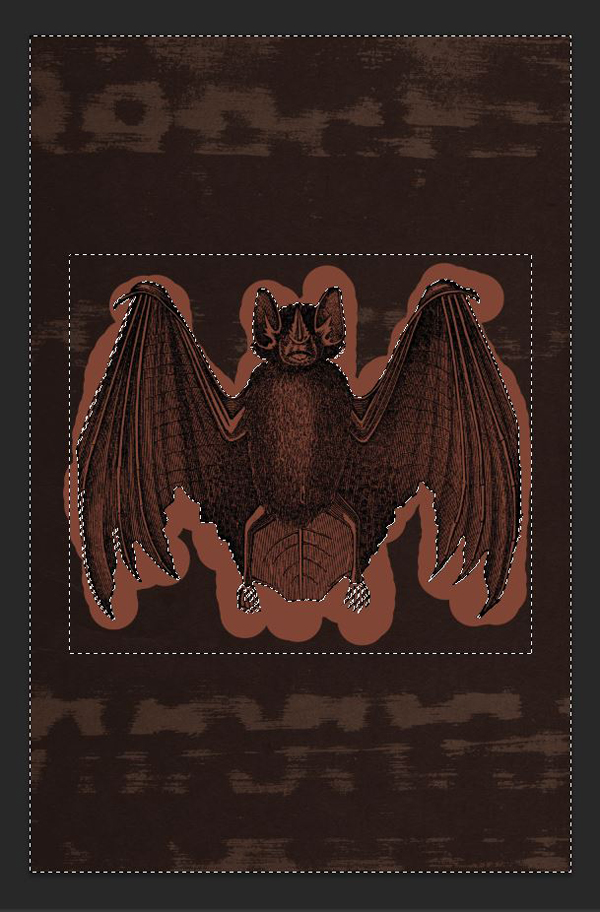
There are obviously a few spots to clean up, but nothing major. Use a smaller brush to paint/erase what needs to be on the layer mask.
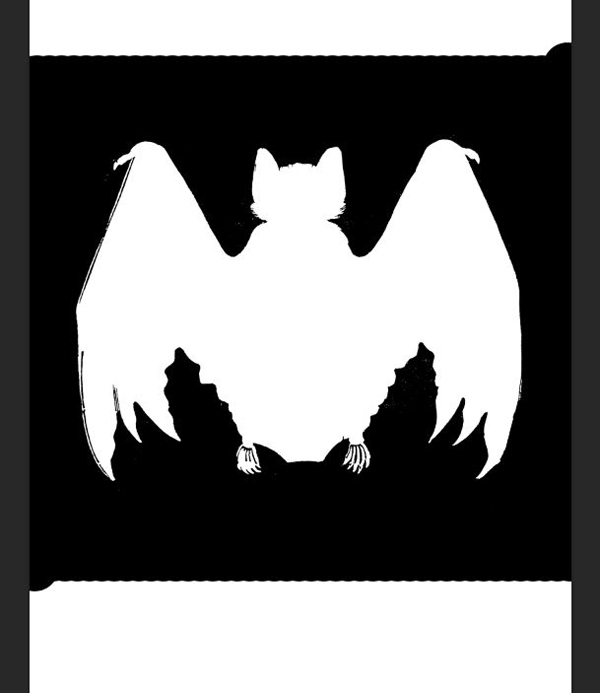
Once you’re done fine-tuning, you can go back to the normal view and admire the result.
We have ourselves a fierce bat. Time to get some type going!
STEP 5: THE TYPE ELEMENTS
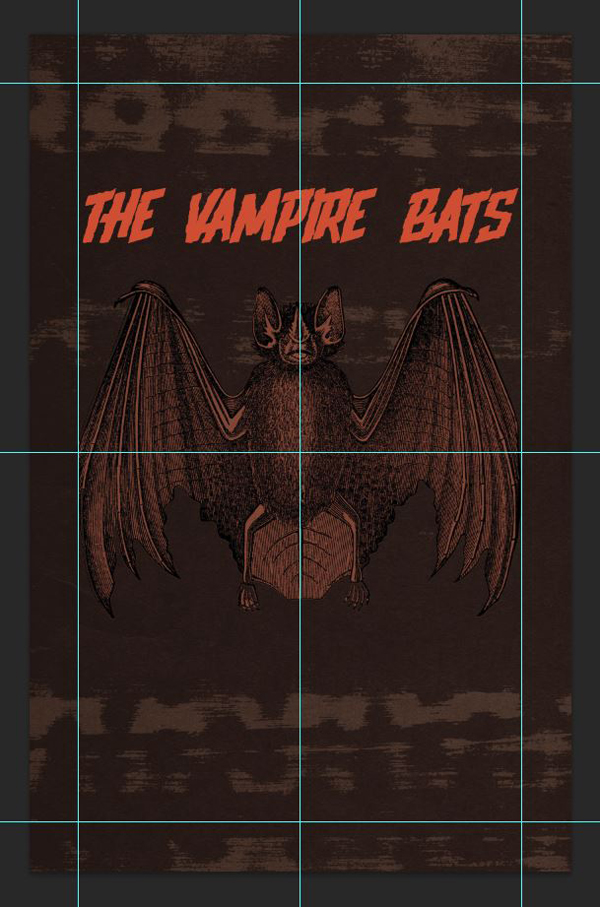
The title
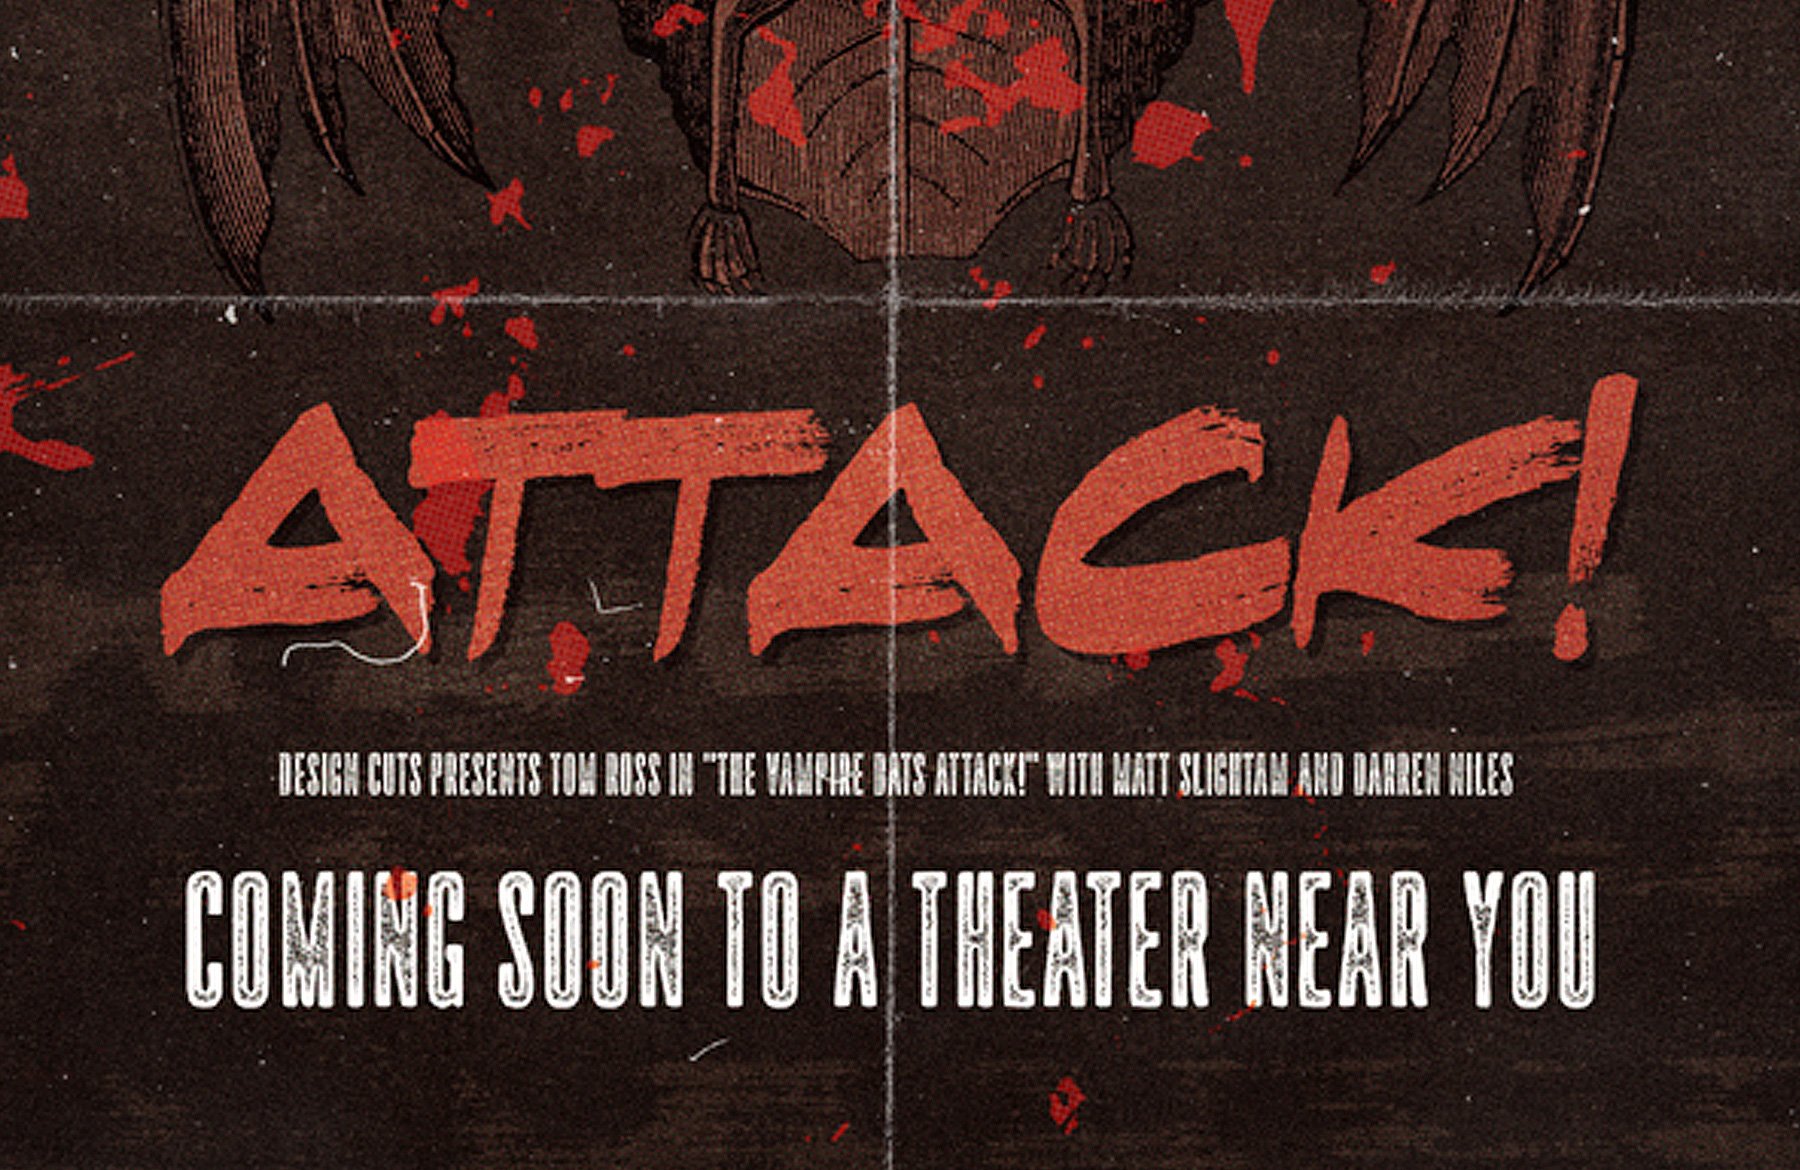
The title (The vampire bats attack!) will be written in the brightest red our palette has to offer (#ce4e34). The top line is set in Upjohn rough regular that’s 150 points tall. It’s simply centered vertically in the canvas, and placed around 0.5″ from the top of the bat.
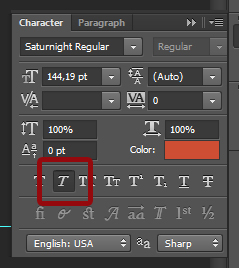
The bottom line is set in Saturnight Regular that’s 144 points tall. It’s similarly spaced from the bat. Also, it’s in fake italics mode, in order to match better Upjohn’s slant.
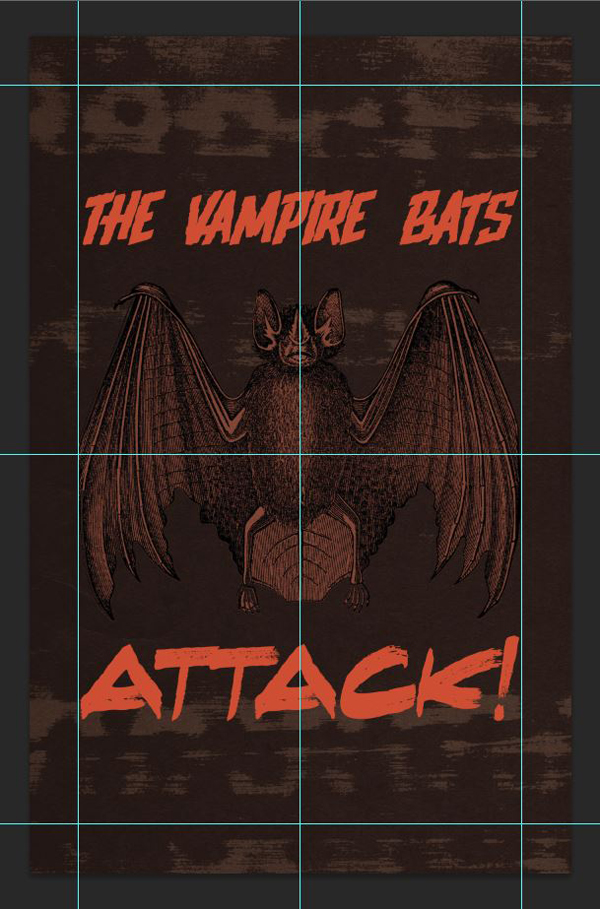
To add some icing on the title’s cake, we’re going to add a shadow to our title. We’ll use the same technique than before – a darker copy of the same type elements, slightly offset. The copy’s color will be #3e3637, and its blending mode will be Overlay @ 100% opacity.


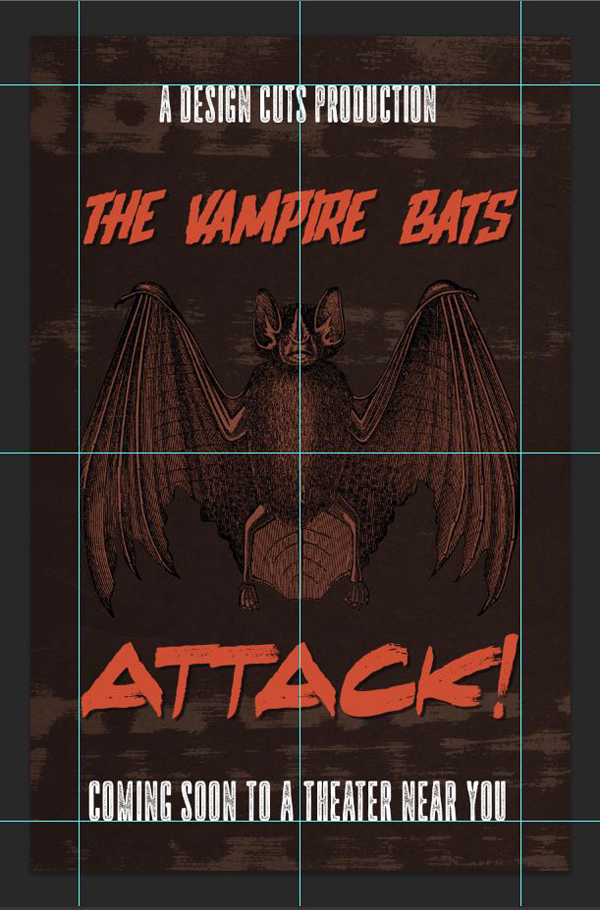
The credits
No movie poster would be complete without some sort of credits. I’m using a light amount of copy, as this is more of a teaser poster than anything else.
The top of the poster will feature the line “A Design Cuts production,” set in pure white (#ffffff) Upstater Ink Regular, that’s 72 points tall.
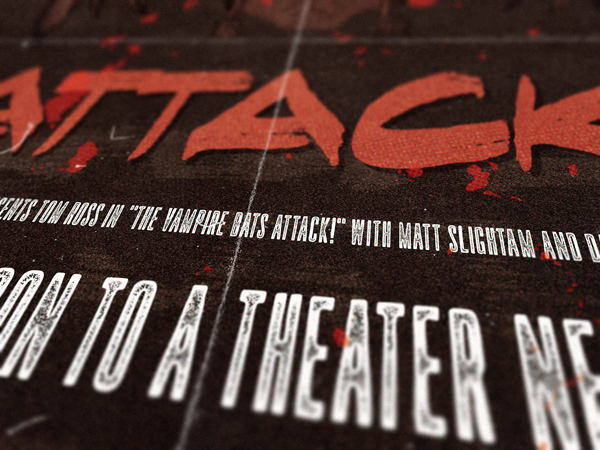
The main bottom credits line is “COMING SOON TO A SCREEN NEAR YOU.” It’s set in white Upstarter Ink as well, except it’s 78 points tall.
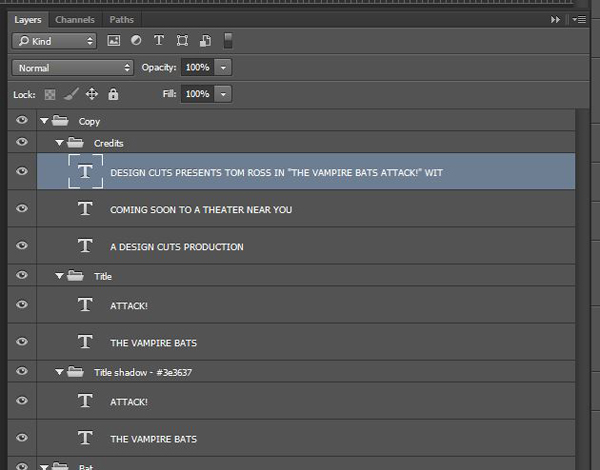
In order to get the crowd wild, let’s tease a few of the actors in slightly smaller, above the bottom credit line (24 points): “DESIGN CUTS PRESENTS TOM ROSS IN “THE VAMPIRE BATS ATTACK!” WITH MATT SLIGHTAM AND DARREN NILES.”
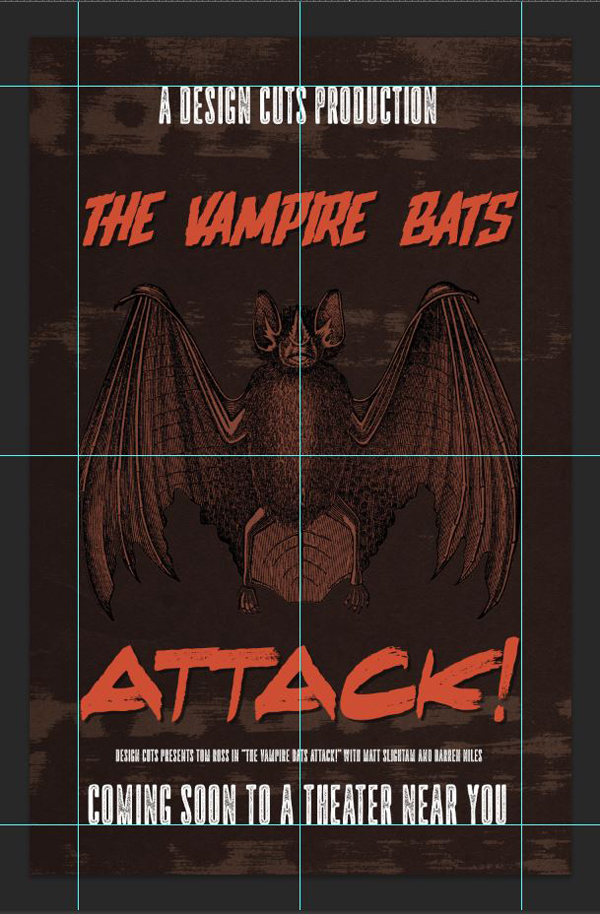
All of our type elements are ready!
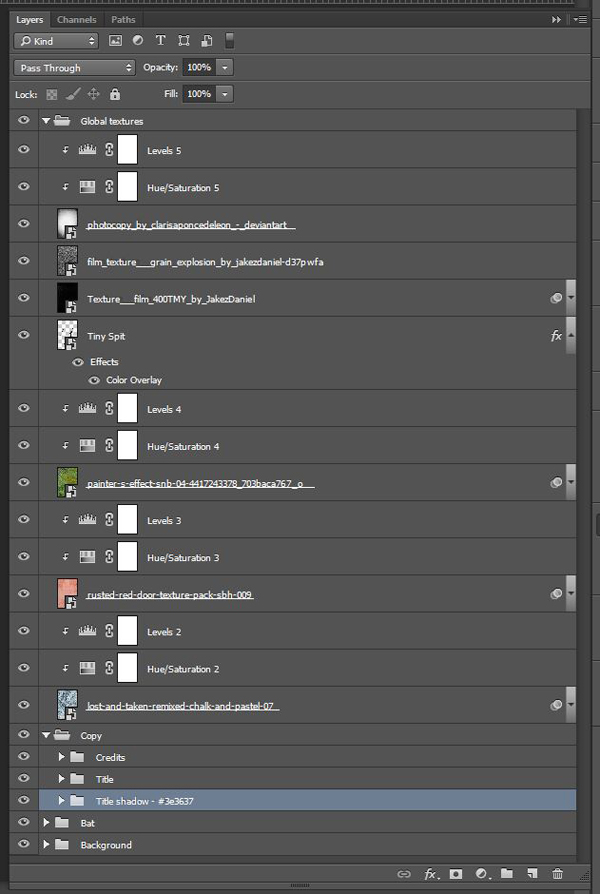
Organize your layers before moving on:
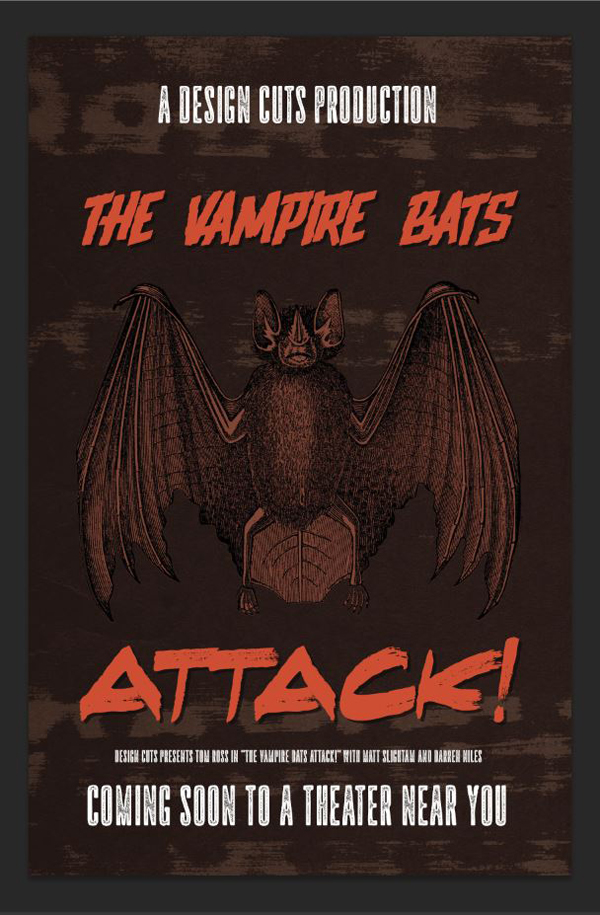
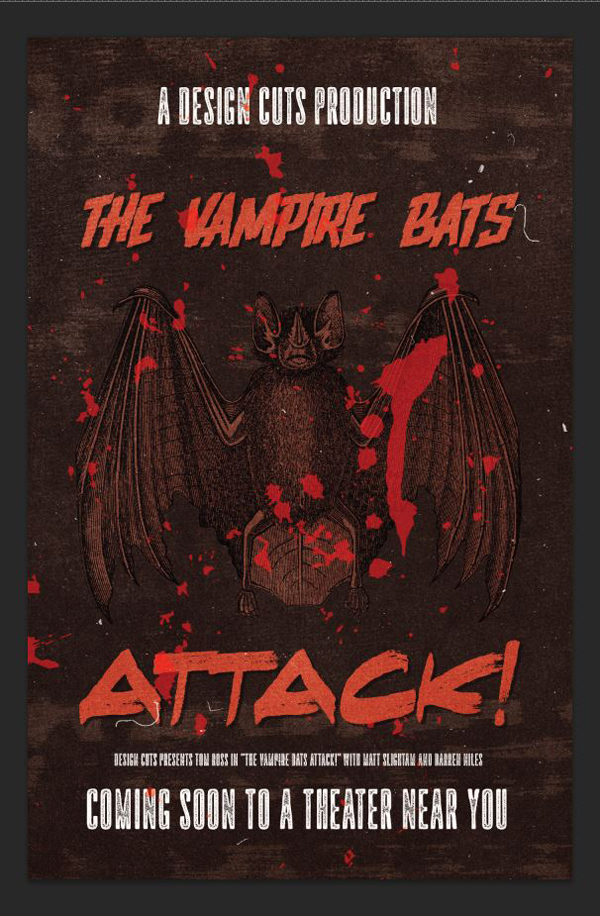
STEP 6: TEXTURES
This is an old movie poster, so we need to add a bit of additional grime, blood stains, dust speckles, and the like.
Let’s start with grime. Place Lost and Taken’s remixed pastel texture #7 in your design.
Blending mode: Soft light @ 10% opacity.
The next texture is The Shop’s rusted red door texture #9.

Blending mode: Soft light @ 10% opacity.
The following texture is StarNet blog’s painter’s effect texture #4.
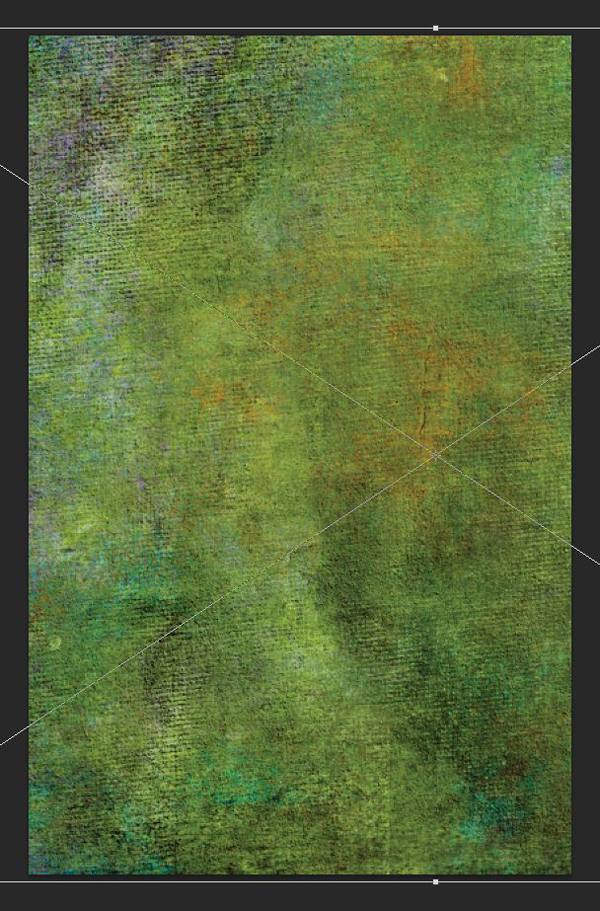
Blending mode: Soft light @ 35% opacity.
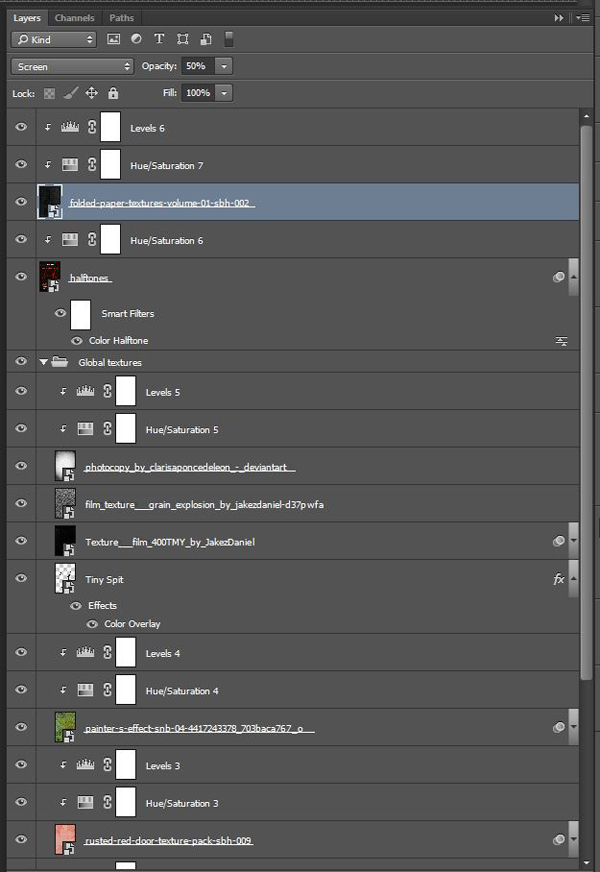
Next, we’re going to grab another one of Upjohn’s bonus texture. This one is called Tiny Spit.
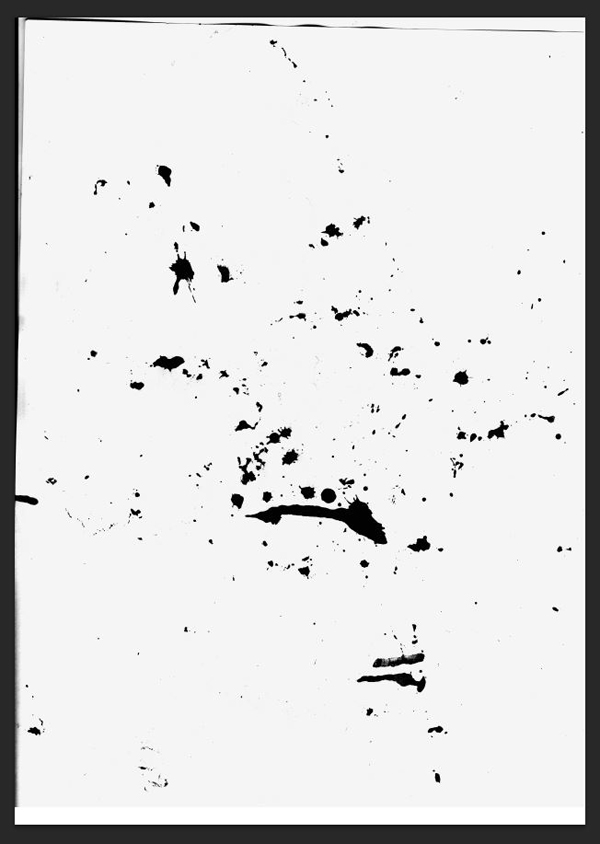
Place it in your design the same way we placed the background’s ink block texture. I’ve rotated mine so the drips actually follow natural gravity. Don’t forget to lower the layer’s fill to 0%.
The color overlay should be in our brightest red (#ce4e34).
Blending mode: Hard light @ 100% opacity.

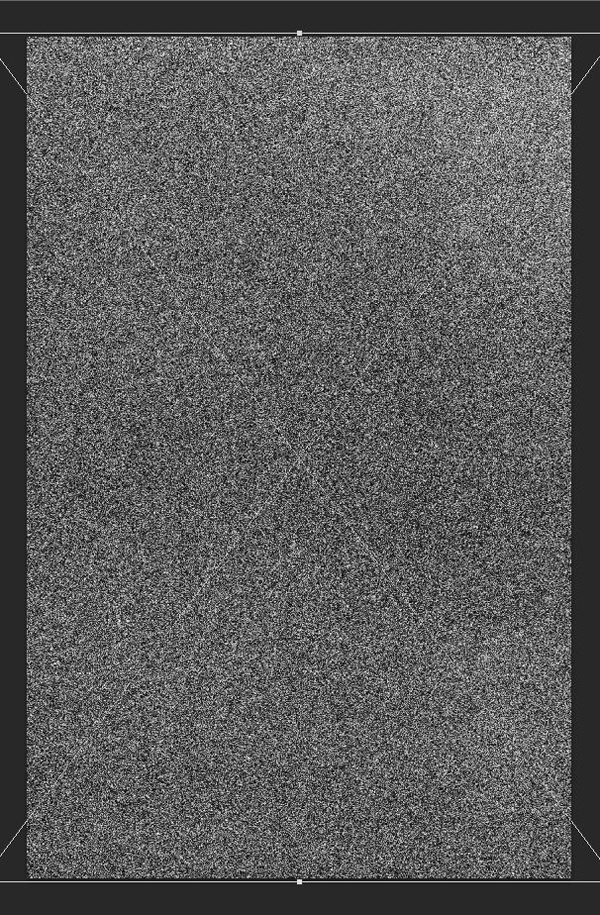
It’s now time to add some dust speckles and film grain to the piece. Start with JakezDaniel’s 400TM film texture.
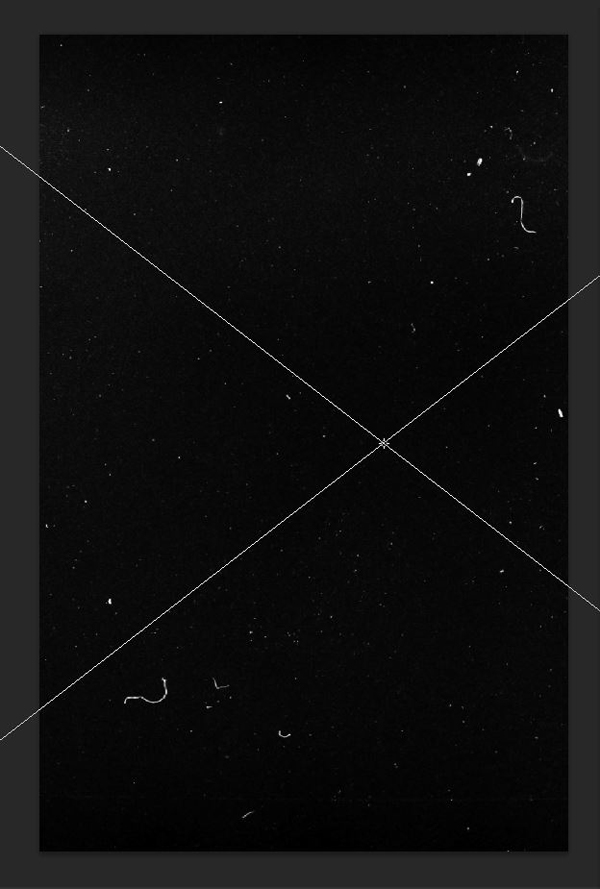
Blending mode: Screen @ 75% opacity.
Following this is his film grain texture.
Blending mode: Soft light @ 35% opacity.
Last but not least, we’ll re-use the photocopy texture to accomplish an organic vignette effect.
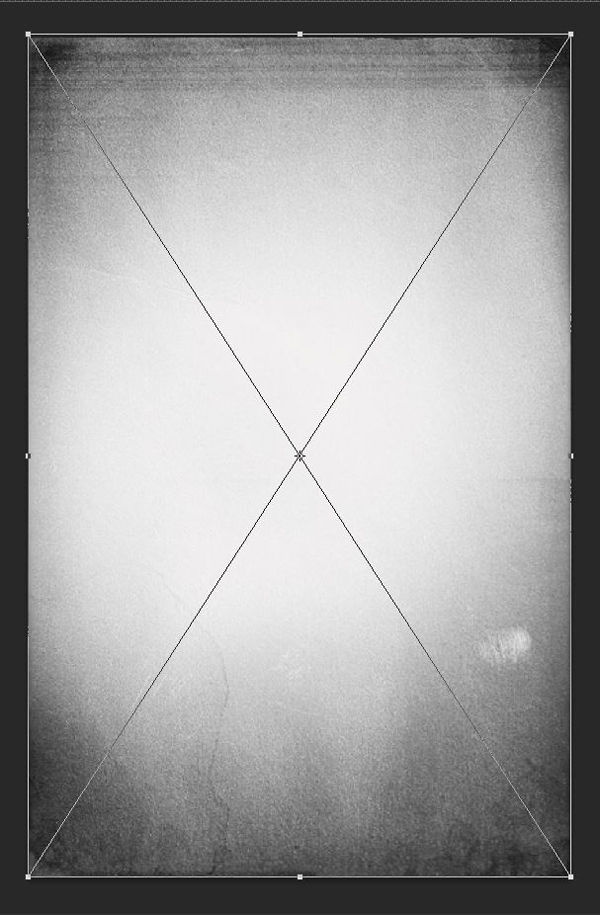

Blending mode: Soft light @ 50% opacity.

We’re almost there. Tidy up your layers if needed.
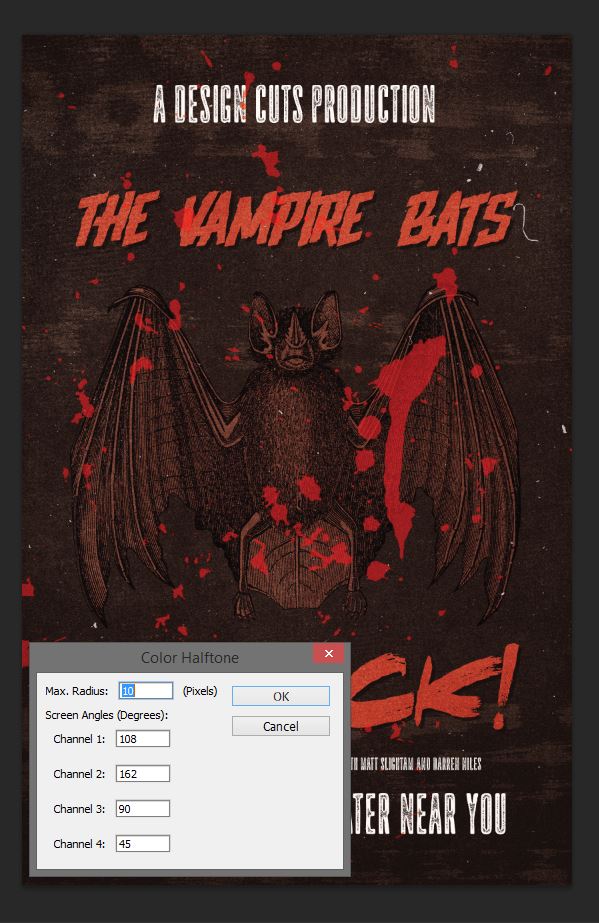
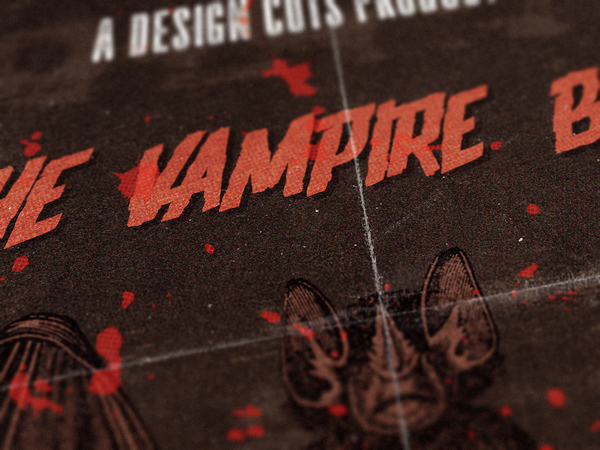
The last piece of the puzzle is once again a halftone effect. It’s to emulate the cheap print job these B-movie posters would often get. Start by creating the merged copy of everything at the top of your layers, and transform it into a smart object.
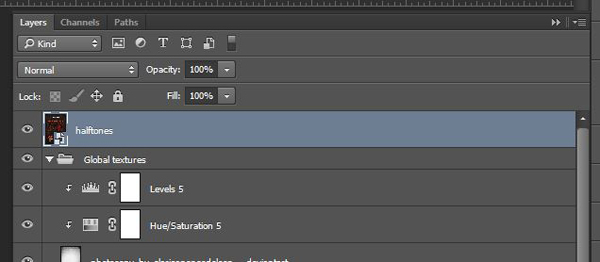
I’m using a slightly bigger halftone grain this time.
Effect blending mode: Soft light @ 100% opacity.
Layer blending mode: Lighter color @ 75% opacity.
Finishing touch: a clipped hue/saturation adjustment layer, to soften the color shift brought on by the halftone layer. The saturation slider is set at -50.
Remaining touch: adding some fake folds with The Shop’s folded paper textures volume 01, #2.

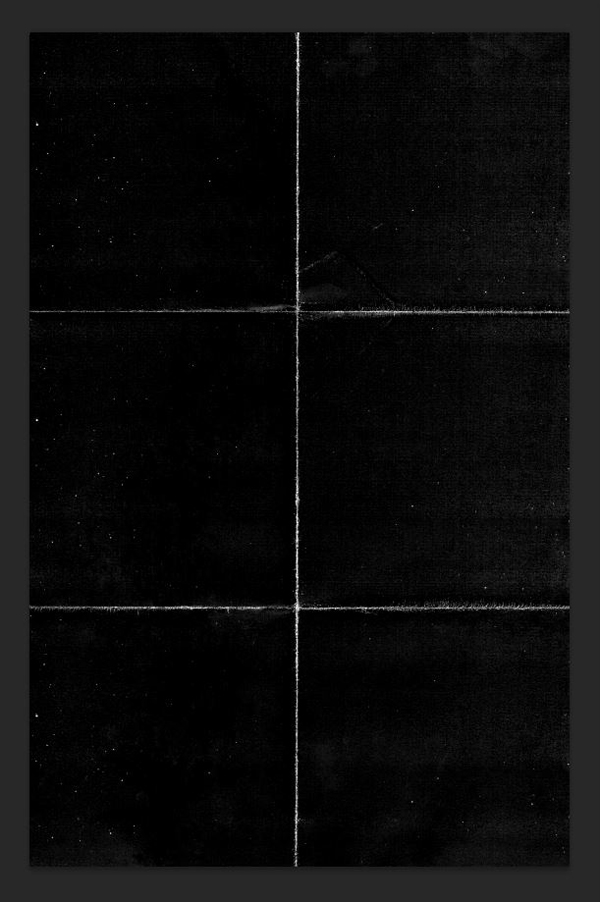
Blending mode: Screen @ 50% opacity.
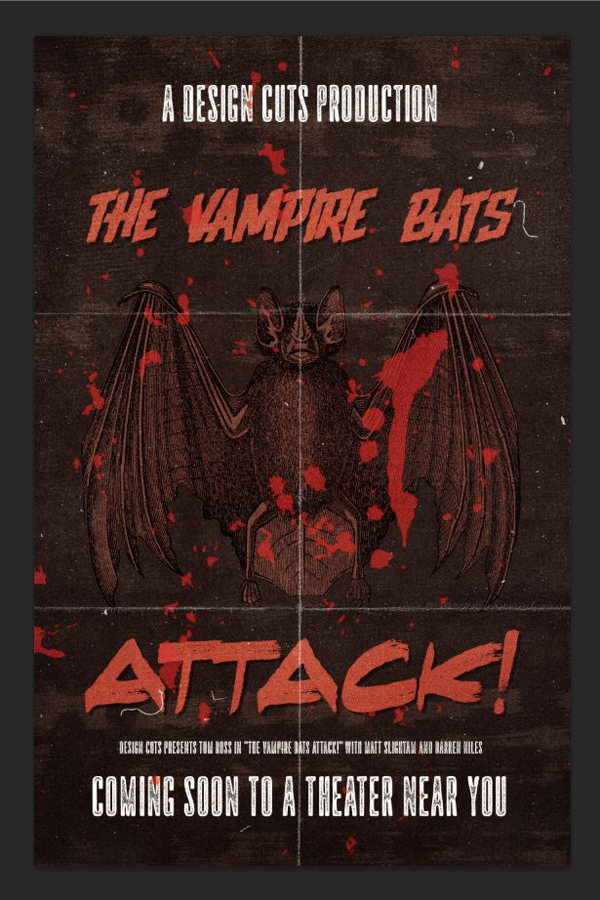
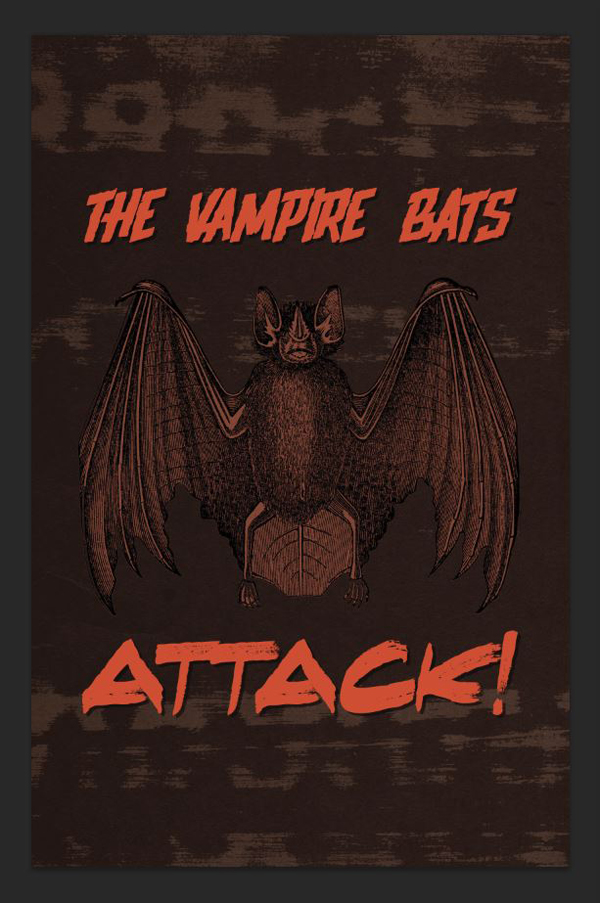
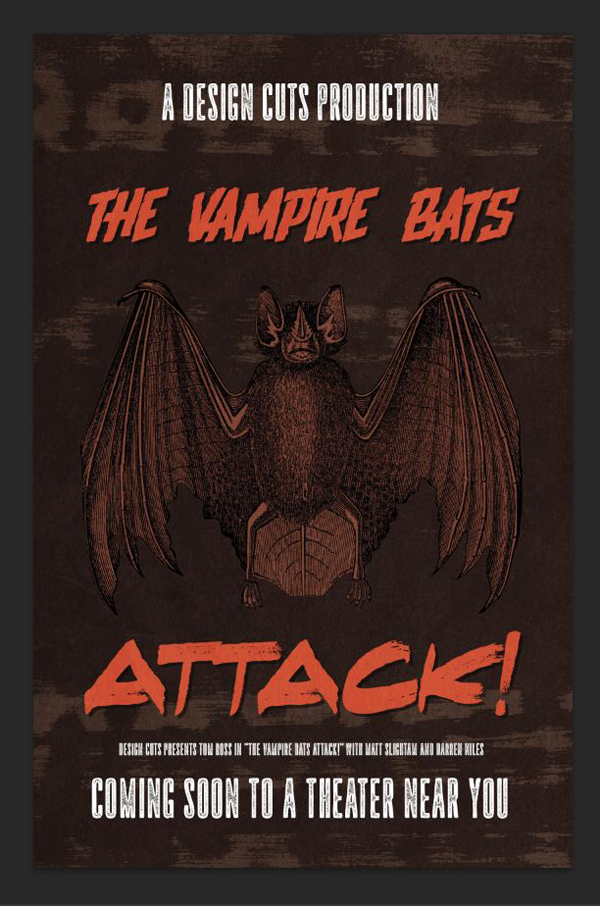
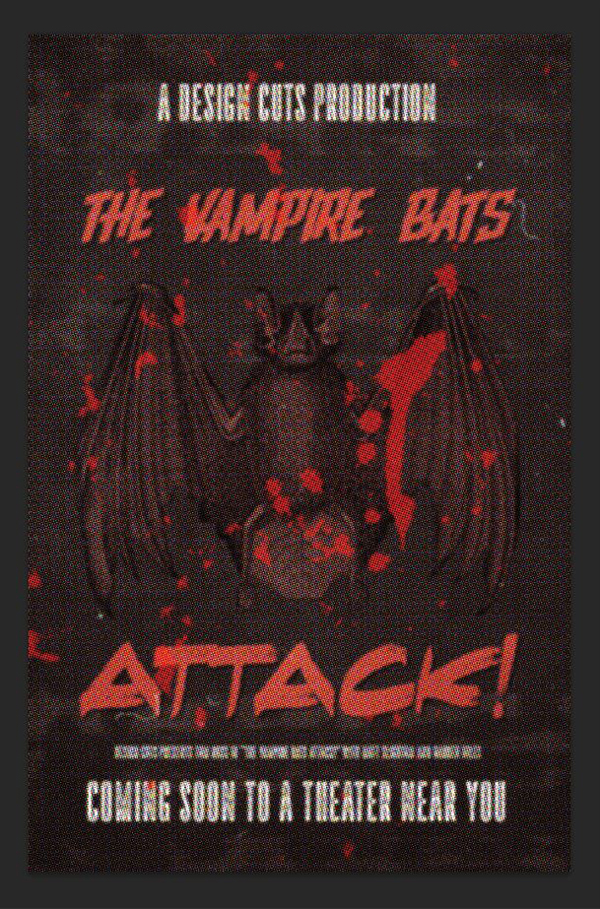
And we’re done with our second piece!
CONCLUDING THOUGHTS
Well, we’re done. I hope that these two pieces convinced you of the flexibility and wide array of possible applications for the current font bundle. Remember, there’s just a few days left to get these 30 type families now, for 97% off!
I hope you had as much fun going through both pieces as I had creating them, and writing about that process. Don’t hesitate to use the comments to ask any questions you may have!
Finally, we’d love to see your tutorial outcomes. Share them with us on the Design Cuts Facebook page.
Until next time, cheers
Be the first to comment