In this design tutorial I will be showing you how to create a custom layout for a Fitness and Design Magazine Mockup in Photoshop. We will first create the layout for our magazine cover which we will then use to build out a realistic, custom, branded mockup. We will be using stationery elements from Zippy Pixels and Mockup Cloud along with various objects from h3design’s Sport Scene Generator to complete our scene. If you’re ready to get started then fire up Photoshop and let’s get to it!
HAVE YOU SEEN OUR YOUTUBE CHANNEL?
Watch the video tutorial below and subscribe to our YouTube channel for regular updates direct to your inbox.
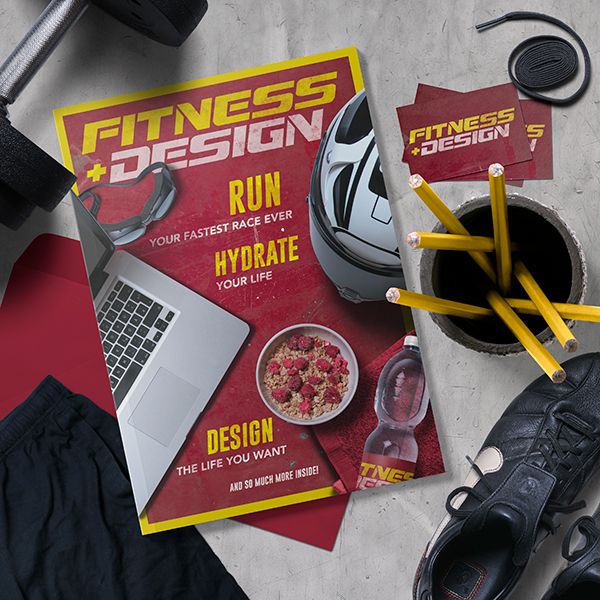
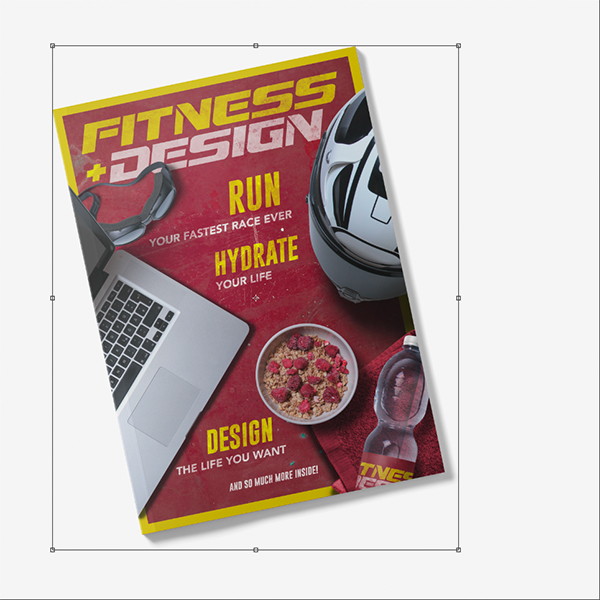
Here’s a look at what we’ll be creating:
Follow along with this tutorial: Download the freebie files
This freebie pack includes hand-picked samples of realistic objects and scene generators from the full bundle.
The freebie pack is just a sample of what you will find in the The Essential Mockup Templates Bundle for just $29 (that’s 99% off). This bundle will help you create unforgettable work that will help you achieve maximum impact with your designs so you can stand out from the crowd.
Step 1: Fitness and Design Magazine
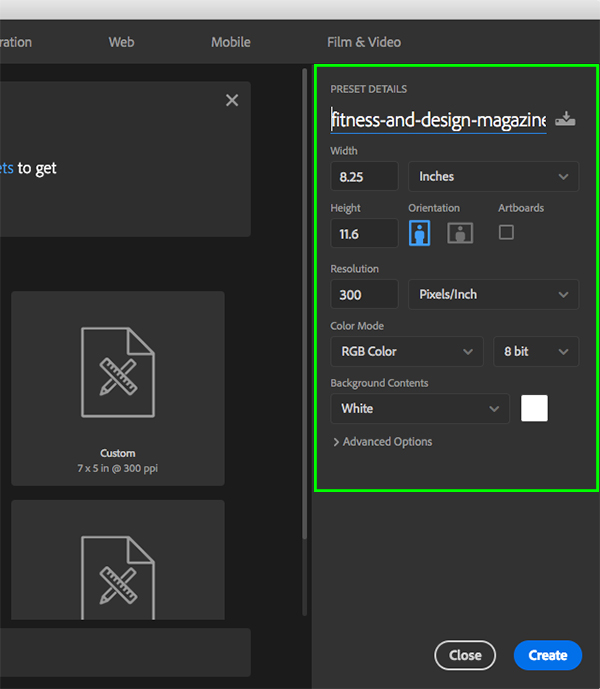
Let’s begin by opening Photoshop and creating a New Document. Let’s set our document size to 8.25” wide by 11.6” inches tall with a resolution of 300, Color Mode of RGB, and set the Background Contents to ‘White’ and give your file a name – here I am using the name ‘fitness-and-design-magazine’. Once you have set the parameters go ahead and click ‘Create’ to make your document.
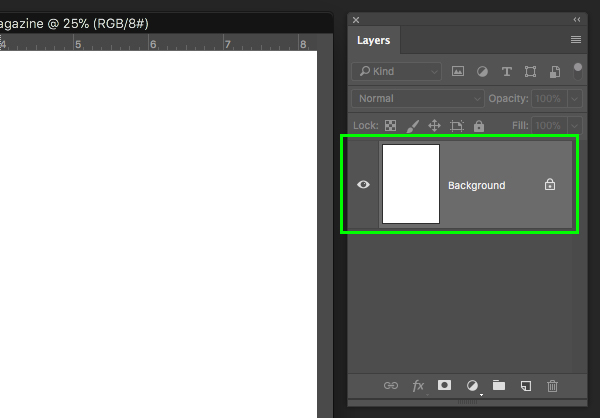
Once we create our new document we should have one single layer named ‘Background’ that appears with a small lock icon next to it.
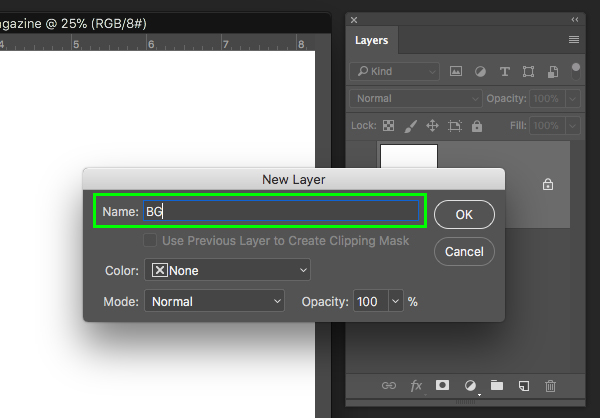
When prompted with the ‘New Layer’ dialog box, enter a name of ‘BG’ and then click ‘OK’ to apply the changes.
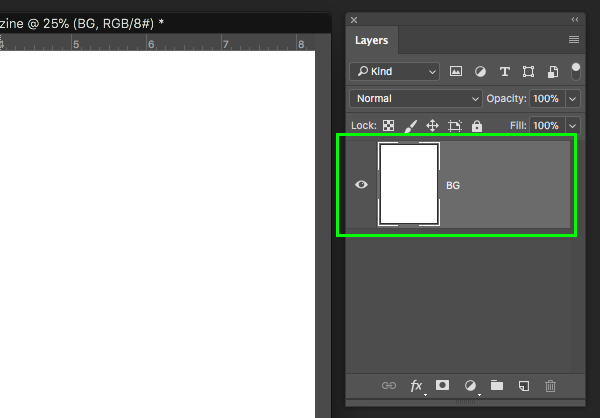
You should now see the same ‘Background’ layer with your new name and there should no longer be a small lock icon next to it.
Step 2: Painted Metal
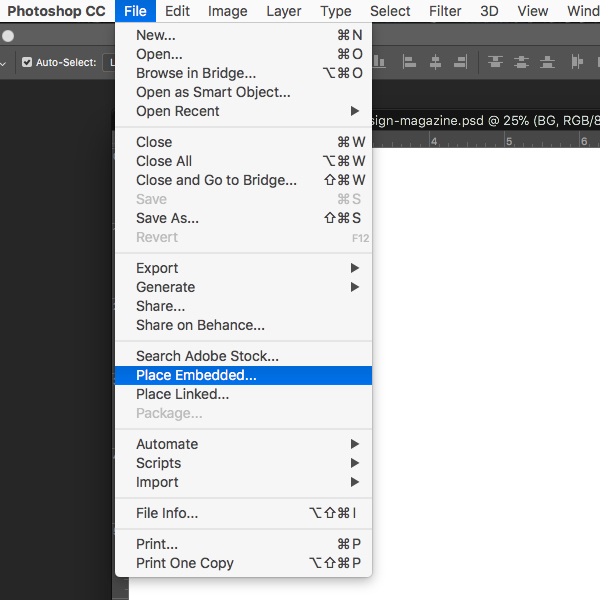
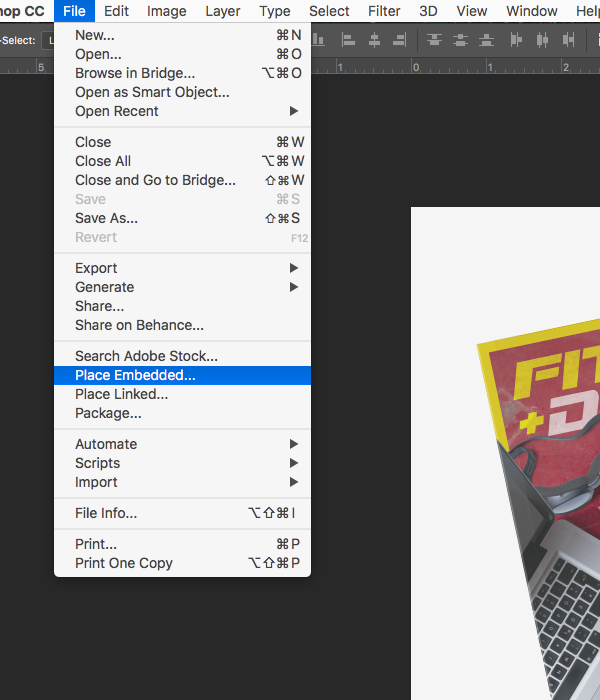
Next, go to the ‘File’ menu and choose ‘Place Embedded…’ from the dropdown as shown here:
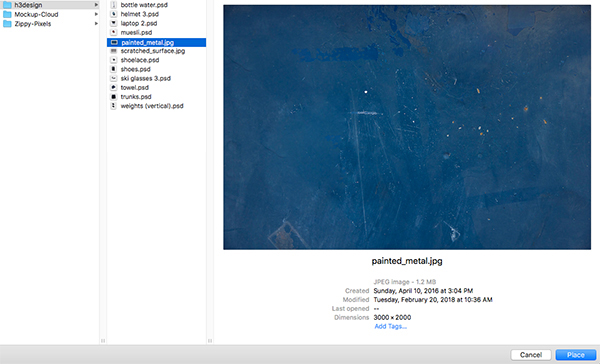
Navigate to the ‘painted_metal.jpg’ file from h3design in the freebies folder for the tutorial and then choose ‘Place’ from the lower right corner.
Your texture will now be placed into your working document as a Smart Object and will automatically have the file name as the name of the layer itself.

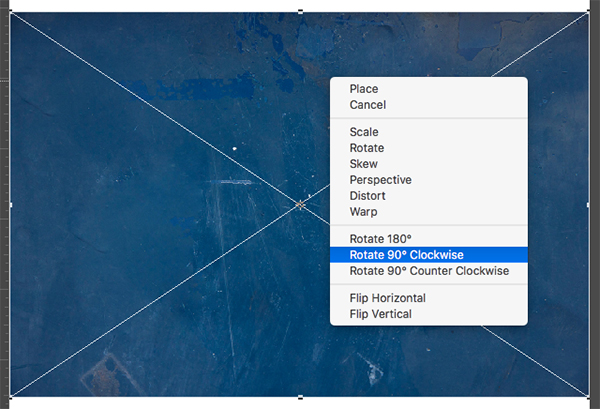
While we have the bounding box around our imported texture image, hold the Control Key and click anywhere on the texture to reveal a dropdown menu. From the list that appears, choose ‘Rotate 90º Clockwise’ as shown here:
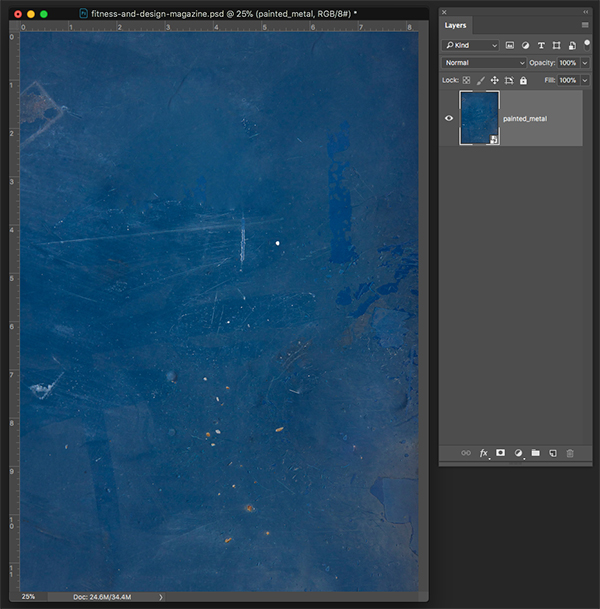
Once you have rotated the image, hold the Alt/Option + Shift keys and drag outwards from any of the four corners of your bounding box to scale the texture image up from the center until it fills your entire canvas area. After that, press the ‘Return’ key to apply the changes. Now that we have another layer in our document, let’s go ahead and select the ‘BG’ layer and either press ‘Delete’ or drag it to the trash can at the bottom of the Layers Palette to remove it.
Step 3: Fresh Paint
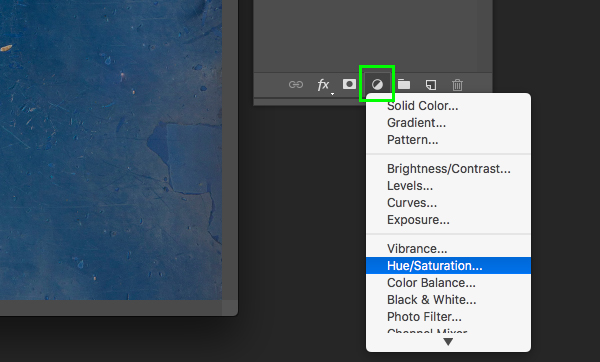
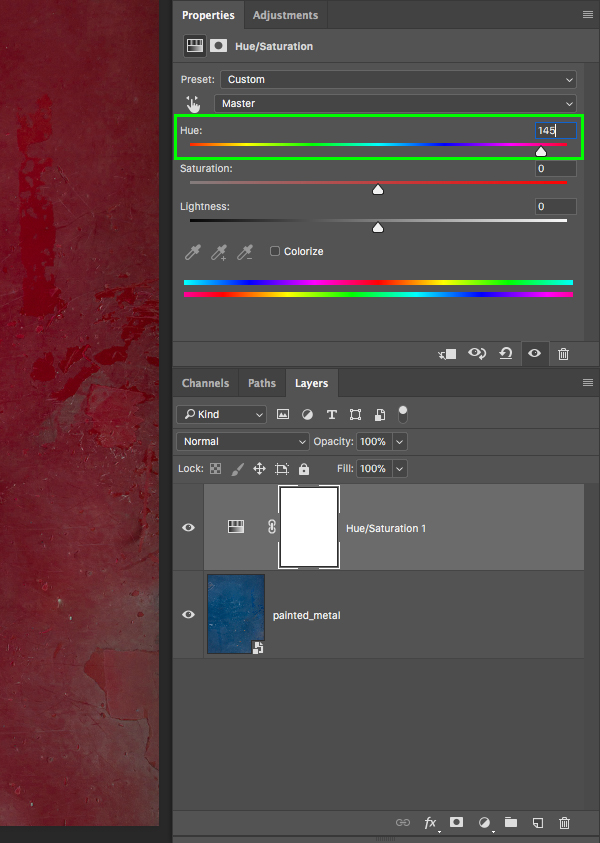
Go to the bottom of the Layers Palette and select the Adjustment Layer icon to reveal a menu. From the list that appears, choose ‘Hue/Saturation…’ as shown in the image below:
In the ‘Properties’ panel we now want to move the ‘Hue’ slider to the left until the value is set to about ’145’ to change the color like this:
Step 4: Framed
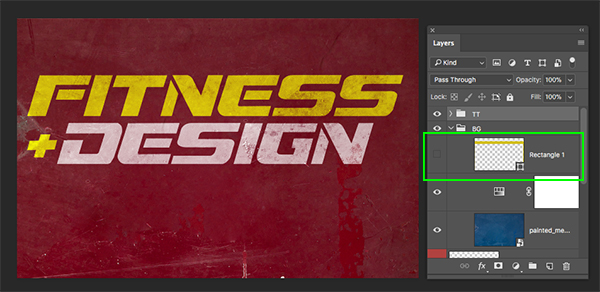
Press ‘U’ on the keyboard to select the Rectangle Tool and then take a look at the toolbar running along the top of the Photoshop interface. For this step we want to make sure that our ‘Fill’ is set to none – this should look like a white box with a red strike going through it. We do however want to have a ‘Stroke’ applied and let’s enter a value of ’75 px’ for that section as shown here:

Click on the small box just to the right of the word ‘Stroke’ in the top to open the ‘Recently Used Colors’ panel and then from there click on the color spectrum icon in the upper right, indicated by the highlight box in the image below:
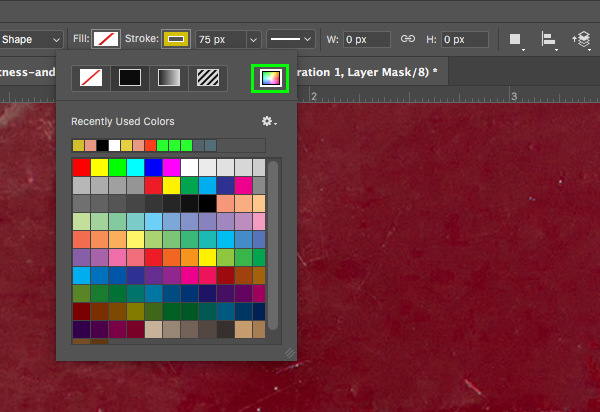
For the fill color, let’s enter a hex value of ‘DC300C’ and then press ‘OK’ to apply the changes.

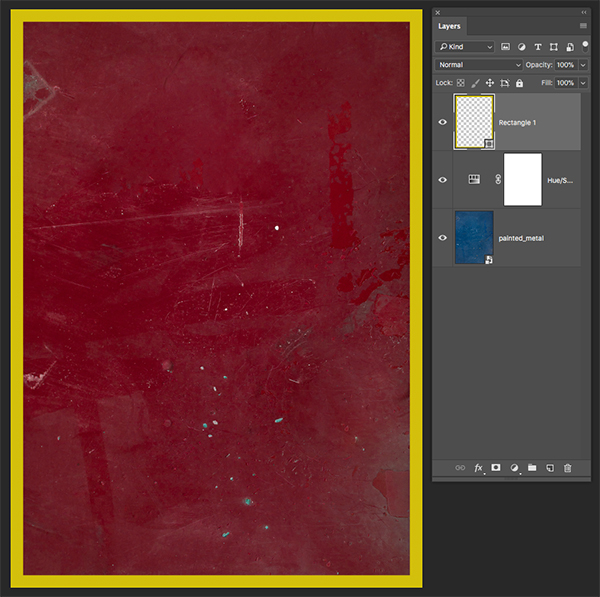
Now that we’ve set our preferences and colors, all we need to do is click and drag from the upper left corner of the canvas and drag down to the lower right to create our yellow frame. You should now have something like this:
Step 5: Background Group
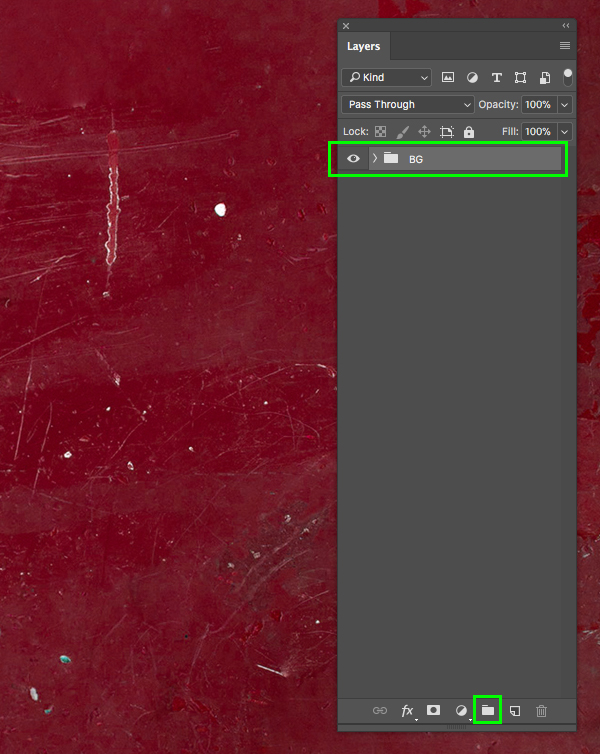
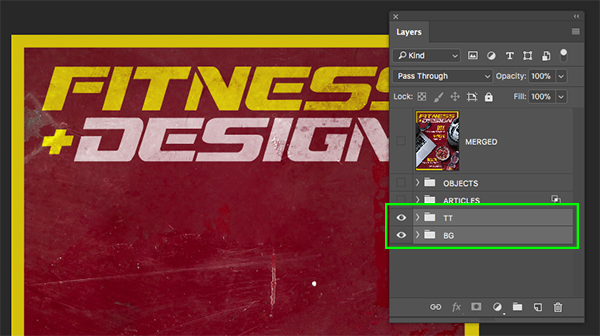
Select the top layer in your layers palette, then hold the Shift Key and select the very bottom layer so that all three of these layers are selected at the same time as shown below:

With your three layers still selected, click on the small folder icon at the bottom of the Layers Palette to place the layers into a new folder. Double click the ‘Group 1’ text and rename the folder to ‘BG’ as shown in the image:
Step 6: Creating the Header
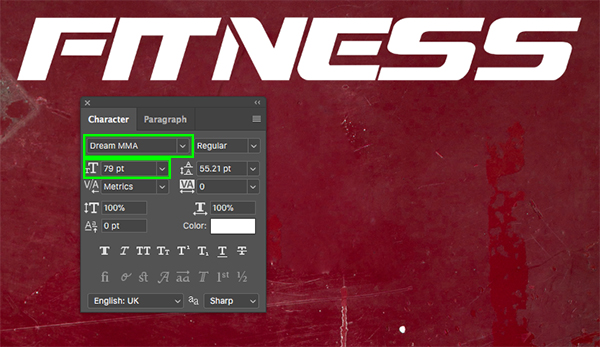
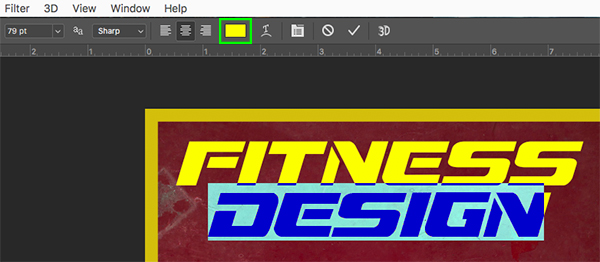
Create a new layer above your ‘BG’ folder by either clicking the ‘Create a new layer’ icon at the bottom of your Layers Palette or by using the keyboard shortcut Command/Ctrl+Alt/Option+Shift+N. After creating your new layer, press the letter ’T’ to switch to your Type Tool and then click in the upper left portion of your image and type out the word ‘fitness’ in all lowercase letters. We now want to bring up our Character Panel to change a few of the settings, so if you don’t have it displayed on your screen currently, you can access it by going to the ‘Window’ menu and choosing ‘Character’ from the dropdown list. Once you have your Character Panel open let’s highlight our text and change the font to Dream MMA which is a free typeface from DaFont.com. We also want to change the size of our text to about ’79 pt’ as shown in the image below:
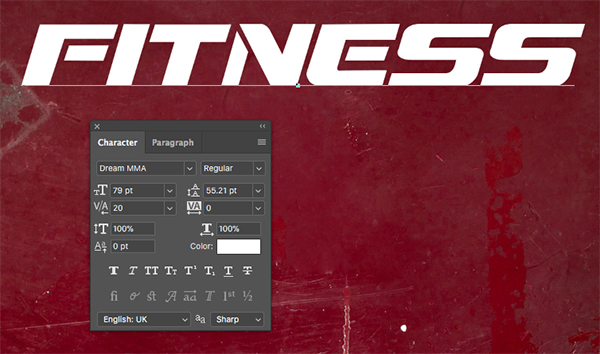
You may notice that after typing out the word ‘fitness’ that some of the letters are running into each other. To correct this we will manually go in and fix the kerning or the spacing in between each of the letters. To do this, simply grab your Type Tool (T) and click your cursor in between the two letters you’d like to adjust and then press Alt/Option and the left arrow to decrease the amount of space, or Alt/Option and the right arrow on your keyboard to add more space. Ideally what we want to do is create an even amount of spacing between each of the characters so you wind up with something like this:
Once you are happy with the spacing, click inside the text box two or three times to highlight all of the text and then click on the ‘Color’ box in your Character Panel.
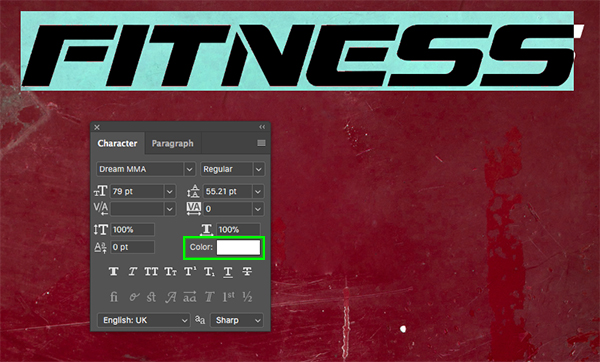
Let’s enter a hex value of ‘FCFF00’ and then press ‘OK’ in the dialog box to apply the changes.

Step 7: Design Text
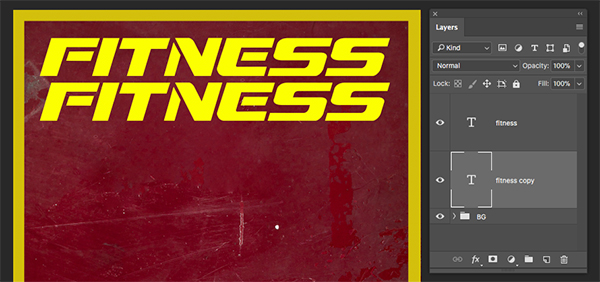
Select your text layer and press Command/Ctrl+J to duplicate it and then Command/Ctrl and the left bracket on the keyboard to move it down one spot in your Layers Palette so that the copy is below the original text layer. From here, hold the Shift Key and tap the down arrow until the duplicate layer is sitting below the original like this:
Use your Type Tool (T) to click inside the text box and change the text to ‘design’. After that, click inside of the text box to highlight all of the characters and then notice the yellow color box in the top toolbar. Click on the color swatch here indicated by the highlighted box in the image below:
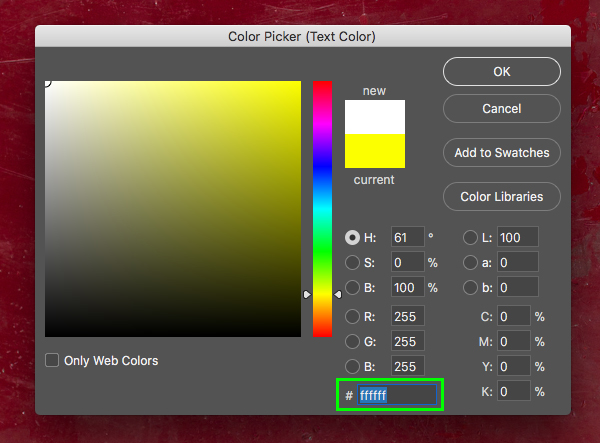
This time we will just make our text solid white by entering the hex value ‘#FFFFFF’ before pressing ‘OK’ to apply the changes.
Step 8: Creating a Plus Symbol
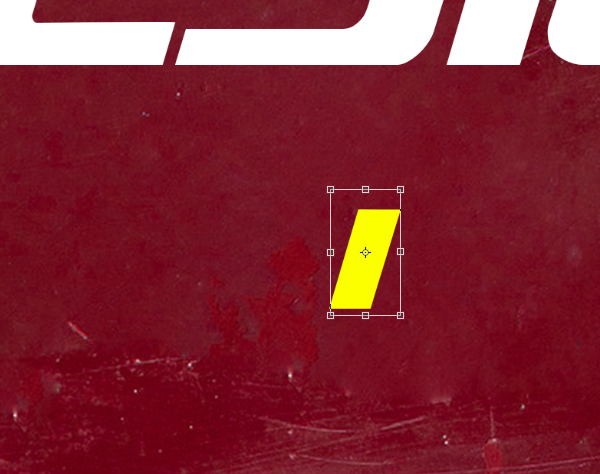
Select your ‘fitness’ text layer and duplicate it once again by pressing Command/Ctrl+J on the keyboard. Move this layer down away from the other two text layers for a moment and then use your Type Tool (T) to delete all of the letter except for the ‘i’ on the newly duplicated text layer. We will also make this text quite a bit smaller, but we can just eyeball it for now. You should now have something like this:
We will now duplicate this layer and then press Command/Ctrl+T to initiate a Free Transform. Move your cursor over any of the four corners of the bounding box and rotate the letter horizontally so it looks like the image here:

Once you’ve rotated the second copy of the small letter, hold the Control Key and click on the letter to reveal a dropdown menu. Here we want to choose the ‘Flip Horizontal’ option in order to flip the letter the other way.

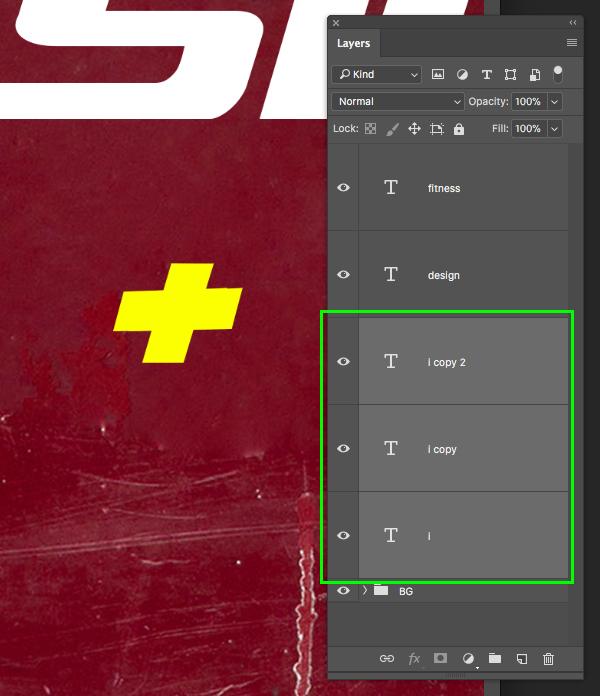
After flipping the duplicate letter, press ‘Enter’ or ‘Return’ on your keyboard to apply the transformation. Now that the angles match up we still have one problem – the letter is too short. To fix this we will need to make one more copy of this layer and tap it over to the right so that it’s more even on the other side. You should now have three copies of the letter ‘i’ forming your plus symbol. From here, select the top copy in your Layers Palette, hold Shift on the keyboard and select the bottom copy so all three are selected at once. After that, simply press Command/Ctrl+E on the keyboard to merge these three layers together into one.
Step 9: Title Treatment
Next, select the top ‘fitness’ text layer, hold the Shift Key and select the merged plus symbol so all three of the layers making up your title treatment are selected at the same time.

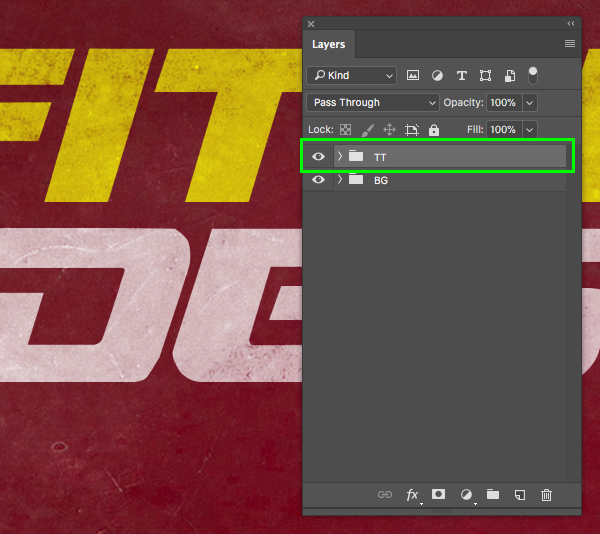
While your layers are still selected, click on the small folder icon at the bottom of your Layers Palette to place them into a new Group Folder. Double click the ‘Group 1’ text and change the name of the folder to ‘TT’ as shown below:
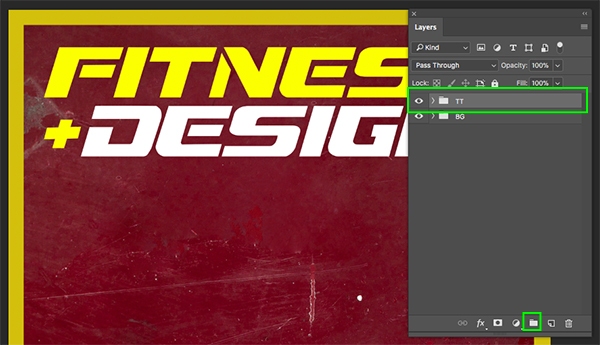
Step 10: Textured Text
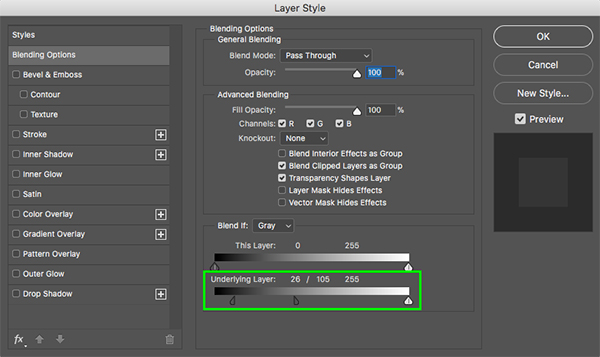
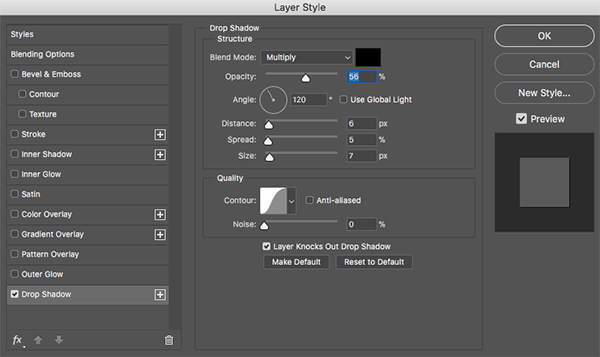
Now that our title treatment has been added to a folder we can double click on the folder to bring up the Layer Style panel to apply some blending. Once the dialog box appears we want to modify the sliders at the bottom, just below the ‘Underlying Layer’ section. You will notice that there are two small gray sliders next to each other all the way to the left of the slider here. What we want to do is split these apart, and we can do that by holding the Alt/Option key and clicking on the right gray slider to move it away from the one on the left. Once you have separated these two sliders, move the right one until it’s set to about ‘105’ and then move the left slider until it’s set to ’26’. This will create a blended effect that allows some of the details in our painted metal texture to come through on our masthead. Once you have modified your settings go ahead and press ‘OK’ to apply the changes and close out of the dialog box.
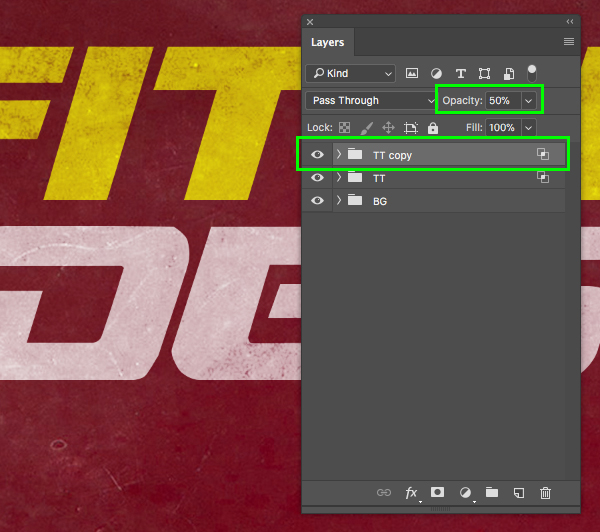
You should now see the texture coming through your title, but we want to intensify this effect a bit more. In order to do this we will select our ‘TT’ folder and press Command/Ctrl+J to duplicate it. With the new copy placed above the original, reduce the opacity of the group to about ’50%’ as shown below:
Step 11: Regroup
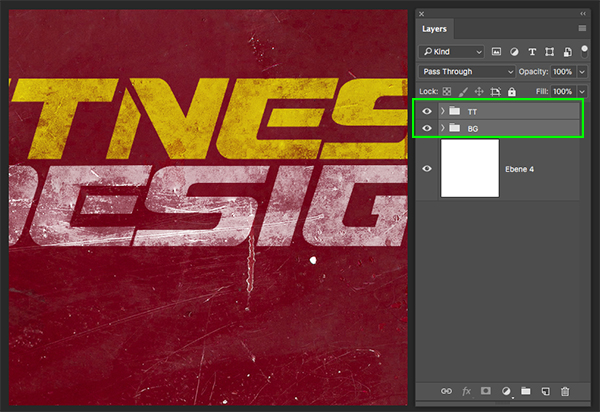
Now that we have two copies of our ‘TT’ folder let’s select the top copy, hold the Shift Key, and then select the original ‘TT’ folder below so that both folders are selected simultaneously.
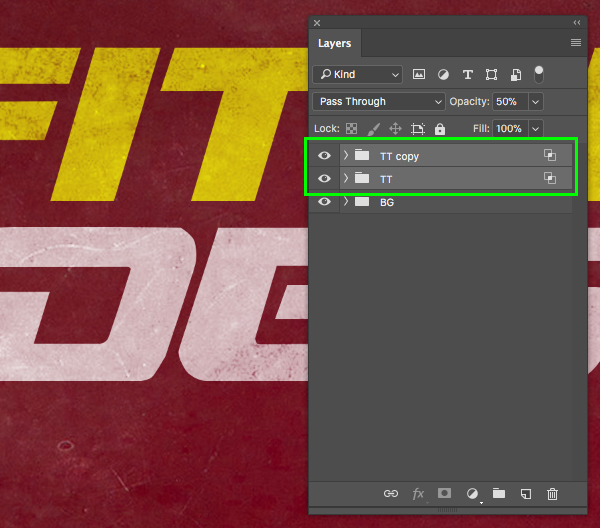
This time let’s use the keyboard shortcut Command/Ctrl+G to put both of these folders into yet another new folder. Double click the ‘Group 1’ text and change the name of the folder to ‘TT’ just to keep things consistent.
Step 12: Ski Glasses
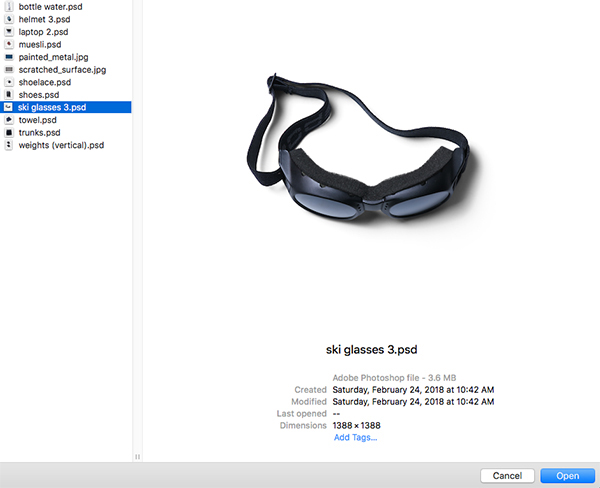
We will now begin importing some of our fitness objects into the magazine cover layout. For this, go to the ‘File’ menu and choose ‘Open’ before navigating to the ‘ski glasses 3.psd’ file in the h3design freebies folder for this tutorial.
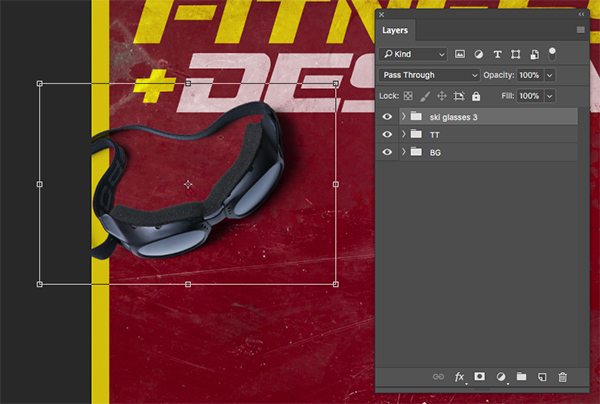
Once you open the file there will be a single folder which you will just need to drag into your main document. Bring the glasses into your file and then press Command/Ctrl+T to initiate a Free Transform. After that, scale and rotate the glasses before having them overlap part of the title. Use the image below as reference for the sizing and positioning of the ski glasses.
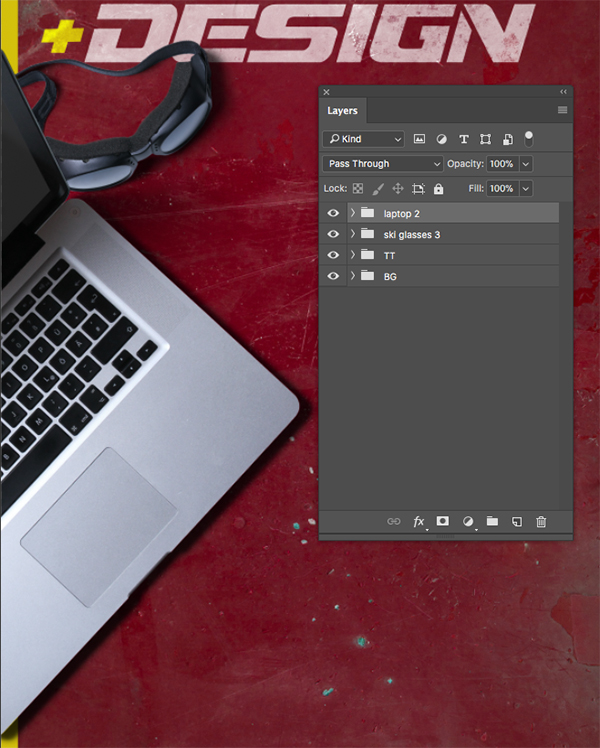
Step 13: Laptop
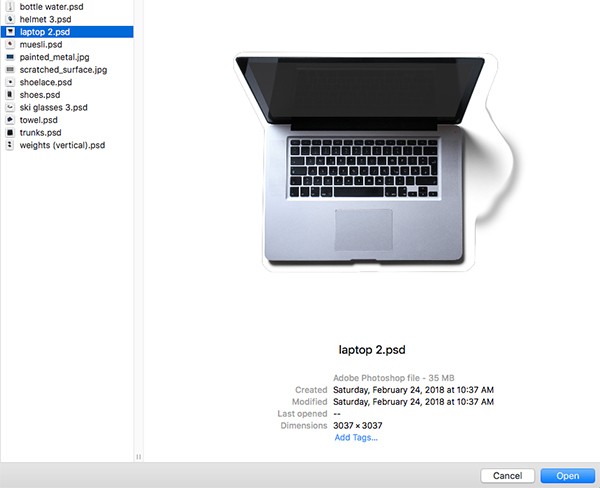
Since the magazine cover also deals with design, we will incorporate one of the most important tools in a design toolbox – a laptop. Return to the ‘File’ menu and choose ‘Open’ once again before navigating to the ‘laptop 2.psd’ file and then choosing ‘Open’ from the lower right corner.
Click and drag the folder from the PSD into your working document and use the Free Transform option to scale the laptop (remember to hold the Shift key to constrain the proportions). You will also need to rotate, and position the laptop as shown here:
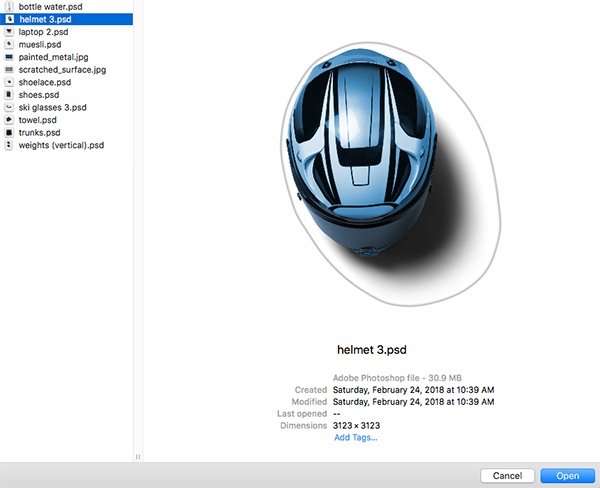
Step 14: Helmet
Return to the ‘File’ menu and choose ‘Open’ and this time navigate to the ‘helmet 3.psd’ file before choosing ‘Open’ from the lower right.
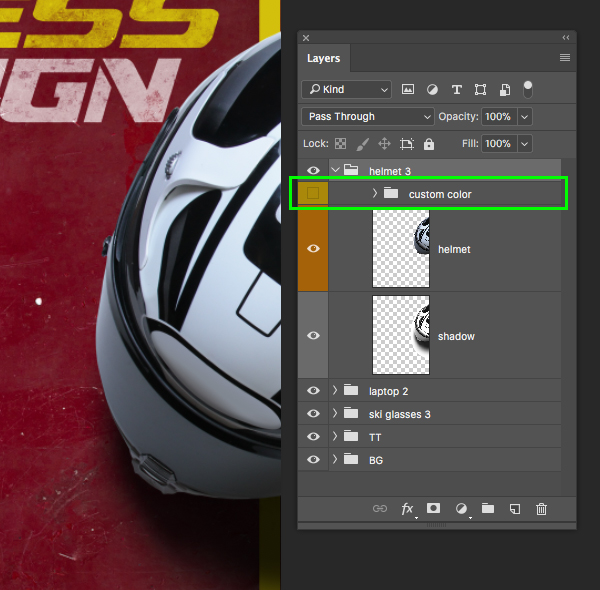
Click and drag the folder from the PSD into your document and use the Free Transform option (Command/Ctrl+T) to scale, rotate, and position the helmet so that it’s cropped out on the right side. Once you have positioned the helmet, click the small arrow to expand the folder and turn off the ‘custom color’ folder inside as shown here:
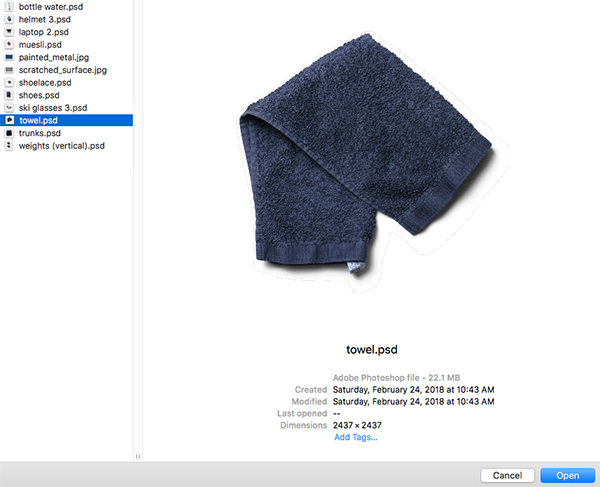
Step 15: Towel
When it comes to fitness and design, you can never throw in the towel! Unless of course we are just throwing it into a layout, then it’s perfectly fine. Let’s go to the ‘File’ menu and choose ‘Open’ and select the ‘towel.psd’ file before choosing ‘Open’ from the lower right hand corner.
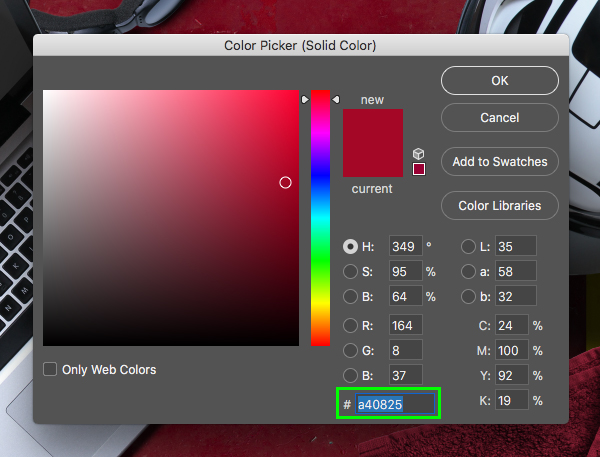
Click and drag the group folder from the PSD file into the main file and use the Free Transform option (Command/Ctrl+T) to once again rotate and position the towel so that it’s in the lower right corner of the layout. If we click the small arrow next to the main ‘towel’ folder we will find a ‘custom color’ folder inside. Let’s add a red color to the custom color here by clicking on the color swatch.

Once the Color Picker appears, enter the hex value ‘#A40825’ and then press the ‘Return’ key or click ‘OK’ to apply the color change.
Step 16: Always Time for Breakfast
Let’s go back to the ‘File’ menu, choose ‘Open’ and locate the ‘muesli.psd’ file before opening it up.

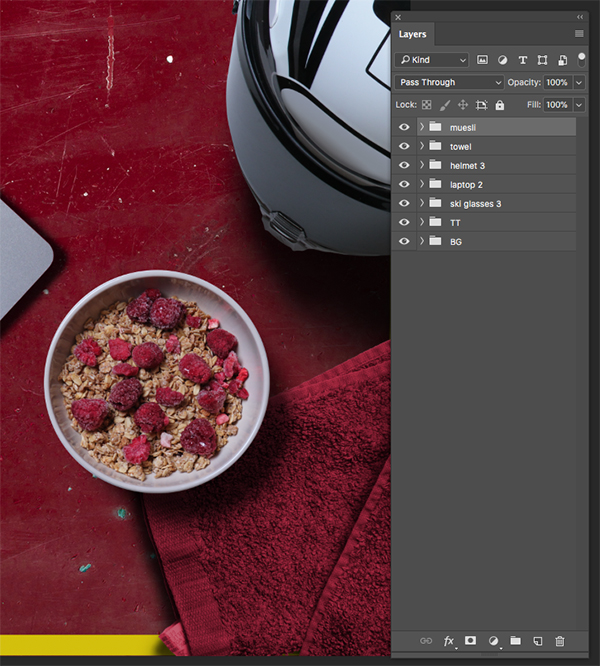
Click and drag the folder from the ‘muesli.psd’ file into your document and position the bowl of cereal on top of the corner of the towel as shown below:
Step 17: Drink Plenty of Water
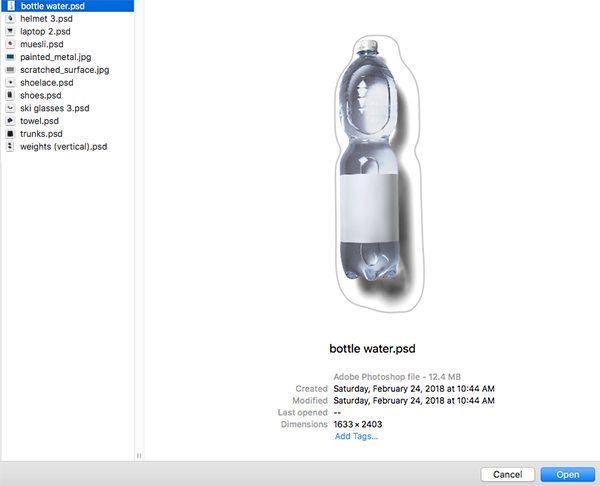
Return to the ‘File’ menu, choose ‘Open’ and now locate the ‘bottle water.psd’ file before choosing ‘Open’ from the lower right to open the file.
Drag the folder into your main document and place the bottle of water on top of the towel along with rotating it slightly so only part of the label is visible. After positioning the bottle we will then grab our Brush Tool (B) and make sure that we have a soft round brush with an opacity of ’20%’. One more option we need to check is to make sure that our foreground color is solid black. You can reset your default colors at anytime by pressing ‘D’ on the keyboard, and then using the ‘X’ key to toggle between the foreground and background colors until the foreground color is black.
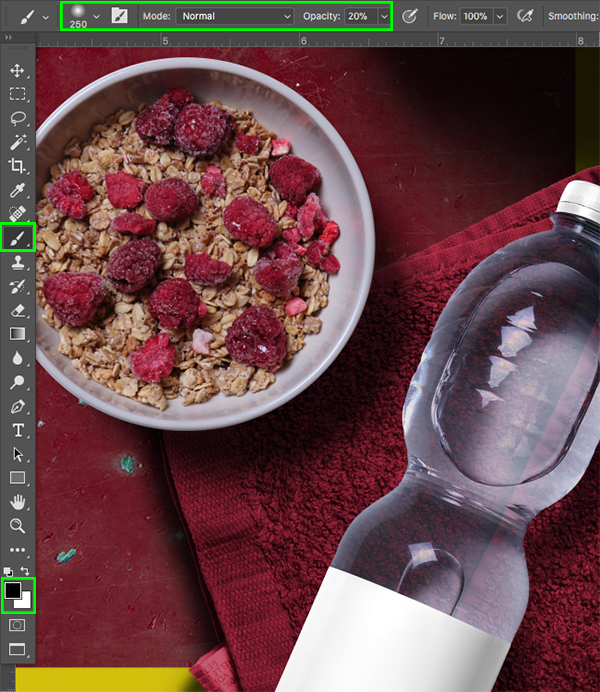
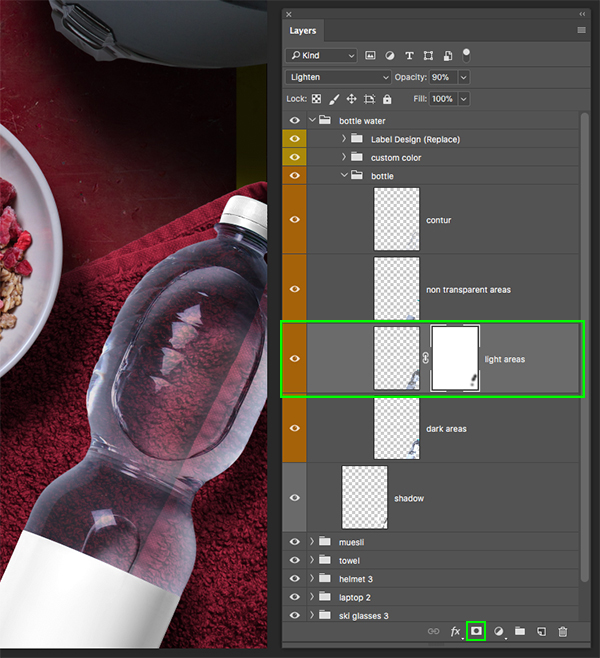
What we want to do now is open the main ‘bottle water’ folder and then inside of that open the ‘bottle’ subfolder. Within this folder there is a layer called ‘light areas’ which we will click on before adding a mask by clicking on the ‘Add layer mask’ icon at the bottom of the Layers Palette. Once you have done that, use your Brush Tool (B) to gradually brush out some of the very light areas while your mask is active in order to allow more of the towel beneath to show through.
Once we have brushed out some of the lighter areas to make the bottle more transparent, let’s add a custom label to our bottle. Still inside of the main ‘bottle water’ folder, let’s now go to the subfolder called ‘Label Design (Replace)’ and find the ‘label (replace)’ Smart Object.
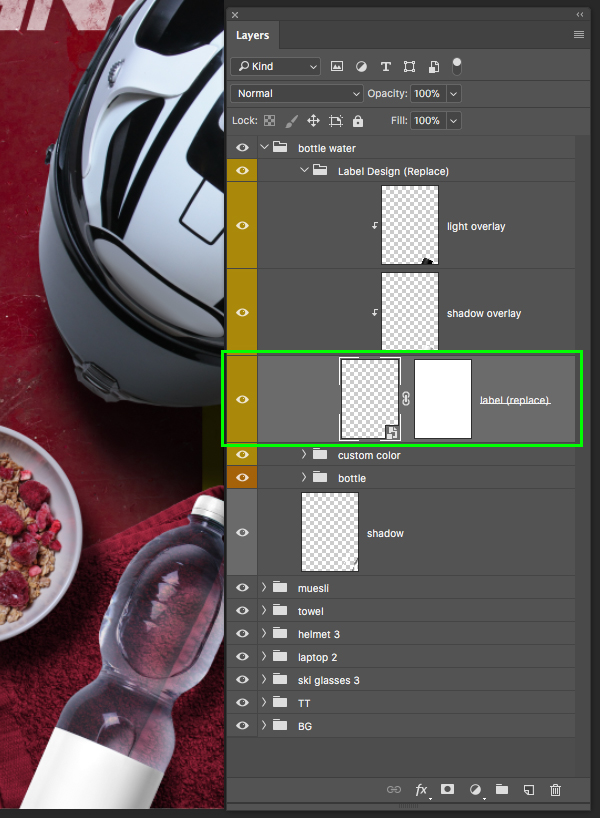
In order to update the label we simply need to double click the Smart Object and then a new window will appear. Let’s return to our main document and select the ‘BG’ folder, hold the Command/Ctrl Key and then select the ‘TT’ folder so they are both selected together. We will now drag these two folders into the new window and position them so the title treatment is large and cropped off at the ’T’ and the first ’S’ in ‘fitness’ before pressing Command/Ctrl+S to save the file. Once the file has finished saving you can return to your main document and your label should now be updated.
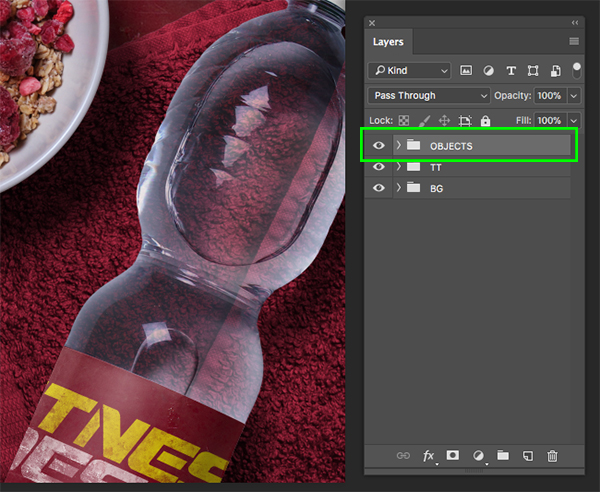
Step 18: Grouping Objects
Now that we have brought in some interesting objects let’s select the very top folder, which in this case should be the ‘bottle water’ and then hold the Shift Key and click on the bottom object. You should now have all of your sporty objects selected at the same time as shown here:
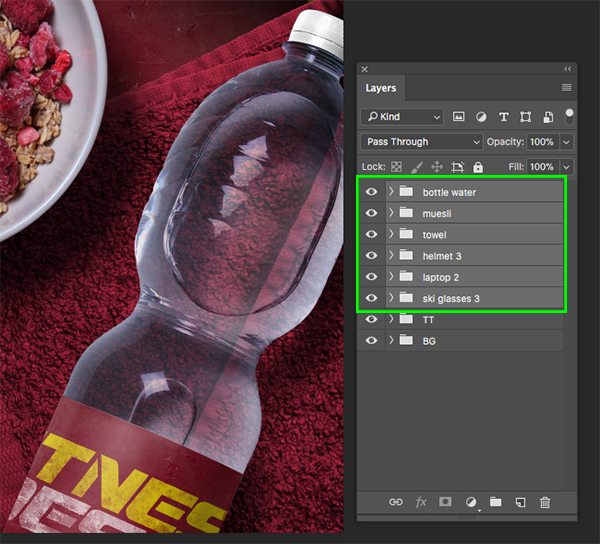
With all of your objects selected, press Command/Ctrl+G to place them into a new folder and double click the ‘Group 1’ text to change the name of the folder to ‘OBJECTS’ as shown below:
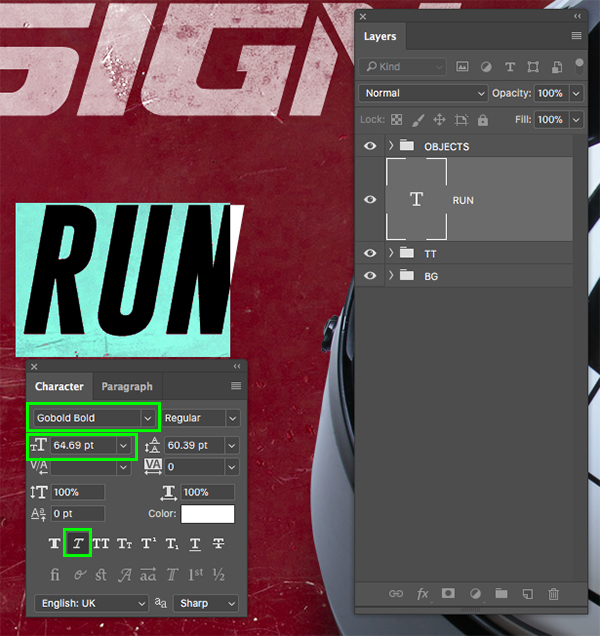
Step 19: Cover Stories
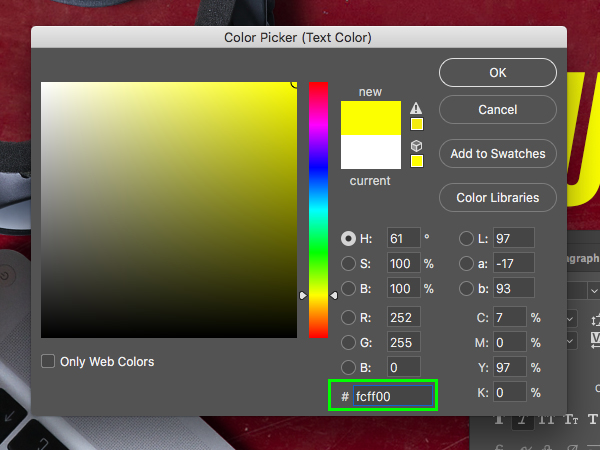
We will now work on adding some cover stories to our magazine cover to tell readers what they can expect to find inside. To do this, let’s start off by creating a new layer just below the ‘OBJECTS’ folder and then switching to our Type Tool (T). Type out the word ‘RUN’ in all caps using the Gobold Bold typeface which is another free typeface you can download from DaFont. Using our Character Panel, let’s make sure that our text is about ’64.69 pt’ and we will also want to check off the ‘Faux Italic’ option to add a bit of a slant to our type.
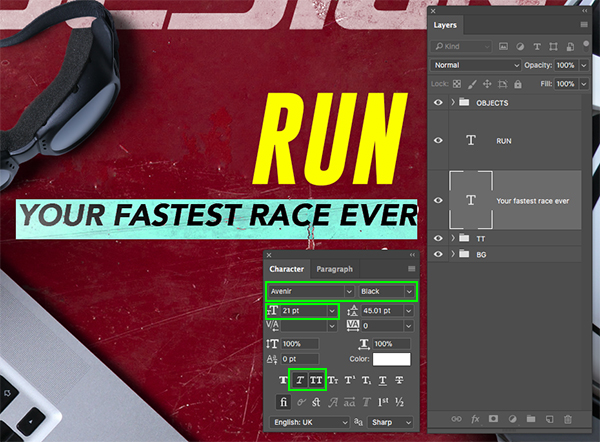
Let’s then go ahead and change the color by clicking the swatch in the Character Panel and entering the hex value ‘#FCFF00’ as shown below:
Add another new layer below this one and type out ‘YOUR FASTEST RACE EVER’ using a simple, sans serif typeface such as ‘Avenir’ or ‘Gotham’. Here my text is solid white, ’21 pt’ sized, and has the ‘All Caps’ and ‘Faux Italic’ options selected.
Step 20: Additional Stories
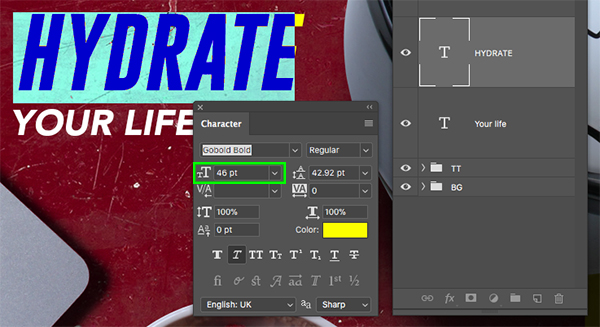
Select your ‘RUN’ text, hold the Shift Key and select the subhead below it. Press Command/Ctrl+J to duplicate both of these layers and then press Command/Ctrl and the left bracket key two times to place these two copies below the originals. We will now take both of our newly duplicated text layers and press Command/Ctrl+T to initiate a Free Transform. From here, hold the Shift Key and slide the layers down so they are a bit lower in the layout. Switch back to your Type Tool (T) and change the ‘RUN’ text to instead say ‘HYDRATE’ and change the size of the text to ’46 pt’. The next thing we want to do is just change the subhead text to read ‘YOUR LIFE’ as shown here:
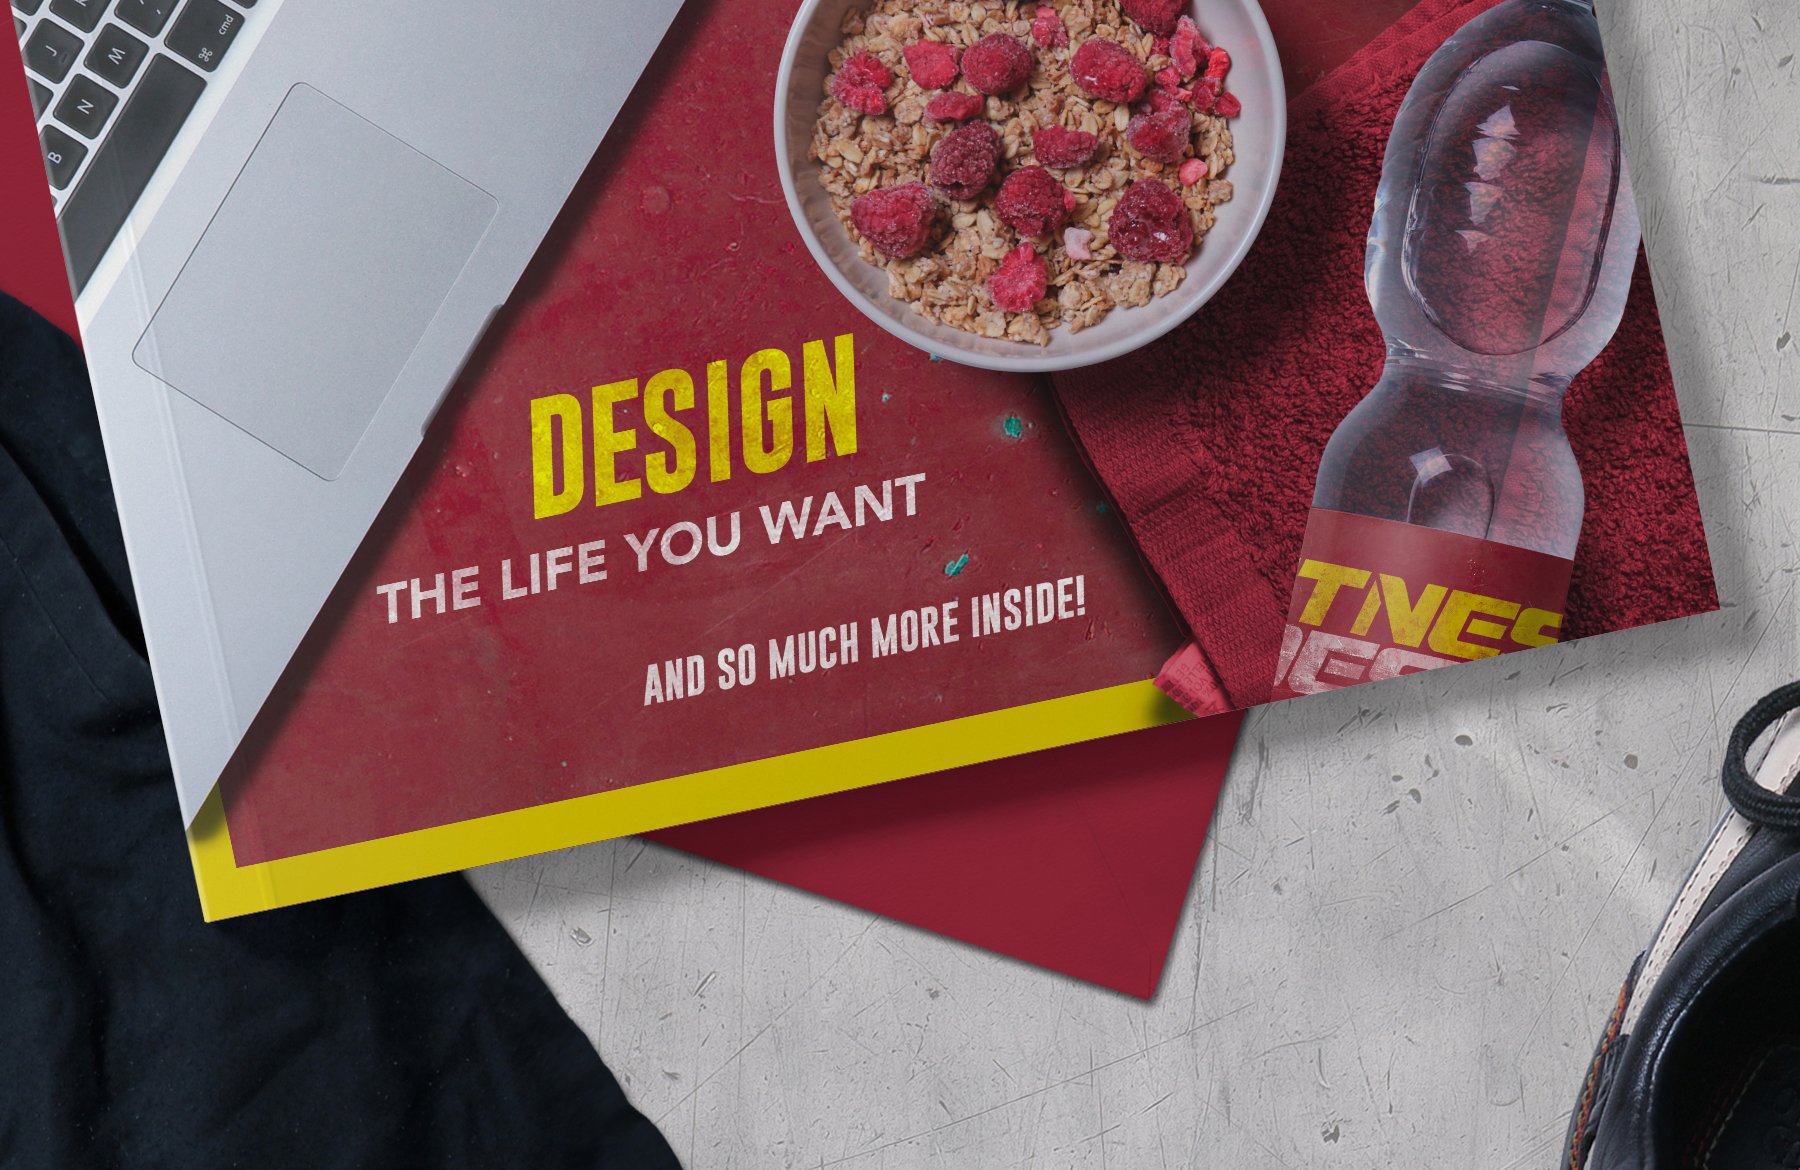
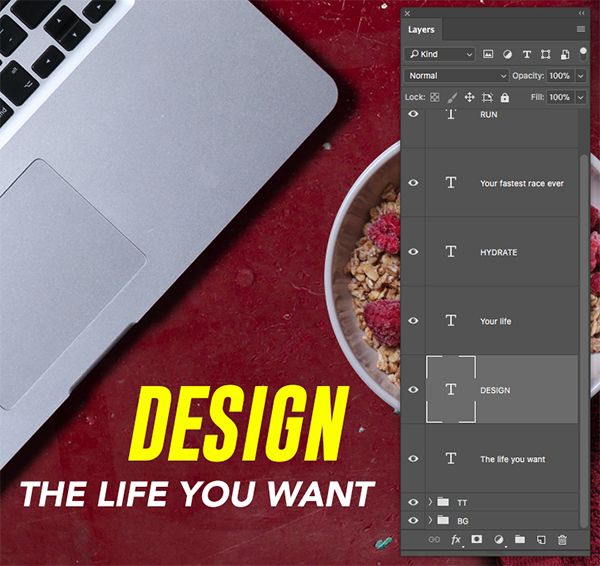
Now we will select the ‘HYDRATE’ layer, hold the Shift Key and then select the ‘YOUR LIFE’ text below. Once again, press Command/Ctrl+J to duplicate both layers and move them down in the Layers Palette by using the shortcut Command/Ctrl and the left bracket on your keyboard. We now want to take both of these text layers and place them towards the bottom of the layout so they fit nicely between the laptop and the cereal. Here we will change the yellow text to read ‘DESIGN’ and the subhead to ‘THE LIFE YOU WANT’.
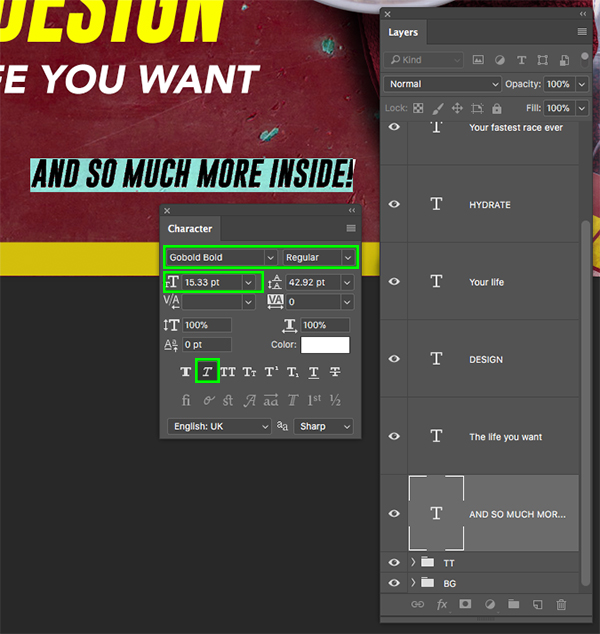
Next, select the ‘DESIGN’ text layer and press Command/Ctrl+J once again to duplicate it. Move this layer down in the Layers Palette and then slide it down to the bottom of the layout. Select the text with your Type Tool (T) and change the color back to white, the size to ’15.33 pt’, and leave the ‘Faux Italic’ box checked off. We want to change this text to read ‘AND SO MUCH MORE INSIDE!’ and make sure to leave a comfortable amount of space around the text so it doesn’t crowd the edges.
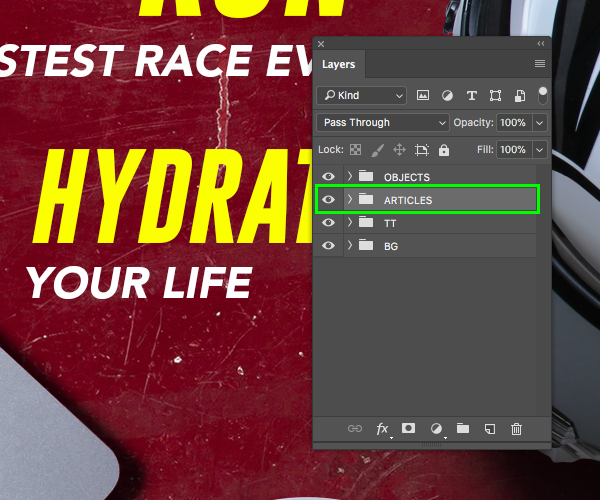
Step 21: Article Group
Select the top text layer which, in this case should be the ‘RUN’ text, and then hold the Shift Key and select the bottom text layer which is the ‘AND SO MUCH MORE…’ text.
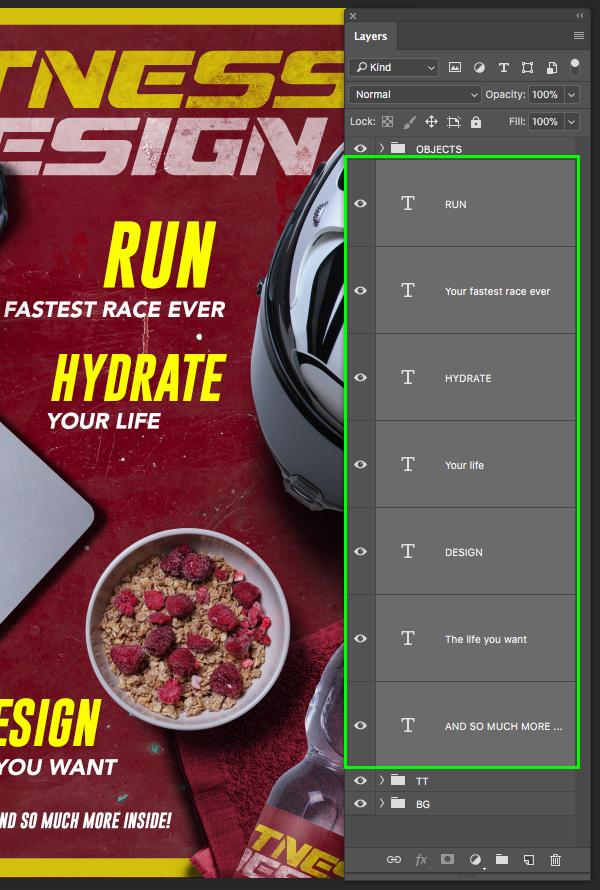
With all of your text layers selected together, press Command/Ctrl+G to place them into a new folder. Double click the ‘Group 1’ text and change the name of this new folder to ‘ARTICLES’ as shown in the image below:
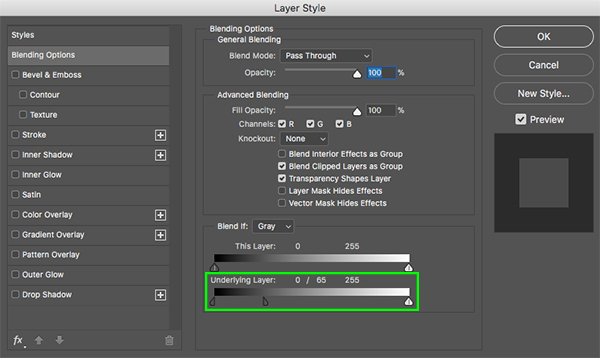
Step 22: Blending Options
Double click on the ‘ARTICLES’ folder to open the Layer Style panel and we will once again split the left tab of the ‘Underlying Layer’ section by holding Alt/Option and moving the right portion of the tab over to the right until it’s set to about ’65’. Once you have done that, go ahead and press ‘OK’ to apply the change and close out of the dialog box.
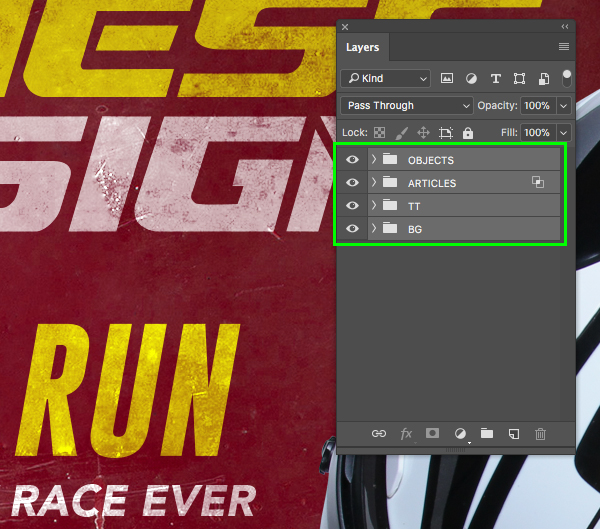
Step 23: Bringing It All Together
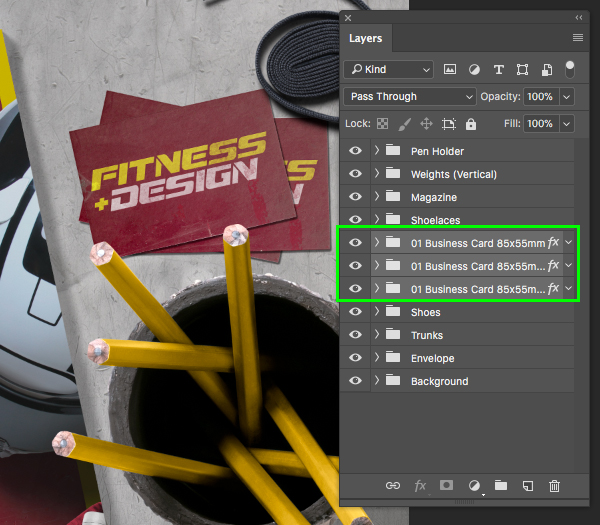
You should now have four main folders in your Layers Palette. Select the top folder, hold Shift, and then select the bottom group folder so they are all selected at once.
With your four folders selected, press Command/Ctrl+J to duplicate them all.
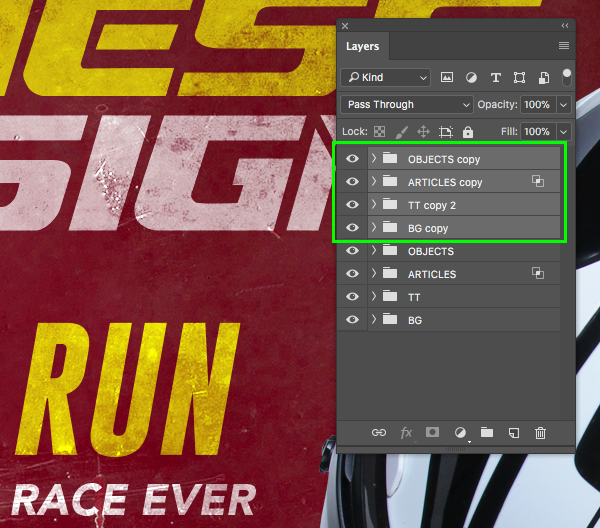
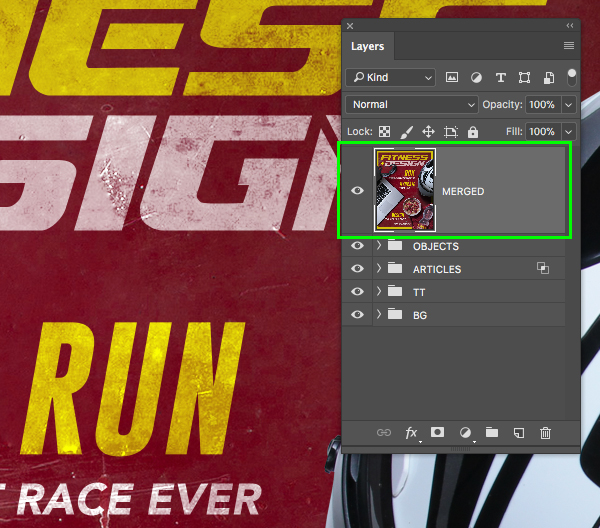
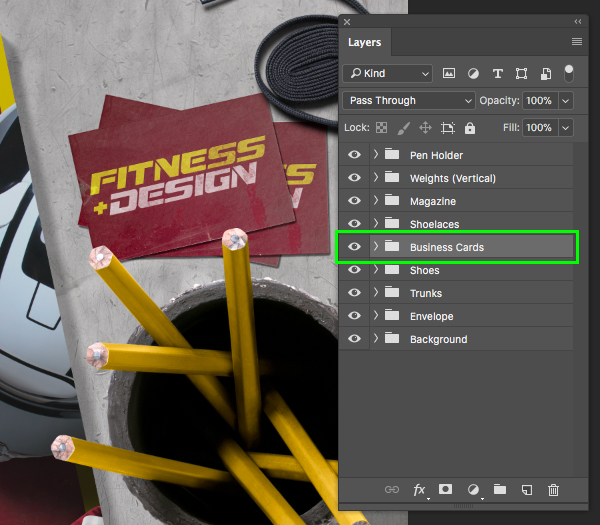
With the four duplicate folders still highlighted together in your Layers Palette, press Command/Ctrl+E to merge them all together and then double click to change the layer name to ‘MERGED’ as shown below:
Step 24: Mocking It Up
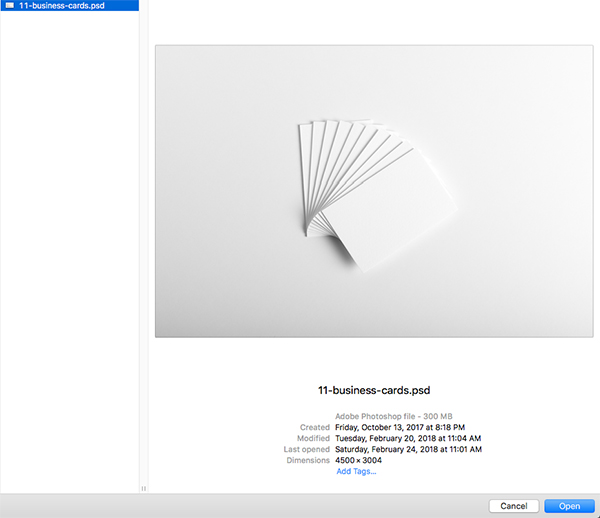
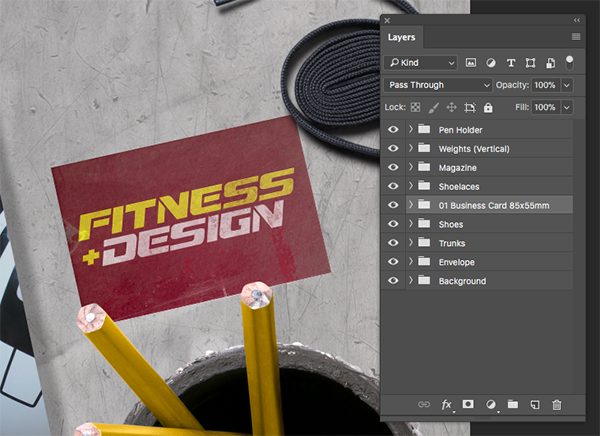
We can now navigate to the ‘Magazine-3-0°-B8-1-1.psd’ file from Zippy Pixels in the freebie folder for this tutorial and open it in Photoshop. This will serve as the base for the rest of our mockup as we build out a branded scene.
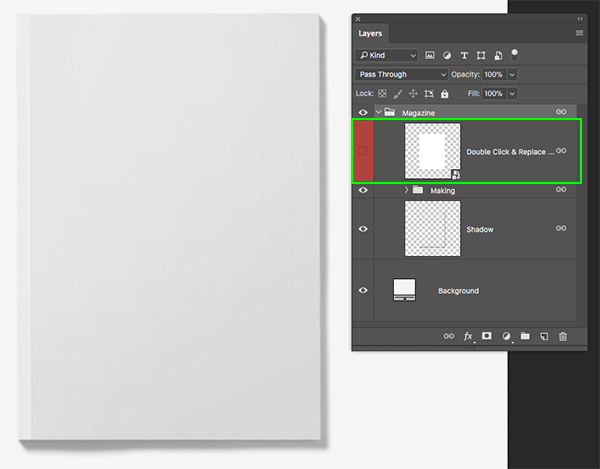
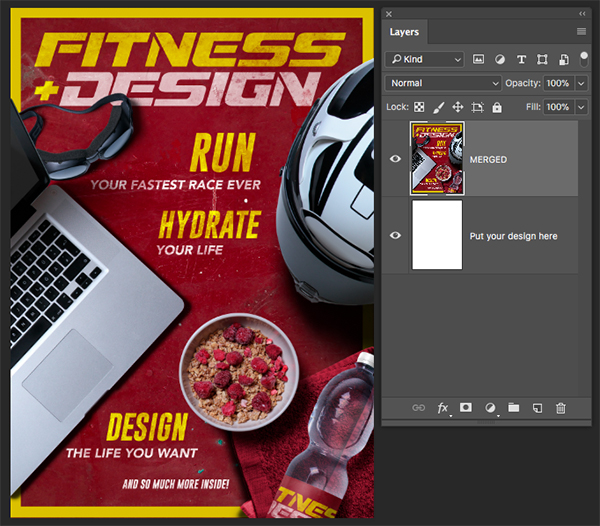
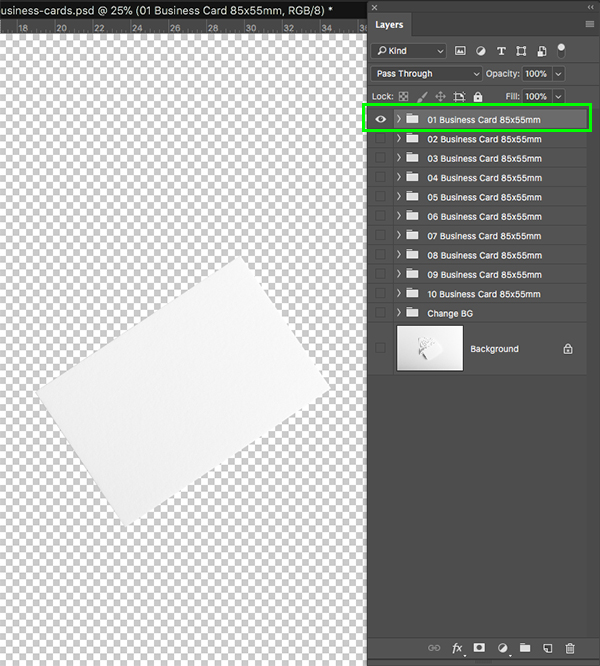
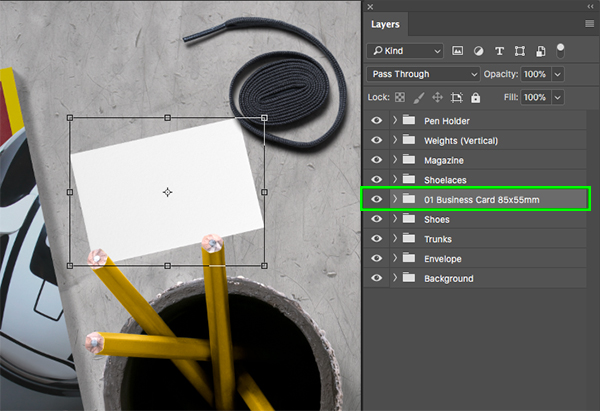
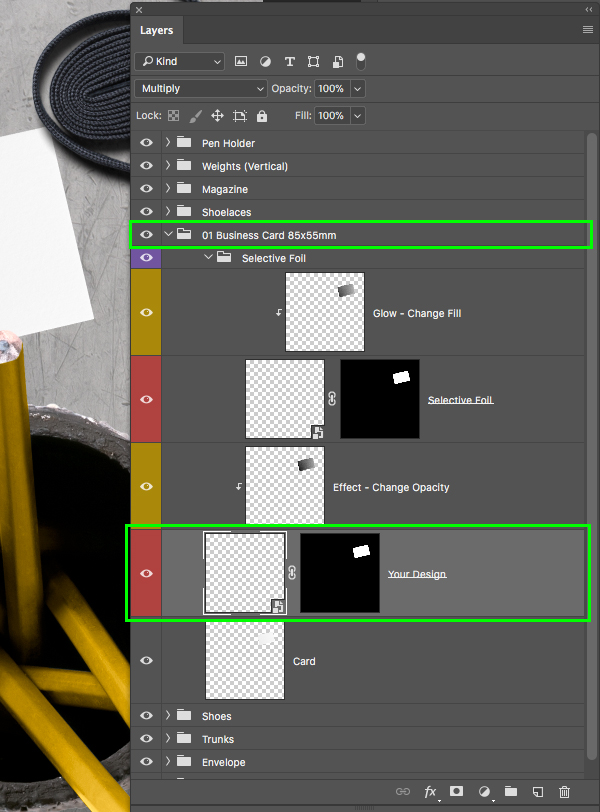
Once the PSD file has opened, click the small arrow next to the ‘Magazine’ folder to reveal the contents. Inside you should see a layer at the very top that will be highlighted in red. This is a Smart Object layer with the visibility turned off, and in order to place our magazine cover into the mockup we will first need to double click this layer to open it in a new window. After double clicking on the layer you will see a new document with a single layer that says ‘Put your design here’ so all we have to do now is drag our merged cover into this file while holding the Shift Key and it will fit perfectly into place. After that, go ahead and hit Command/Ctrl+S to save the file and then Command/Ctrl+W to close out of the window.
After updating and saving the Smart Object layer you can come back to your main mockup file and you should now see your cover fitting nicely into place on the magazine mockup like the image below:
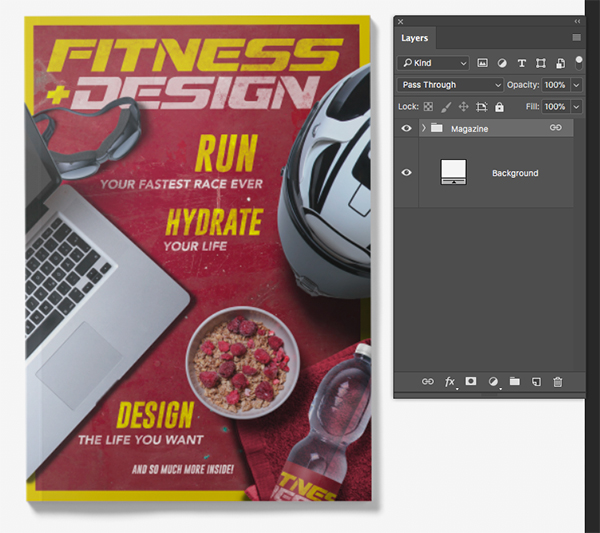
Select the ‘Magazine’ folder and press Command/Ctrl+T to initiate a Free Transform. Next, click and drag outwards from any of the four corners of the bounding box to scale it up slightly and then move your cursor over any of the corners to rotate the magazine counter clockwise about 15 degrees or so. Use the image below as a reference for the size and placement of the cover in the mockup.
Step 25: Adding Some Texture
Next, go to the ‘File’ menu and choose ‘Place Embedded…’ from the menu.
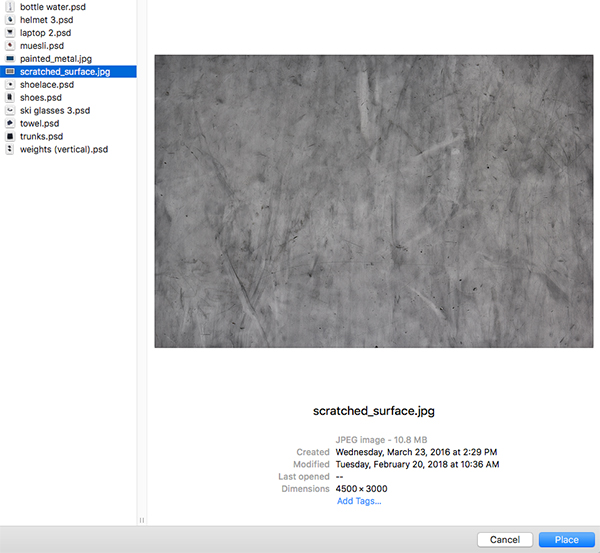
Navigate to the ‘scratched_surface.jpg’ file from the h3design freebies folder and then choose ‘Place’ from the lower right.
Once your texture appears, hold the Alt/Option+Shift Keys and drag outwards from any of the four corners to scale the texture up until it completely covers the canvas.

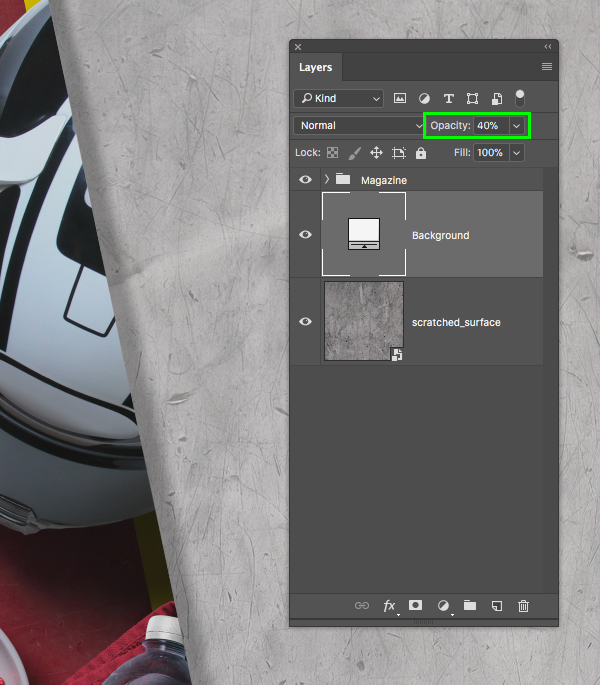
Click and drag the texture down to place it at the bottom of the layer stack and then select the ‘Background’ layer which is filled with solid white. From here, press the number ‘4’ on your keyboard or manually move the ‘Opacity’ slider down to ’40%’ as shown here:
Select the ‘Background’ layer, hold the Shift Key, and then select the texture layer below so they are both selected simultaneously. Once you have done that, press Command/Ctrl+G on the keyboard to put them into a new folder and double click the ‘Group 1’ text to rename the folder ‘Background’.

Step 26: Sending Envelopes
Go to the ‘File’ menu and open the ‘Envelope-1-Back-Open-90°-A19-1-3.psd’ file from Zippy Pixels.
Click and drag the folder into your main document, place it below the magazine layer, and then use the Free Transform (Command/Ctrl+T) to rotate and place the envelope like the image shown here:

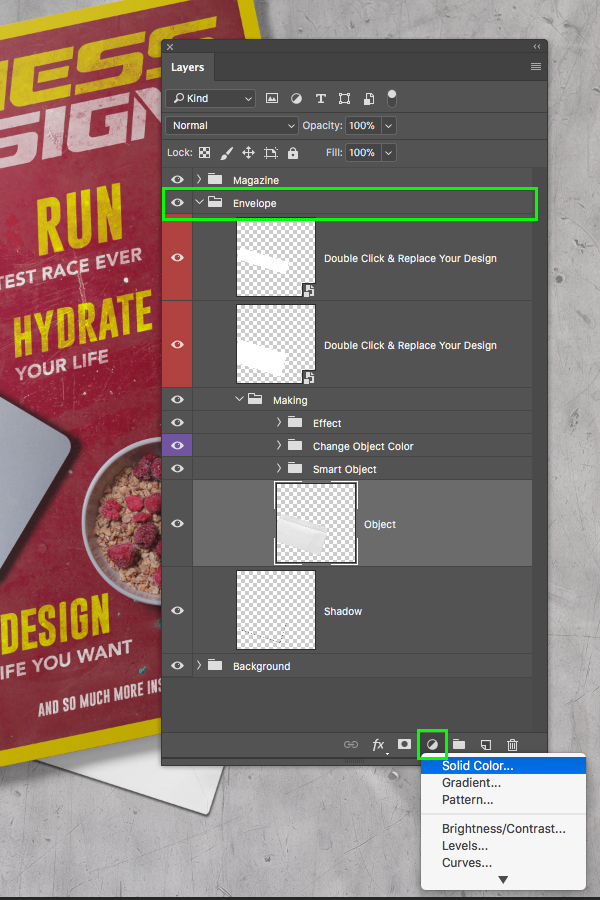
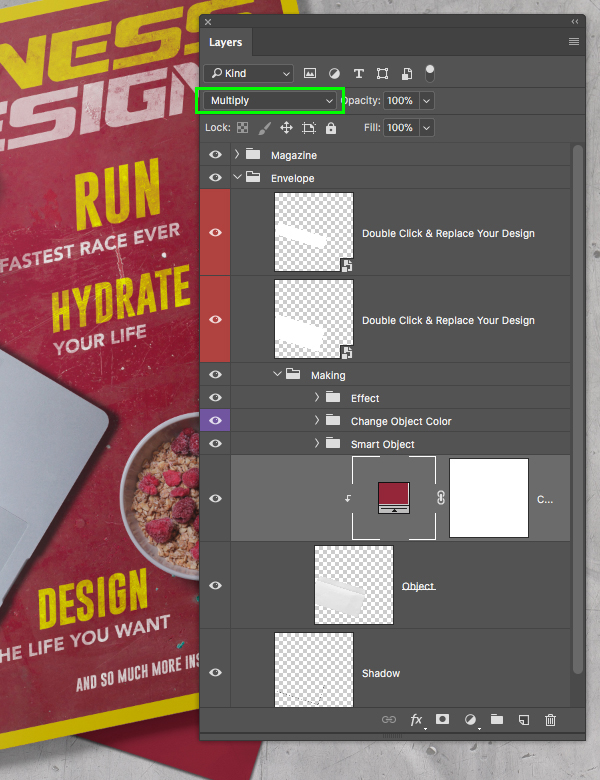
Click the arrow of the ‘Envelope’ folder to reveal it’s contents and then navigate down to the ‘Making’ subfolder. Inside of this folder you will see the main envelope on the ‘Object’ layer. Select this layer and then click the Adjustment Layer icon at the bottom of the Layers Palette while holding the Alt/Option Key and then choose the ’Solid Color…’ layer as highlighted below:
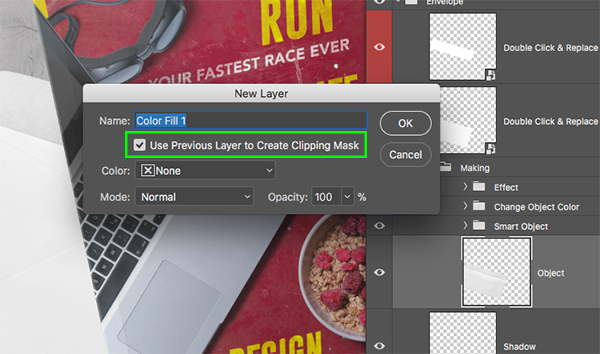
You will then be prompted with a ‘New Layer’ dialog box where you’ll want to be sure to check off the option that says ‘Use Previous Layer to Create Clipping Mask’ and then click ‘OK’ to proceed.
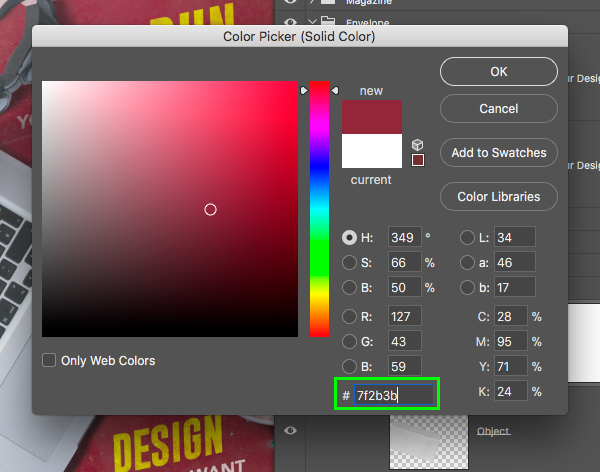
For the fill color let’s enter a hex values of ‘#7F2B3B’ as snd then click ‘OK’ once again.
You will now have a Clipping Mask applied to the layer ensuring that it will only effect the layer directly below it. From here, change the Blend Mode of the Adjustment Layer to ‘Multiply’ as shown below:
Step 27: Trunks
Go to the ‘File’ menu and open the ‘trunks.psd’ file from the h3design freebies folder.
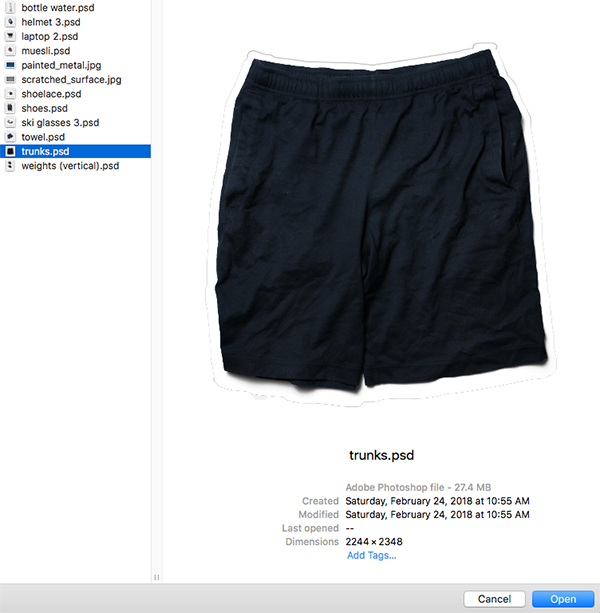
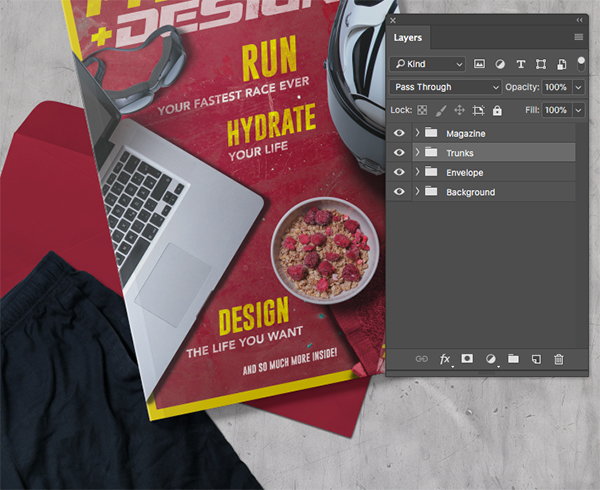
Drag the trunks into your file and place them just below the ‘Magazine’ folder in your Layers Palette. Use the Free Transform to rotate and position the trunks so they overlap the envelope in an interesting way, helping to add depth between the magazine and background.
Step 28: Grab Your Shoes!
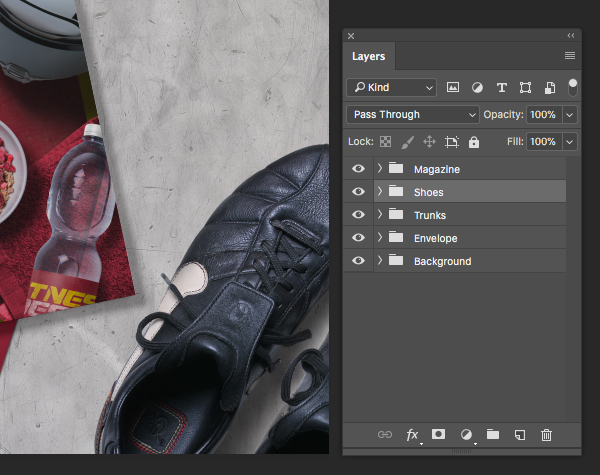
Go to the ‘File’ menu and open the ‘shoes.psd’ to bring it into the file.

Place the shoes in your main document below the ‘Magazine’ folder and the ‘Trunks’ folder from the previous step. Position and rotate the shoes a bit in the lower right corner.
Step 29: Laces
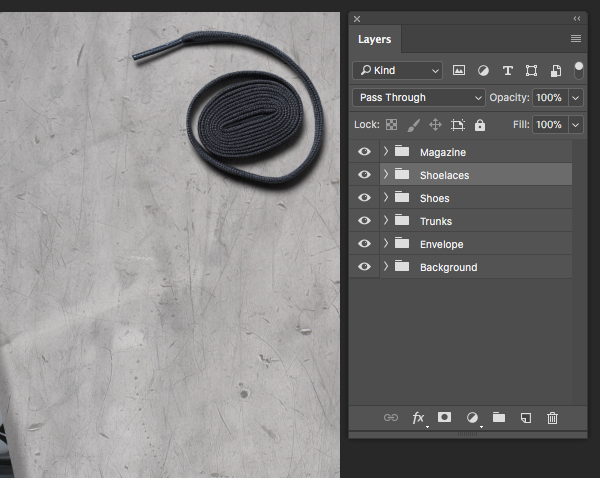
Go to the ‘File’ menu and open the ‘shoelace.psd’ .
Bring the laces into your main file and place them in the upper right corner as shown in the image below:
Step 30: Heavyweights
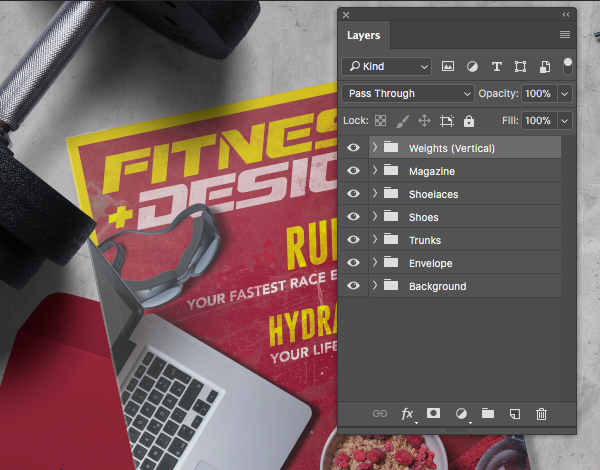
Return to the ‘File’ menu and choose ‘Open’ before navigating to the ‘weights (vertical).psd’ file and opening it.
Place the dumbbell in the upper left corner so that most of it is cropped out of the frame. Make sure to place this layer above the magazine layer so the shadow lays on top of it.
Step 31: Hold The Pen
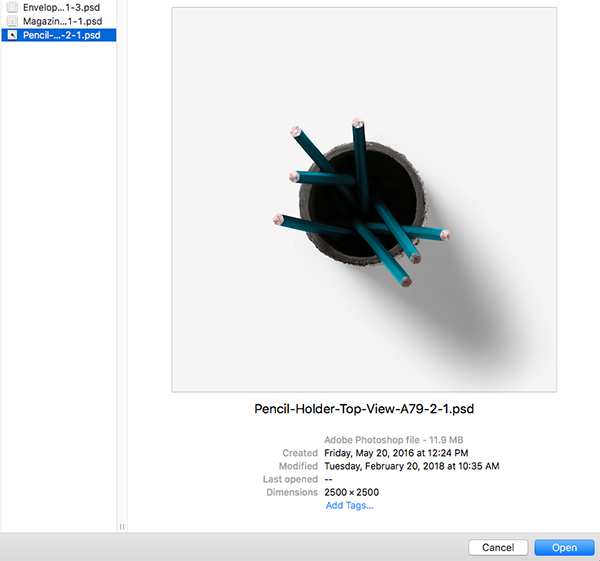
Go to the ‘File’ menu and open the ‘Pencil-Holder-Top-View-A79-2-1.psd’ file.
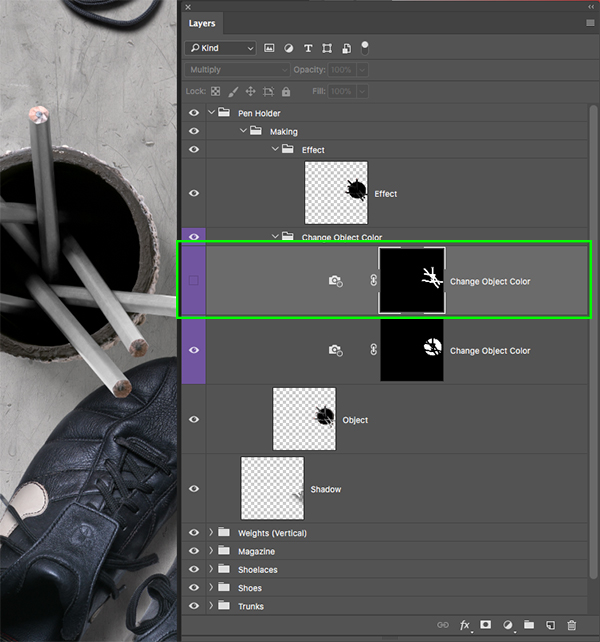
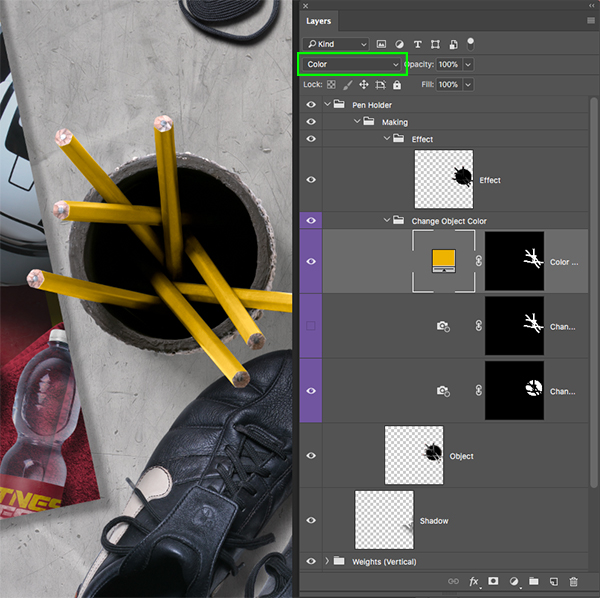
Bring the pencil holder into your mockup and place it a bit higher than the shoes so a few of the scattered pencils can overlap. After that, click on the folder next to the main ‘Pen Holder’ folder to reveal the layers within. From here, click the ‘Making’ subfolder and then ‘Change Object Color’. Inside this folder the top layer is a Photo Filter that we want to turn off. This is important because it will turn off some of the color effects to help us create a more convincing color overlay in the next step.
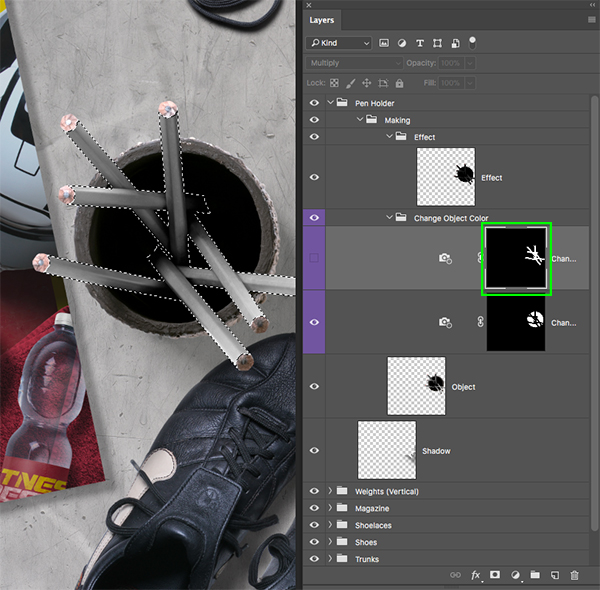
Once you’ve turned the visibility of this layer off, hold the Command/Ctrl Key and click on the black and white layer mask thumbnail icon to activate a selection using the mask from this layer.
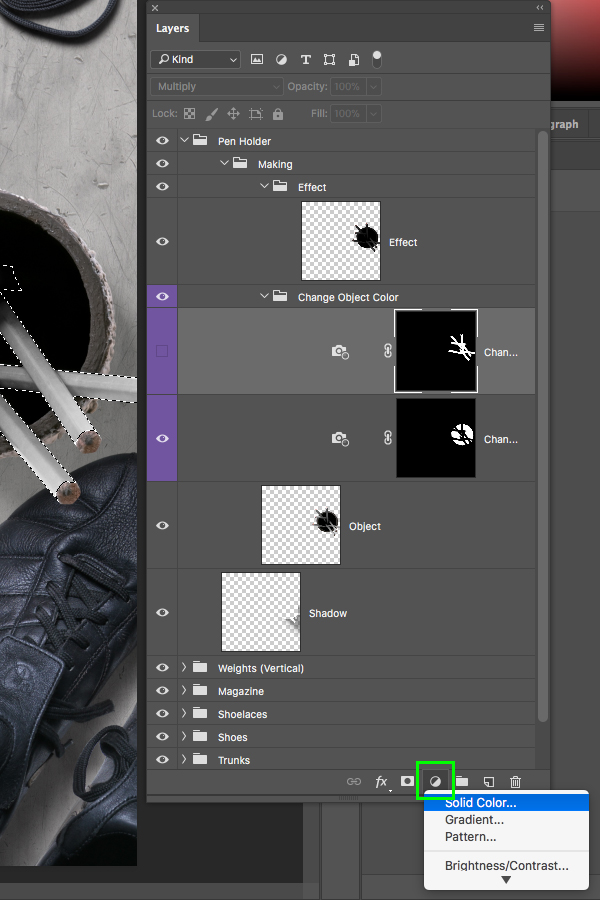
While your selection is still active, go to the Adjustment Layer icon at the bottom of your Layers Palette and choose ‘Solid Color…’ from the list that appears.
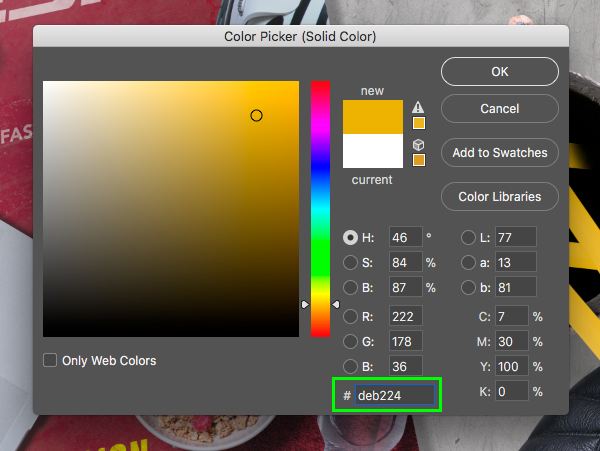
For the hex value, enter ‘#DEB224’ as shown here:
Your Solid Color Adjustment Layer should now have the same mask applied to it as the Photo Filter below, but we still want the Photo Filter layer to be turned off.
Every object I drop into my document has a white background and no easy way of getting rid of it. Your tutorial doesn’t mention or show that problem. Sure seemed cool, but a complete waste of my time =/
Thanks so much for reaching out to us A, and I am really sorry to hear that you are seeing white backgrounds when adding in your freebie elements to yoru designs. If you open these elements onto a blank page, these may show a white outline surrounding the shadow layer of your psd files, however once these are layered onto a coloured background, the white should not be visible, so my apologies if this is possibly the case for you.
I would be happy to help you further through these tutorial steps to save you from any further hassle. If you do get stuck following along with any of these steps, please do pop us an email and I can definitely help you further with this!
This was excellent – I purchased the bundle and am still unpacking it all so thanks for putting out something fun so soon. I learned a couple of nifty tricks like getting the bottle to become clear. FYI, the towel item doesn’t have a way to easily change the colour like in the tutorial but I managed it anyway with a blending mode workaround.
Great fun and thanks again.
Carolyn
Hey Carolyn,
Thank you so much for the awesome feedback and for purchasing the bundle!
We’re so glad you picked up some new tips and tricks but apologies for any confusion with the towel! We really glad that you enjoyed it though :)
Download link doesn’t work.
Hey KiKi,
We’re so sorry that you are having trouble downloading the freebies!
We aren’t getting any other reports of this, but i’ve popped you over an email to help you with this :)
Show!!!
We hope you liked this one Luiz :)
Thanks for another great tutorial, Eric. I really appreciate how you show keeping your layers very organized. One of your predecessors was also very big on that and now I find that even doing a quick and dirty file, I have to organize the layers! 8-)
The use of the Blend If controls is a great trick, too. It is fun to learn or be reminded of the power of the software.
Thanks also for the shortcut tips you intersperse throughout the tuts. Several of your favorites were new to me but so helpful.
Keep up the good work!
Hey Lois,
Thank you so much for taking the time to leave such awesome feedback for Eric!
We are so happy that you like the latest tutorial he’s done for us and that you’ve picked up some cool new tips and tricks. We cannot tell you how happy we are to hear this and we hope you’ll continue to love following along to our future tutorials too :)
Thanks Lois! This is indeed great feedback and I am also very happy to hear that you were able to pick up a few new tricks along the way. With regards to keeping things organized I will admit that I have a bit of OCD that kicks in sometimes and it makes me want to organize everything in my life! There is nothing worse than having to work on a file that was created by another designer and not being able to find any of the layers you need!