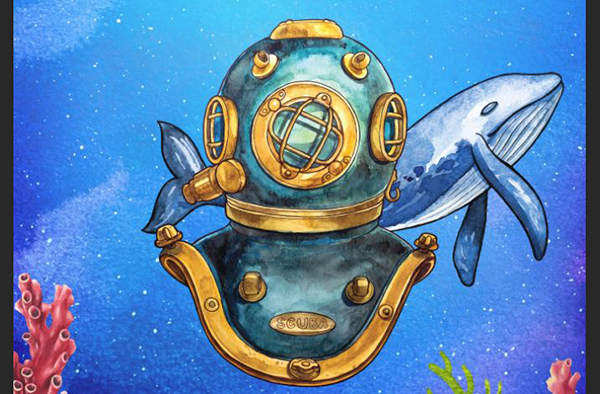
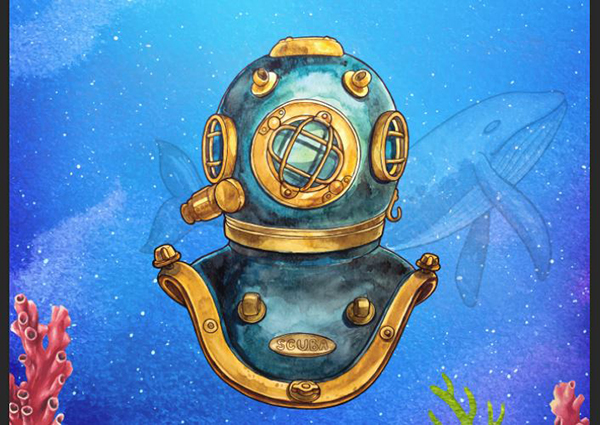
WHAT WE’RE CREATING:
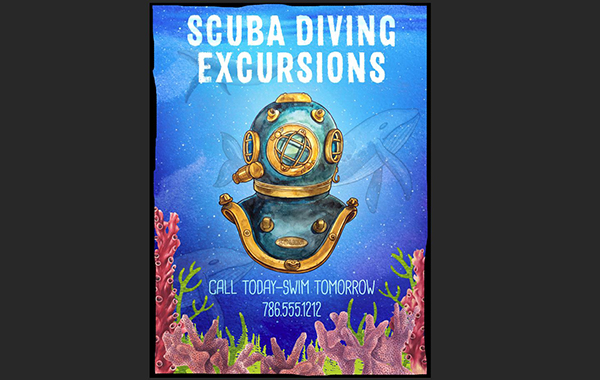
Hello designers! Renee here with a Photoshop tutorial for a scuba excursion poster. We’ll create a fun underwater scene using hand painted vector elements and layering techniques. Please note you will need Adobe Illustrator briefly in this tutorial.
HAVE YOU SEEN OUR YOUTUBE CHANNEL?
Watch the video tutorial below and subscribe to our YouTube channel for regular updates direct to your inbox.
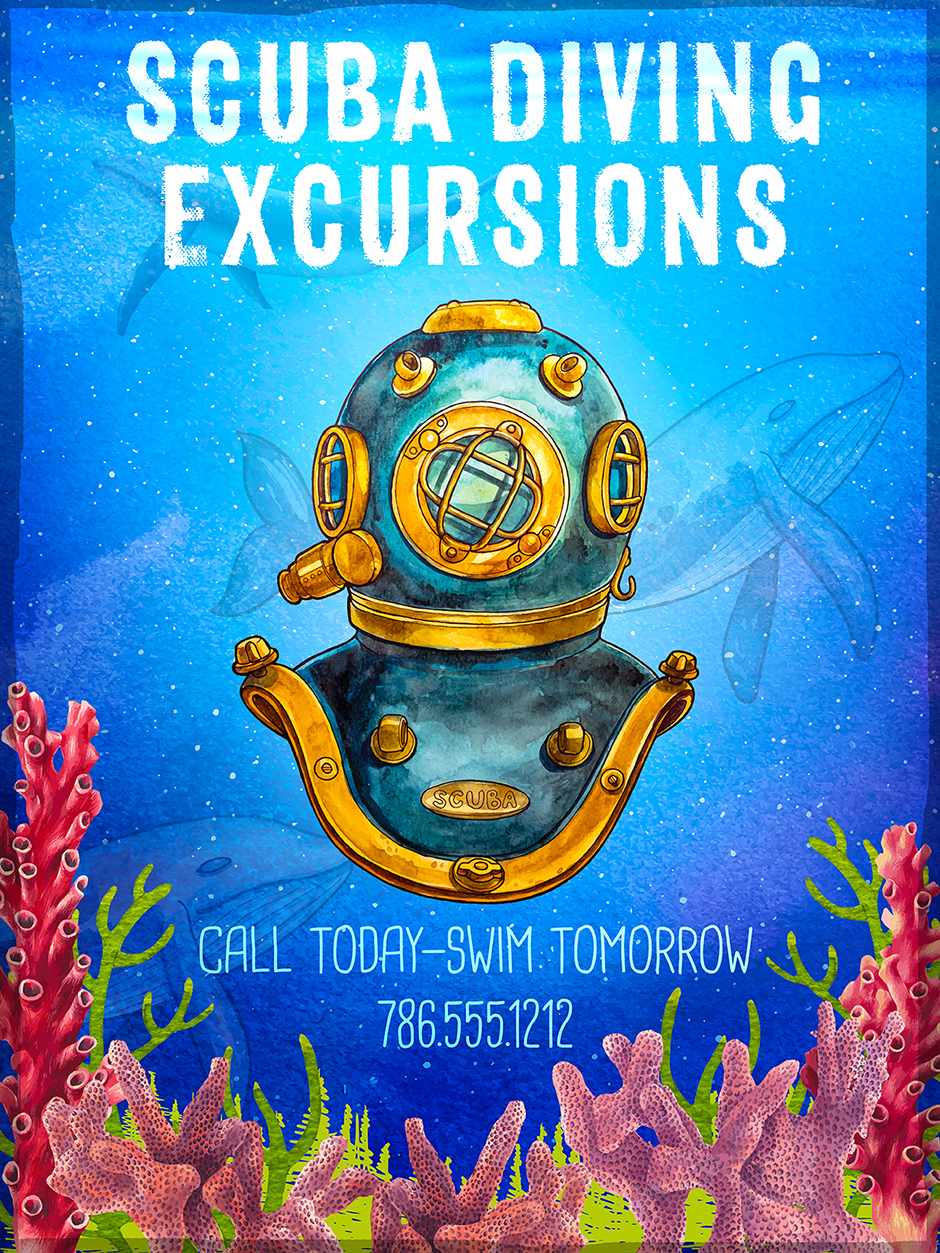
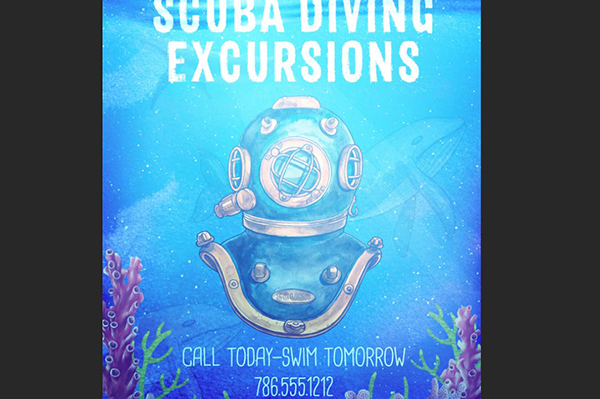
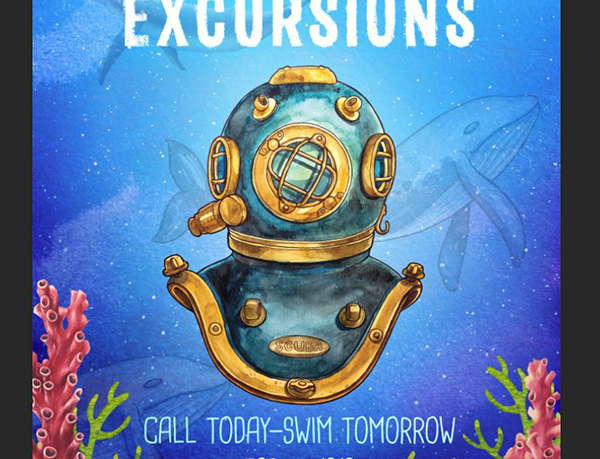
Here’s a look at what we’ll be creating:

Follow along with this tutorial: Download the freebie files
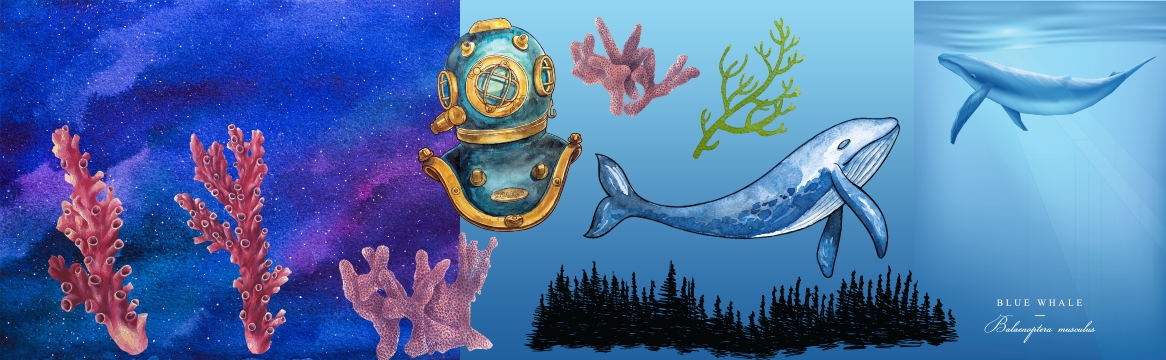
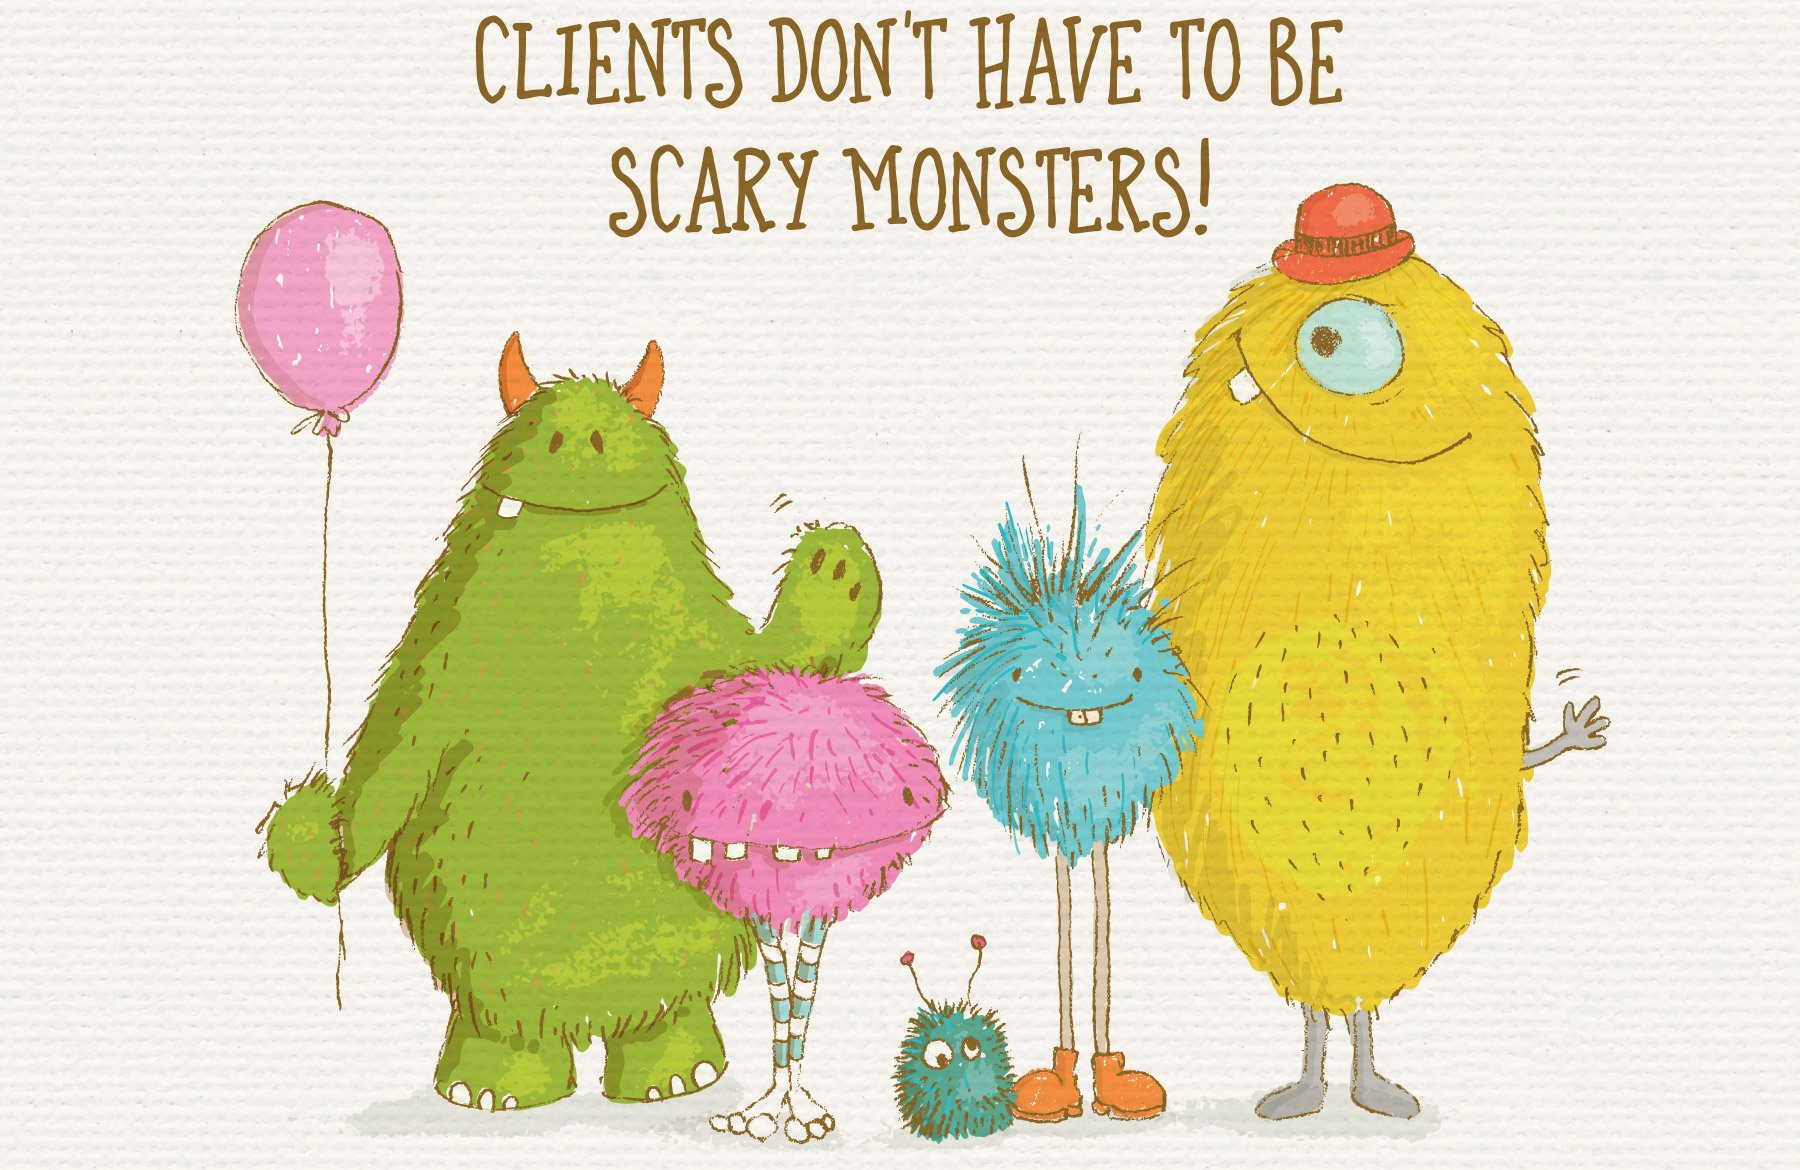
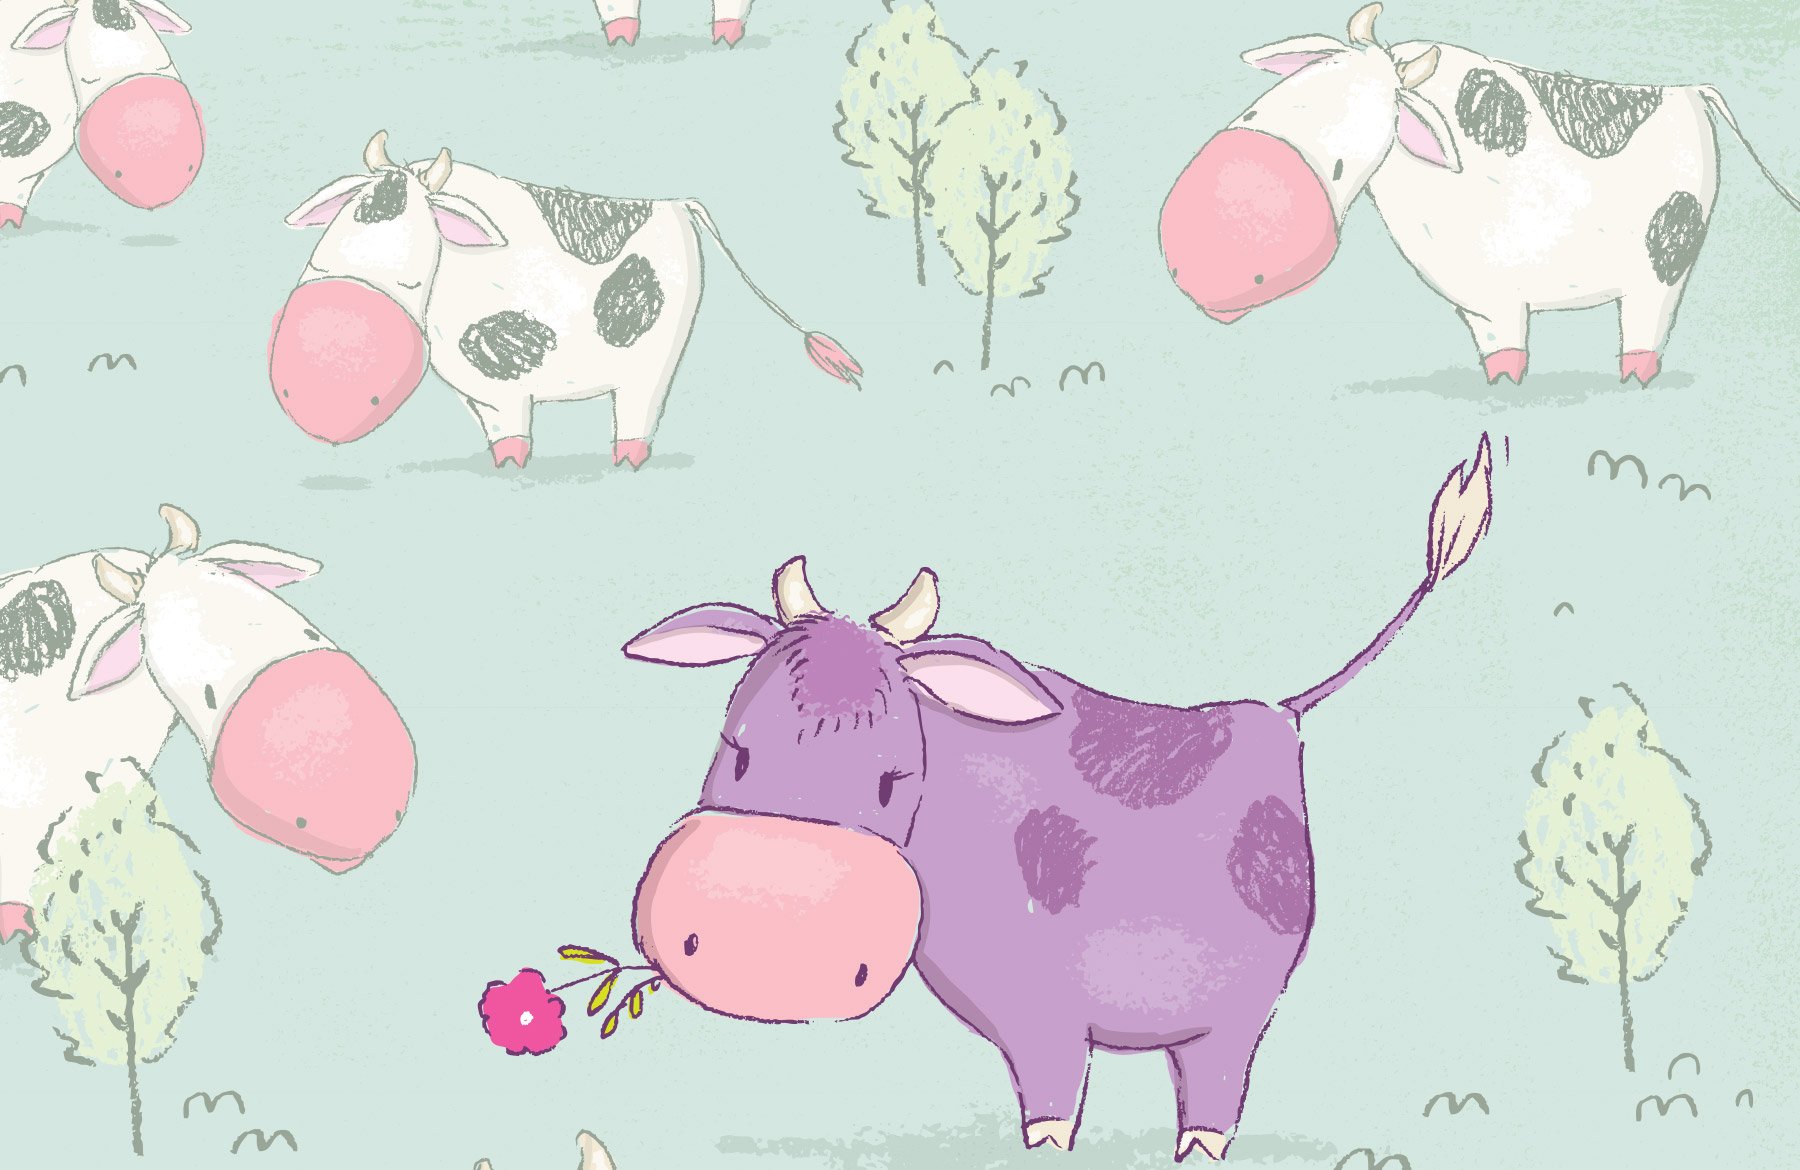
The freebie pack includes beautifully handcrafted resources from Alex Green Art, Build Interactive, Pixel Buddha and Polar Vectors.
This freebie pack is just a hint of the resources available in The Totally Diverse Vectors Collection for just $29 (a whopping 99% off). This bundle brings you an incredibly varied, endlessly versatile collection of professional grade vectors that will ensure you are well equipped for any project that comes your way.
Step 1: Background
Open Photoshop and go to File > New. In the New Document dialog box, enter a width of 18 inches and a height of 24 inches. Set your Resolution to 300 ppi and your Color Mode to RGB.
Click OK to create the document.

Save your file.
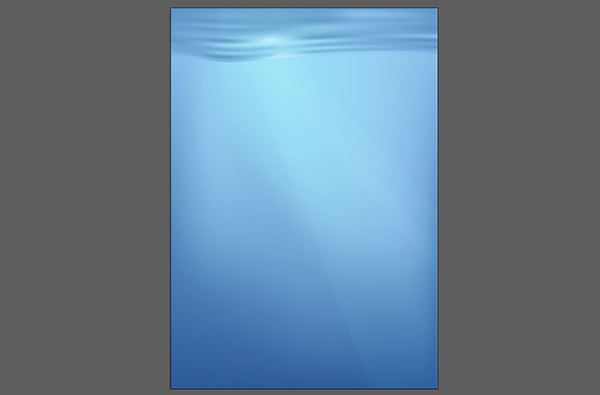
We’ll start with a background image. Go to File > Place Linked. Navigate to the Alex Green Art folder and select galaxy-1. Press Place.
Hold Shift and use the corner handles to increase the size until it fills the entire artboard. Press enter when done.

In Finder (or File Explorer), navigate to the Polar Vectors folder in the freebies and open blue whale.eps in Illustrator.
Use the Main Selection Tool (v) to select the white text at the bottom of the artboard and delete it.
Select the whale and press delete – leaving us with just the ocean and rays of light.
Press Cmd + A to Select All. Press Cmd + C to Copy.
Close the file.
Back in Photoshop, press Cmd + V to Paste on the main layout file.
Hold Shift and use the corner handles to increase the size until it fills the entire artboard. Press enter when done.
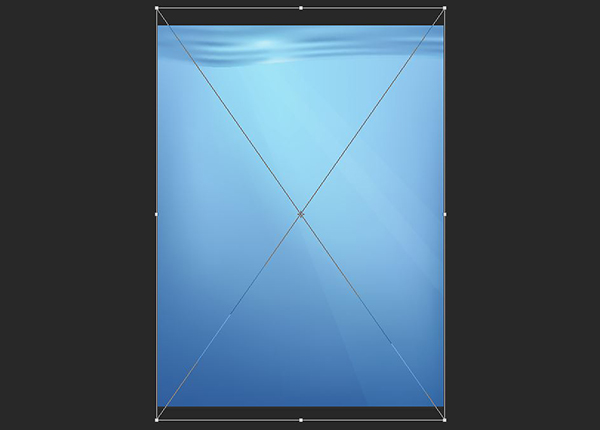
At the top of the Layers palette (Window > Layers), change the Blend Mode from Normal to Hard Light.

Hold Shift and click on the galaxy-1 layer. With both the top layers selected, click the Create A New Group icon at the bottom of the Layers palette. Double click the name of the group, Group 1, and change it to Background.
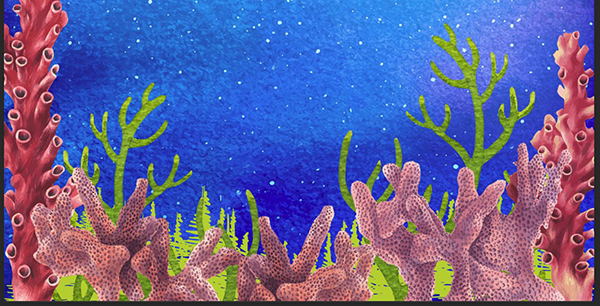
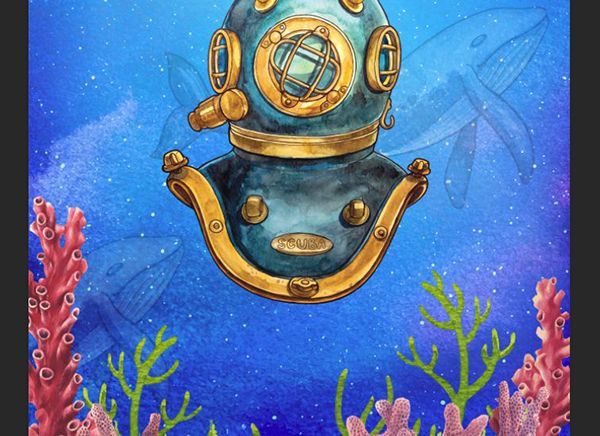
Step 2: Dive Helmet and Coral
Click the Create A New Group icon again. Name the group Helmet and Coral.
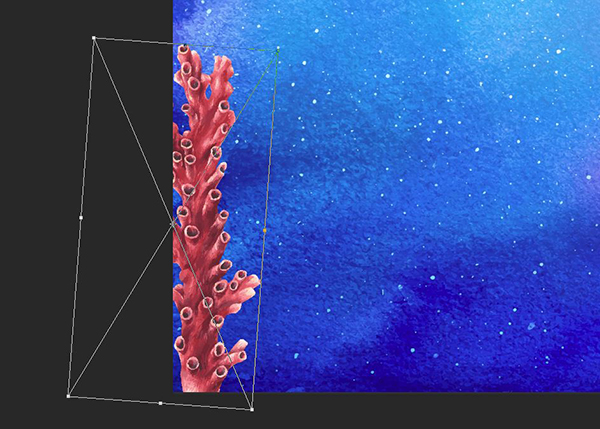
Go to File > Place Linked and navigate to 050.eps in the Pixel Buddha folder. Press Place.
Use the corner handle to rotate the coral to the right slightly—about 4 degrees. Press Enter.
Position so it runs off the bottom left side of the artboard.
In the Layers palette, drag the 050 layer into the Helmet and Coral group.
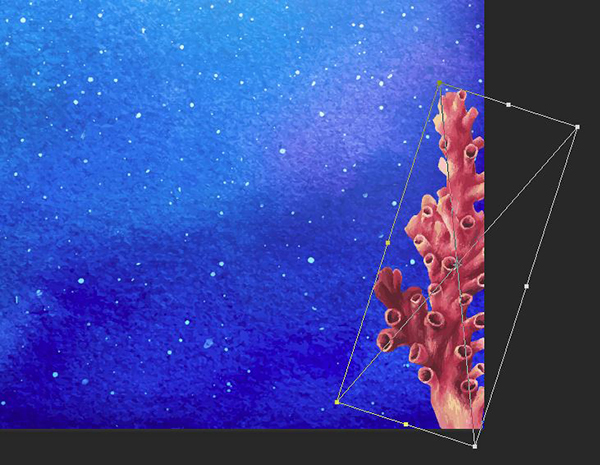
Go to File > Place Linked and select 049.eps in the Pixel Buddha folder. Press Place.
Use the corner handle to rotate the coral to the right 18 degrees. Press Enter.
Position so it runs off the bottom right side of the artboard.
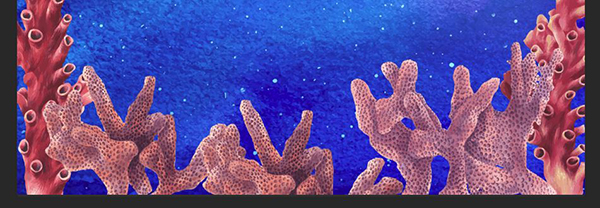
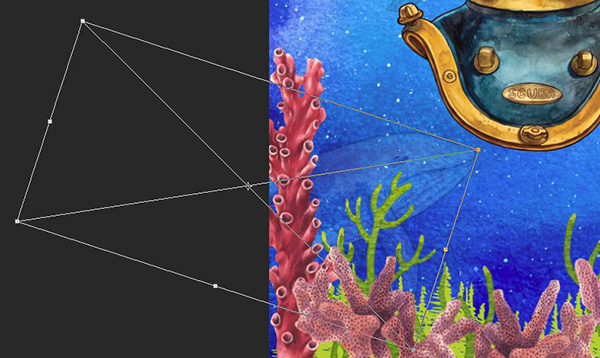
Go to File > Place Linked and select 047.eps in the Pixel Buddha folder. Press Place.
Position on the bottom left side of the artboard, slightly overlapping the tall coral.

Go to File > Place Linked and select 048.eps in the Pixel Buddha folder. Press Place.
Position on the bottom right side of the artboard, slightly overlapping the tall coral.

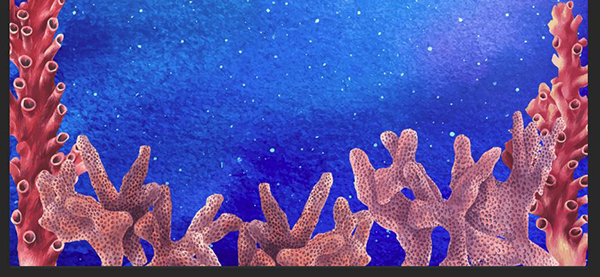
In the Layers palette, select the 047 layer and drag it down to the Create A New Layer icon at the bottom of the palette to duplicate the layer.
On the artboard, use the Move Tool (v) to position the copied coral in the middle of the artboard, slightly lower than the original piece.
Go to Edit > Transform > Flip Horizontal.
Go to File > Place Linked and select plants.eps in the Alex Green Art folder. Press Place.
In the Layers palette, drag the plants layer below the 050 layer.
On the artboard, use the Move Tool to position the plant at the bottom right and to the left of the tall coral.

In the Layers palette, drag the plants layer down to the Create A New Layer icon at the bottom of the palette to duplicate it.
Go to Edit > Transform > Flip Horizontal.
On the artboard, use the Move Tool to position the copied plant to the same relative position on the left side of the artboard, but a bit lower.

Go to File > Place Linked and navigate to mountain-scenes.eps in the Build Interactive folder. Press Place.
Hold Shift and drag the corner handles out until it is the same width as the artboard.
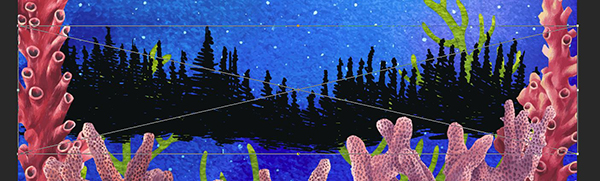
Press Enter.
In the Layers palette, drag the mountain-scenes layer below the bottom plants layer.
On the artboard, use the Move Tool to position the trees at the middle bottom of the artboard.
At the bottom of the Layers palette, click the FX icon and choose Color Overlay.
In the popup dialog box, choose a Blend Mode of Normal.
Double click the color thumbnail. When the Color Picker popup opens, use the Eyedropper tool to select a bright green from one of the plants on the artboard.
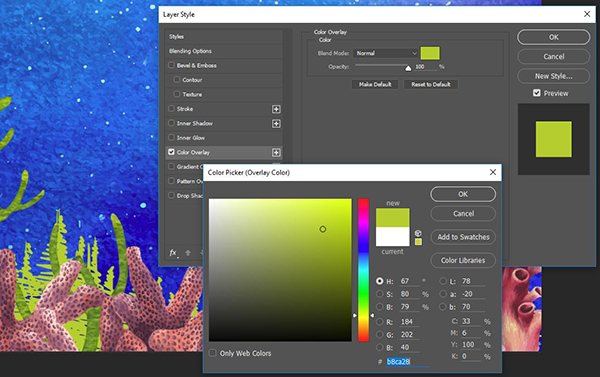
Press OK on the Color Picker, then OK on the Layer Style dialog box.
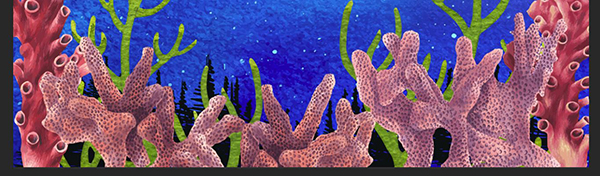
Go to File > Place Linked and navigate to helmet.eps in the Alex Green Art folder. Press Place.
Position right in the middle of the artboard and press Enter.
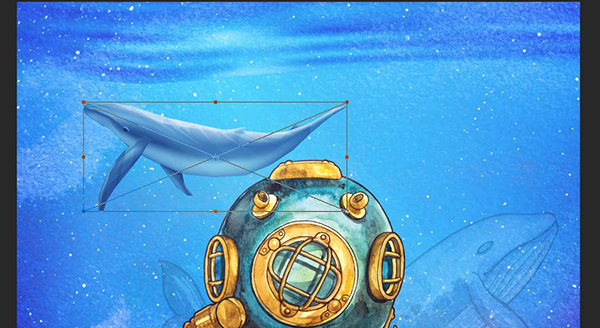
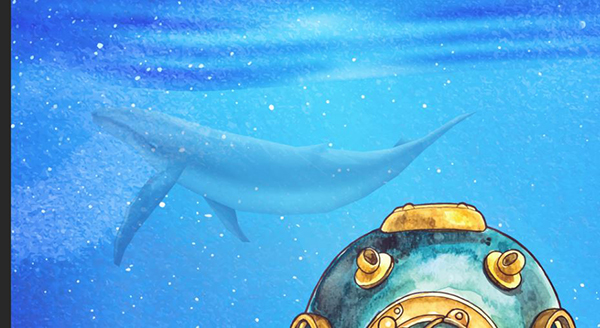
Step 3: Whales
Next up, we’ll add a few whales in the background.
At the bottom of the Layers palette, Click the Create A New Group icon. Name the group Whales and drag it between the Background and Helmet and Coral groups.
Go to File > Place Linked and select Whale.eps in the Alex Green Art folder. Press Place.
At the top of the artboard, enter Width (W:) of 120% and click the link icon between width and height to maintain the aspect ratio.
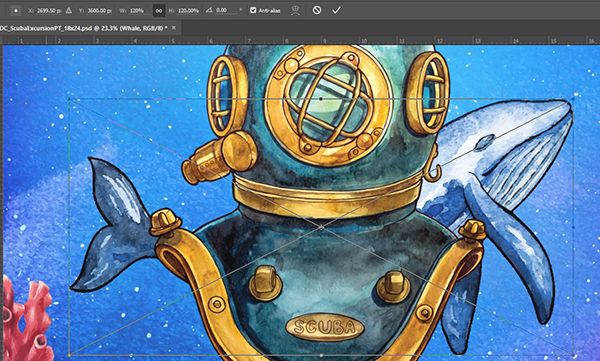
Position the whale at the middle right of the artboard and press Enter.
In the Layers palette, drag the Whale layer in the Whales group.
At the top of the Layers palette, change the Opacity to 20%.
In the Layers palette, drag the Whale layer down to the Create A New Layer icon to duplicate it.
On the artboard, drag the duplicate down and to the left of the original.
Go to Edit > Free Transform.
At the top of the artboard, enter a Width of 130% and click the link icon between Width and Height.
Next to Angle, enter 18 degrees. Press Enter.
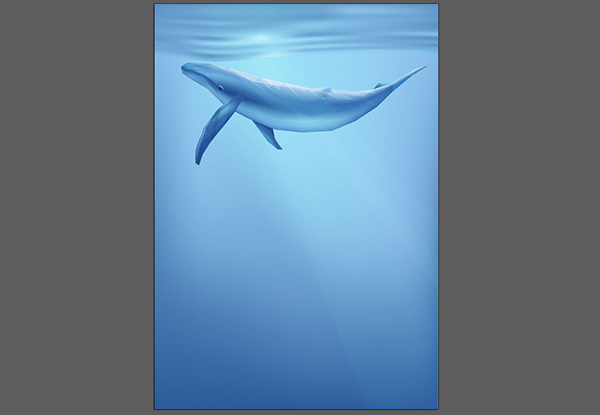
From Finder (or File Explorer), navigate to the Polar Vectors folder and open blue whale.eps in Illustrator.
Use the Main Selection Tool (v) to select the whale. Press Cmd + C to Copy.

Close the Illustrator file.
In Photoshop, press Cmd + V to Paste. In the dialog box, select Smart Object and press OK.
Position the whale at the top left of the artboard, just under the water line. Press Enter.
At the top of the Layers palette, change the Opacity to 40%.
Step 4: Text
In the Layers palette, create a new group and name it Text. Drag it above the other groups to the top of the Layers palette.
Select the Type Tool (t).
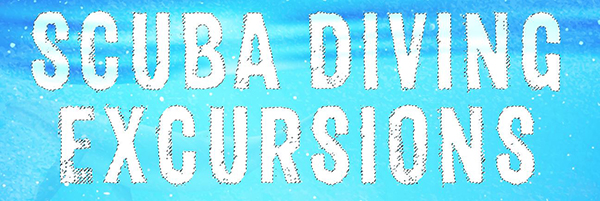
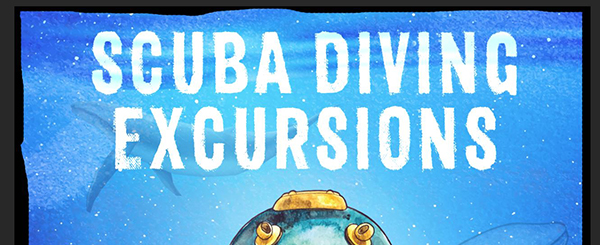
Click once at the top middle of the artboard and type:
SCUBA DIVING
EXCURSIONS
Switch to the Move Tool.
Open the Character palette (Window > Character). Select a bold, sans serif font. I’m going to use Canvas 3D Sans at 190 pt. I’m setting the Leading (the vertical space between lines) to 170 pt, the Kerning to Optical and the Tracking (the space between letters) to -30. Click the color thumbnail and change the fill color to White, then press OK.

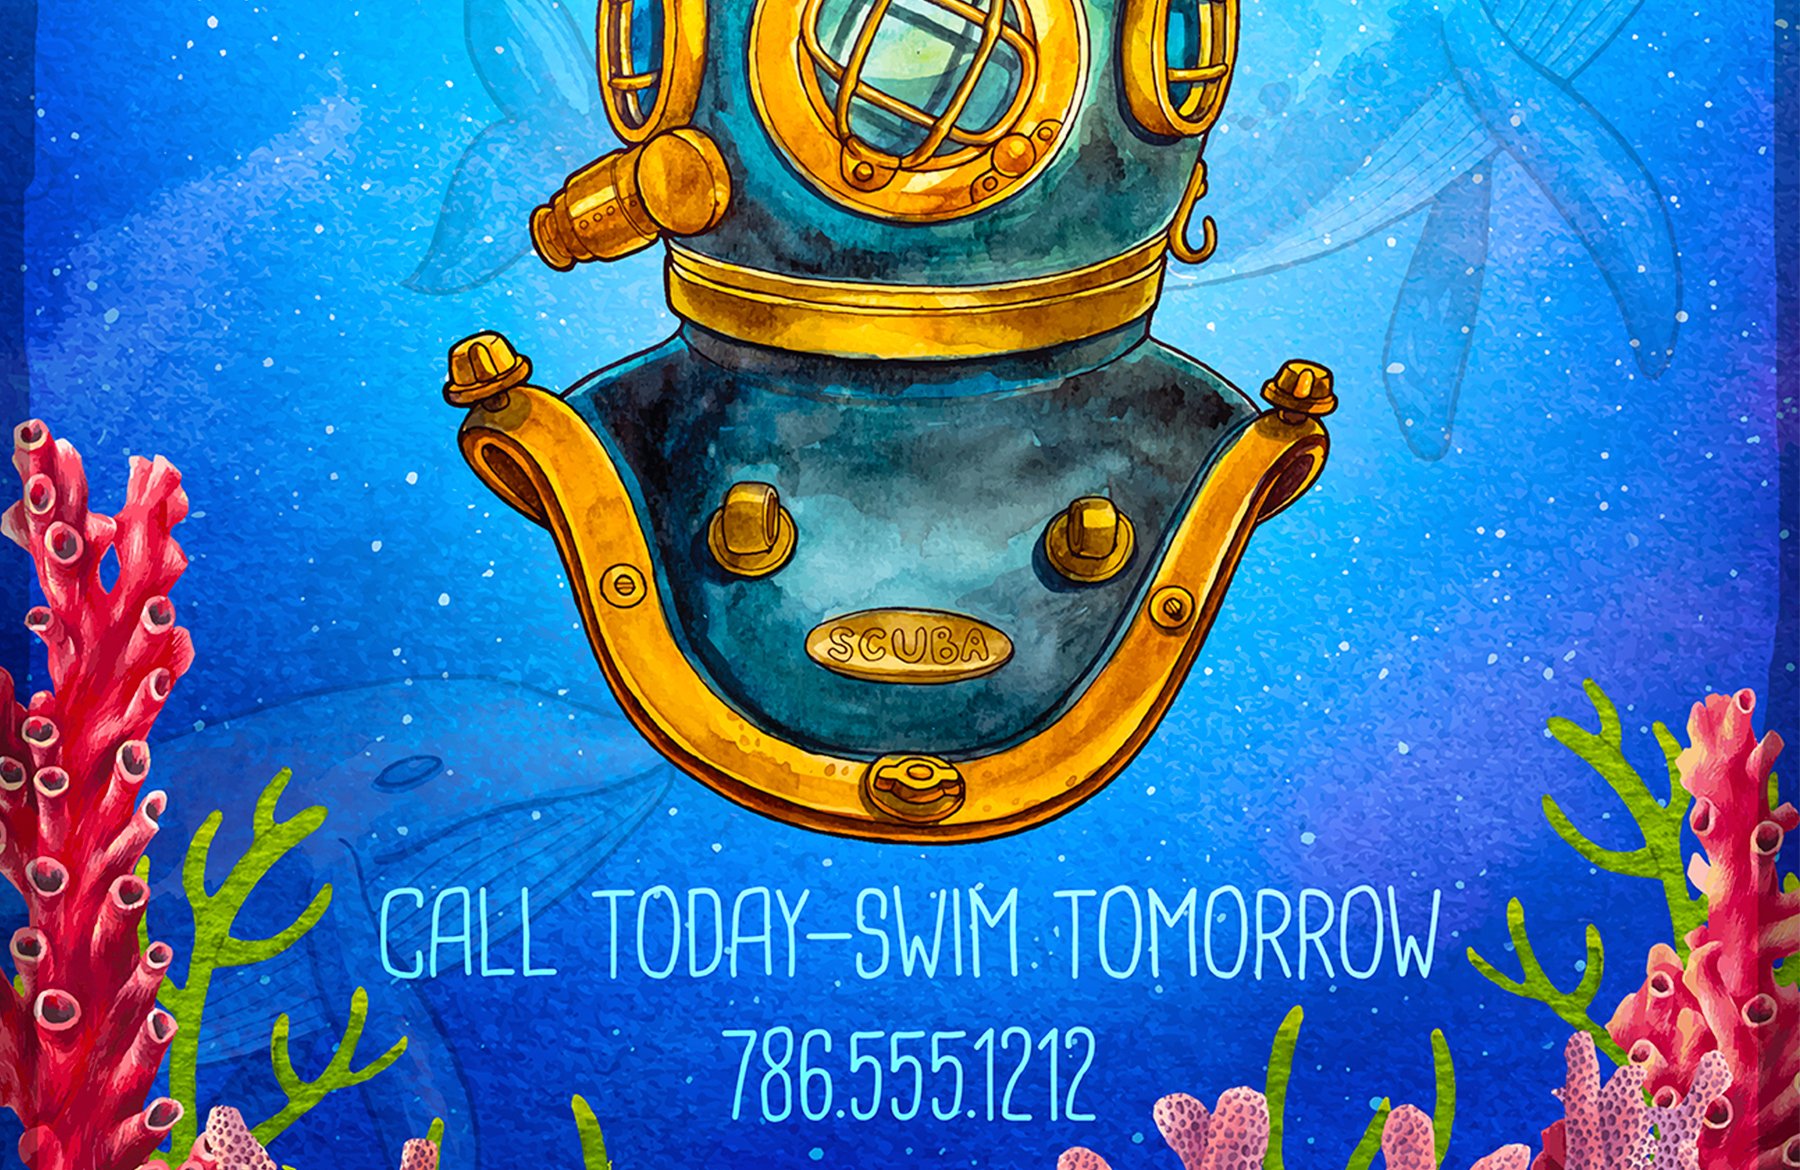
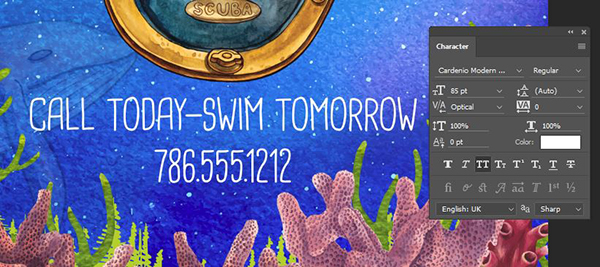
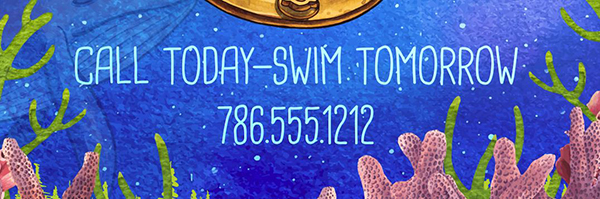
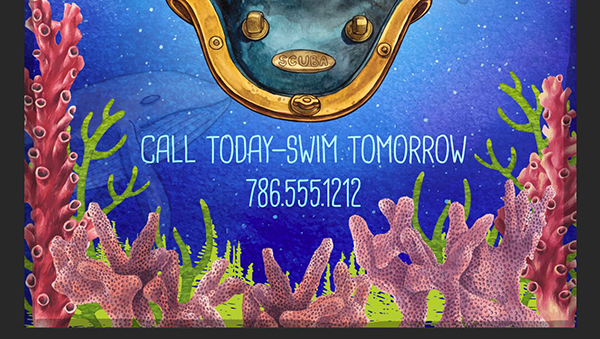
Select the Type Tool again and click once in the middle under the helmet. Type:
CALL TODAY—SWIM TOMORROW
786.555.1212
Switch to the Move Tool.
In the Character palette, use a smaller, more whimsical font. I’m using Cardenio Modern at 85 pt with Auto Leading, 0 Tracking and Kerning set to Optical.
In the Layers palette, open the Background group. Drag the Vector Smart Object layer (the top layer in this group) to the Create A New Layer icon to duplicate it.
Drag the duplicate layer to the top of the layers in the Text group.
In the Layers palette, hold Cmd (or Ctrl on a PC) and click on the T to the left of the first type layer, then hold both Shift and Cmd and click the T to the left of the second type layer.
This will create a selection around both.

With the duplicate Vector Smart Object copy layer still active, press the Add Layer Mask icon at the bottom of the Layers palette.
This gives us a subtle interaction of light on the letters.

Step 5: Finishing Touches
Let’s add a little more depth to the piece.
Open the Background group. At the bottom of the Layers palette, click the Create A New Layer icon.
Double click the layer name, Layer 1, and rename it Darker Areas.
Select the Brush Tool (b).
At the top left above the artboard, click on the downward facing arrow to the right of the Brush thumbnail to open the Brush Preset picker. Select the Soft Round brush.
Hold down the right bracket key (]) until the brush size is about 3000 pixels.
To the right of the brush thumbnail, change the Opacity to 20%.

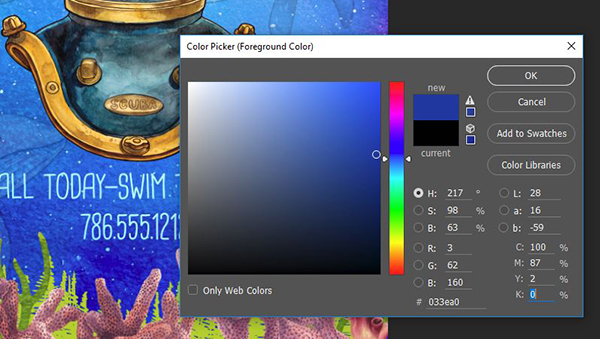
At the bottom of the toolbar, double-click the Foreground Color swatch to bring up the Color Picker popup.
When the popup opens, use the Eyedropper to sample a dark blue from the background, then press OK.
Brush a half moon shape along the bottom of the artboard – lower in the middle and higher on the sides. Make 2 to 3 passes with the brush to gradually build up the color.

At the top of the Layers palette, change the Blend Mode to Multiply.

Now let’s add a lighter section behind the helmet to bring it out.
At the bottom of the Layers palette, click the Create A New Layer icon. Name the new layer Lighter Areas.
Press d to set your Foreground Color to black and Background Color to white, then press x to toggle so that white becomes the Foreground Color.
Select the Brush Tool (b) and with the same settings we used before still in place, brush in the area behind the helmet to brighten the area. Again, make 2 to 3 passes with the brush to build up a subtle glow.
In the Layers palette, click the Create A New Layer icon. Name the new layer Border and drag it out of the Background group, to the very top of the Layers palette so it’s above all of the Groups.
Press x to toggle the Foreground Color to black.
At the top left above the artboard, click on the downward facing arrow to the right of the Brush thumbnail to open the Brush Preset picker. Select the Hard Round brush.
Hold down the left bracket key ([) until the brush size is about 200 pixels.
To the right of the brush thumbnail, change the Opacity back to 100%.

We could very easily create perfect borders, however, we want an irregular wavy border to compliment our underwater theme. So, we’ll freehand draw around all four edges of the artboard.
If you go way crazy with your brush, switch to the Eraser Tool (e) to do any necessary clean-up. Overall though, embrace the irregular borders that naturally result from a freehand approach.
At the top of the Layers palette, change the Opacity to 30%.
For our last step, let’s pump up the Colors for a bright finish to the piece.
In the Adjustments palette (Window > Adjustments), click the Vibrance icon. This will add an adjustment layer to the top of the Layers palette and open a Properties panel.
In the Properties panel, increase the Vibrance to +5 and the Saturation to +25.

And we’re done! We’ve created a fun scuba diving poster using high-quality vector elements and Photoshop layering techniques.
Remember that whether it’s your outcome for this tutorial or something new you’ve made, we’d love to see your designs on our Facebook page.
Please leave a comment if you have any questions or suggestions. I always look forward to hearing from you!
There’s still time to check out The Totally Diverse Vectors Collection where you’ll discover incredible brushes, graphics, icons, illustrations, logo generators and so much more for only $29.
As a master scuba diver, may i tell you how much i love this!!! Thank you so much!
Hey Kelli,
Thanks so much for leaving your awesome comment!
I am so pleased you love this pack -you are more than welcome, I hope you have an awesome time getting crafty with your new resources :)
YES! I learned so much from this. For instance.. I didn’t know “Vibrance” existed. Wish I could use that on myself before work in the mornings. ;) Thanks so much again!!
Hey Terri,
Thank you so much for your comment.
It is fantastic to hear that you’ve learnt something new from this one! We are so glad you enjoyed it and we totally agree, if only Photoshop was in real life- i’d use vibrance every day for sure :D
Thank you for this tutorial,fun,fun,fun;
Hey Monique,
Aww thanks so much, we are so happy that you had fun with this one!
I love reading/watching your tutorials. Even if I don’t necessarily expect to create the kind of project you are teaching on, I love learning the specific techniques because I can transfer them to other projects. And thanks for the freebies! Your tools have taken my work to another level. Glad I found you (or maybe you found me)! :) Love you guys!
Hey Sonia,
Aww thank you so much!
This is awesome to hear, I am so pleased that you can pick up some new tips and tricks too :D
We’re super glad that you found us Sonia and I hope that you’ll continue to get loads of use out of your freebies :)
Thanks for the fun tutorial!
Hey Michele,
You are so welcome, we are so glad to hear you had fun with it :)