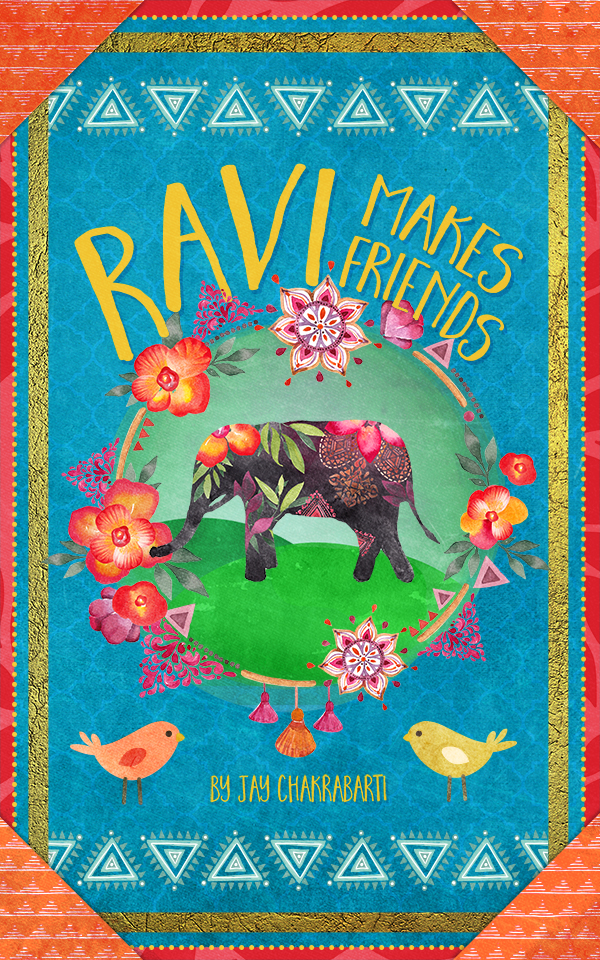
WHAT WE’RE CREATING:
Hey there designers! Renee here with a new Photoshop tutorial that really puts this week’s textures and patterns to work. We’ll be layering in a bunch of textures, masking and coloring patterns, picking apart vector patterns and utilizing a ton of Photoshop basics.
You can also enjoy a wonderful sample pack from this week’s bundle, giving you the opportunity to try out a range of textures, patterns and graphics from the main collection.
HAVE YOU SEEN OUR NEW YOUTUBE CHANNEL?
We hope that you enjoy the video version of this tutorial below.
If you’re interested in getting these videos direct to your inbox, please do subscribe to our YouTube channel.
OUR CHILDREN’S BOOK COVER
Follow along with this tutorial: Download the freebies
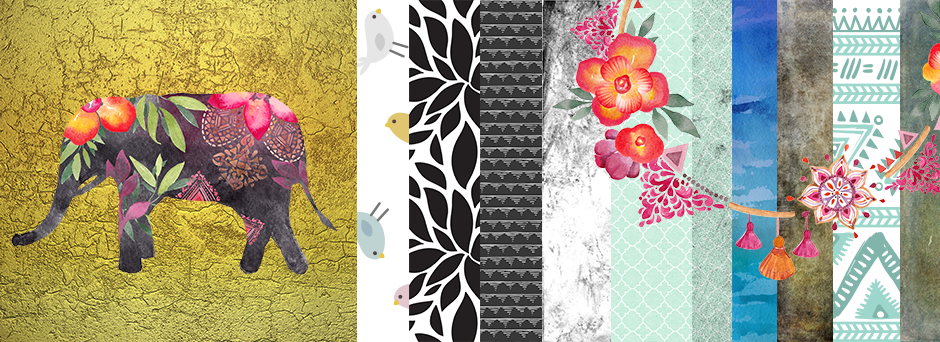
This massive freebie pack includes 11 beautiful textures and patterns from 2 Lil Owls, Artist Mef, BMachina, Design by Nube, Gabor Monori, Graphic Monkee, The Little Cloud and Utro Na More. You’ll also get two amazing watercolor illustrations from So Nice.
This freebie pack is just a tiny sample of the resources available in The Colossal Textures and Patterns Bundle for just $29 (that’s 95% off). This bundle features a comprehensive collection of over 1,200 different textures and patterns sure to be put to use time and time again.
TECHNICAL NOTES
We’ll be using the font Horse Wallop from The Mammoth collection by Nicky Laatz. If you don’t have this font, I recommend searching for a similar whimsical hand written or brush font on your favorite free font site.
Step 1: Background
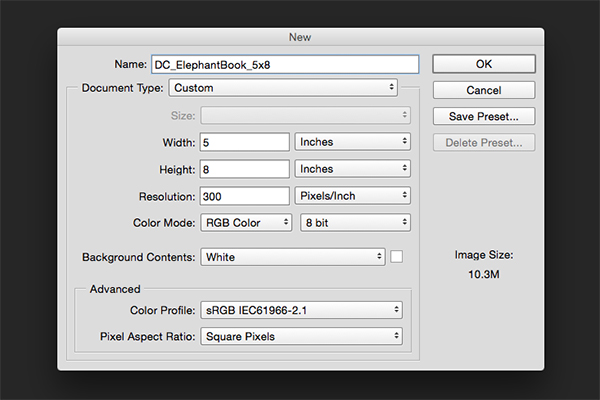
Open Photoshop and go to File > New. In the New Document dialog box, enter a width of 5 inches, a height of 8 inches and a resolution of 300 ppi. I’m going to keep my file in RGB so we have all of our original color information in tact, but would probably need to convert the finished piece to CMYK for printing purposes.
Click OK to create the document.
Save your file.
At the bottom of your Layers palette (Window > Layers), click on the Create A New Group icon. Double click the name of the Layer in the Layers palette and change the name to Background Teal.
Now click on the Create A New Layer icon at the bottom of the Layers palette. Rename the layer Teal.
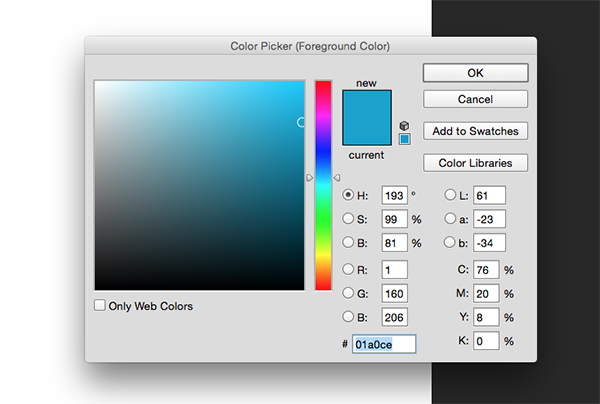
Double click on the foreground color swatch at the bottom of your toolbar and enter CMYK values of 76/20/8/0.
Press OK, then press opt/alt + backspace to fill the new layer with the teal color.
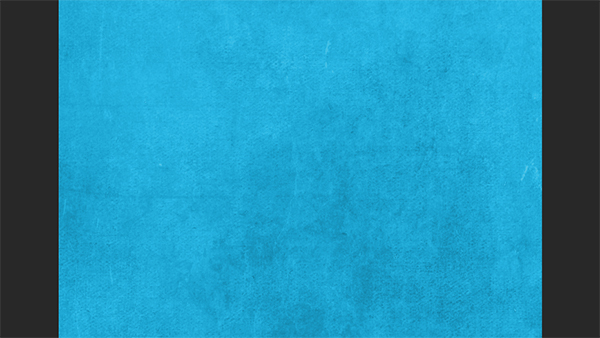
Next, we’ll add some texture to the background. Go to File > Place Linked and navigate to the 2 Lil Owls texture named Bohemian 4. Click Place.
Hold shift while clicking and dragging out on the corner handles to enlarge the image until it fills the entire artboard. Press enter to complete the transformation.
At the top of your Layers palette, change the Blend Mode to Luminosity and the Opacity to 50%.
Go to File > Place Linked and this time, navigate to Design by Nube’s Mint Kraft Paper 5. Click Place.
Again, use the corner handles while holding shift to enlarge the image proportionally until it fills the artboard. Press enter when done.
At the top of the Layers palette, change the Blend Mode to Multiply and leave Opacity at 100%.
Step 2: Borders and Corners
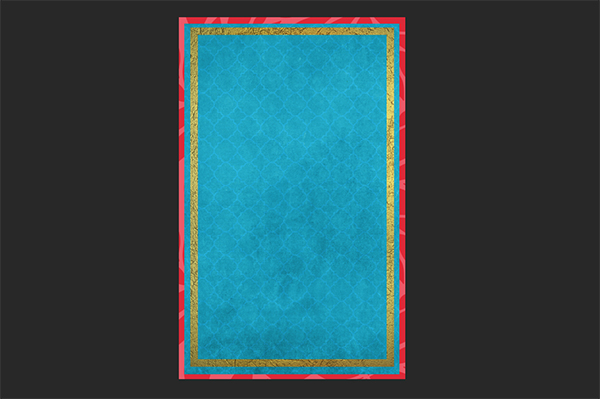
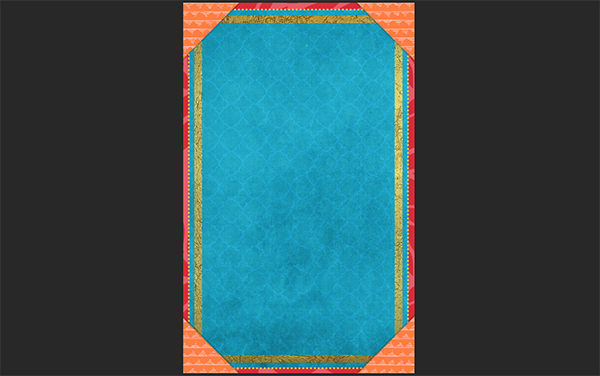
In the Layers palette, click the Create A New Group icon and name the new group Coral Border.
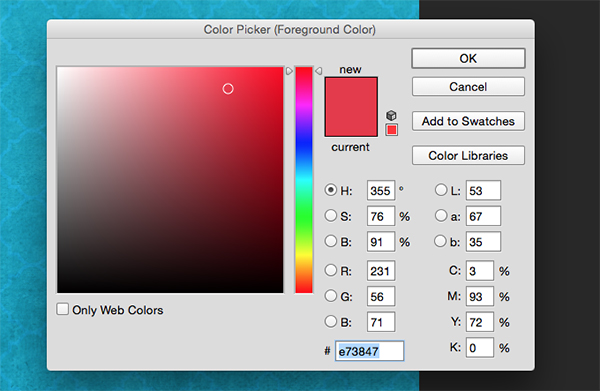
Click the Create A New Layer icon. Double click on your foreground color swatch and change it to a CMYK value of 3/93/72/0. Press OK.
Press opt/alt + backspace to fill the new layer with the coral color.
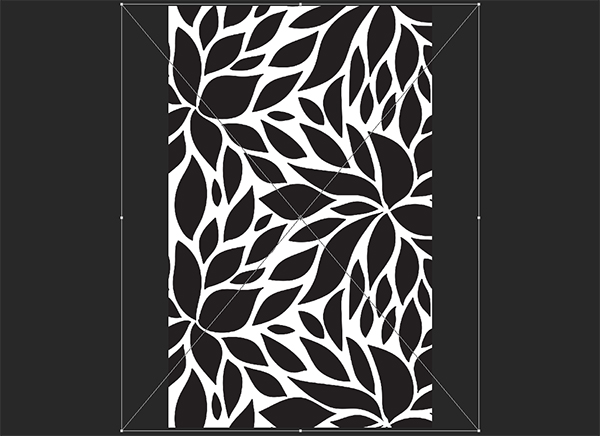
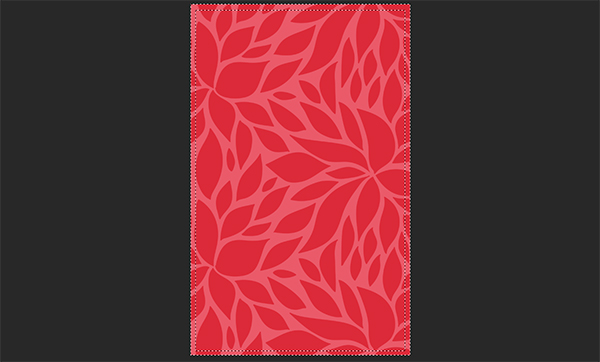
Go to File > Place Linked and navigate to Utro No More’s Hand Drawn Patterns 13. Press Place, then drag out the corner handles while holding down shift to proportionally enlarge the image to fill the artboard.
At the top of the Layers palette, change the Blend Mode to Soft Light and the Opacity to 50%.
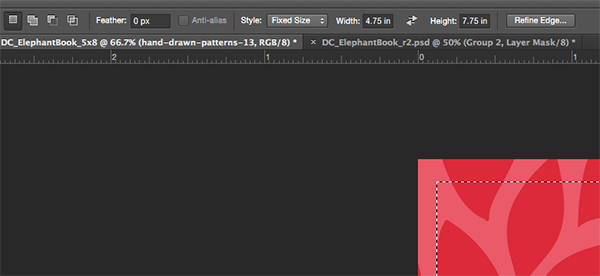
Next, we’ll mask the Group so we only see the outside edges, creating a border. In your Layers palette, select the Coral Border group. In your Toolbar, select the Rectangular Marquee tool (M). In the options at the top of the artboard, choose a Style of Fixed Size, then change the Width to 4.75” and Height to 7.75”.
Click once on the artboard and position the rectangular selection in the middle of the artboard by dragging your mouse left/right and up/down until you’re centered.
Go to Select > Inverse.
At the bottom of the Layers palette, click the Add Layer Mask icon.
In your Layers palette, create a new group and name it Gold Border.
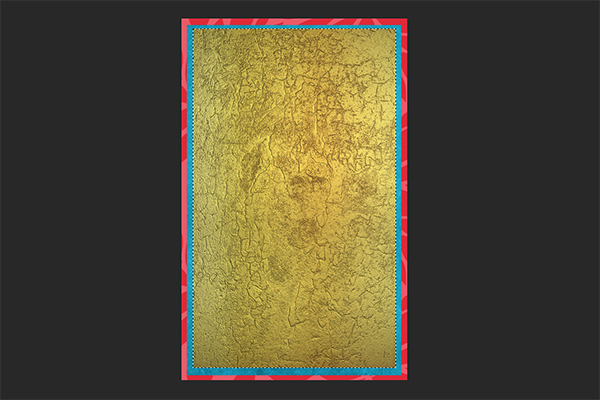
Go to File > Place Linked and navigate to BMachina’s Authentic Gold 13. Click Place. Hold shift and use the corner handles to rotate the image 90 degrees, then drag out the handles to fill the artboard.
We’ll be masking this one as well. Select the Gold Border group in the Layers palette. Select your Rectangular Marquee tool (M). Change the Width to 4.5” and the Height to 7.5”.
Click once on the artboard to create a rectangular selection and use your mouse to center it vertically and horizontally. At the bottom of the Layers palette, hit the Add Layer Mask icon.
Select the mask we’ve just made by holding cmd/ctrl and clicking on the thumbnail of the mask in the Layers palette.
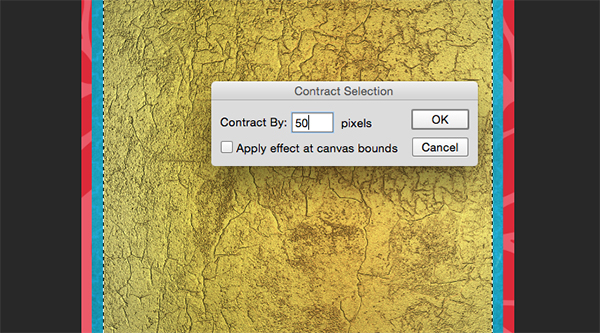
Go to Select > Modify > Contract and enter 50 in the pop-up dialog box. Click OK.
Click once on the layer mask thumbnail on the Gold Border layer to select it. Then press cmd/ctrl + backspace to fill the selected area with black, which masks it out.
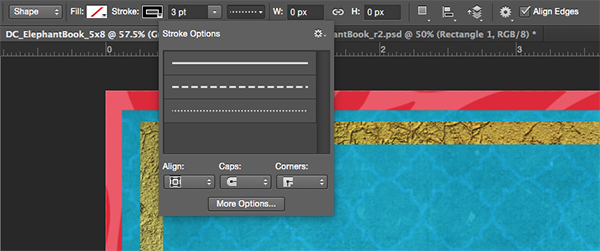
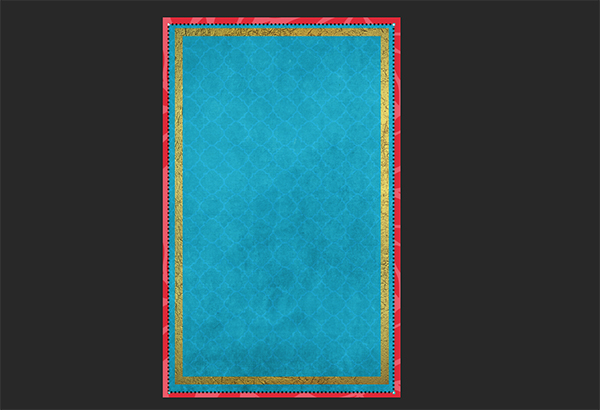
Now we’ll create a dotted border around the outside edge of the teal section. Select your Rectangle tool (U). In the top left of the screen, change the Tool Mode to Shape and the size to 3 pt. Change the Stroke Type to the dotted line and in the same dialog box under Align, choose the middle option which will center align the stroke on the shape.
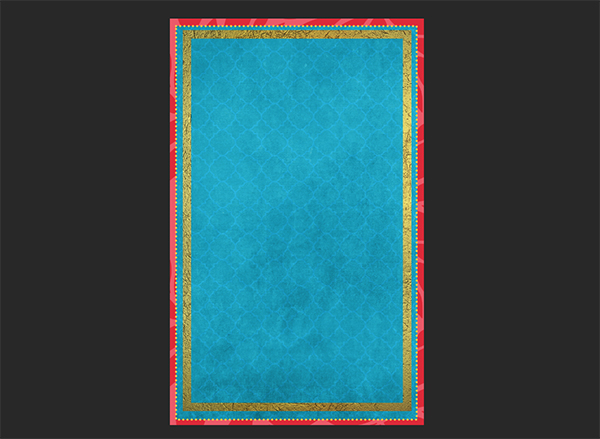
Now we’ll just draw out our shape on the artboard, following the outer edges of the teal section.
In your Properties palette (Window > Properties), click on the Stroke color and change it to a CMYK value of 5/17/89/0.
In your Layers palette, create a new group and name it Top Corners. Create a new layer in the group.
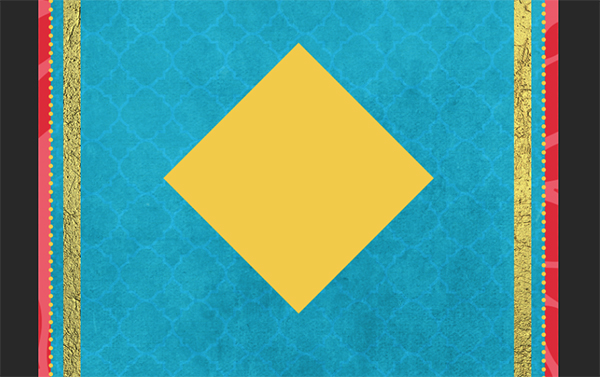
Select your Rectangular Marquee tool (M). At the top left, above the artboard, change the Style to Normal. Hold shift and draw a large square. The exact size isn’t important. Press opt/alt + backspace to fill it with your foreground color.
Go to Edit > Transform > Rotate. Hold shift and use the corner handles to rotate the square 45 degrees to form a diamond. Press enter when done.
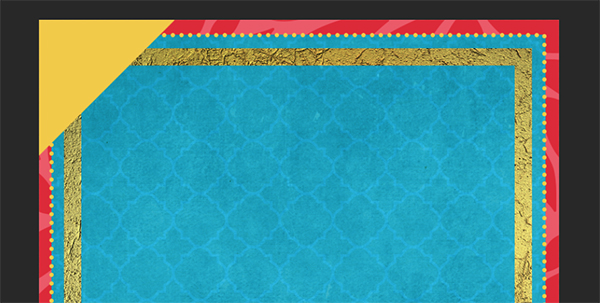
Use your Move tool (V) to drag the diamond to the top left corner. I have mine bleeding off the edge considerably so I can see plenty of my borders.
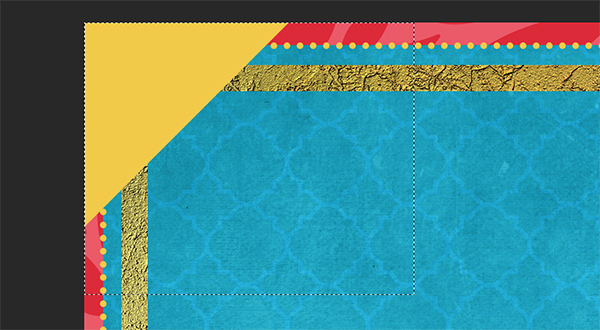
Select your Rectangular Marquee tool (M) and drag your mouse across the top left corner area. With the selection in place, press cmd/ctrl + j to copy the selection onto a new layer.
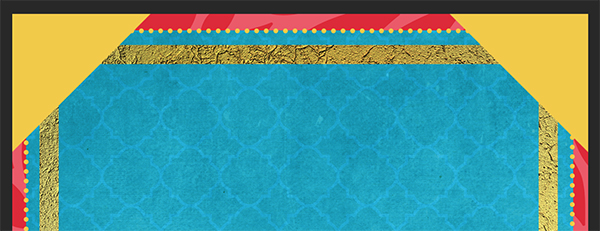
Go to Edit > Transform > Flip Horizontal. Then use your Move tool (V) while holding down Shift to drag the new corner section to the right of the artboard.
Combine the two corners into one layer by pressing cmd/ctrl + e.
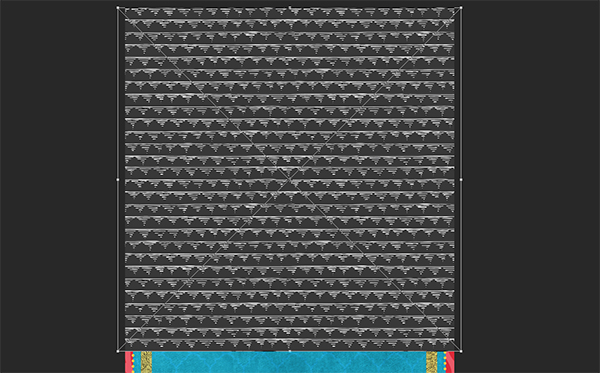
Go to File > Place Linked and navigate to Design by Nube’s Hand Drawn Seamless Pattern 15. Press Place. Make sure the image covers the top corner sections, then press enter.
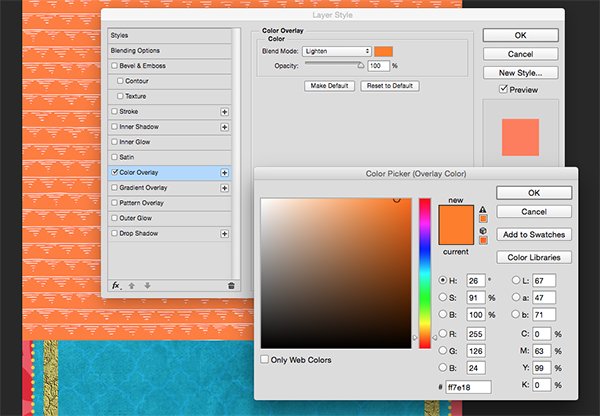
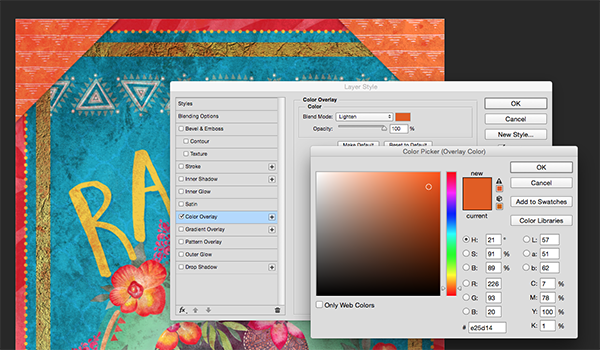
At the bottom of the Layers palette, click the FX icon and choose Color Overlay. In the dialog box pop-up, change the Blend Mode to Lighten and keep Opacity at 100%. Click on the color swatch and change the CMYK values to 0/63/99/0. Then press OK.
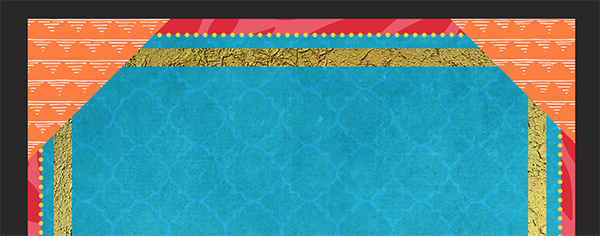
Now we’ll use the corners we made earlier to create a mask. In your Layers palette, hold cmd/ctrl and click on the thumbnail for the corners. With the selection created, turn off the corners layer by clicking the eye icon to the left of the Layer name.
In your Layers palette, select the Top Corners group, then press the Add Layer Mask icon.
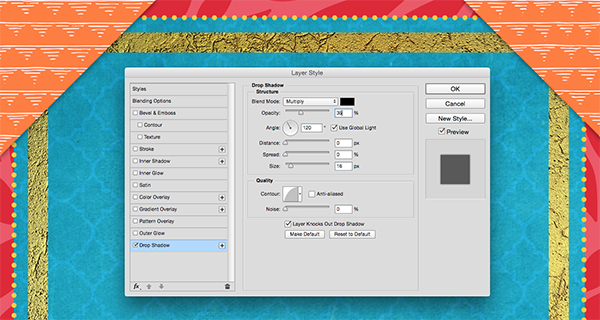
To give our corners a little more dimension, we’ll add a drop shadow. With the Top Corners group selected, click on the FX icon at the bottom of the palette and choose Drop Shadow. In the pop-up dialog, change the Opacity to 35%. Then change the Distance and Spread to 0 and the Size to 16. Press OK when done.
In your Layers palette, duplicate the Top Corners group by dragging it down to the Create A New Layer icon. Rename the copy Bottom Corners. Go to Edit > Transform > Flip Vertical, then use your Move tool (V) to drag the new corners to the bottom of the artboard.
Step 3: Main Illustration
Now we’ll start on our main title section.
Create a new Group and name it Main Title.
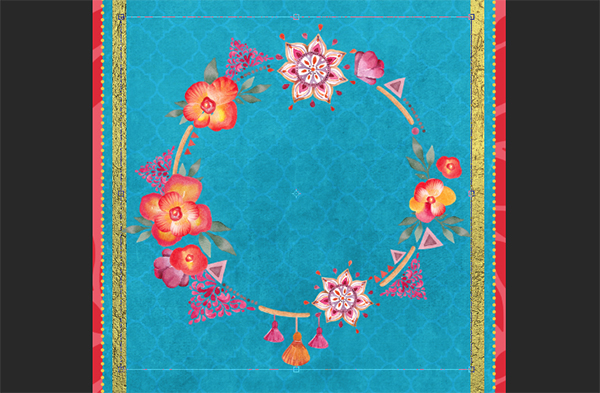
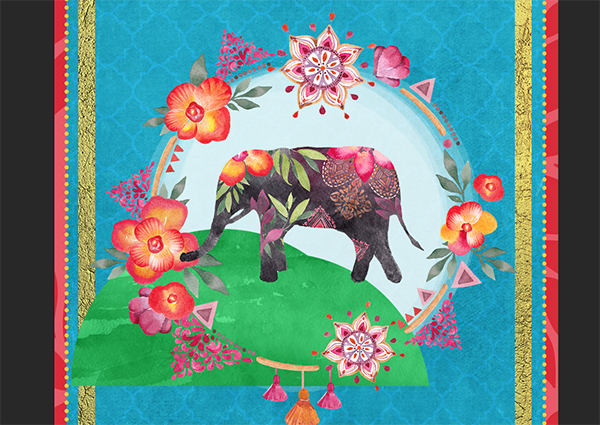
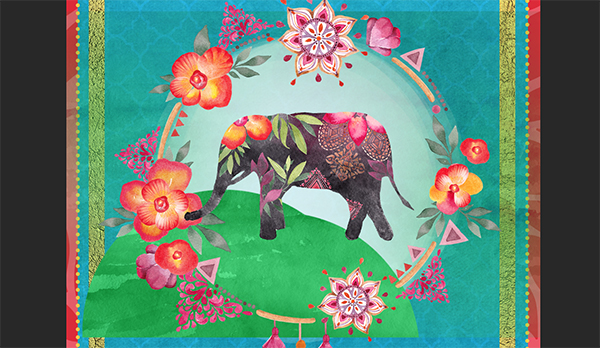
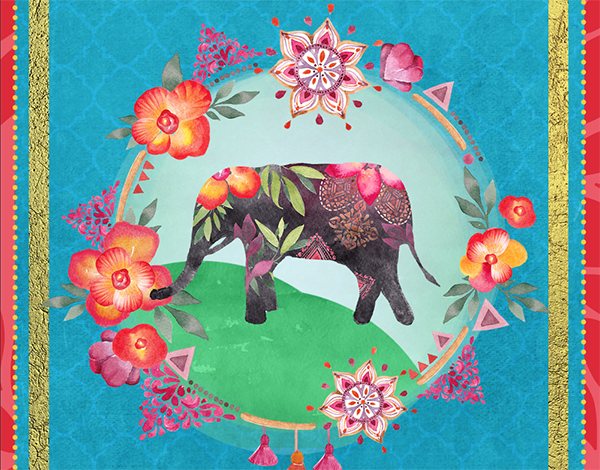
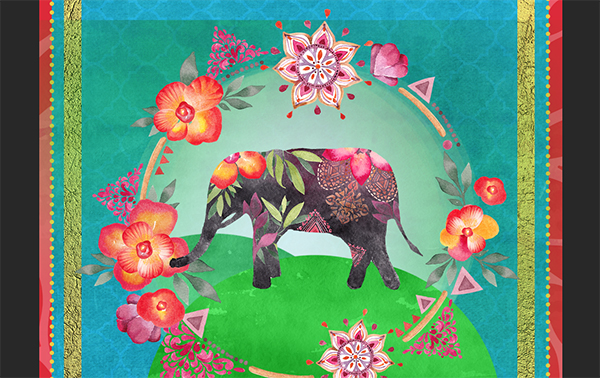
Go to File > Place Linked and navigate to So Nice’s Peace Love Wreath 4. Press Place. Use the corner handles while holding shift to very slightly reduce the size of the wreath to fit between the edges of our gold border. It’s ok if the leaves on the far sides overlap a little bit. Press enter when done.
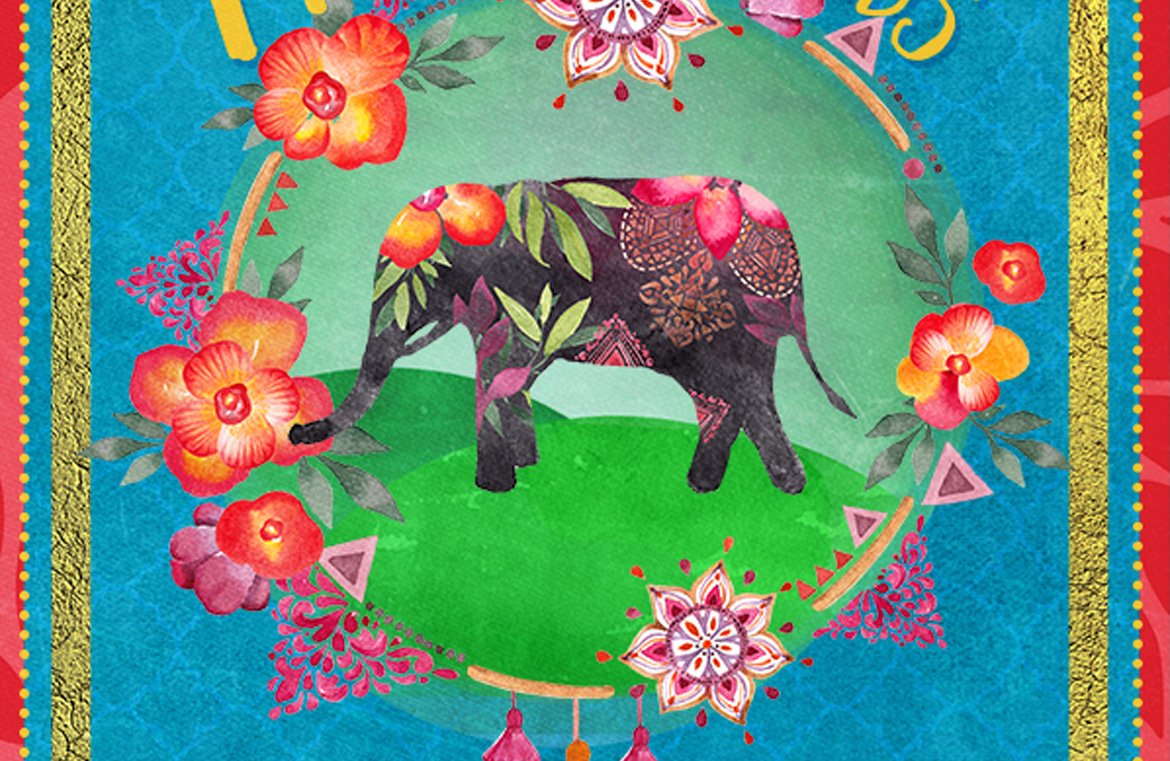
Go to File > Place Linked and navigate to So Nice’s Peace Love Element 77. Hold shift while dragging the corner handles in to reduce the size until the elephant fits comfortably centered inside the wreath, with his trunk overlapping the flowers a little bit.
Now we’ll add some background behind the elephant. In your Layers palette, create a new layer in the Main Title group and drag it below the Wreath layer. Name the layer White Circle.
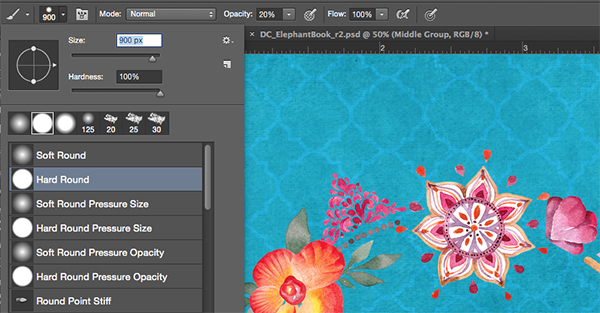
Select your Brush tool (B) and at the top left of the screen, choose the Hard Round Brush. Change the size to 900 px and reduce the Opacity to 20%.
As you can see, the brush will almost fill the entire size of the wreath. Click once inside the wreath area to get an idea of the size and opacity.
Now continue to click the Brush in the same general area, but moving slightly each time to create a soft edge. I probably clicked a total of 6 or 8 times.
We need to give our elephant some ground to walk on. Go to File > Place Linked and navigate to Artist Mef’s Winter Watercolor Background 18. Press Place.
It only needs to be large enough to cover the entire wreath area.
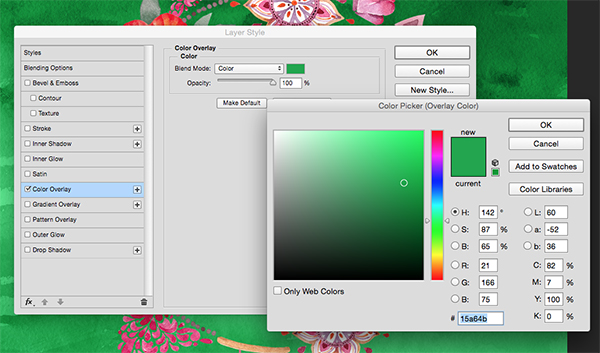
We’ll change our wintry color to green by clicking on the FX icon at the bottom of the Layers palette and choosing Color Overlay. In the dialog box, choose a Blend Mode of Color and Opacity of 100%. Click on the color swatch and in the Color Picker, enter a CMYK value of 82/7/100/0. Press OK when done.
We’re going to use the magic of masking to reveal just the sections we want for our ground. At the bottom of the Layers palette, click the Add Layer Mask icon. Now click on the Layer Mask thumbnail on the Winter Watercolor layer. Press d to set your foreground color to black, then press opt/alt + backspace to fill the layer mask with black, hiding all of the Winter Watercolor for now.
Next, select your Brush tool (B). Change your brush Opacity to 100% (at the top left of the screen). Press x to toggle your foreground color to white. Then click a couple of times in the bottom left area of the wreath to create a background hill for our elephant.
Change to a Soft Round brush and reduce the brush Opacity to 20%.
Click a few times around the edges of the wreath to bring some of the green color into the sky area behind the elephant.
In the Layers palette, hold cmd/ctrl and click the White Circle thumbnail to create a selection around that area.
Go to Select > Inverse. Press cmd/ctrl + backspace to fill the selected area of the Layer Mask with black, hiding anything outside the edges of the wreath area.
Now we’ll repeat this basic process to create a second hilly area for the elephant to stand on.
Drag the Winter Watercolor layer down to the Create A New Layer icon to duplicate it.
Select the layer mask thumbnail on the new, duplicated layer and press cmd/ctrl + backspace to fill it with black.
Select your Brush tool. Since it’s already set to Soft Round brush at 20% opacity, we’ll start by clicking around the edges of the wreath to bring in more of the green color to the sky.
Change your Brush to Hard Round and the Opacity to 100%. Click in the area directly behind and under the elephant’s feet to give him some ground to stand on.
In the Layers palette, hold cmd/ctrl and click the White Circle thumbnail to create a selection around that area. Go to Select > Inverse. Press cmd/ctrl + backspace to fill the selected area of the Layer Mask with black, hiding anything outside the edges of the wreath area.
To create some contrast between our hills, we’ll add an adjustment layer to our background hill.
In your Layers palette, click on the first Winter Watercolor layer. In your Adjustments palette (Window > Adjustments), click on the icon for Brightness/Contrast.
In the Properties palette, change the Brightness to around -45 and click the icon on the bottom left of the Properties palette to clip the adjustment to the layer below it (so it doesn’t affect the other layers).
Step 4: Main Title
We’ll create this part in Illustrator. It’s possible to get a similar effect in Photoshop, but Illustrator will give us more control over individual letters in the title.
Open Illustrator and go to File > New.
Letter size is fine – we’re just using this for general workspace. And I’m going to change my units to inches.
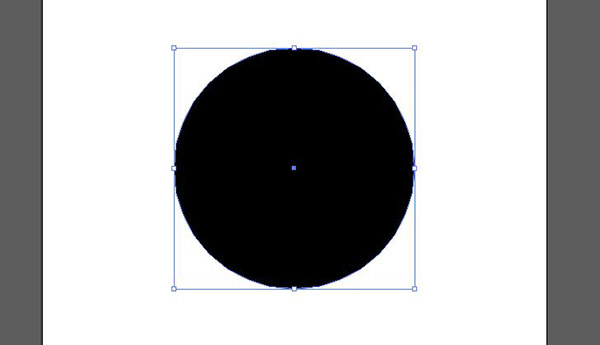
Select your Ellipse tool and hold shift while dragging out to create a large circle around 4” in diameter.
Mostly out of habit, I’m going to use my Align icons to center it horizontally and vertically.
Now go to Object > Lock > Selection. This circle is just a guide for us.
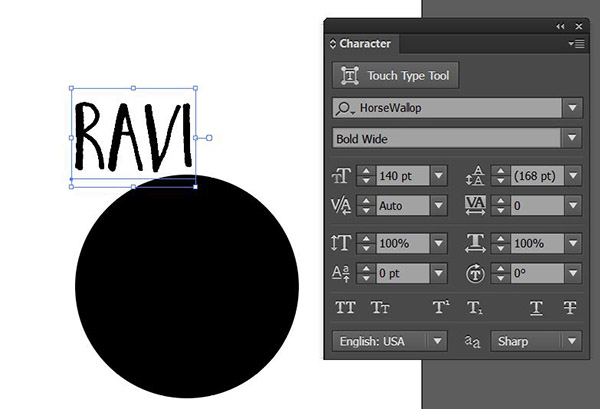
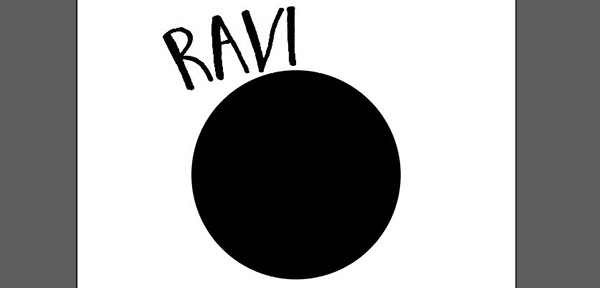
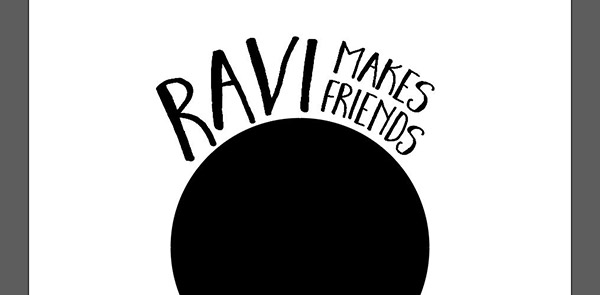
Select your Type tool, click once on the artboard and type Ravi.
Change the font to HorseWallop Bold Wide at 140 pt.
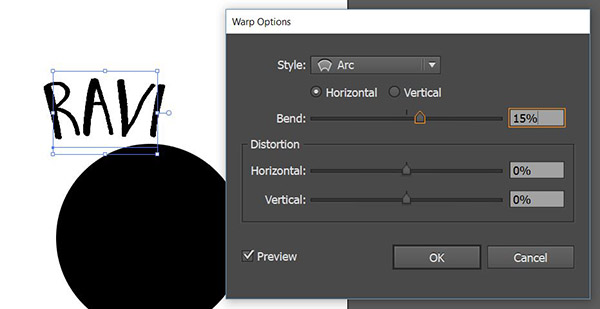
Go to Effect > Warp > Arc and enter a bend of 15%, then press OK.
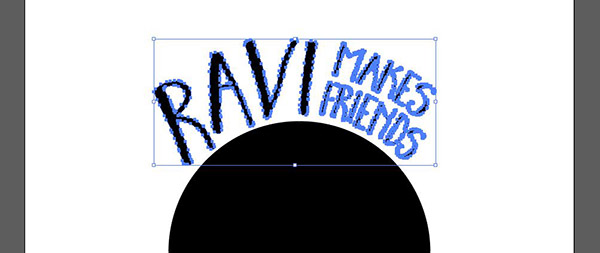
Next, go to Object > Expand Appearance.
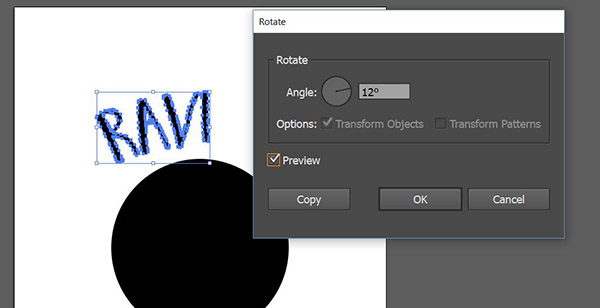
Choose Object > Transform > Rotate and enter an angle of 12 degrees and click OK.
Position the word so that the last letter is about in the middle of the circle.
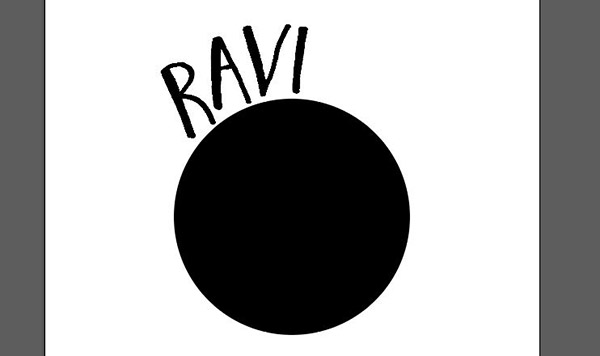
Now we’ll use the Group Selection Tool to move individual letters.
To add slight rotation to individual letters, select them with the Group Selection tool, then press V to change to the regular Select tool and use the corner handles to rotate. To select the next letter, you’ll have to switch back to the Group Selection tool.
We just want our letters roughly forming the shape of the circle while staying somewhat upright.
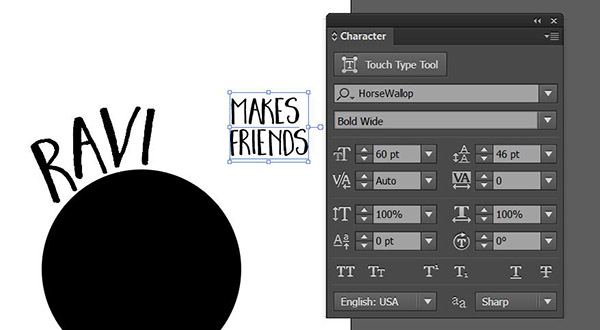
Select your Type tool again and type Makes Friends. Change the font size to 60 pt. Double click Friends to select it and press opt and the up arrow to tighten the leading.
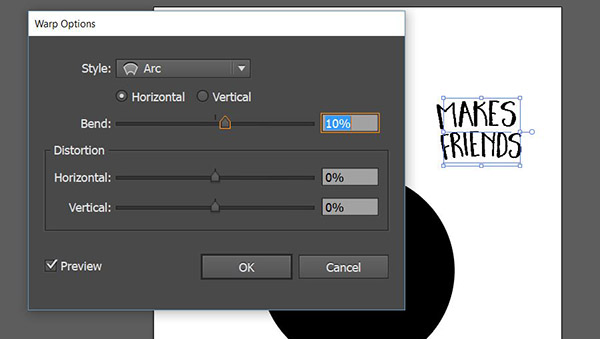
Go to Effect > Warp > Arc and enter a bend of 10%. Then go to Object > Expand Appearance.
Now go to Object > Transform > Rotate and enter -30 degrees. Position Makes Friends next to Ravi. Manually adjust the rotation if needed.
Now we’ll adjust a few of the letters to better conform to the circular shape. Remember to use the Group Selection tool to select a letter and move it, but switch to the regular Select tool to access the corner handles that allow you to rotate.
Use your Select tool while holding shift to select both sets of words.
Go to Edit > Copy.
Step 5: Finishing the Title
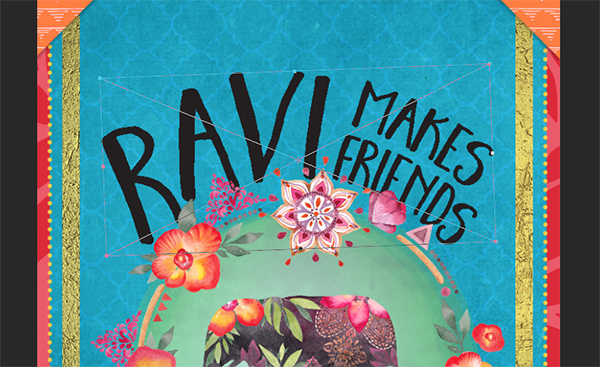
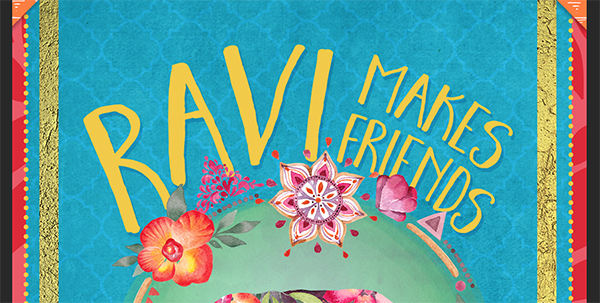
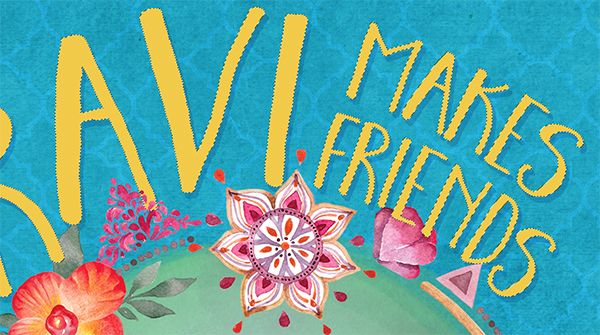
Go back to the main layout file in Photoshop. Press cmd/ctrl + v to paste the main title. Use the corner handles while holding down shift to resize as needed until it fits comfortably at the top of the wreath. Rename the layer Ravi Makes Friends.
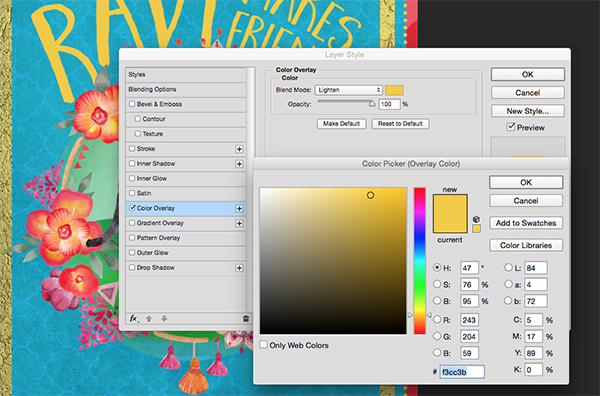
To color the title, click the FX icon at the bottom of the Layers palette and select Color Overlay. Choose a Blend Mode of Lighten and click the color swatch to bring up the Color Picker. Enter a CMYK value of 5/17/89/0.
On the left side of the Layer Style dialog box, select Drop Shadow. Click on the color swatch and in the color picker, enter a CMYK value of 71/10/5/0 (or use the eyedropper to select a darker teal from the artboard).
Change your Opacity to 50%, Distance to 12, Spread to 5 and Size to 0. Press OK.
Some of the wreath is obscuring letters in the title in such a way that makes it hard to read, so we’ll mask that section out.
Select the Wreath layer and click the Add Layer Mask icon at the bottom of the Layers palette.
Hold cmd/ctrl and click on the thumbnail for the Ravi Makes Friends layer to create a selection around the words.
Select your Brush tool (B). Press x to toggle your foreground color to black and press the left bracket [ several times to reduce the size of your brush.
Brush over any areas of the wreath that obscure letters, but only if it’s making it hard to read—some degree of interaction between elements is nice.
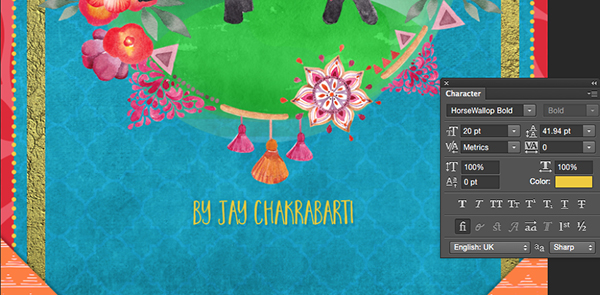
Select your Type tool (T). Open your Character palette (Window > Character) and change the font to HorseWallop Bold at 20 pt. Click the color swatch and use the eyedropper to sample the yellow from the main title.
Click once on the artboard under the wreath and type By Jay Chakrabarti. Use your Move tool (V) to center the text under the wreath.
In the Layers palette, click the FX icon and choose Drop Shadow. We’ll use the same dark teal color that we used for the shadow on the main title (71/10/5/0). Set the Opacity to 35%, the Distance to 8 and the Spread and Size to 0.
Step 6: Additional Decoration
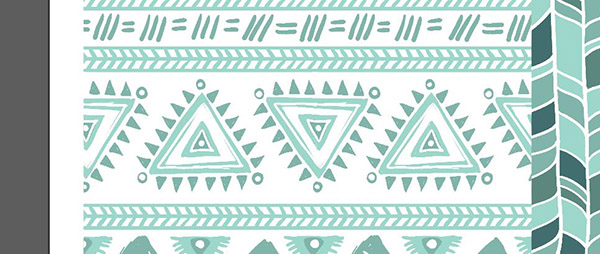
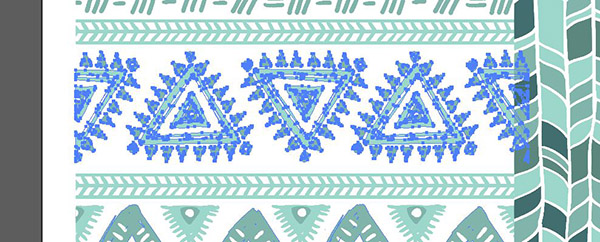
Go back into Illustrator. Go to File > Open and navigate to Tribal Patterns. We just want this line of triangles.
Select your Group Selection tool. Click on any part of the triangle section to select it, then click again to select the entire group.
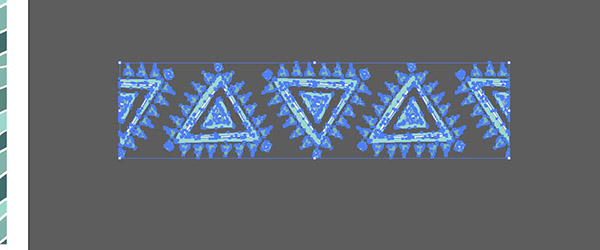
Go to Edit > Copy. Now I’ll move over to an empty spot off the artboard and go to Edit > Paste.
Hold down option while dragging to the right to make a copy that sits against the far right edge of the group.
Drag your mouse across all the triangles to select them and go to Edit > Copy.
Back in Photoshop, create a new group above Teal Background and name it Decorative Lines.
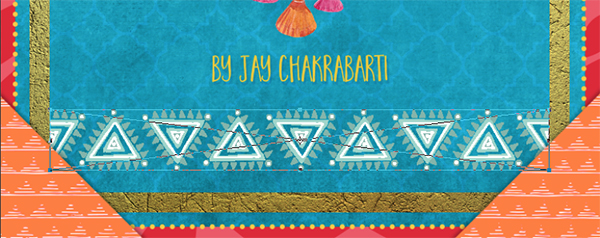
Press cmd + v to paste and click ok. Drag the line of triangles to the bottom of the artboard and size to fit inside the gold border. Change the layer name to Bottom Deco Line.
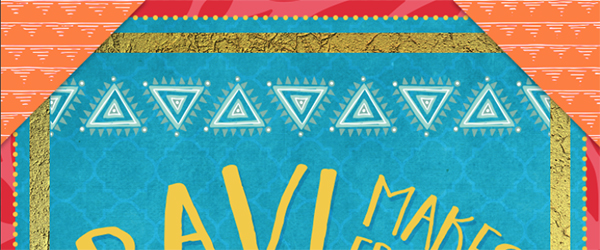
Duplicate the layer by dragging it into the Create a New Layer icon. Rename the new layer Top Deco Line, then use the Move tool while holding down shift to move it to the top of the artboard.
This is a good time to make adjustments to the placement of the main title section if needed.
Now we’ll add birds to these empty areas on either side of the author.
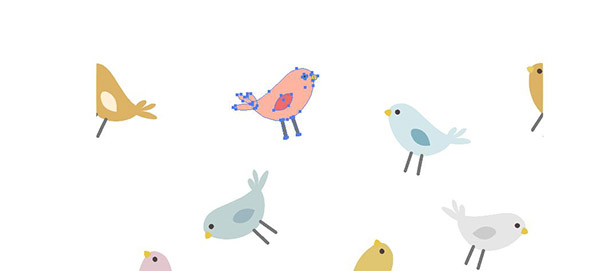
Go to Illustrator and open The Little Cloud’s Colorful Seamless Patterns.
Zoom in to the birds in the middle of the artboard.
Use your Group Selection tool and click twice on the pink bird to select the group.
Go to Edit > Copy, then move over to an empty space and paste the bird. Press V to switch to your main selection tool, then use the corner handles to rotate until the bird is upright.
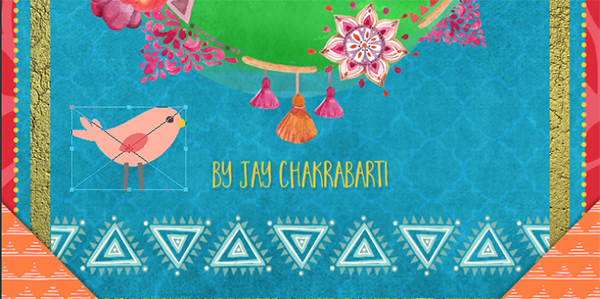
Go to Edit > Copy. Then go back to the main layout file in Photoshop and press cmd v to paste as a smart object.
Drag the pink bird to the left of the author’s name, then press enter to place.
Now we’ll repeat for the yellow bird.
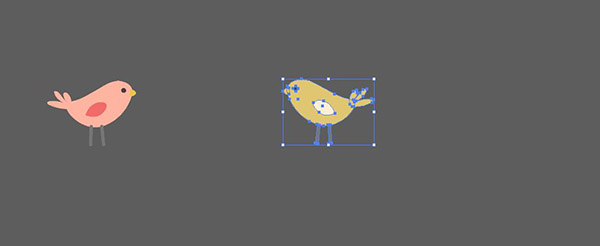
In Illustrator, use your Group Selection tool and click twice on the yellow bird to select the group.
Go to Edit > Copy, then move over to an empty space and paste the bird. Press V to switch to your main selection tool, then use the corner handles to rotate until the bird is upright.
Go to Edit > Copy. Then go back to the main layout file in Photoshop and press cmd v to paste as a smart object.
Drag the yellow bird to the right of the author’s name, then press enter to place.
Rename the layers Pink Bird and Yellow Bird.
Create a new group and name it Birds, then drag the two bird layers into it.
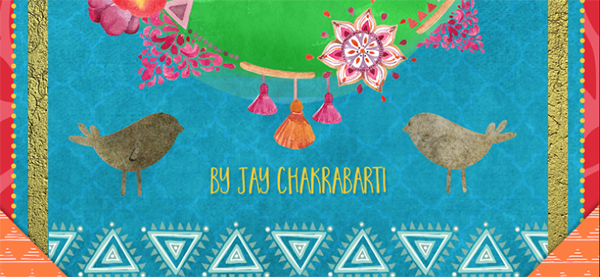
We’ll need to add some texture to the birds so they blend in with the style of the piece.
Go to File > Place Linked and navigate to Bohemian 3 and press Place. It only has to cover the birds.
Hold cmd and click on the Pink Bird thumbnail to create a selection, then hold shift and cmd to click the Yellow Bird thumbnail and add to the selection.
Click the Add Layer Mask icon.
Select the Bohemian 3 thumbnail and change the Blend Mode to Overlay.
Step 7: Final Touches
Our corners seem awfully bright and clean compared to everything else, so let’s add a little texture to these.
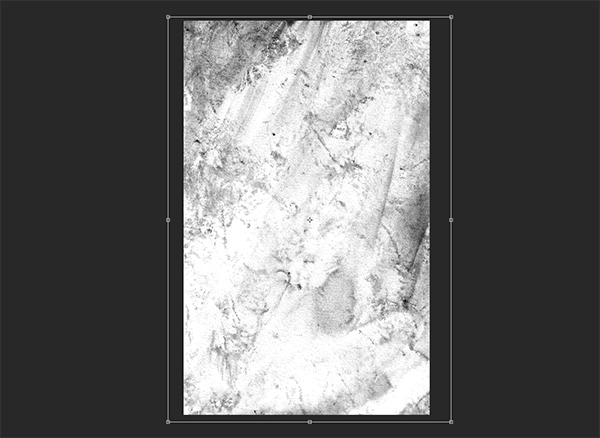
Go to File > Place Linked and navigate to Graphic Monkee’s JGT Ink Wash 20. Press Place, then use the corner handles to enlarge the image to fill the artboard. Press enter when done. Drag this layer to the very top of the Layers palette.
In the Layers palette, change the Blend Mode to Multiply and the Opacity to 70%.
At the bottom of the Layers palette, click on the FX icon and choose Color Overlay. Select a Blend Mode of Lighten and change the color to 7/78/100/1 (a darker orange).
Now we’ll mask the texture so it only affects our corners. In the Layers palette, hold cmd/ctrl and click once on the layer mask of the Top Corners group. Then hold shift + cmd/ctrl and click on the layer mask of the Bottom Corners group.
At the bottom of the Layers palette, click the Add Layer Mask icon.
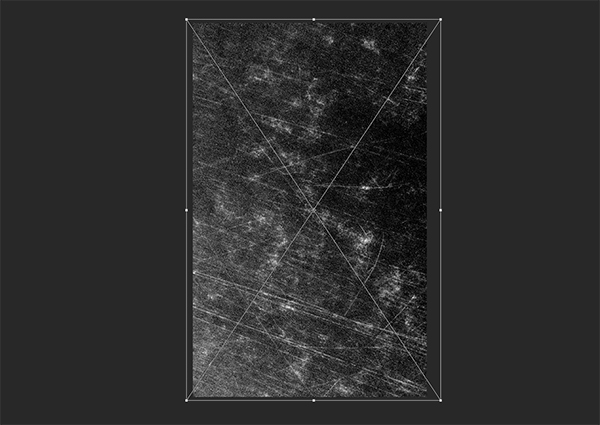
Go to File > Place Linked and navigate to Gabor Monori’s Scratched Textures 23. Press Place, then use the corner handles to enlarge the image to cover the artboard.
In the Layers palette, change the Blend Mode to Overlay and the Opacity to 20%.
We’re done!
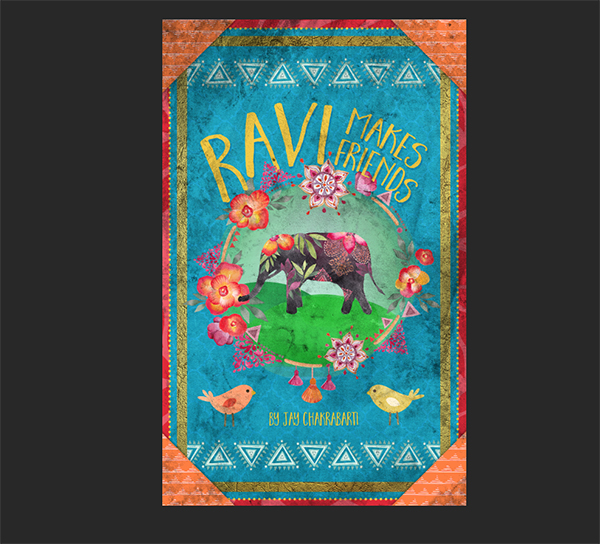
We have a rich, colorful kid’s book cover. I feel confident that little Ravi the Elephant has found lots of success on his quest for friends.
Remember that whether it’s your outcome for this tutorial or something new you’ve made, we’d love to see your designs on our Facebook page.
Please leave a comment if you have any questions or suggestions. As always, I look forward to hearing from you!
There’s still time to check out The Colossal Textures and Patterns Bundle. You’ll never spend hours looking for the perfect texture again!




























Great tutorial! Can’t wait to try doing it. But I do have one question. You begin the file in RGB in Photoshop, yet when you choose the colour values…you enter CMYK values. What’s up with that? I know you said you would convert to CMYK to print but you weren’t at that stage yet. Just wondering, ’cause I’m still learning.
Thanks for asking Marie—great question. It’s honestly just that I think in CMYK after working in it for so many years. I should really give the RGB color values when we’re working on an RGB document!
Awesome job! Thank you for all your work!
Thanks Monica! I’m so happy to hear that you enjoyed it. And thanks for being one of the awesome community members who make it such a joy to do these tutorials!
Very nice! I love the colors! I noticed you showed a lot of ‘how to do’ stuff. Even with Illustrator. Though I barely dabble with it, watching someone use it is a lot different that reading a tut! Thanks!
That is great! Perfect combination – a cool book cover and a lesson or two, as well! LOL
Thank you so much!
Su
Thanks Su! I love this style of art, but don’t get to work with it often. Glad you enjoyed it. I hope we’ve helped make Illustrator less mysterious :)
Thank you, thank you, thank you for making a video for this. It’s much easier to follow everything on a video <3
You’re so very welcome, Esra! Thank YOU for your lovely comment. Let us know if you have any requests or suggestions for future tutorials!
Soooo pretty!!! I’m into children’s illustration and this is perfect! Thanks for putting this together! :D
Thanks Kelley! It was a lot of fun to work with all the textures and elements in this bundle. I hope you enjoy them!