WHAT WE’RE CREATING:
Today’s design tutorial will show you how to make use of the 11 incredible fonts available through our current Huge Creative Font Bundle deal.
You’ll learn how to create an indie poster design, and in true form to the genre we’ll be introducing plenty of lovely grungy, graphic touches to our design. Amazingly, most of the graphical icons and elements in this poster can be achieved through the tons of extra options available with your new fonts, and I’ll be walking you through how to use these today.
Remember, the Huge Creative Font Bundle only has a few short days left before it expires forever. After that, the price of all these fonts goes back up to $595. Be sure to grab it now to get the full 95% discount.
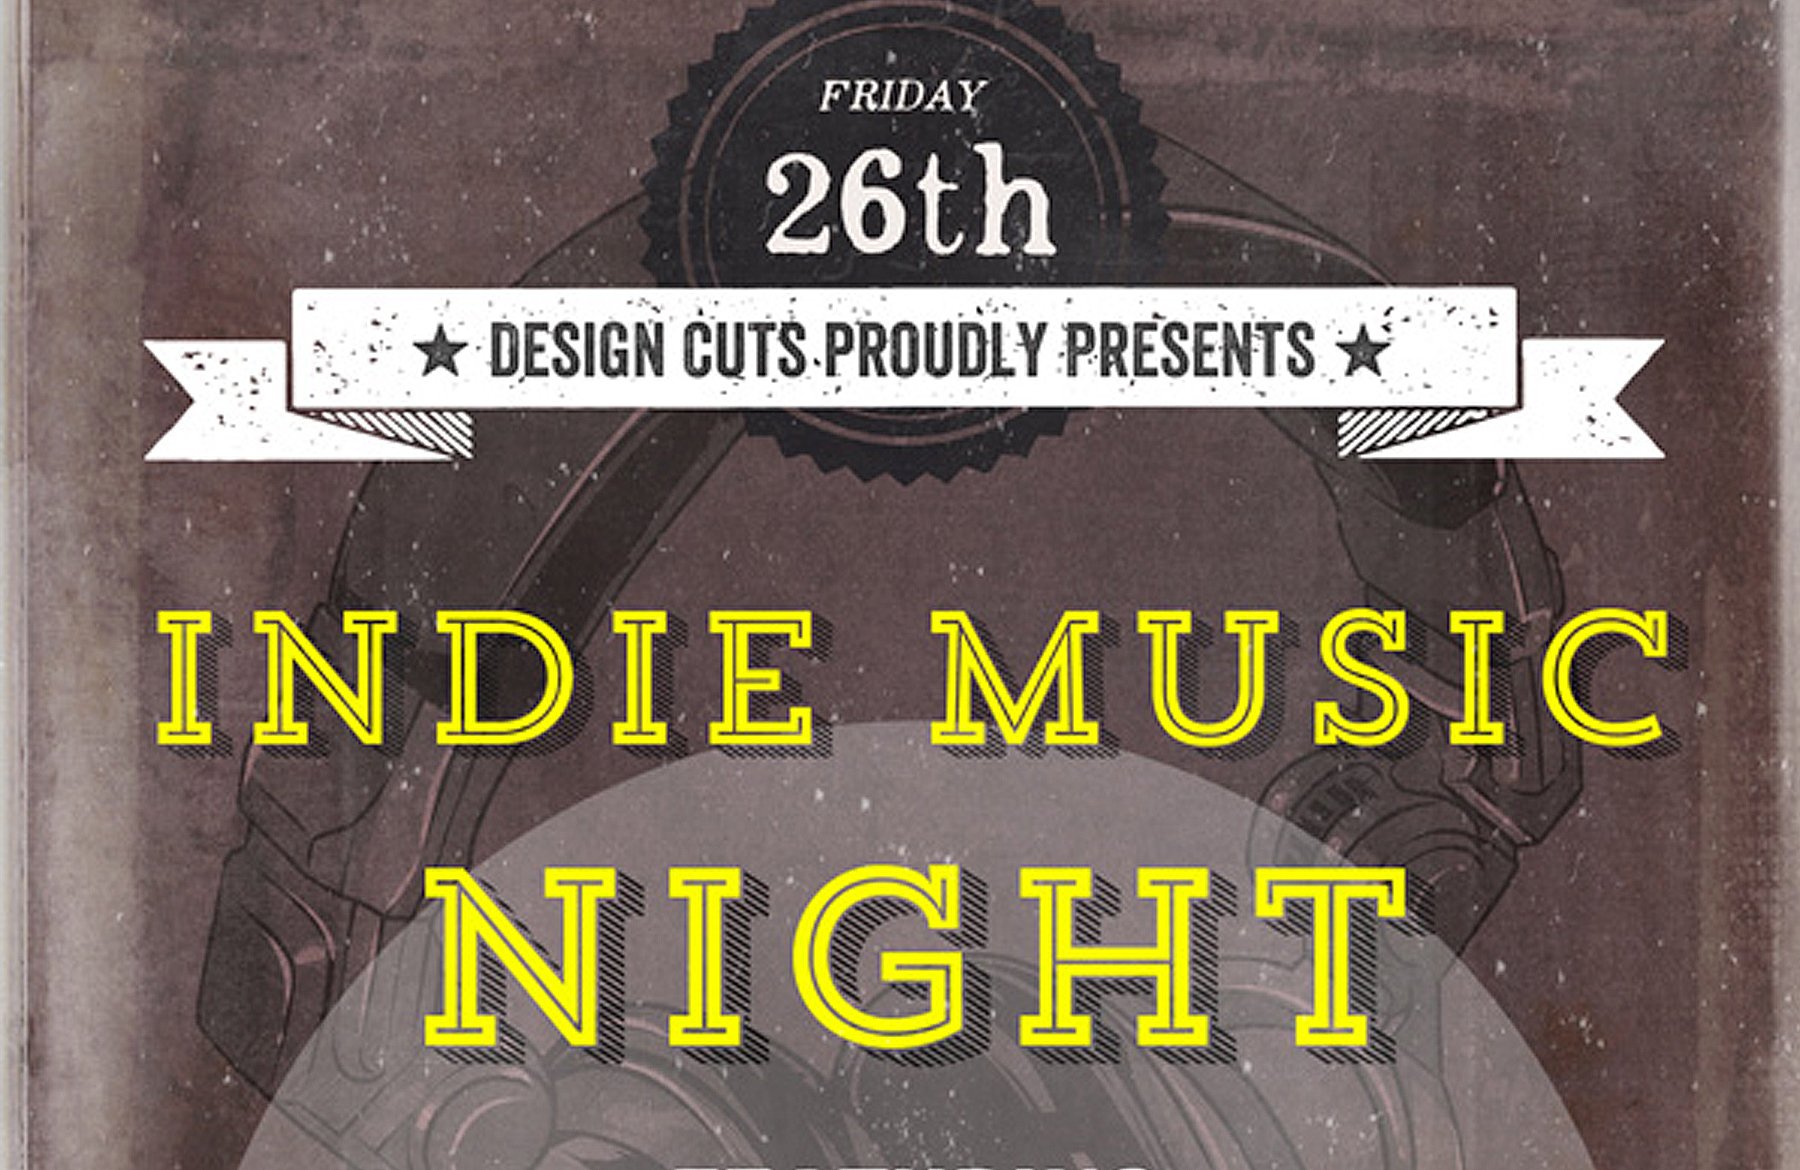
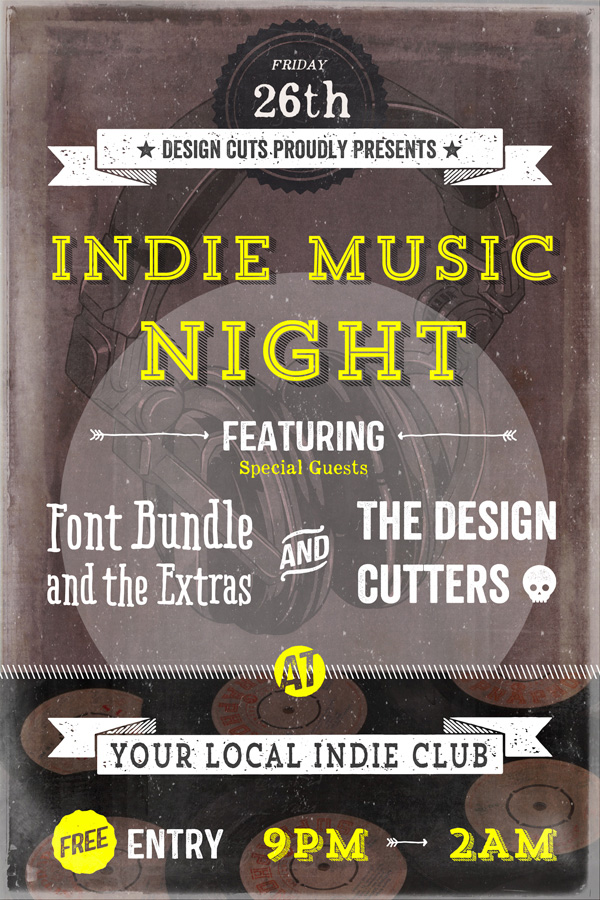
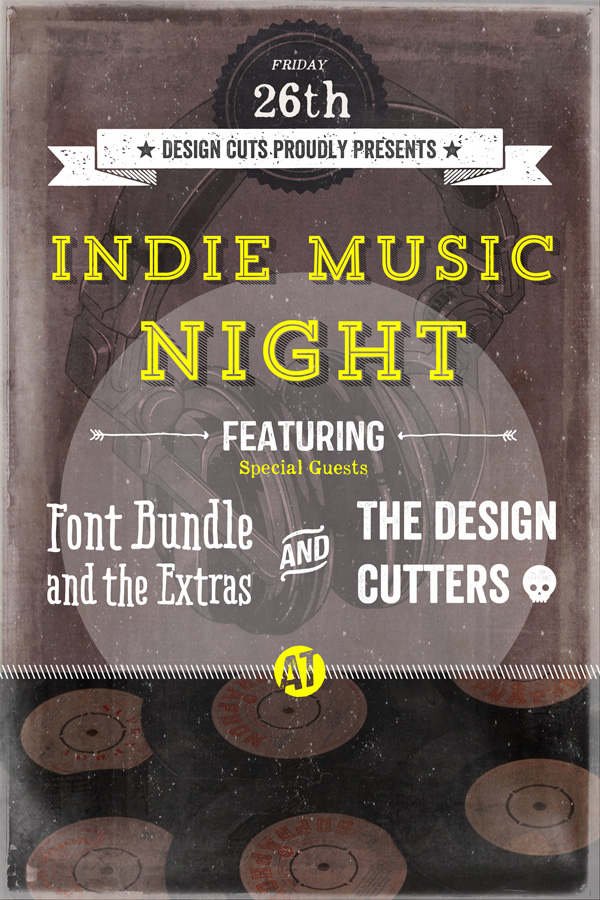
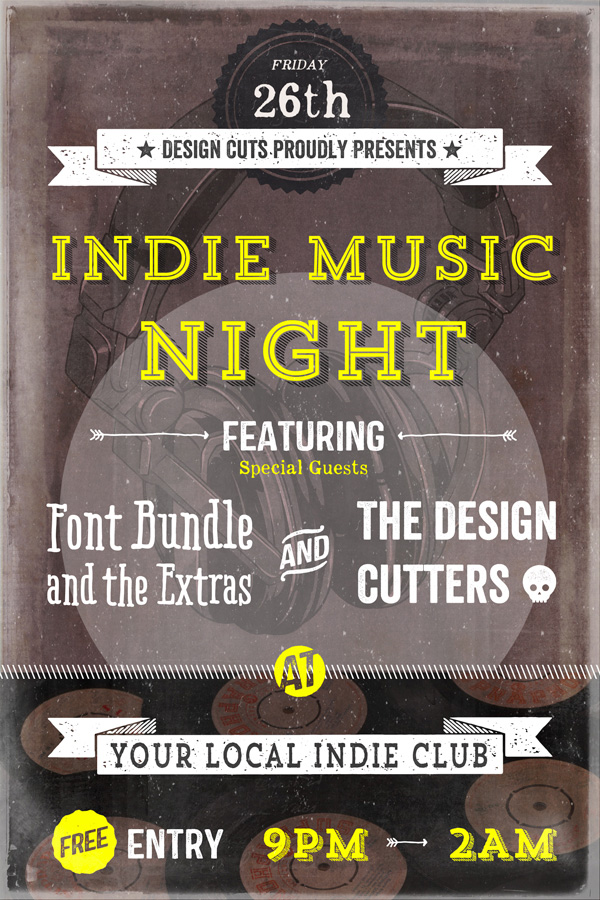
Here’s a look at the final design we’ll be creating today:
Step 1:
Open up Photoshop. Create a new document (1800px x 2800px, 300dpi resolution).
Download this great Old Paper Texture by caminopalmero
Step 2:
Download the 5 High Resolution 2 Lil Owls Textures from the freebies folder or use a similar one from your personal resources.
Set the opacity to 90% and the blend mode to screen. Lock the layer and keep this the top layer throughout the process.
Step 3:
Create a group called ‘background’ and move the Old Paper Texture Layer into it.
We’ll be working in this group for the next few steps to keep everything organised!
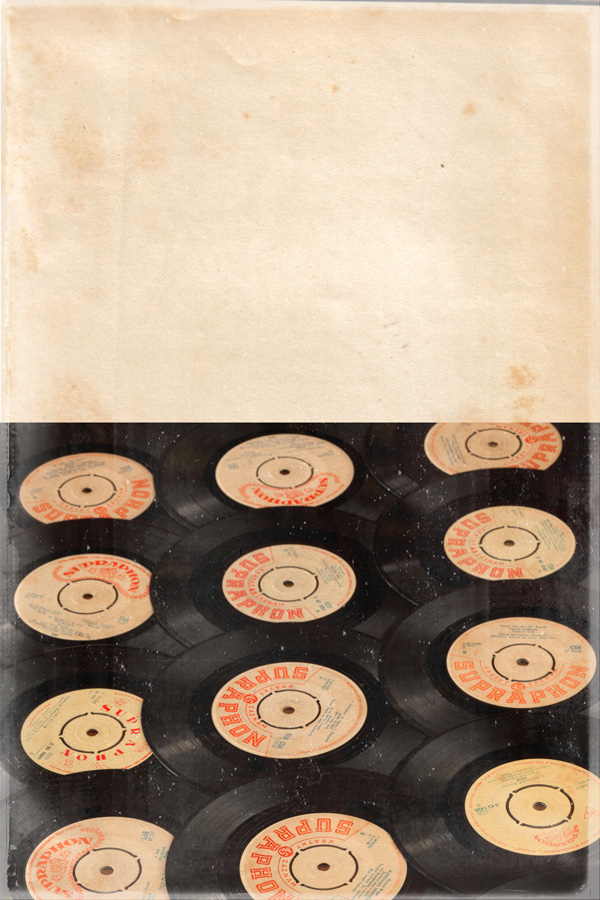
Download this cool picture of some vinyl from Public Domain Pictures:
Paste it onto your canvas and set the blend mode to multiply.
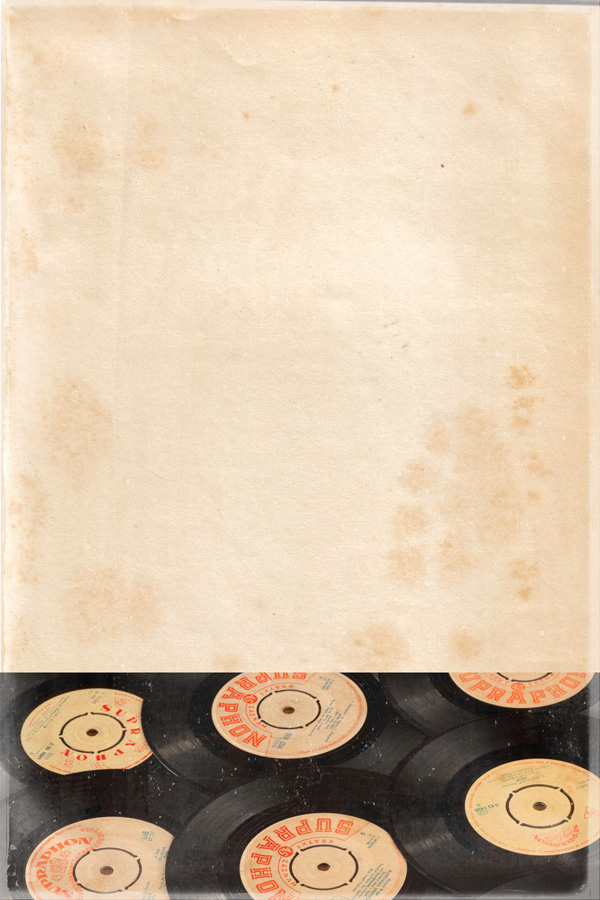
The image will be featured in roughly the bottom third of the design, so move it down to feature an interesting section. You can always adjust this at any time.
Apply a layer mask so that the image takes up roughly one third of the canvas. The composition should look something like this:
Step 4:
Create a new layer and fill it with black. Set the blend mode to multiply and the opacity to 50%.
Step 5:
Download the 2 Lil Owls Free Textures + Source File from the Freebie area.
Paste the texture 2LO Distressed 2 on to your canvas and transform to fit.
Set the blend mode to multiply and opacity to 50%.
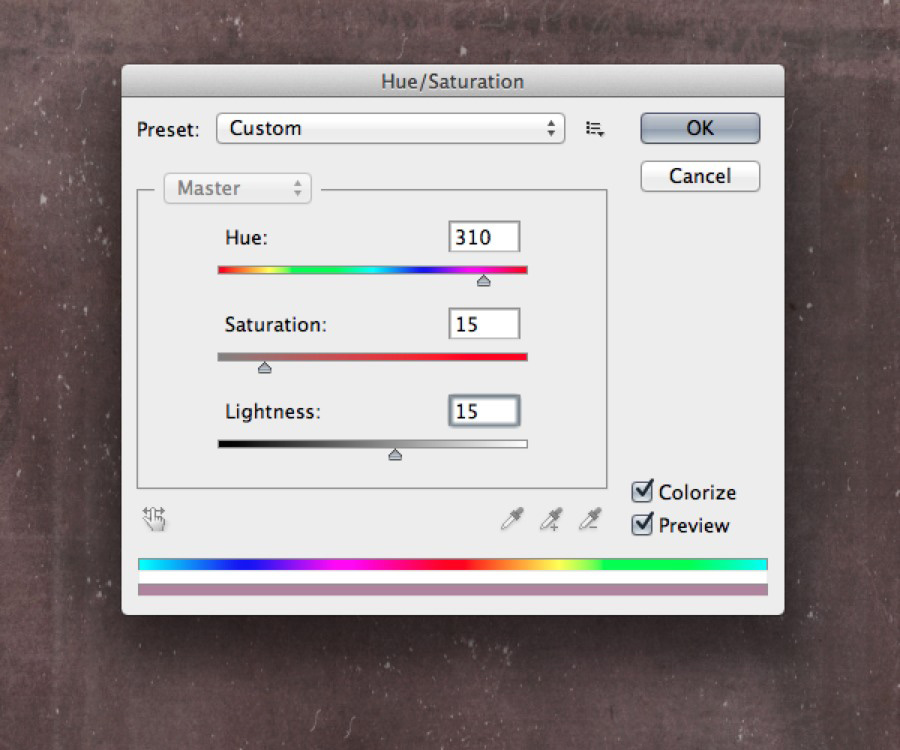
Adjust the hue/saturation to the following:
Hue/Saturation Settings:
Colorize: selected
Hue: 310
Saturation: 15
Lightness: +15
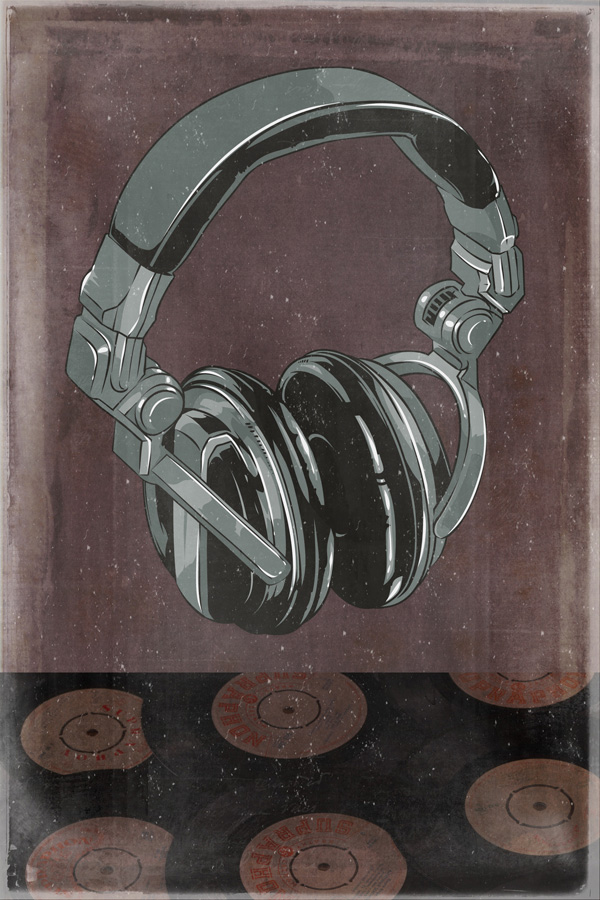
It should now look something like this:
Step 6:
Download a music related vector. I’m using this great headphones vector, from one of our previous deals.
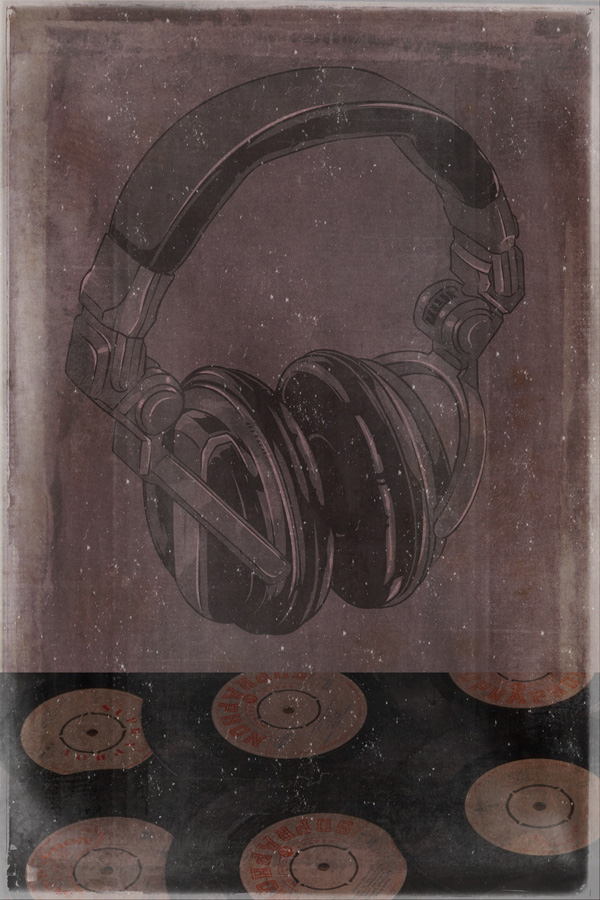
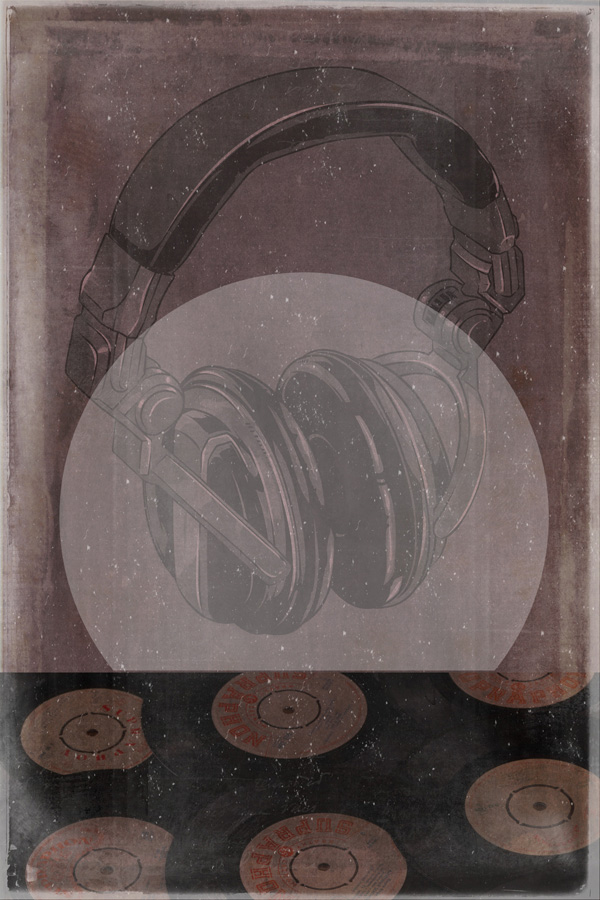
Select the headphones and paste on to your canvas so it fits roughly like the image below:
Set the blend mode to overlay and the opacity to 70%.
Step 7:
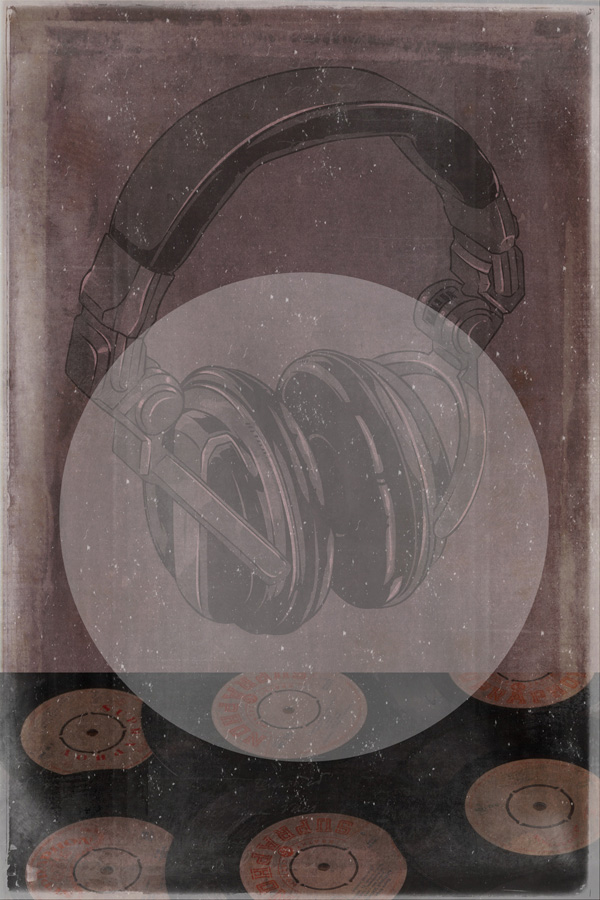
Draw a white circle like so on the canvas and set the layer opacity to 25%.
Create a layer mask so the circle cuts off at the vinyl image.
Step 8:
Ok, now we get to play with some of the awesome fonts in the current deal!
Create a new group called ‘Header’ – we’ll be working in here for the next few steps.
Start by exploring the fonts in your new font bundle. Within Kimmy Design > Appareo, you’ll find a pack for ‘Appareo Extras’. Within this, you’ll find loads of great extra graphics like badges, symbols and ribbons.
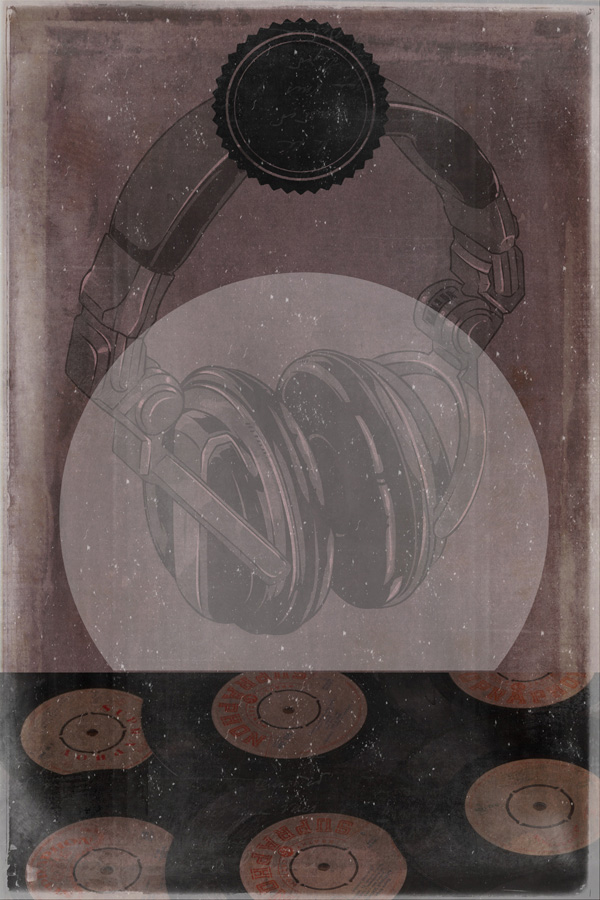
Open the Aperacium_Extras.eps file in Illustrator and paste the following badge towards the top of your canvas and resize so it looks something like this:
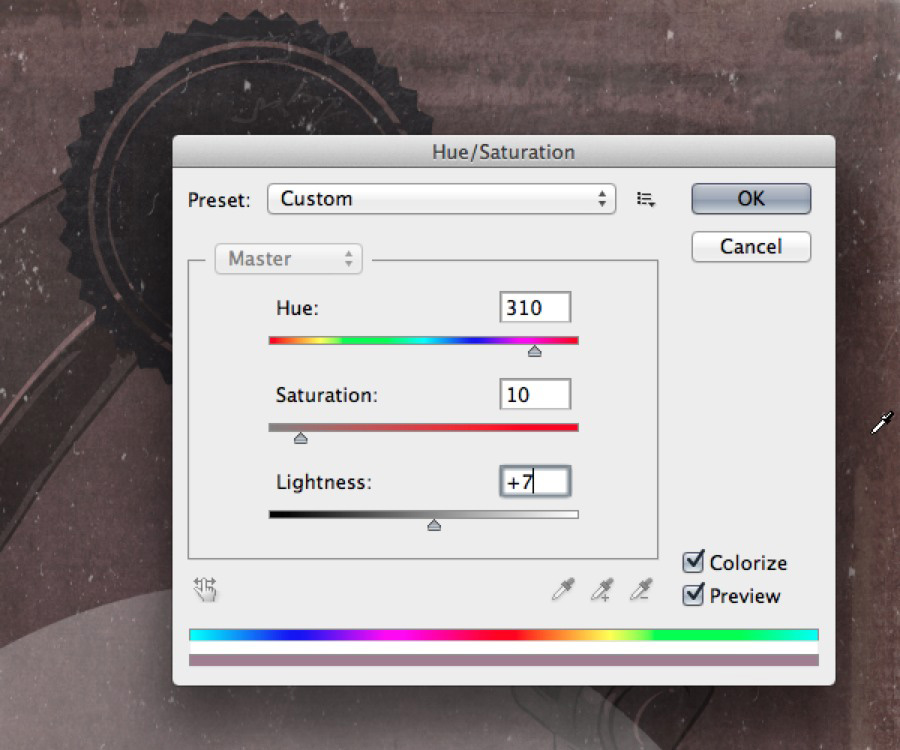
Adjust the hue/saturation to the following:
Hue/Saturation Settings:
Colorize: selected
Hue: 310
Saturation: 10
Lightness:+7
Step 9:
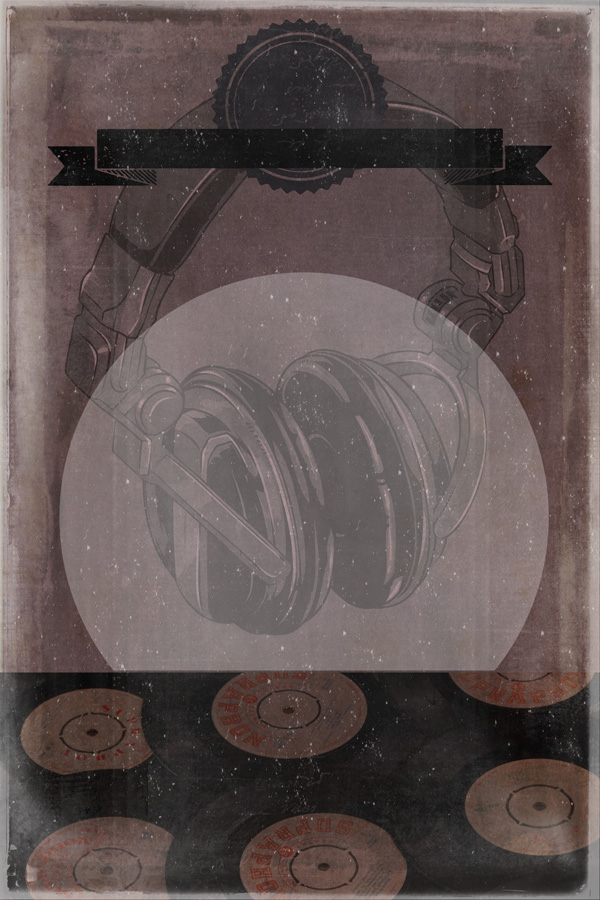
From the Aperacium_Extras.eps file select the following banner and paste it on to your canvas. Stretch it out with the transform tool so it looks a bit like this:
Adjust the hue/saturation to the following:
Hue/Saturation Settings:
Colorize: unselected
Hue: 0
Saturation: 0
Lightness: +100
Select Veneer Regular as the font (again, you can find this is in the Huge Creative Font Bundle), set the size to 18pt, the colour to #252425 and justification to centre. Type (without the quotation marks) “y Design Cuts proudly presents y”
Select each “y” and change the font to Veneer Extras Regular to turn it into a star icon.
Step 10:
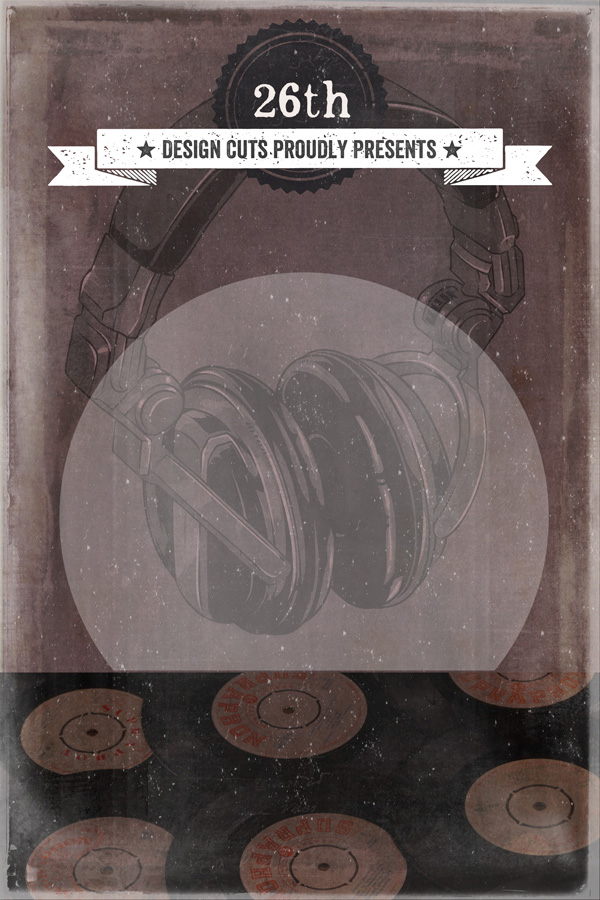
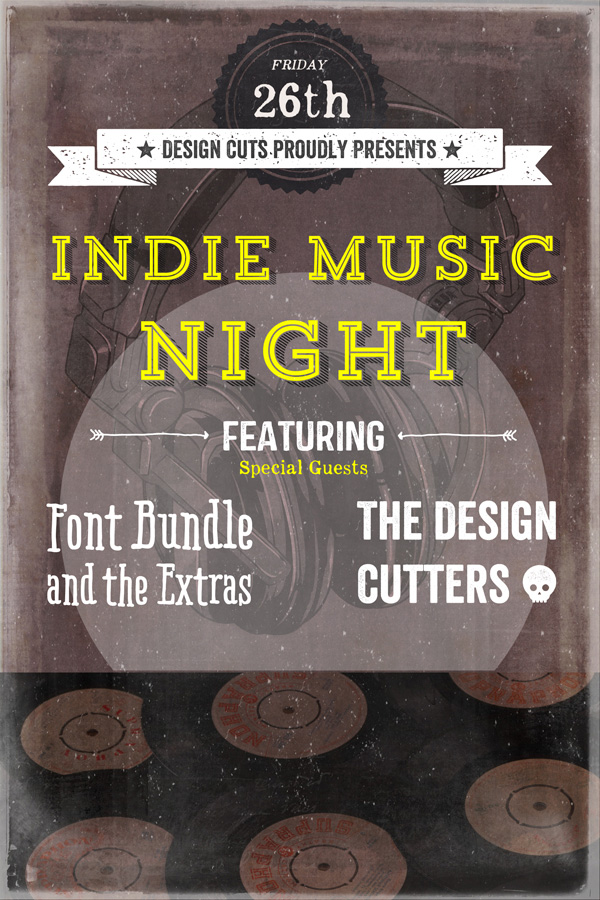
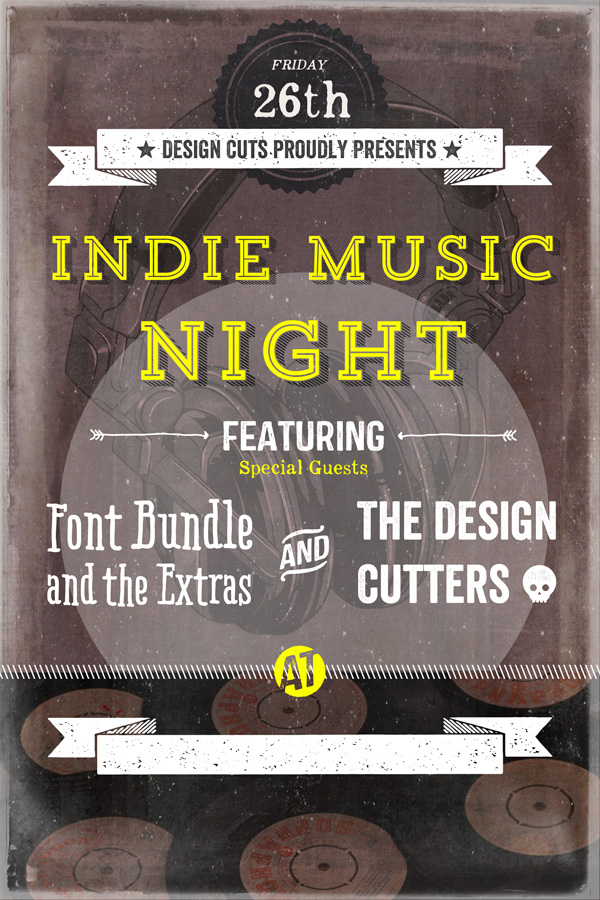
Select Appareo Black as the font, set the size to 35pt and colour to #ede7e3. Type “26th” and place over the badge just above the banner:
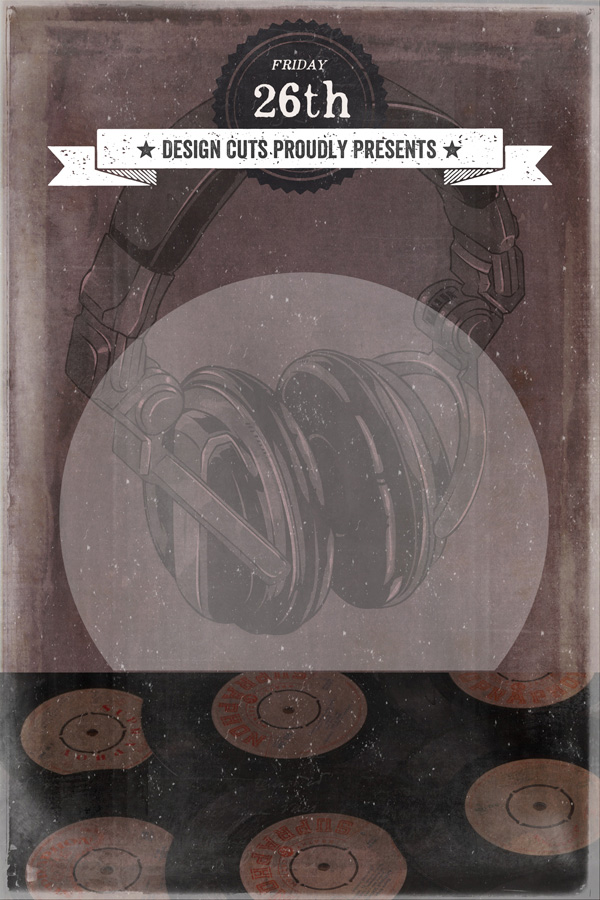
Finally for the header group, change the font to Appareo Black italic and the size to 10pt. Using all caps, type “Friday” and position it above “26th”.
Step 11:
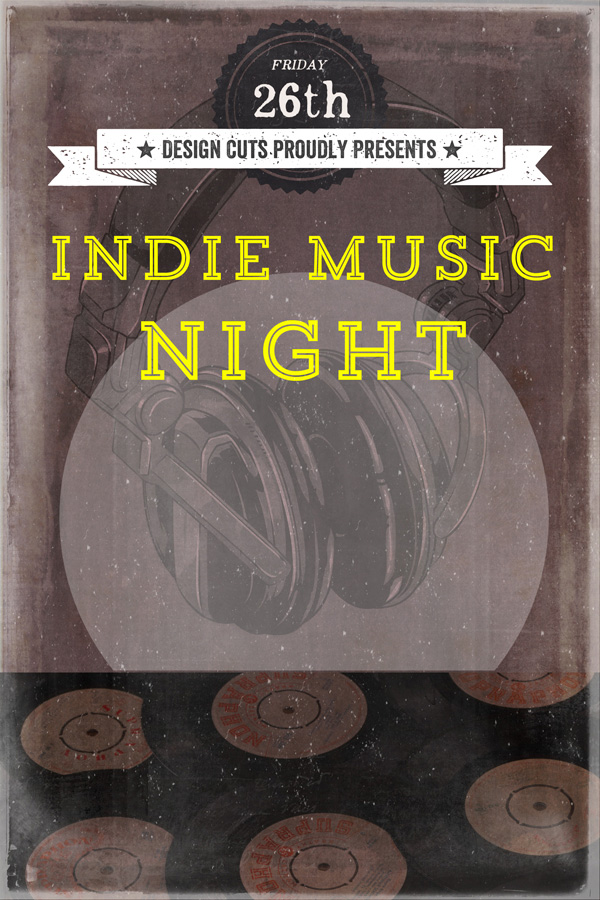
Select Trend Slab Five as the font, size to 45pt, justification to centre and the colour to #fcff01.
Type “Indie Music Night” with “Night” on a new line. Change the font size of “Night” to 60pt.
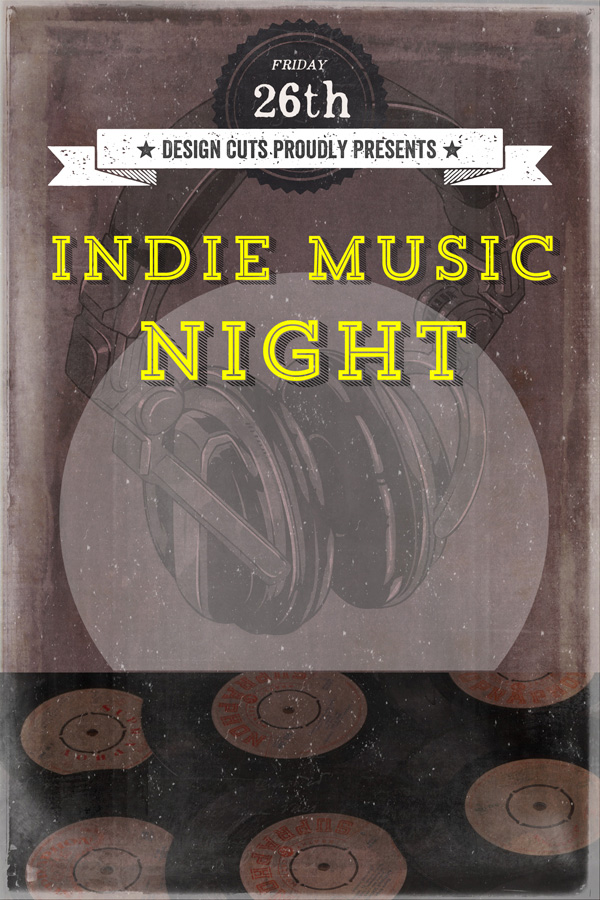
Duplicate the layer. Select the text and change the font to Trend Slab Three and the colour to #252425. Set the layer blend mode to multiply.
Step 12:
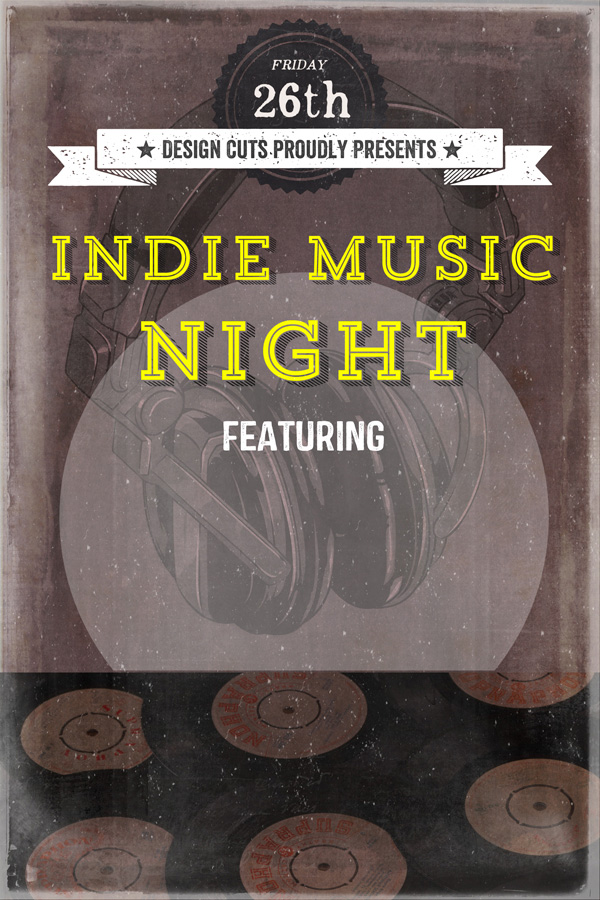
Create a new group called ‘featuring’. Select Castor One Regular as the font, size to 30pt, justification to centre and colour to #ffffff.
Type “Featuring” and position to the centre of your canvas.
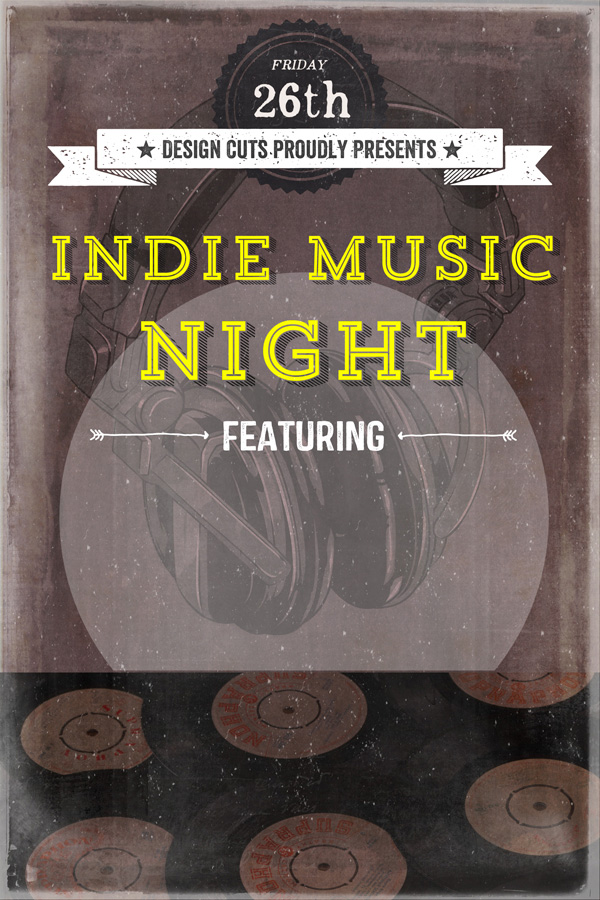
Select Trend HM Ornaments as the font, size to 35pt. Type a lowercase “t” to get the right-pointing arrow. On a new text layer type “s” to get the left-pointing arrow and position them both centrally either side of the word “featuring”.
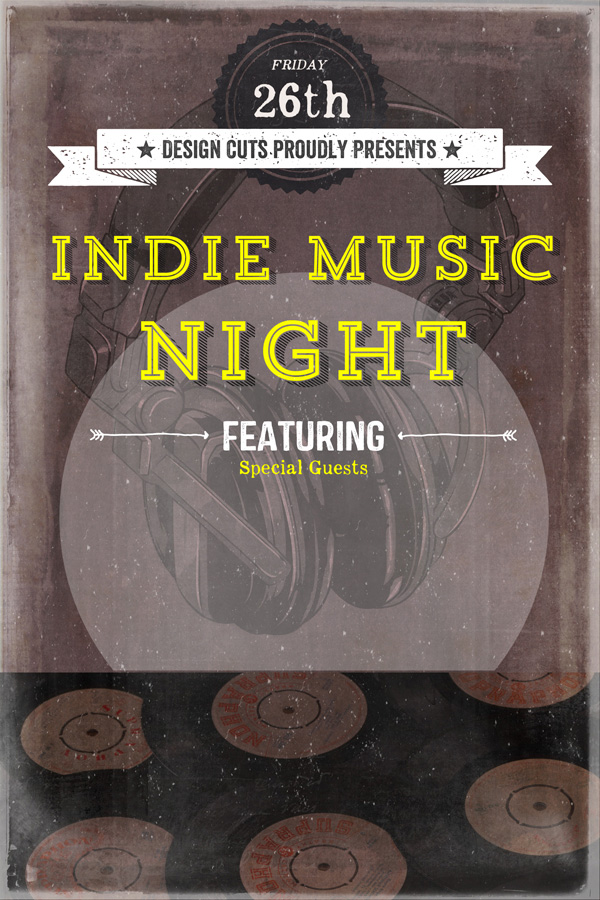
Finally for this step, select Appareo Black as the font, size 14pt and colour to #fcff01. Type “Special Guests”. Position centrally like in the image below:
Step 13:
Now we need to let people know what super cool bands are playing ;)
Create a new group called ‘bands’. All the text in this step is the colour #ffffff.
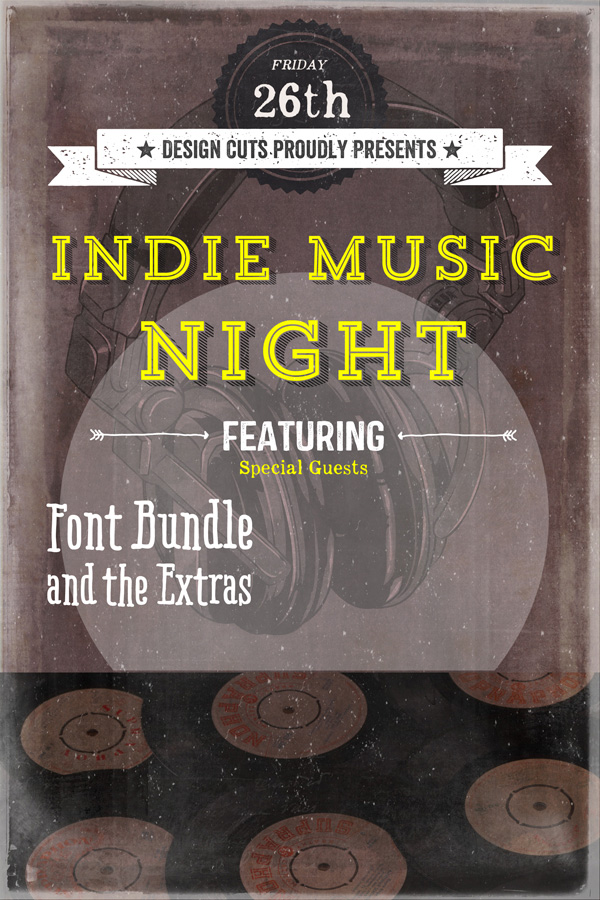
Select Ride My Bike Serif Pro Bold as the font, size 48pt, centre justification. Type “Font Bundle and the Extras” so it sits on two lines like in the image below. Select the text on the second line and reduce the size to 40pt.
Select Veneer Regular as the font, size 38pt, left justification. Type “The Design Cutters k” so it sits on two lines like in the image. Select the letter “k” and change the font to Veneer Extras Regular to get the skull icon.
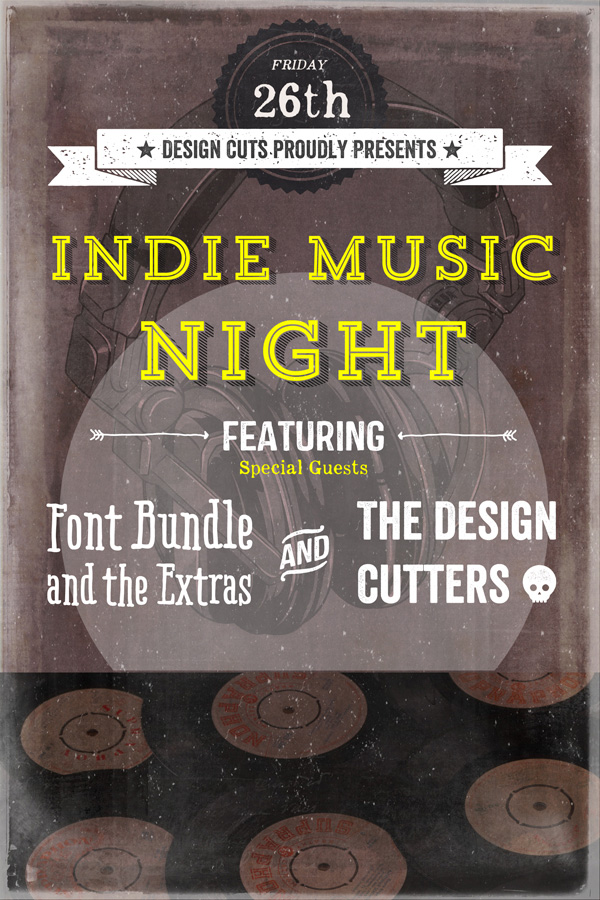
Finally for this step, select Castor Catchwords Regular as the font, size 45pt. Type a lowercase “a” and position centrally between the two band names.
Step 14:
For the final step, create one last group called “footer” to keep the layers in.
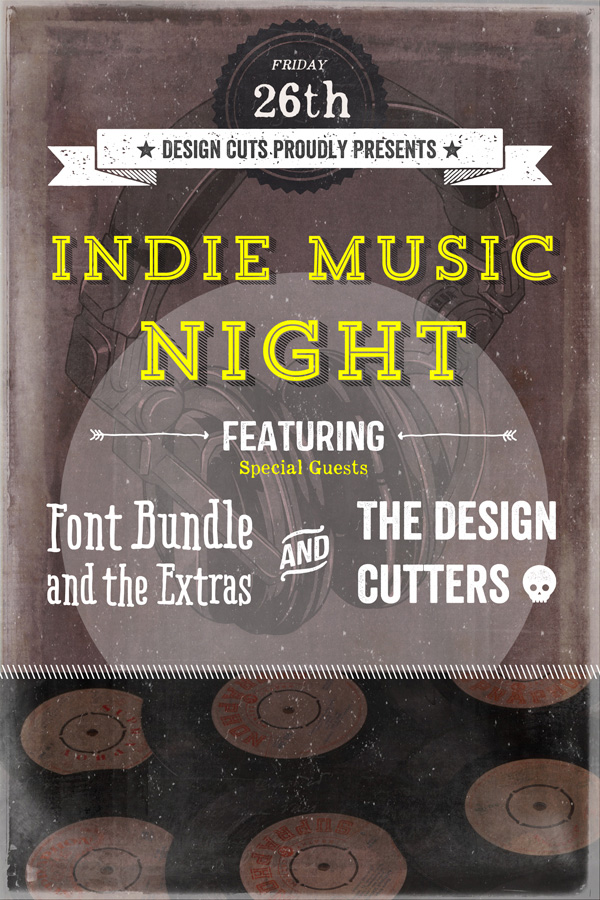
Select a simple sans-serif font, such as Helvetica or Arial, set the size to 14pt and the colour to #ffffff. Hold down the backwards-slash until it forms a line that fills the width of the canvas. Position so that it covers where the main part of the poster and the vinyl image meet.
Select Castor Catchwords Regular as the font, size 48pt and colour #fcff01. Type an uppercase “B” and place centrally on the dividing line.
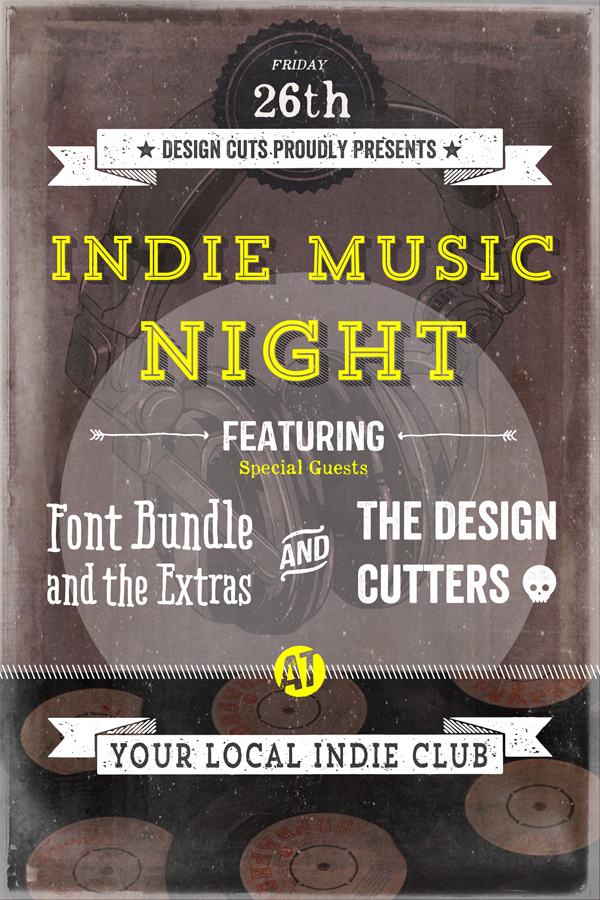
Going back to your ‘header’ group duplicate the banner layer and flip vertically. Drag this towards the bottom of the canvas similar to the image below:
Select the font Trend HM Slab One, size 25pt and the colour to #252425. Type “Your Local Indie Club” and manually transform the text to fit the banner. In this instance, it’ll need narrowing down a bit.
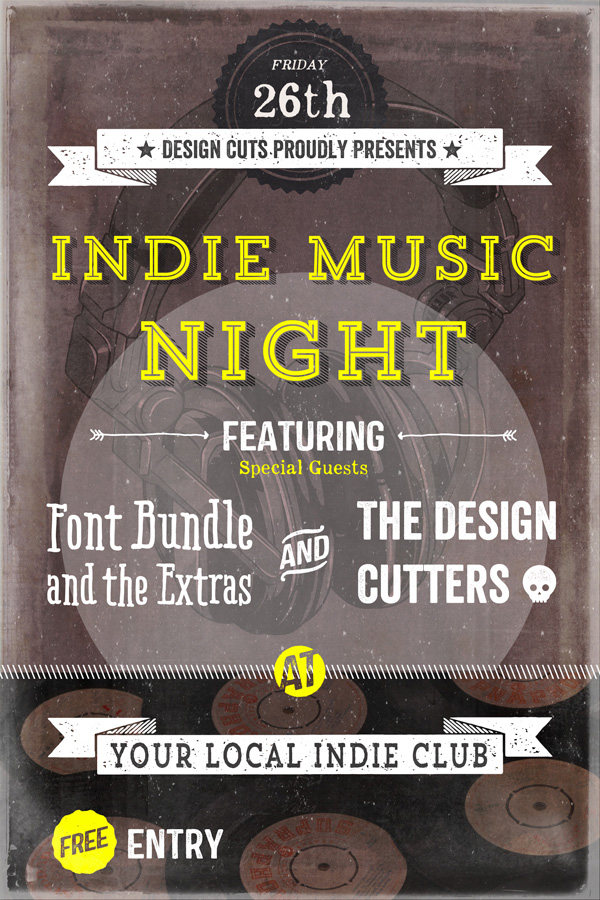
Select Castor Catchwords Regular, size 60pt and colour #fcff01. Type a lowercase “z” to get the “Free” badge.
Select Castor One Regular, size 30pt and colour #ffffff. Type “Entry” and place next to the “Free” badge.
Select HM Trend Slab Four as the font, size 30pt and the colour #fcff01. Type “9pm r 2am”.
Finally, celect the “r” and change the font to Trend HM Ornaments and the colour to #ffffff to change it to the arrow.
AND WE’RE DONE!
I really hope you enjoyed this tutorial, I had a blast writing it for you. This is only a small example of the variety of fonts and extras that are included in the current deal, so have fun exploring it in more depth and creating some great designs! If you create your own original work then please do send it over. We always love seeing what our community are working on.
Remember, there’s only a few days left to get our massive font bundle for just $28, so if you don’t want to miss out, we recommend buying it now.
Huge Creative Font Bundle (Including Web Fonts + Extended License) – 95% Off



Great tutorial!
Some of the design techniques are quite genius. & Your use of picture fonts as opposed to individual graphics is great.
Thanks so much Daniel. Jo Fallon is the mastermind behind this great tutorial. She did an amazing job!
This was a very good tutorial. I found it very easy to use as a launching pad for a fun weekend project.
Thanks a lot Justin, we’re so glad that you enjoyed this tut. I was so impressed by your design on Twitter. You put your own personal stamp on this outcome, and it worked beautifully!